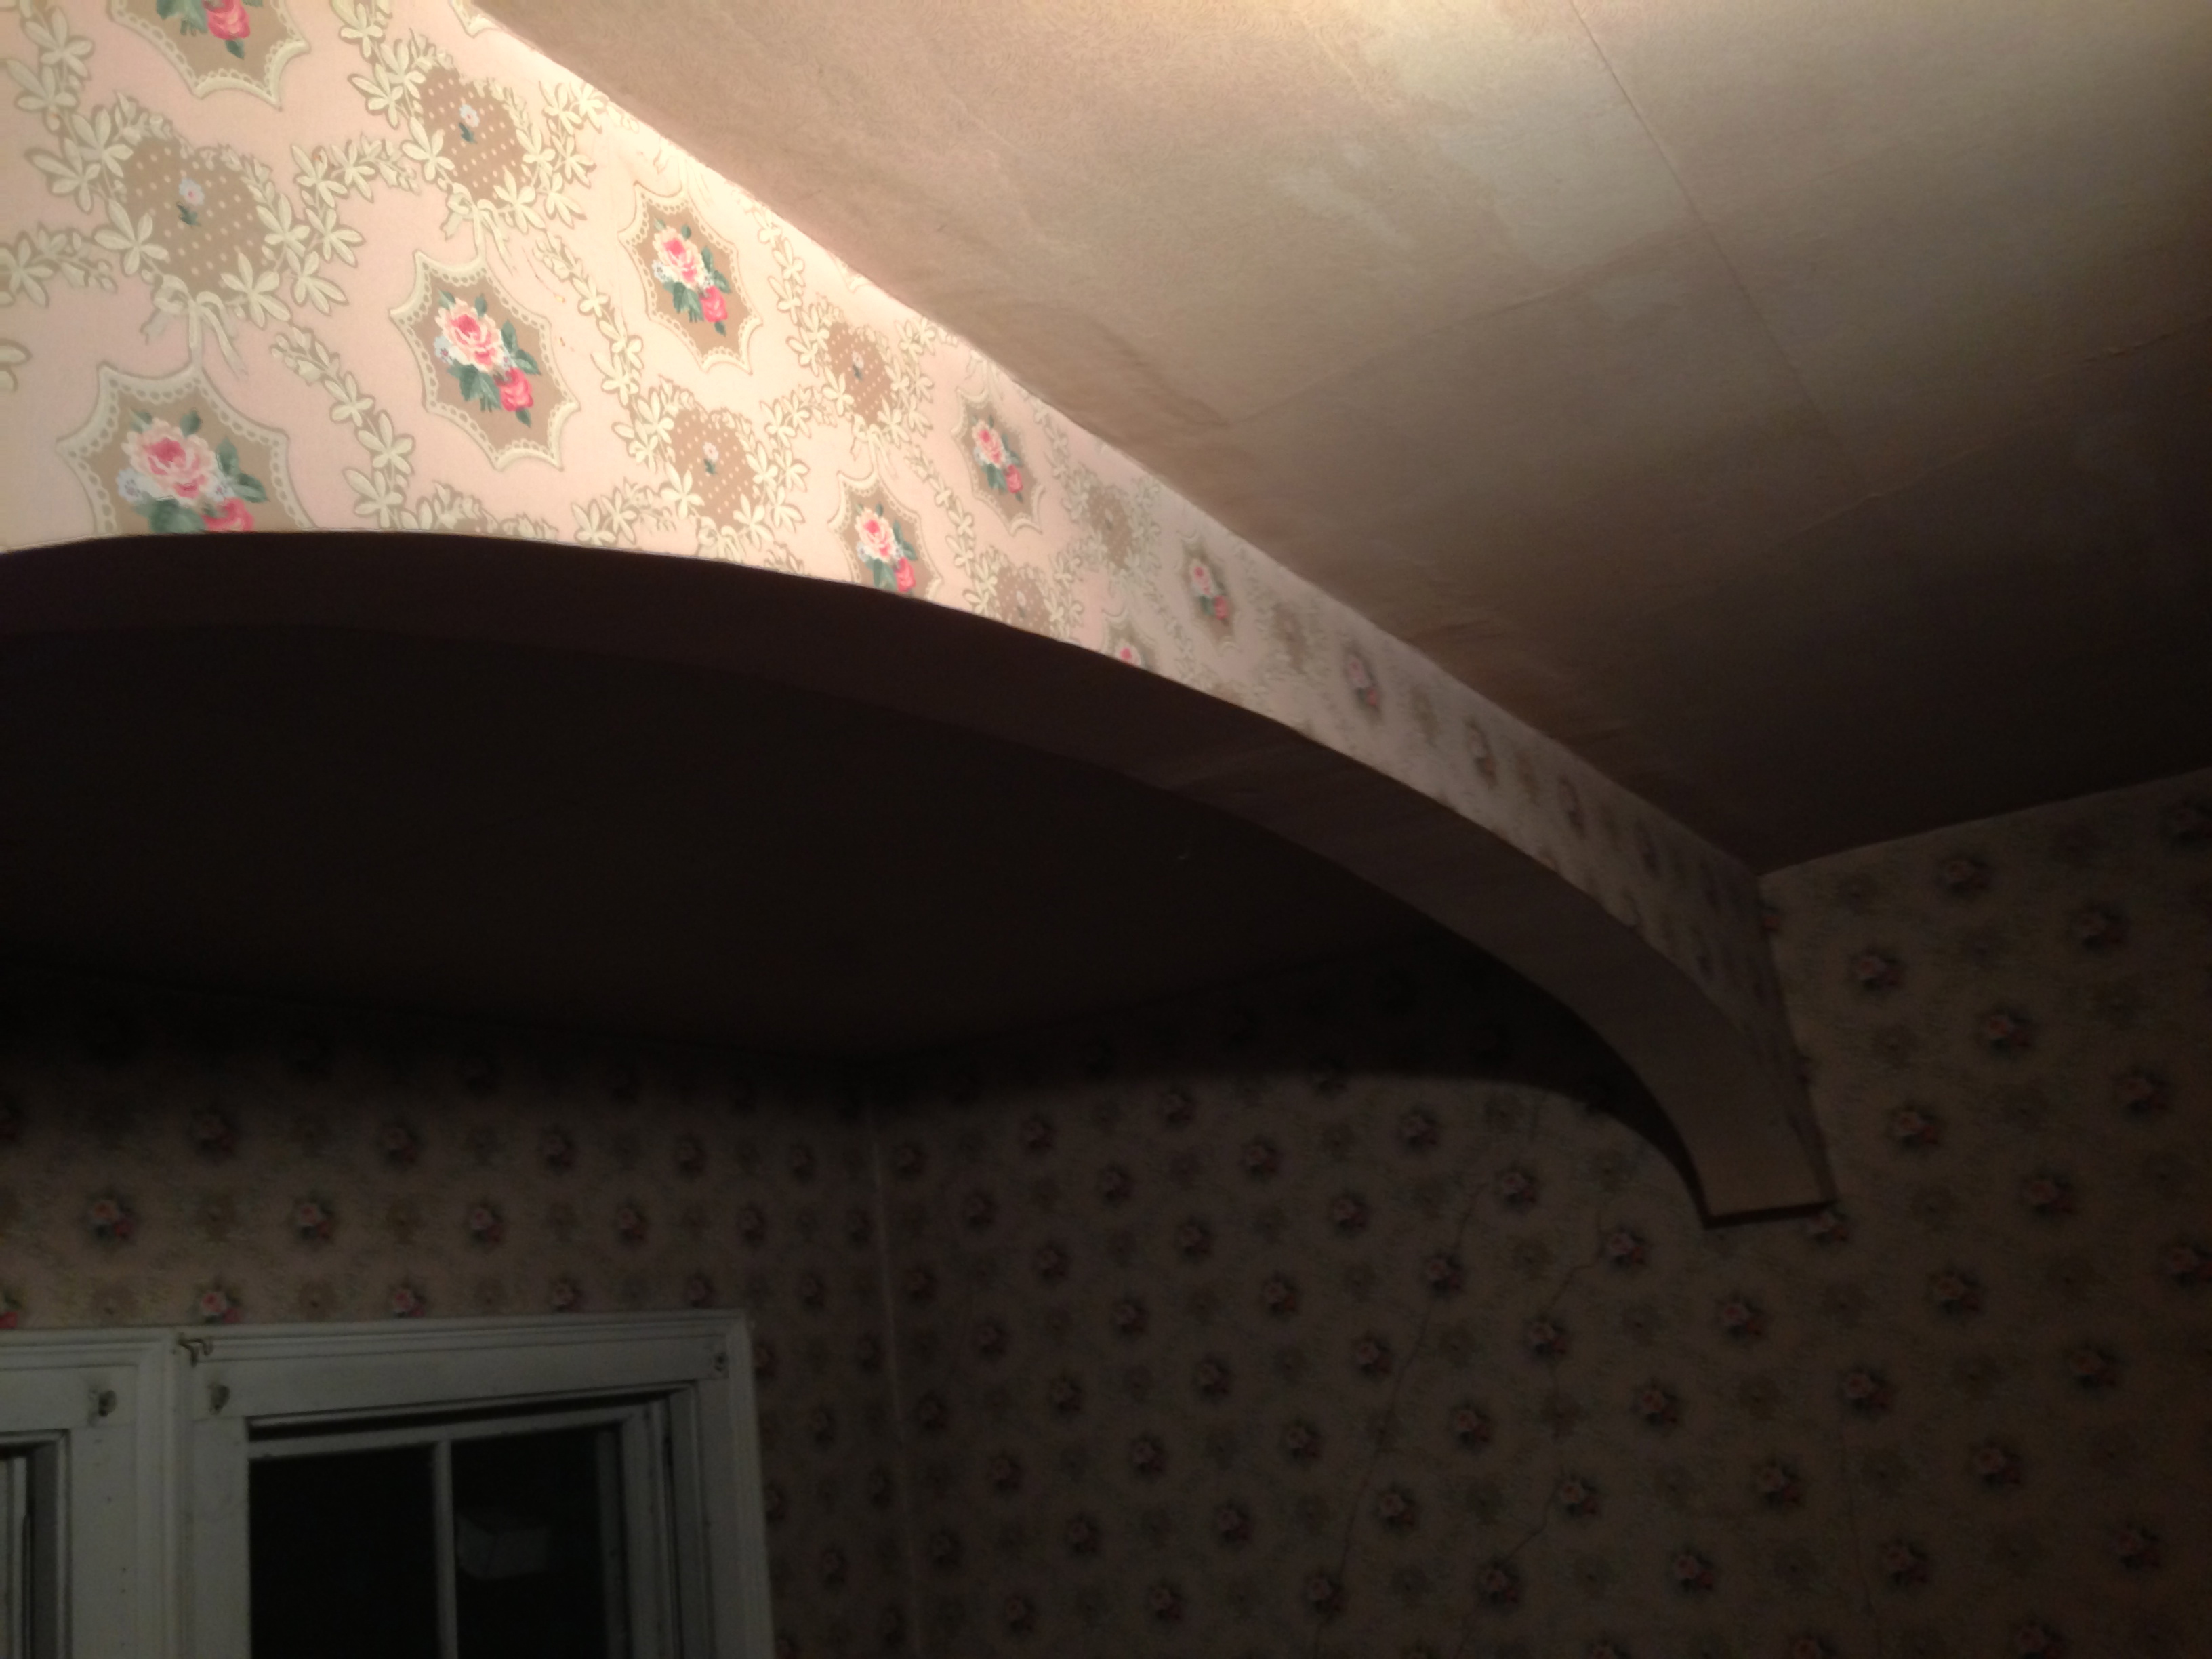
Victorian Arches")
So there were two rooms with archways in them. Not in the doorways like a normal house but literally smack dab in the middle of the rooms. We surmise that this was done when the house was expanded early after it was built. They created the main staircase (which hangs out over nothing) and expanded the two rooms to go along with it. I’m guessing it turned the house from a 3 bedroom into a 4 (well, 5 if you count the back one) and added a formal living room.
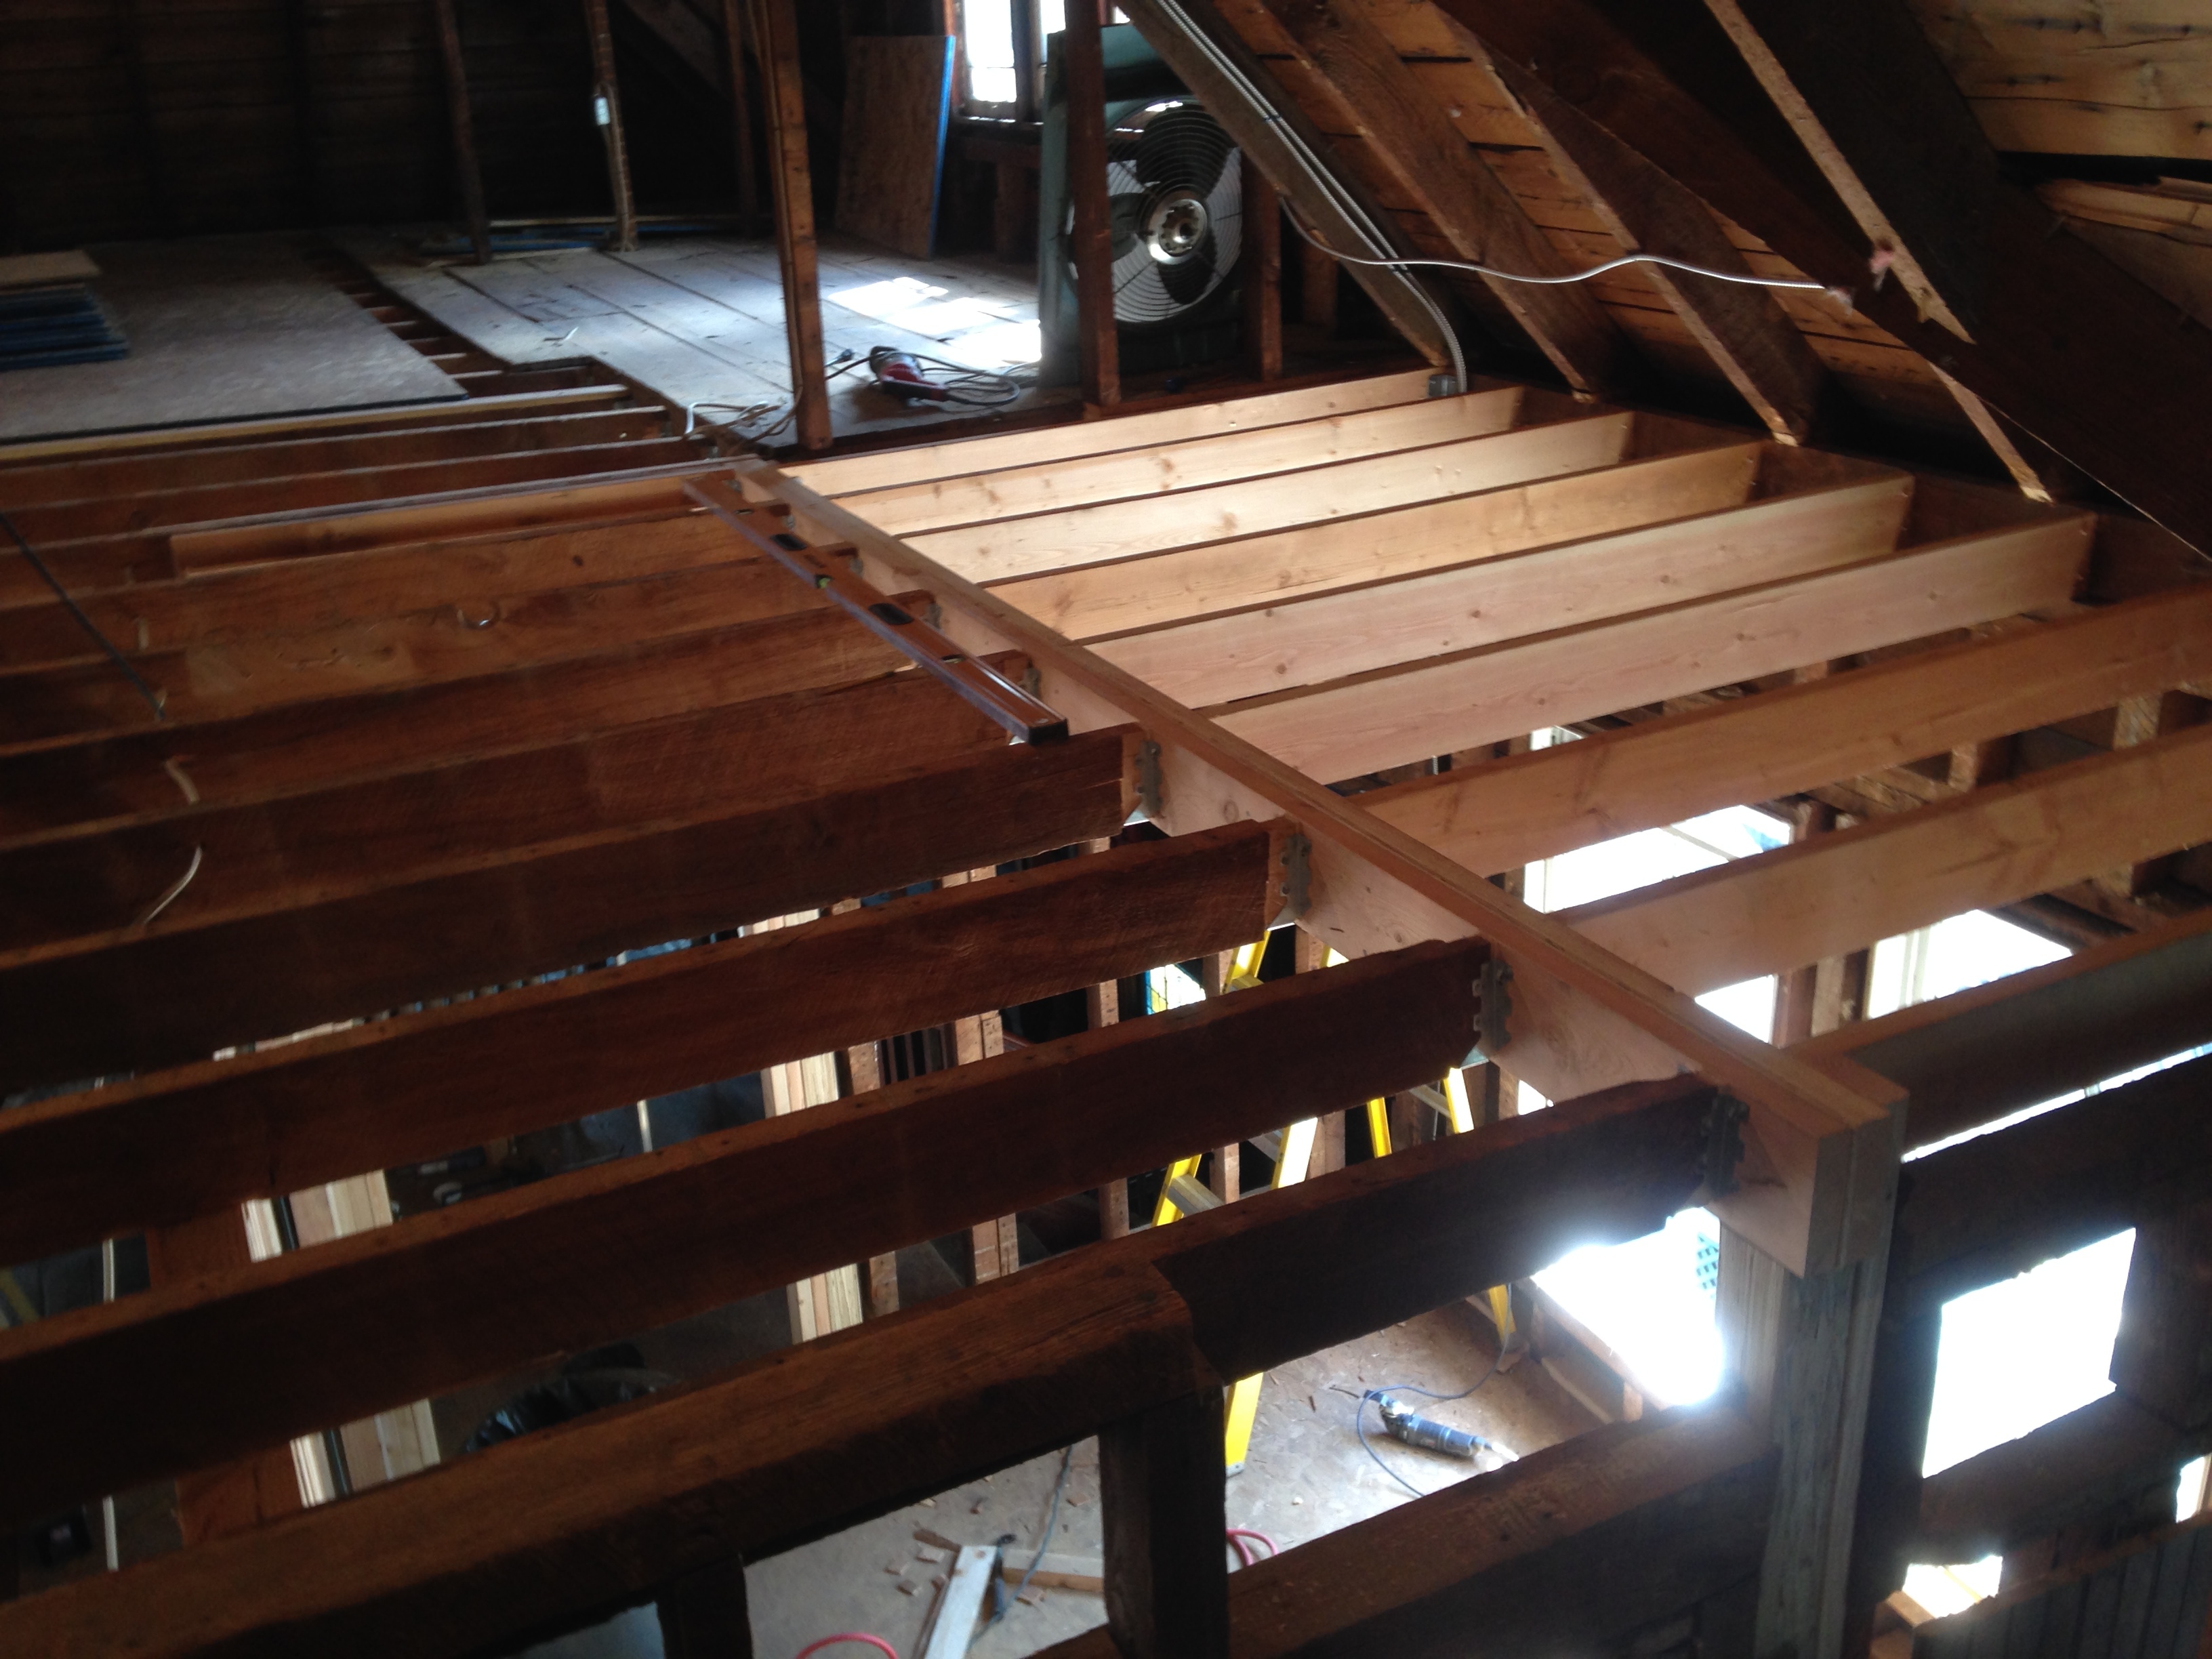
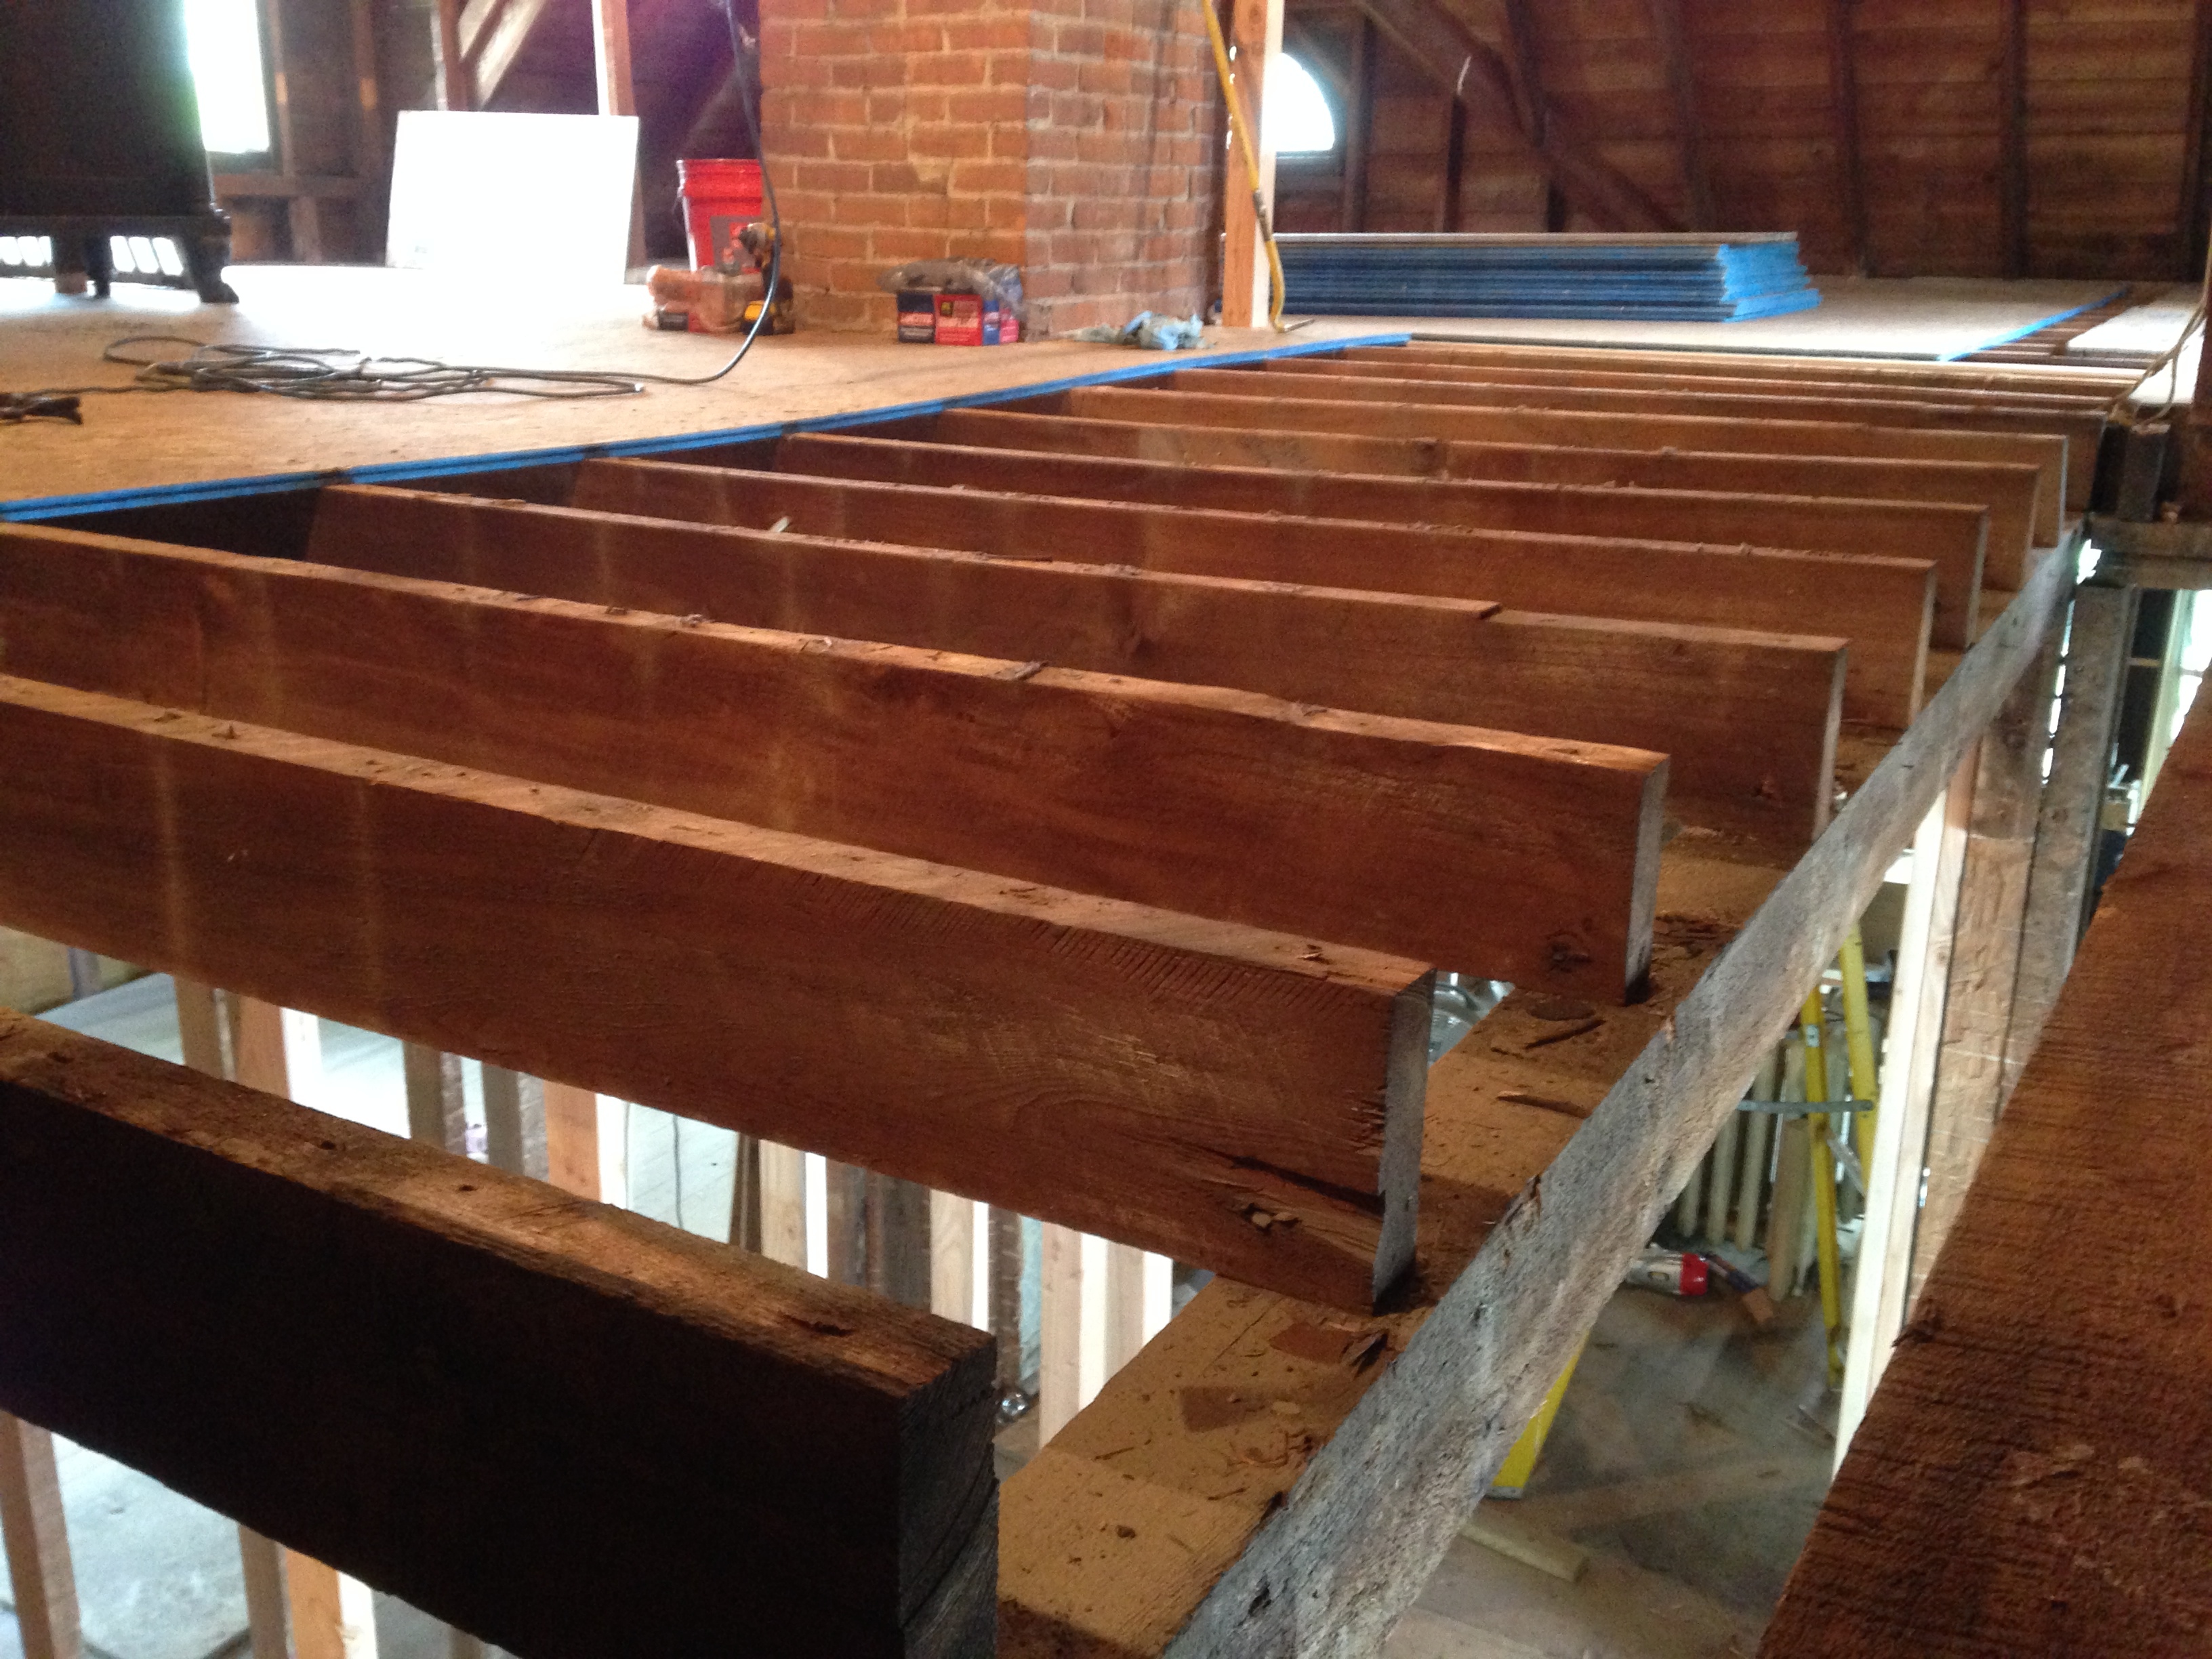
This job was started after about 3/4 of the attic was finished simply because we couldn’t put subfloor down on top of misaligned joists. Here’s the entire attic process.
At any rate, it was stupid. Any light in there made part of the room darker because you couldn’t put it right in the middle and it would extend shadows on the other side. Here’s what it looked like when we started:
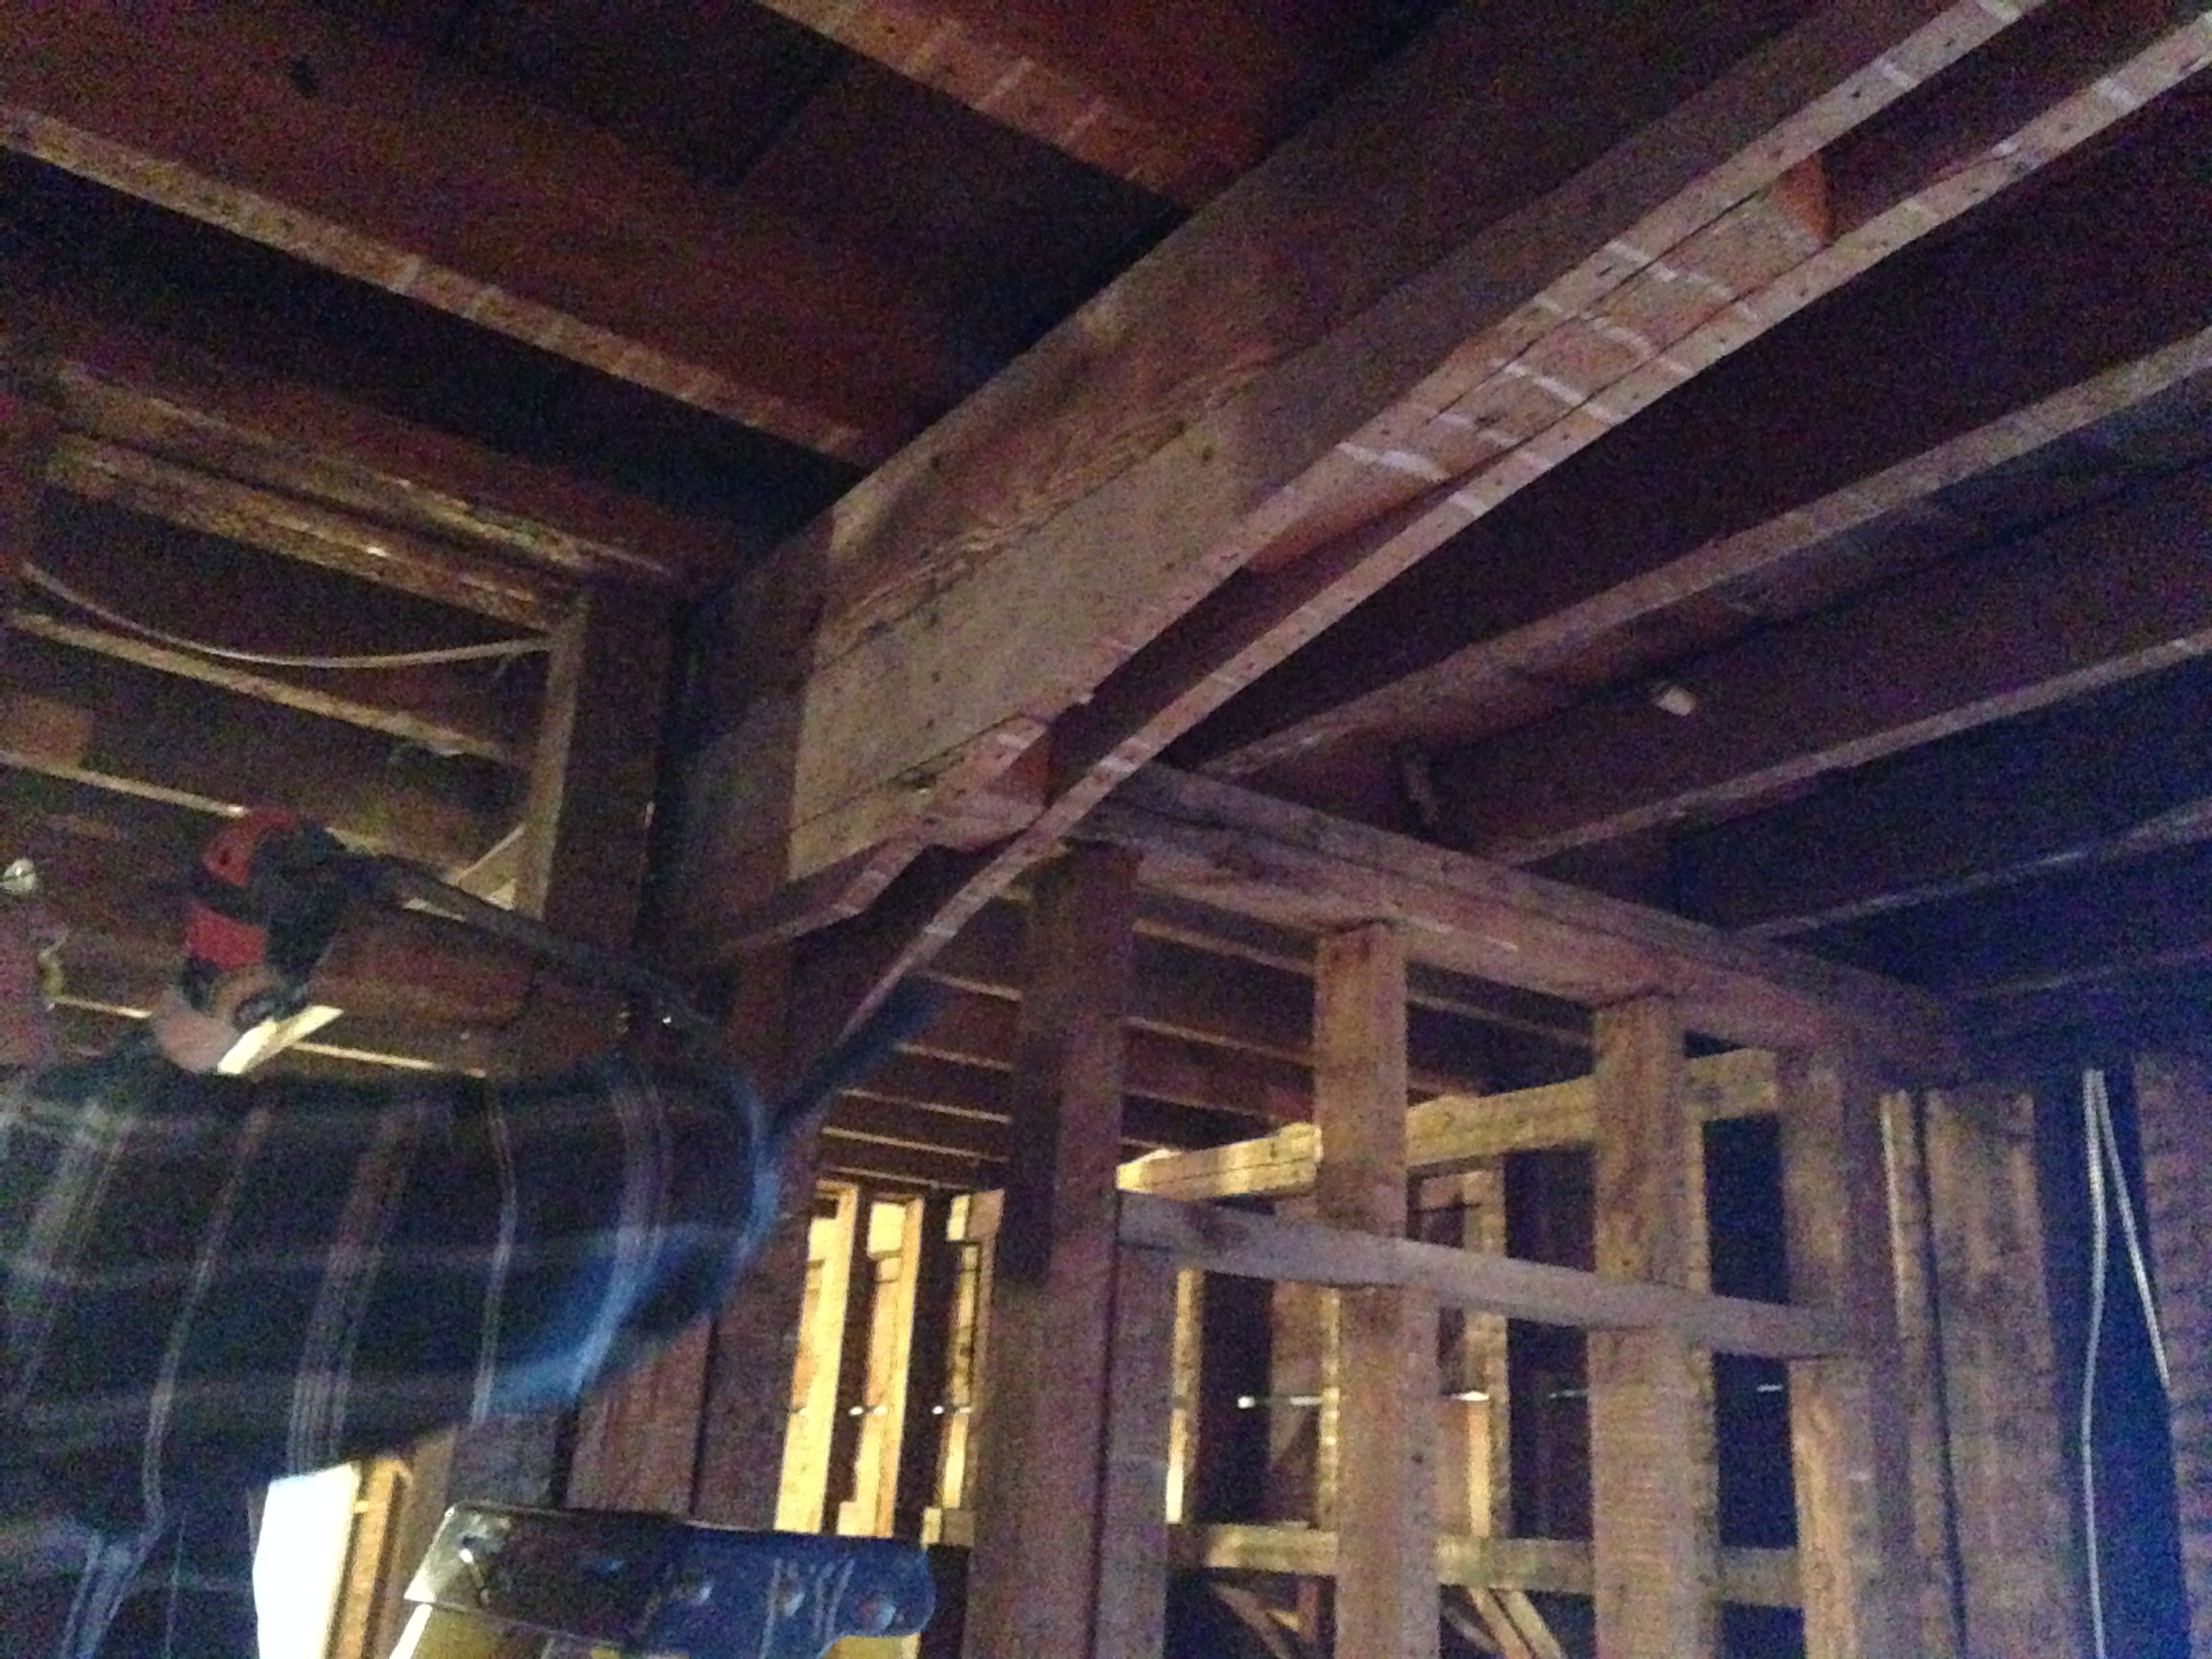
There are some more in the Before Tour so I won’t copy them here. This is what the archways looked like once we ripped off all of the plaster and whatnot:
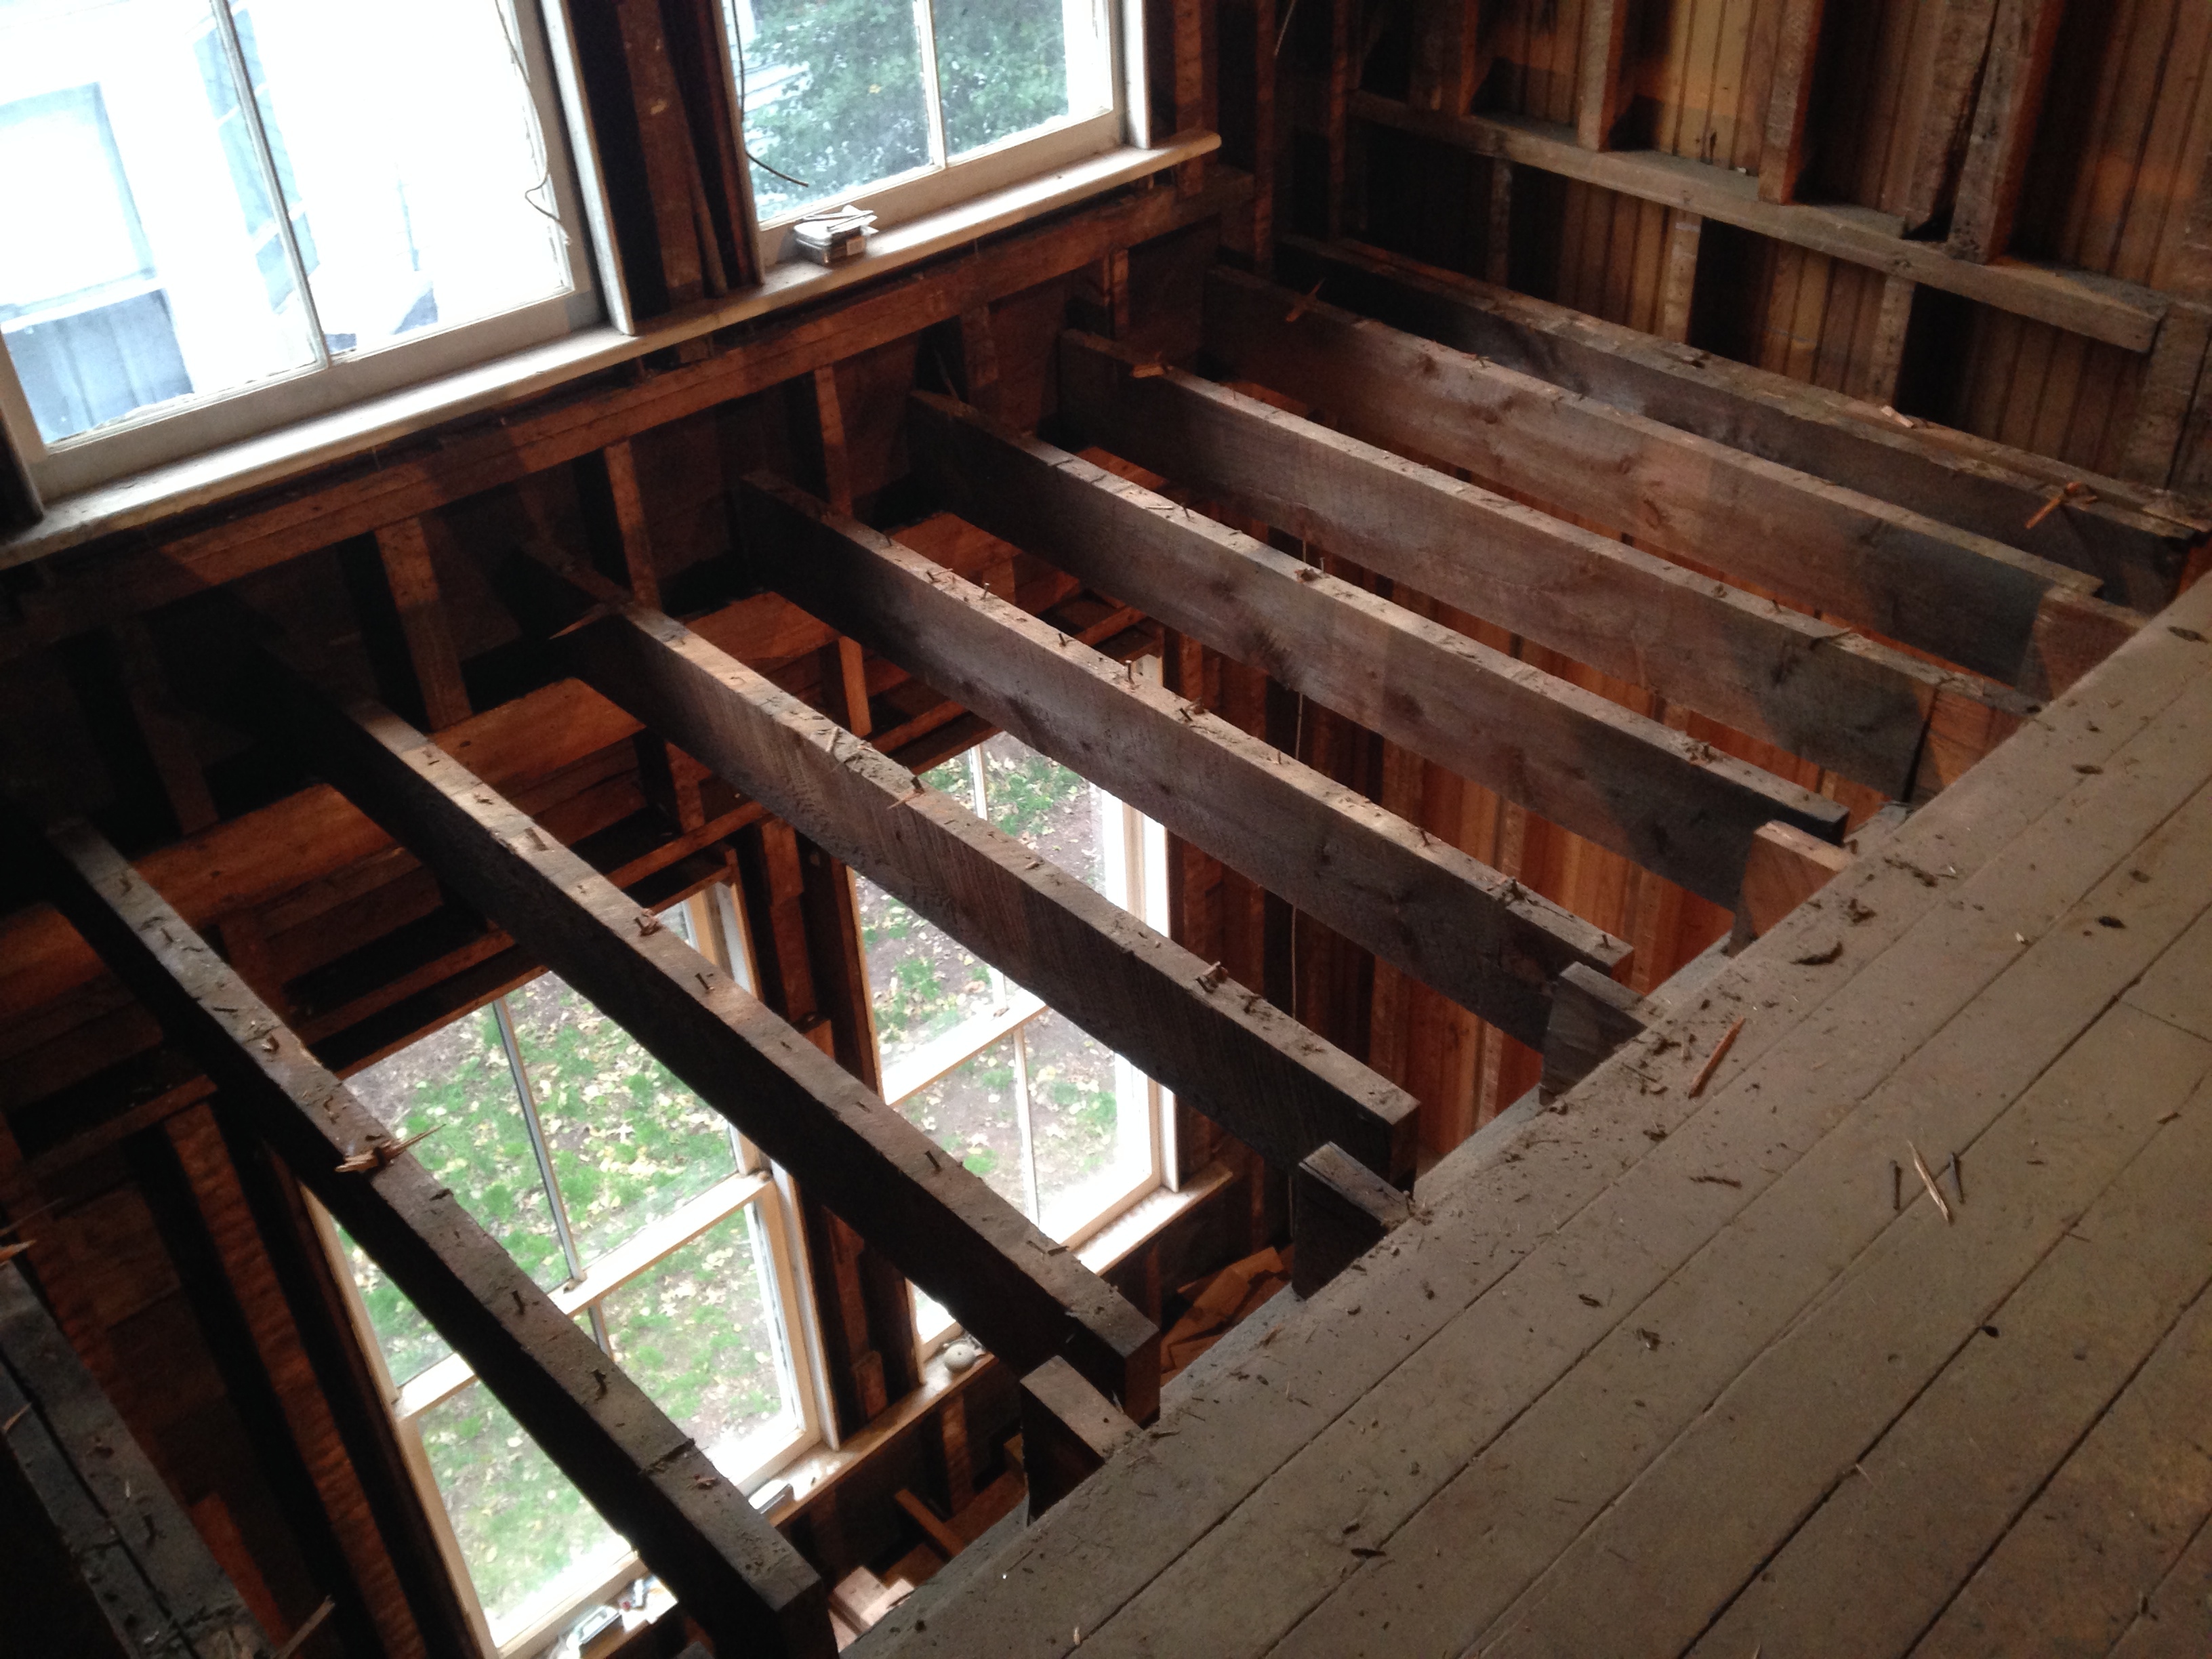
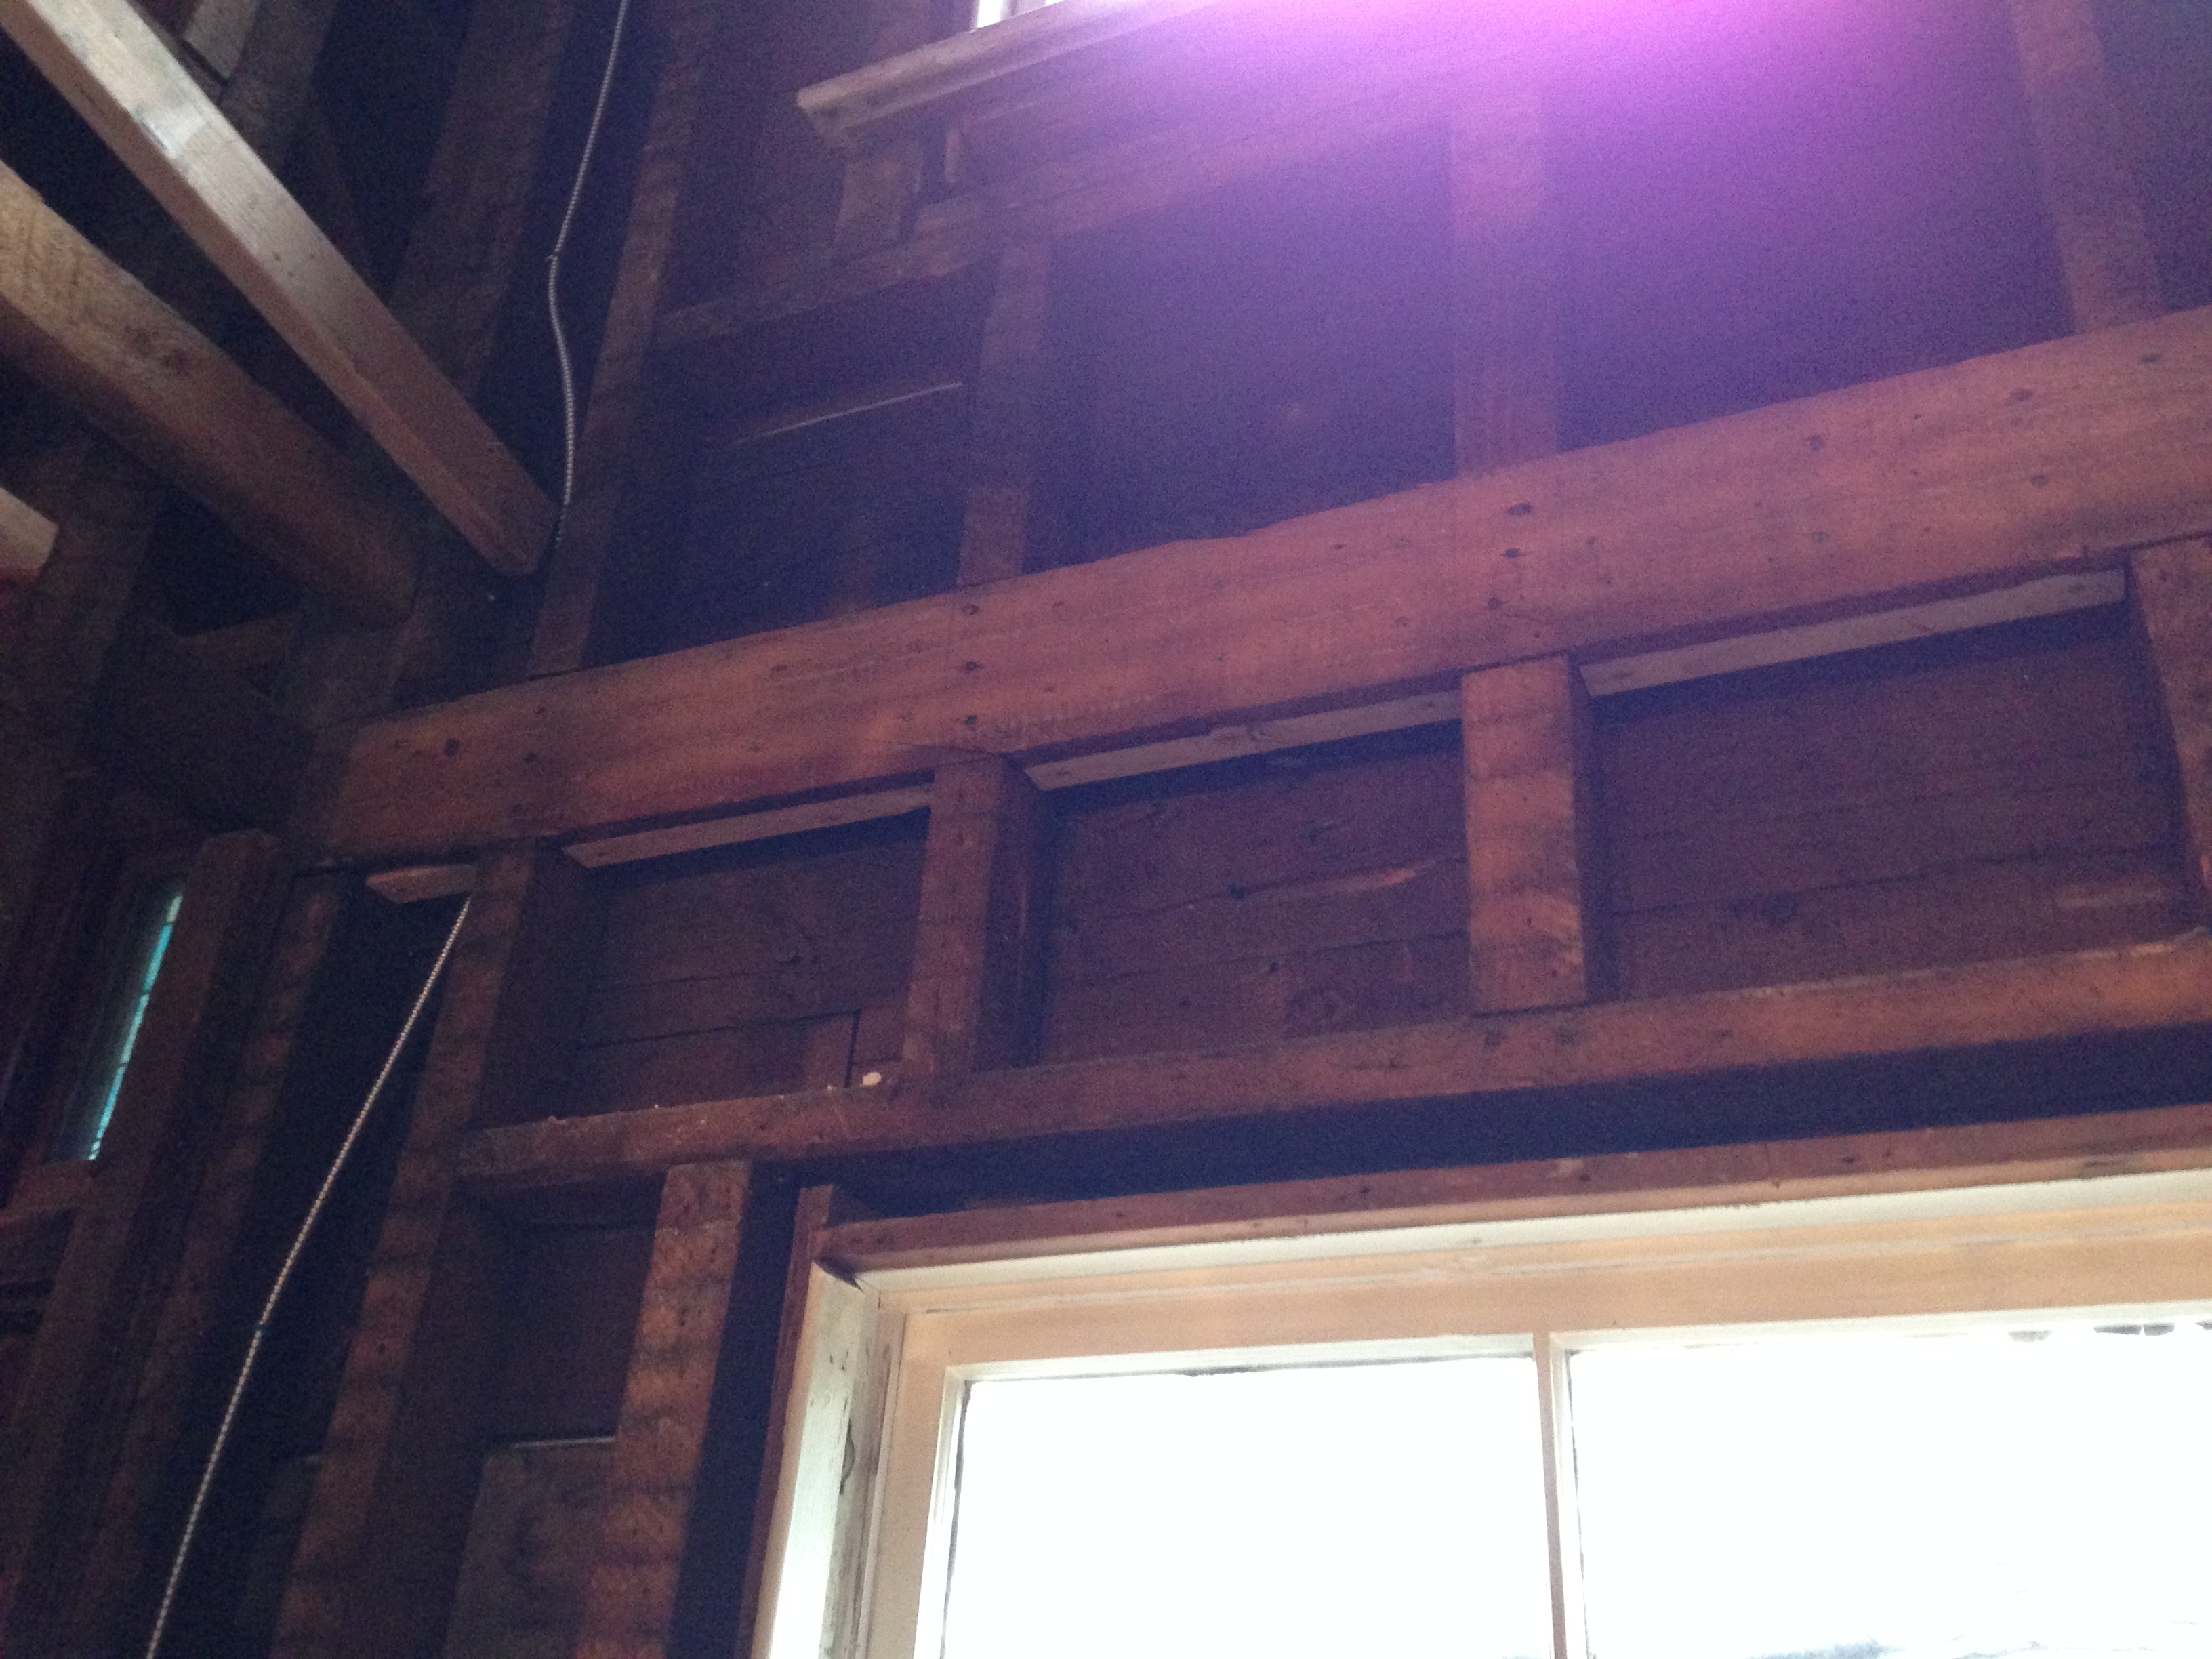
And what the joists looked like because of them:
I love that when they did the extension they just took an axe to the old wall. PROGRESS THROUGH VIOLENCE!
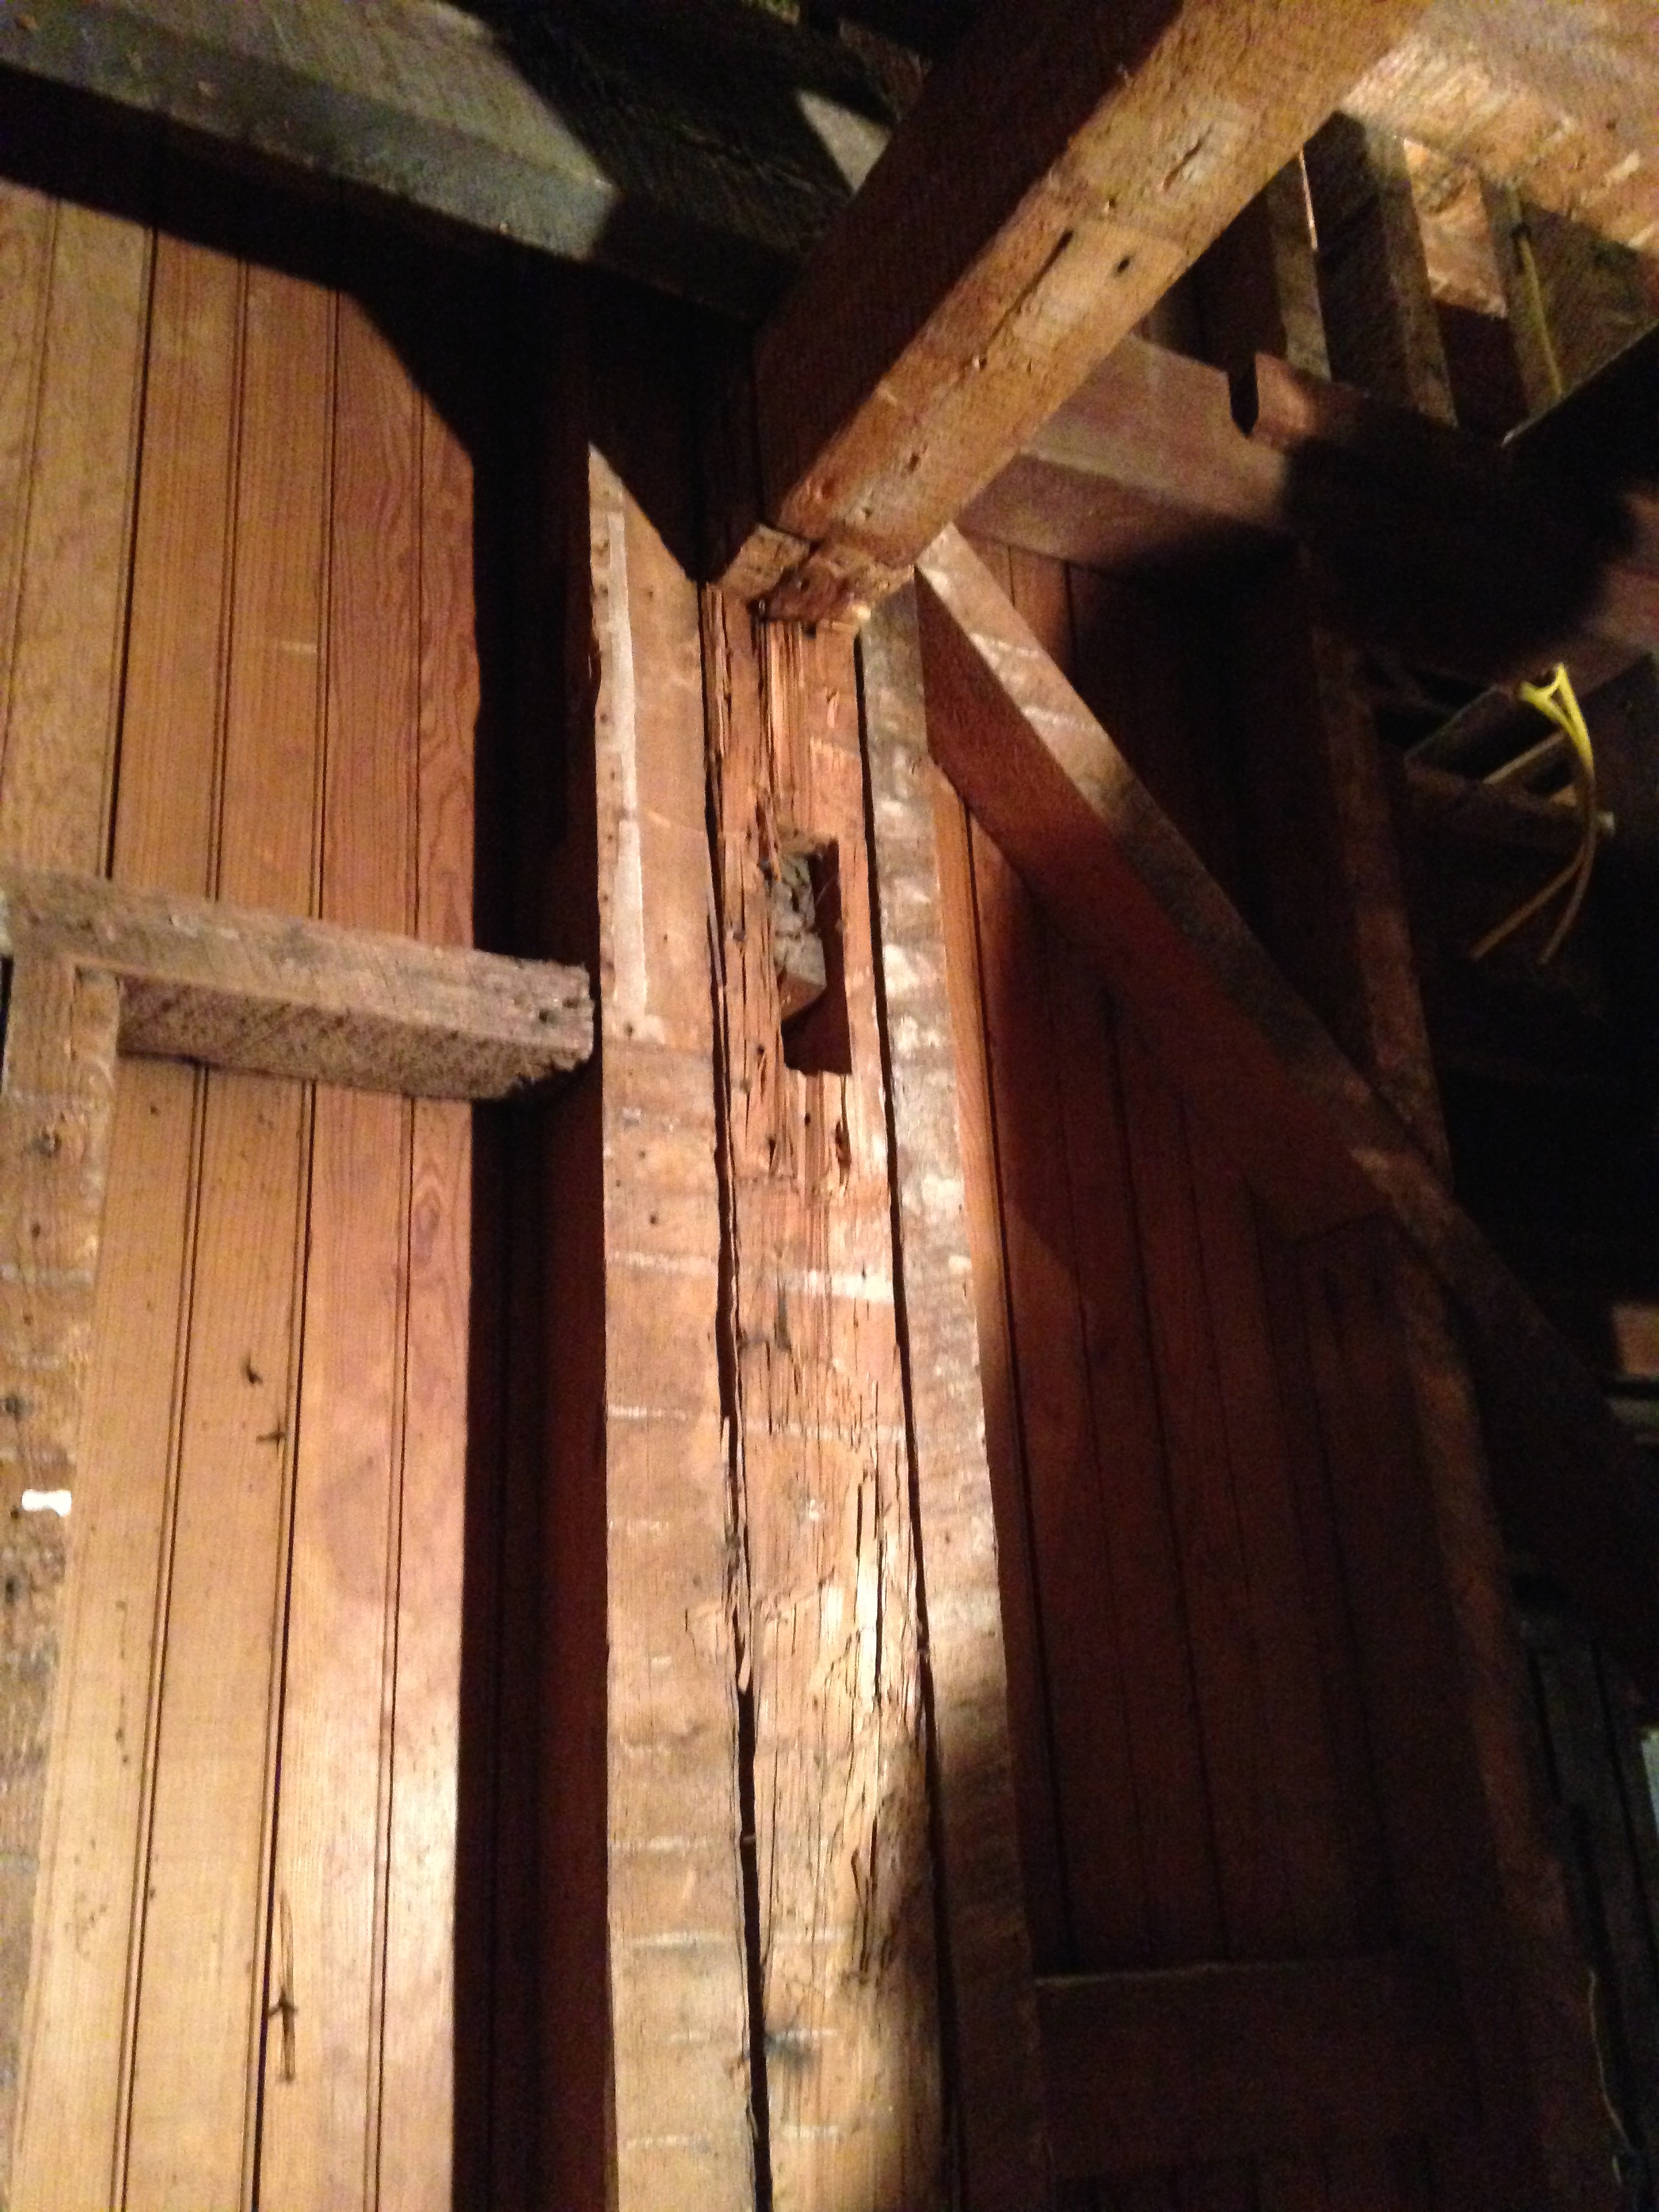
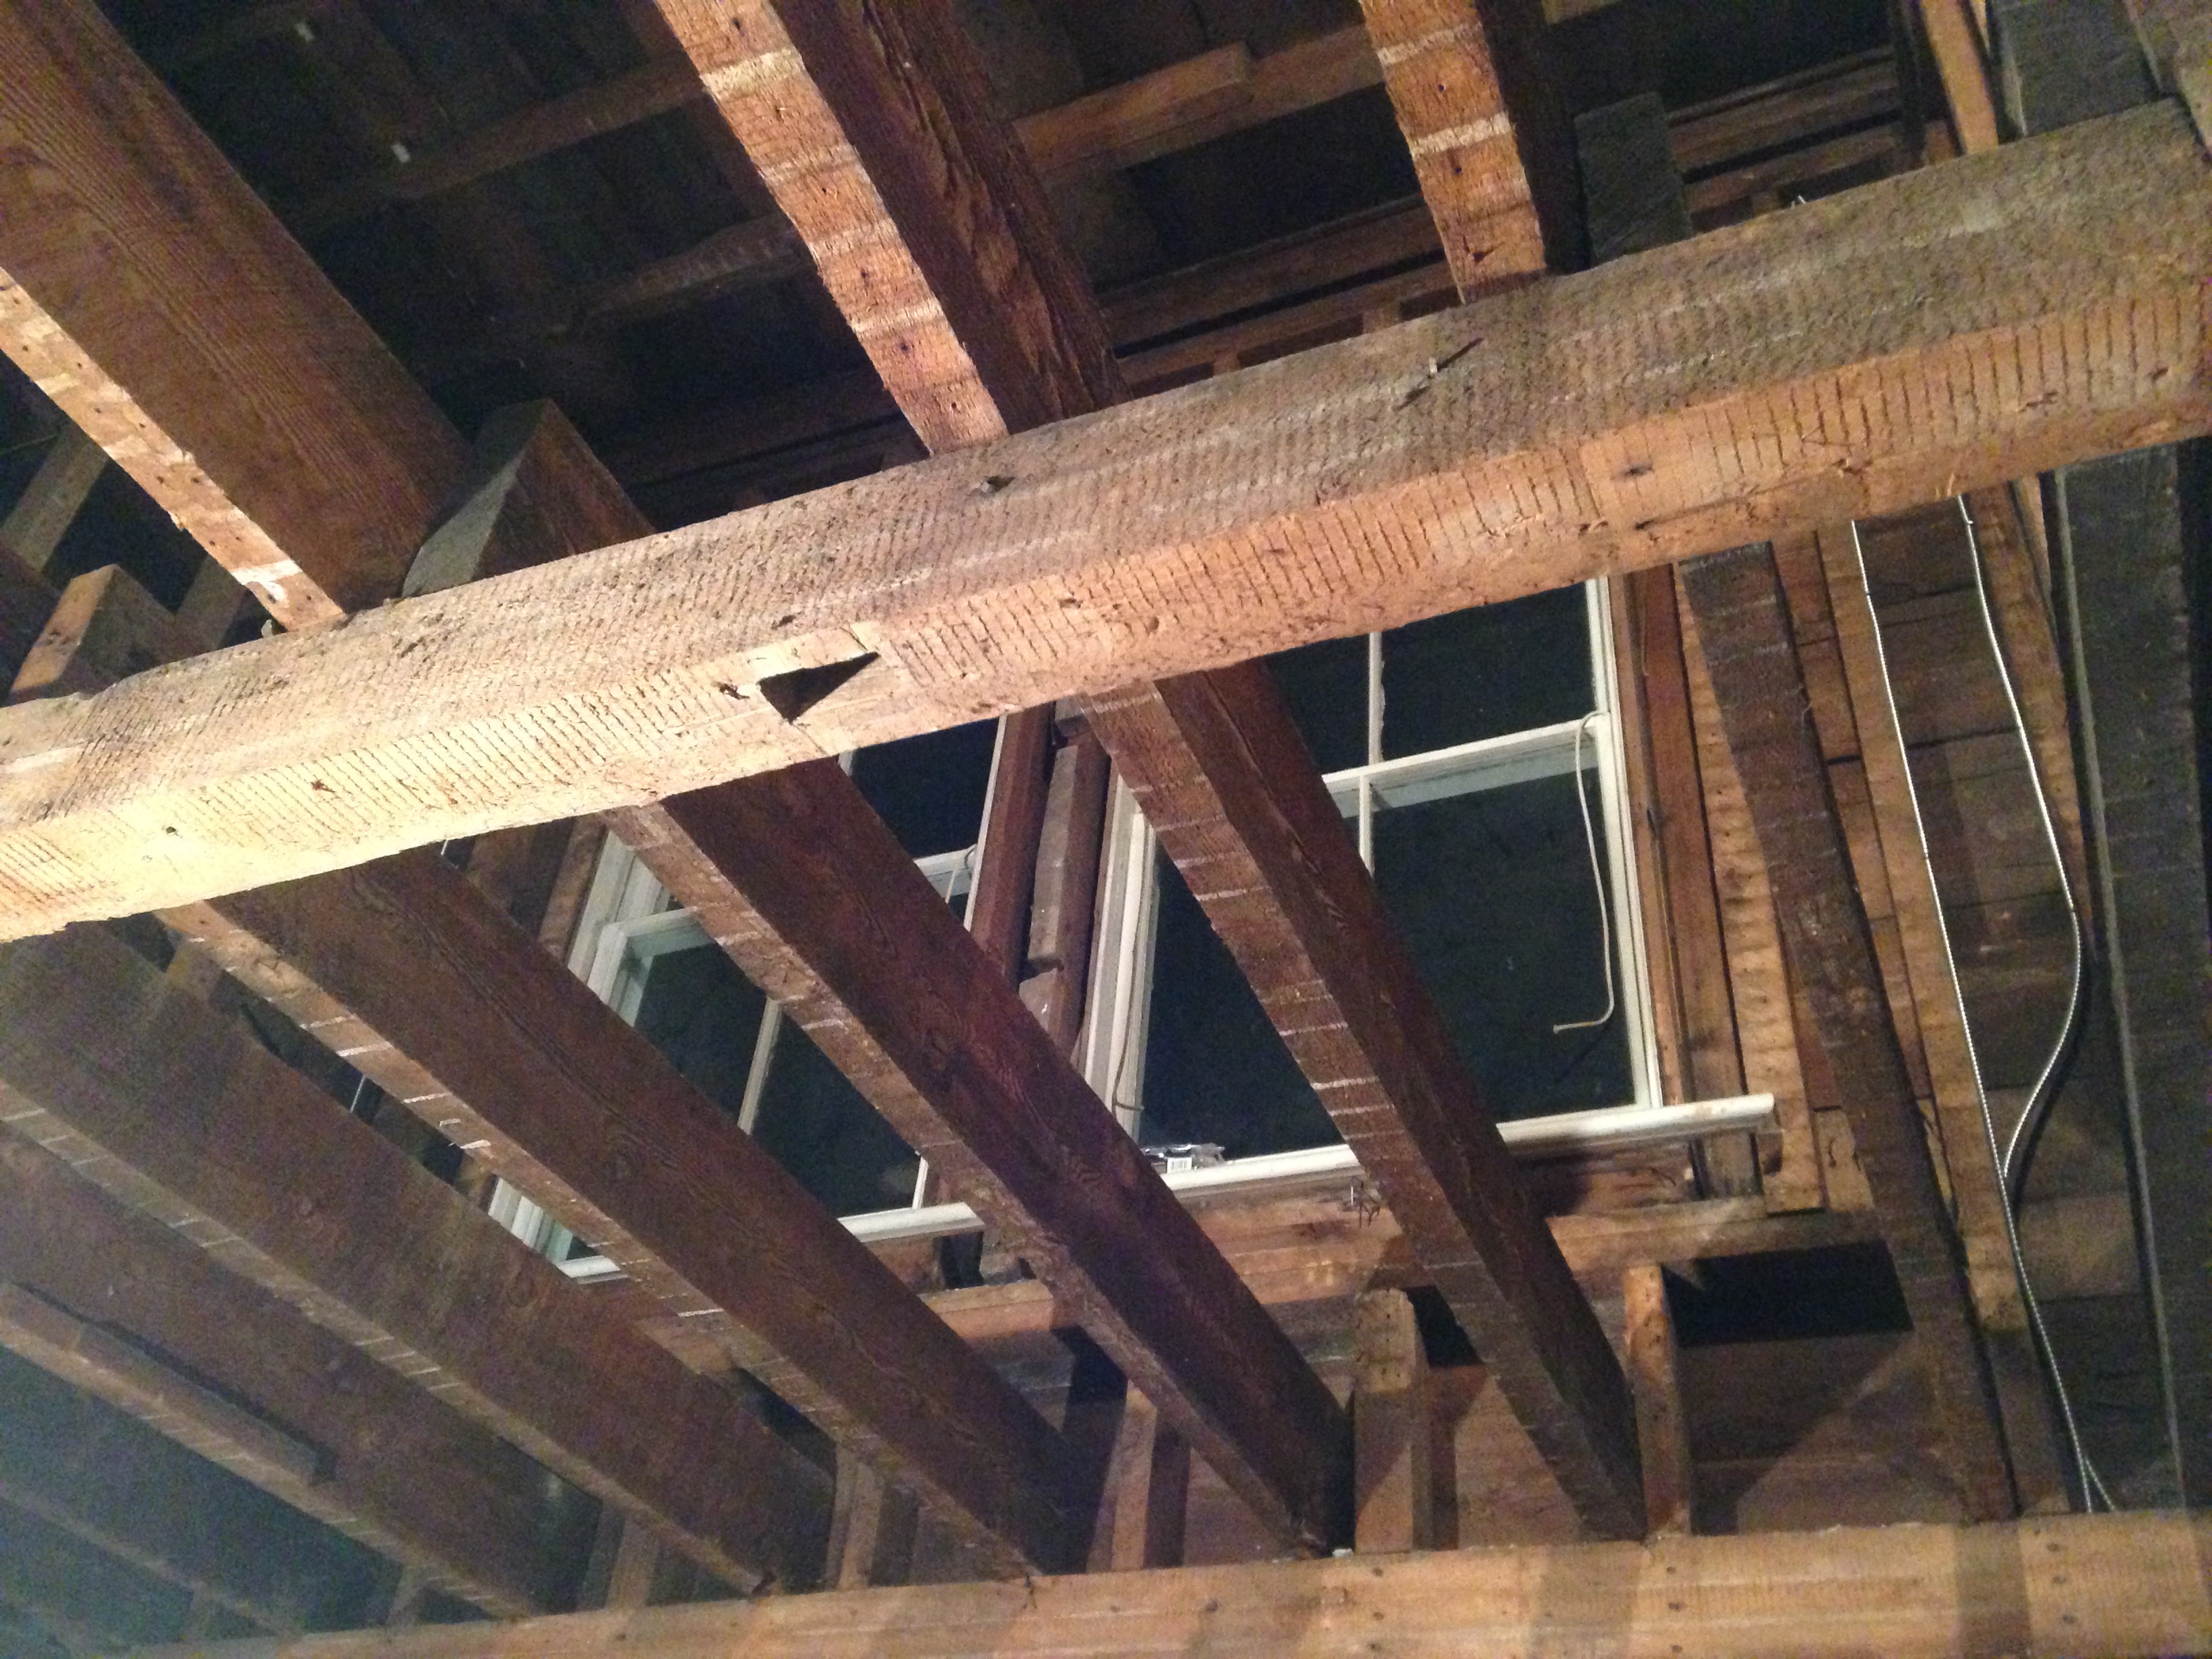
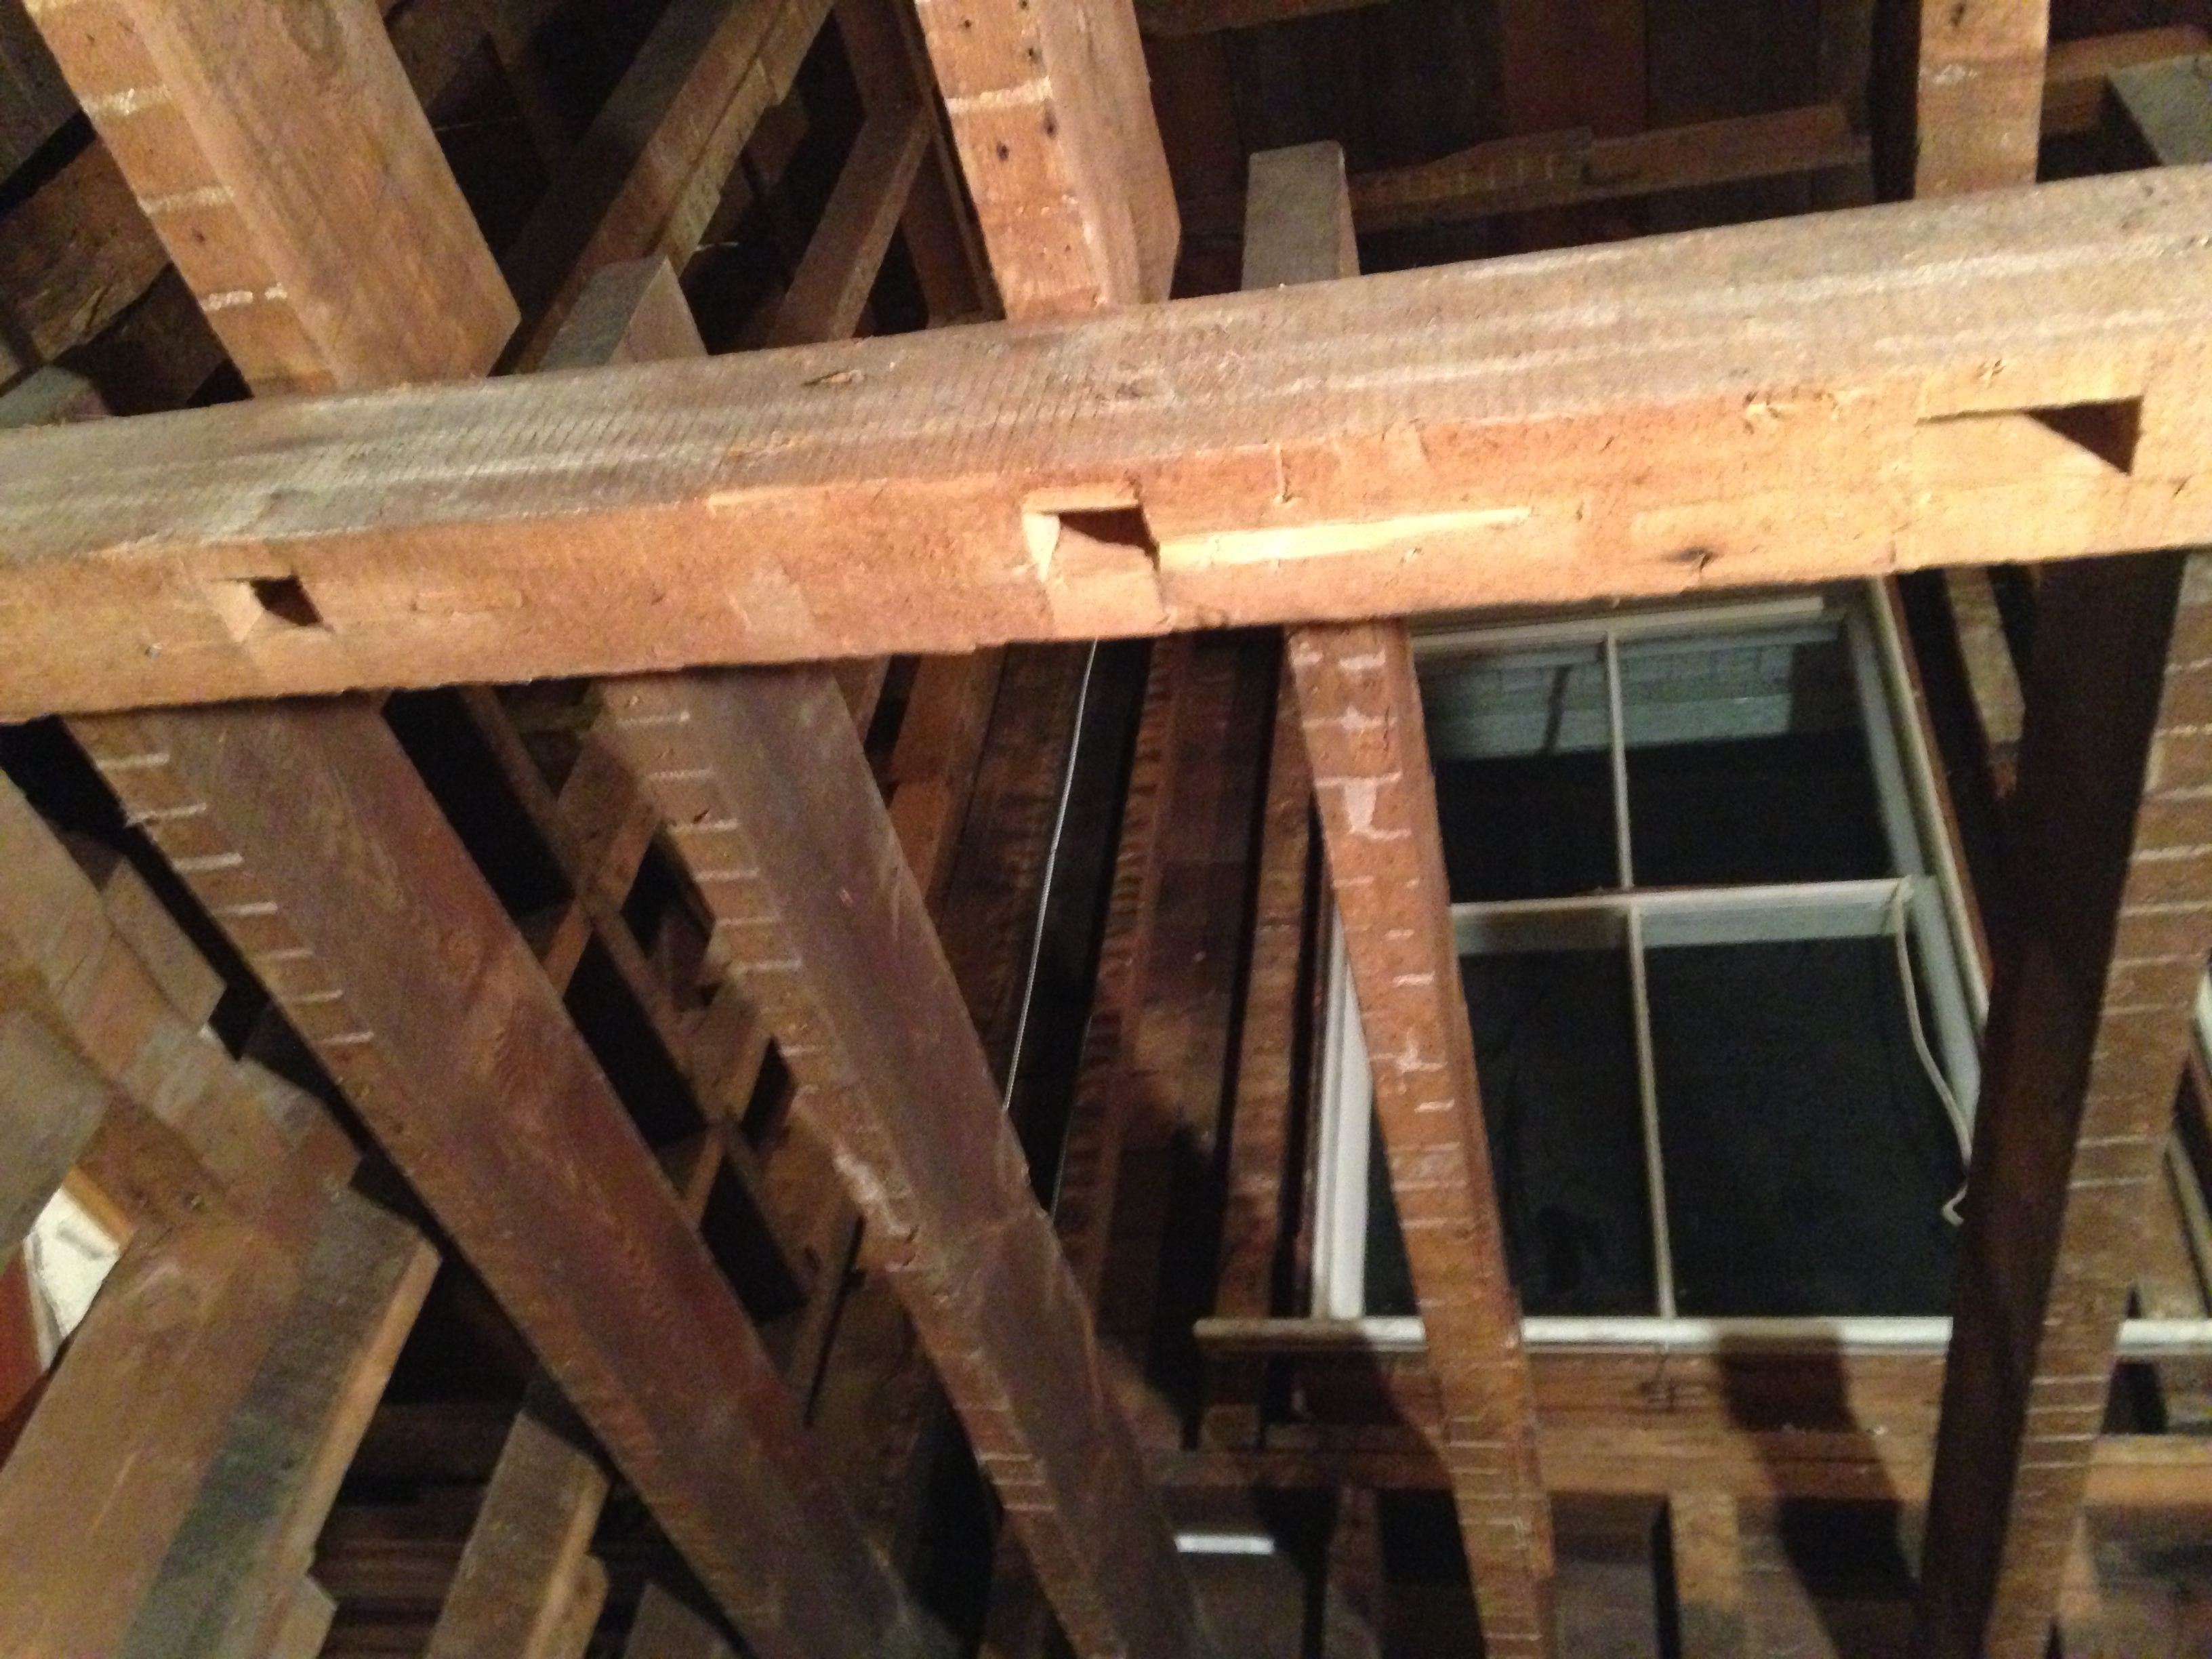
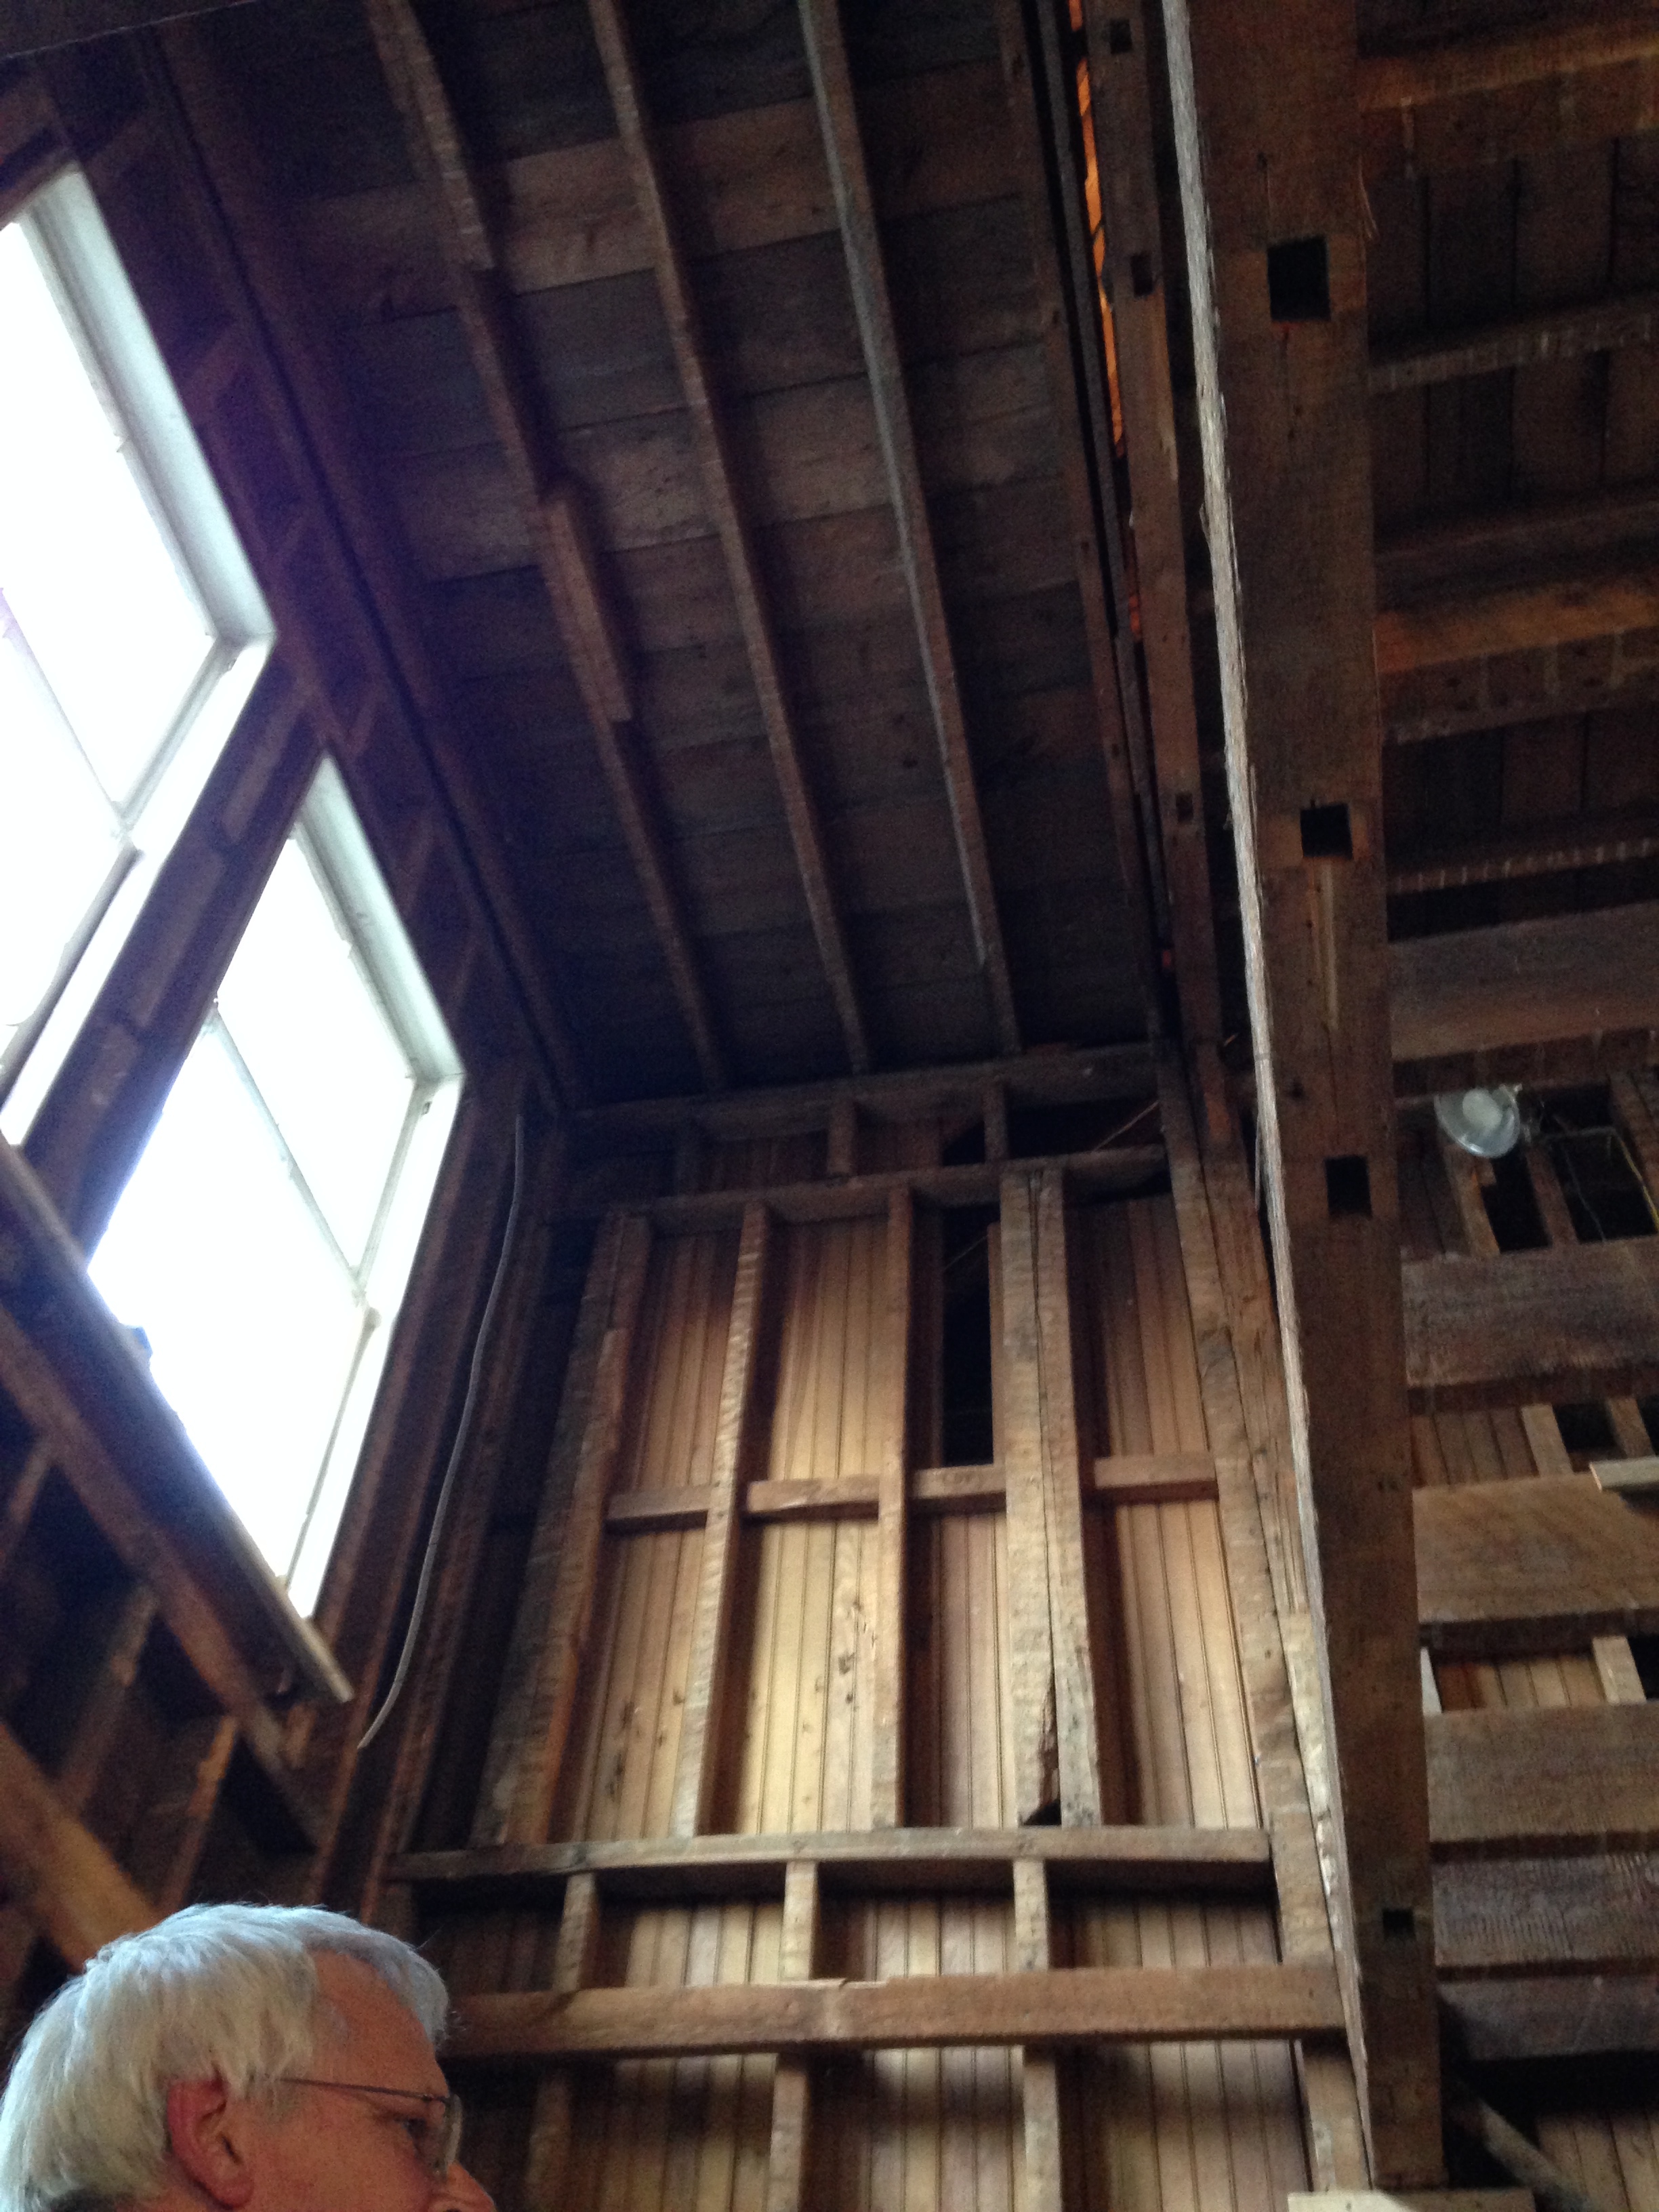
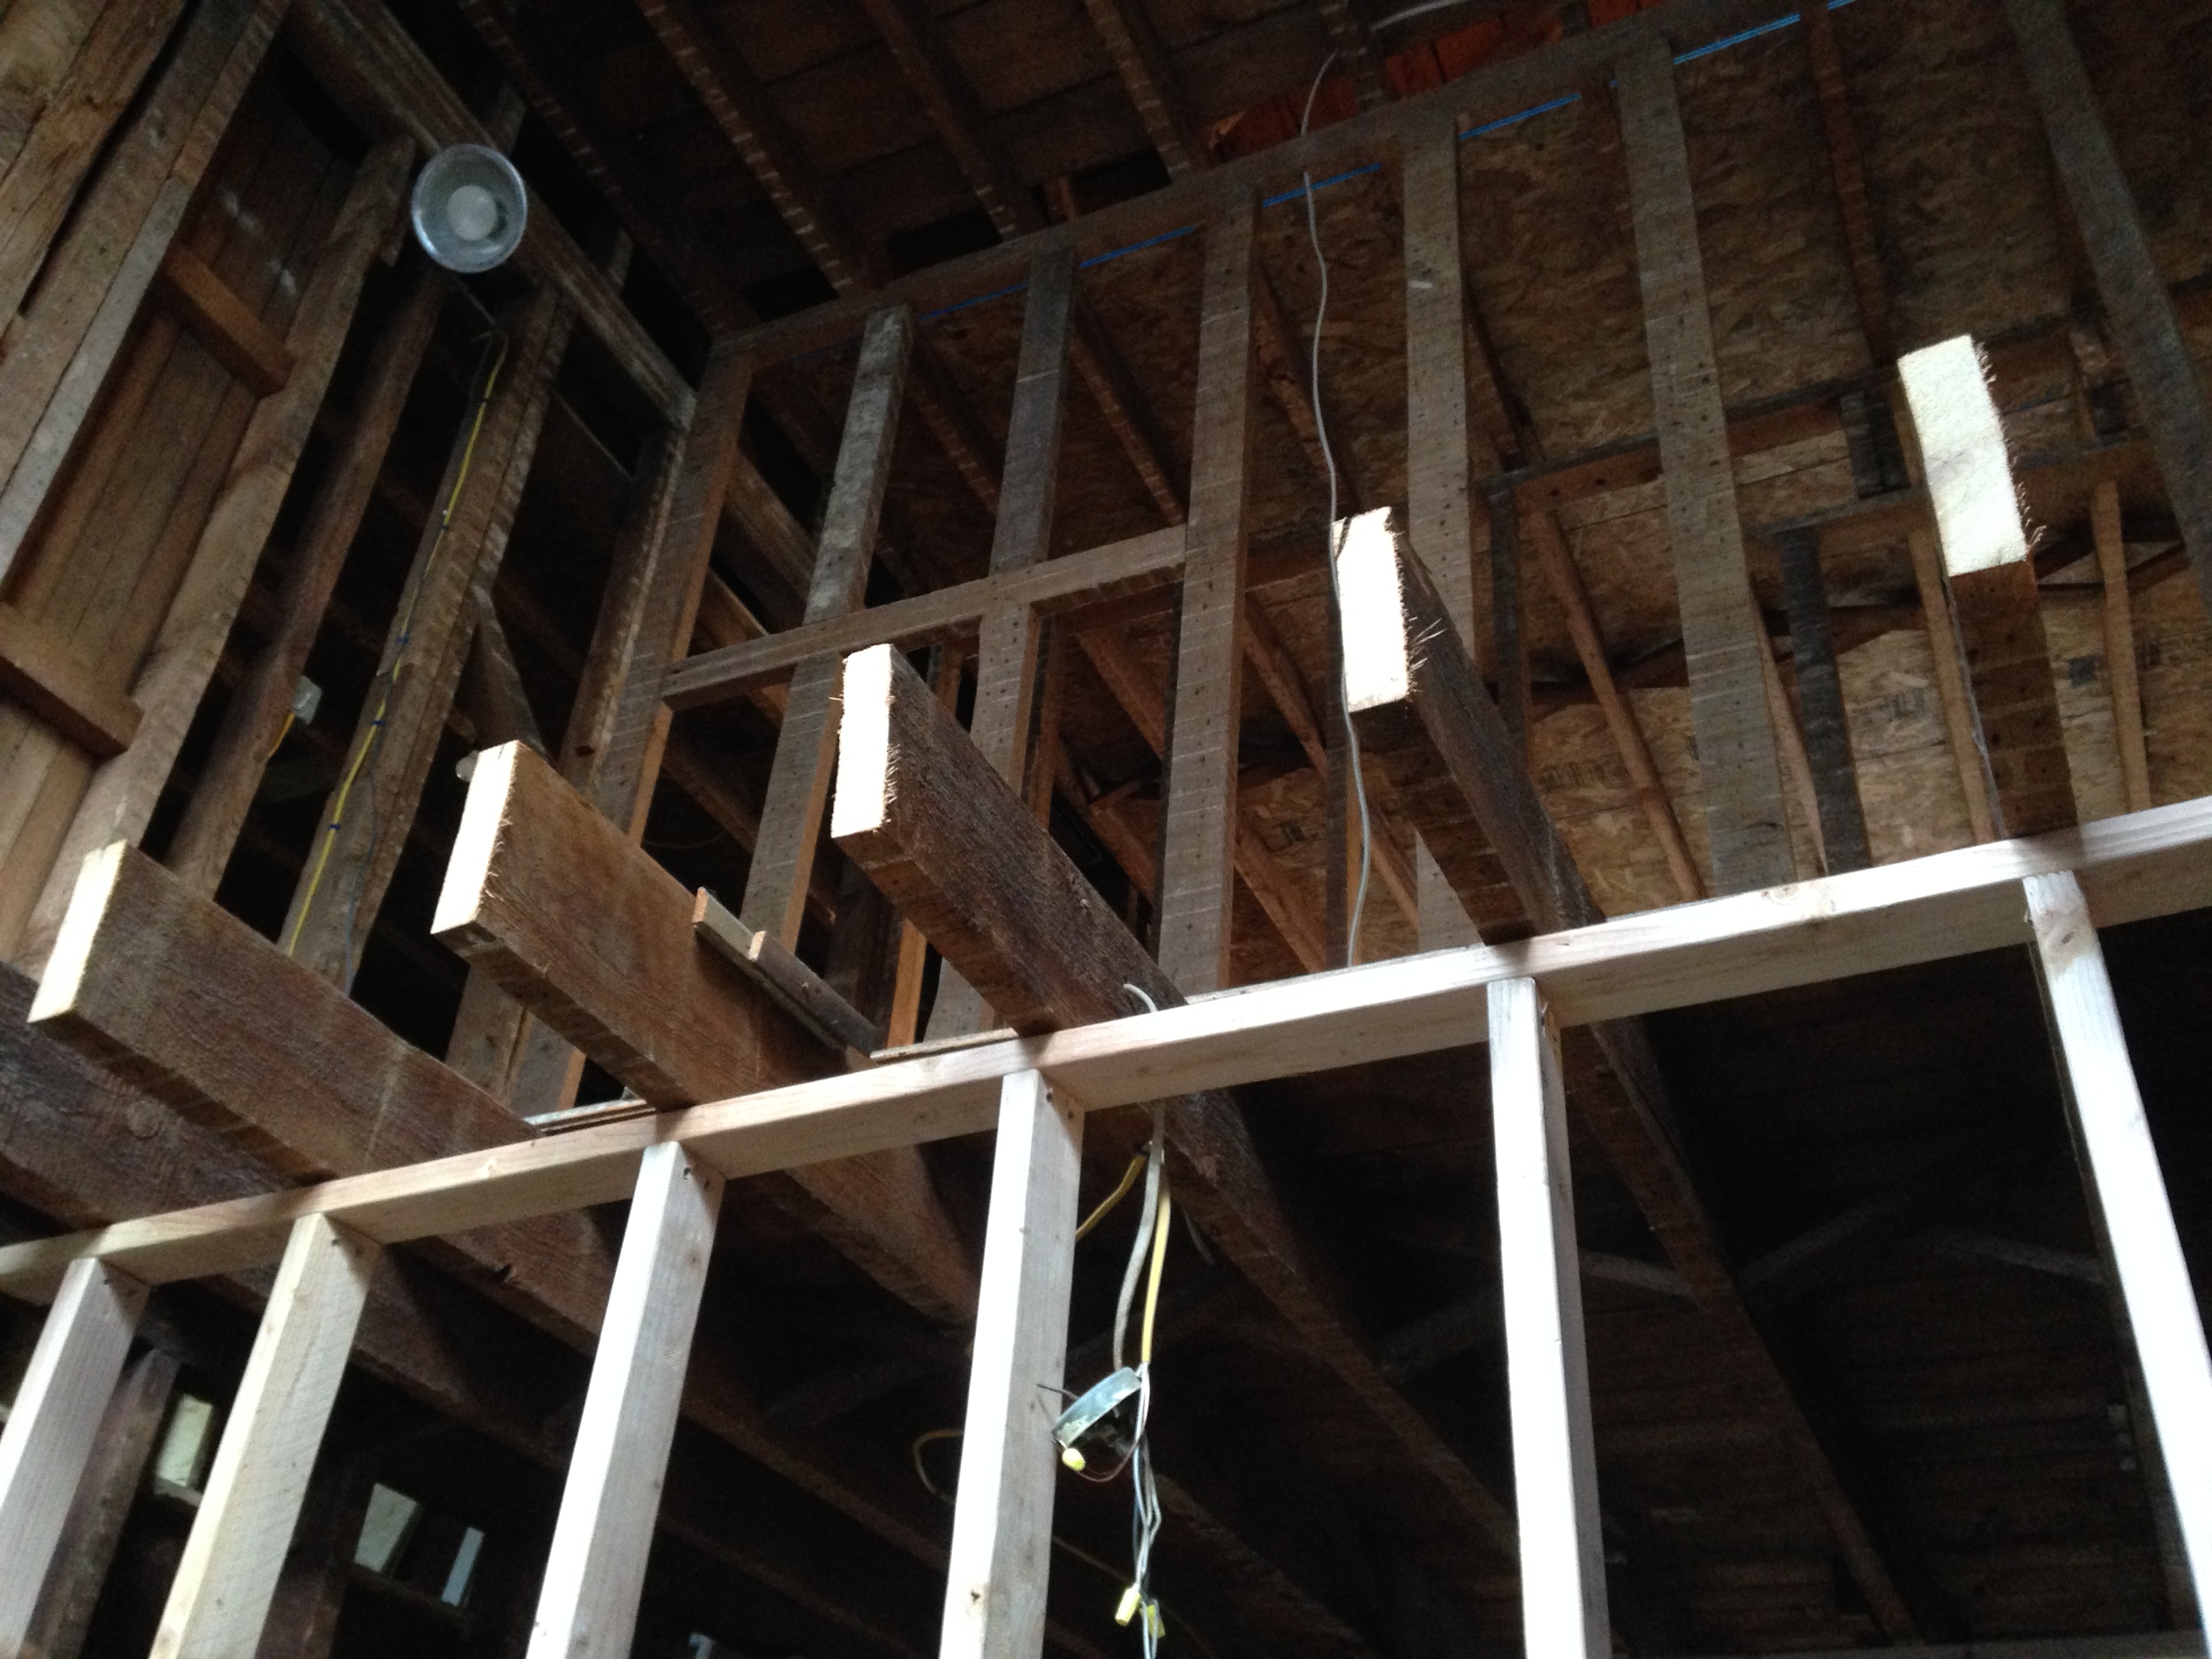
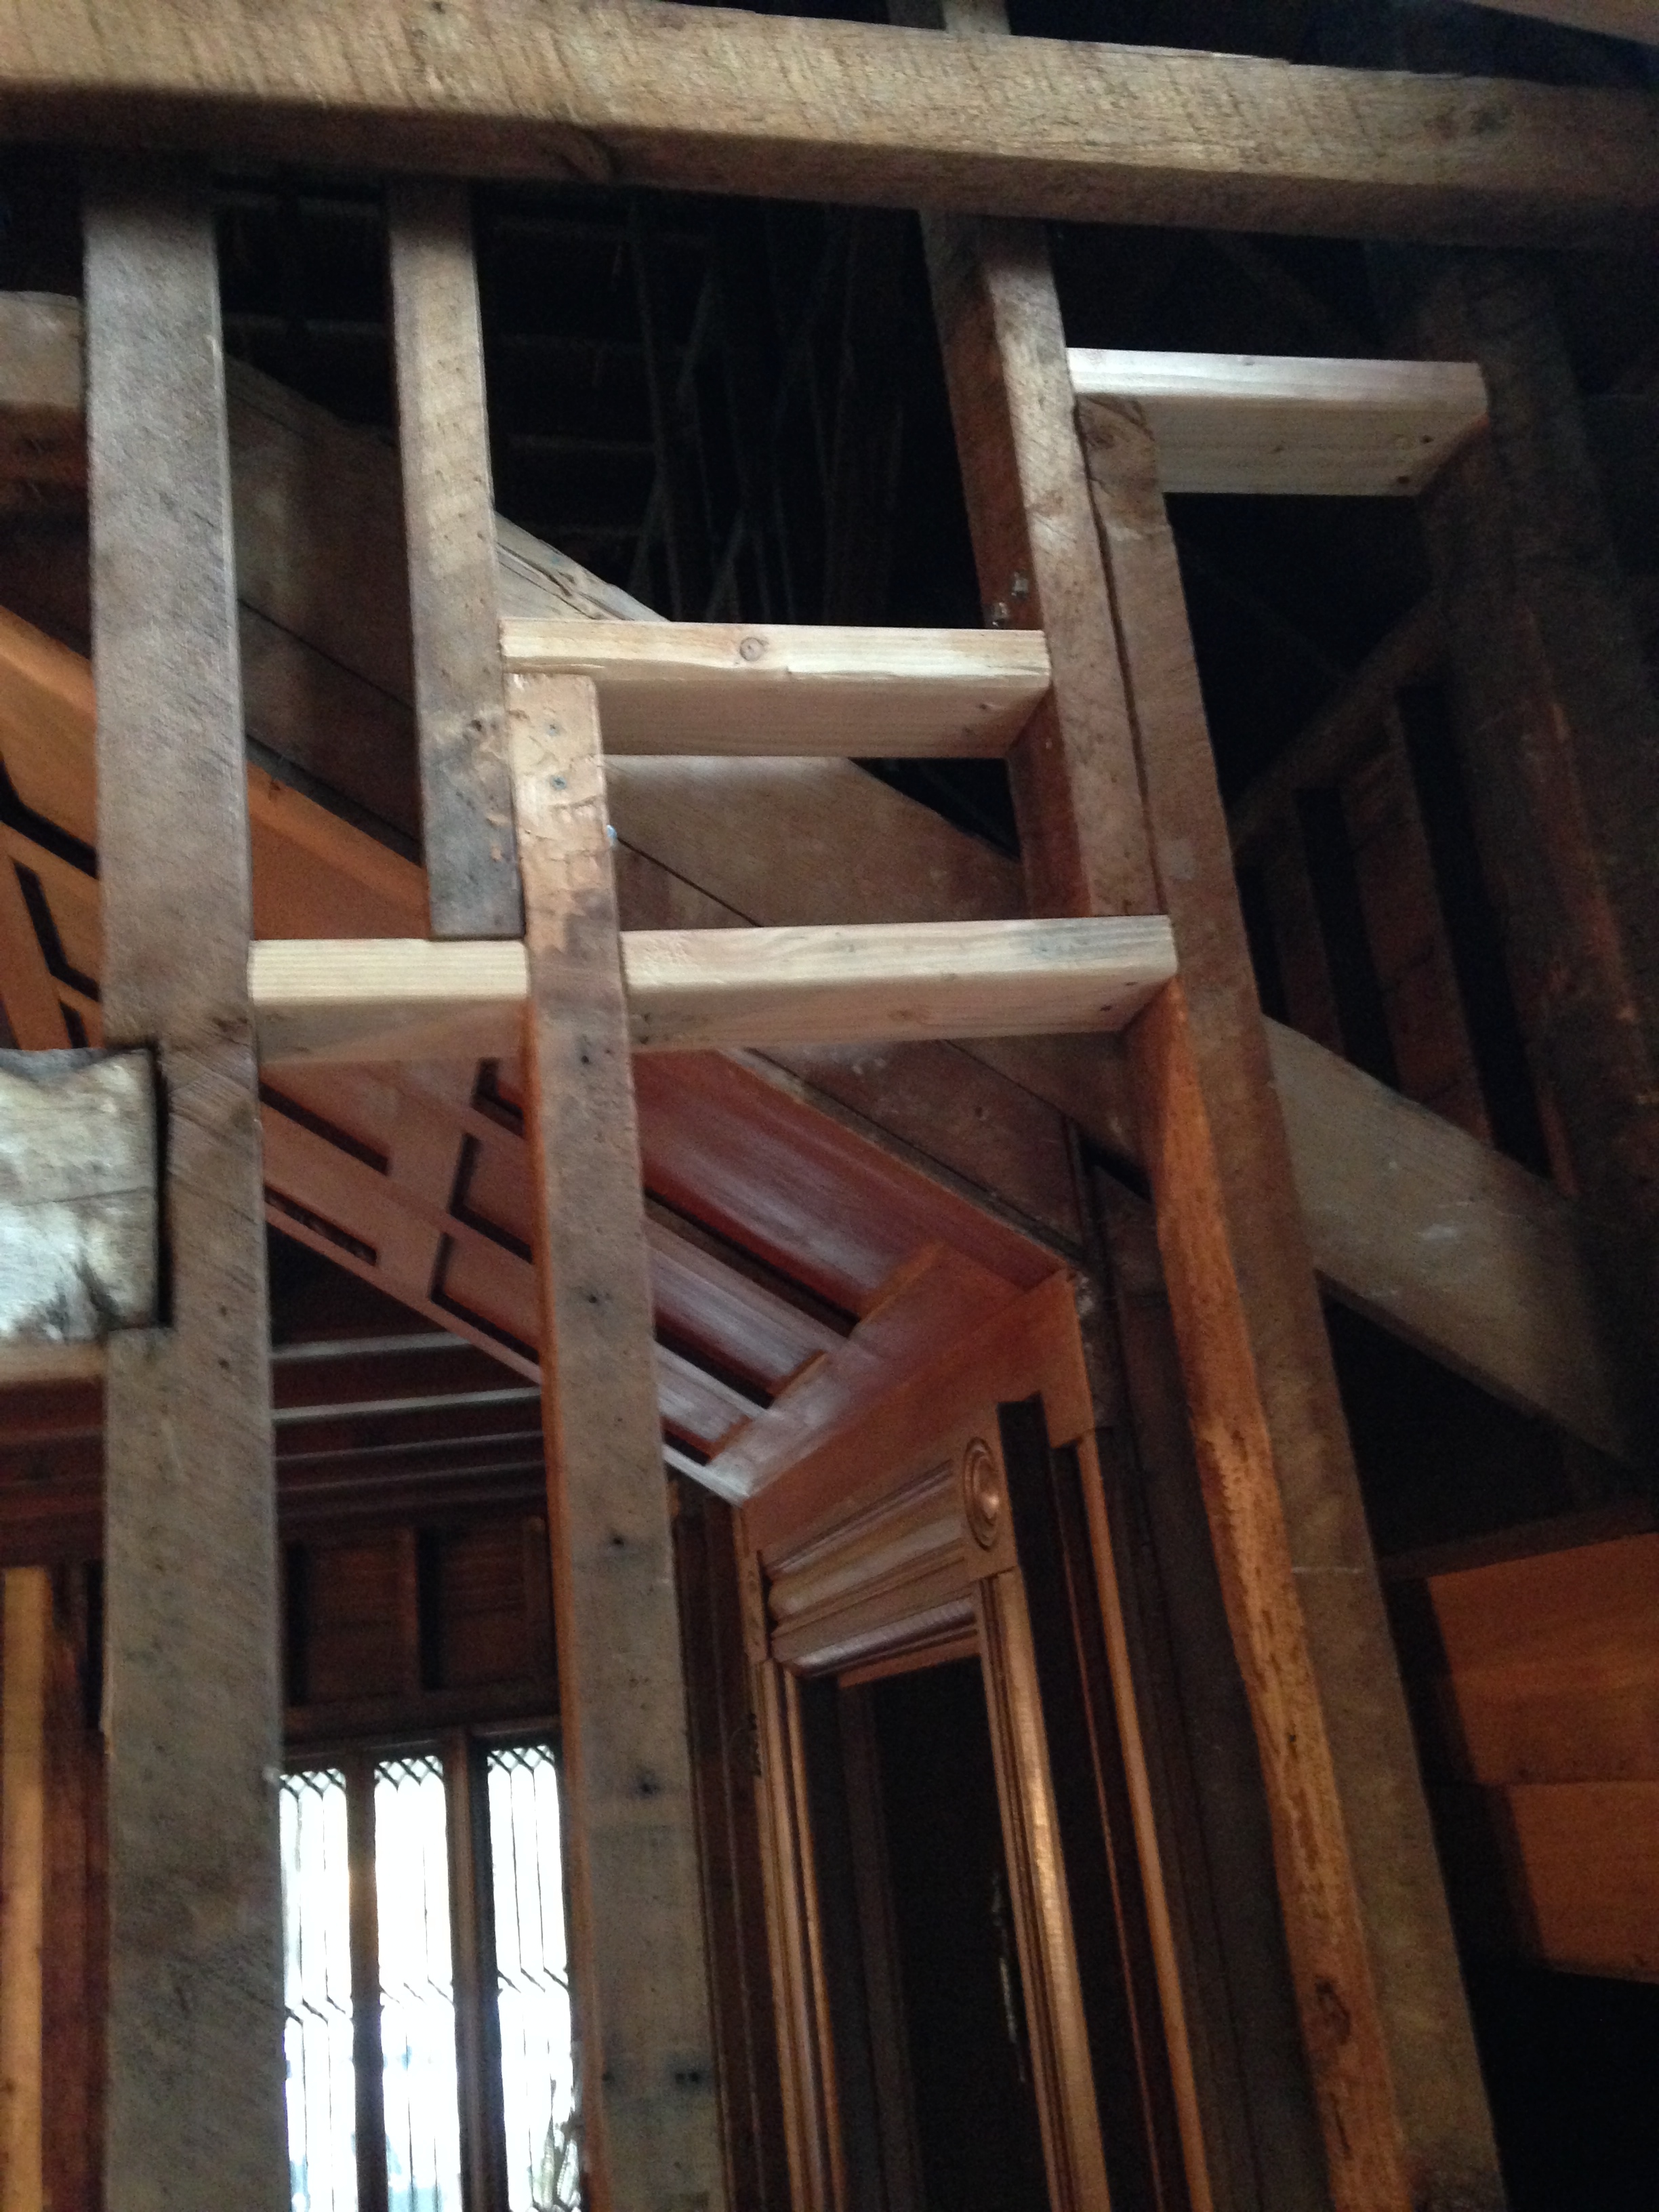
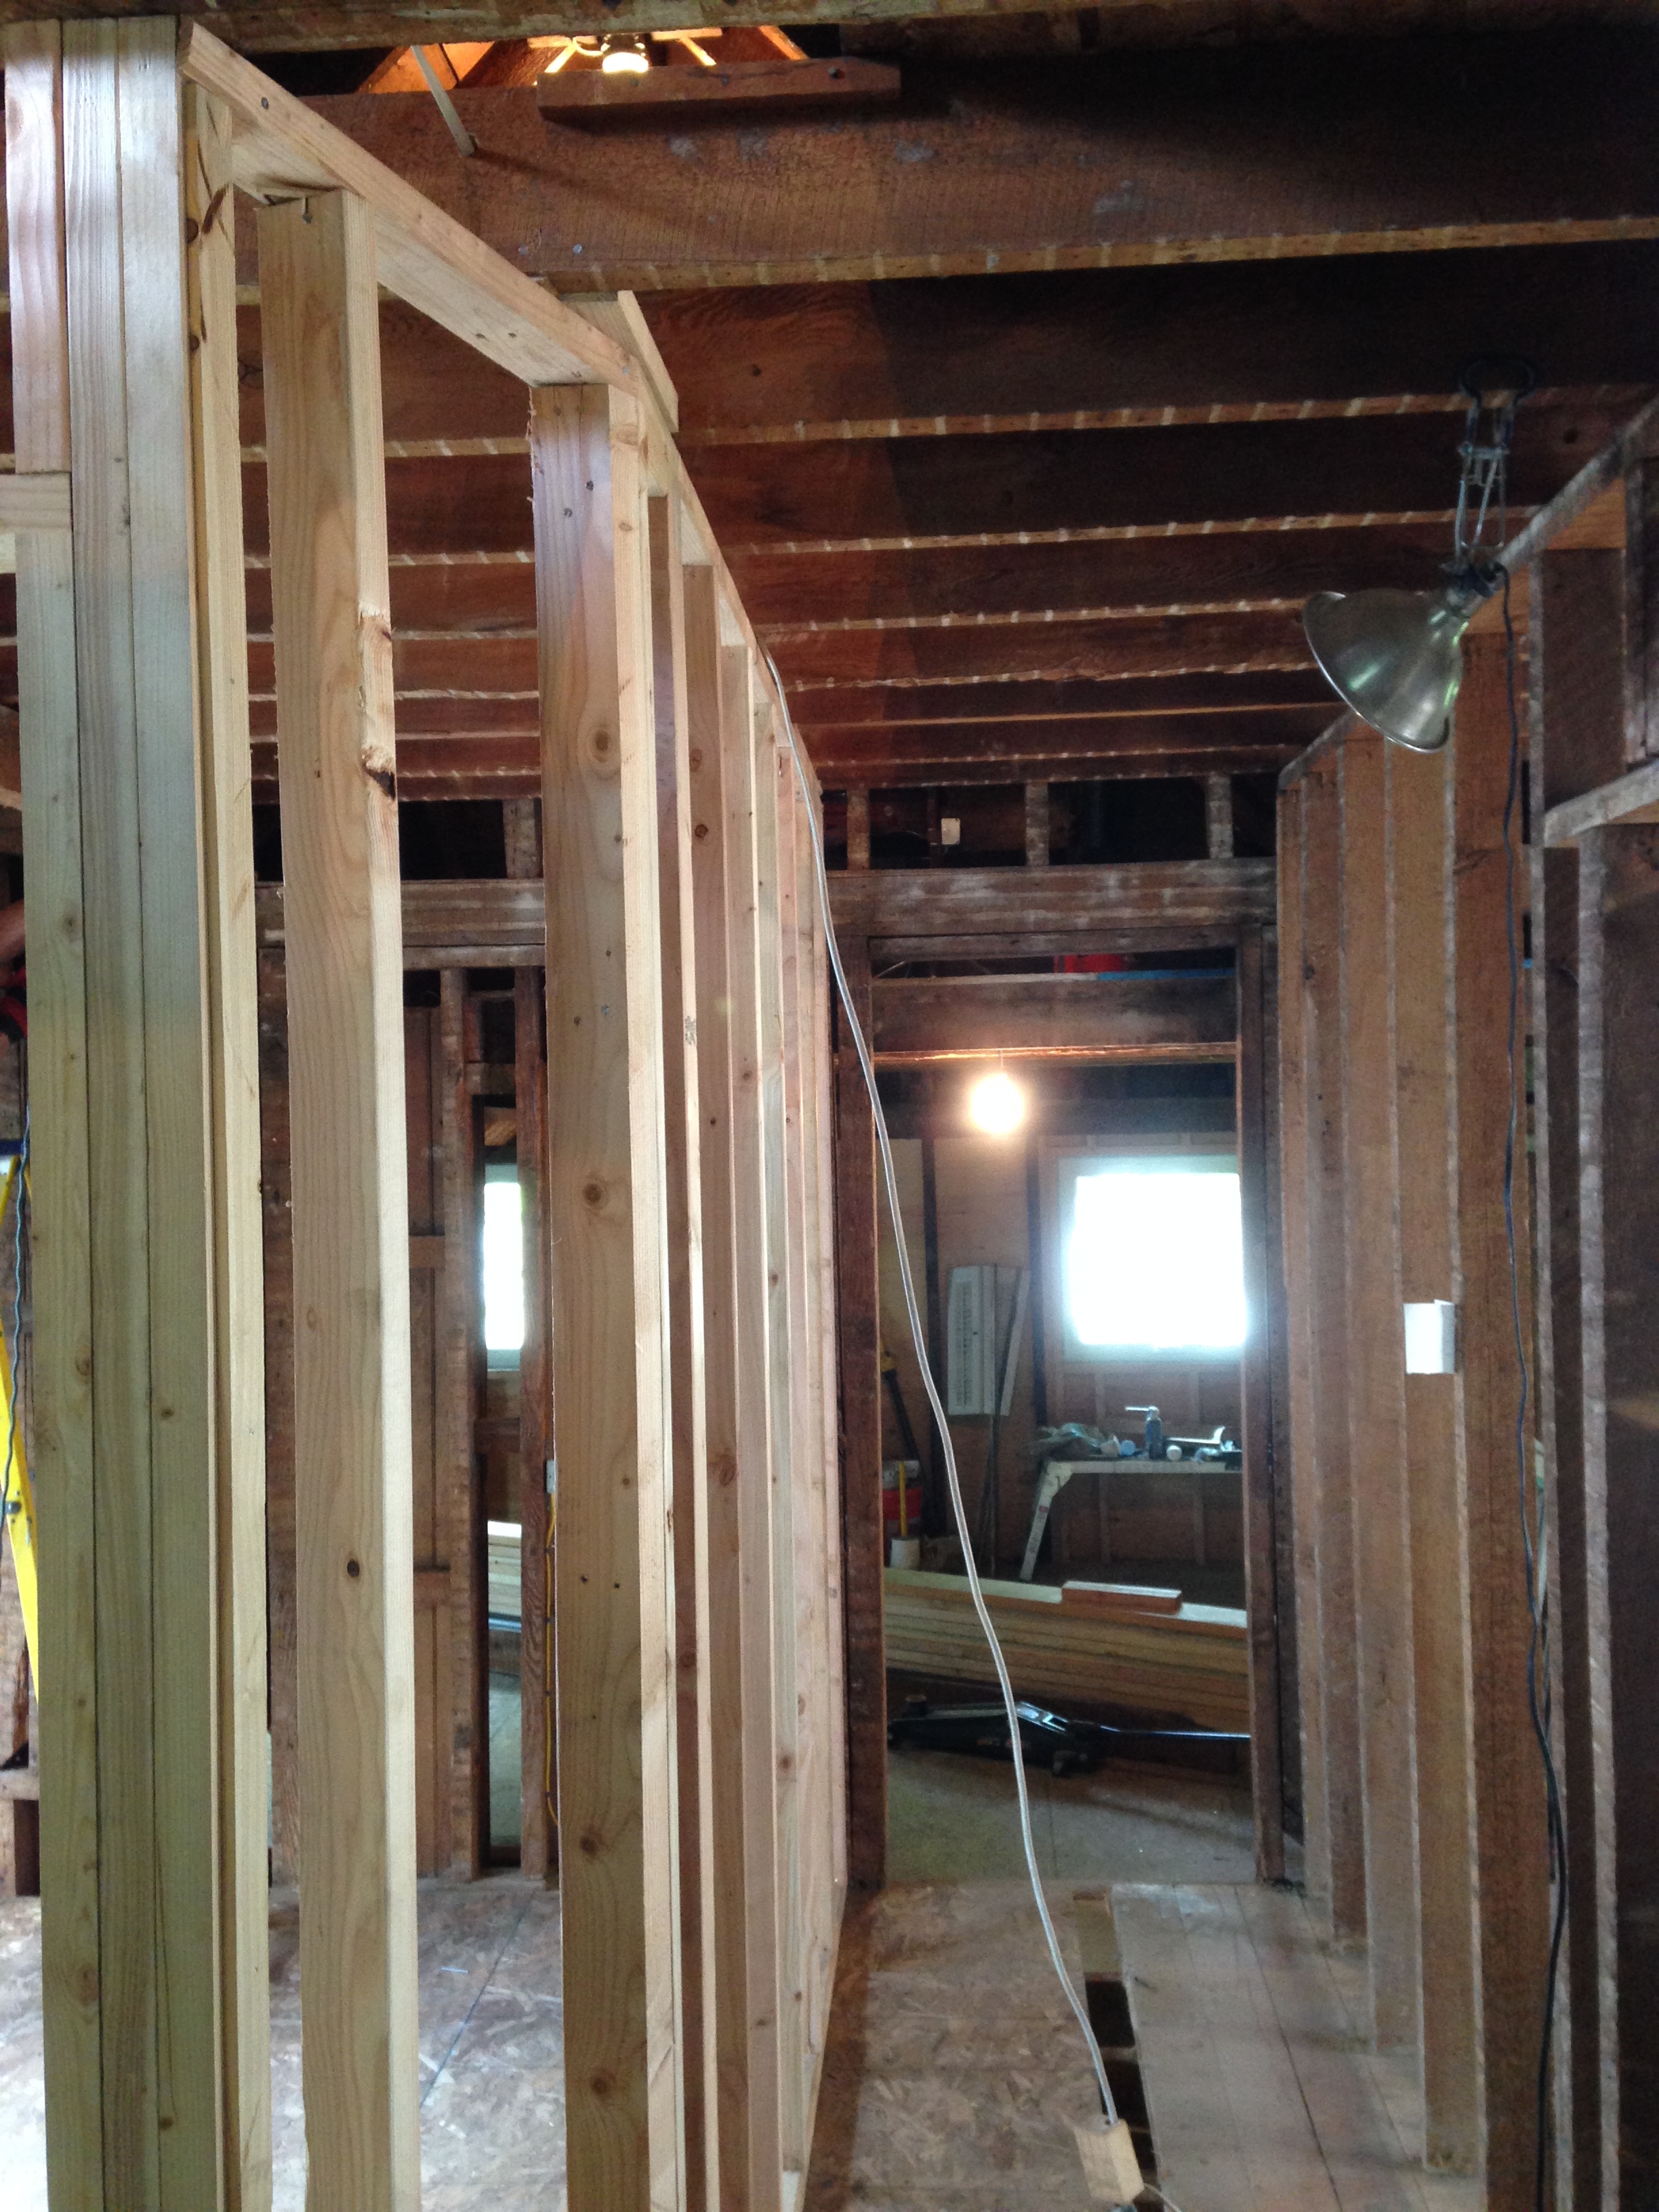
Some more views of it all

So we then built our temporary wall and got to work!
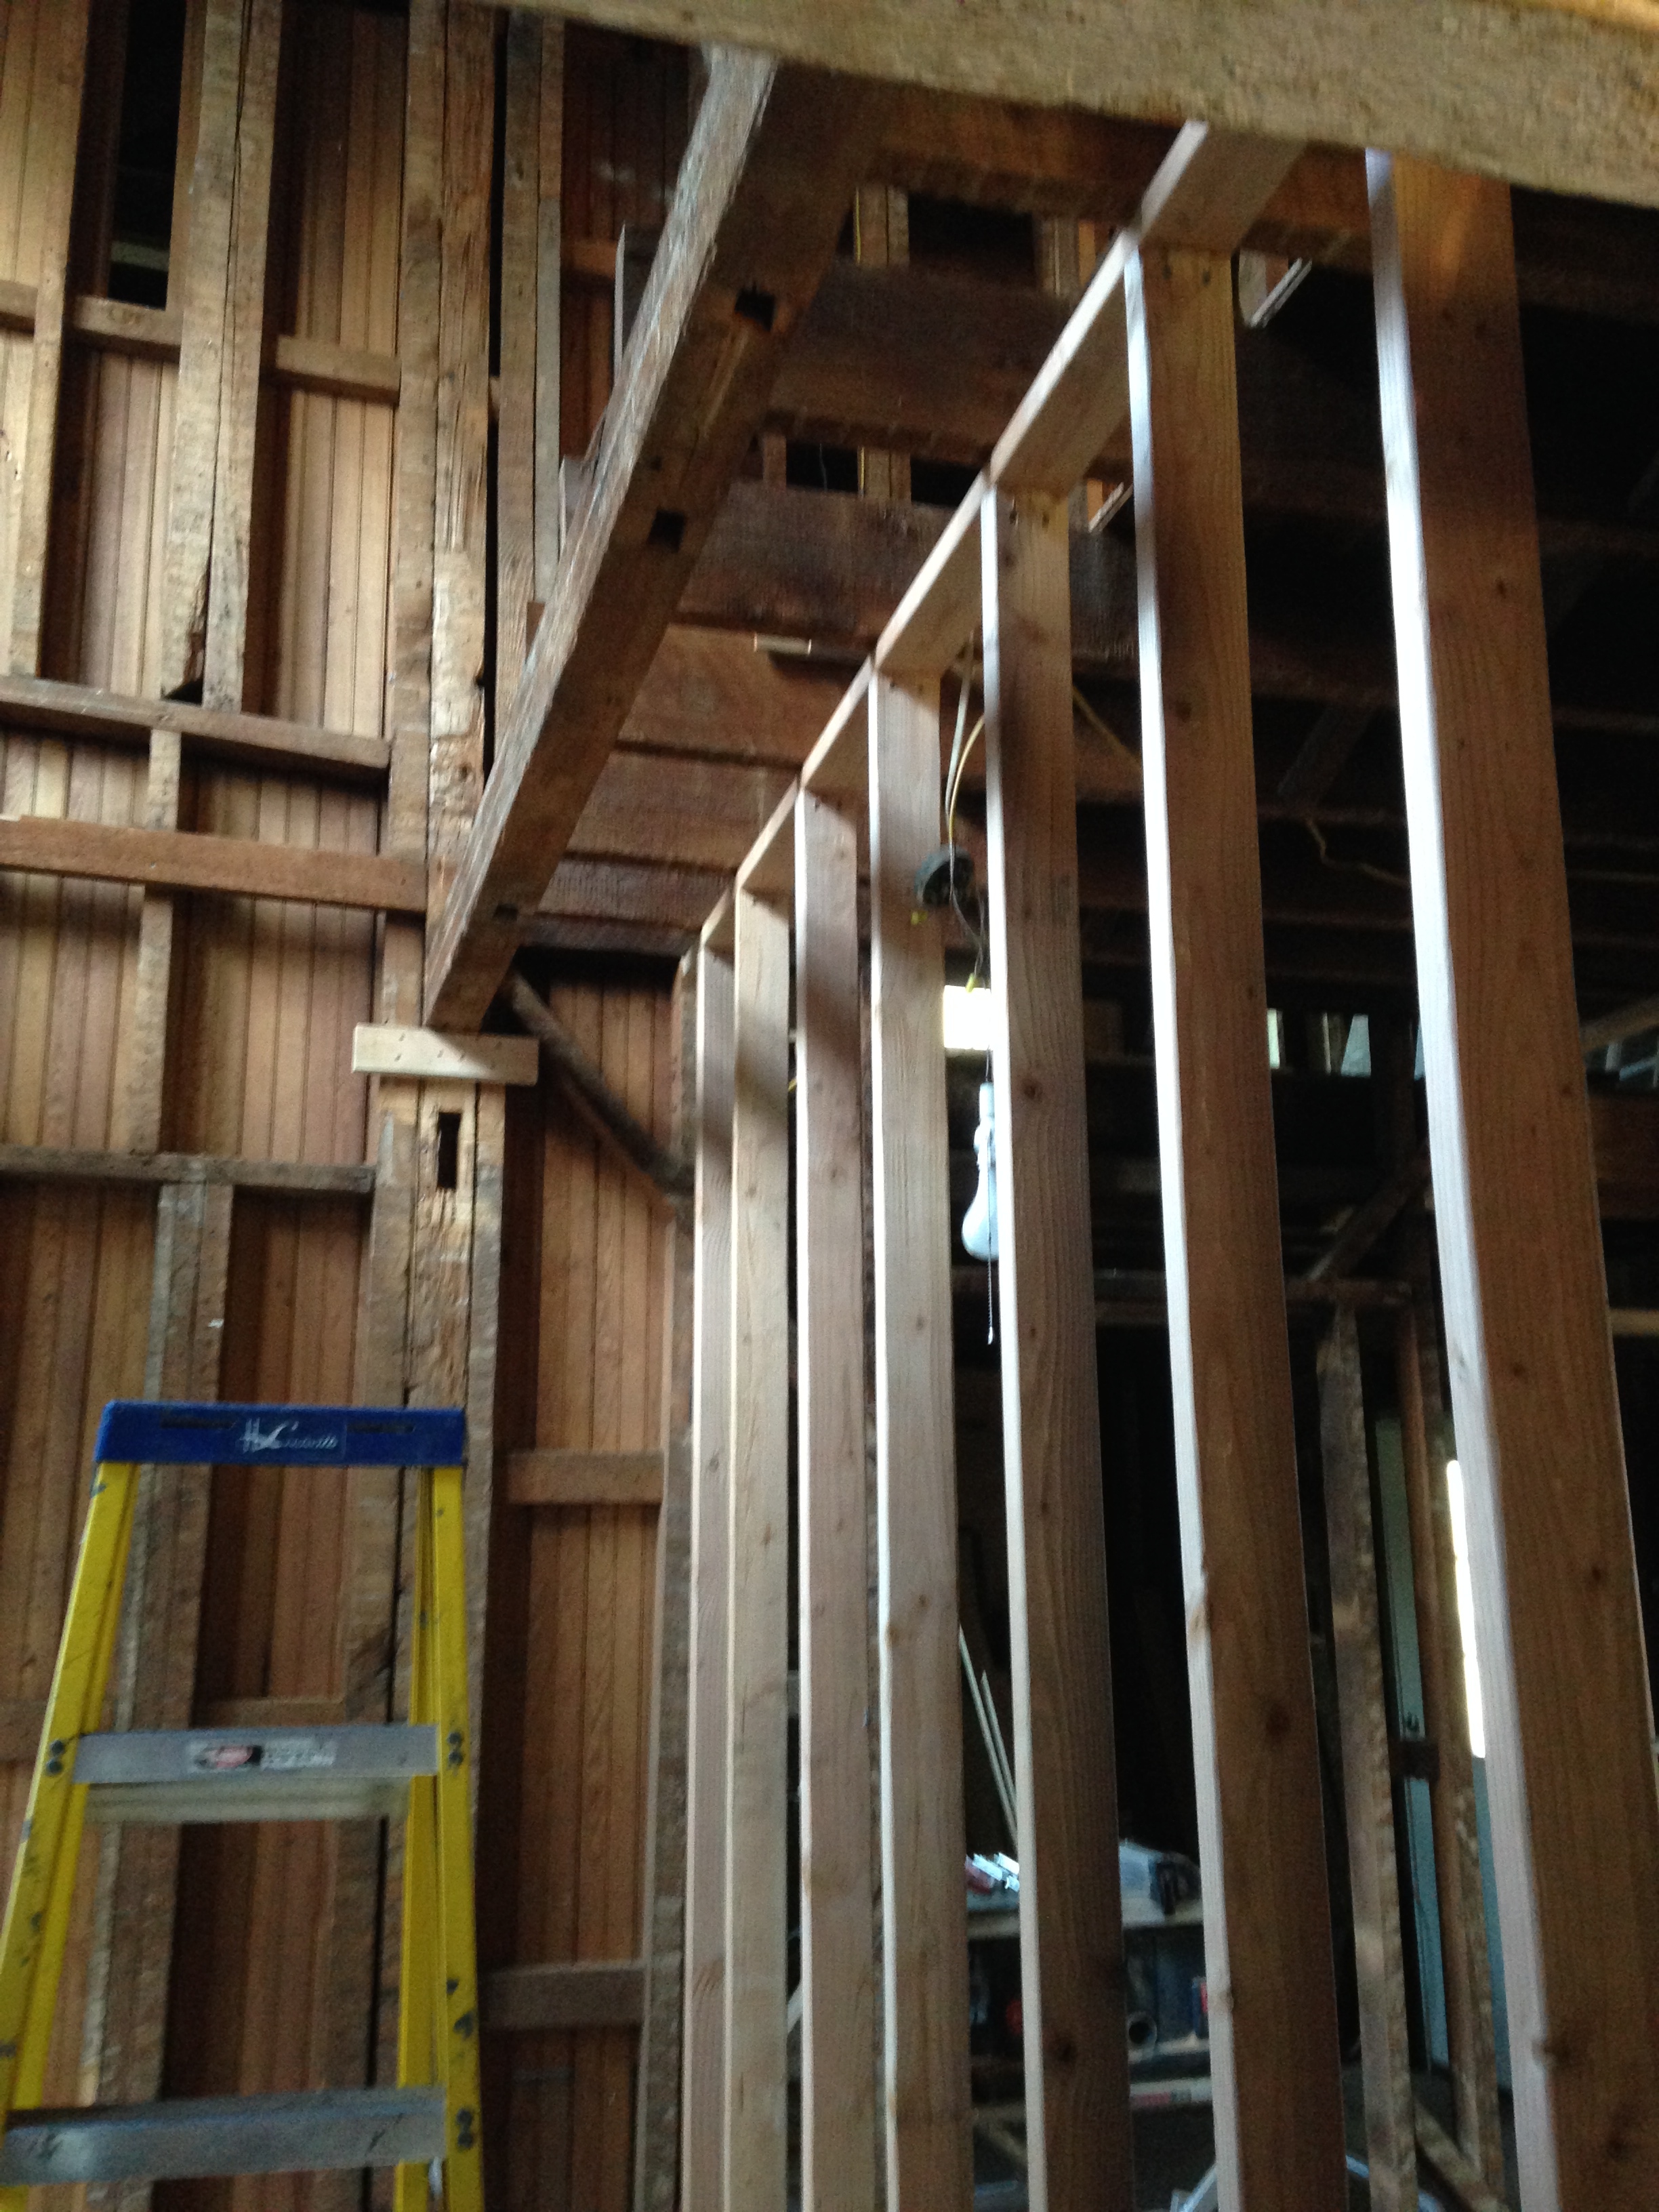
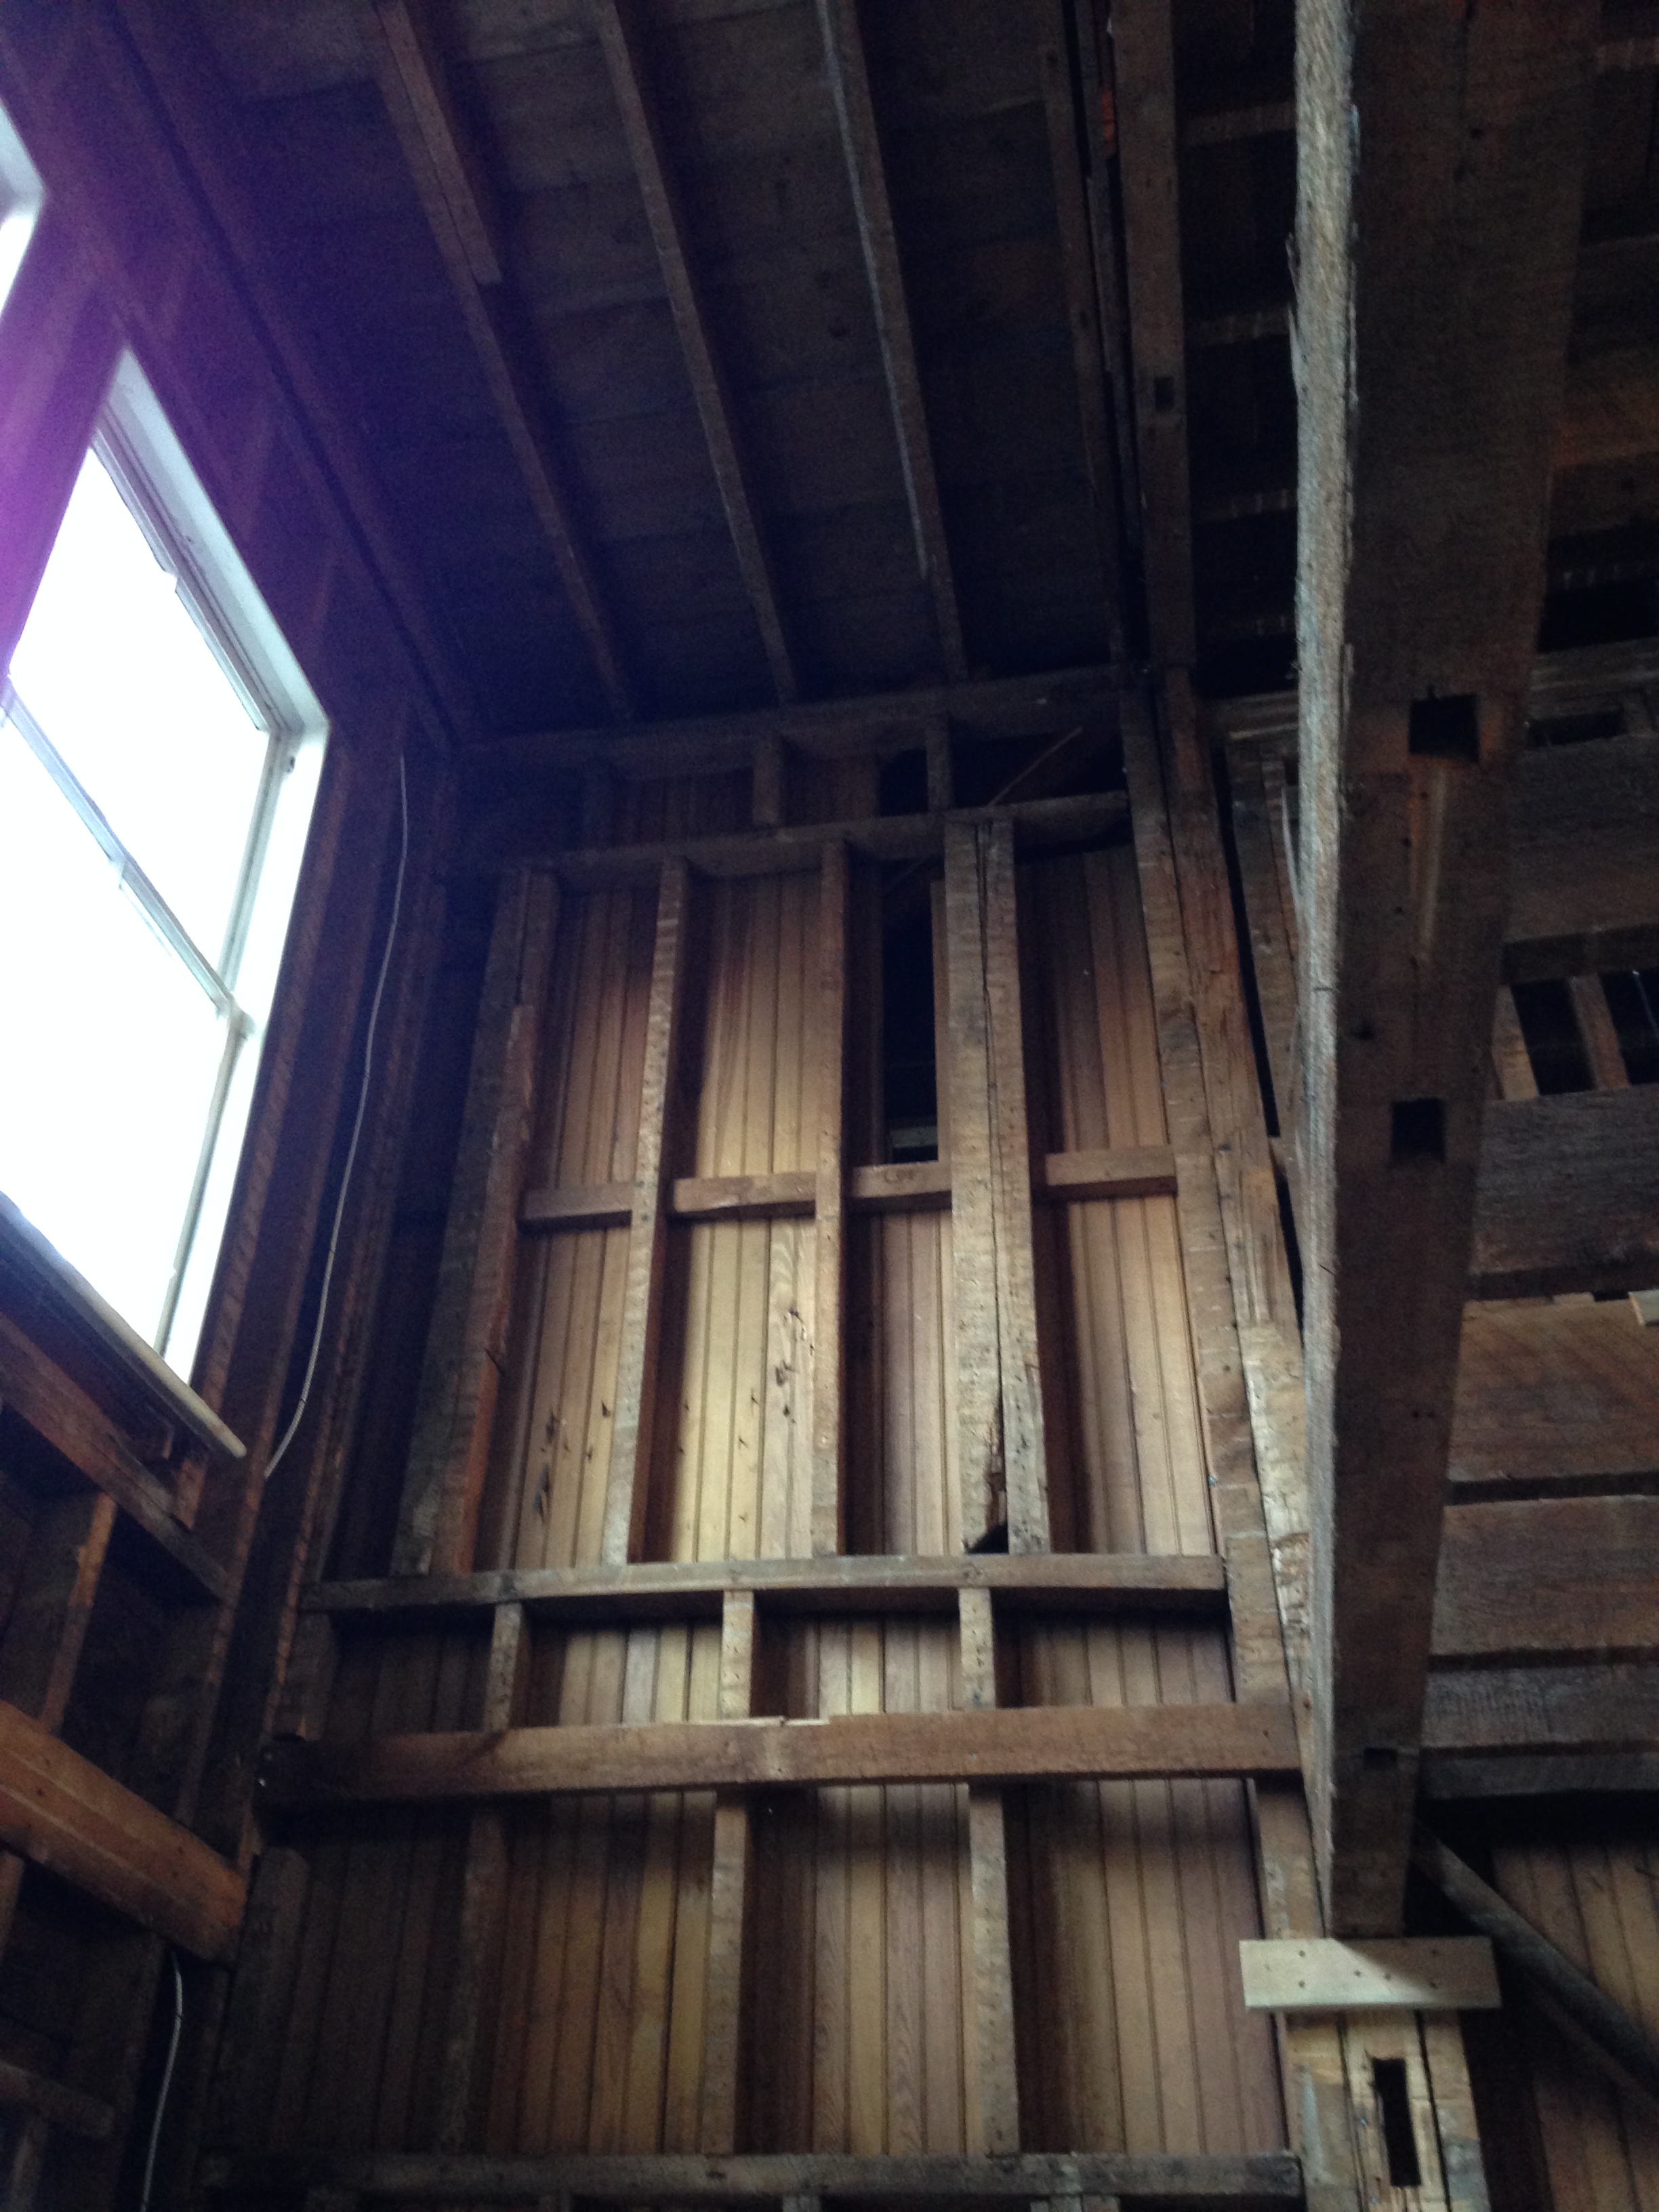

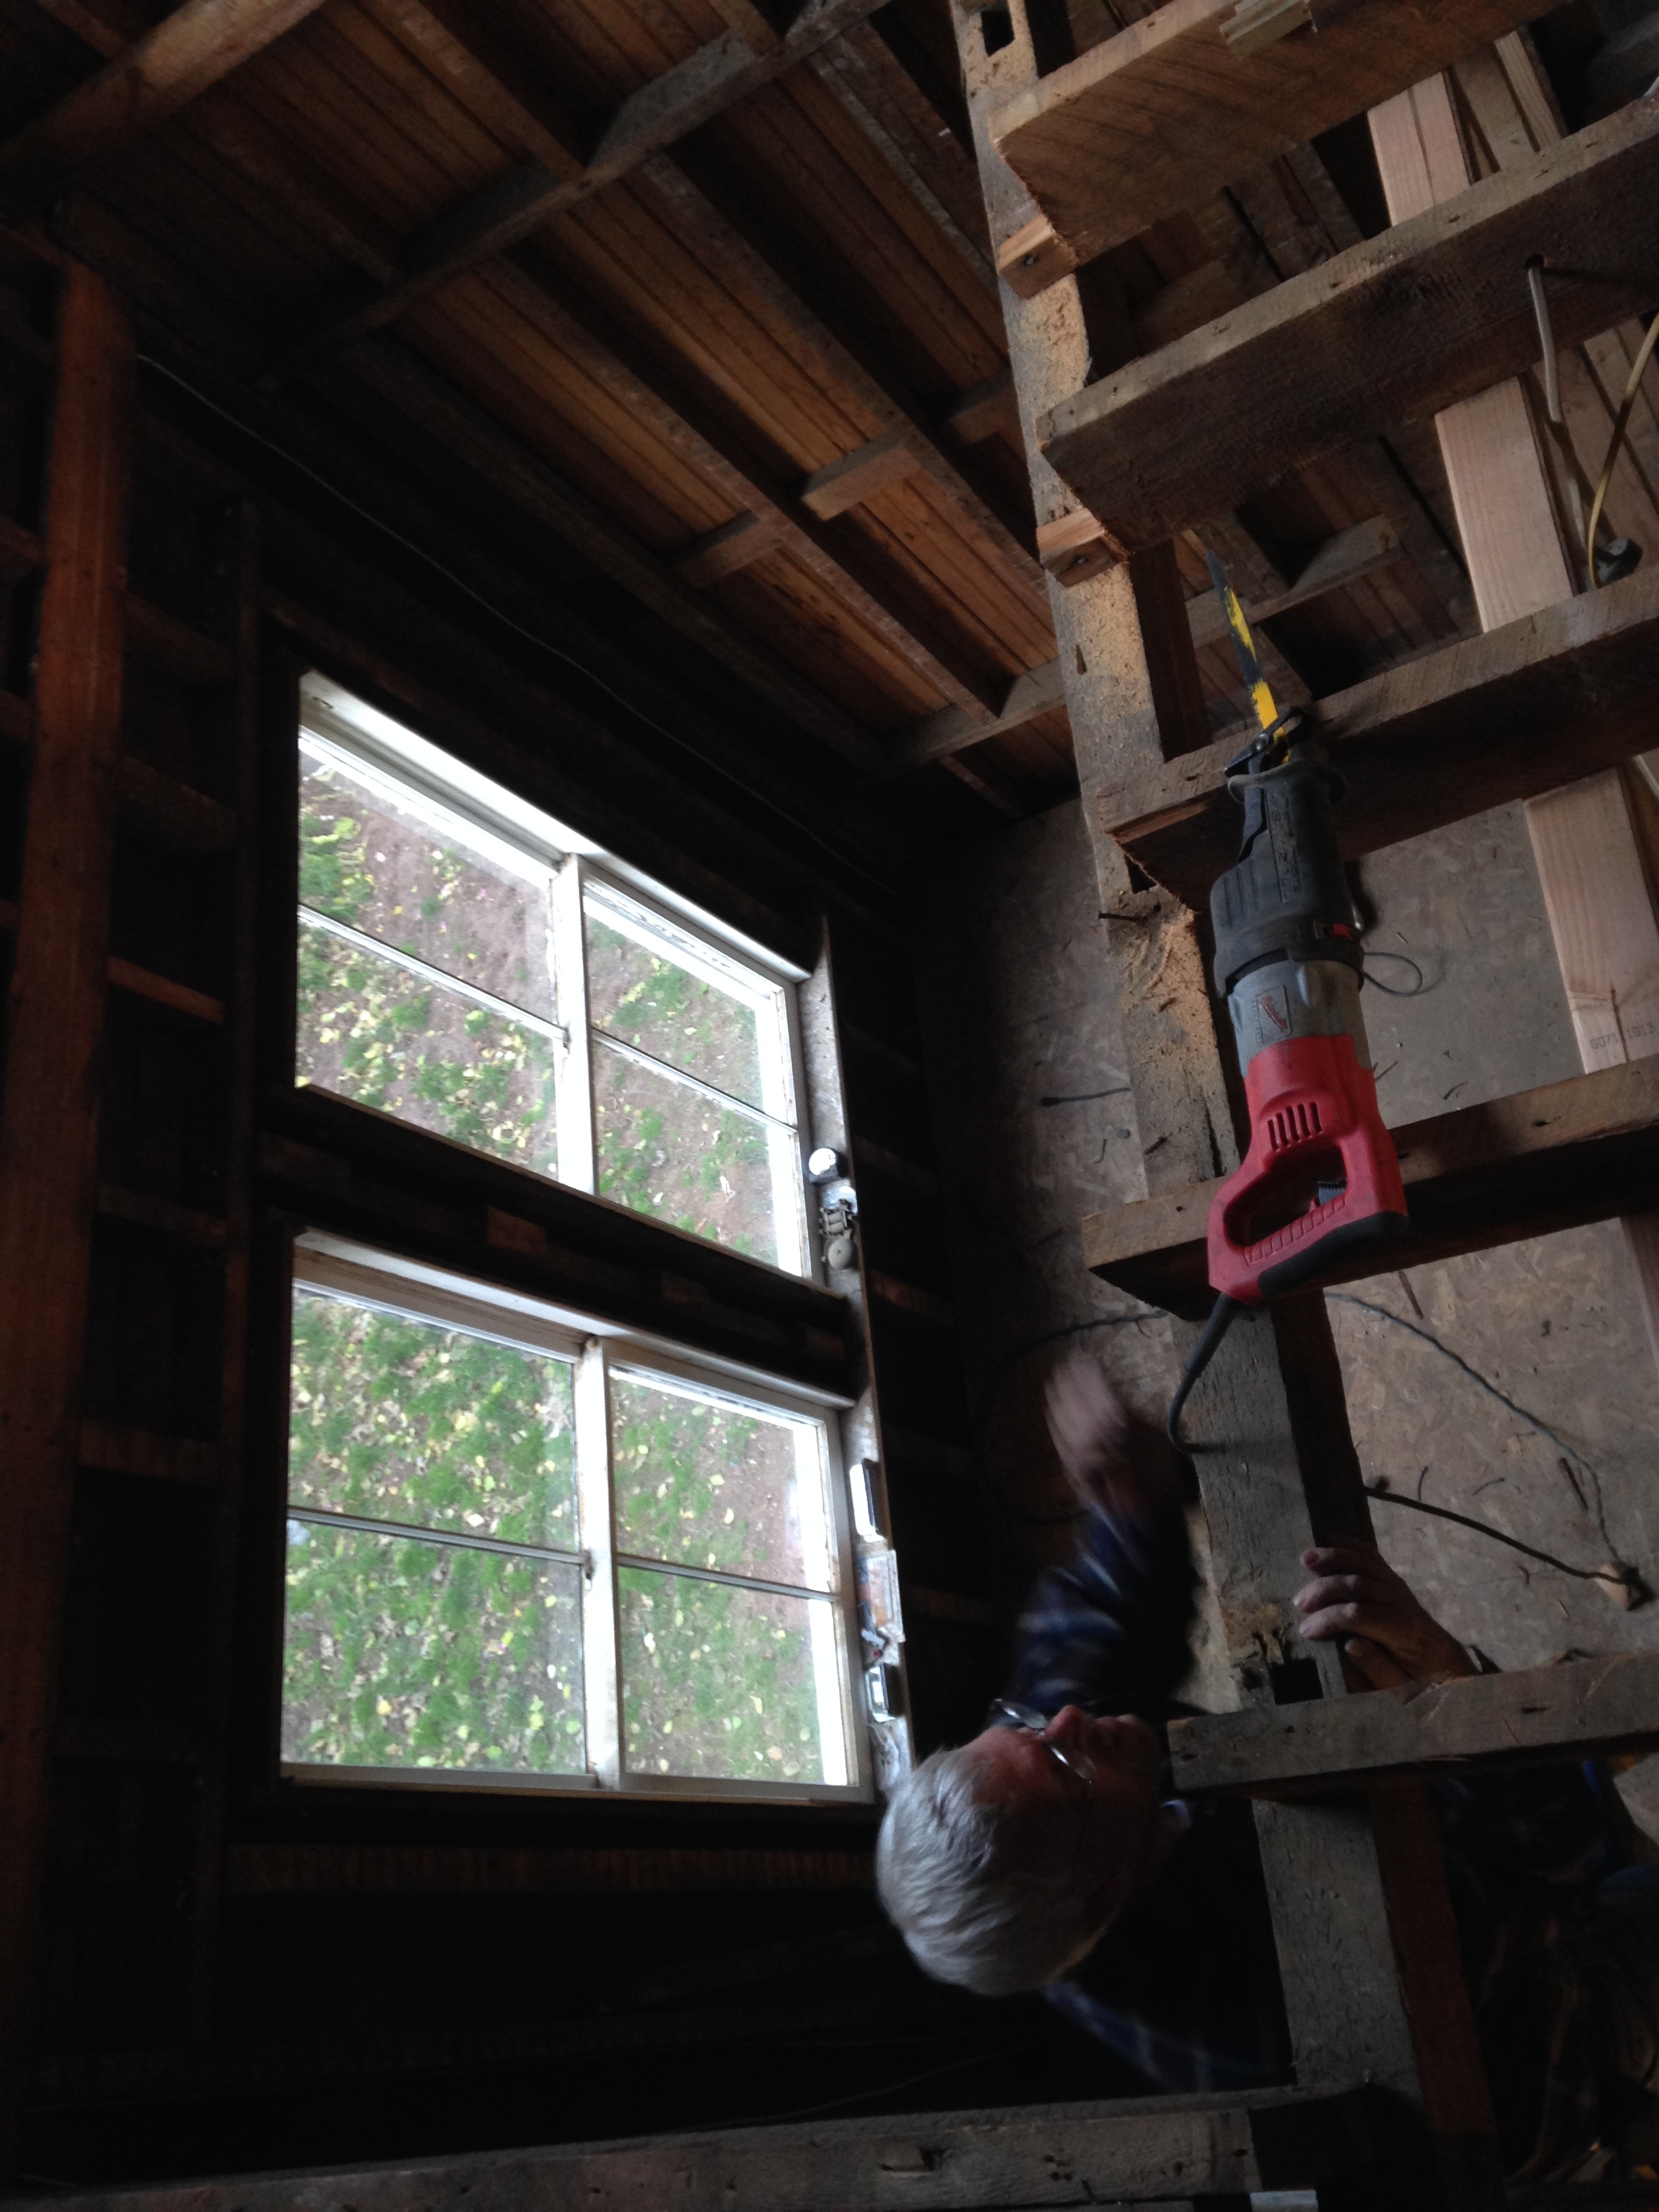
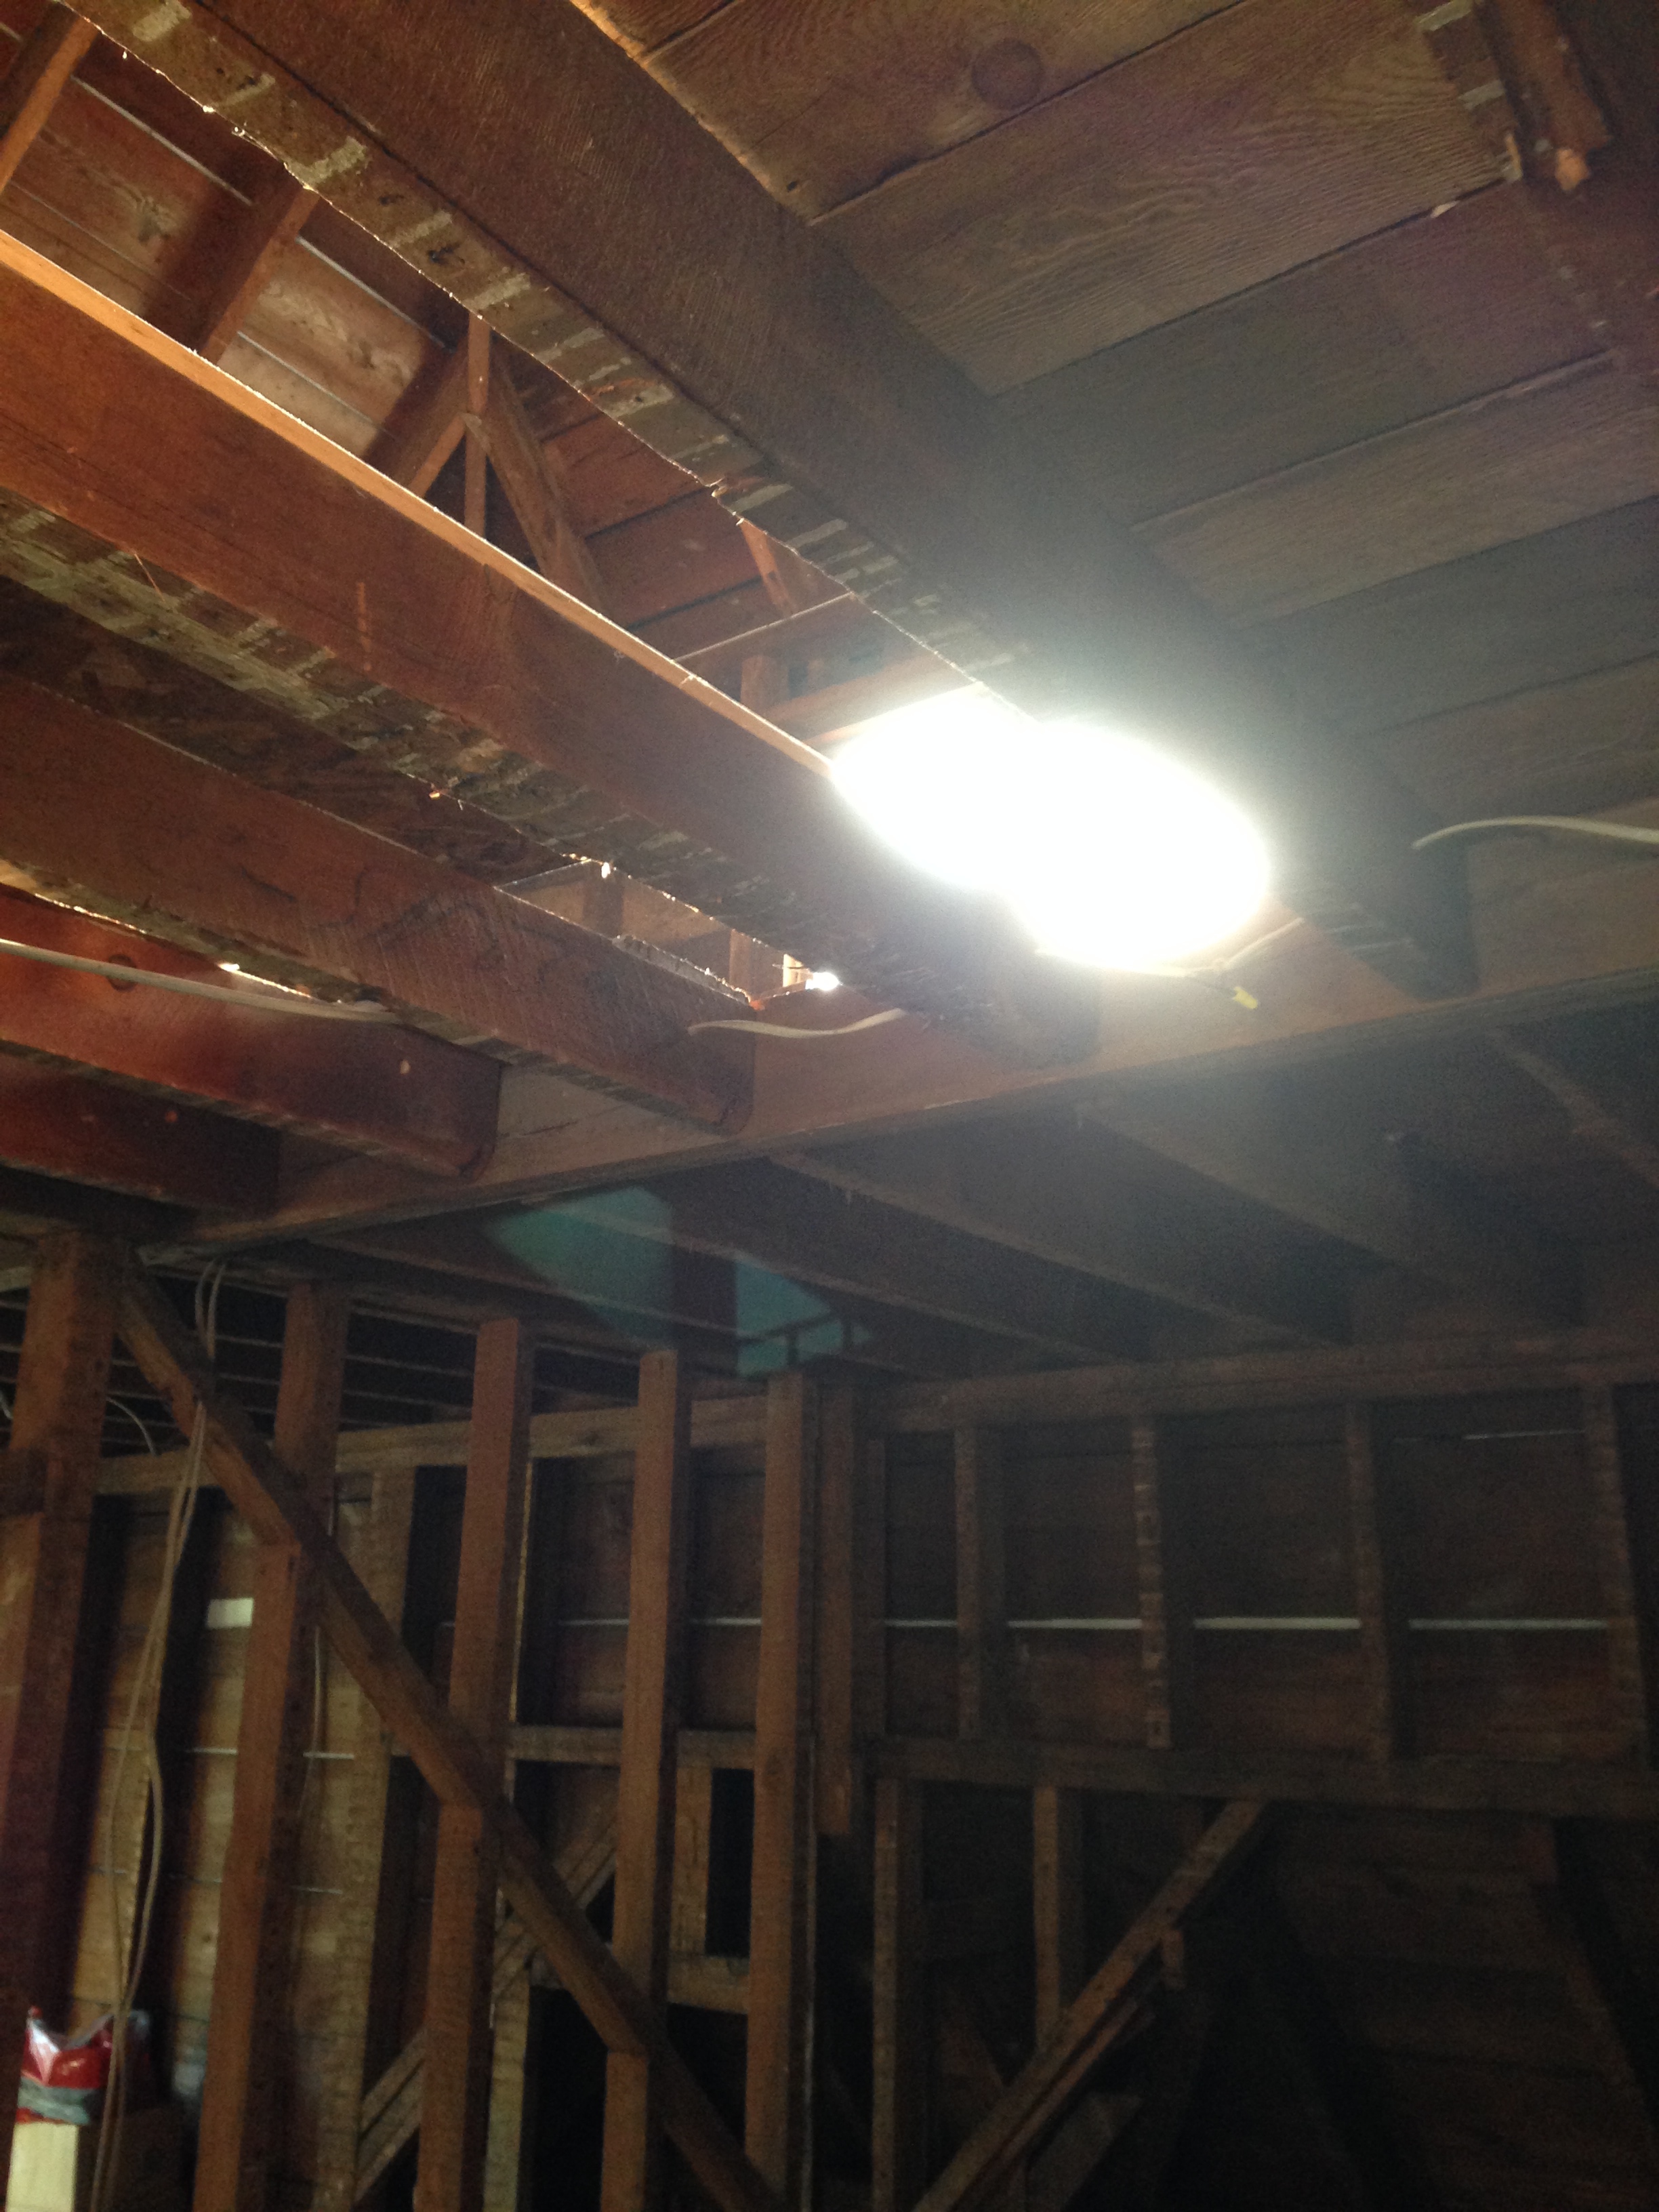
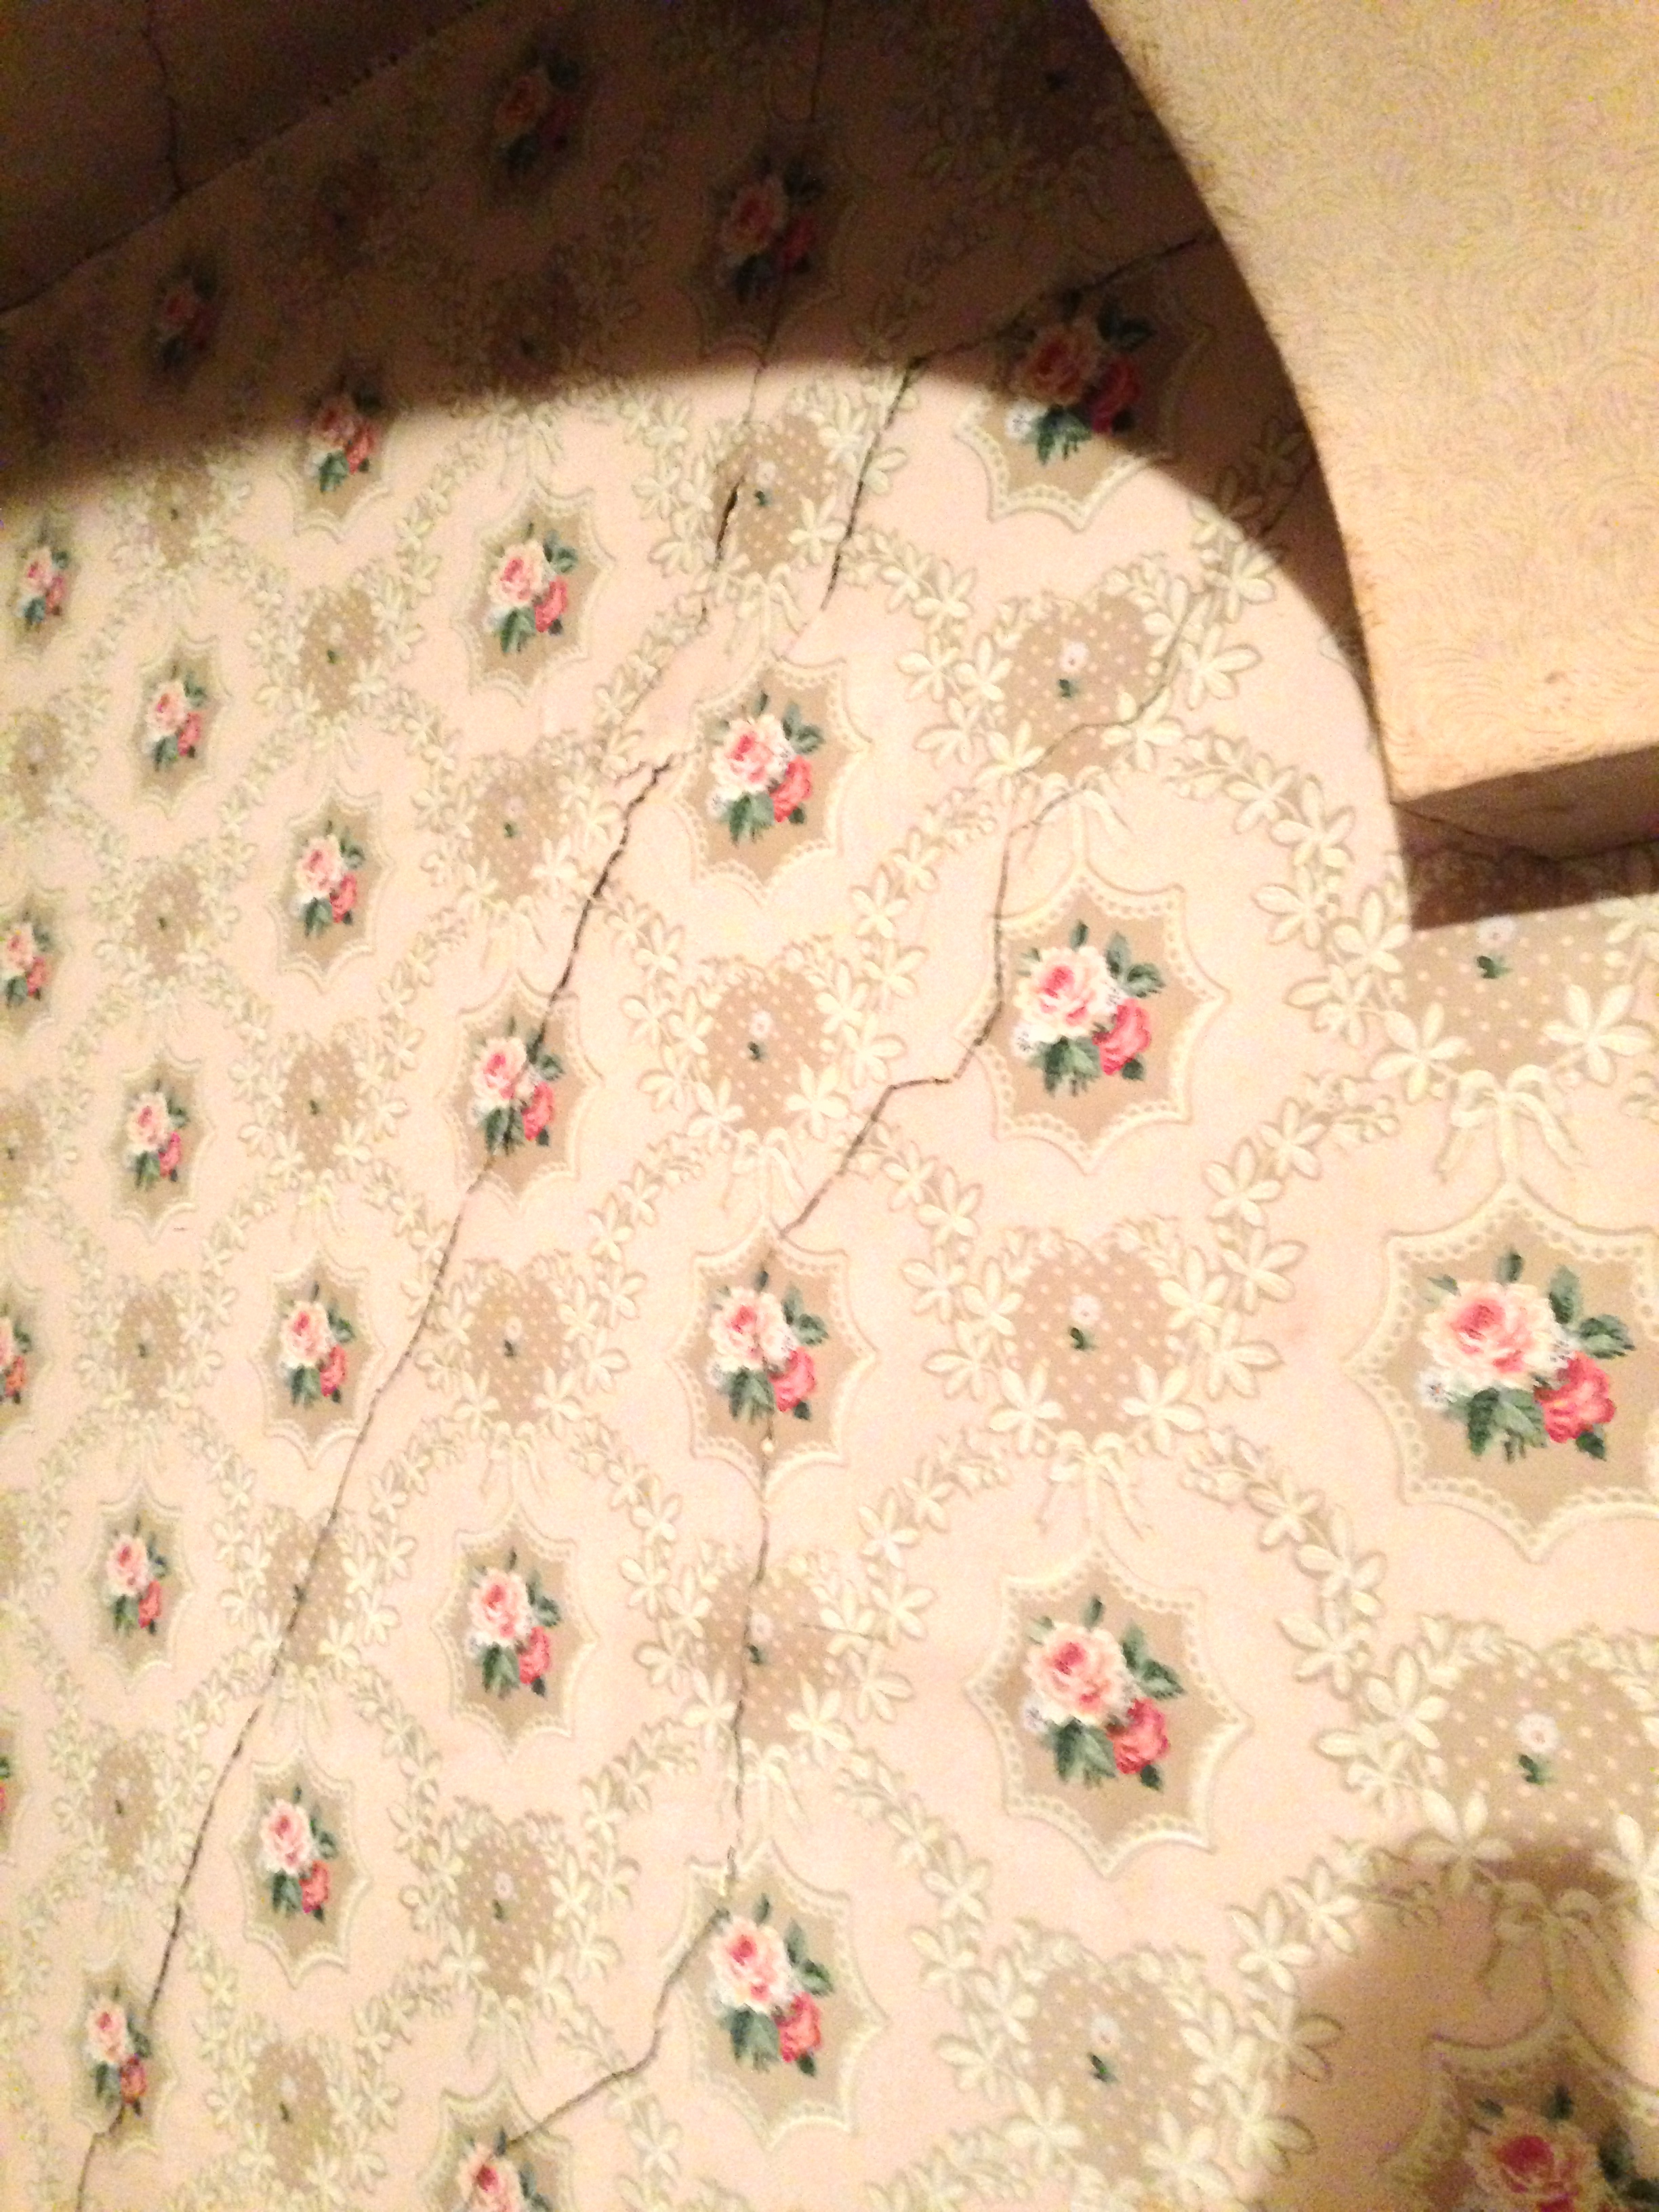
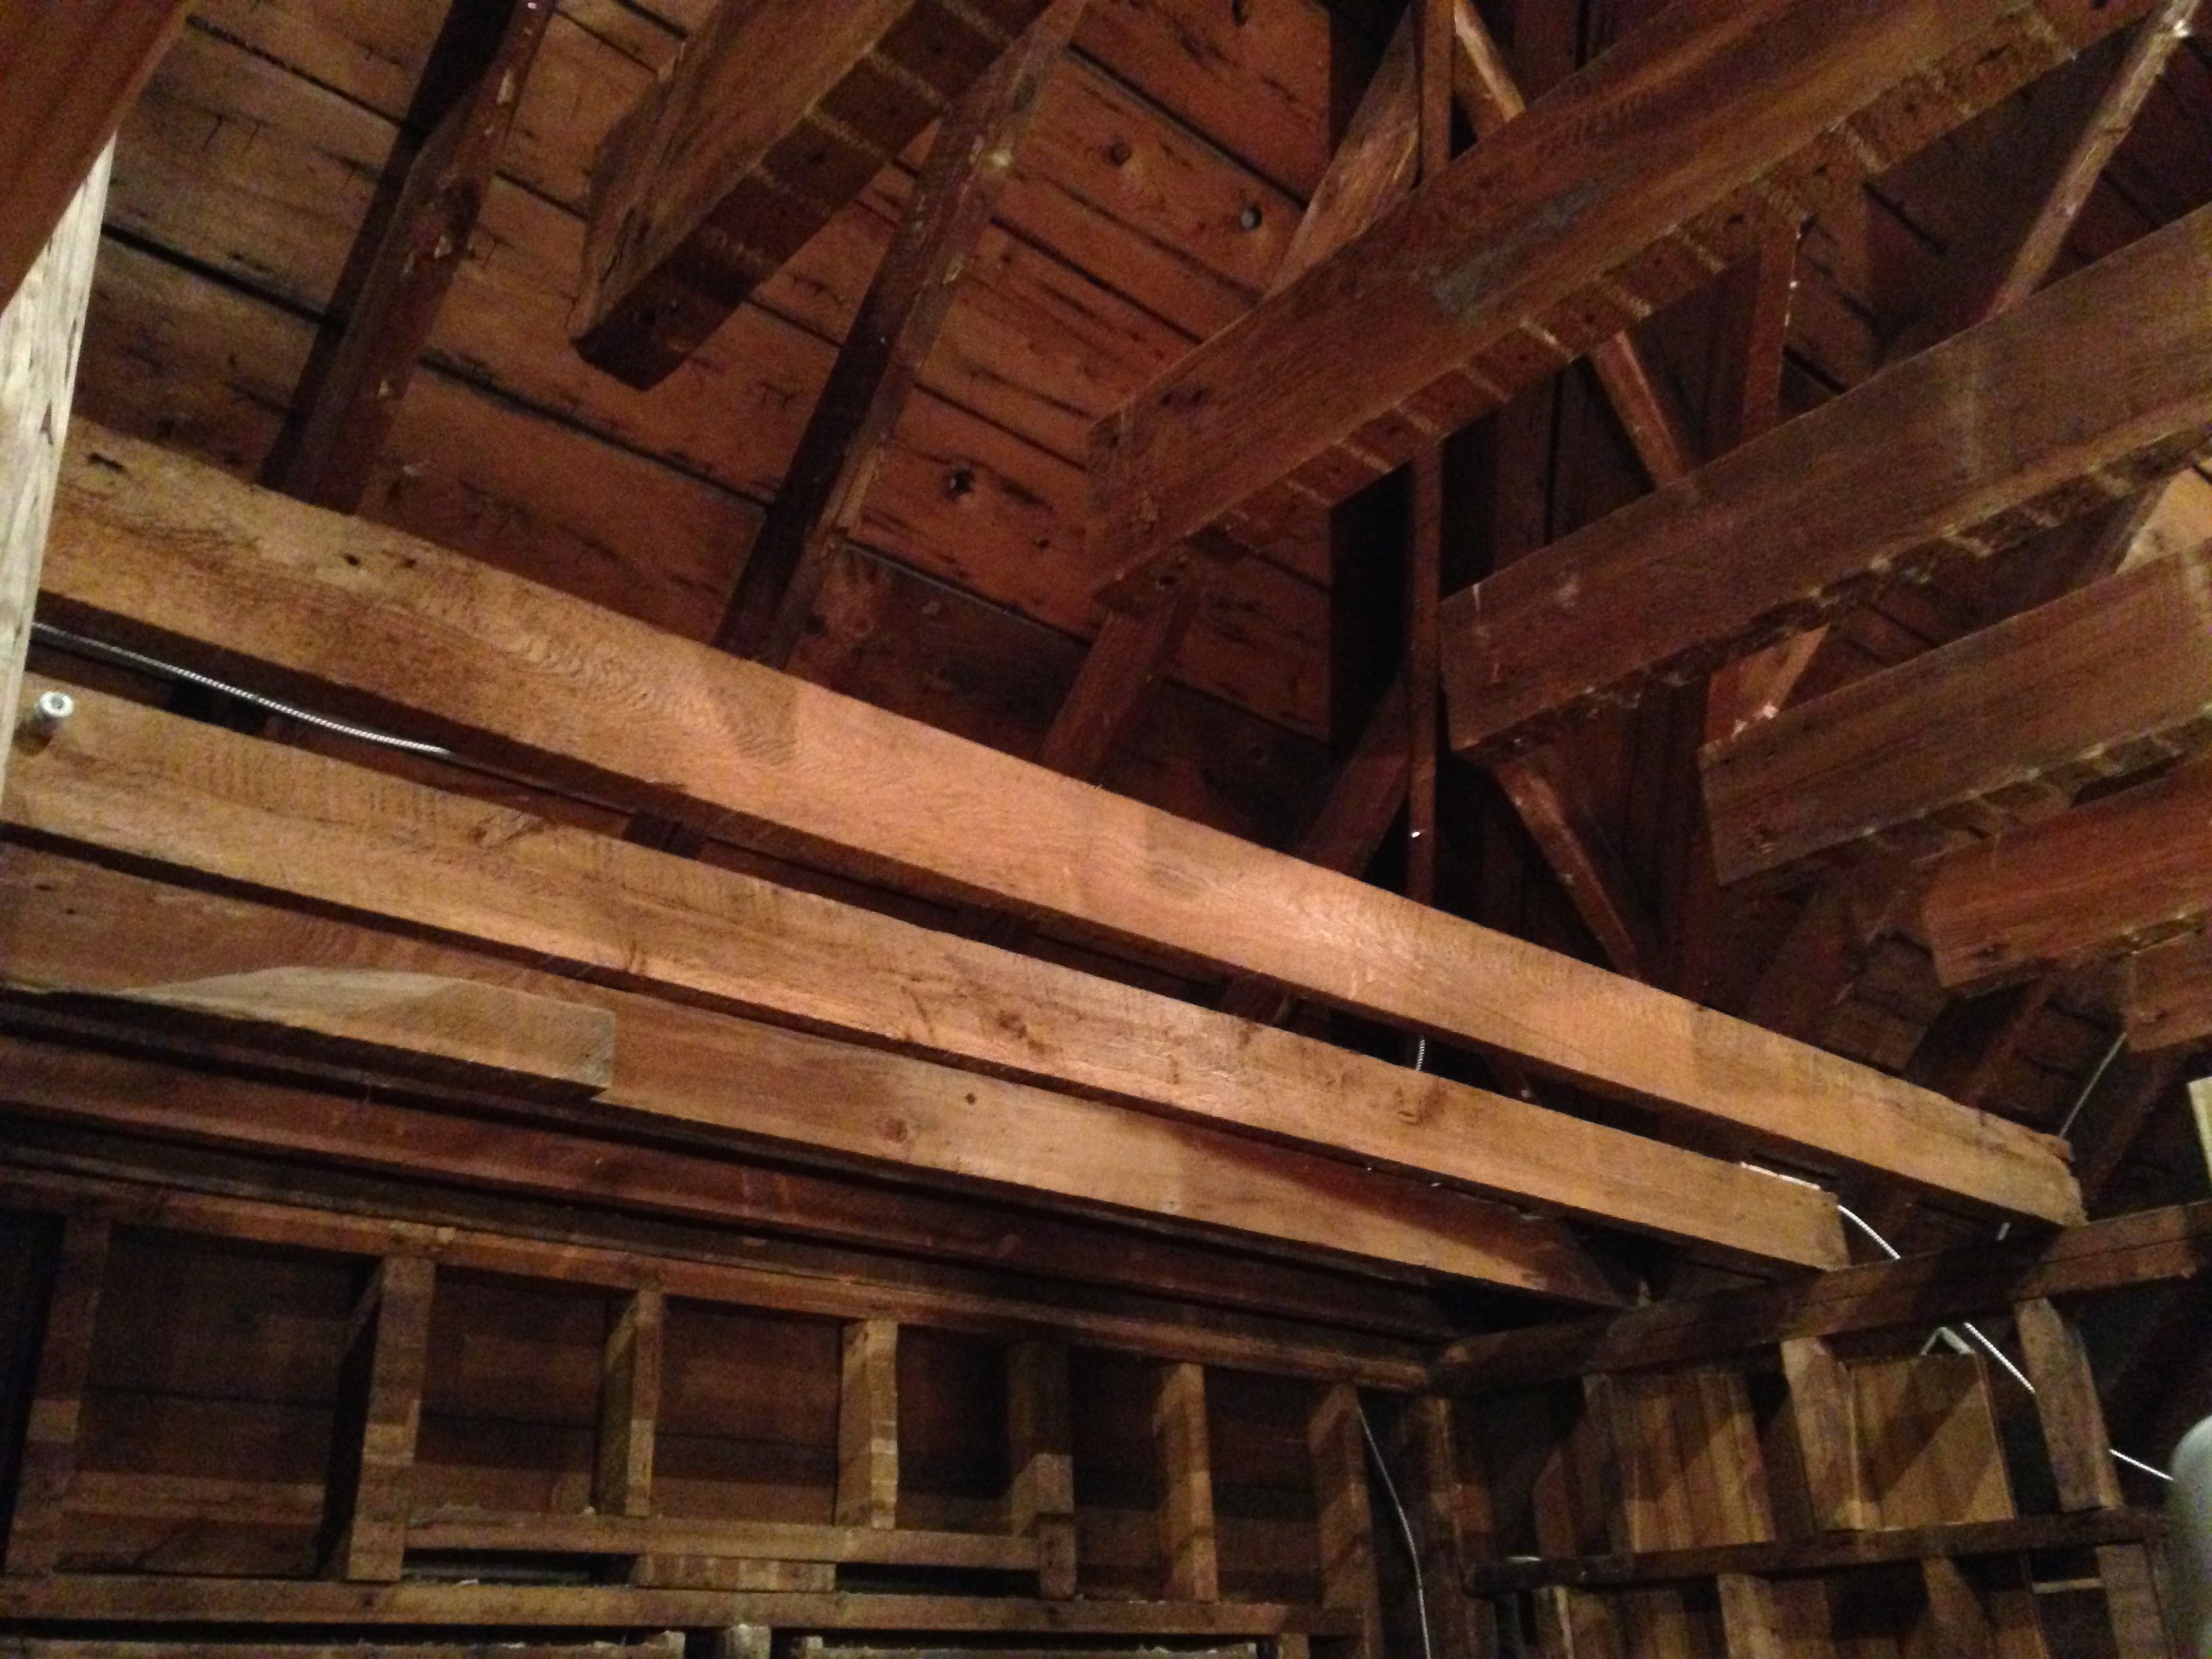
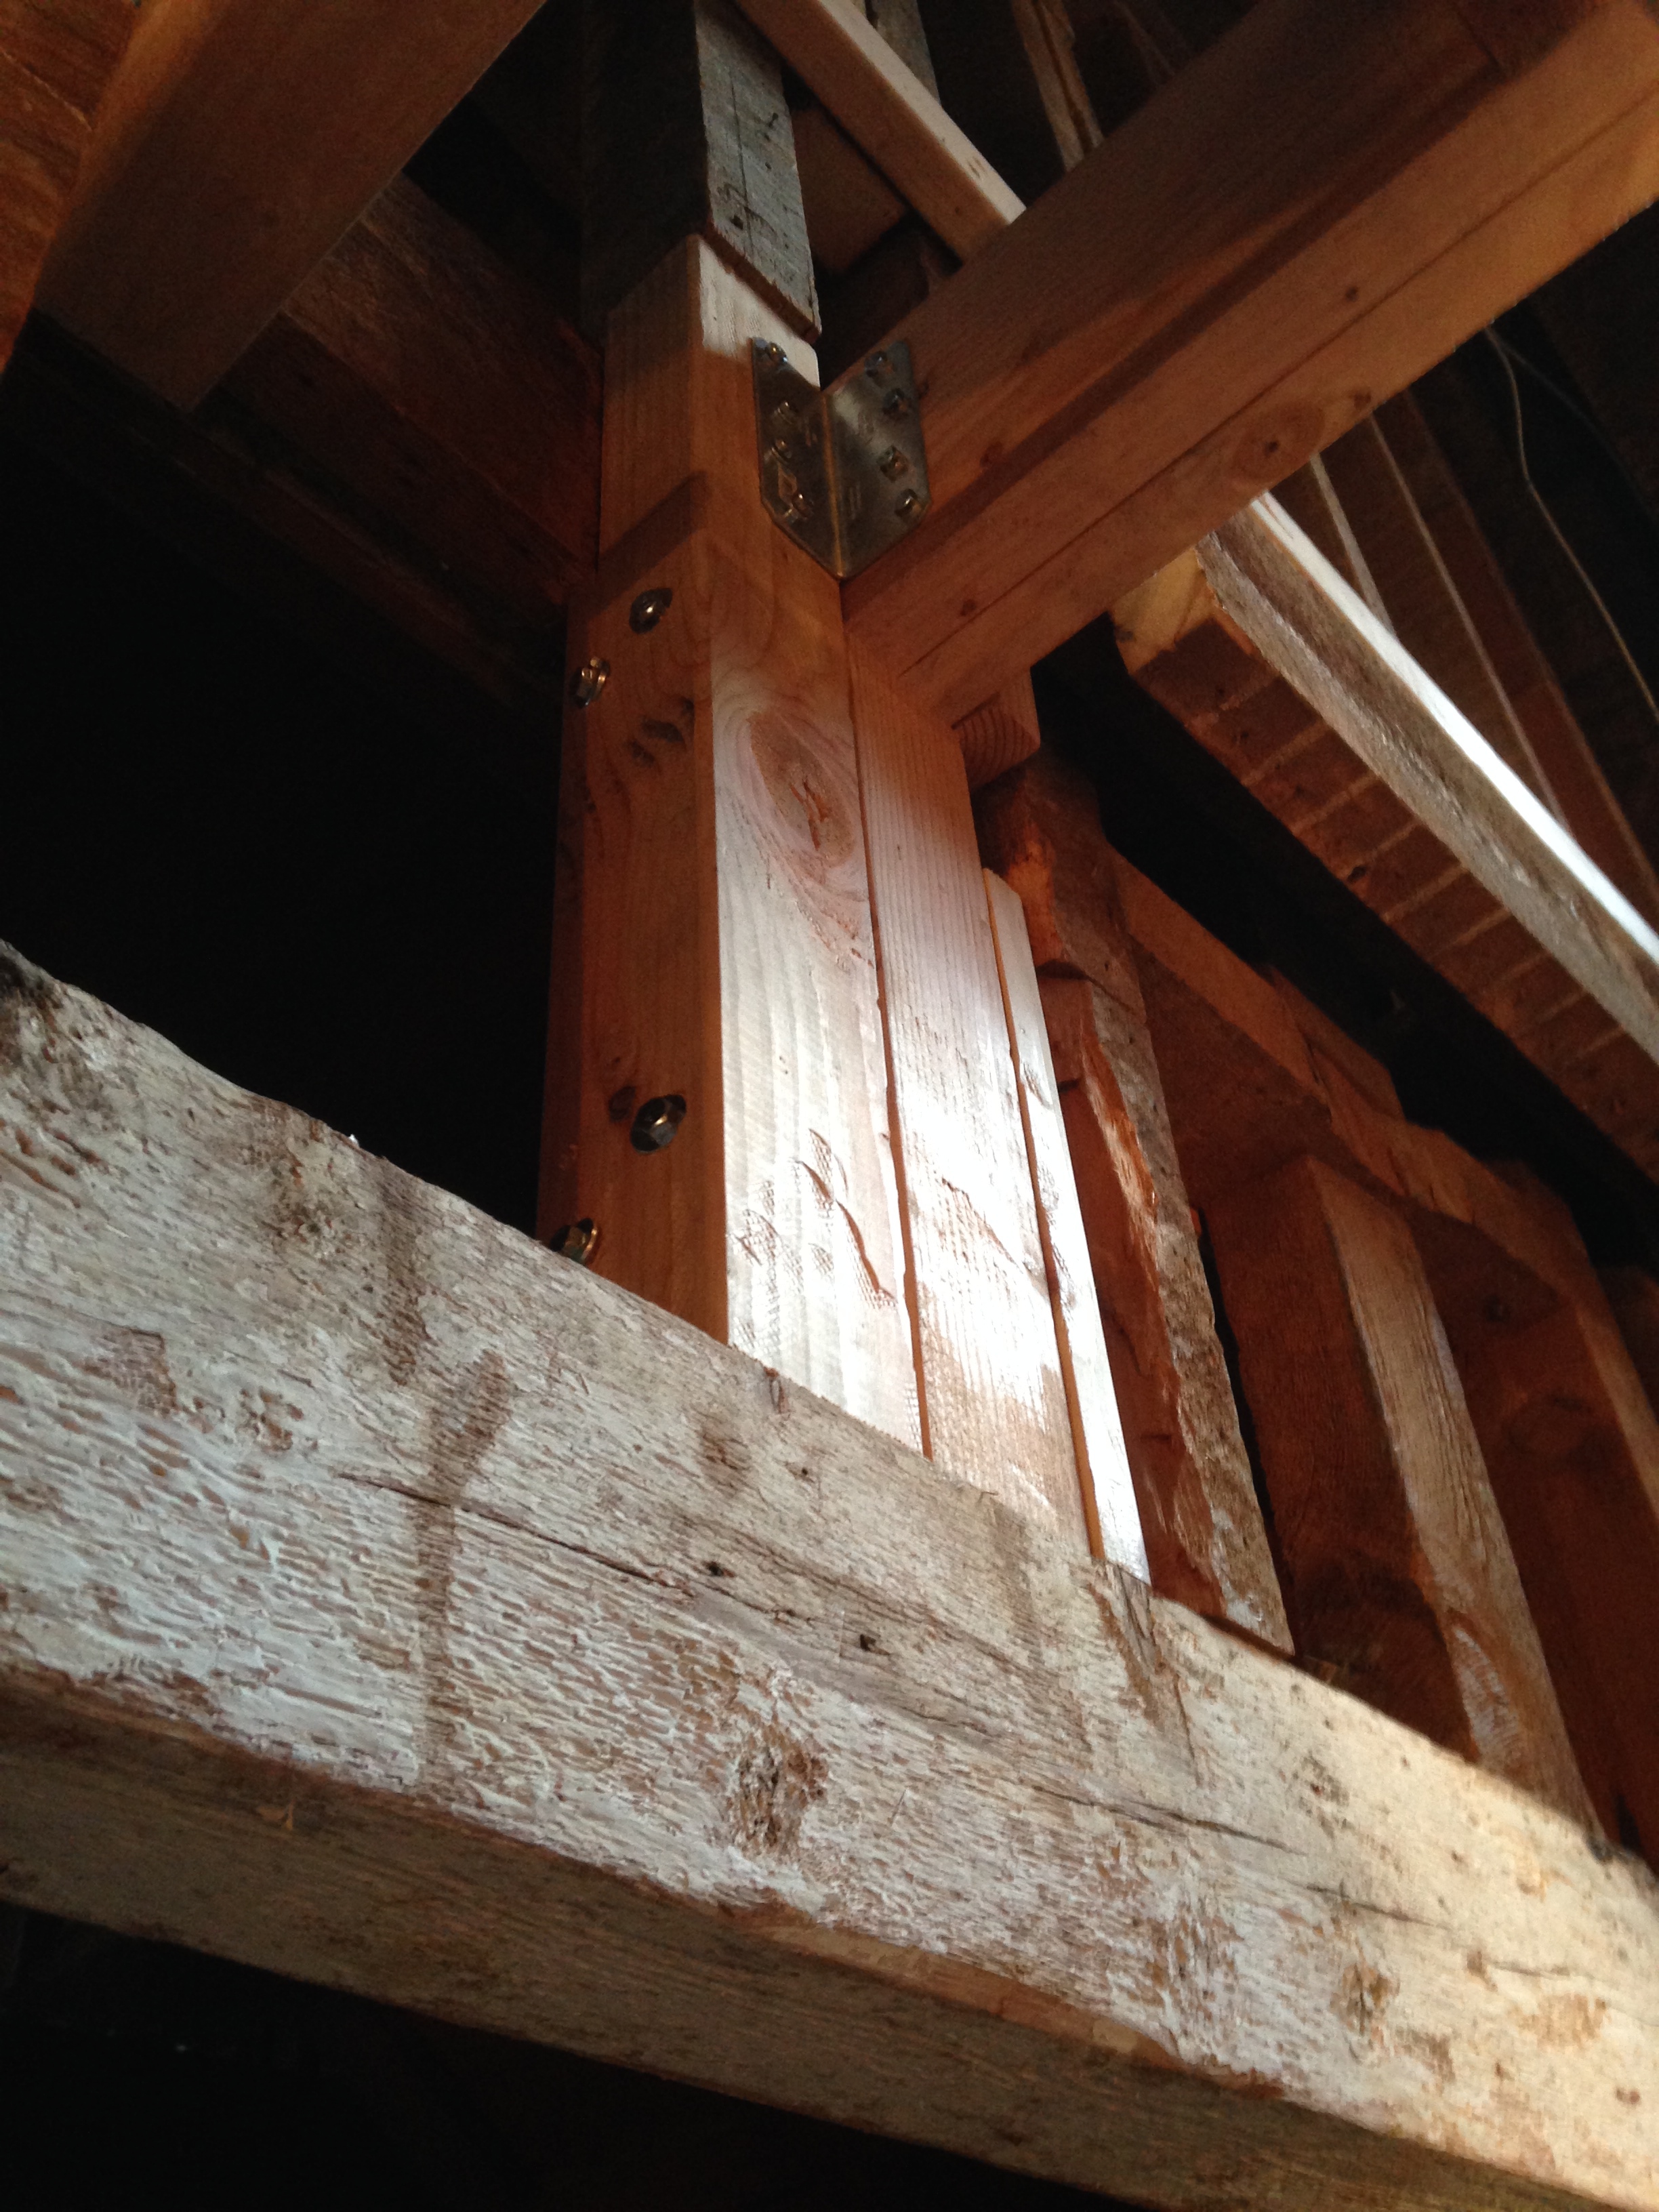
Even the arches themselves were put in poorly, they were just kind of wedged in there. How safe. The joists above weren’t nailed in either, they were held in place by the floor. Let me tell you, it was quite a surprise when I stepped on them to start pulling nails.

It just kind of rests on top.
Yeah, that looks useful.


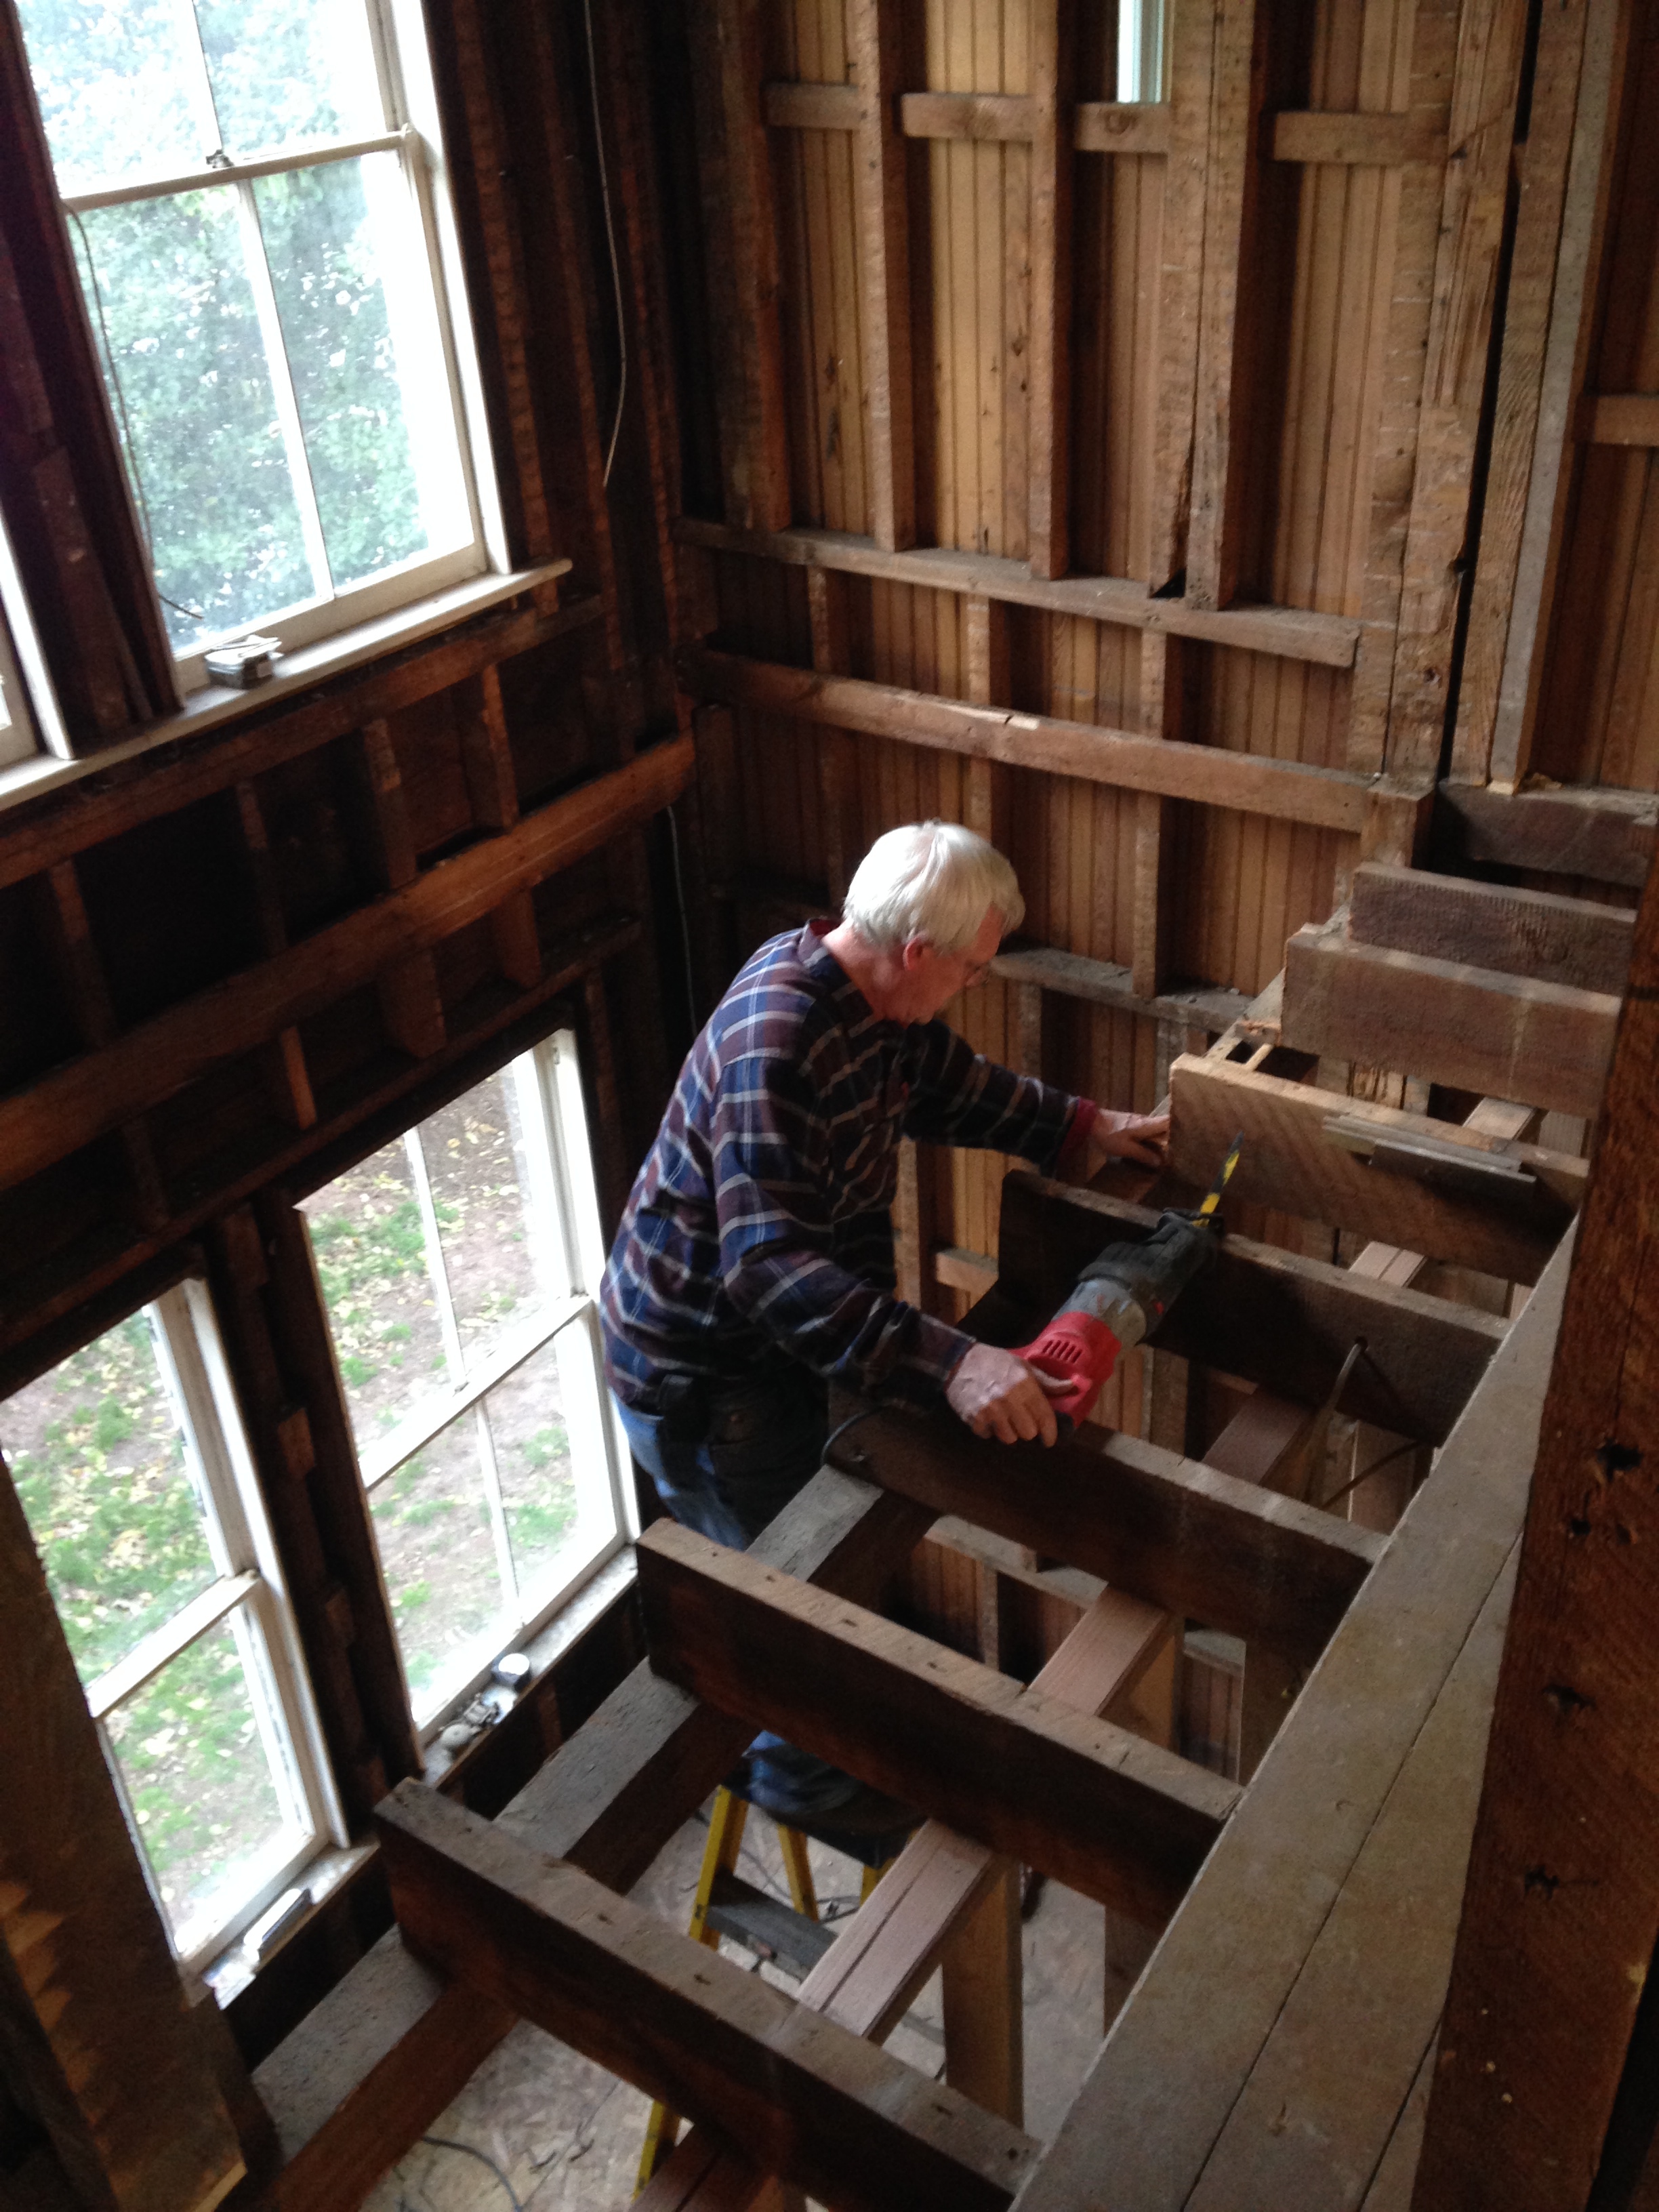
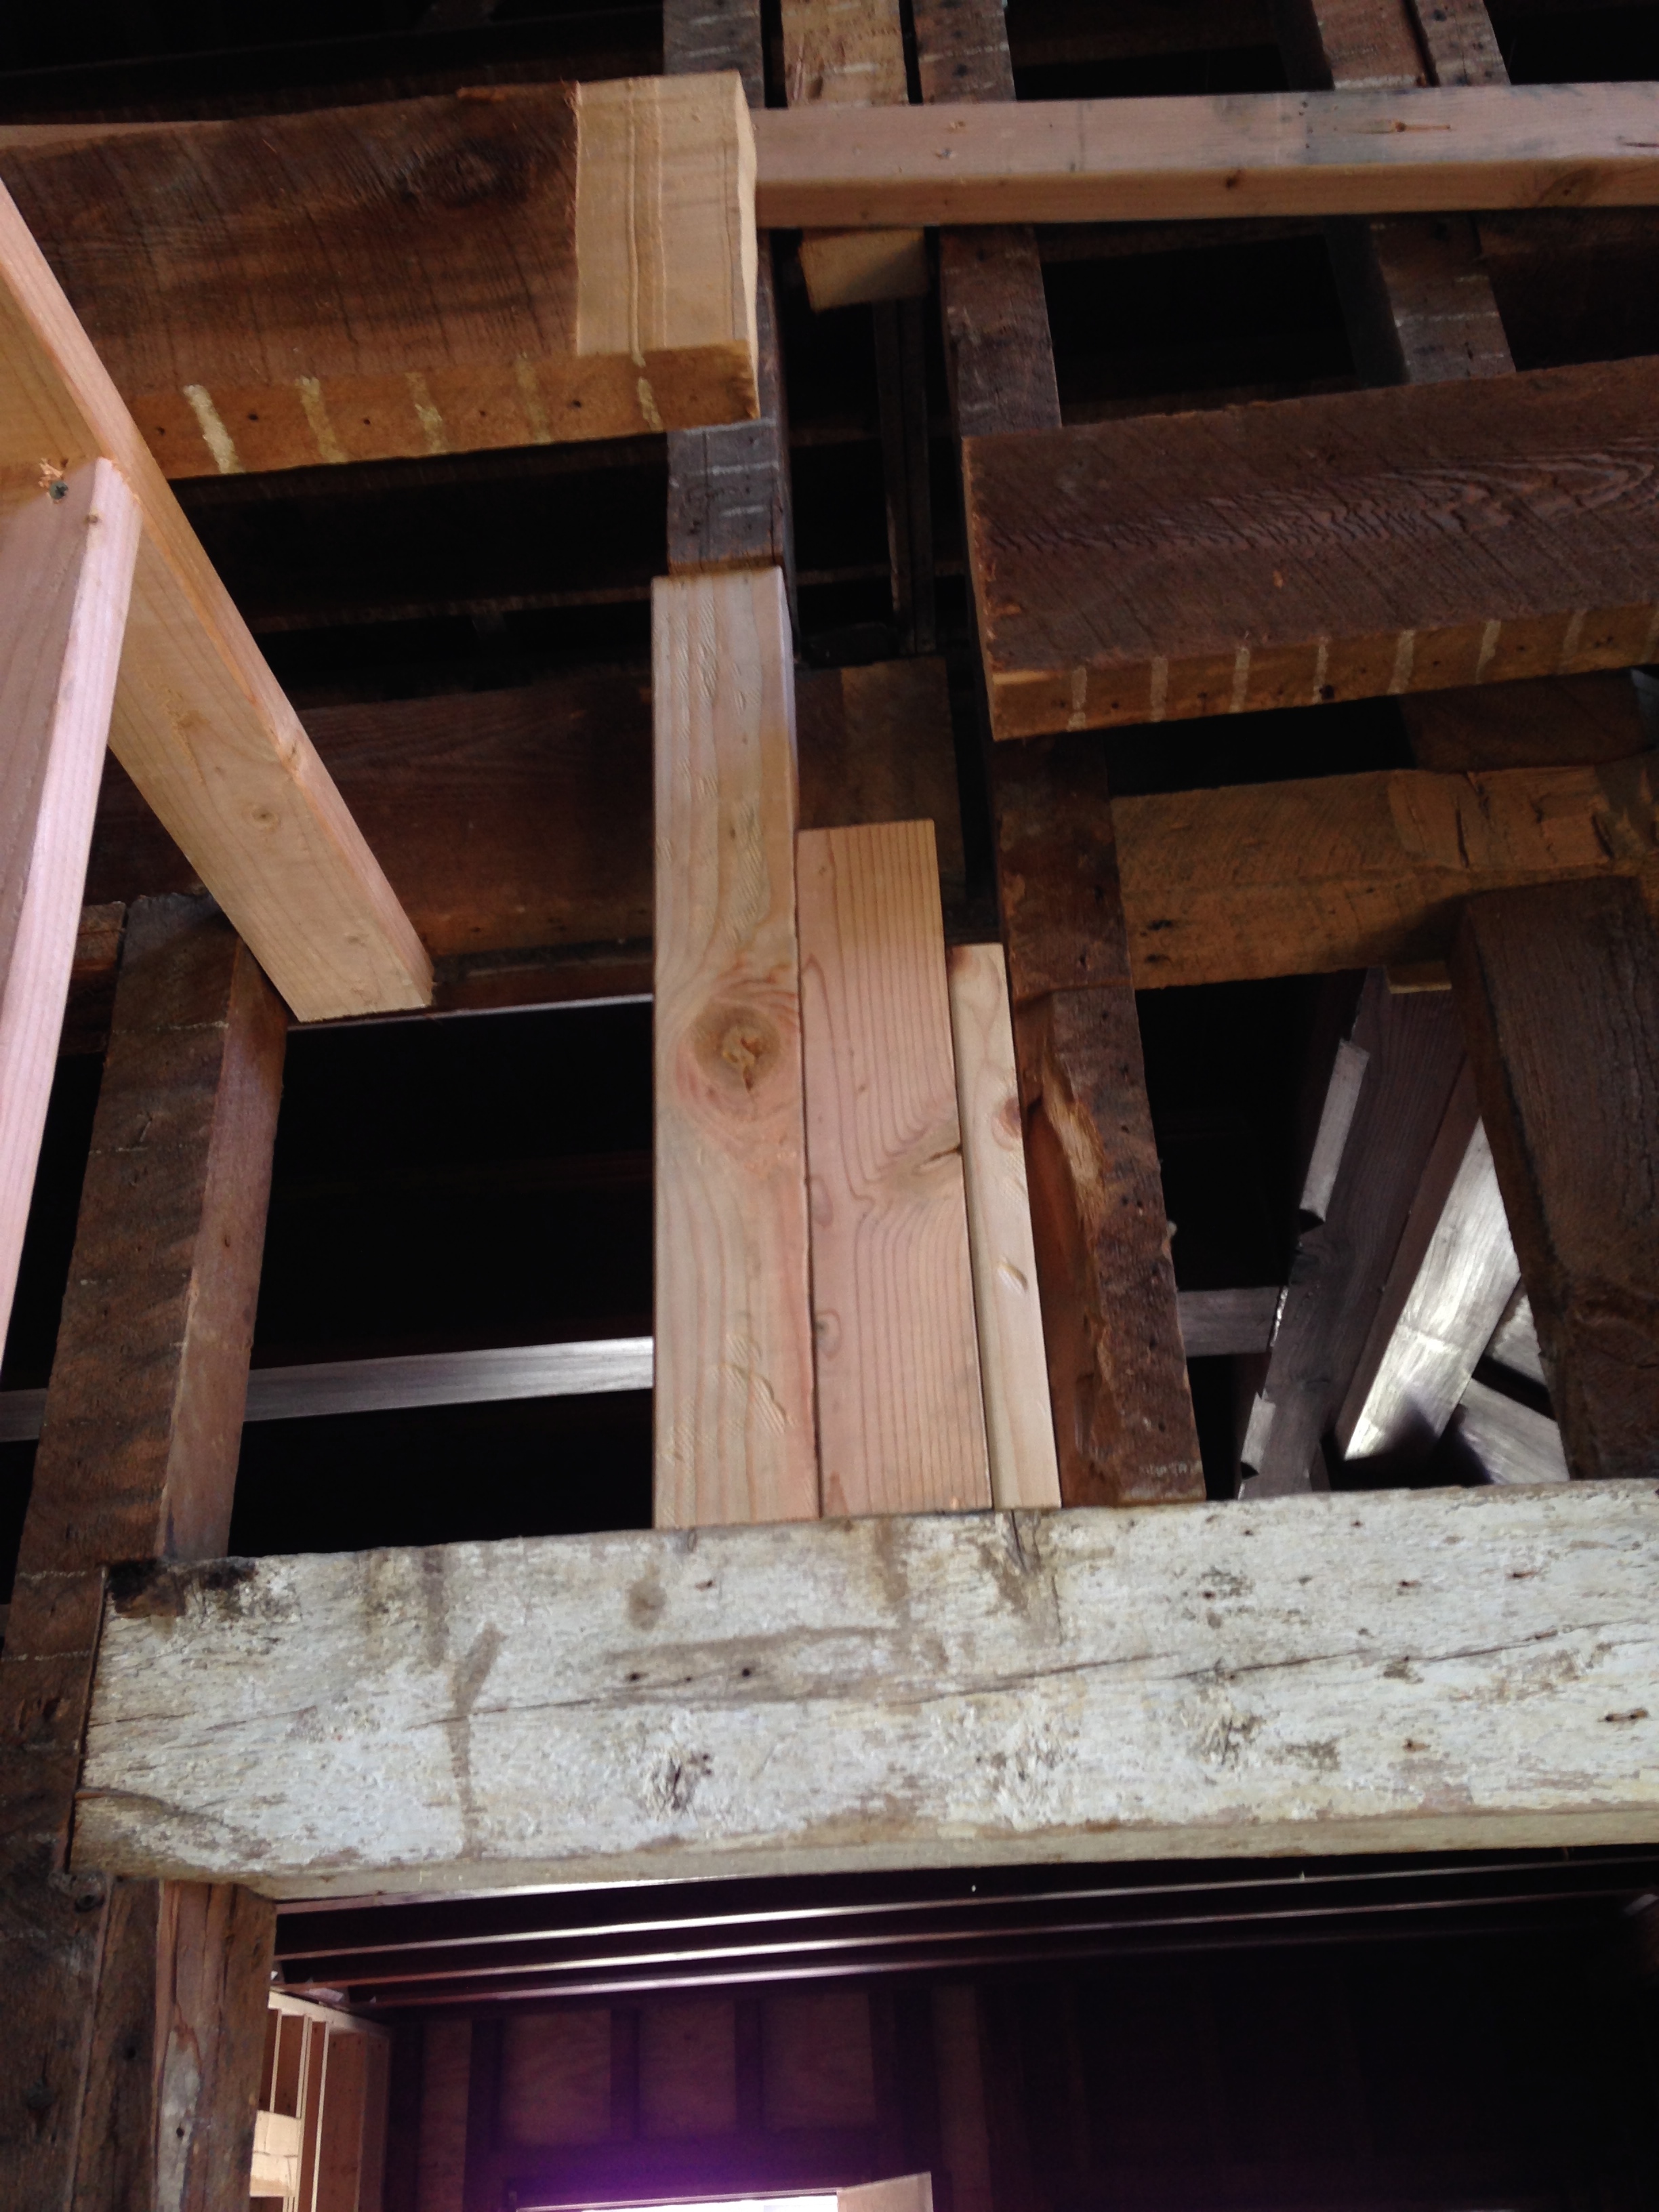
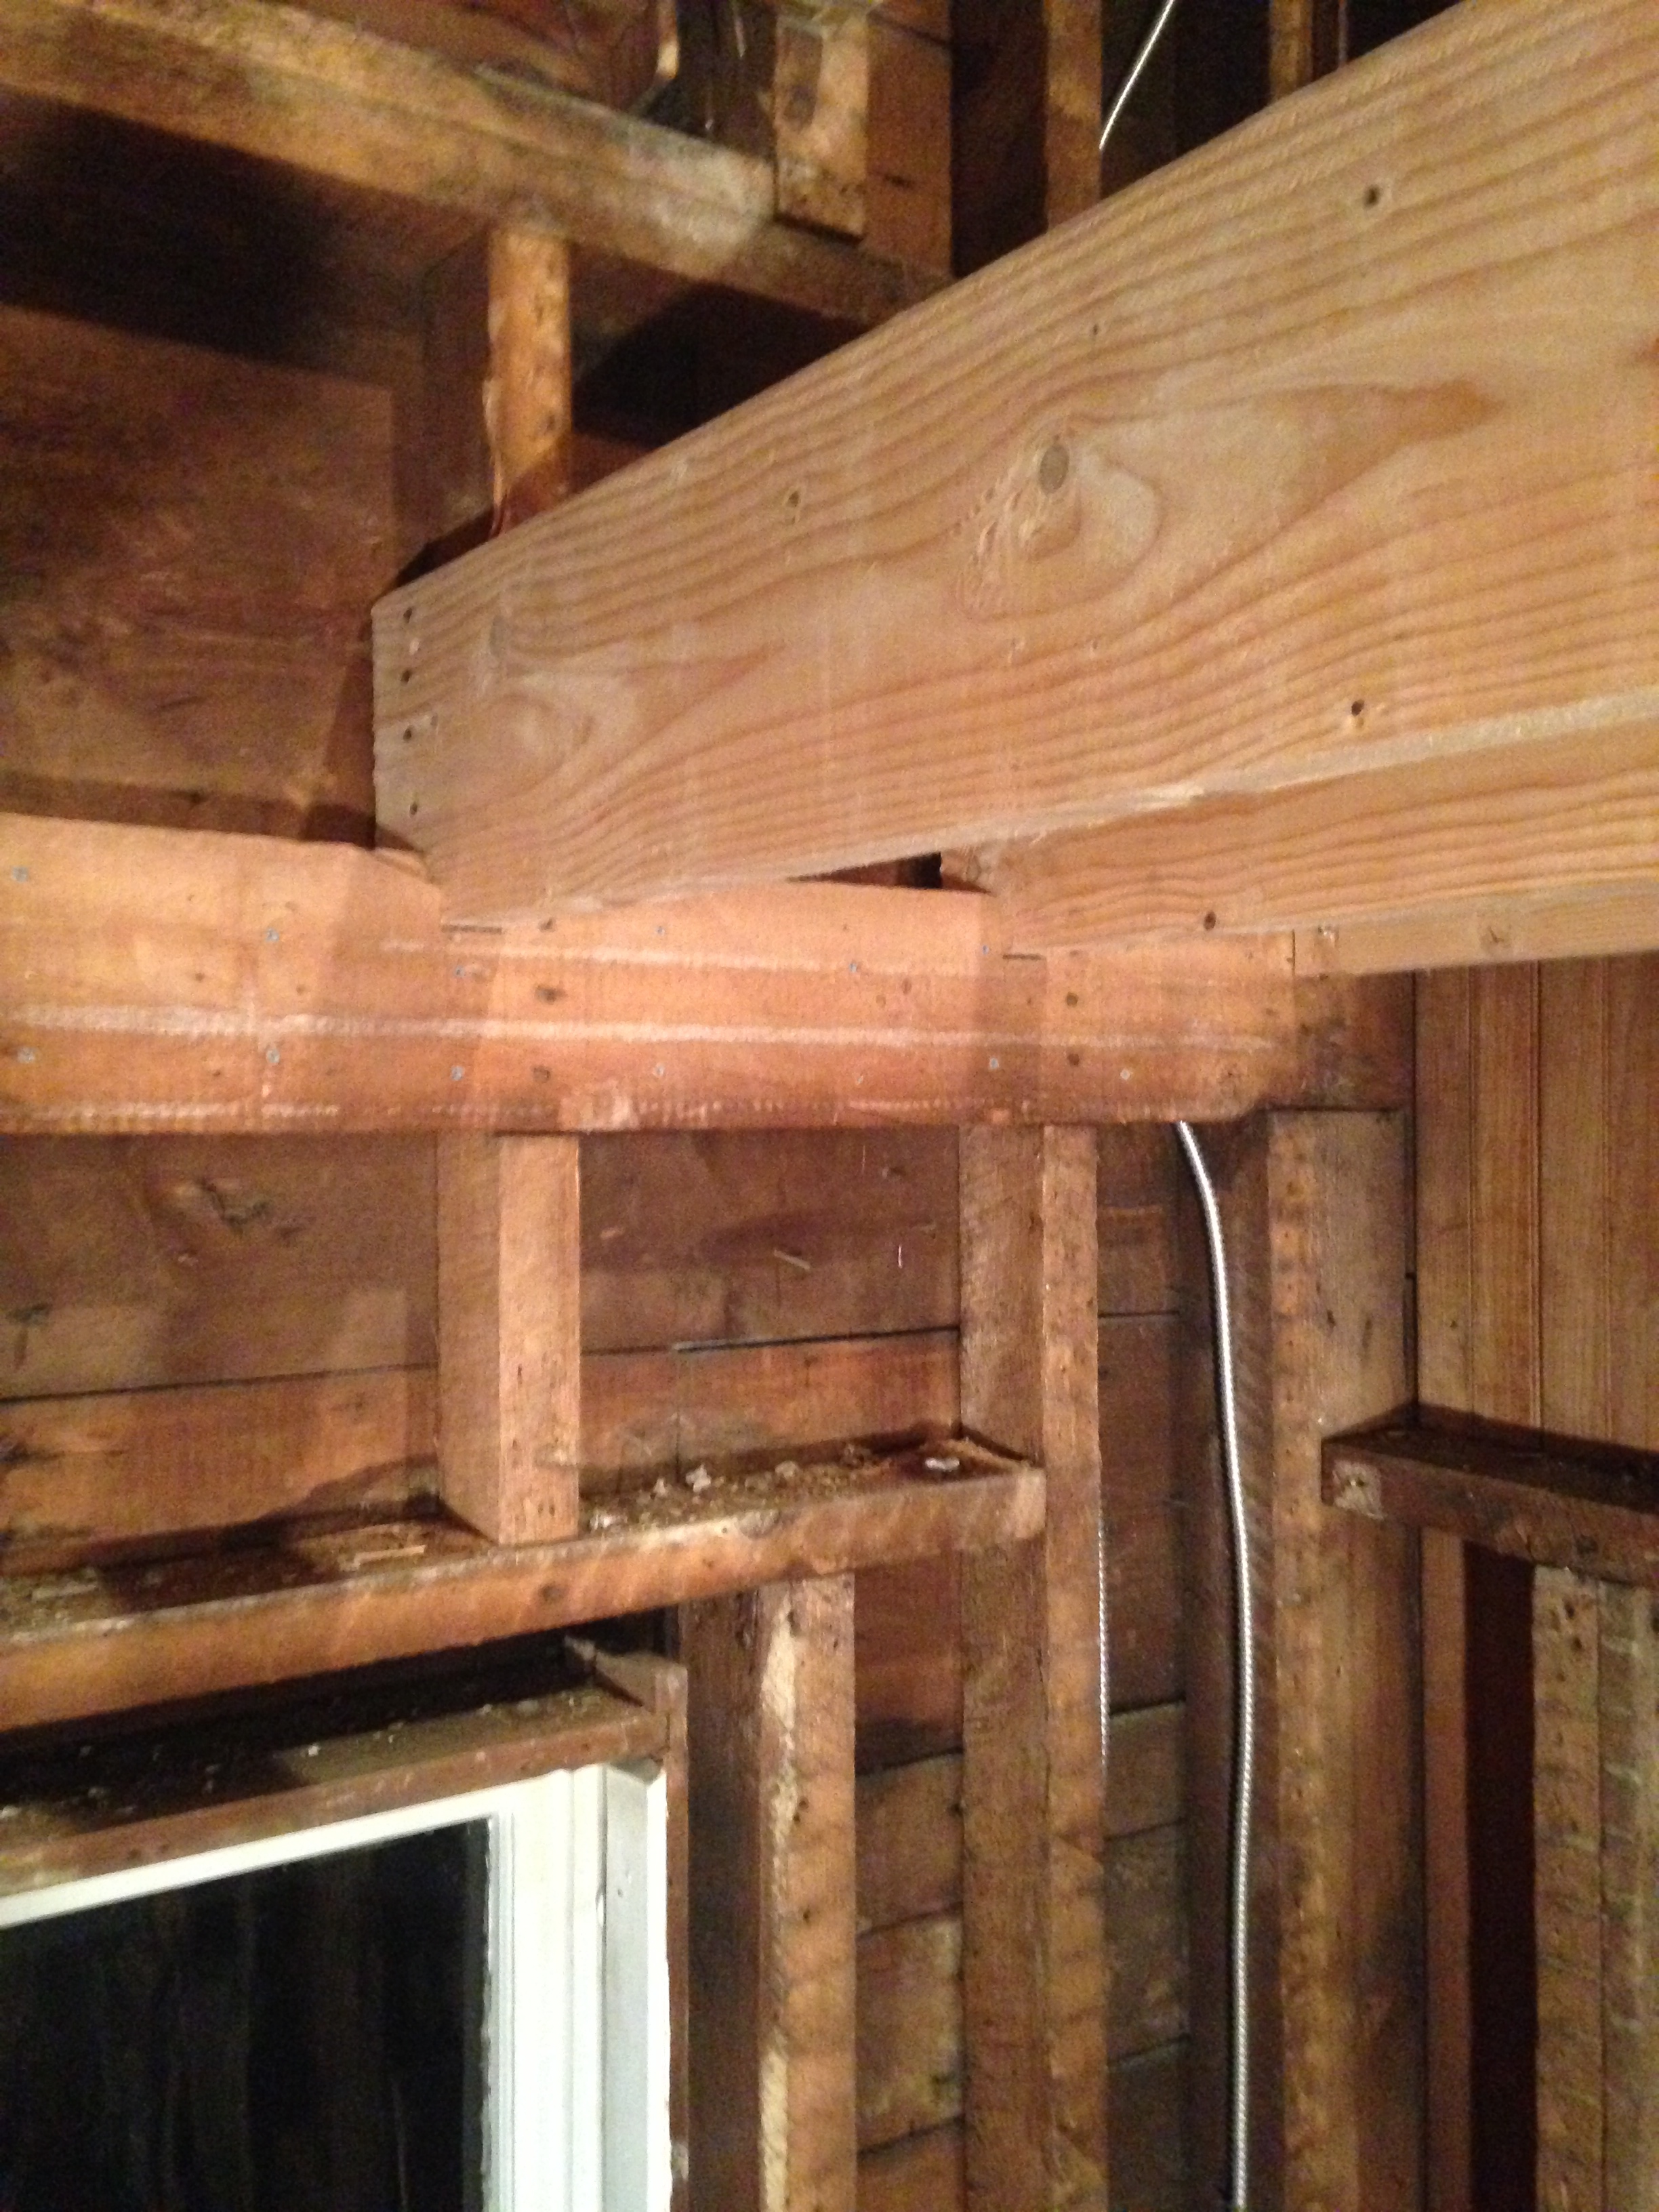
Time for some replacements.

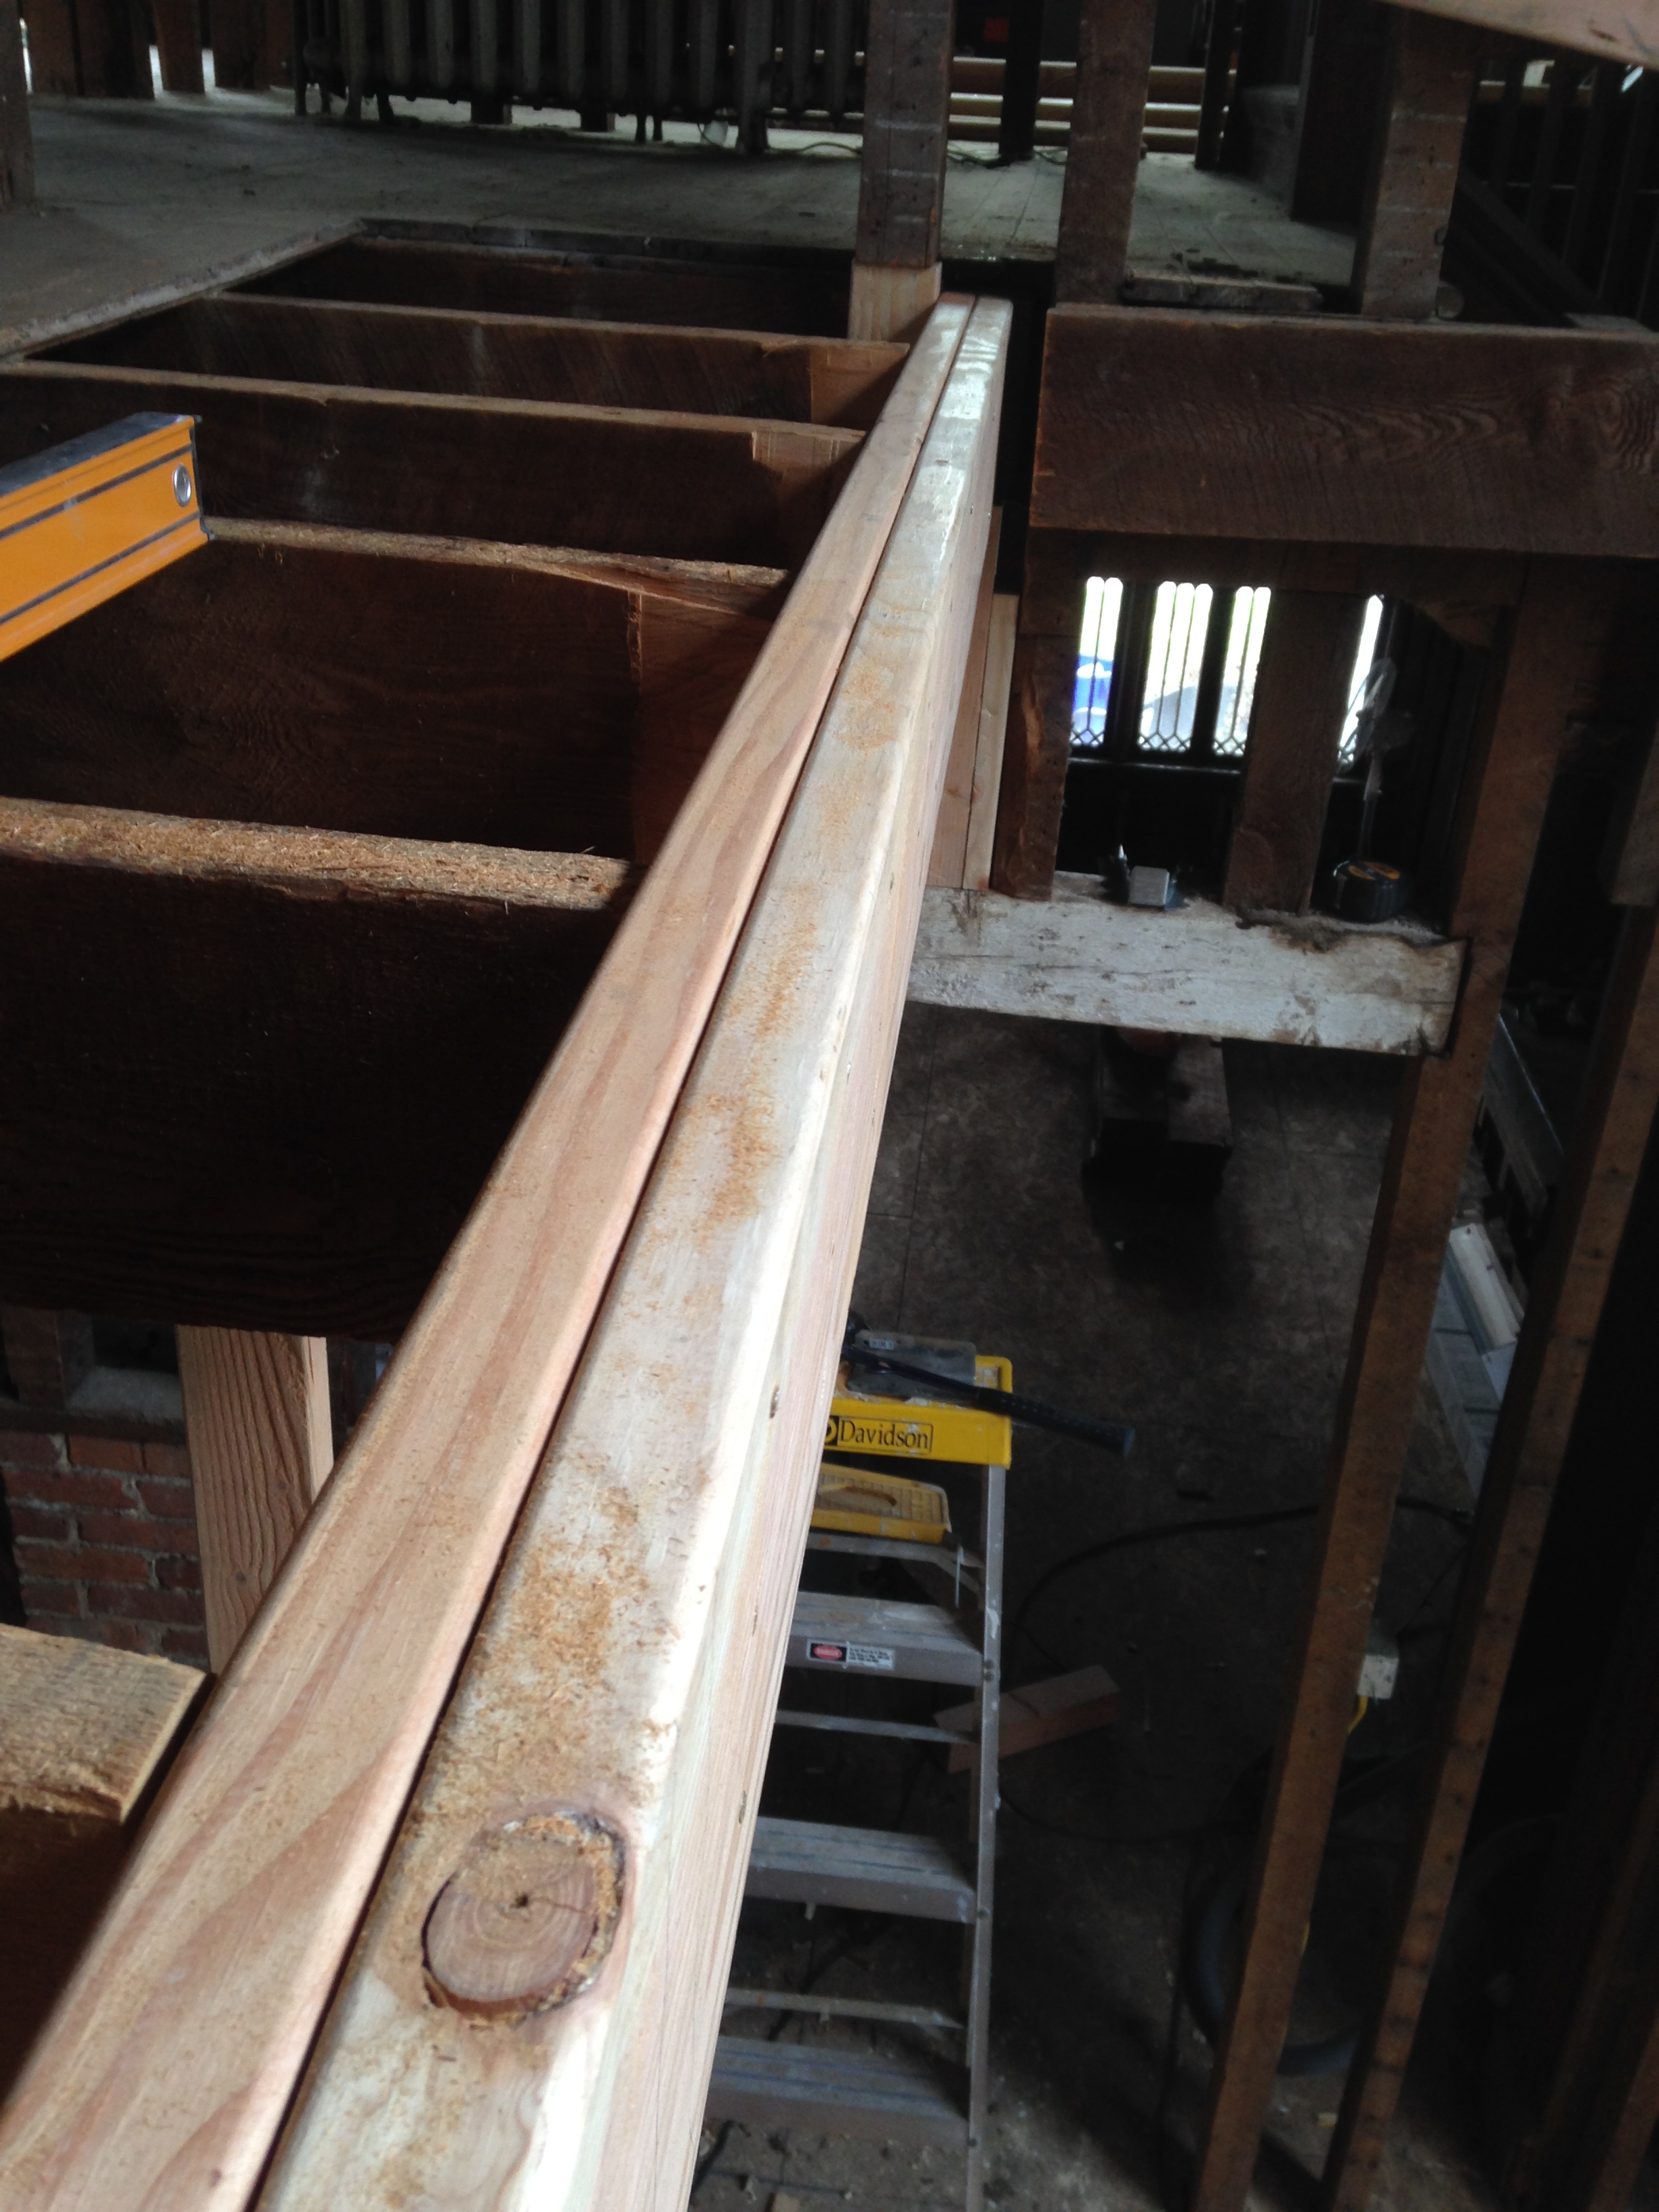


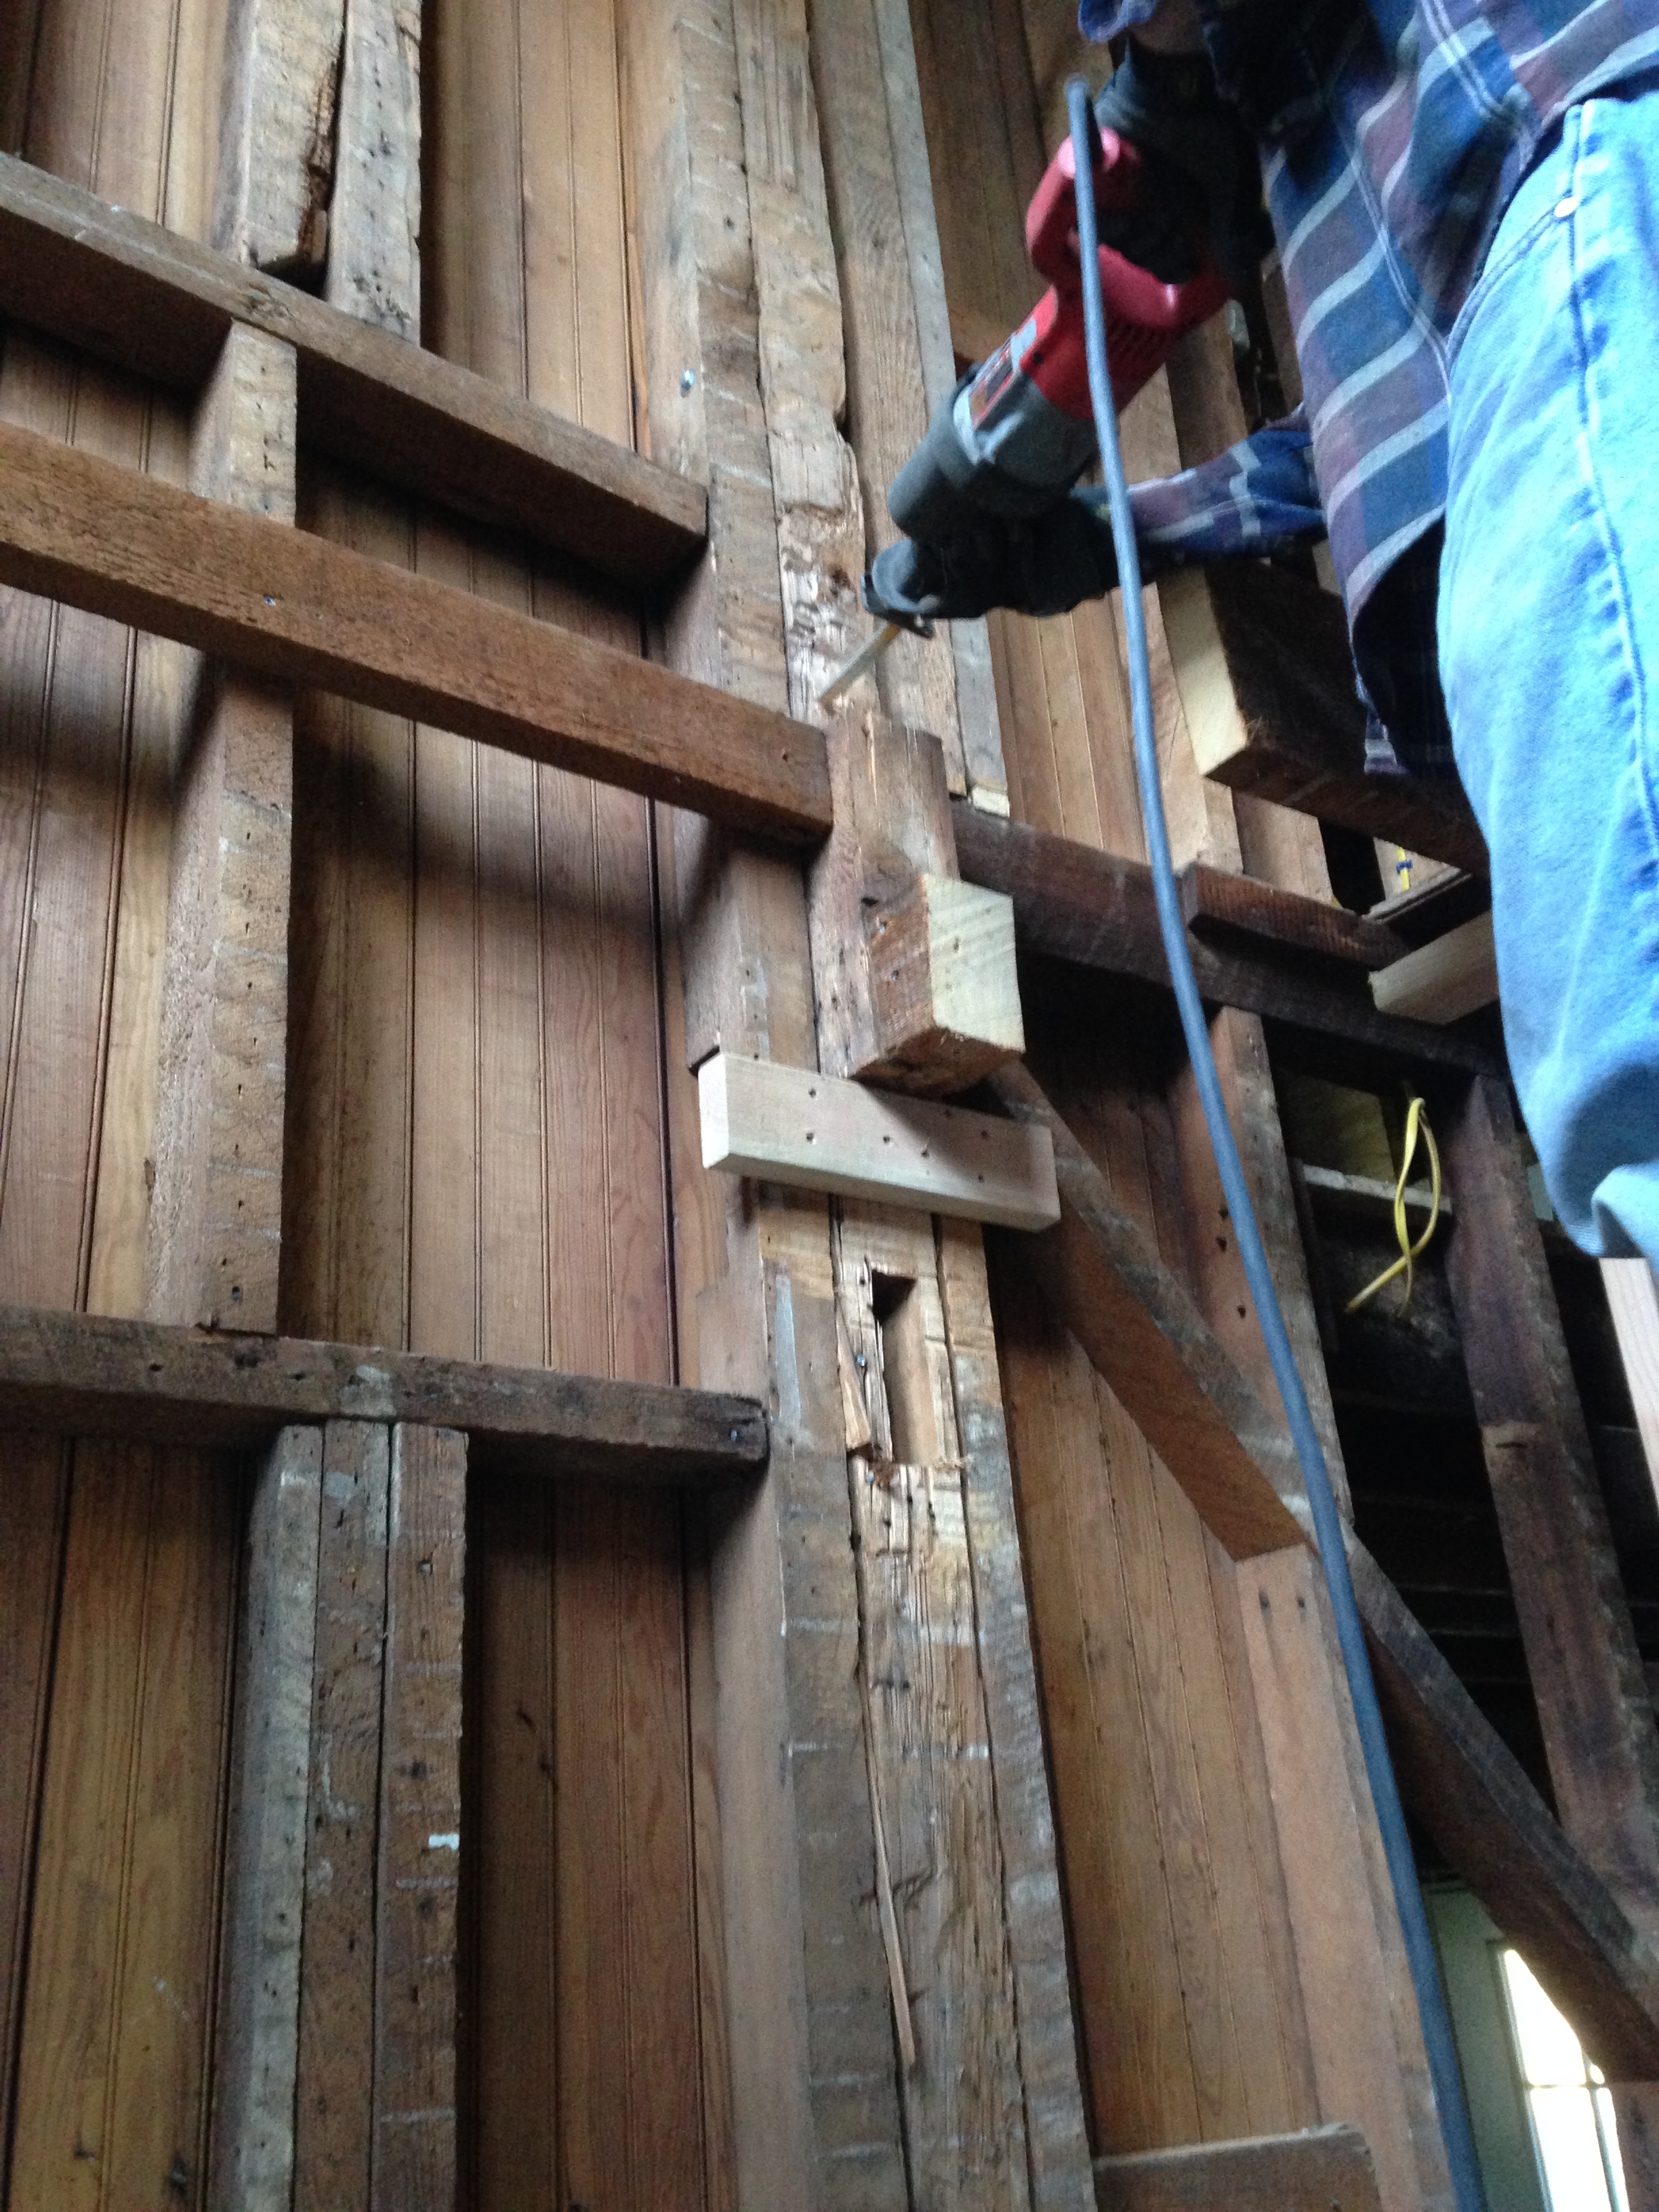
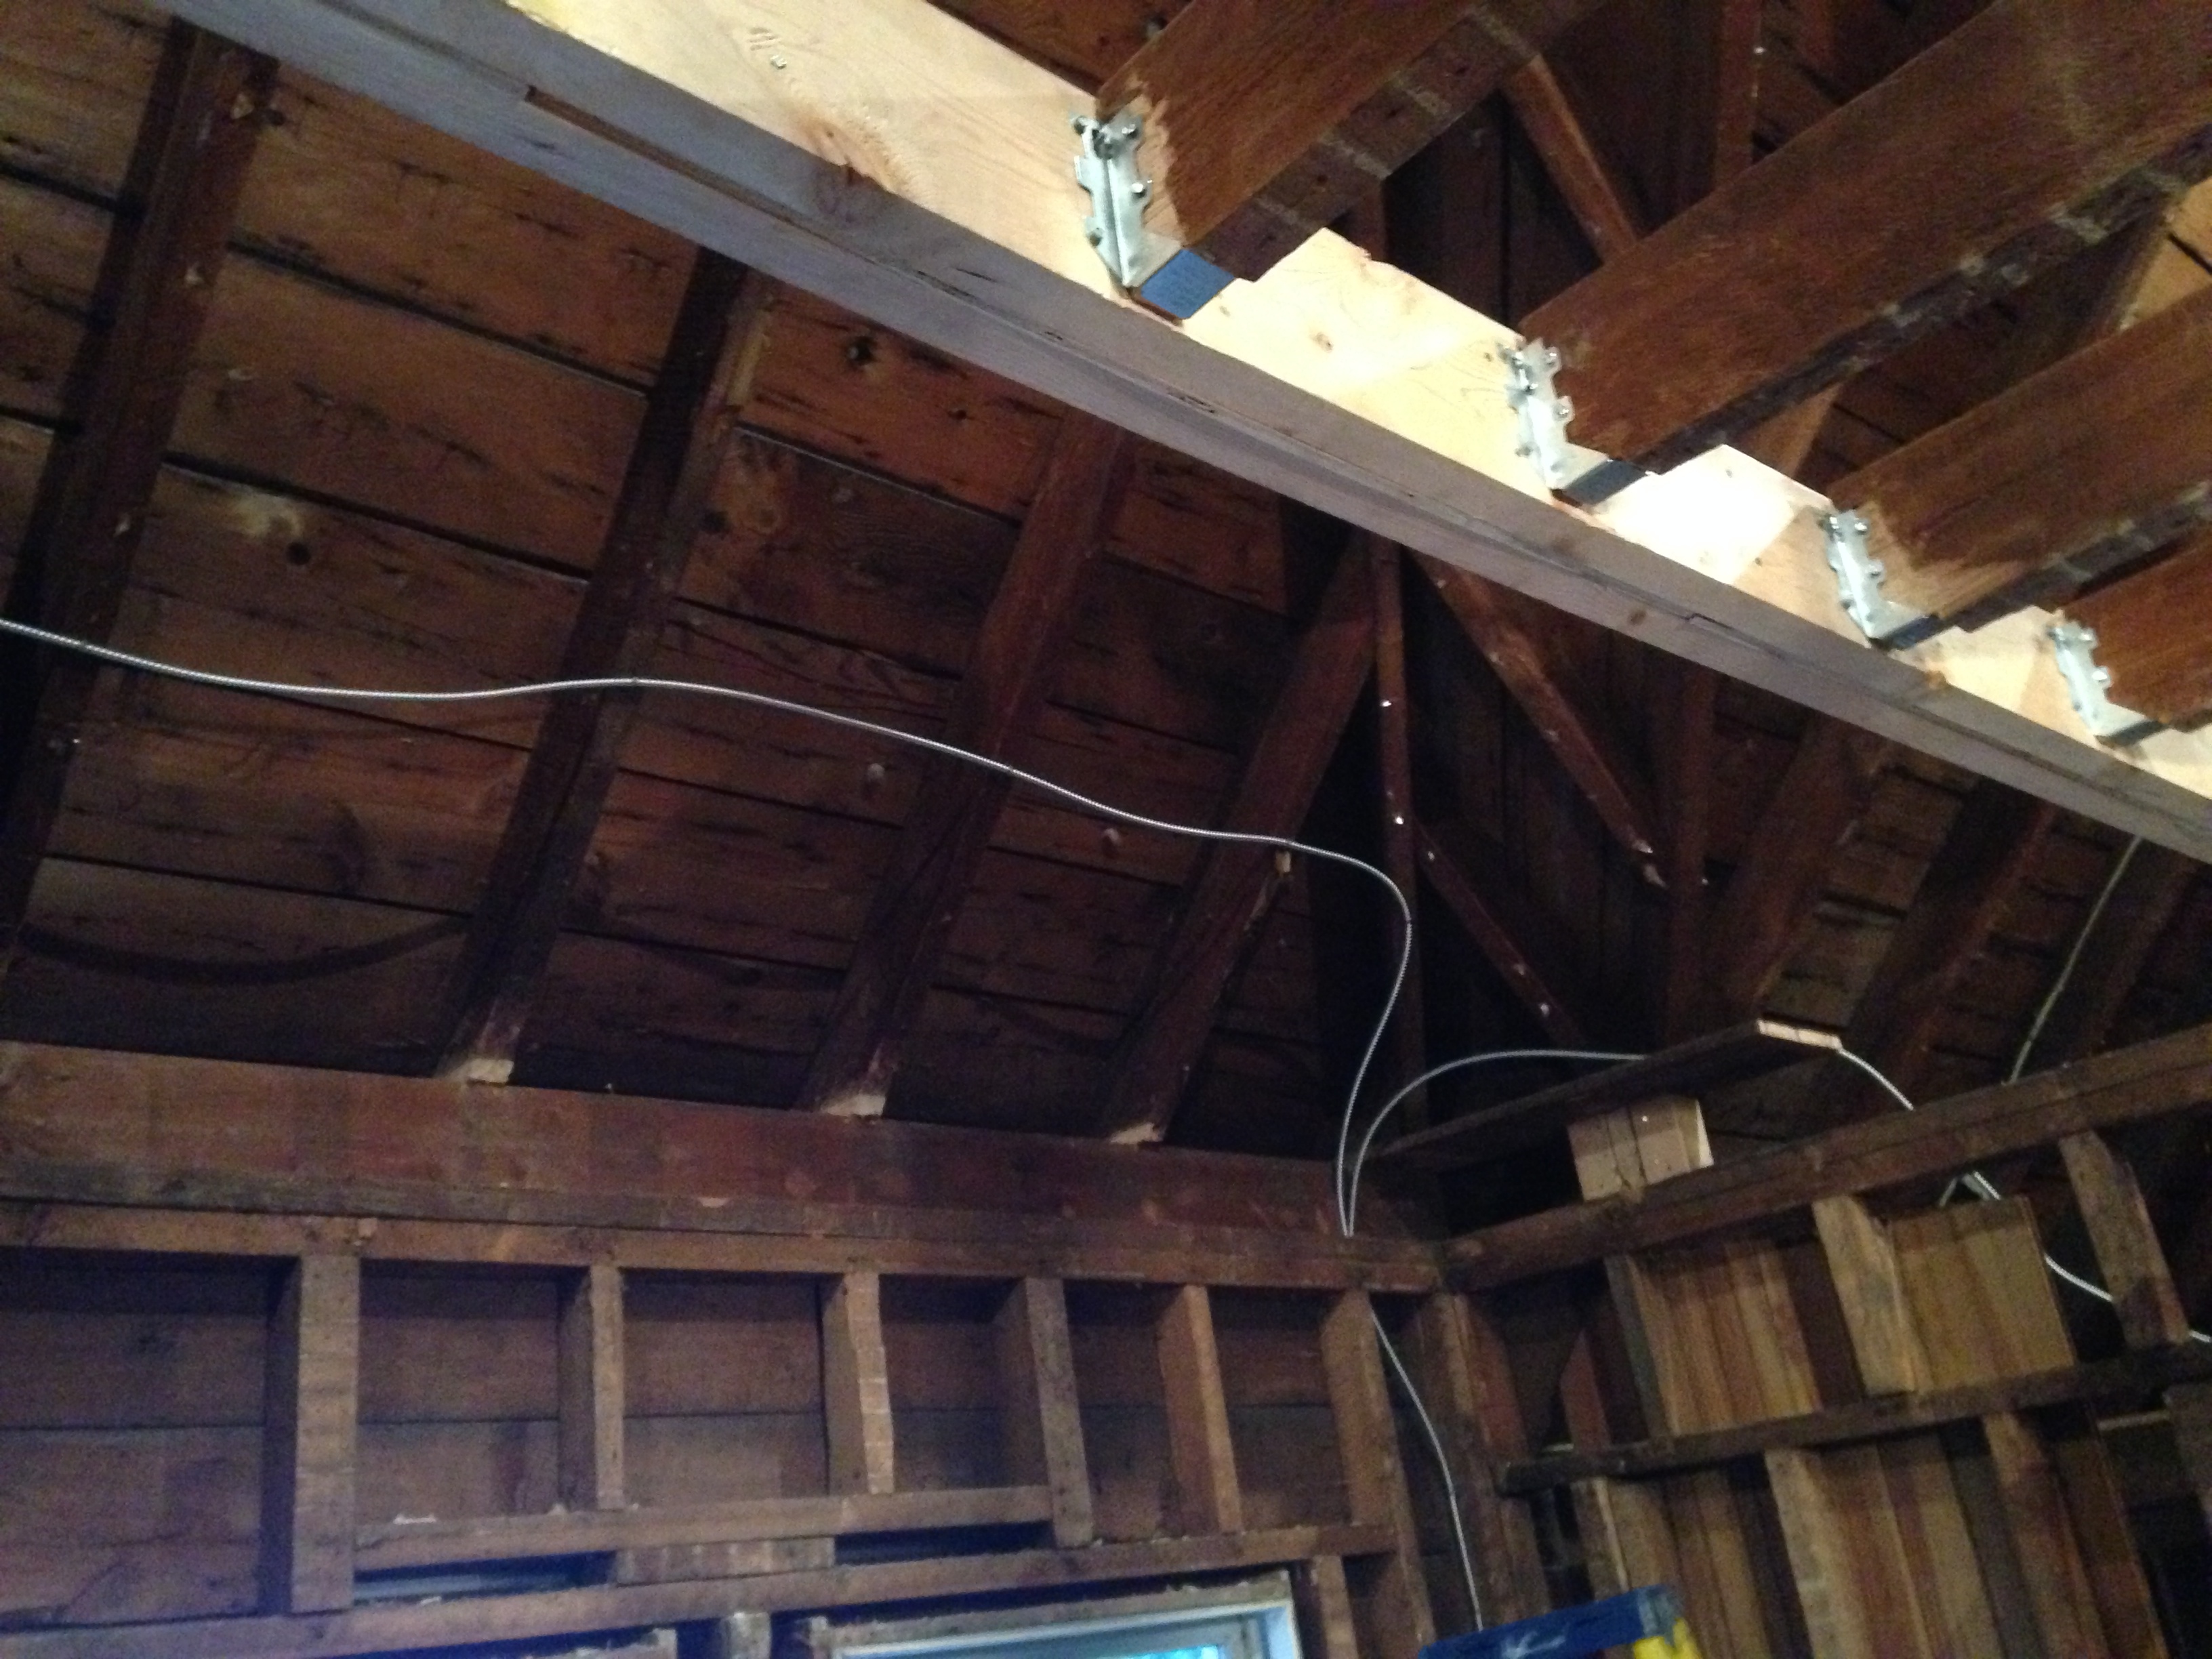
The girder is now in place. We then used joist hangers to secure them in place. No wobbling for us!
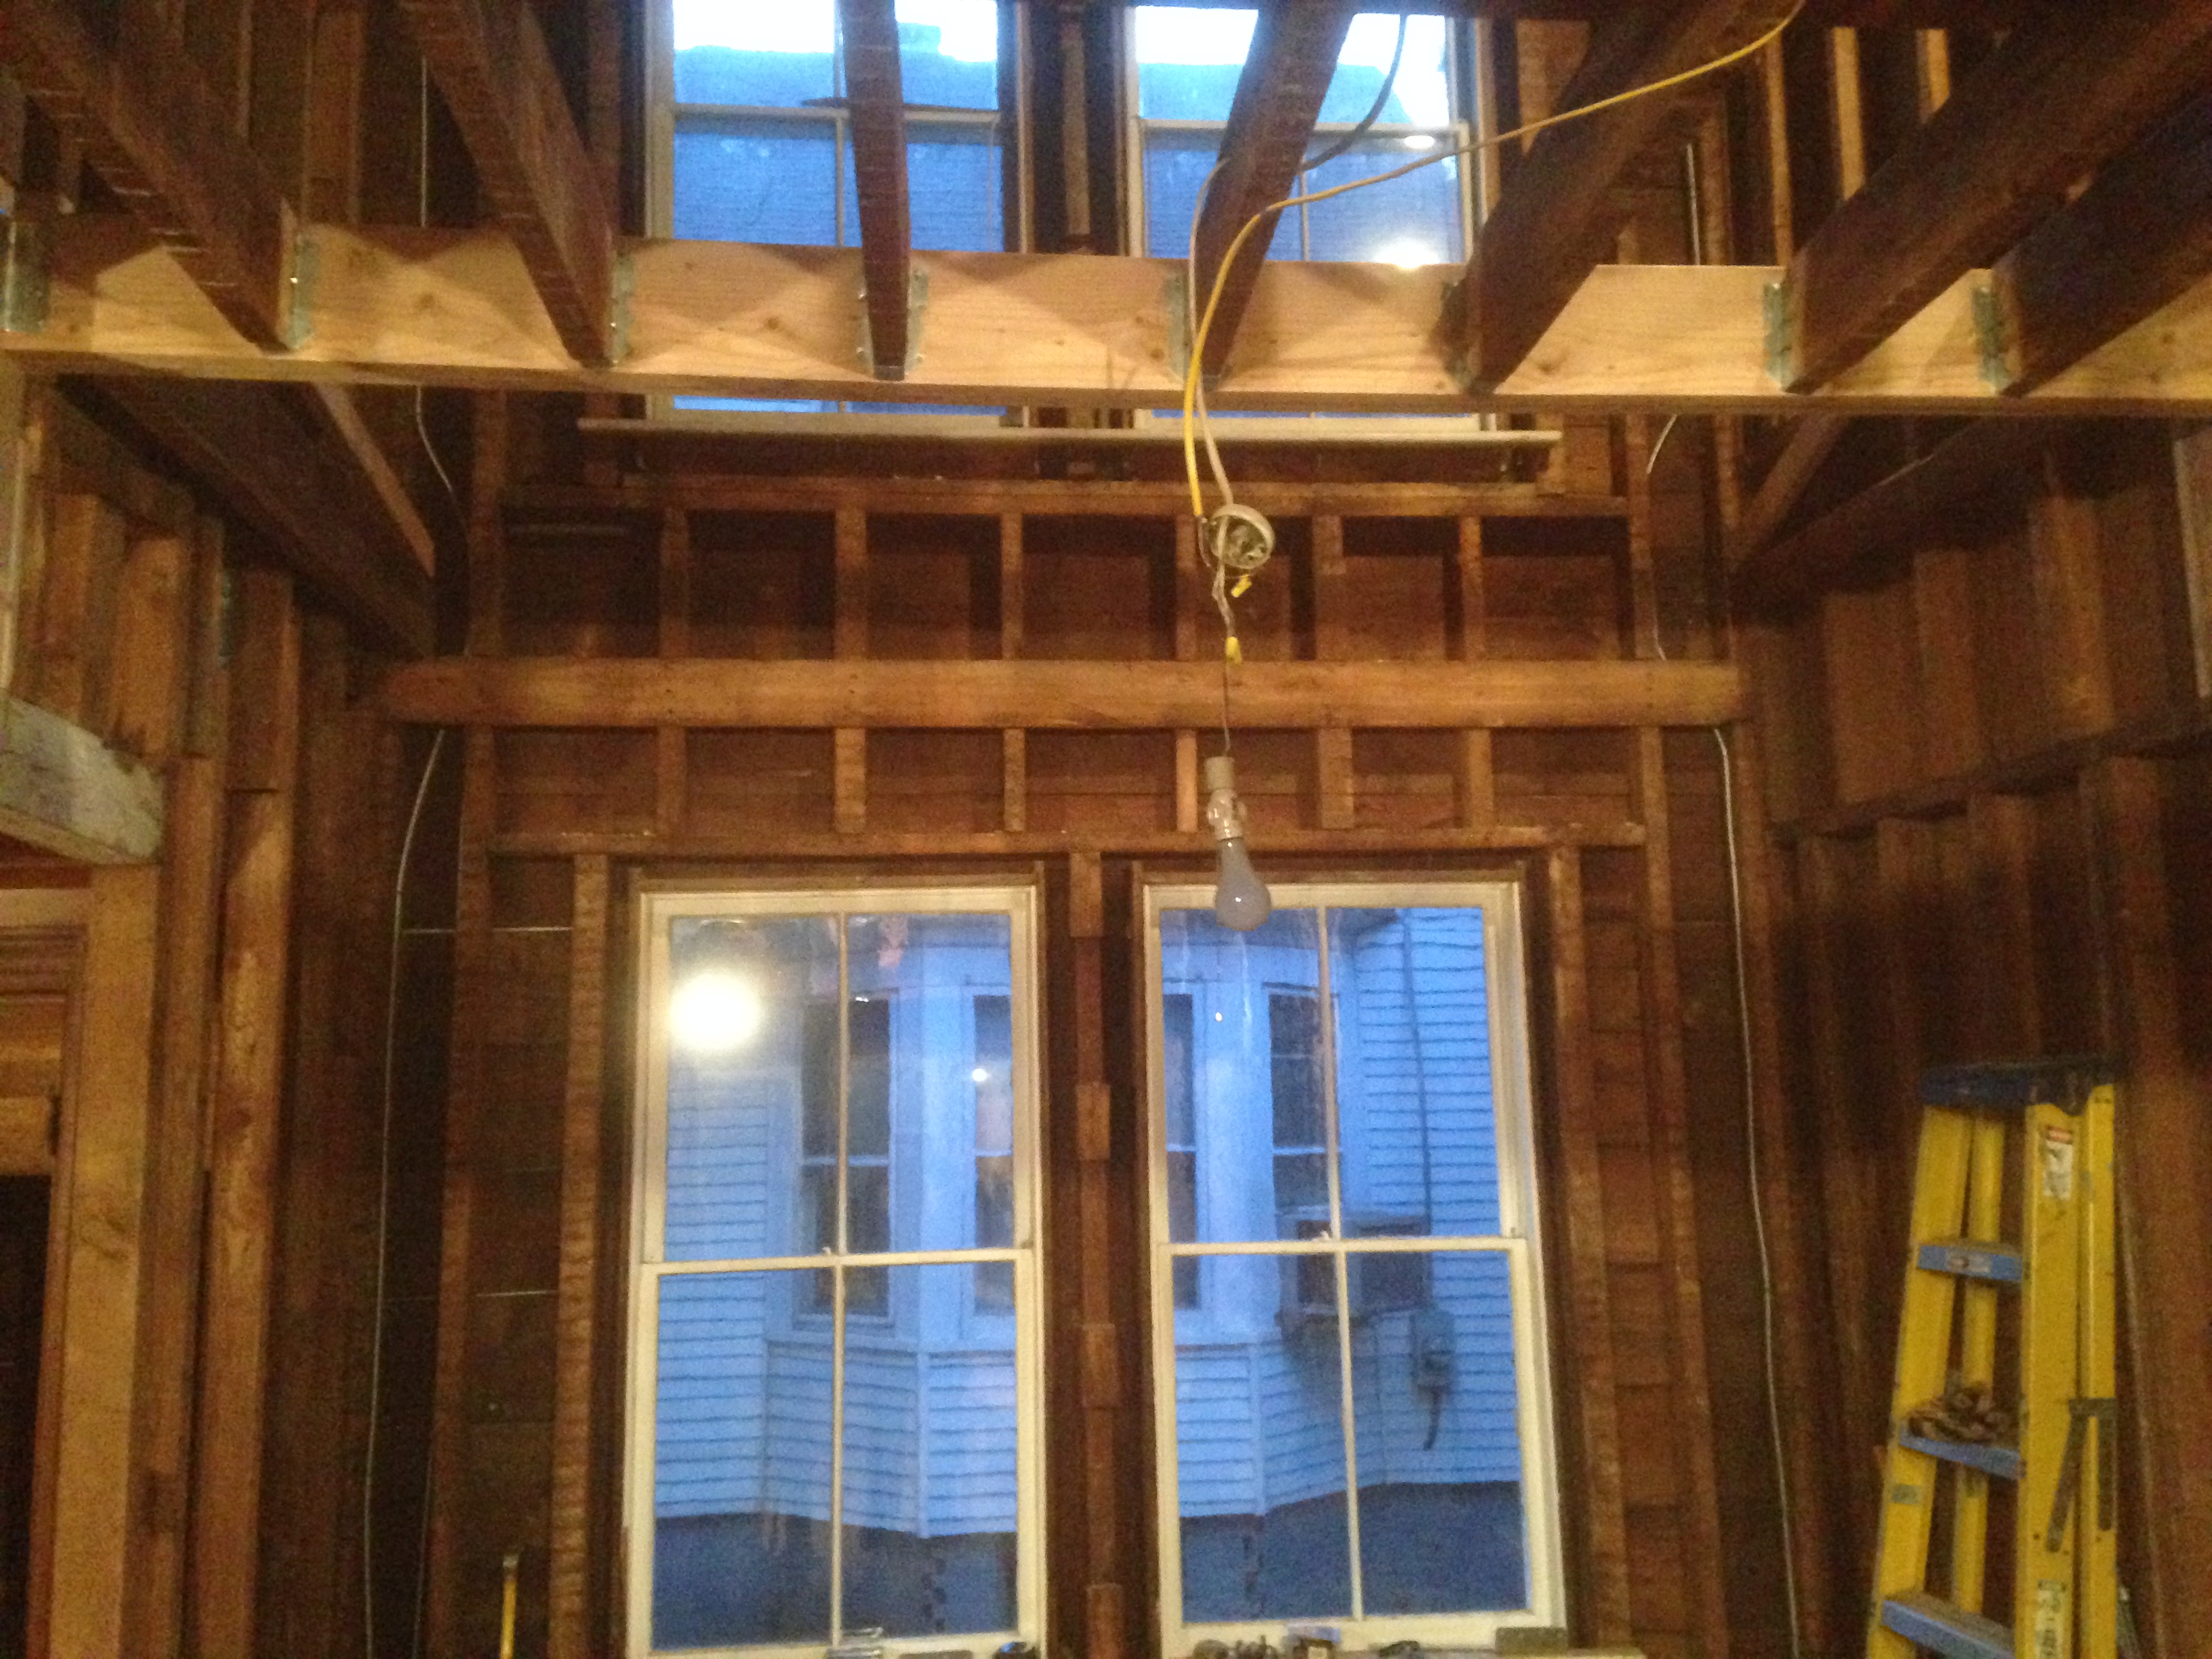

And now for some new ones:

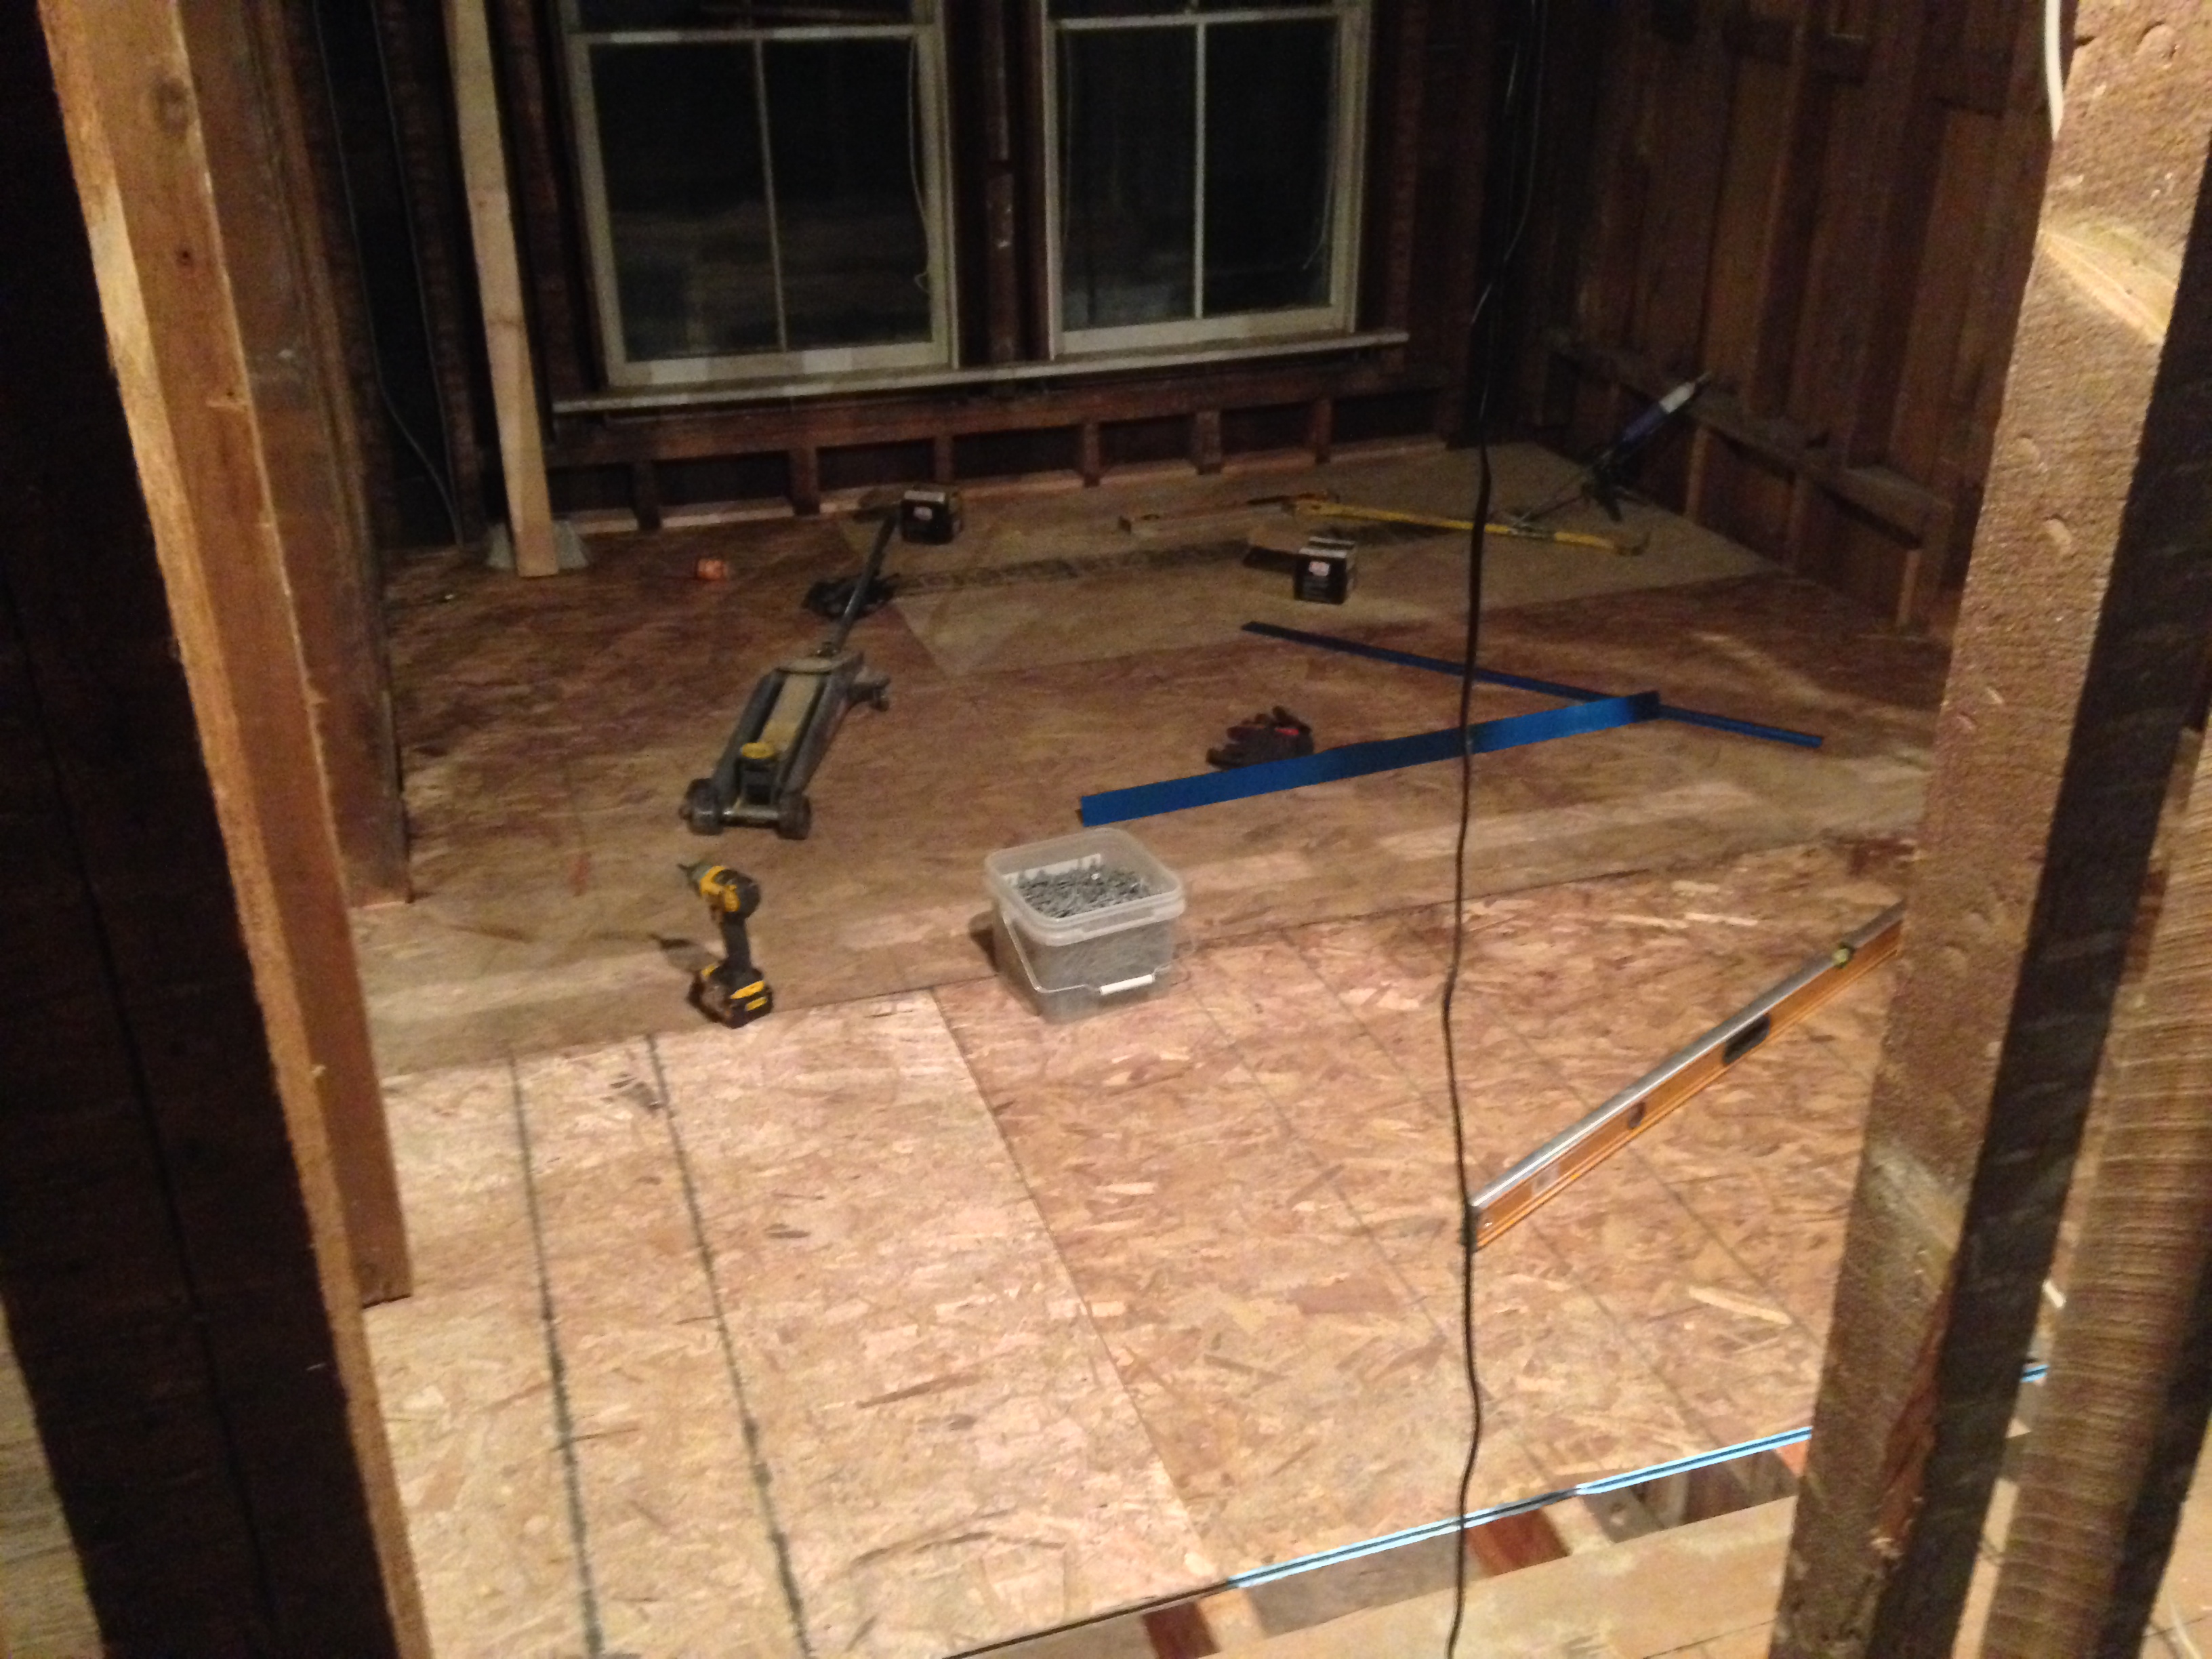
Between first floor and second done:

Then we put down some subfloor, rebuilt the wall…

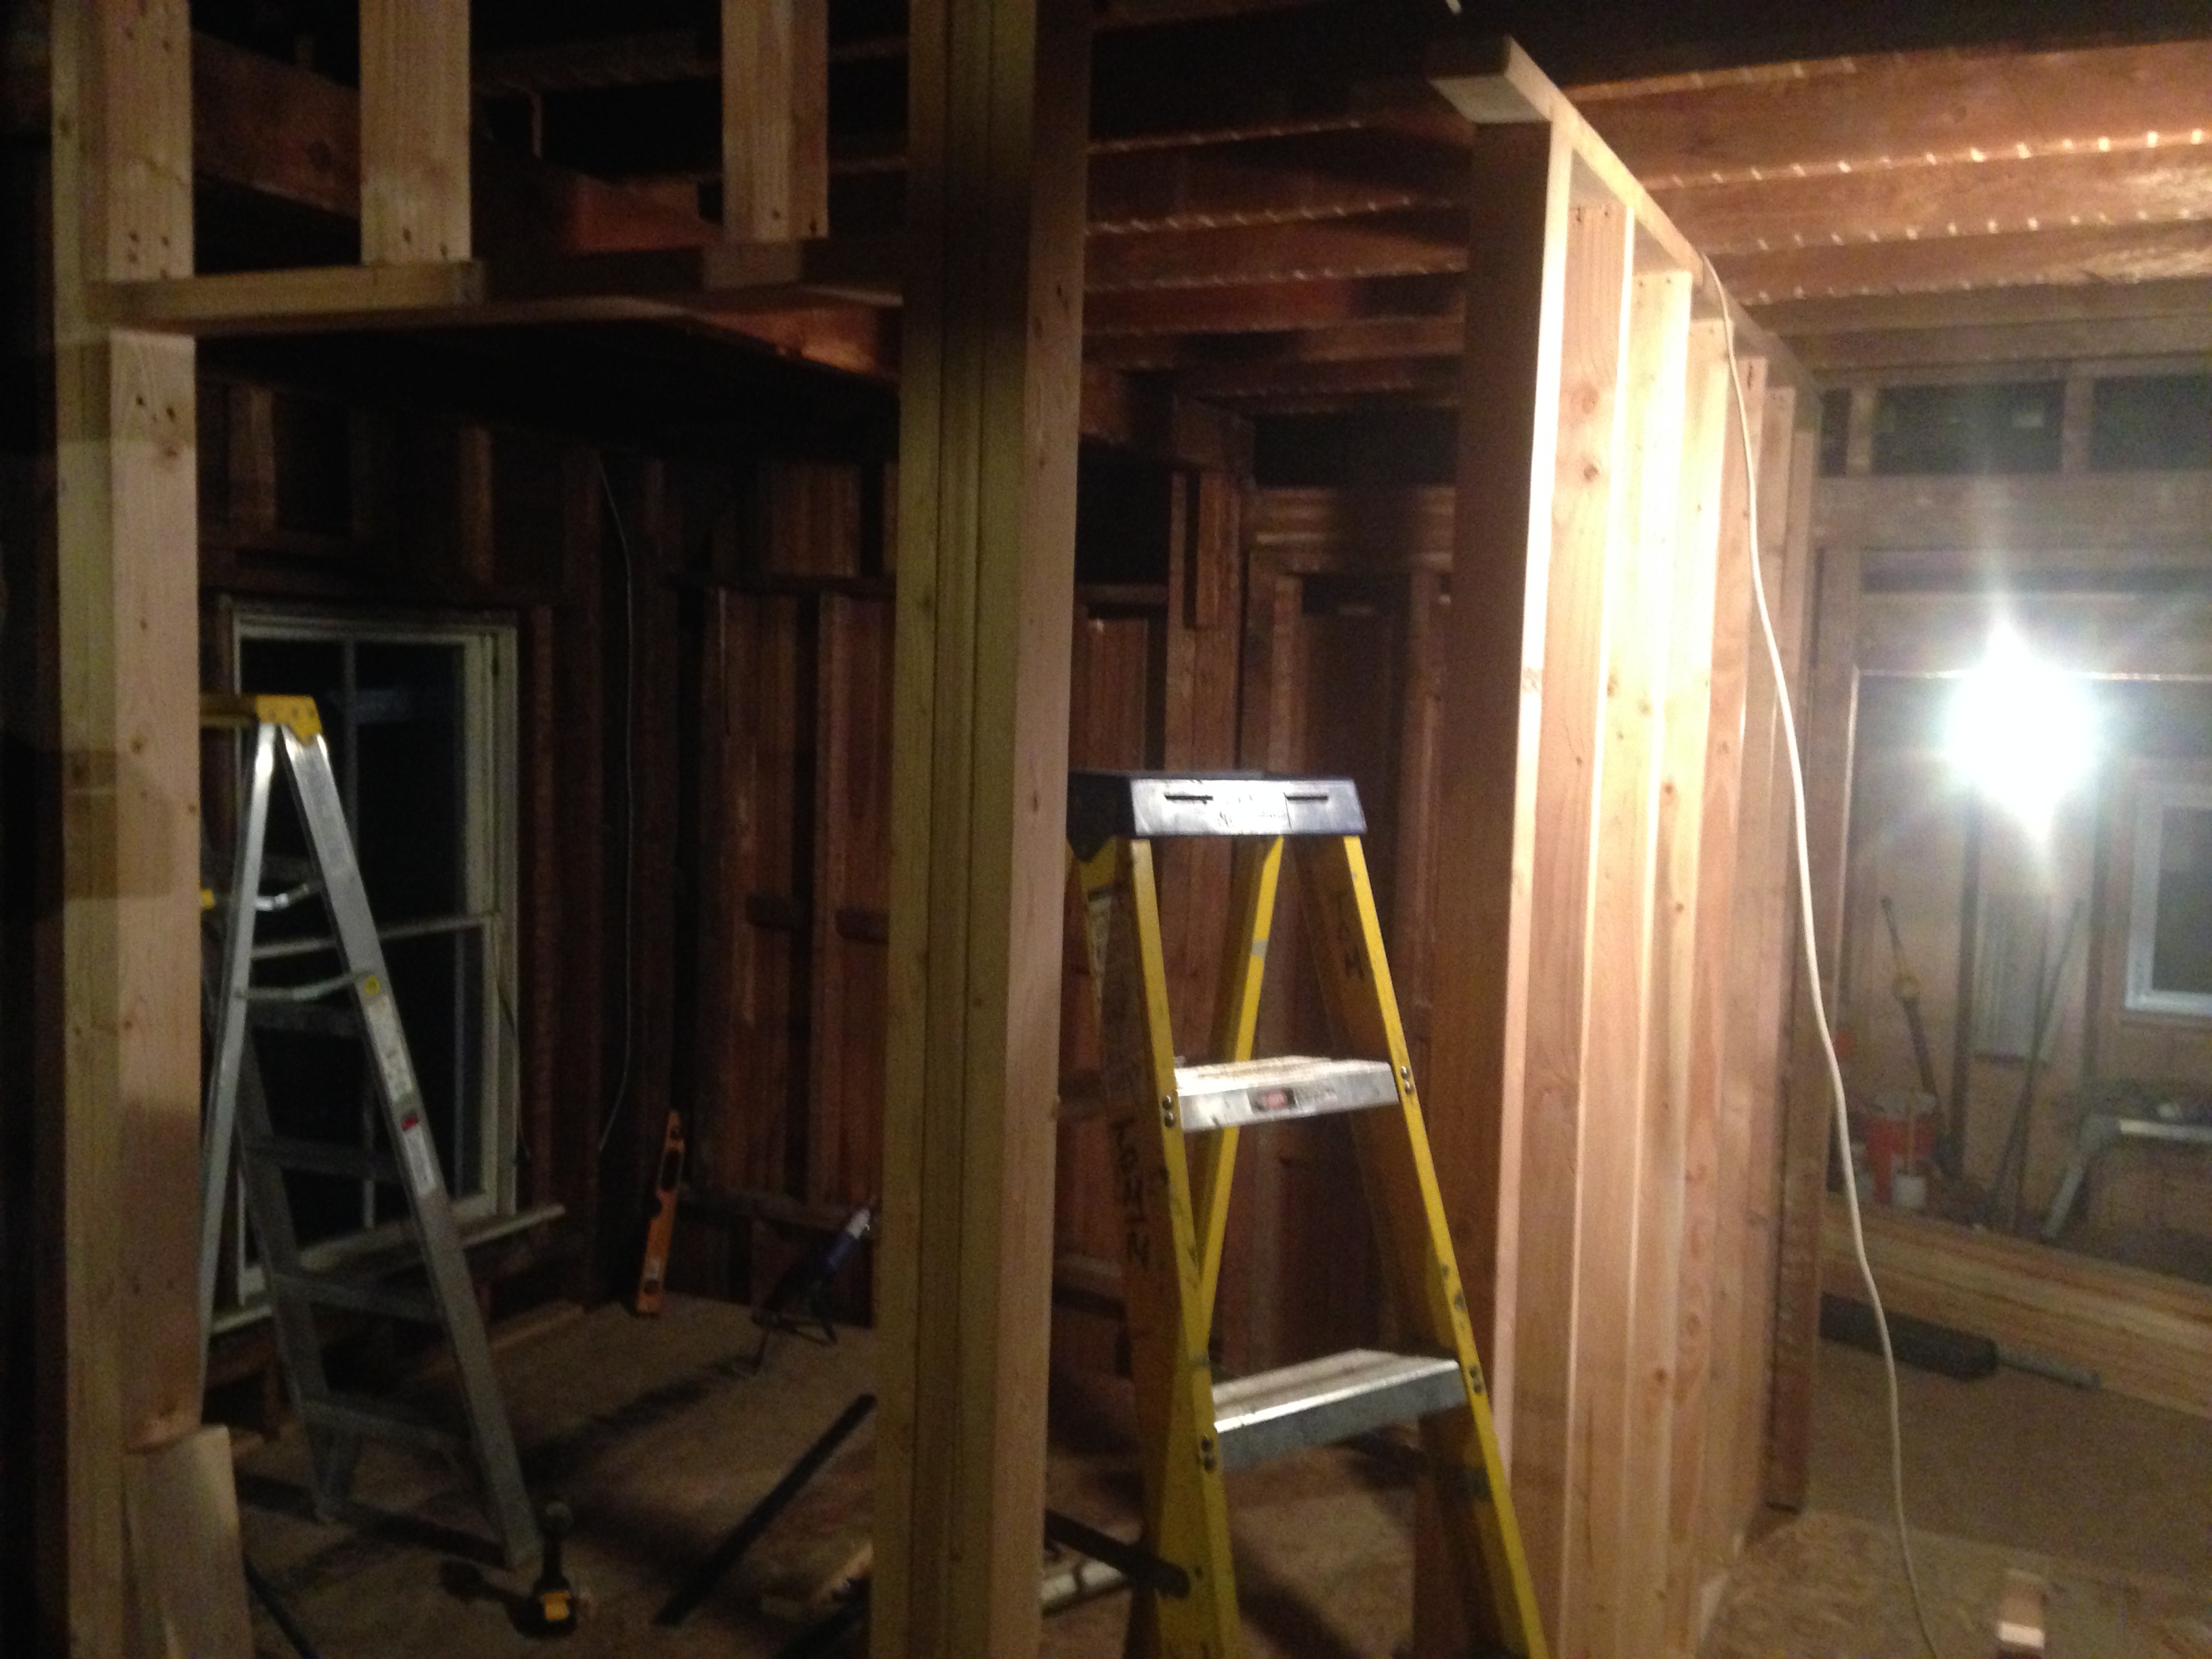
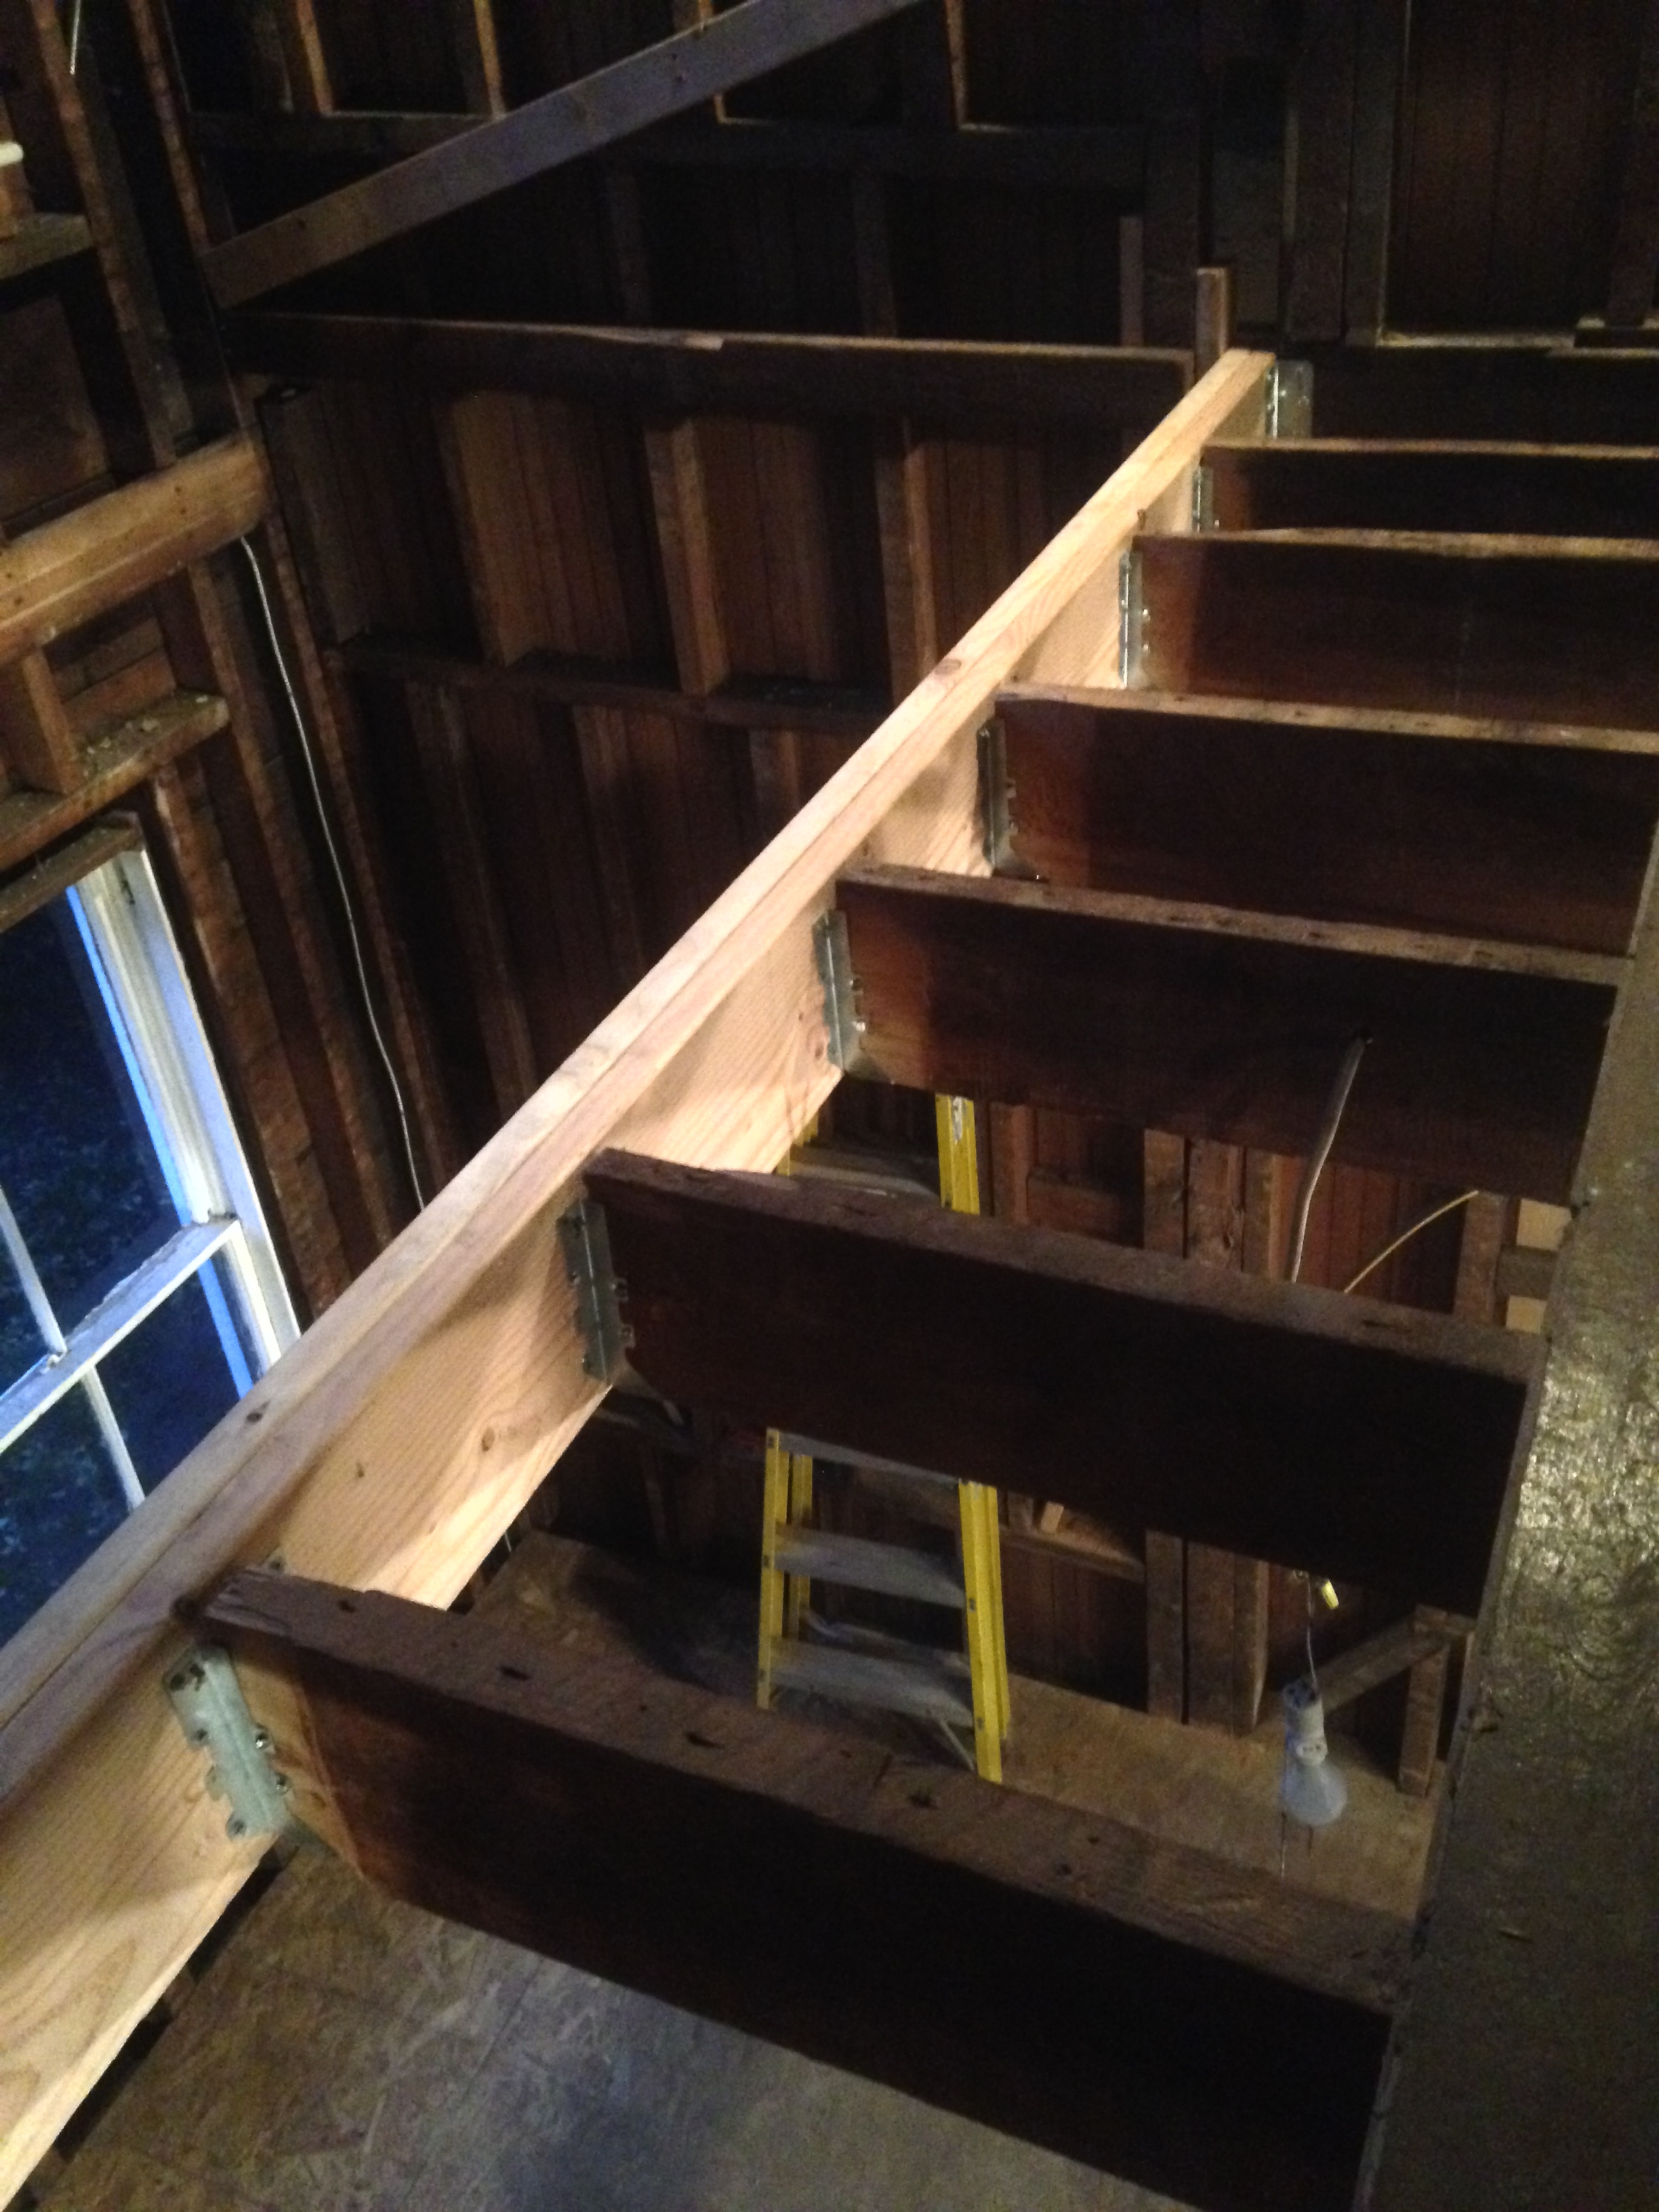
And the whole process repeated again for between the second floor and the attic:

And done! Safe, secure and ready for some floor.