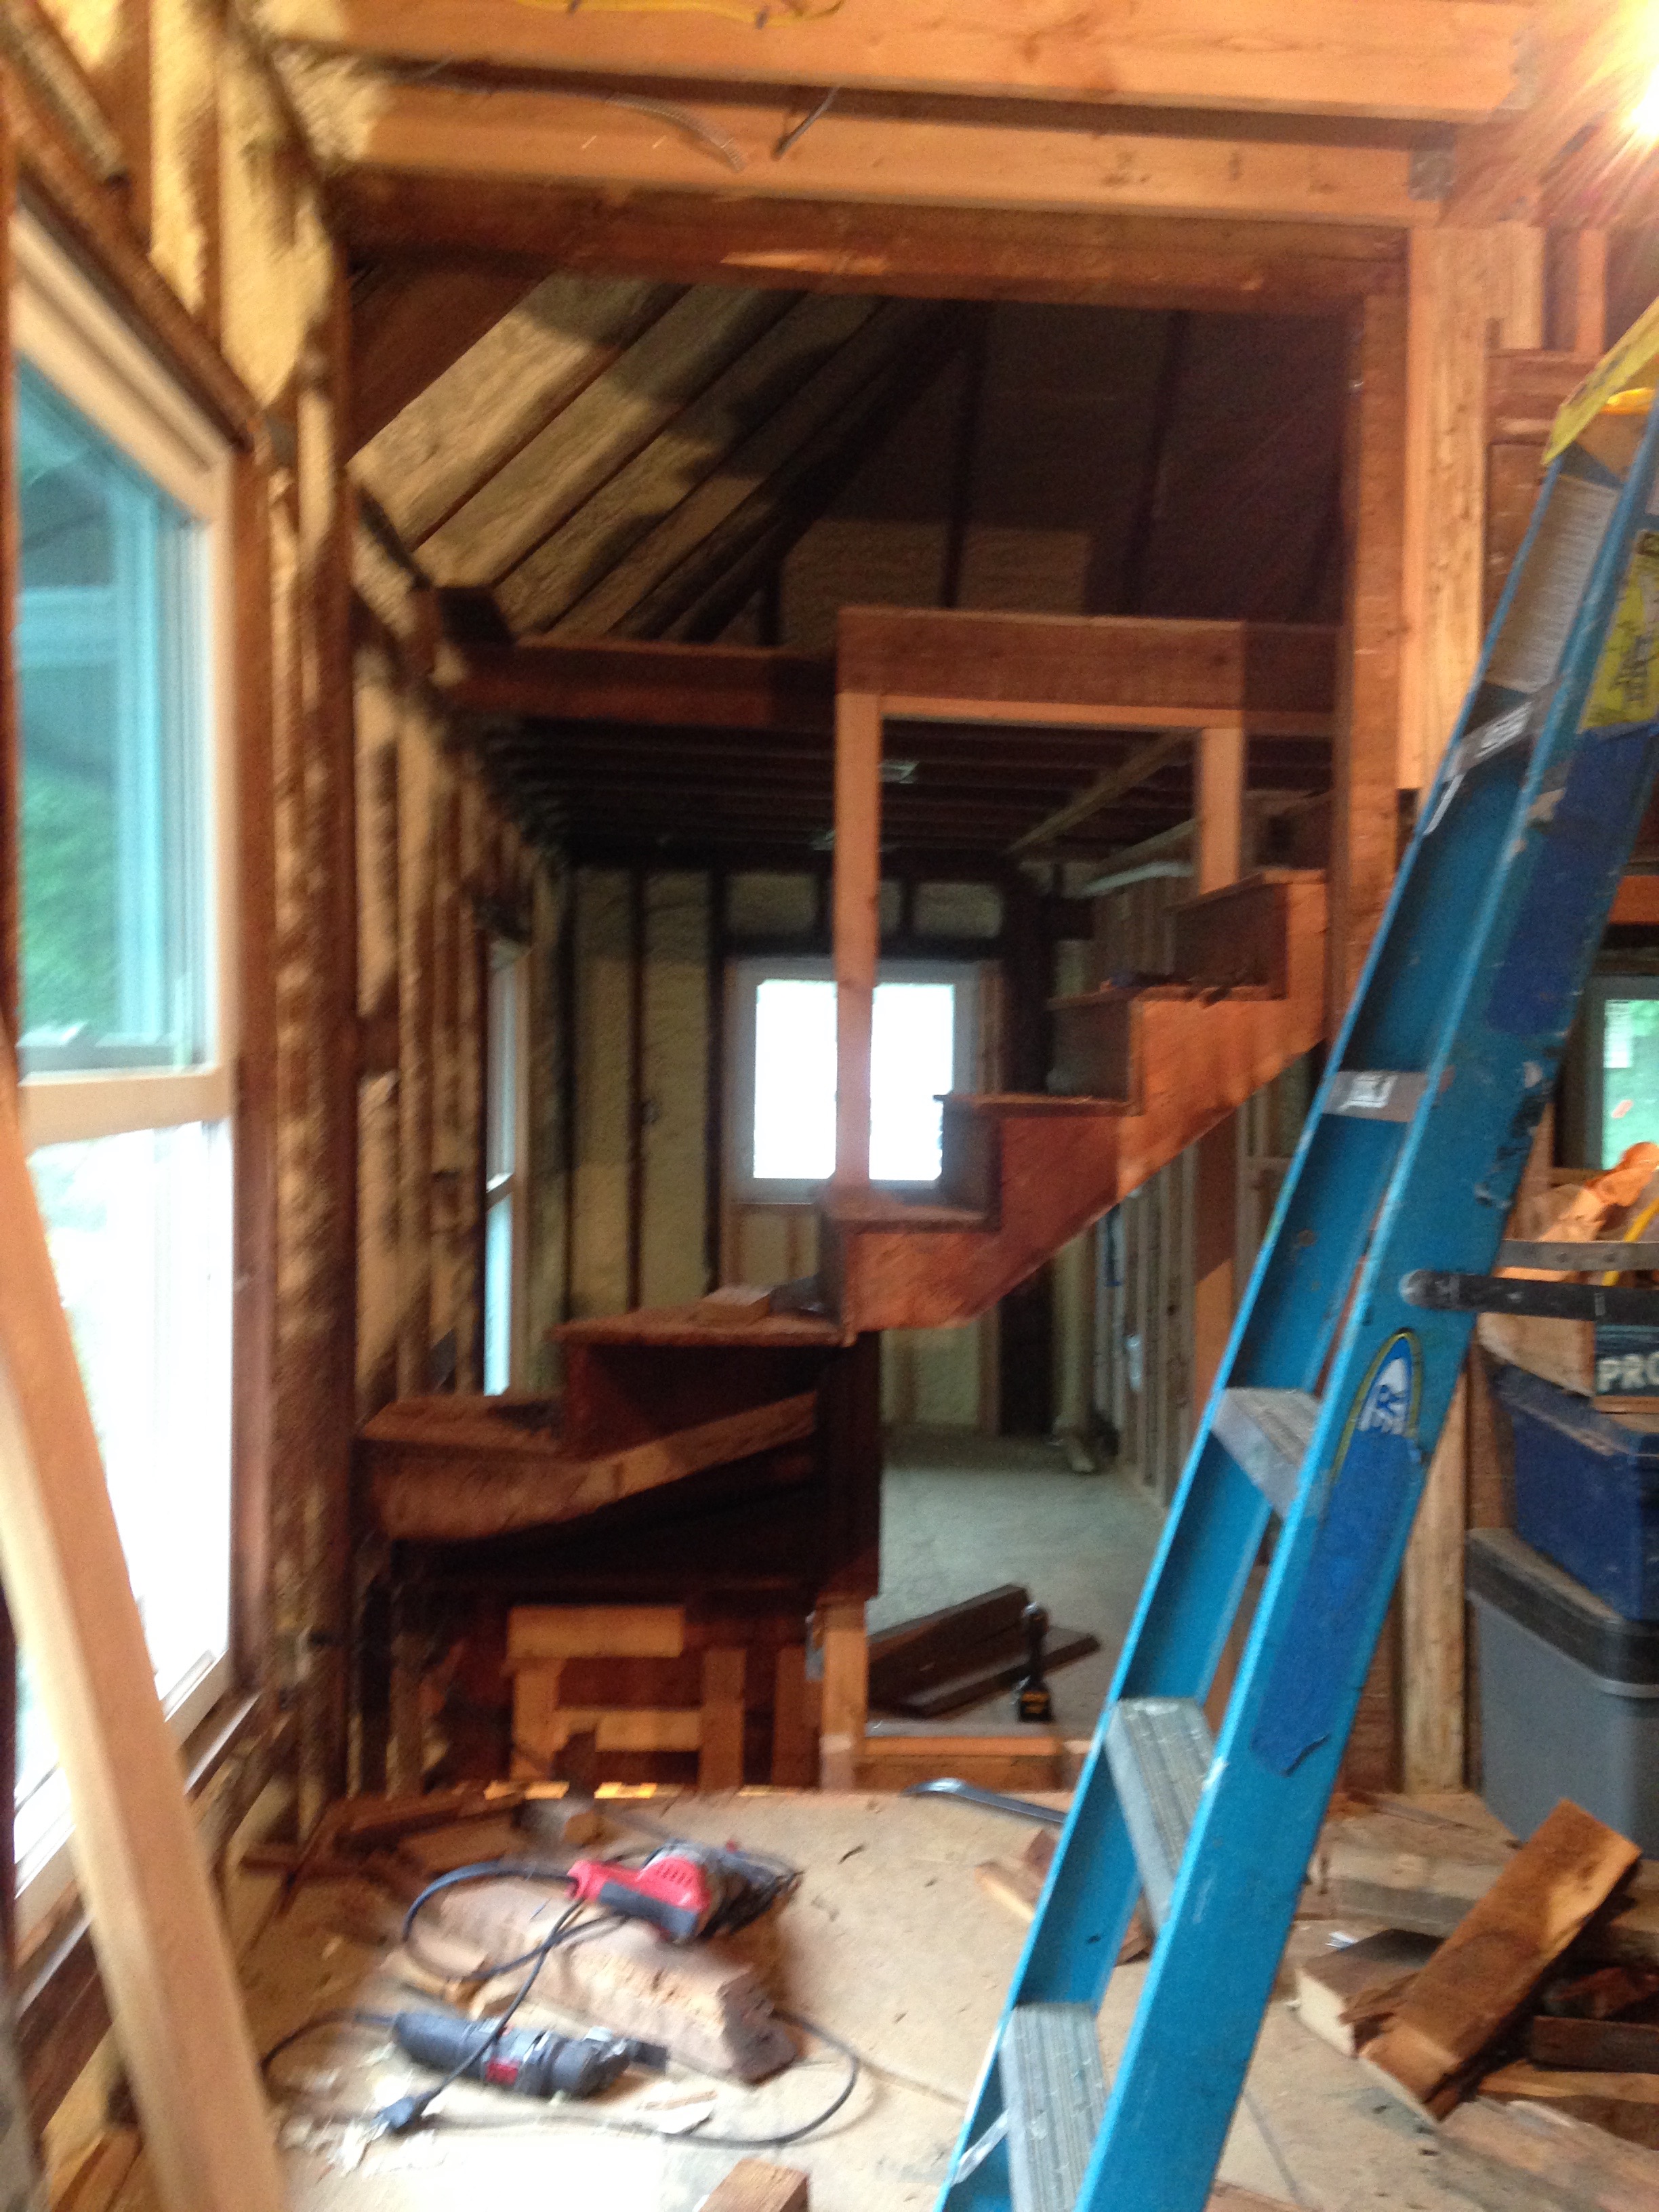
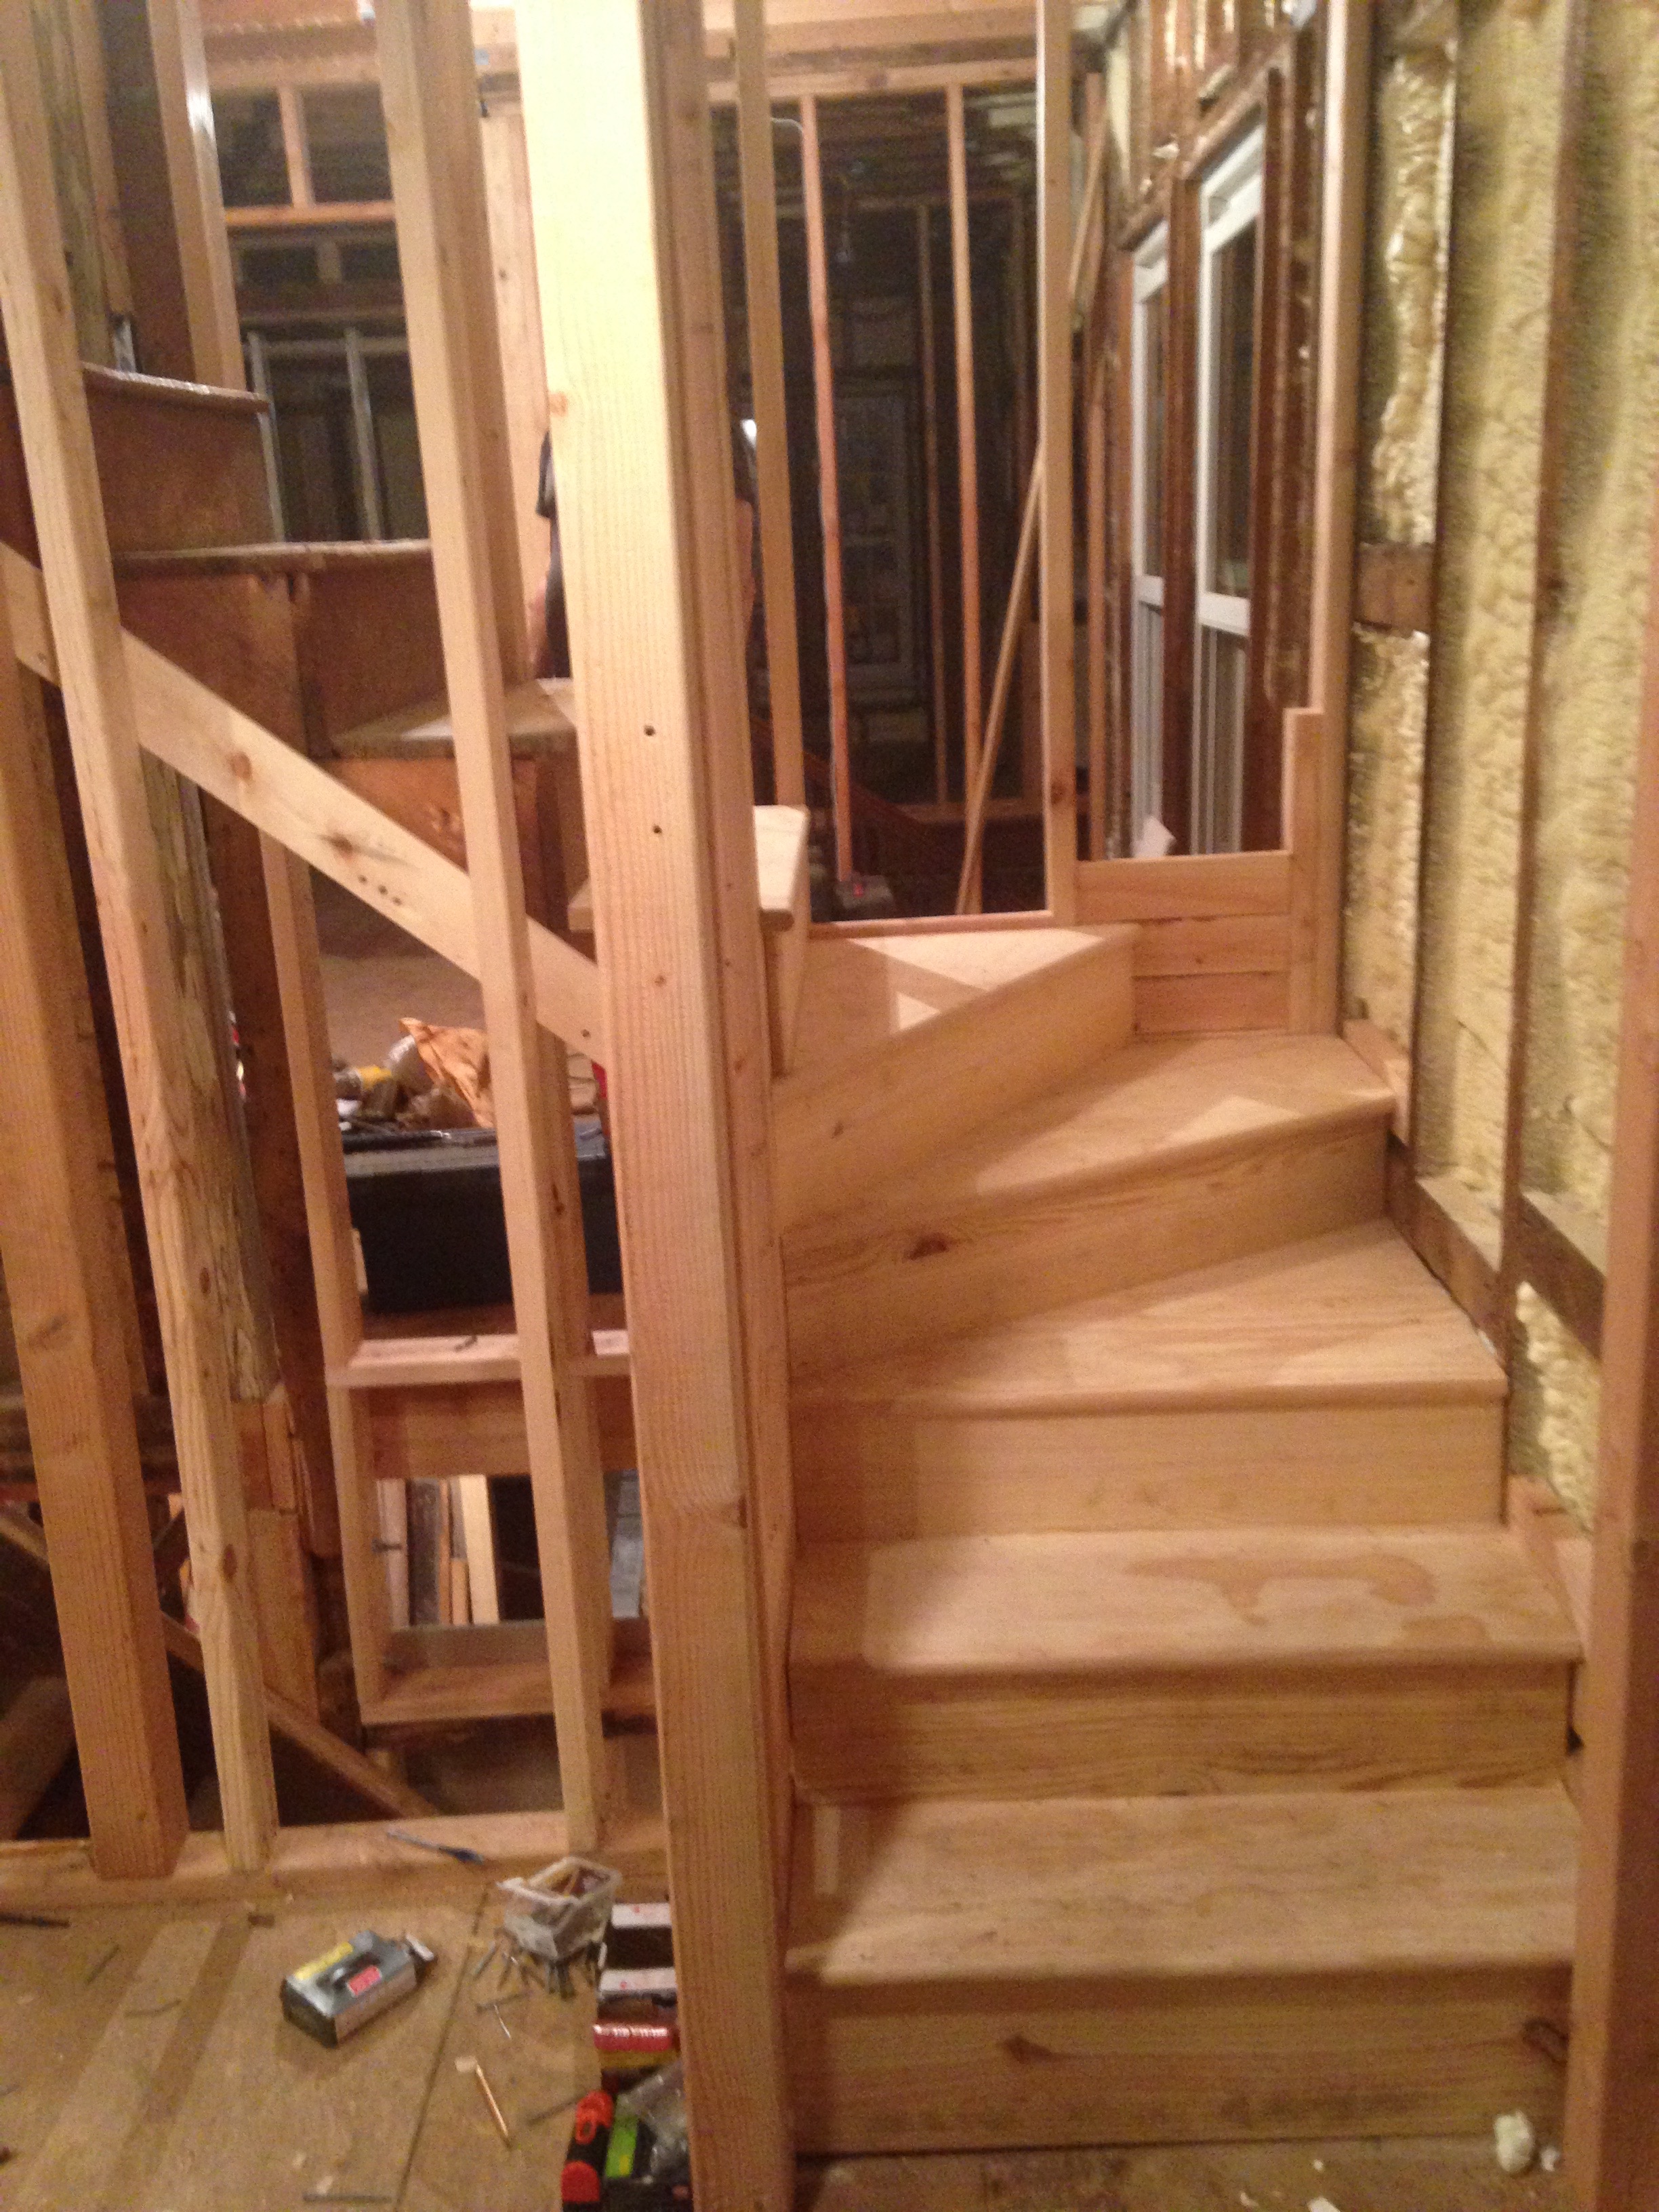
Though no one’s fault in particular (it was definitely me) the first few steps going up to the walkup attic were broken and currently being held up with some makeshift fixes (I nailed some wood to the frame and they sat on that, I’m thankful no one fell though).
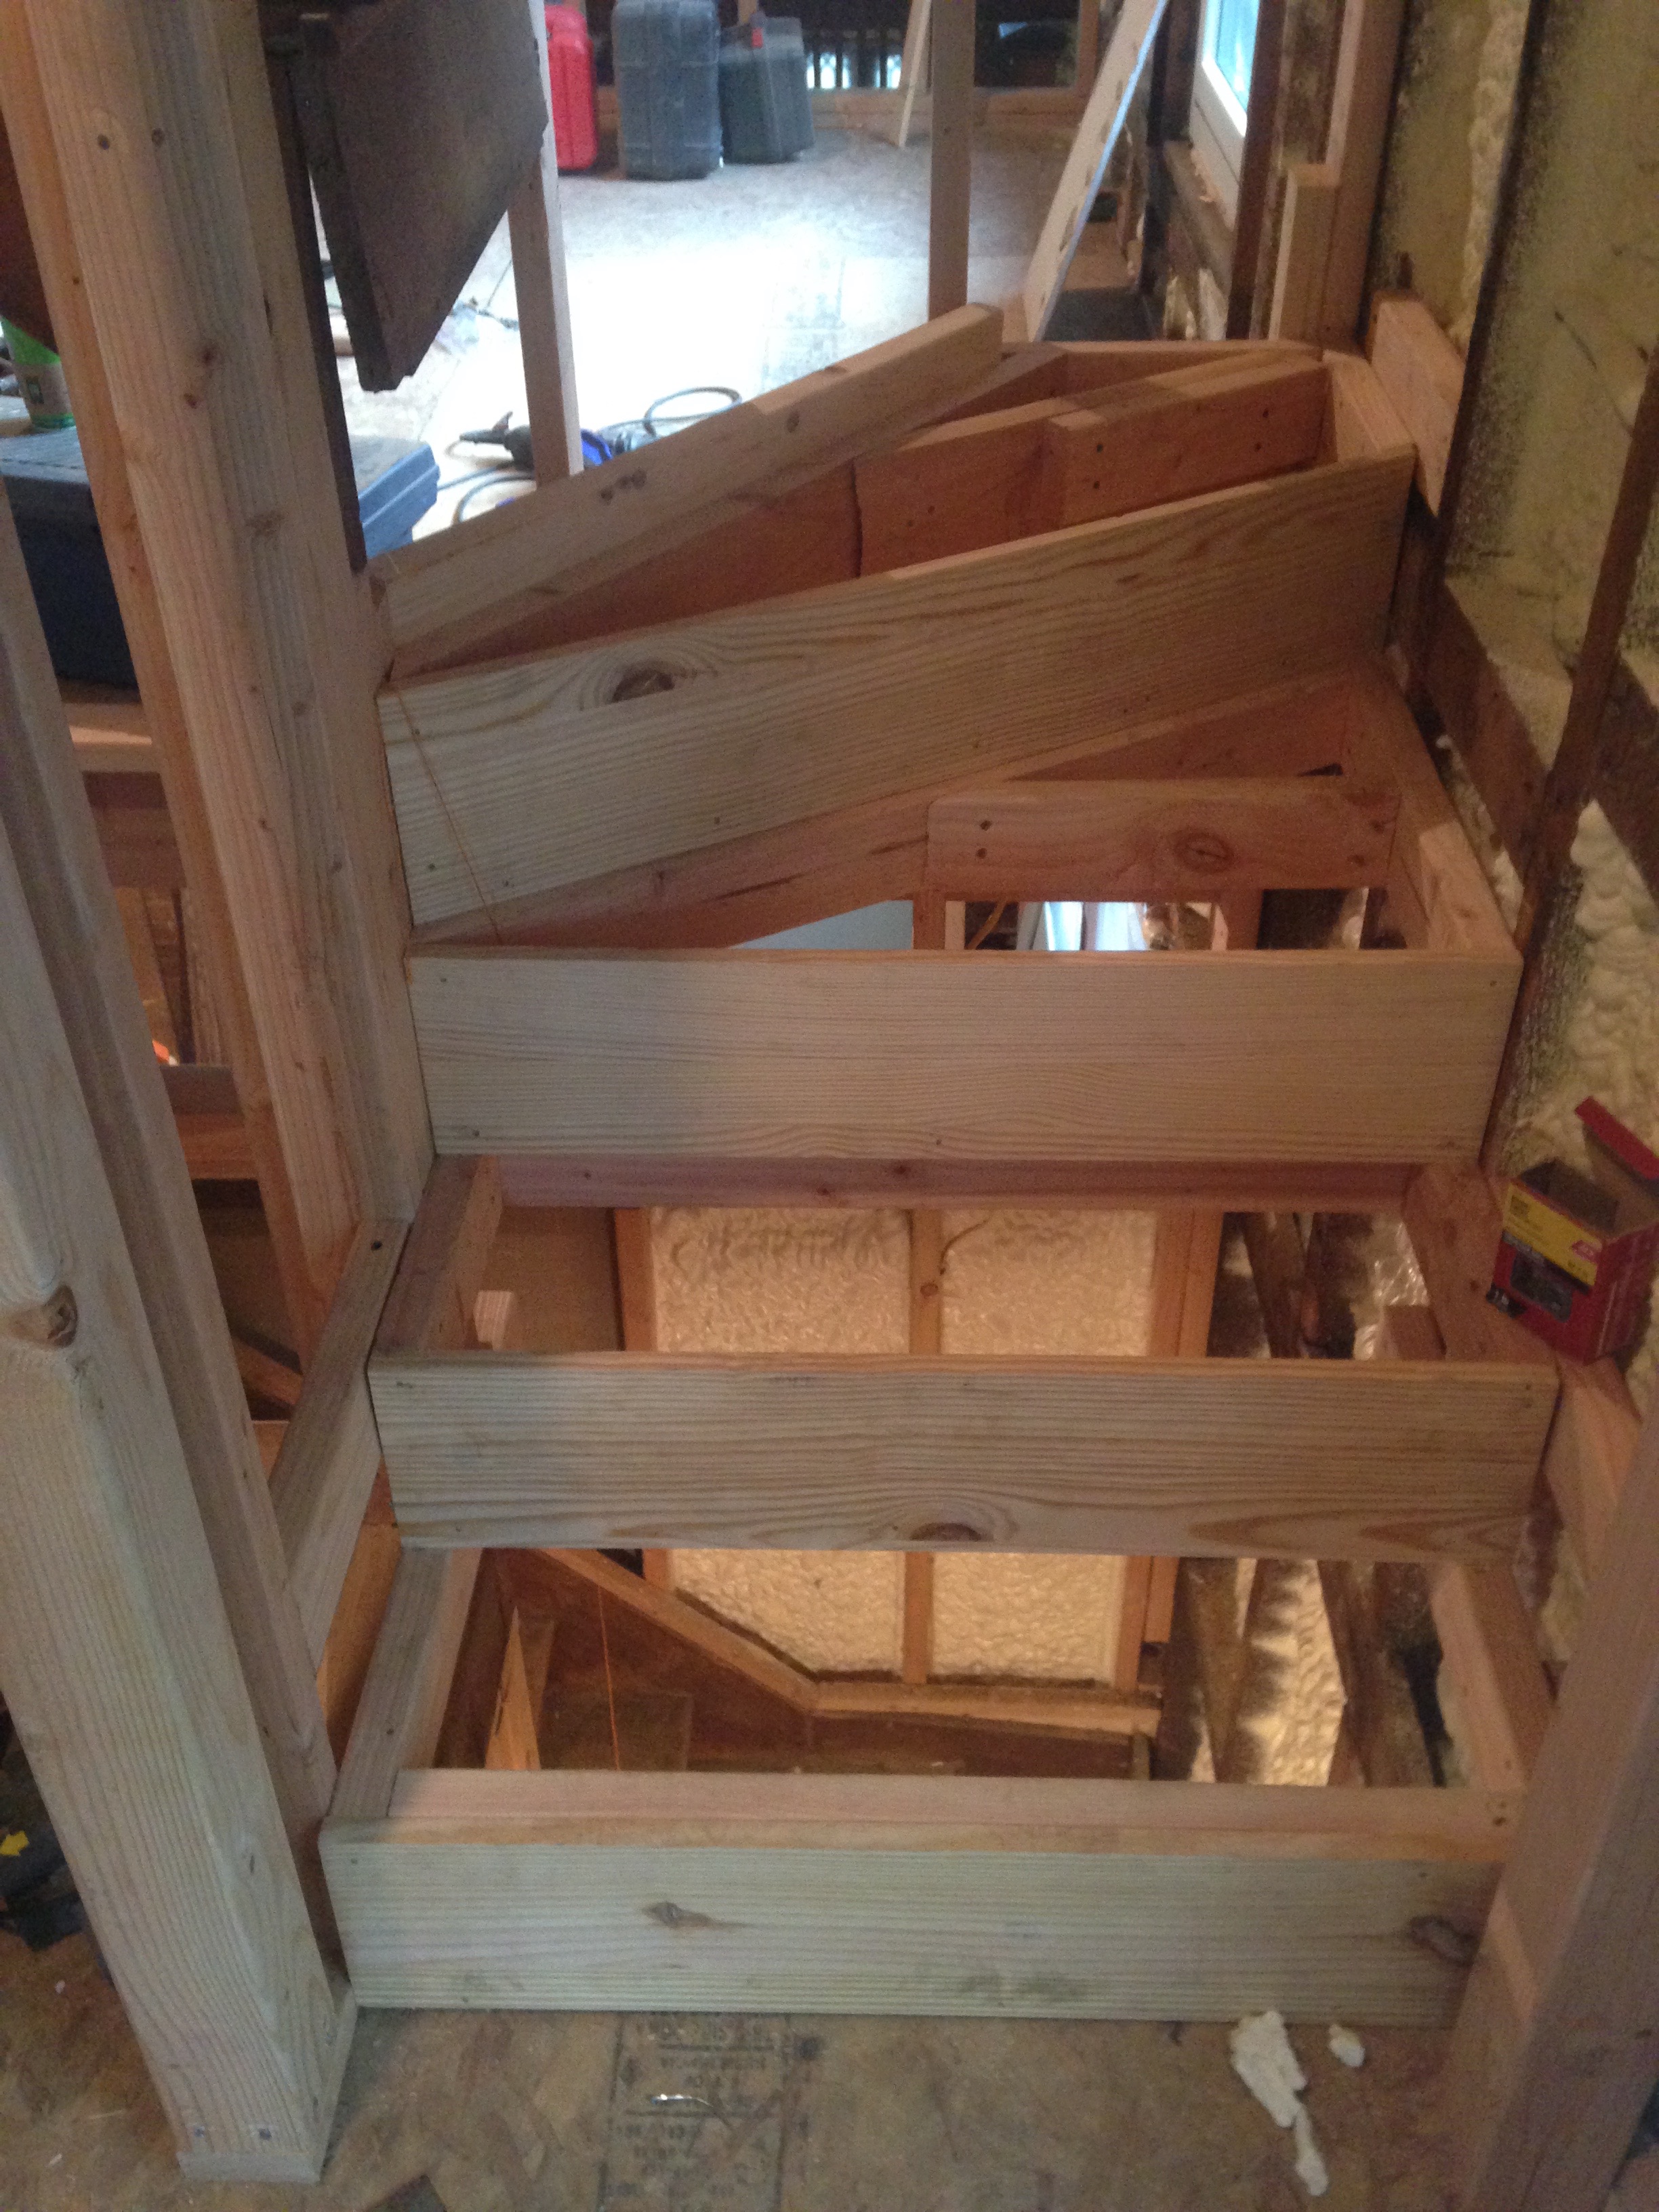
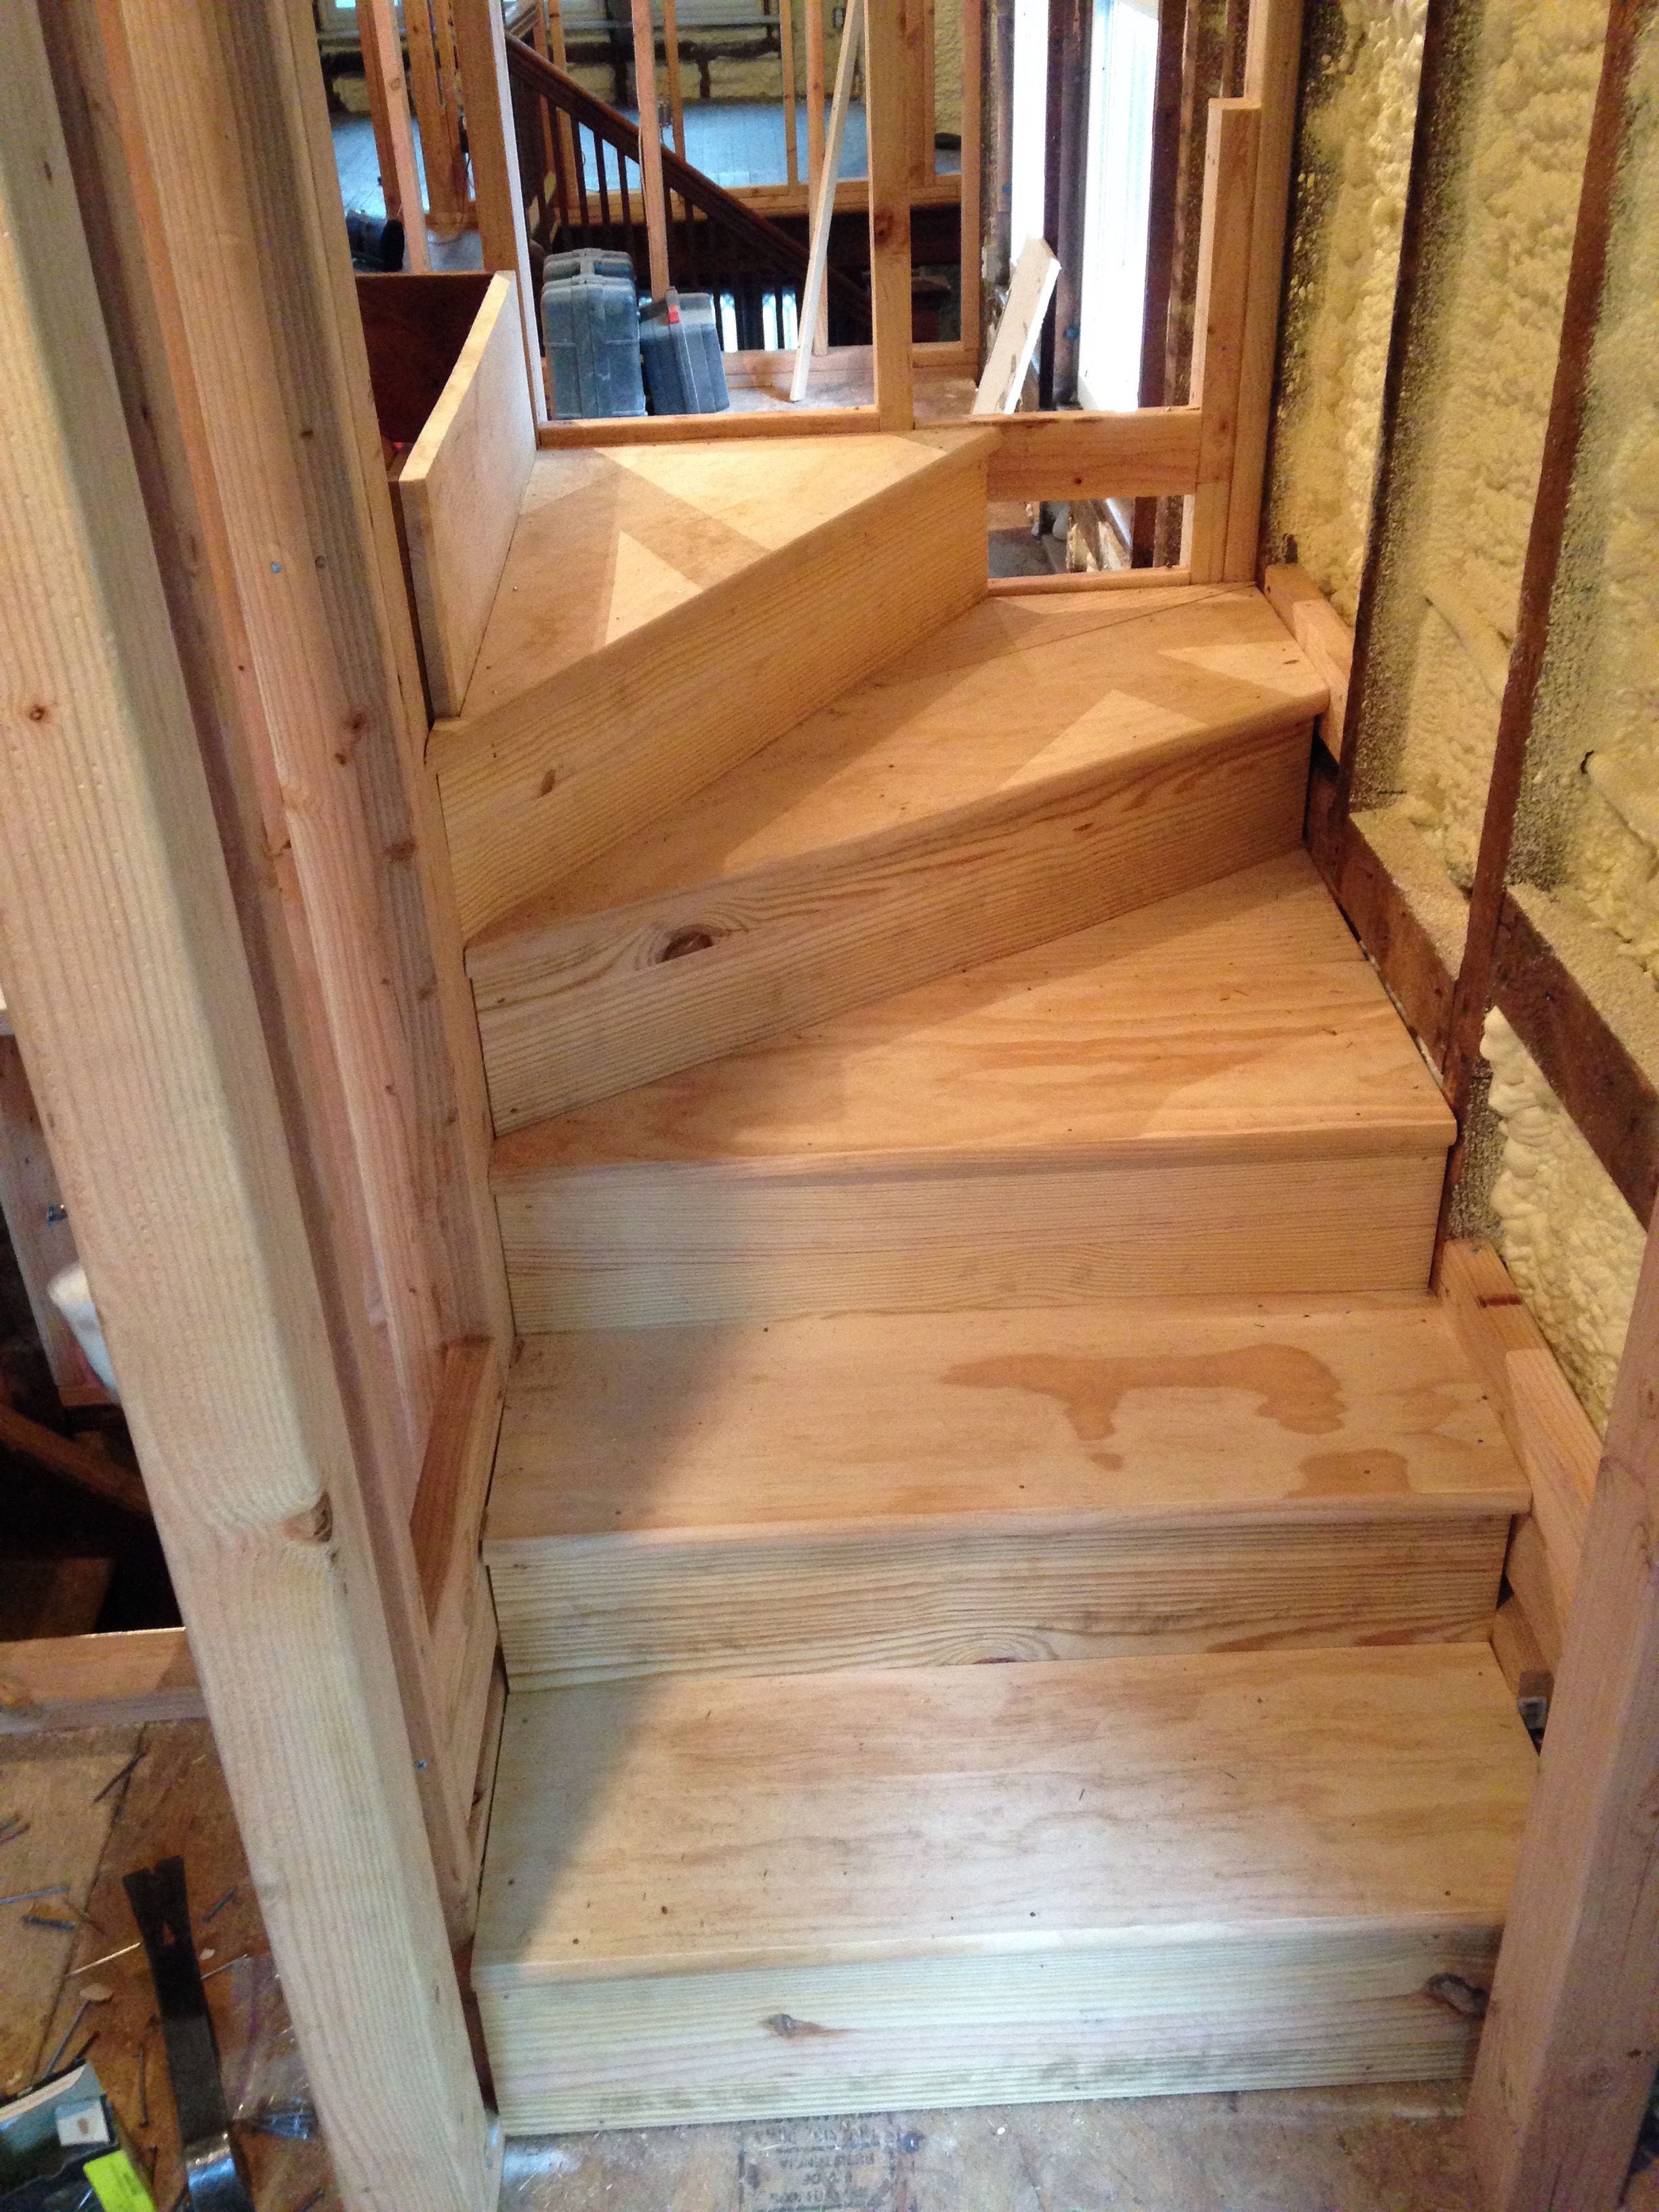
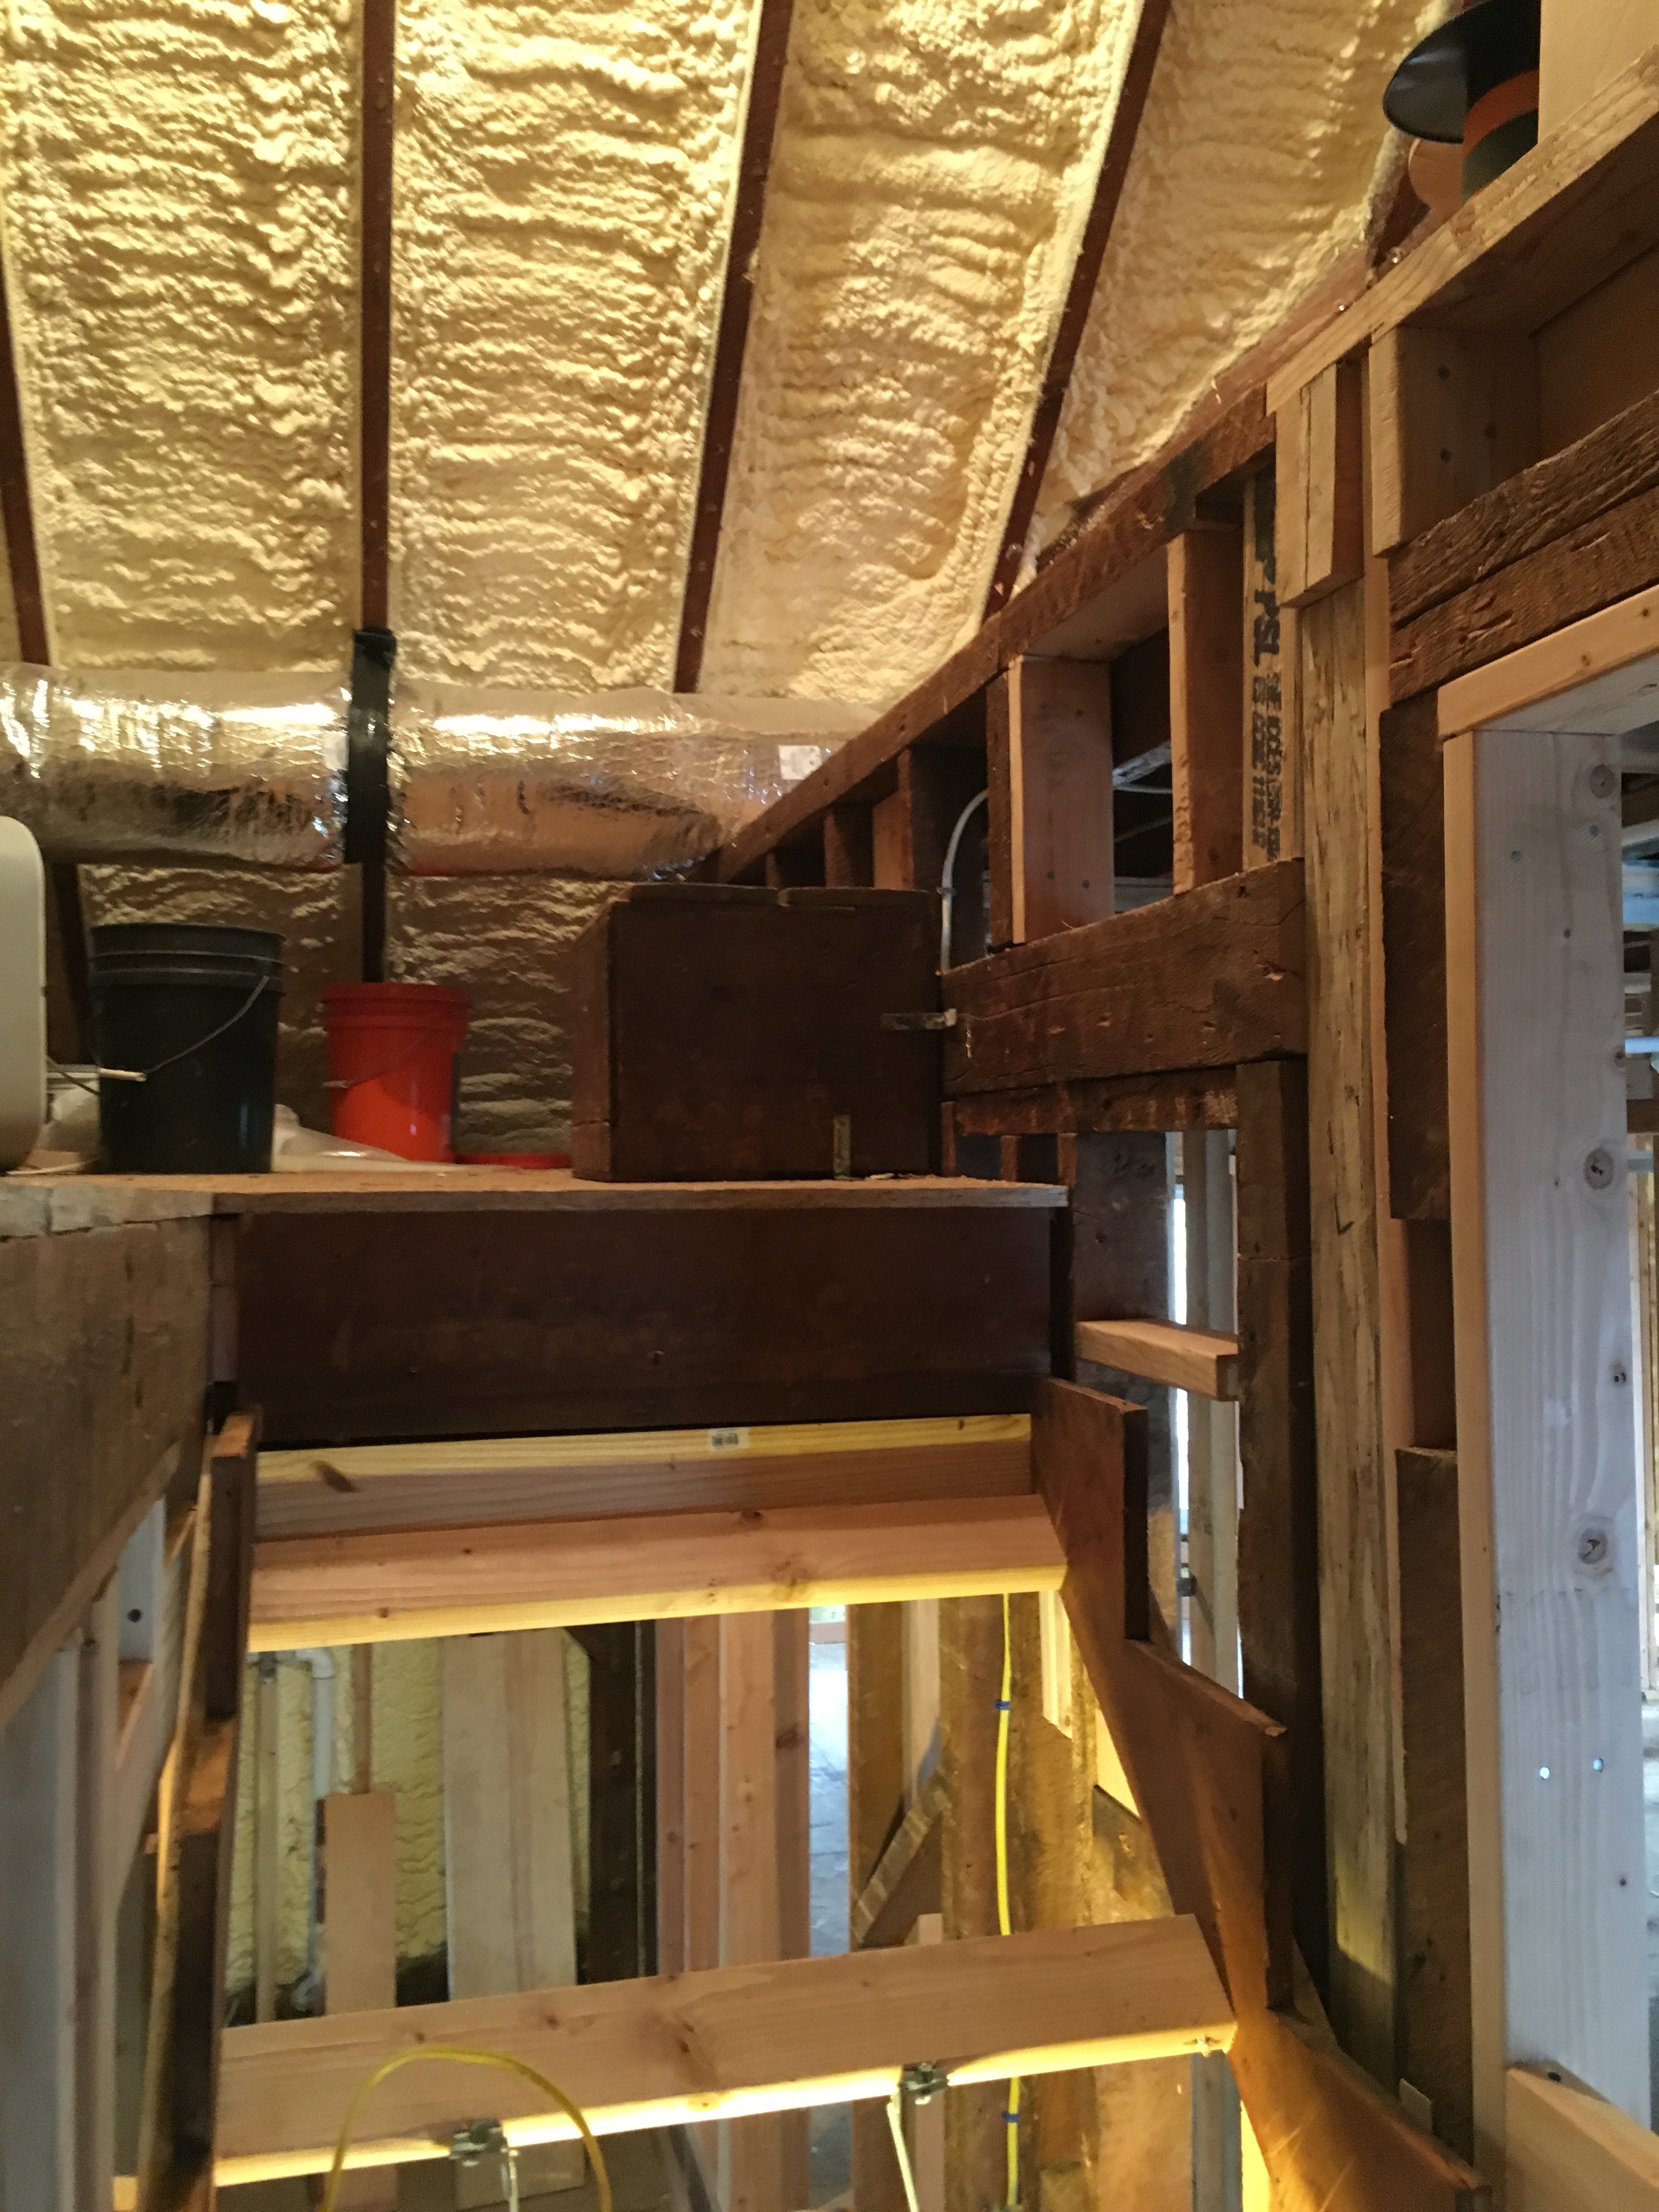
Since the rest of the stringers past the curve were still solid we decided to keep them and replace the treads and risers going up. In addition, at the top going to the main part of the attic, was literally a box instead of a step. That had to go.
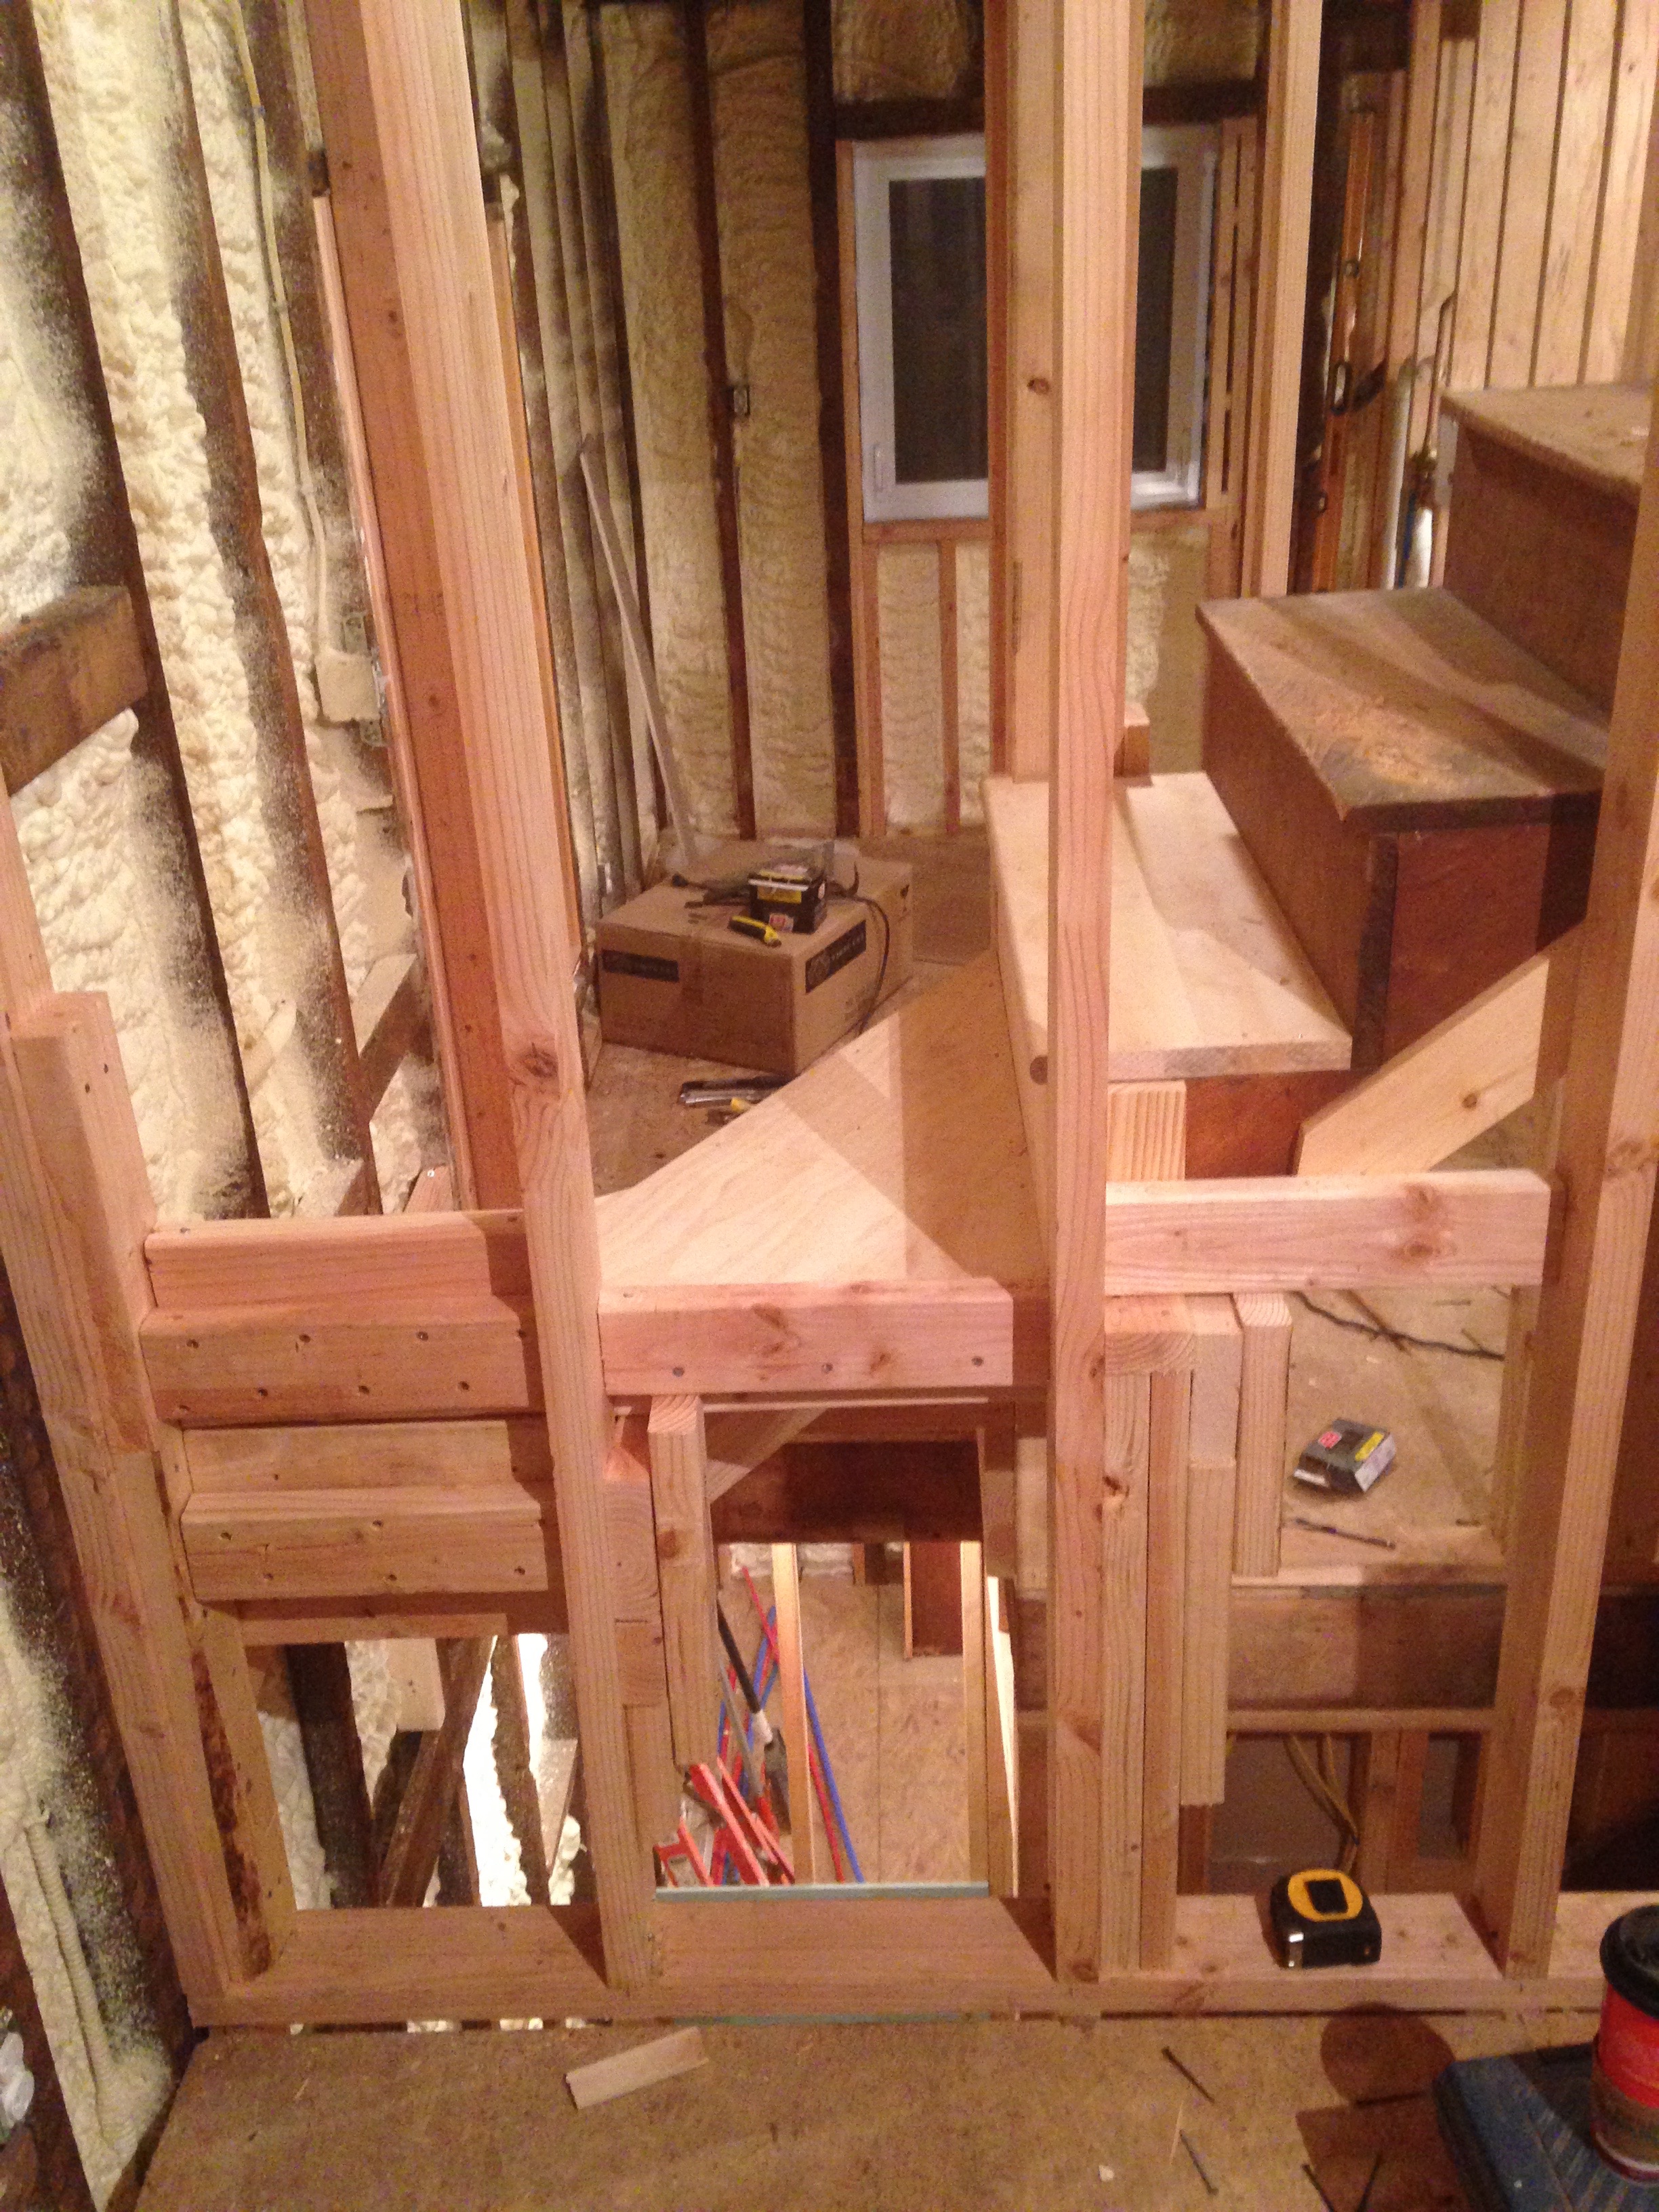
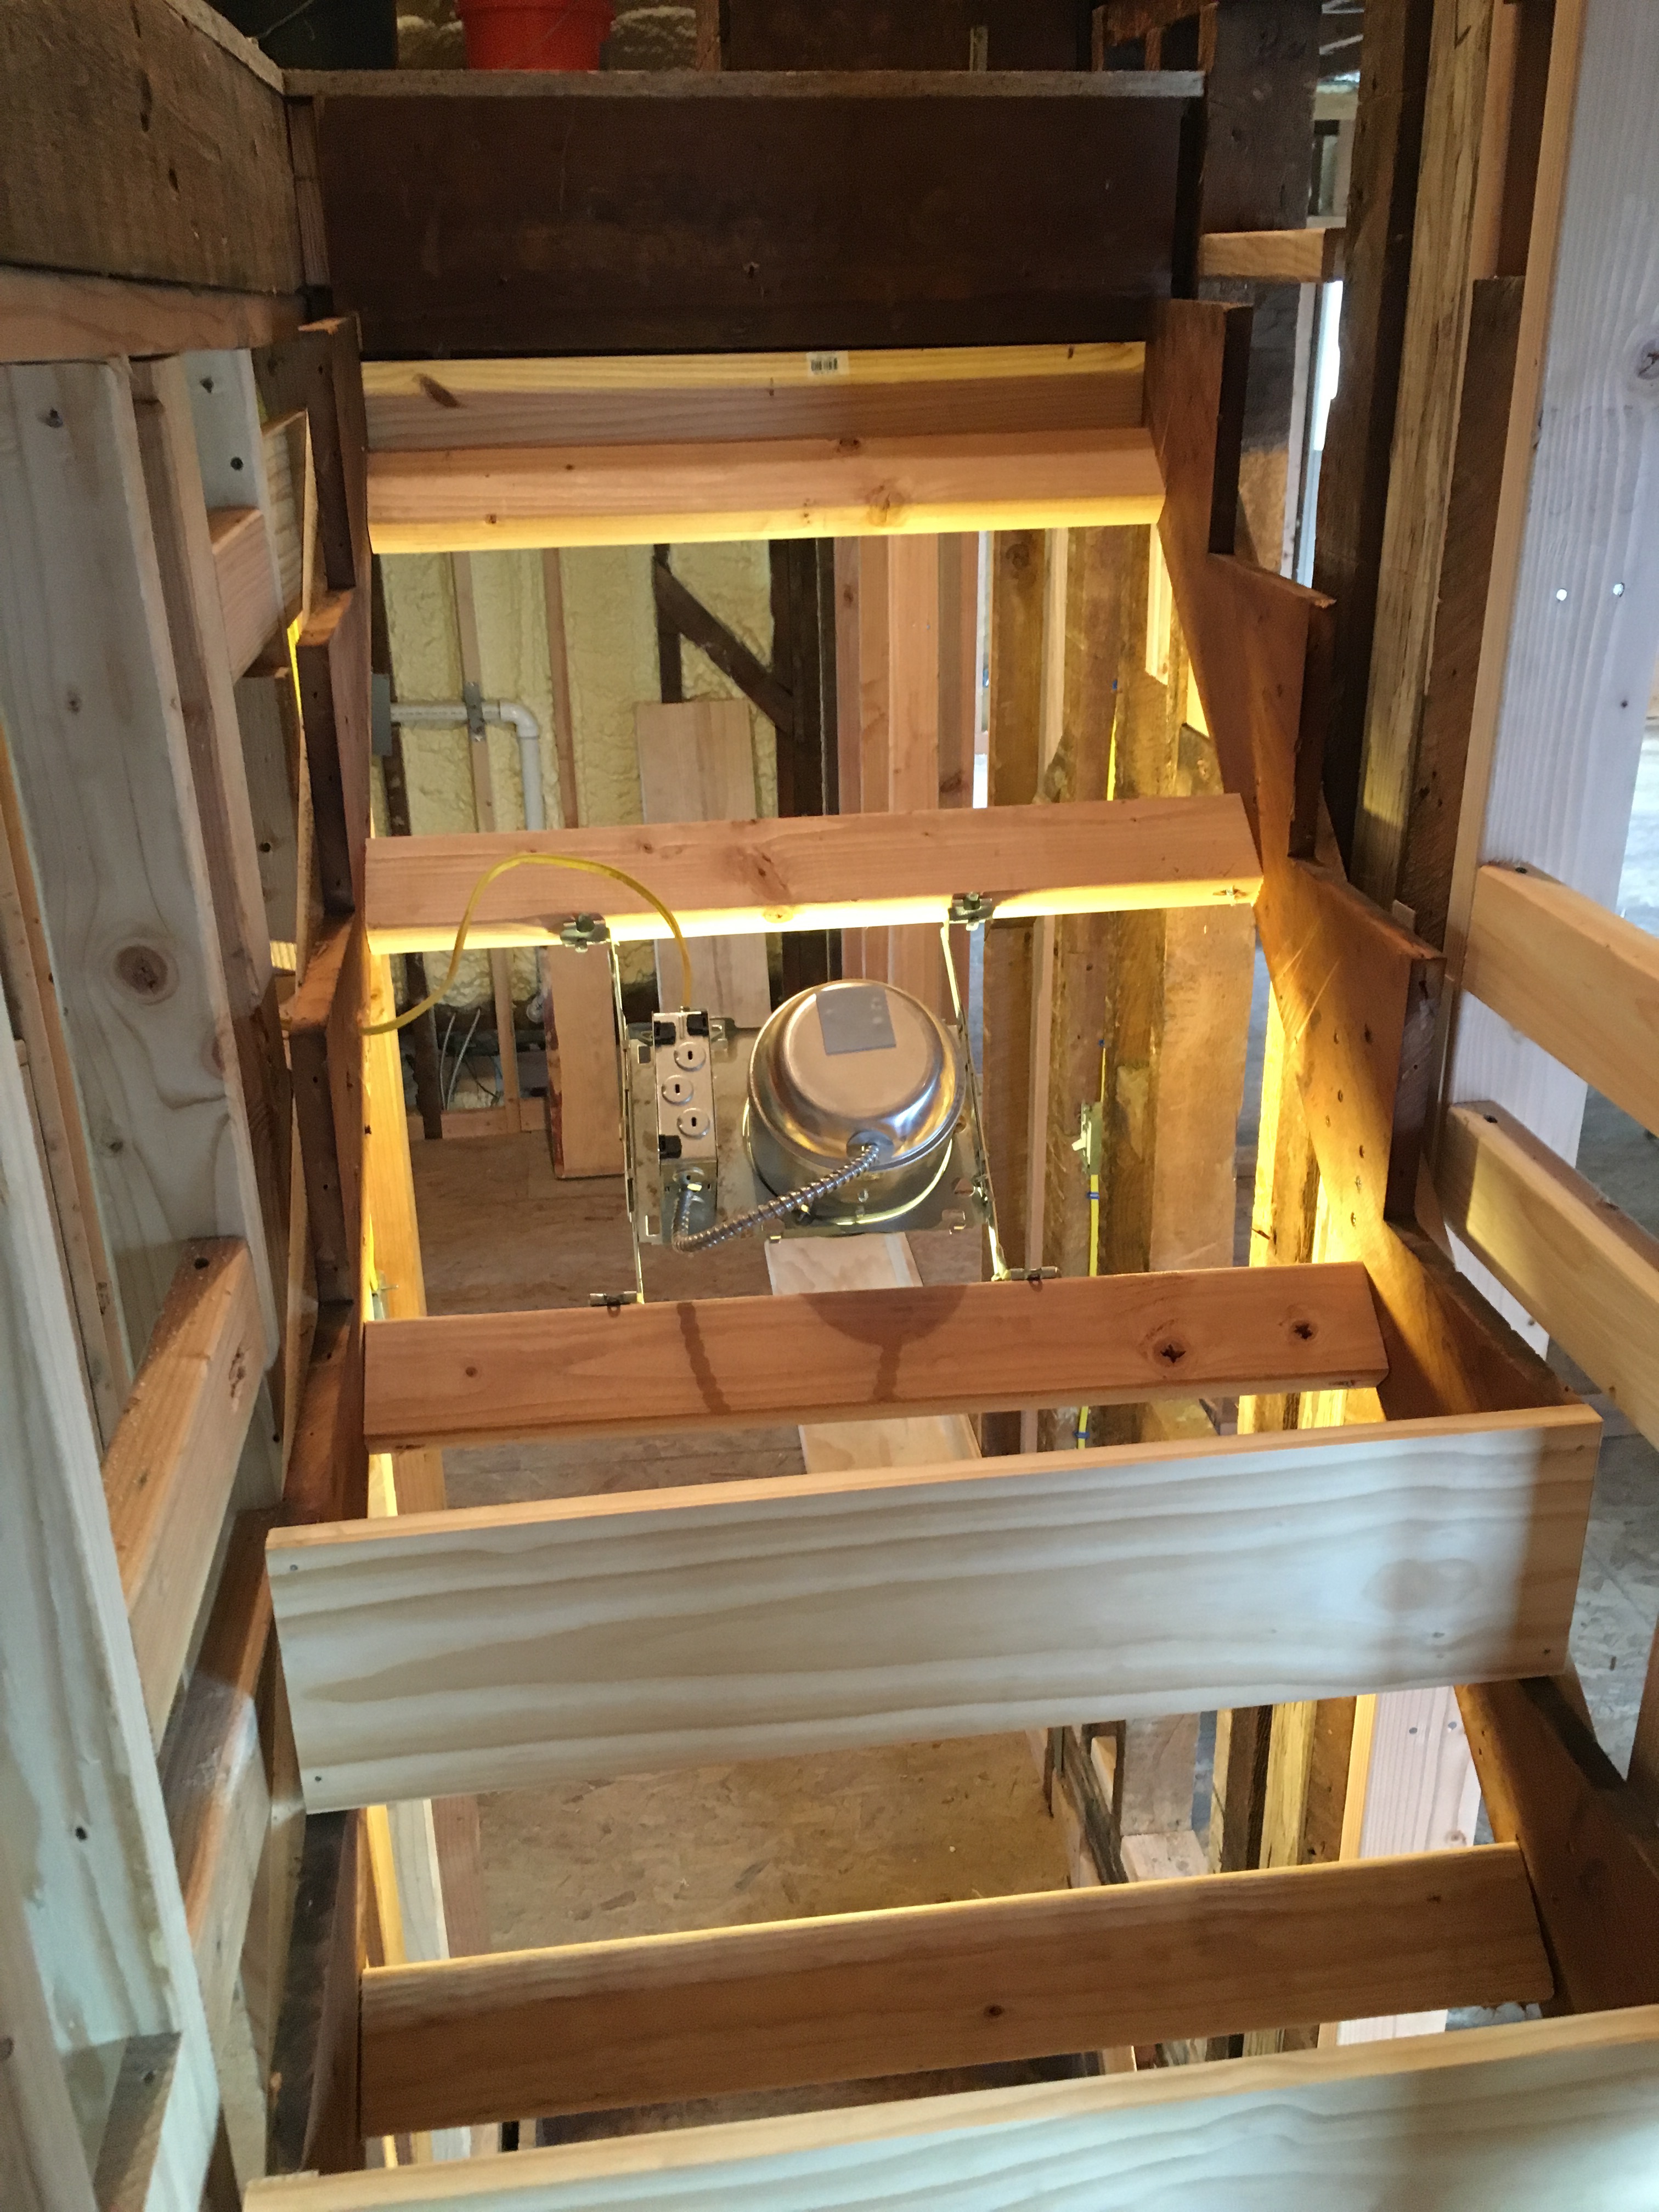
We started by removing the wall that steps were anchored to as well as what remained of the steps going up to the curve, then started over. Building a curve was a big pain, but at least we had a template to go off.

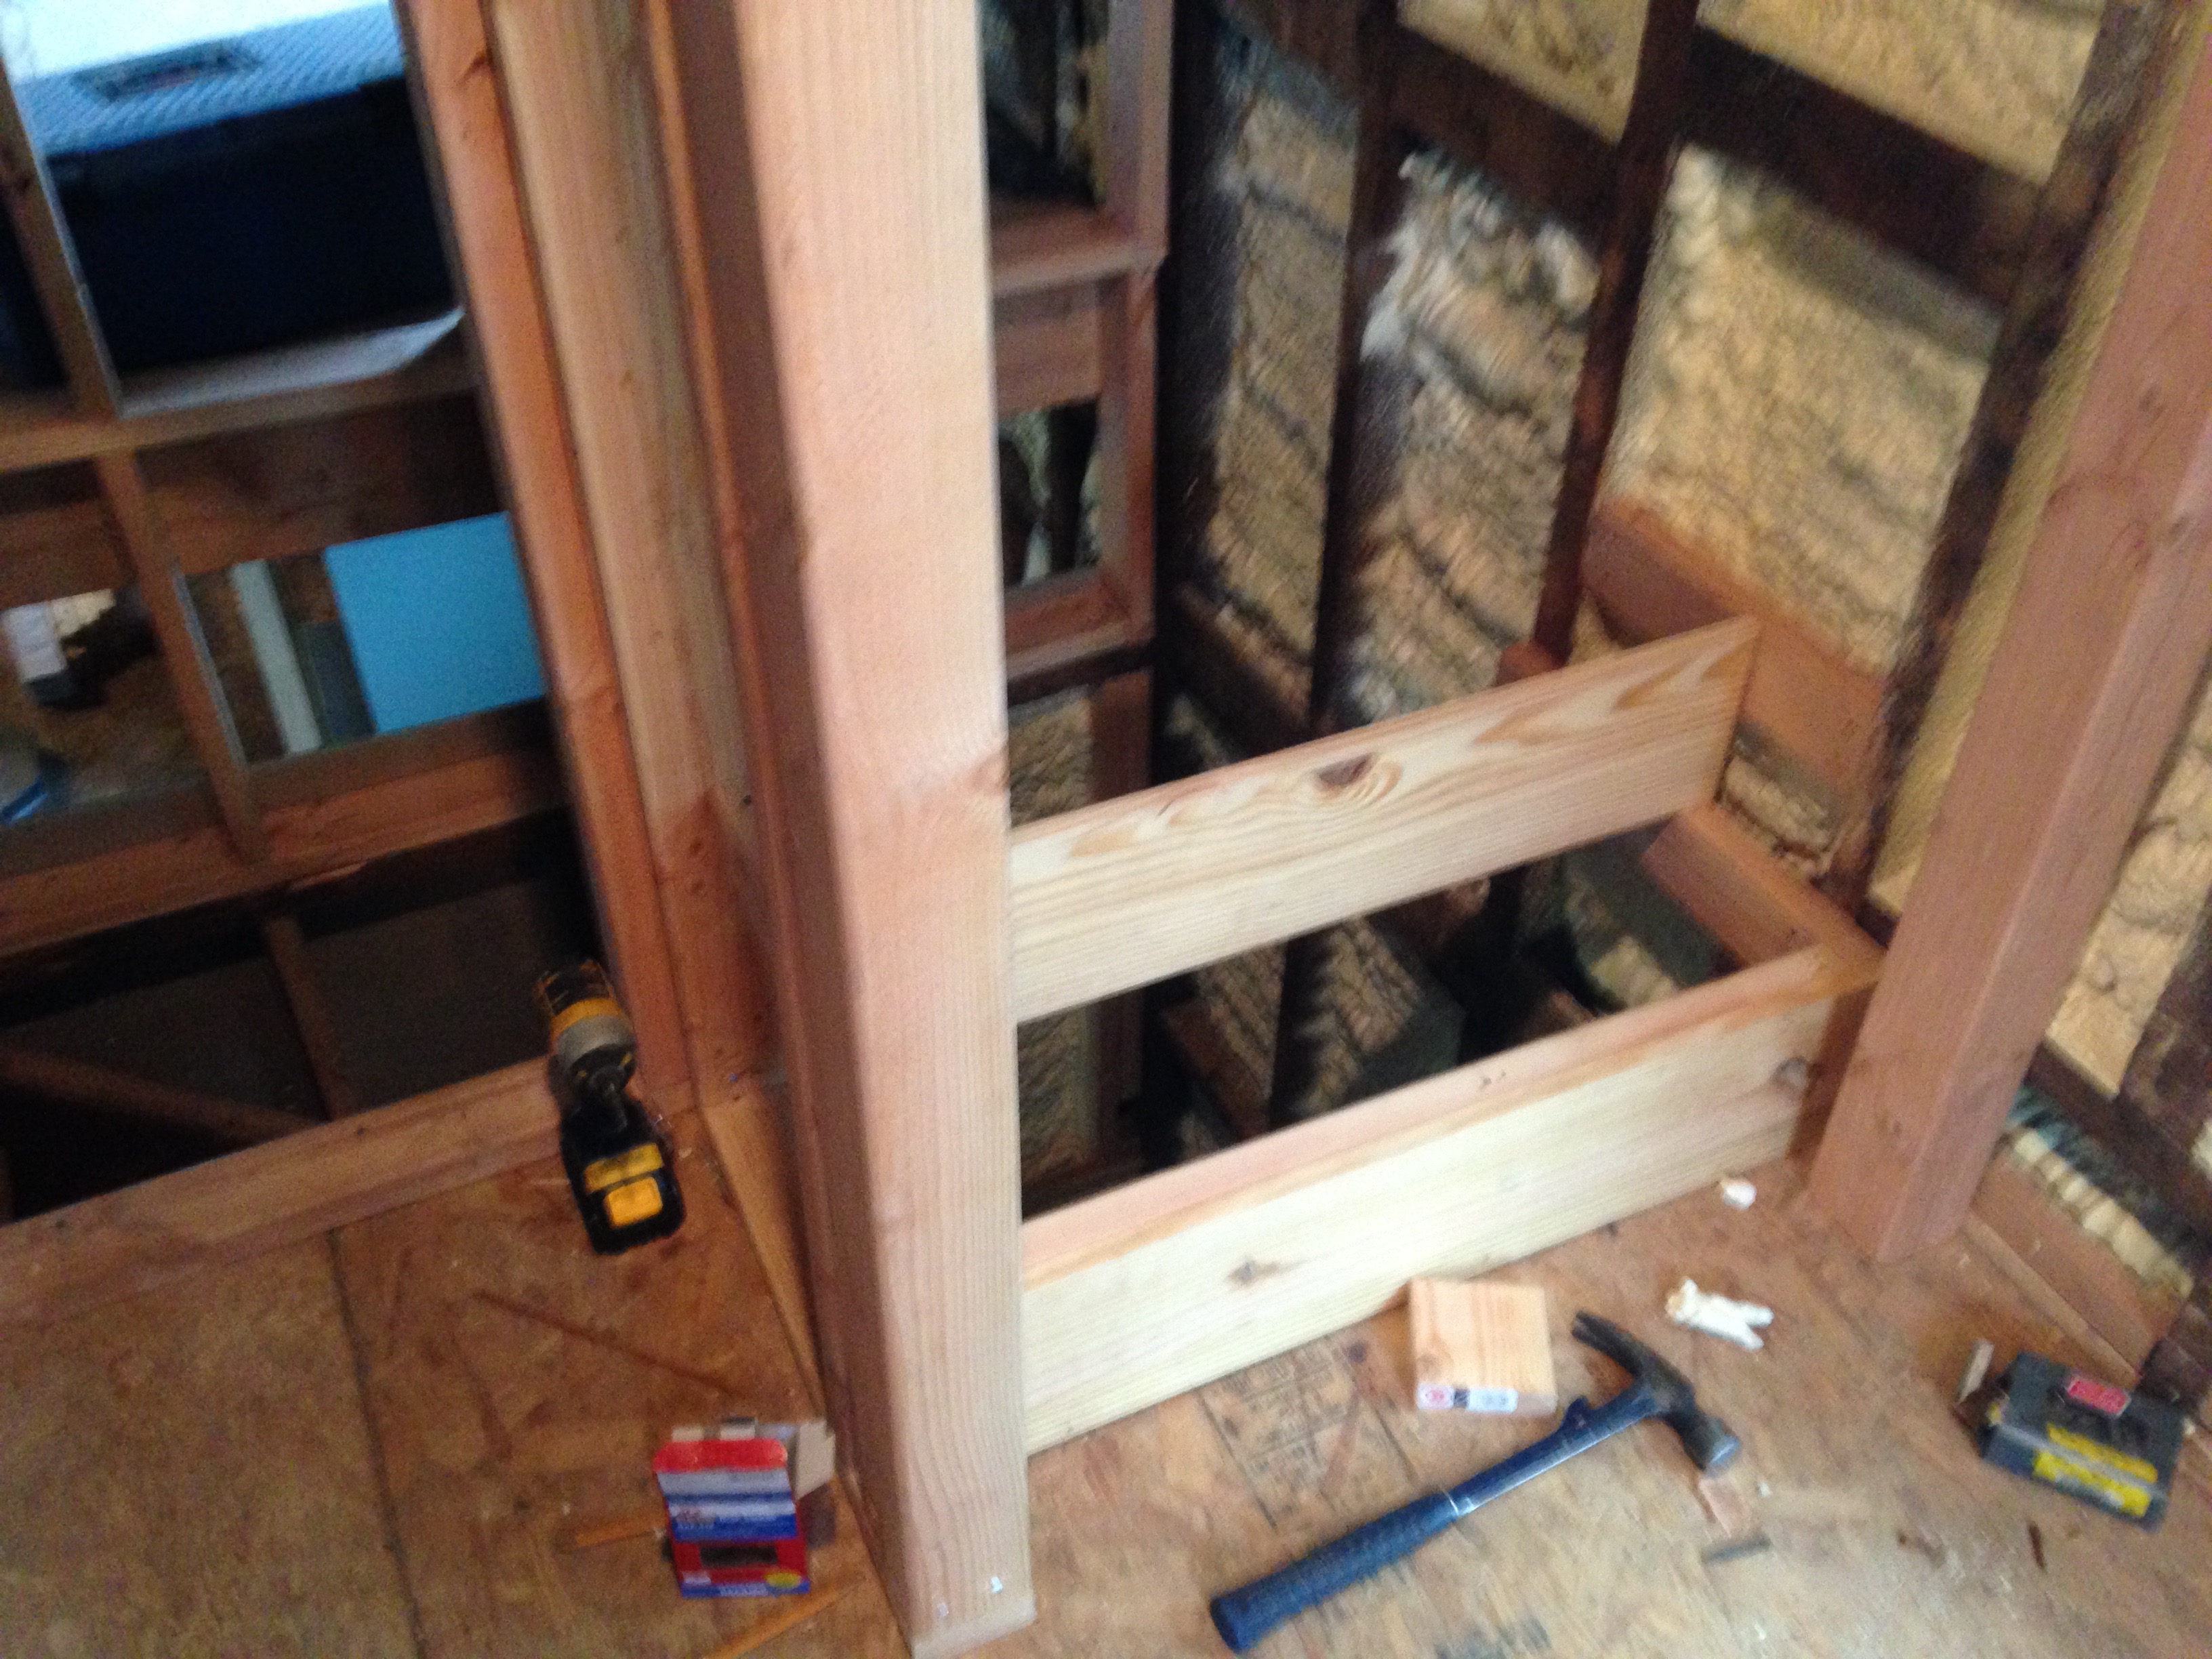
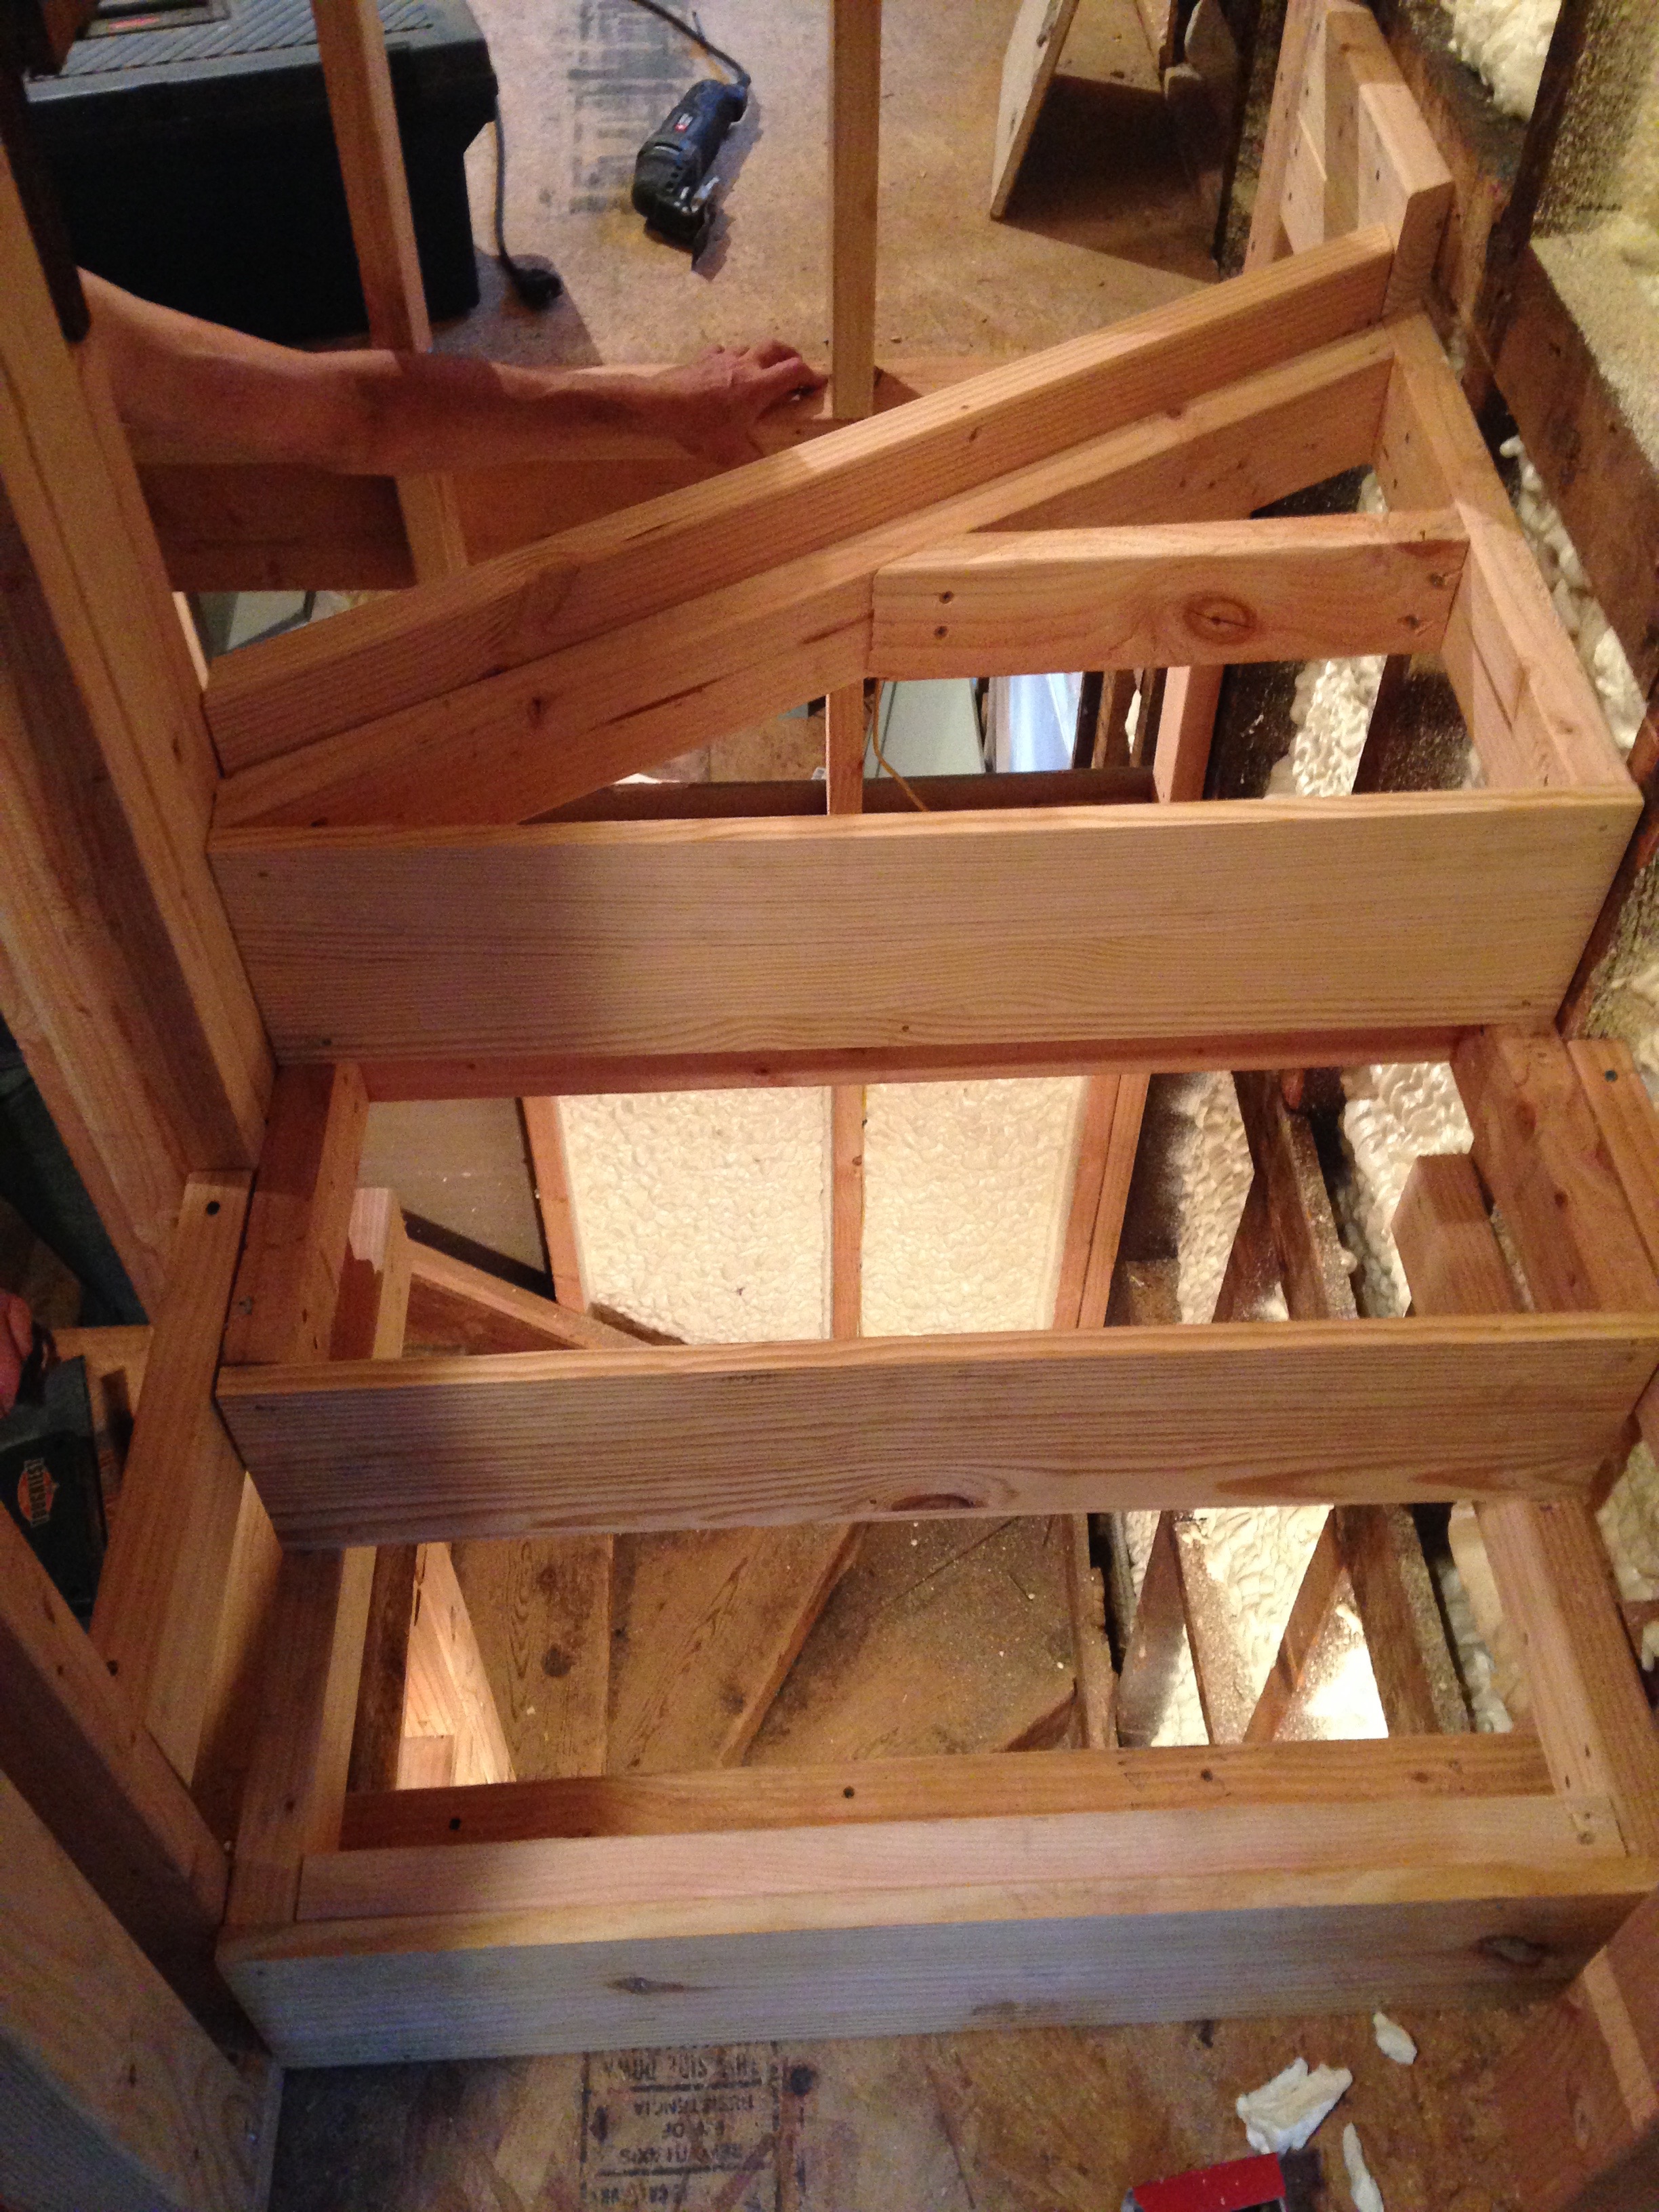
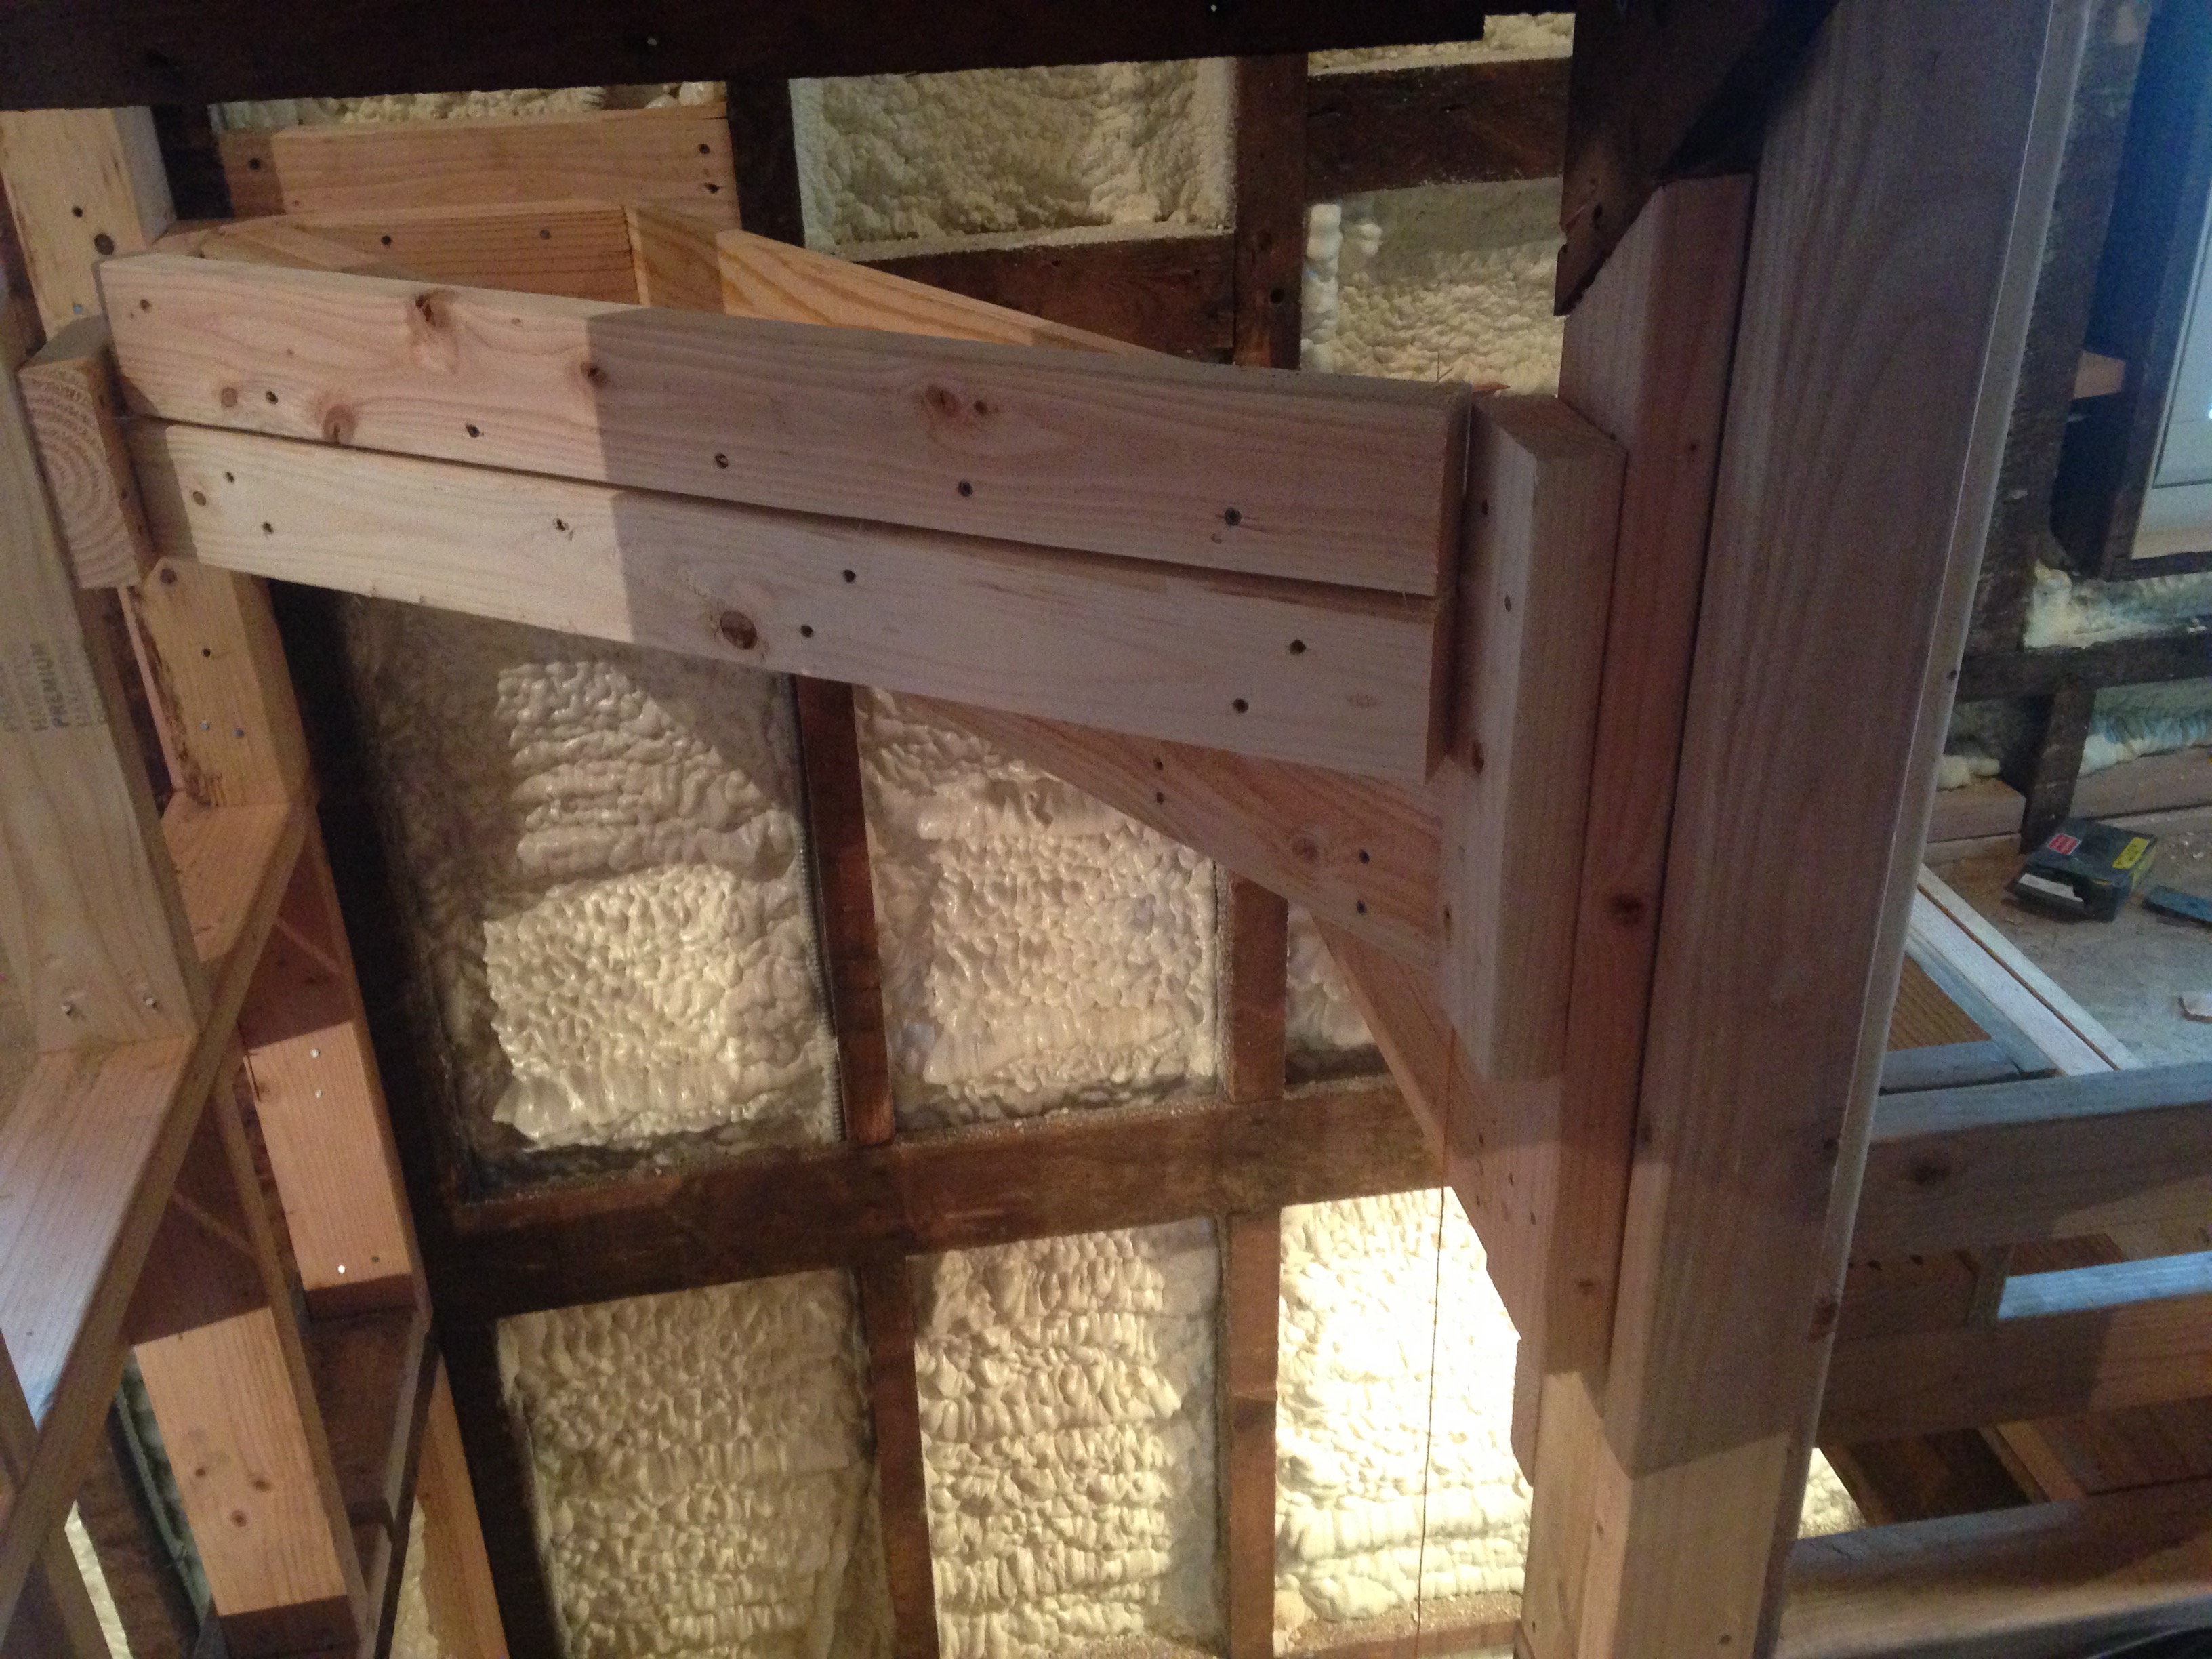
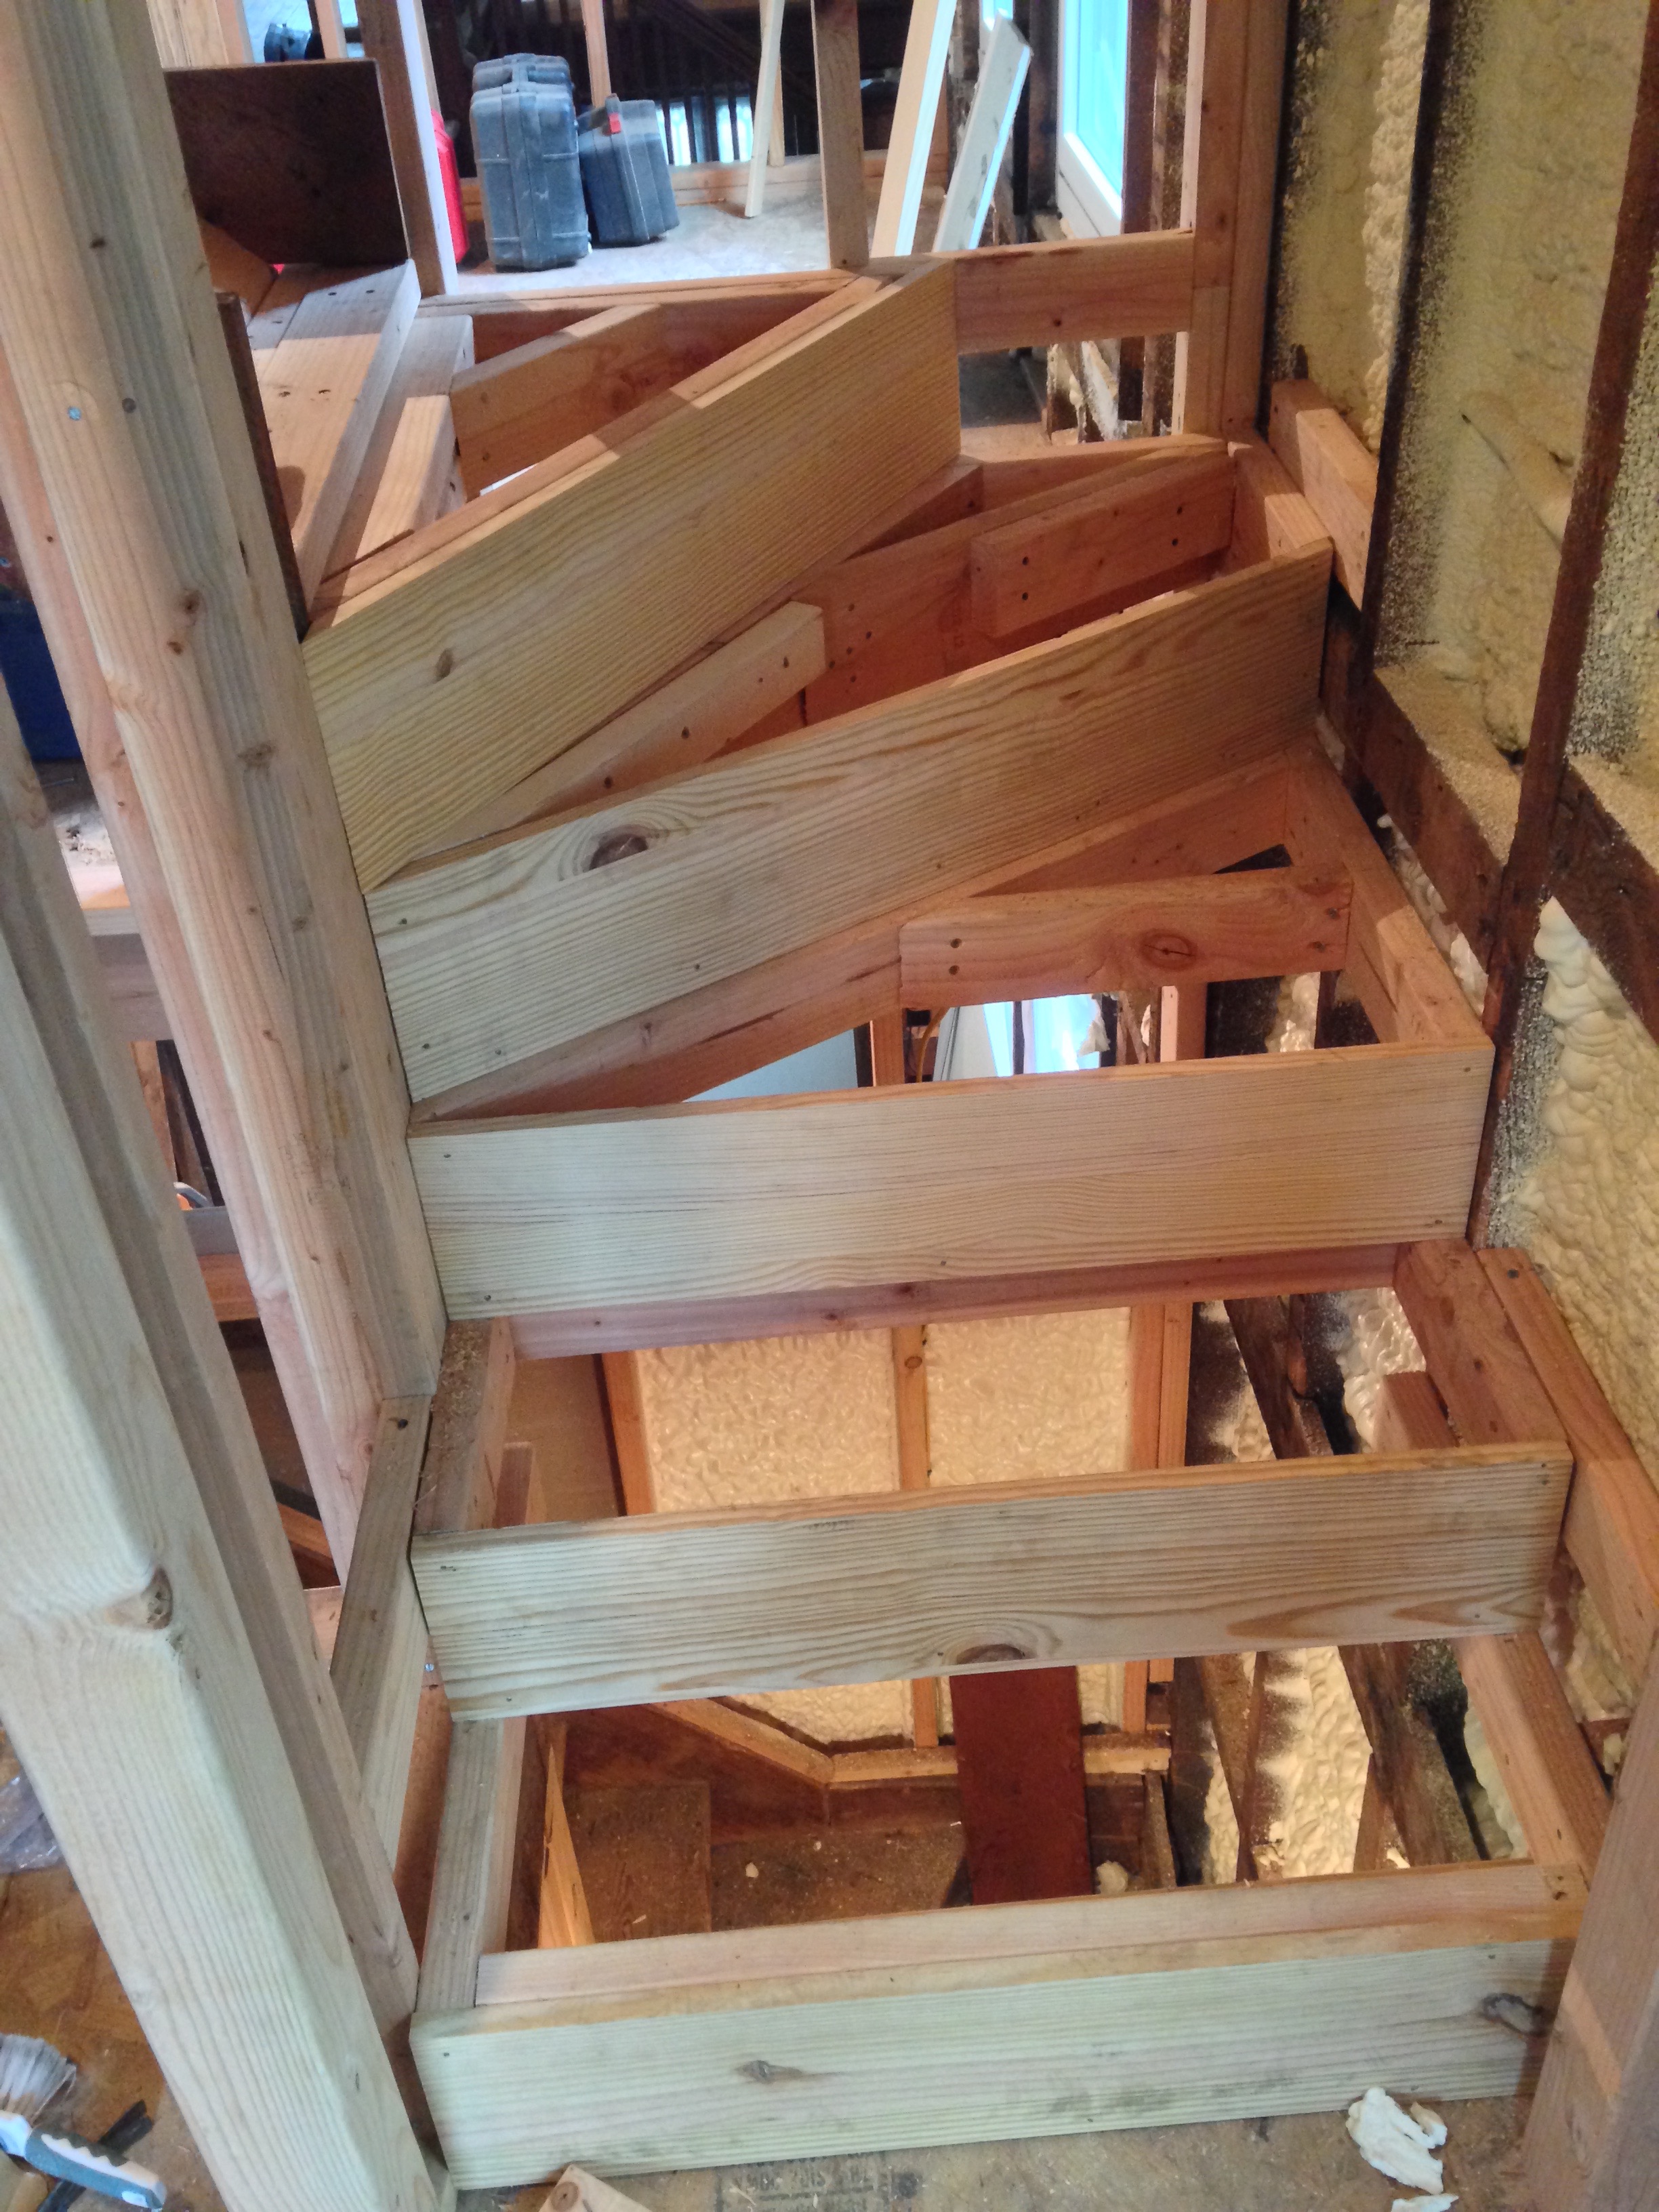

And the hard part is done! We then rebuilt the wall.
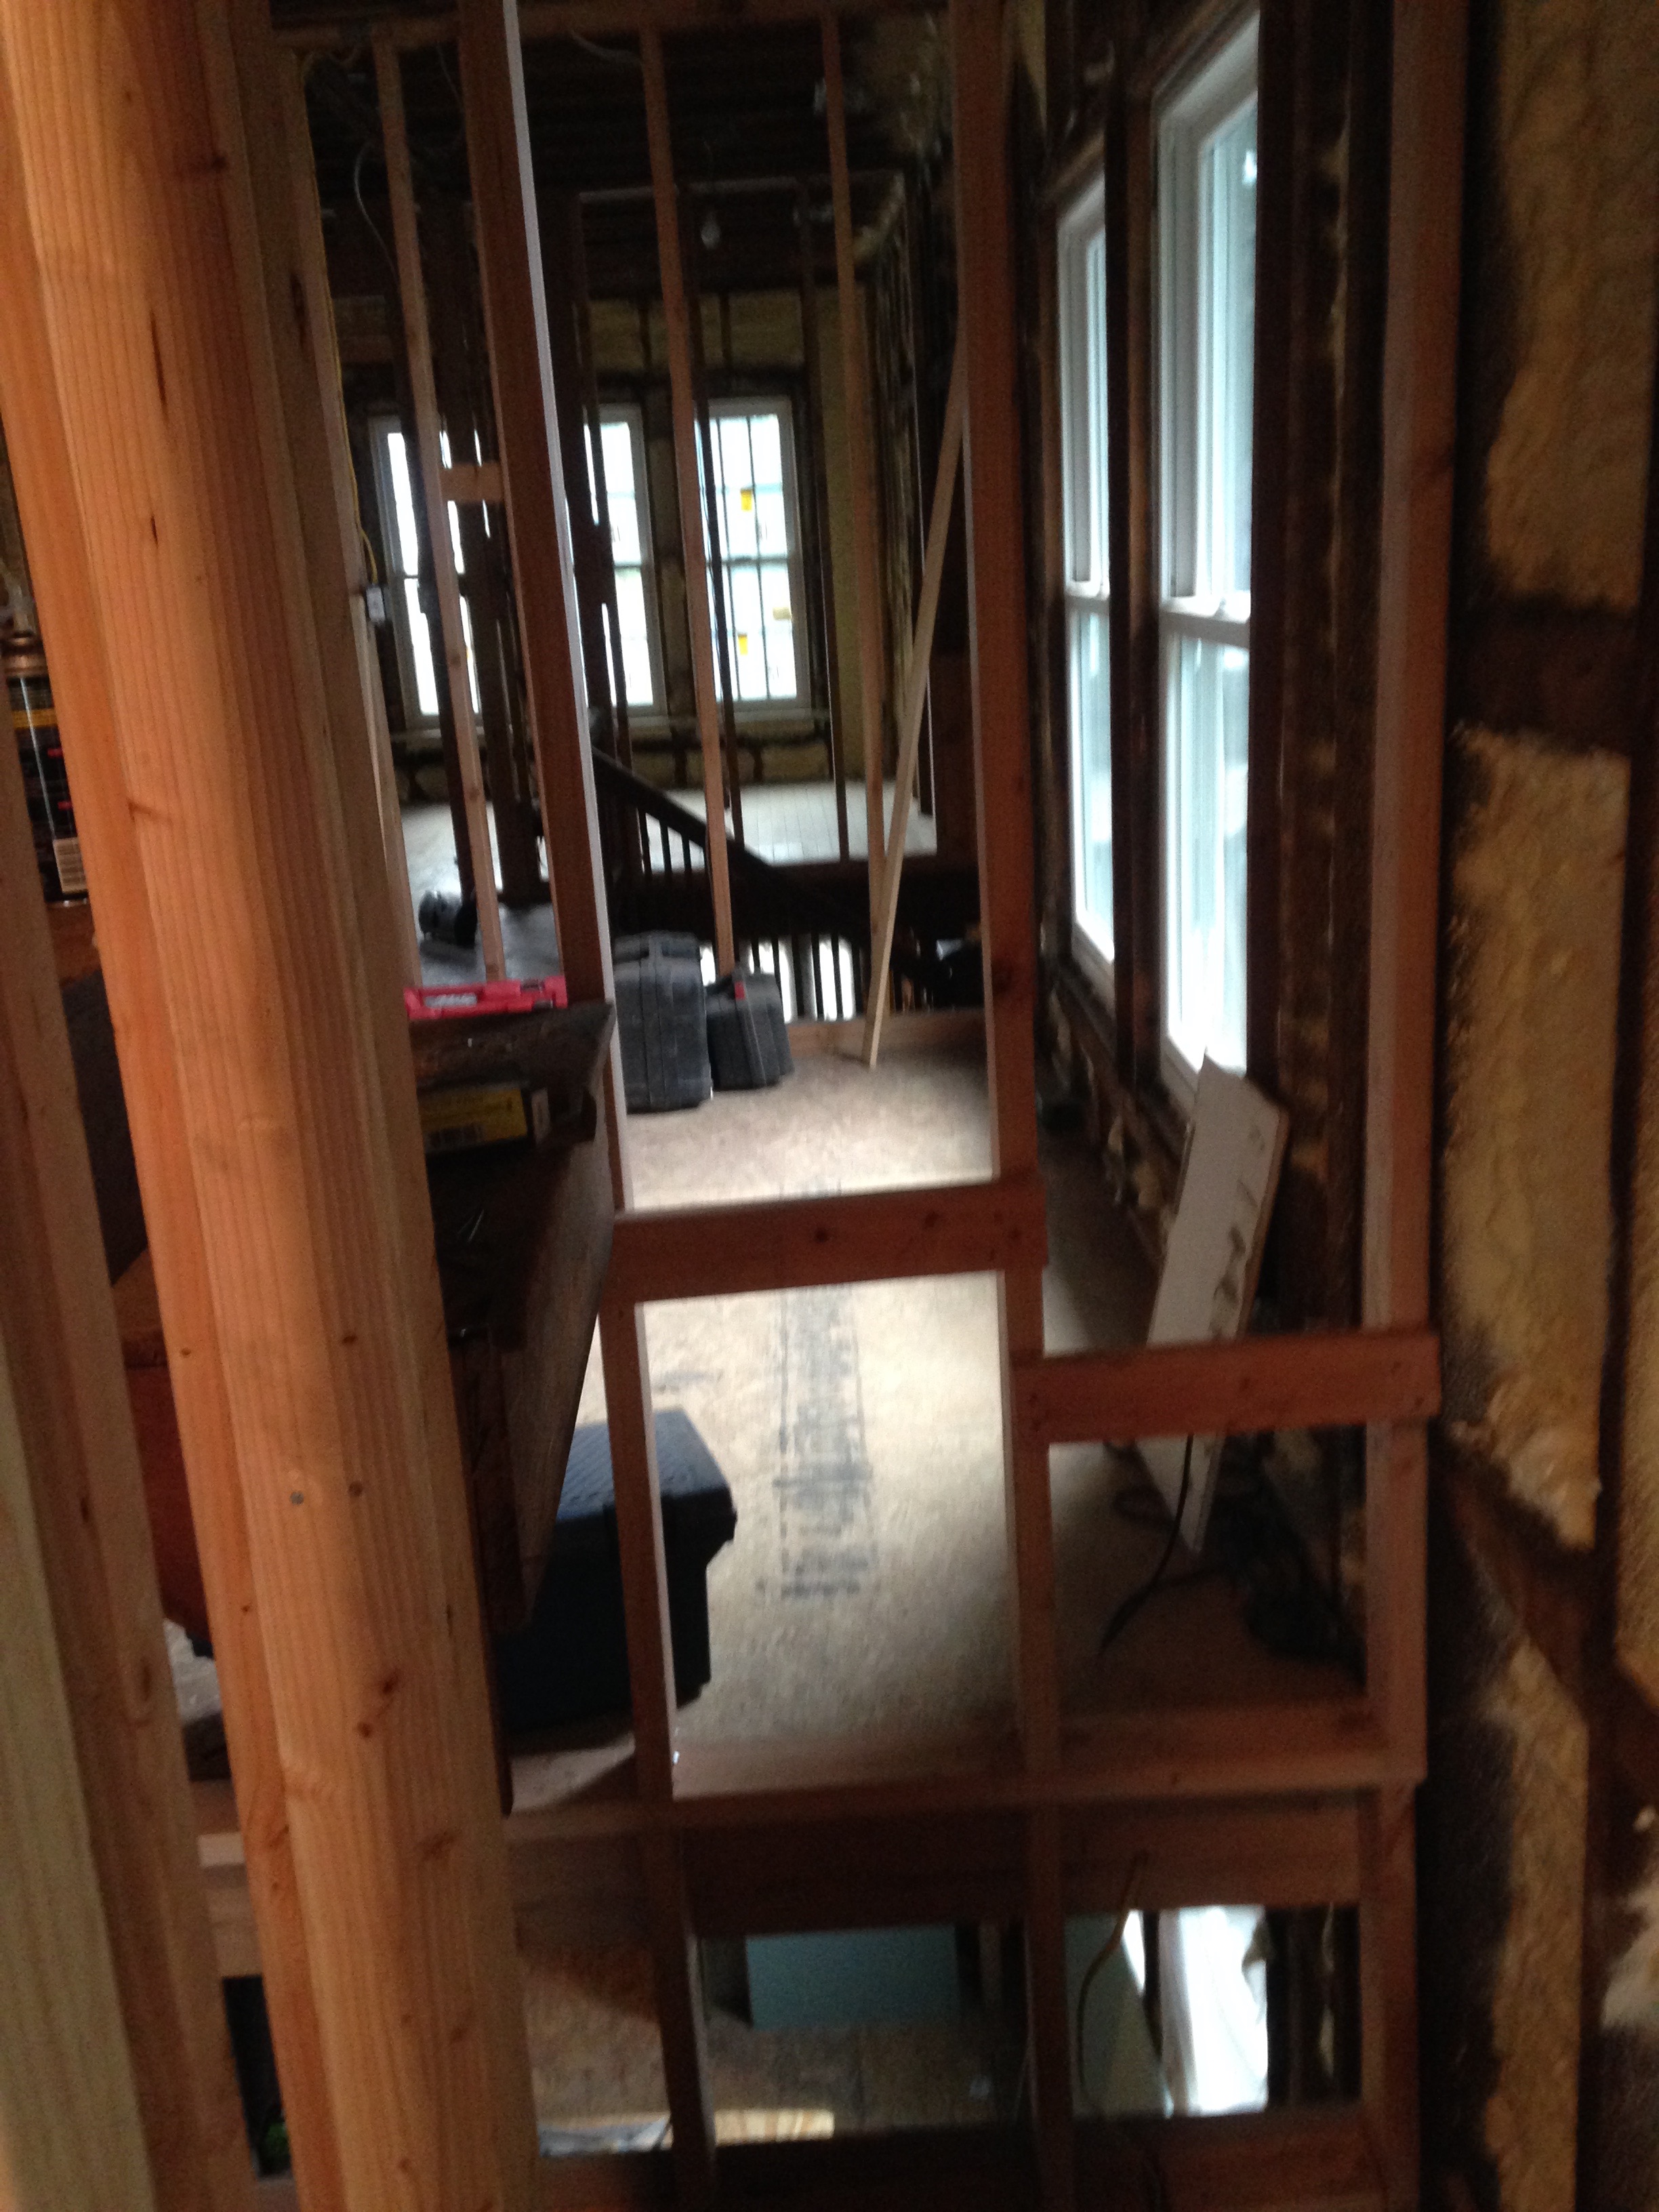
Since everything was wide open it was much easier to add a recessed light to the steps going up from the kitchen.

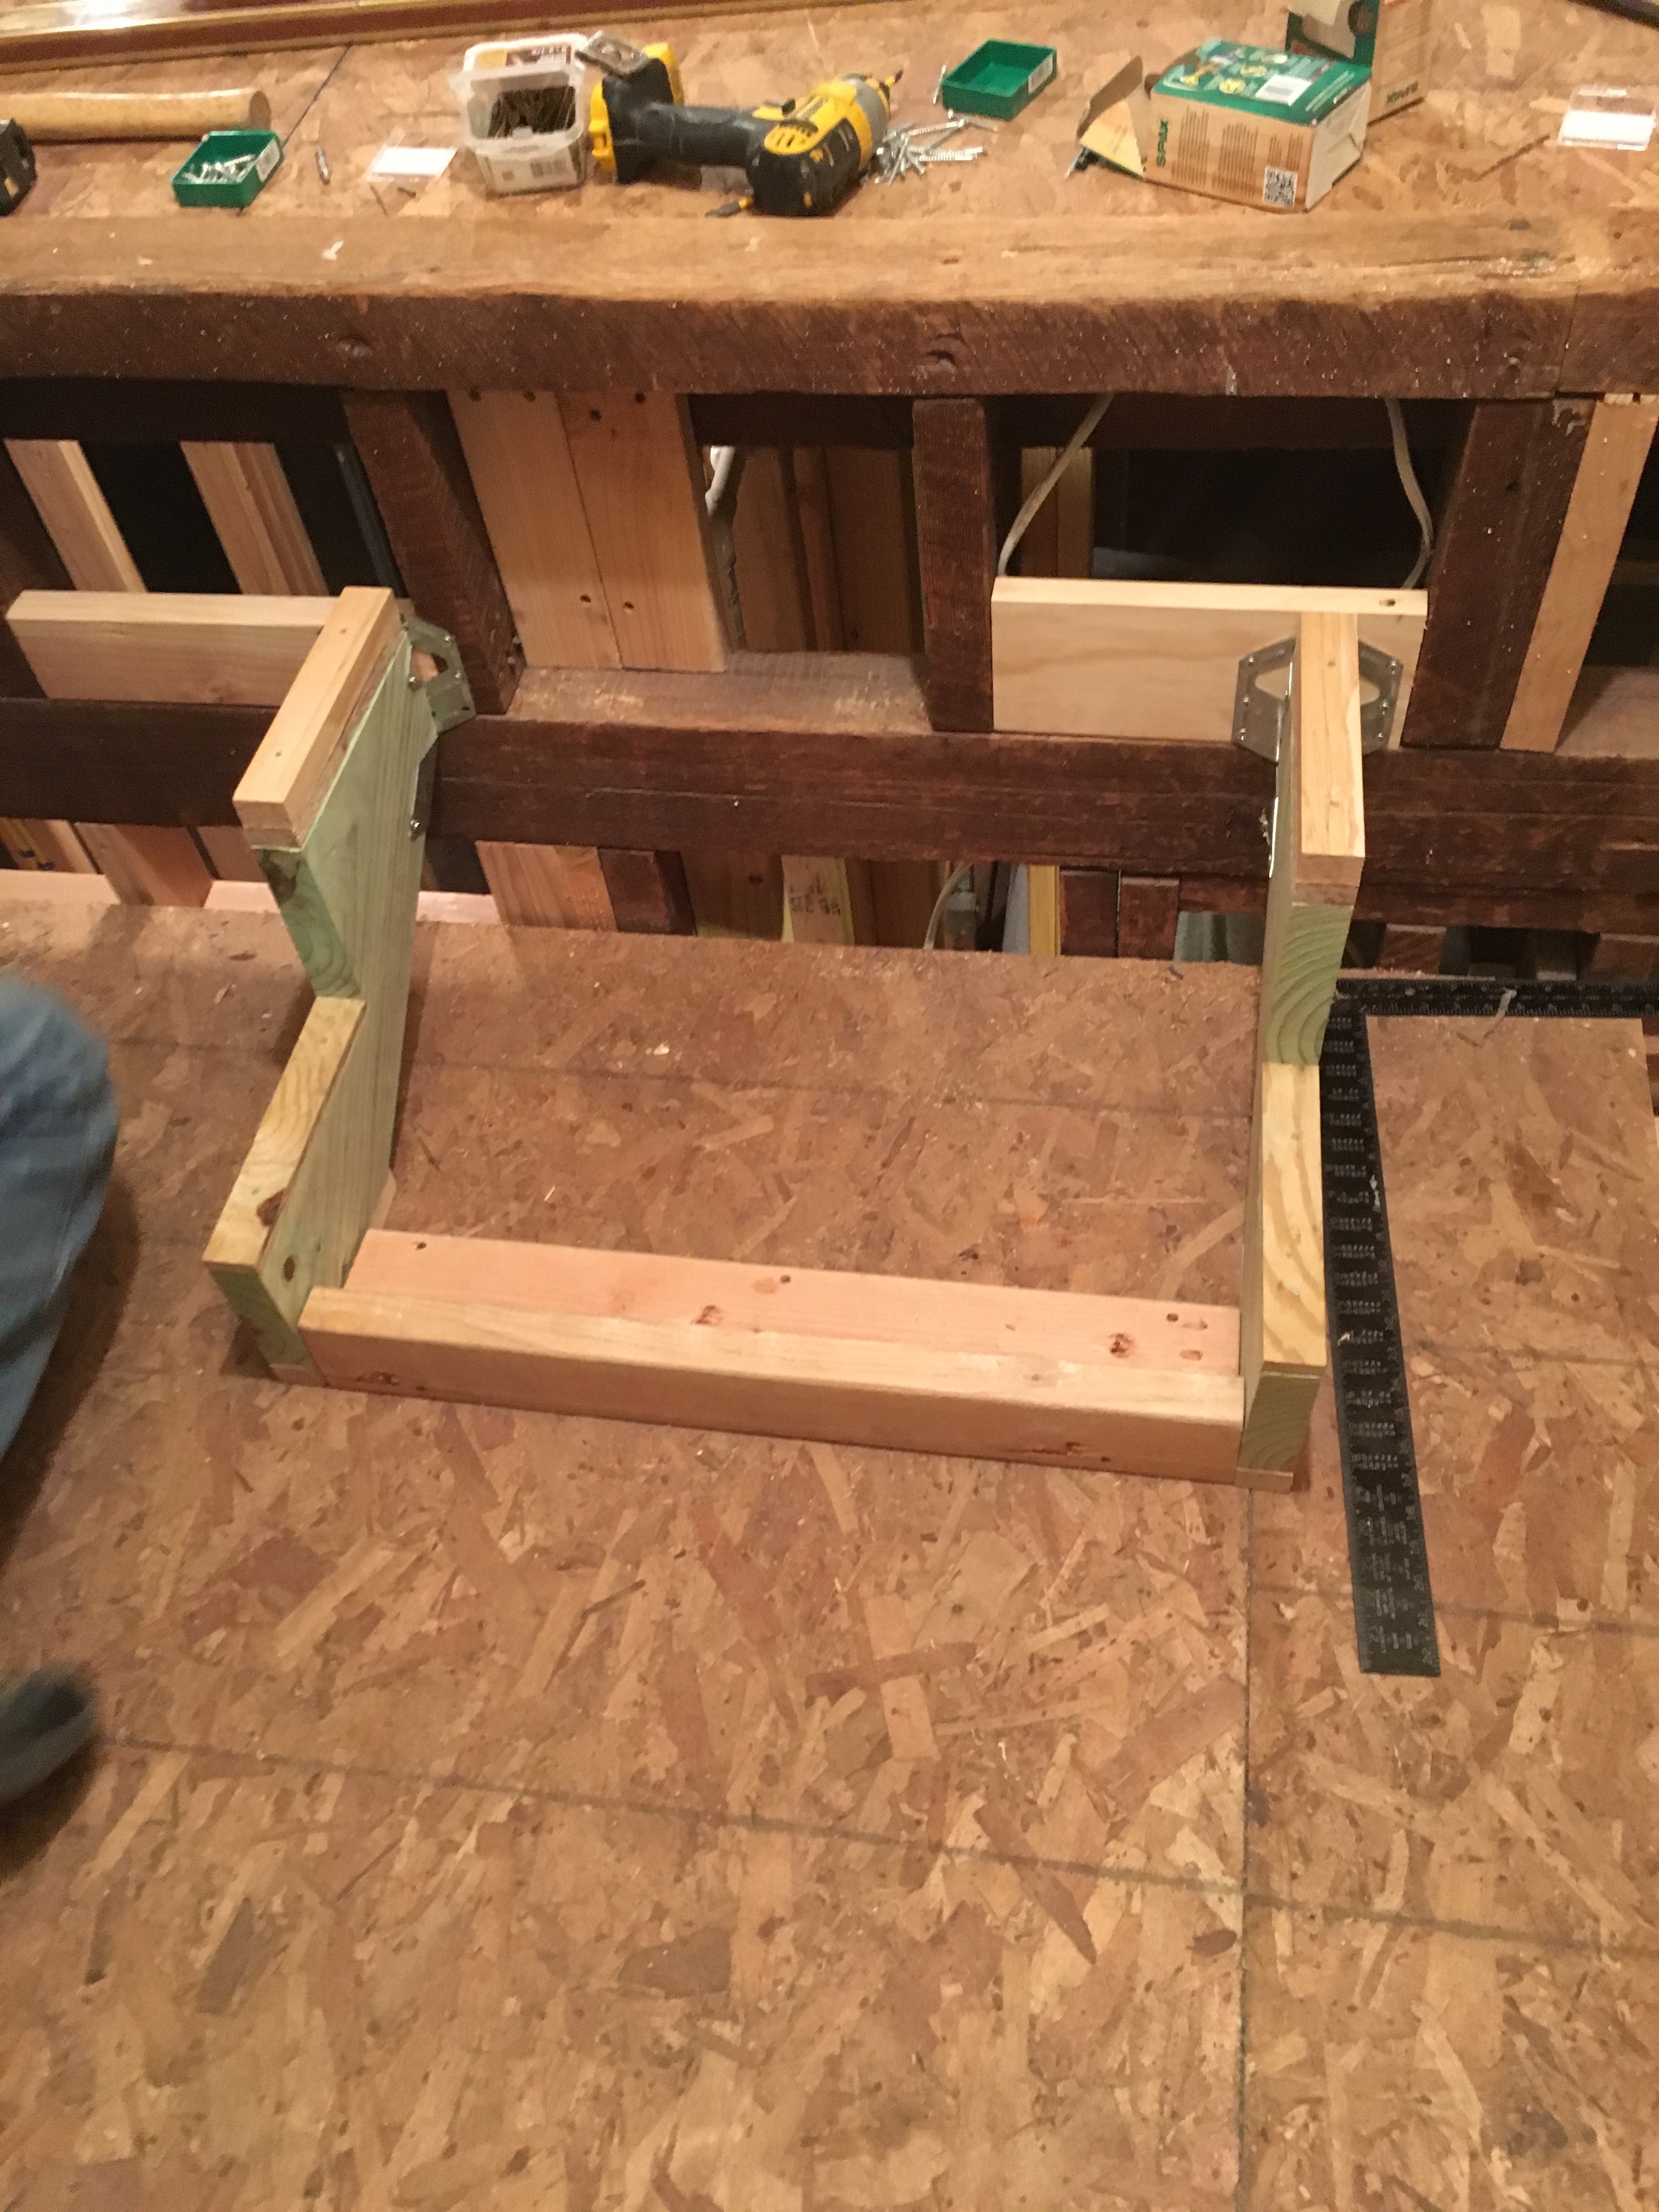
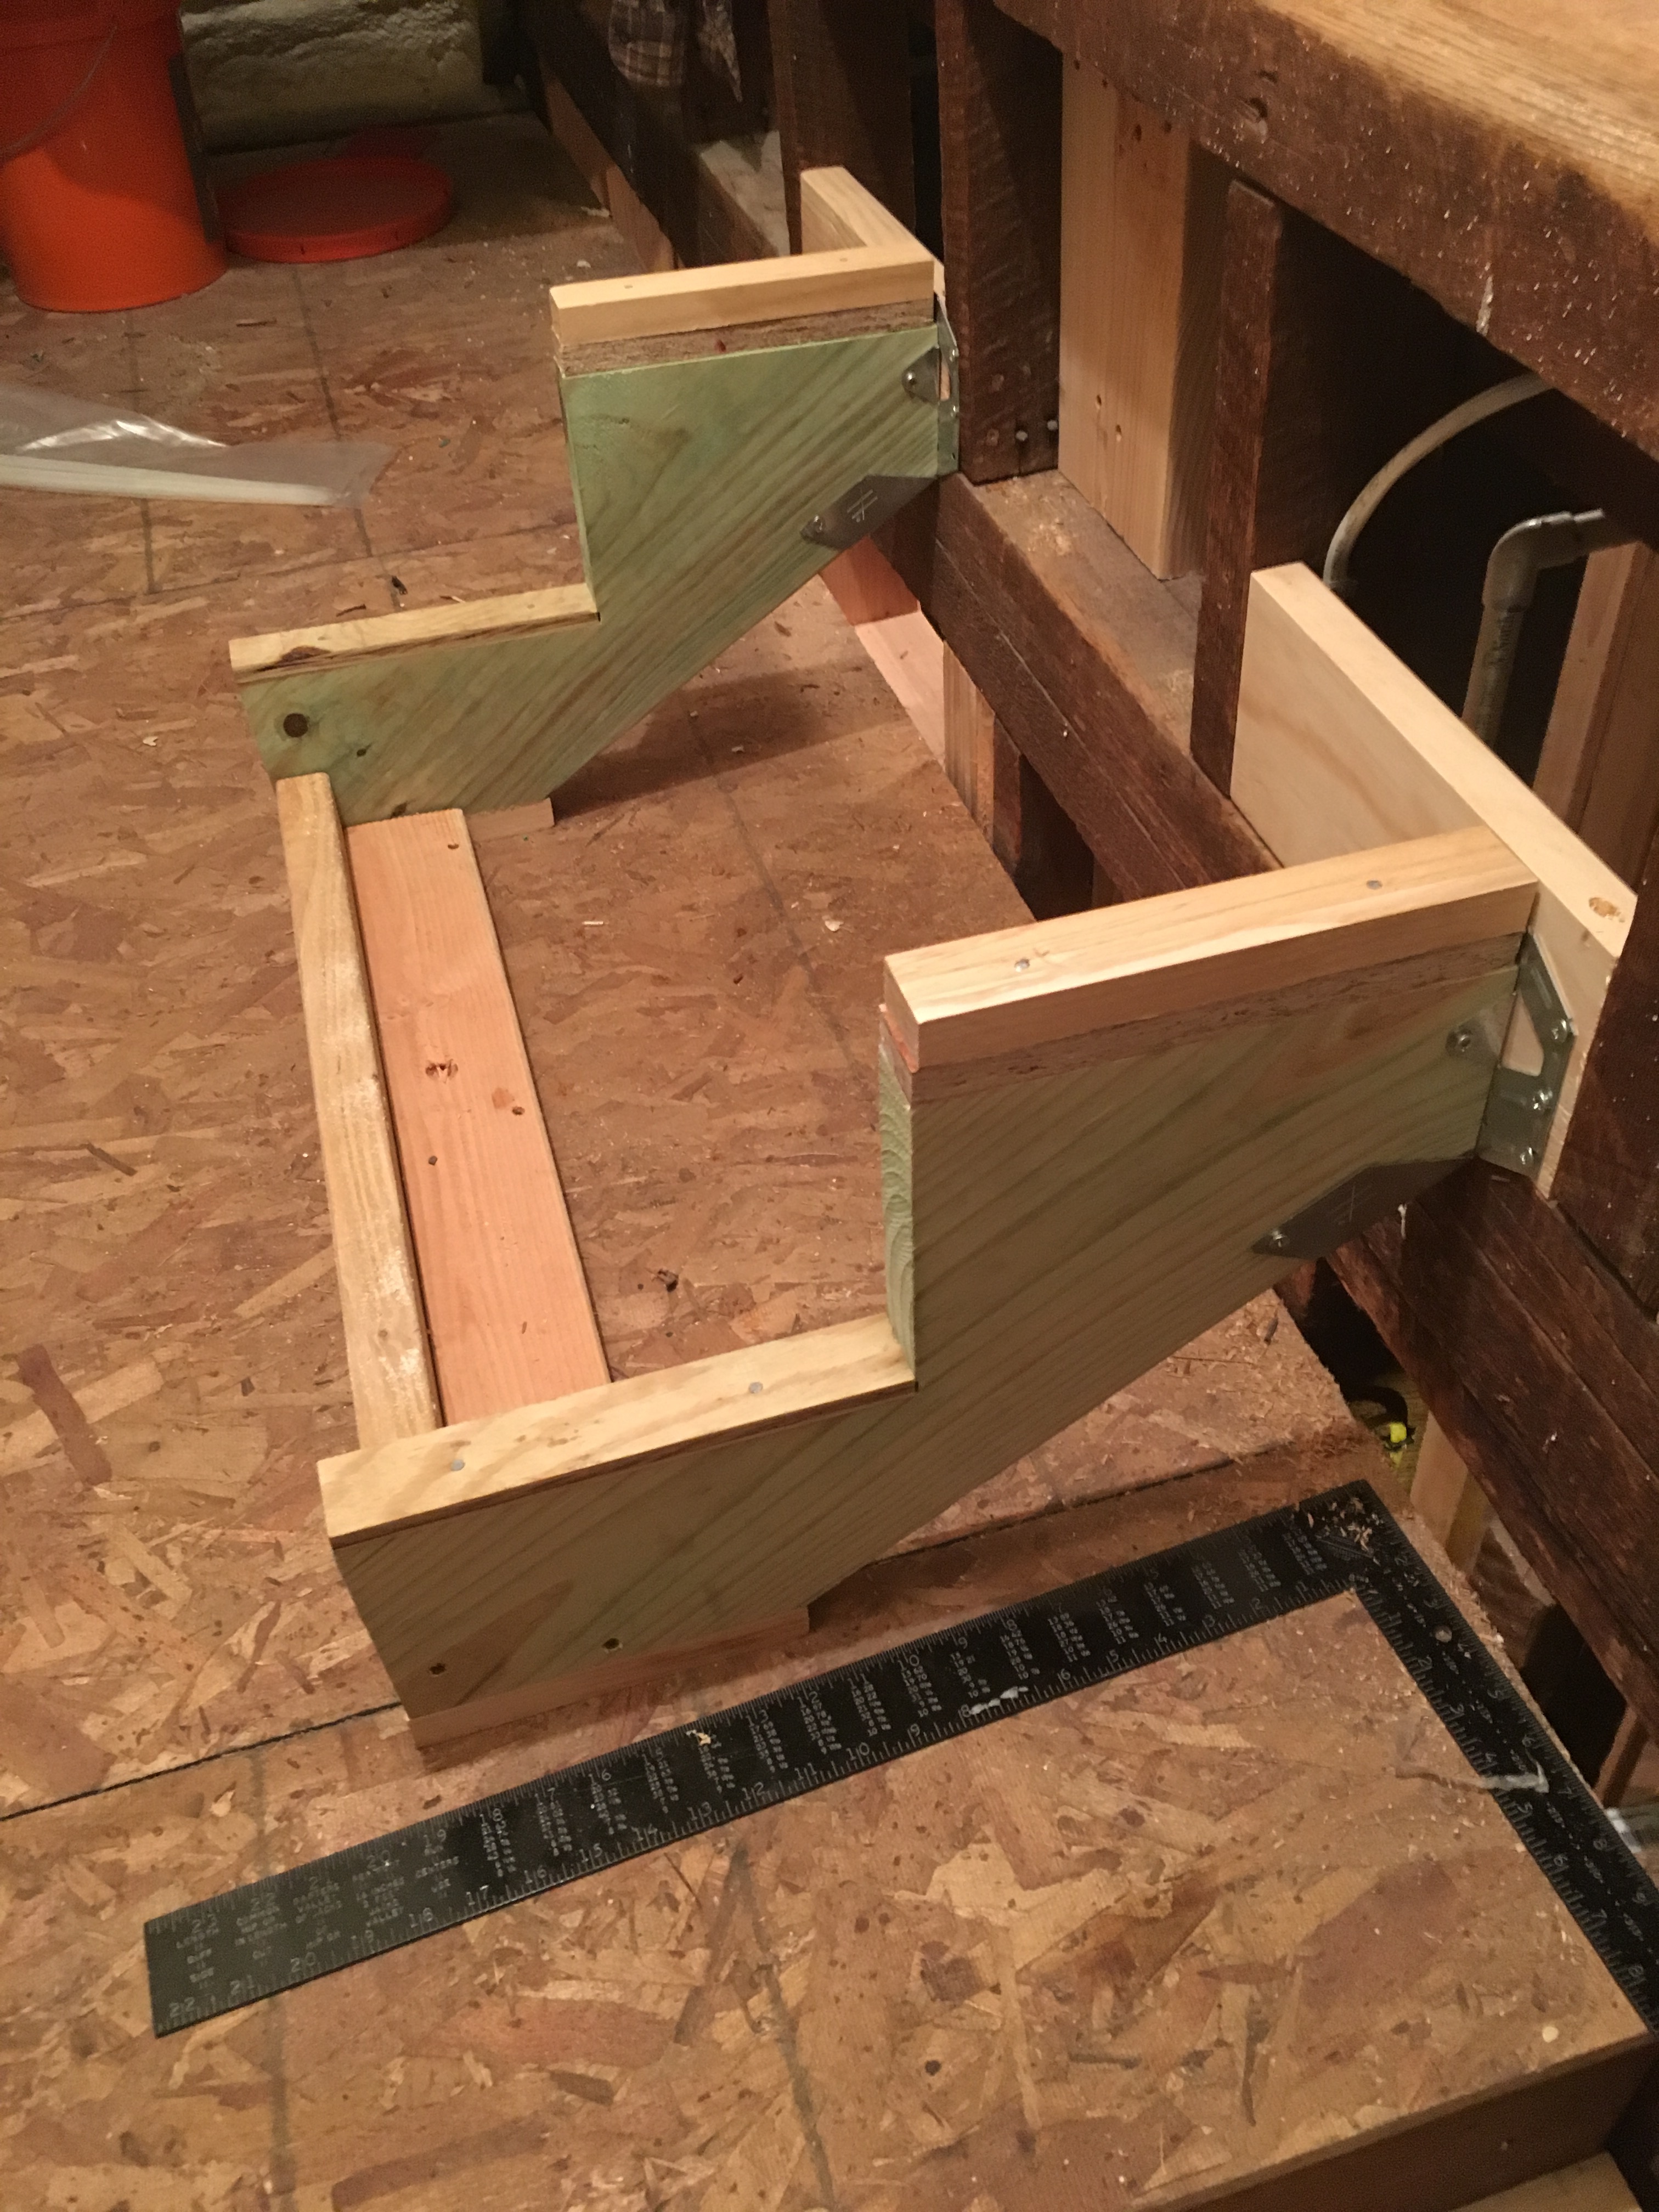
Oh and the hallway going to the bathroom needed a single half-step so we did that while we were at it.

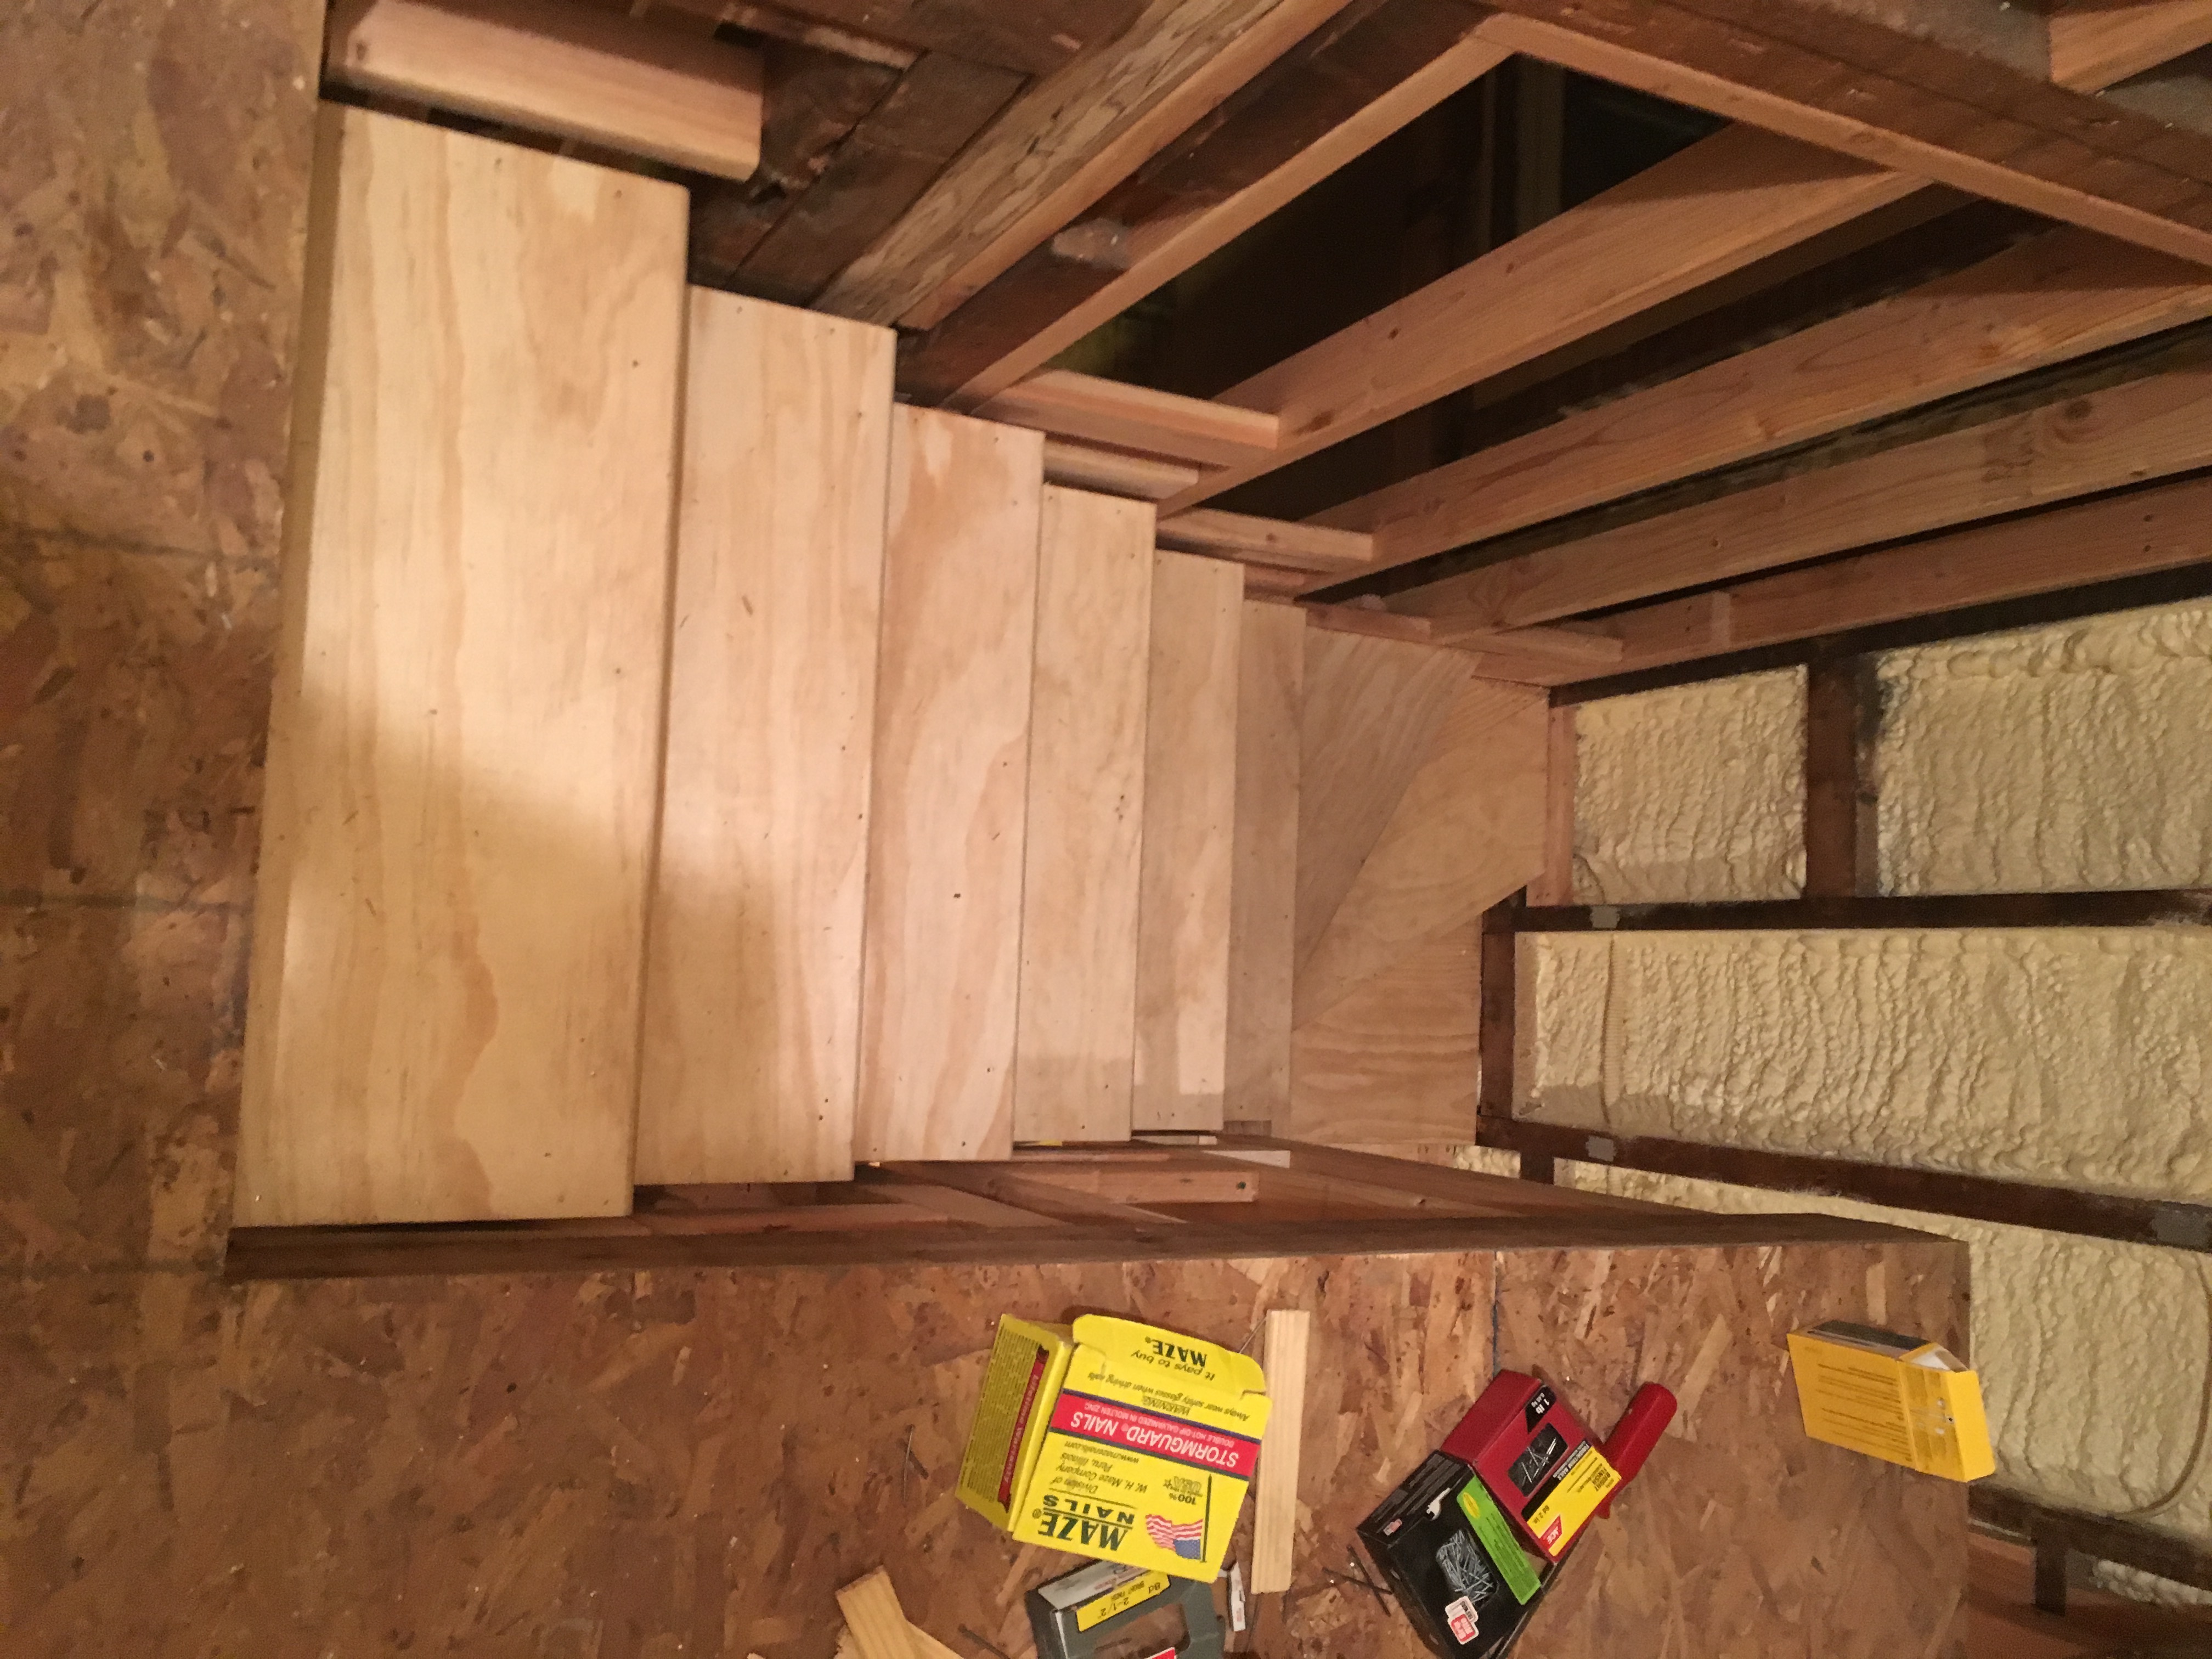
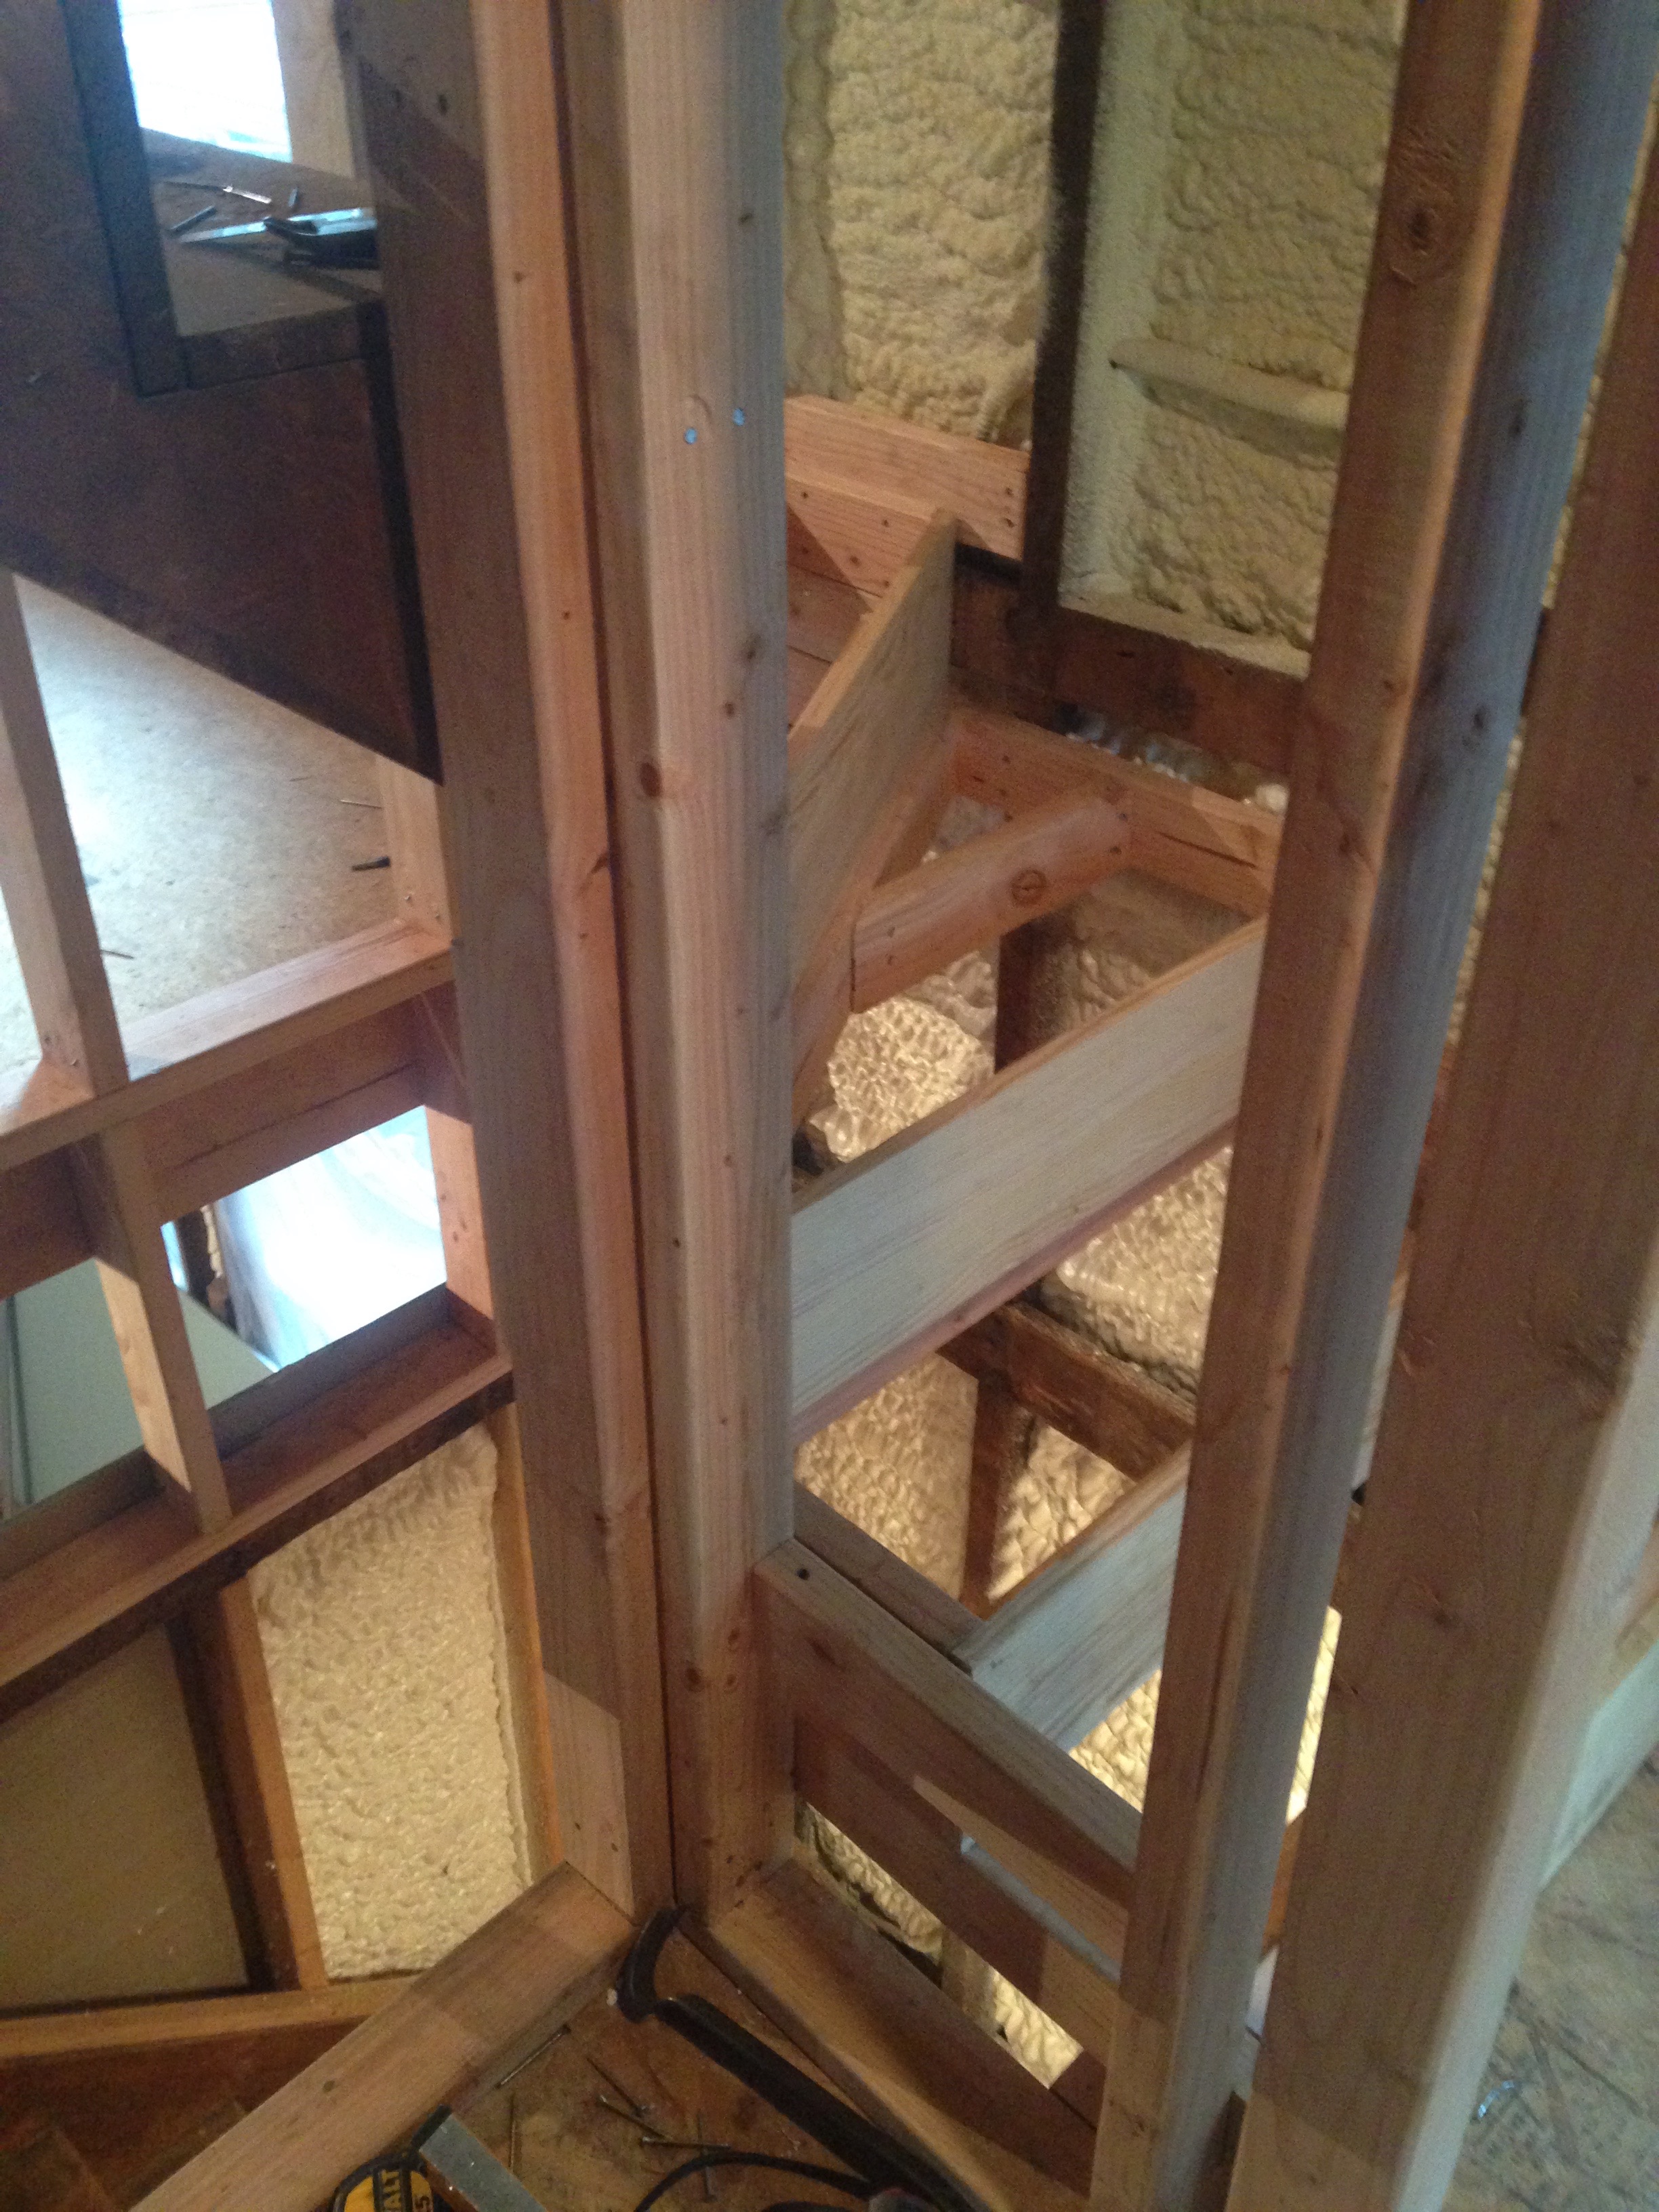
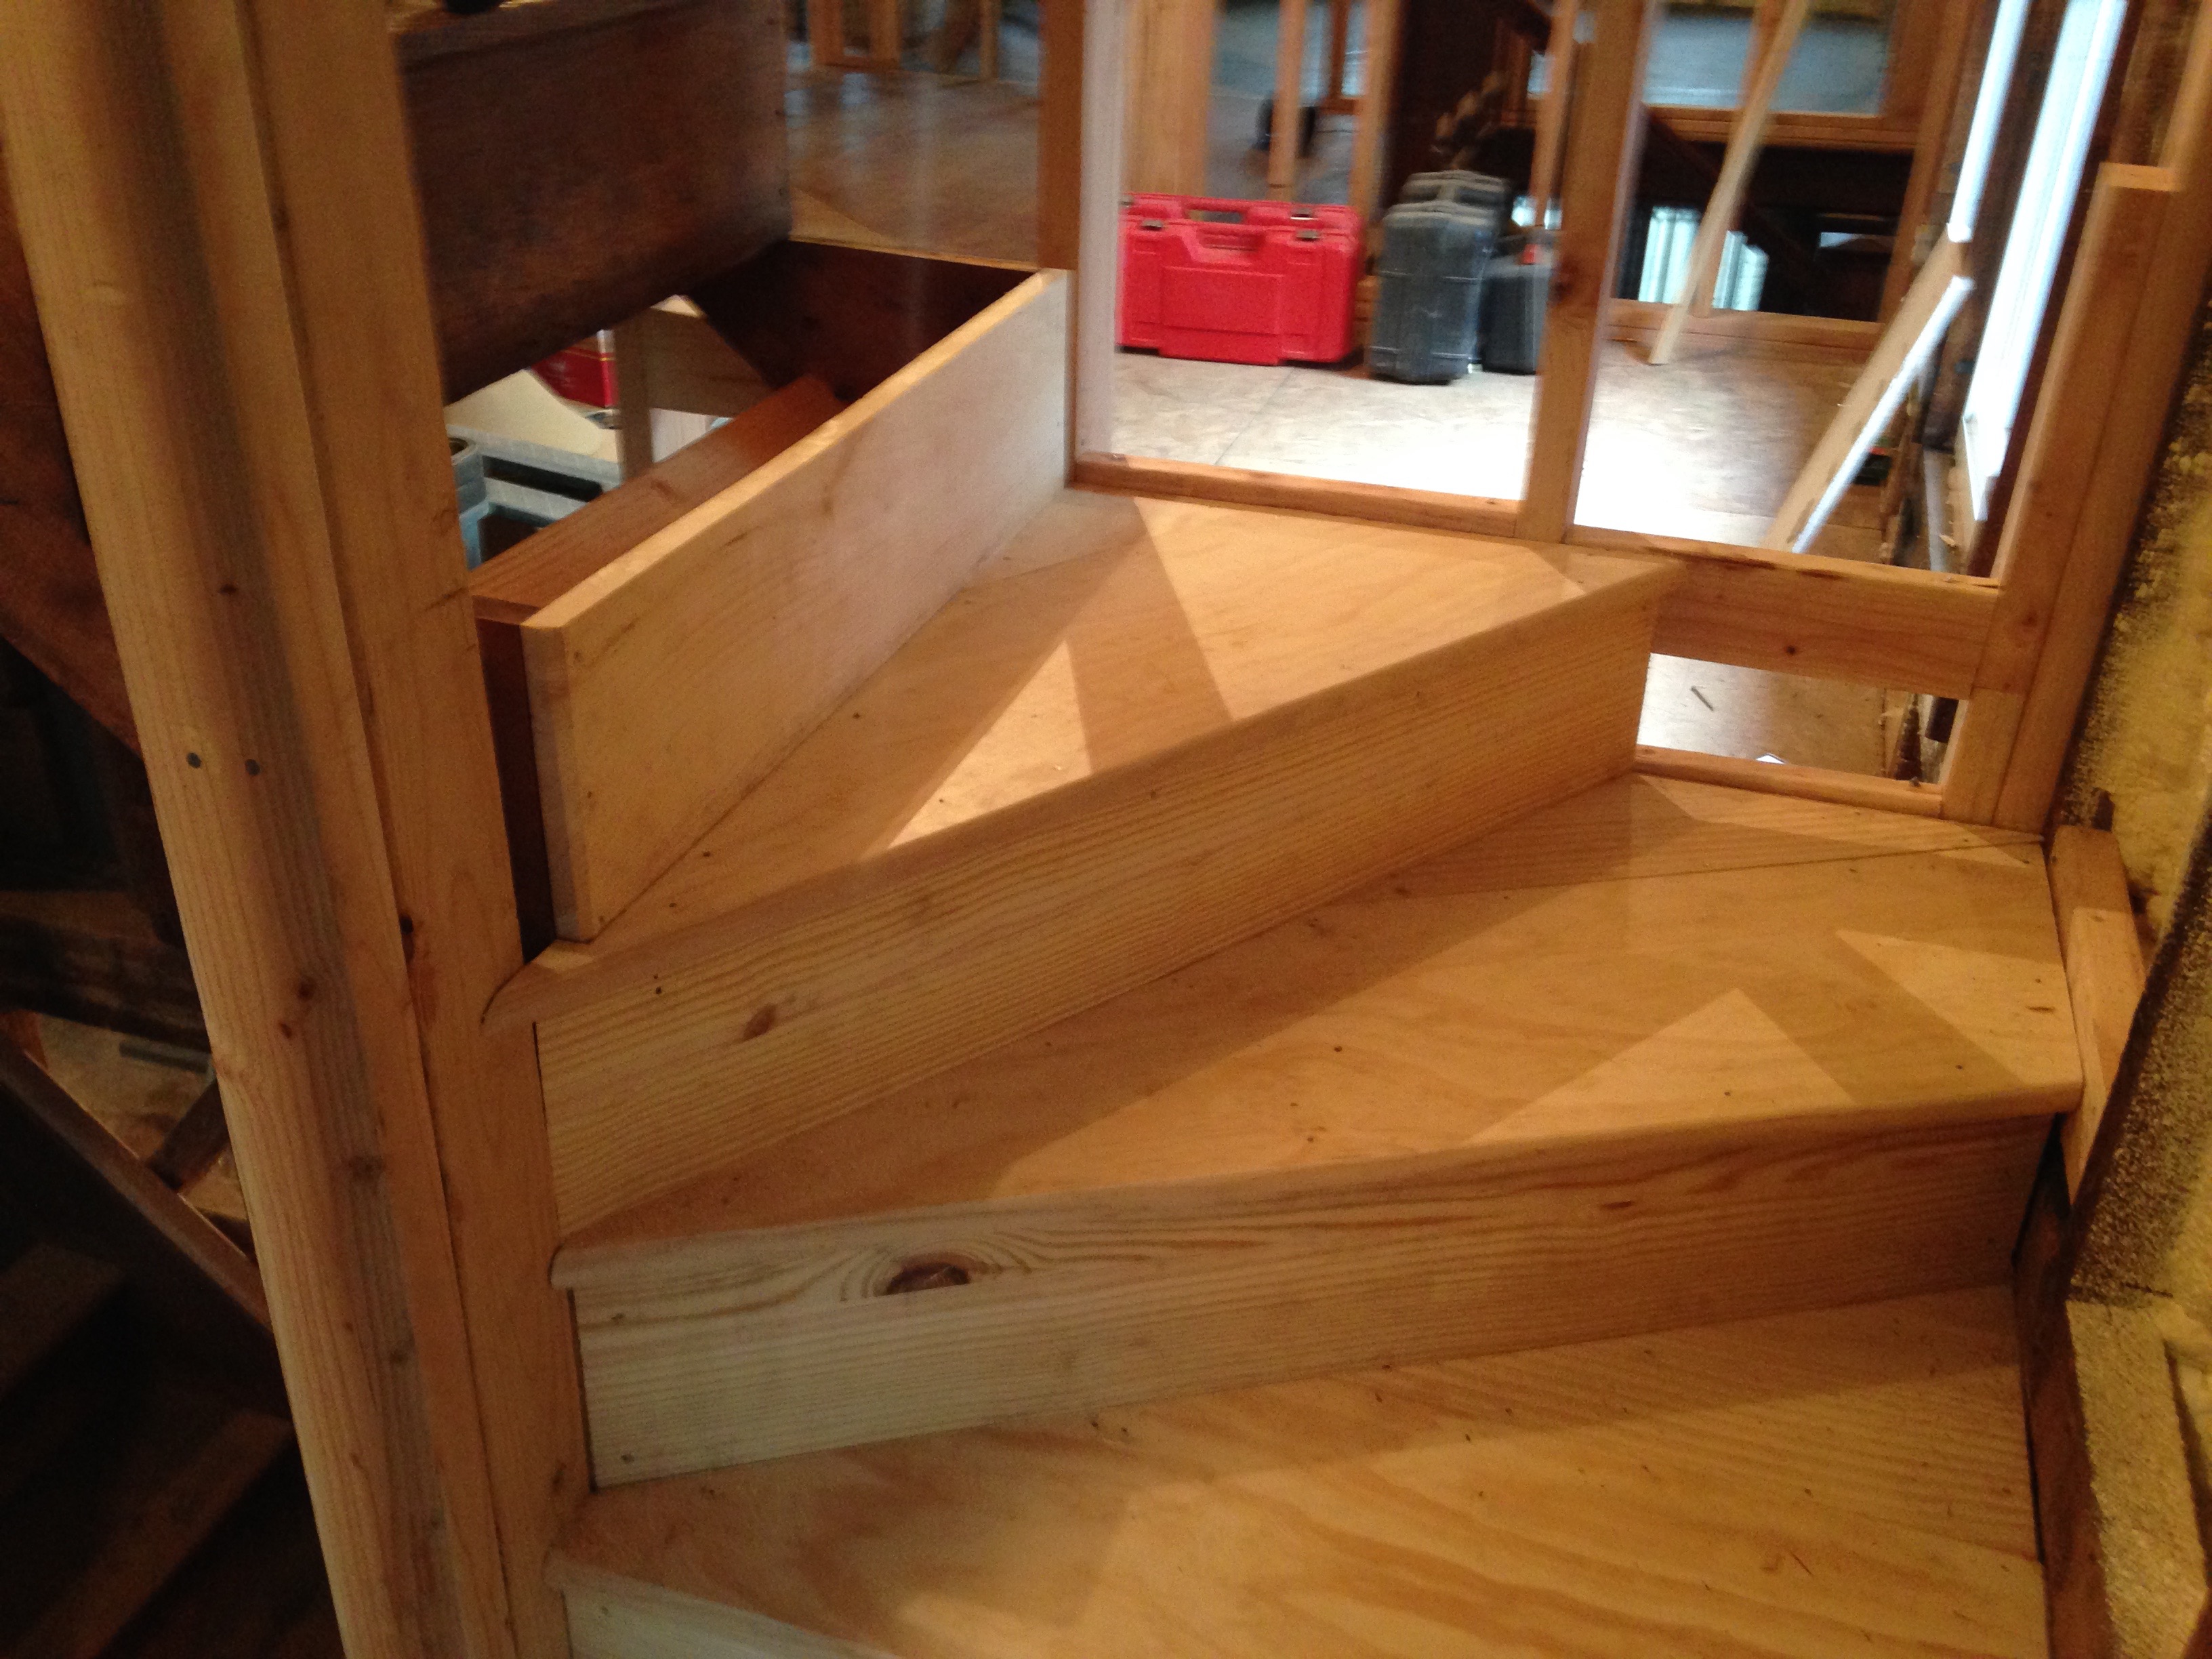
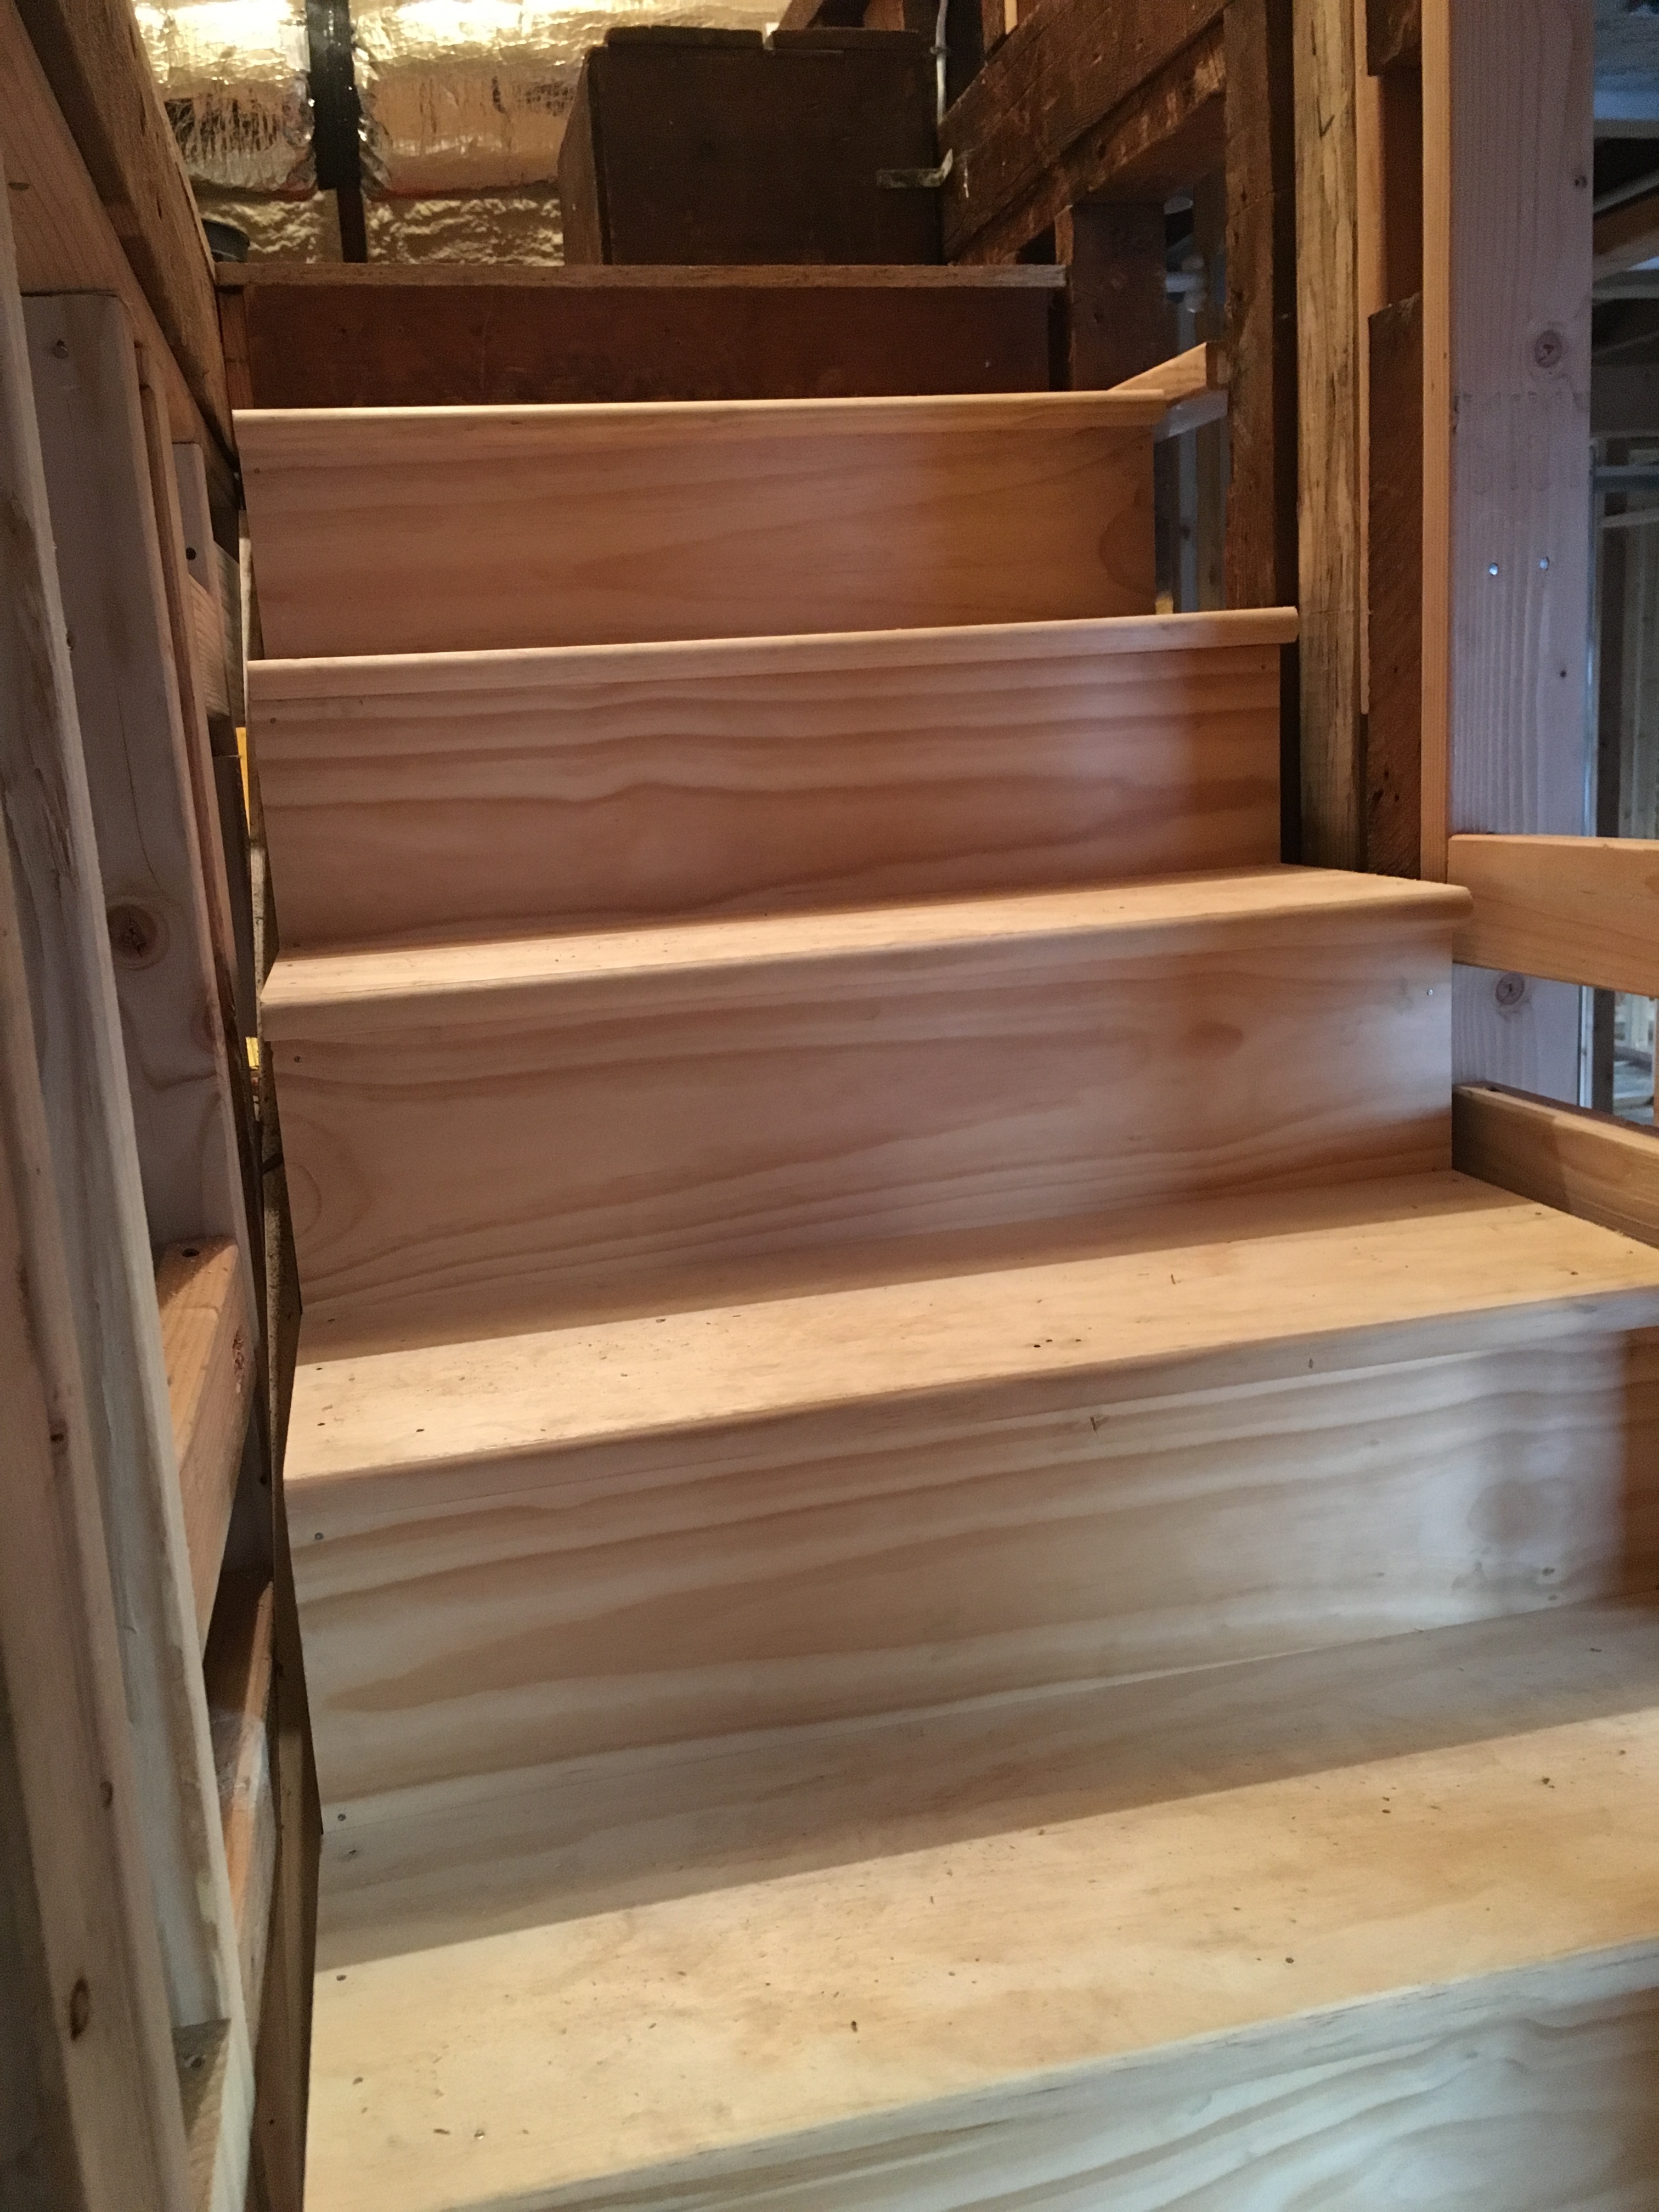
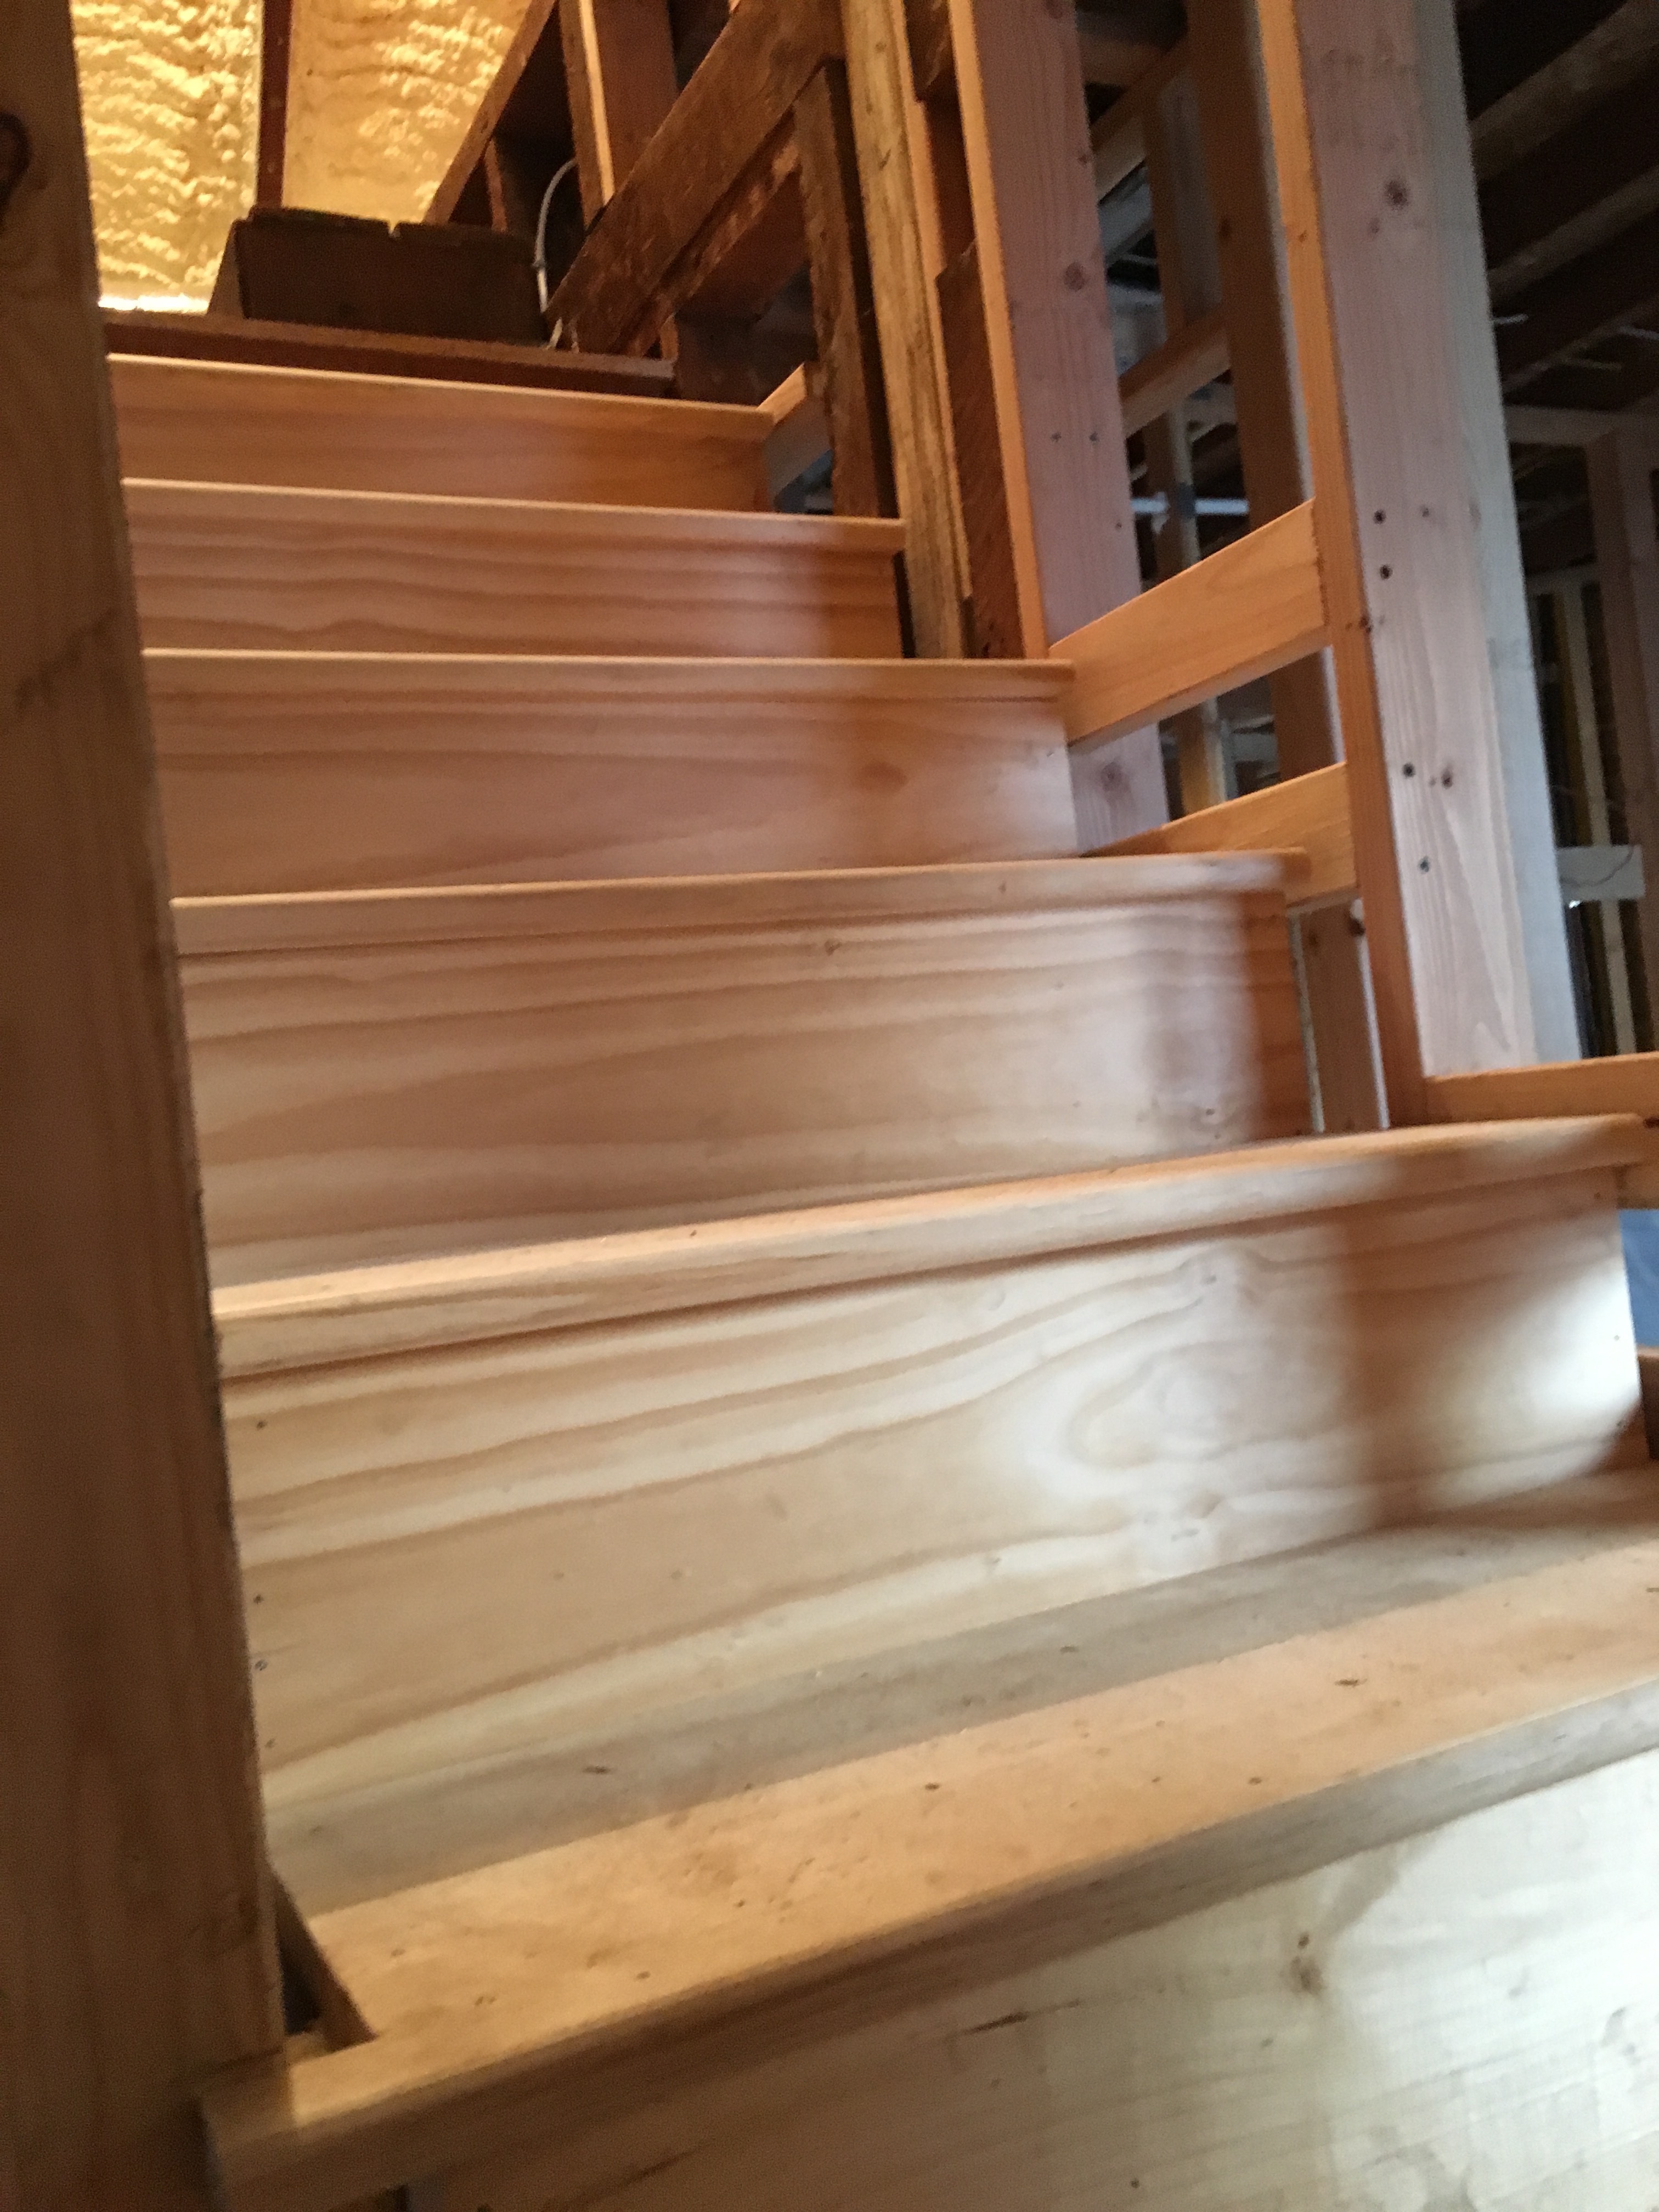
These are the final two steps. Once you get up to the attic there’s a landing area, then you continue up to the main attic. I guess I forgot to take a pic of the finished two steps so I’ll update this later.
Looking down from the top. Looks great!