
This is the culmination of the work that began with removing the current bathroom and rebuilding the back of the house. Now it was time to redo the bathroom floor and finish up the back wall of the house.
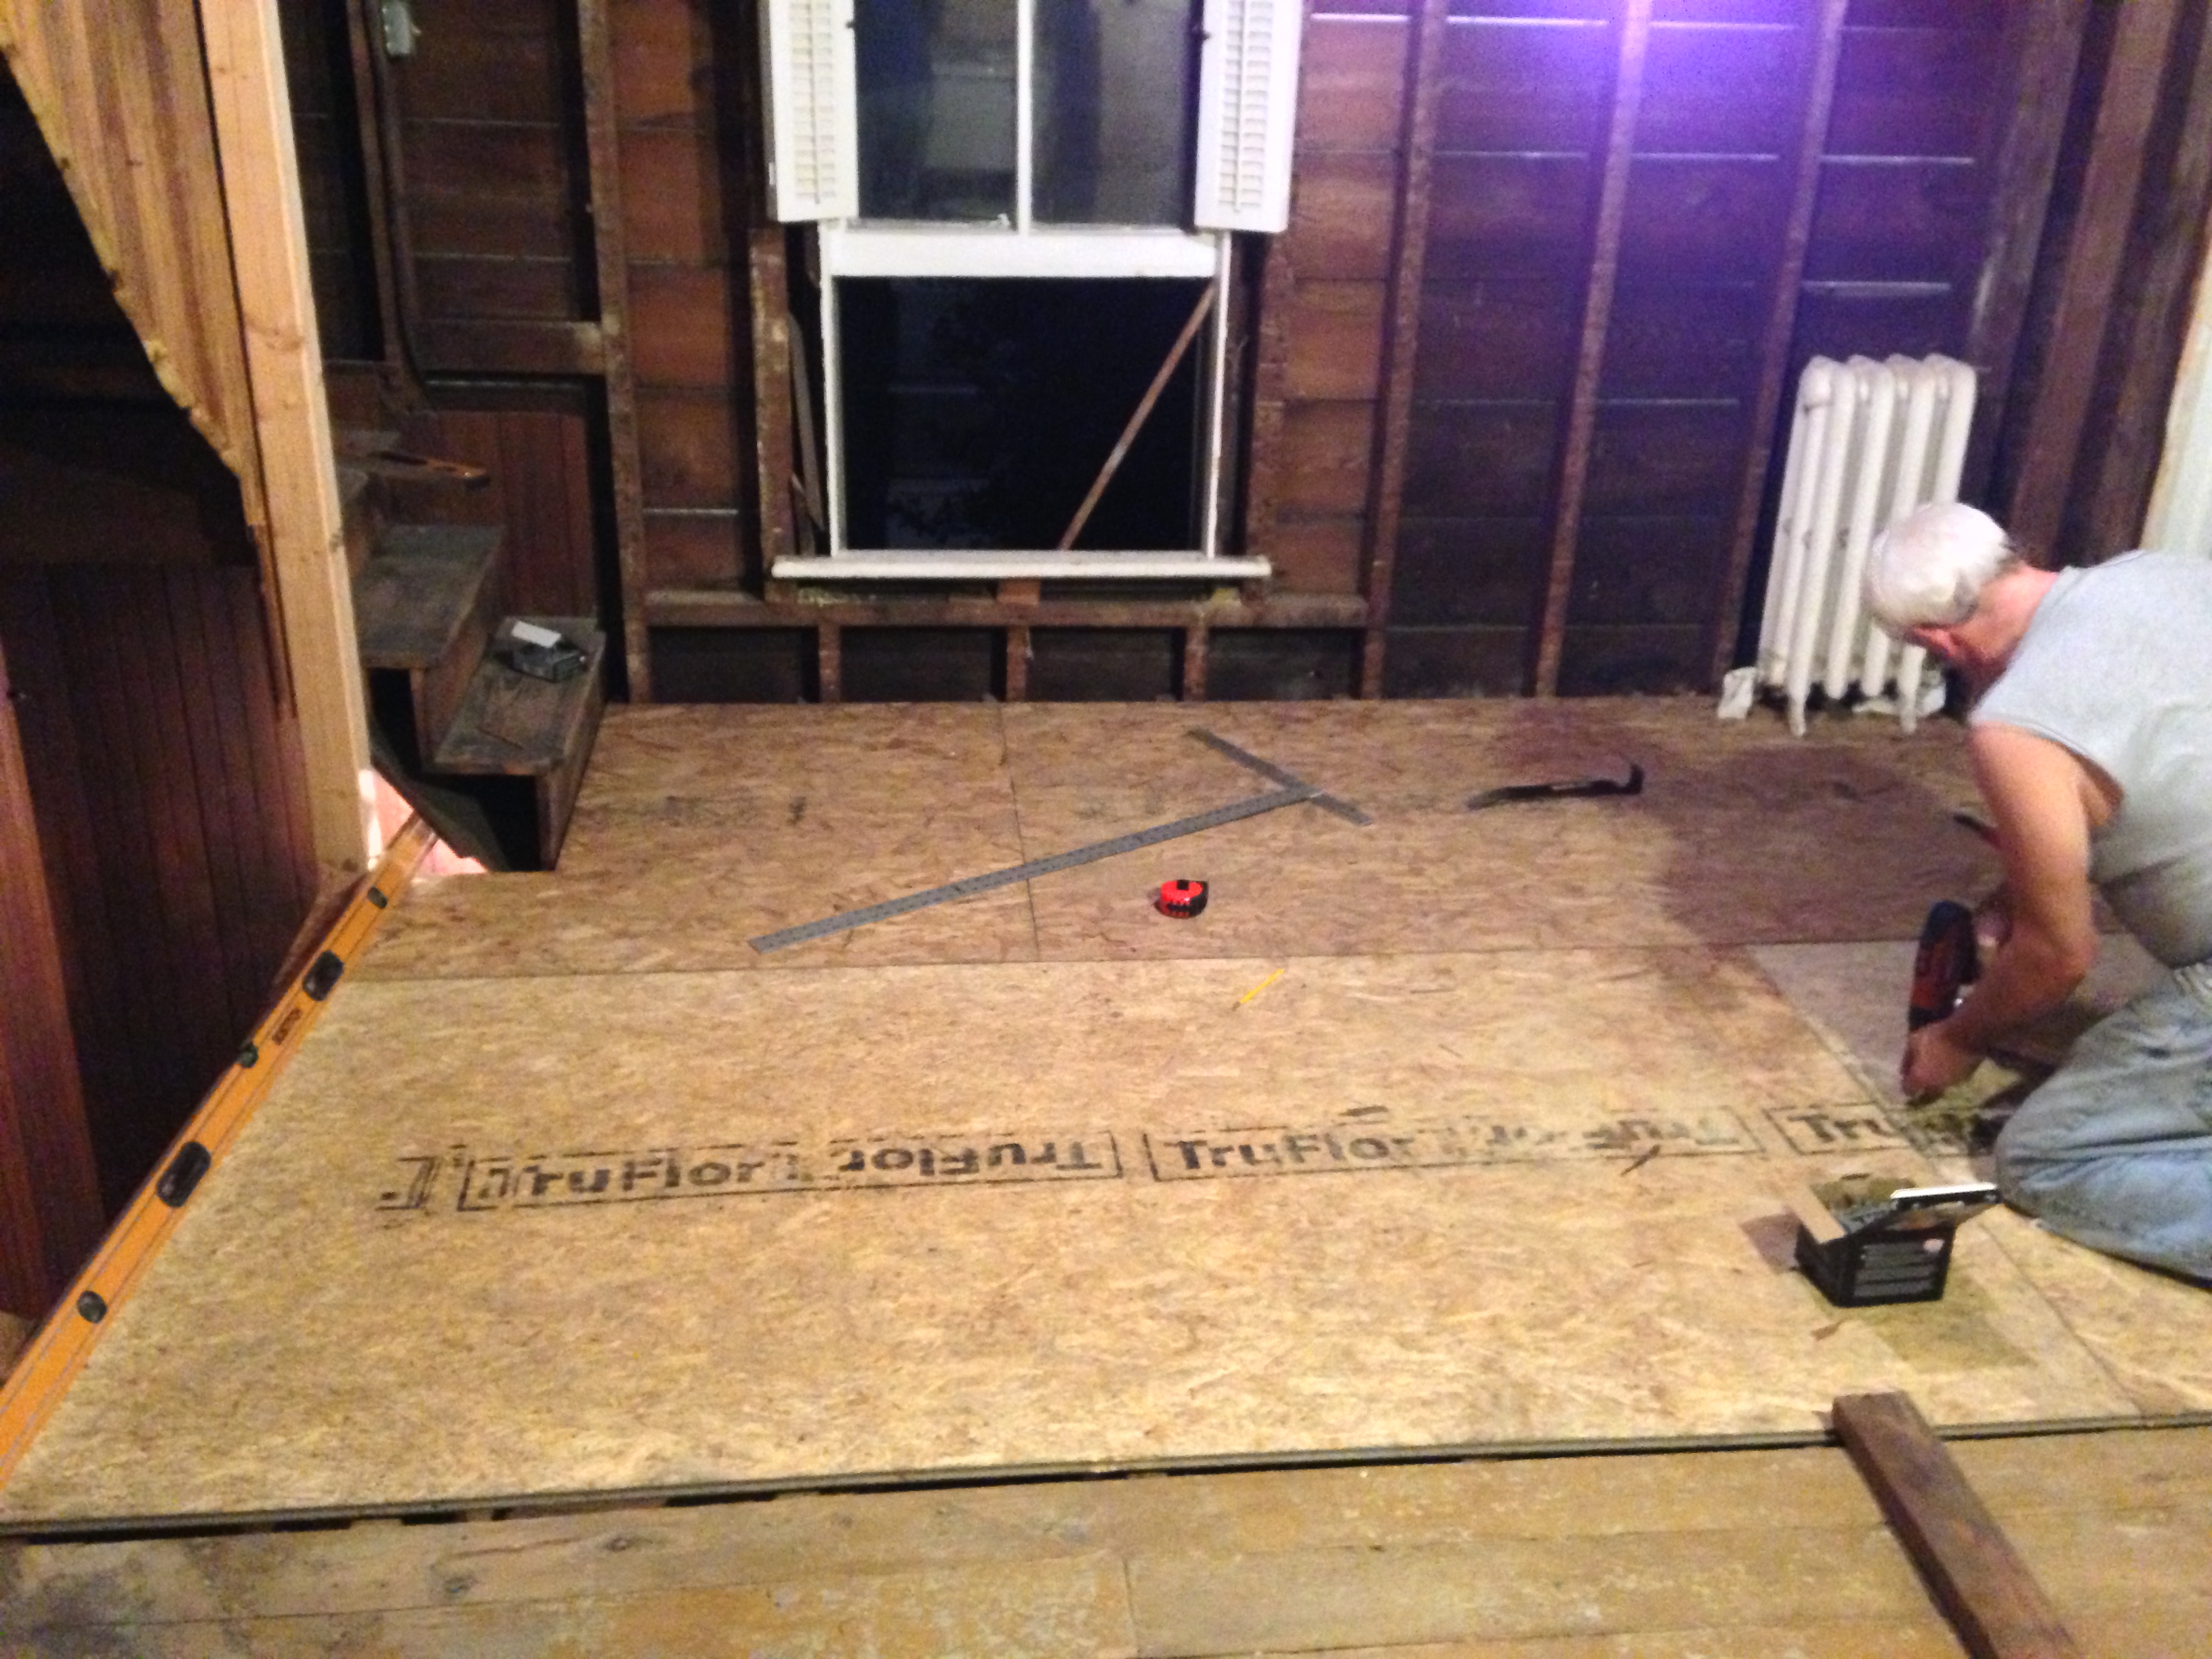
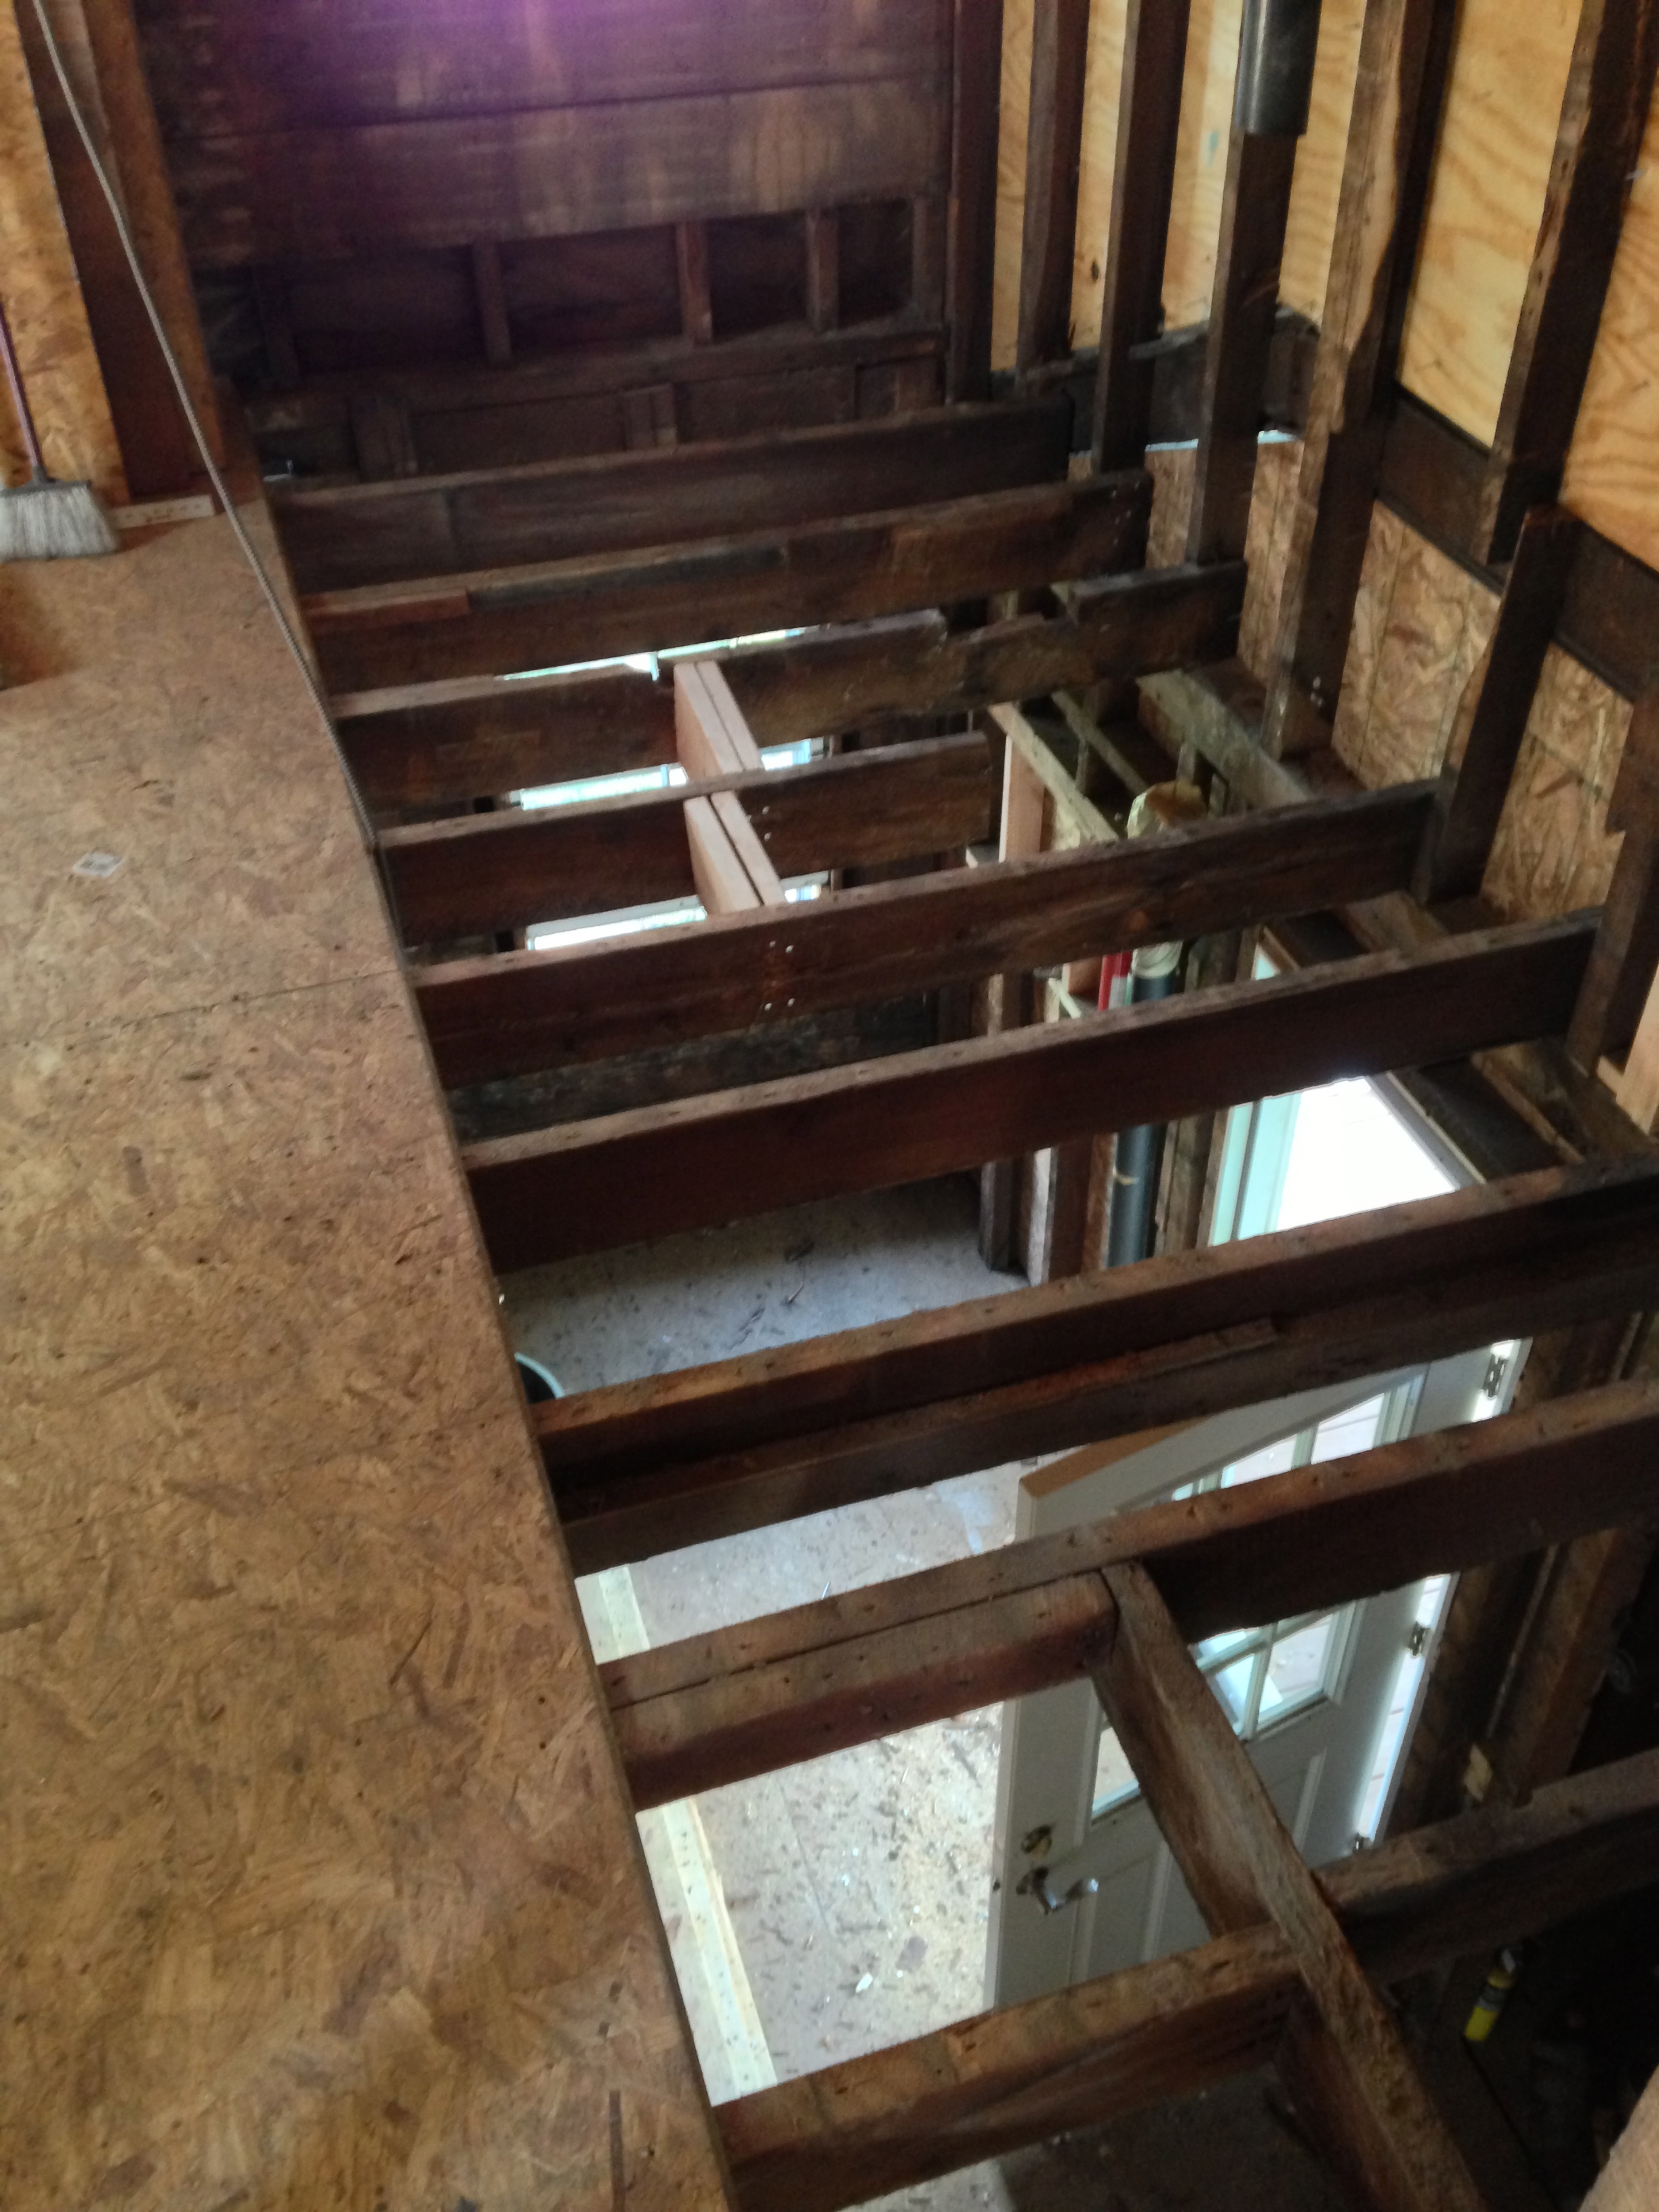
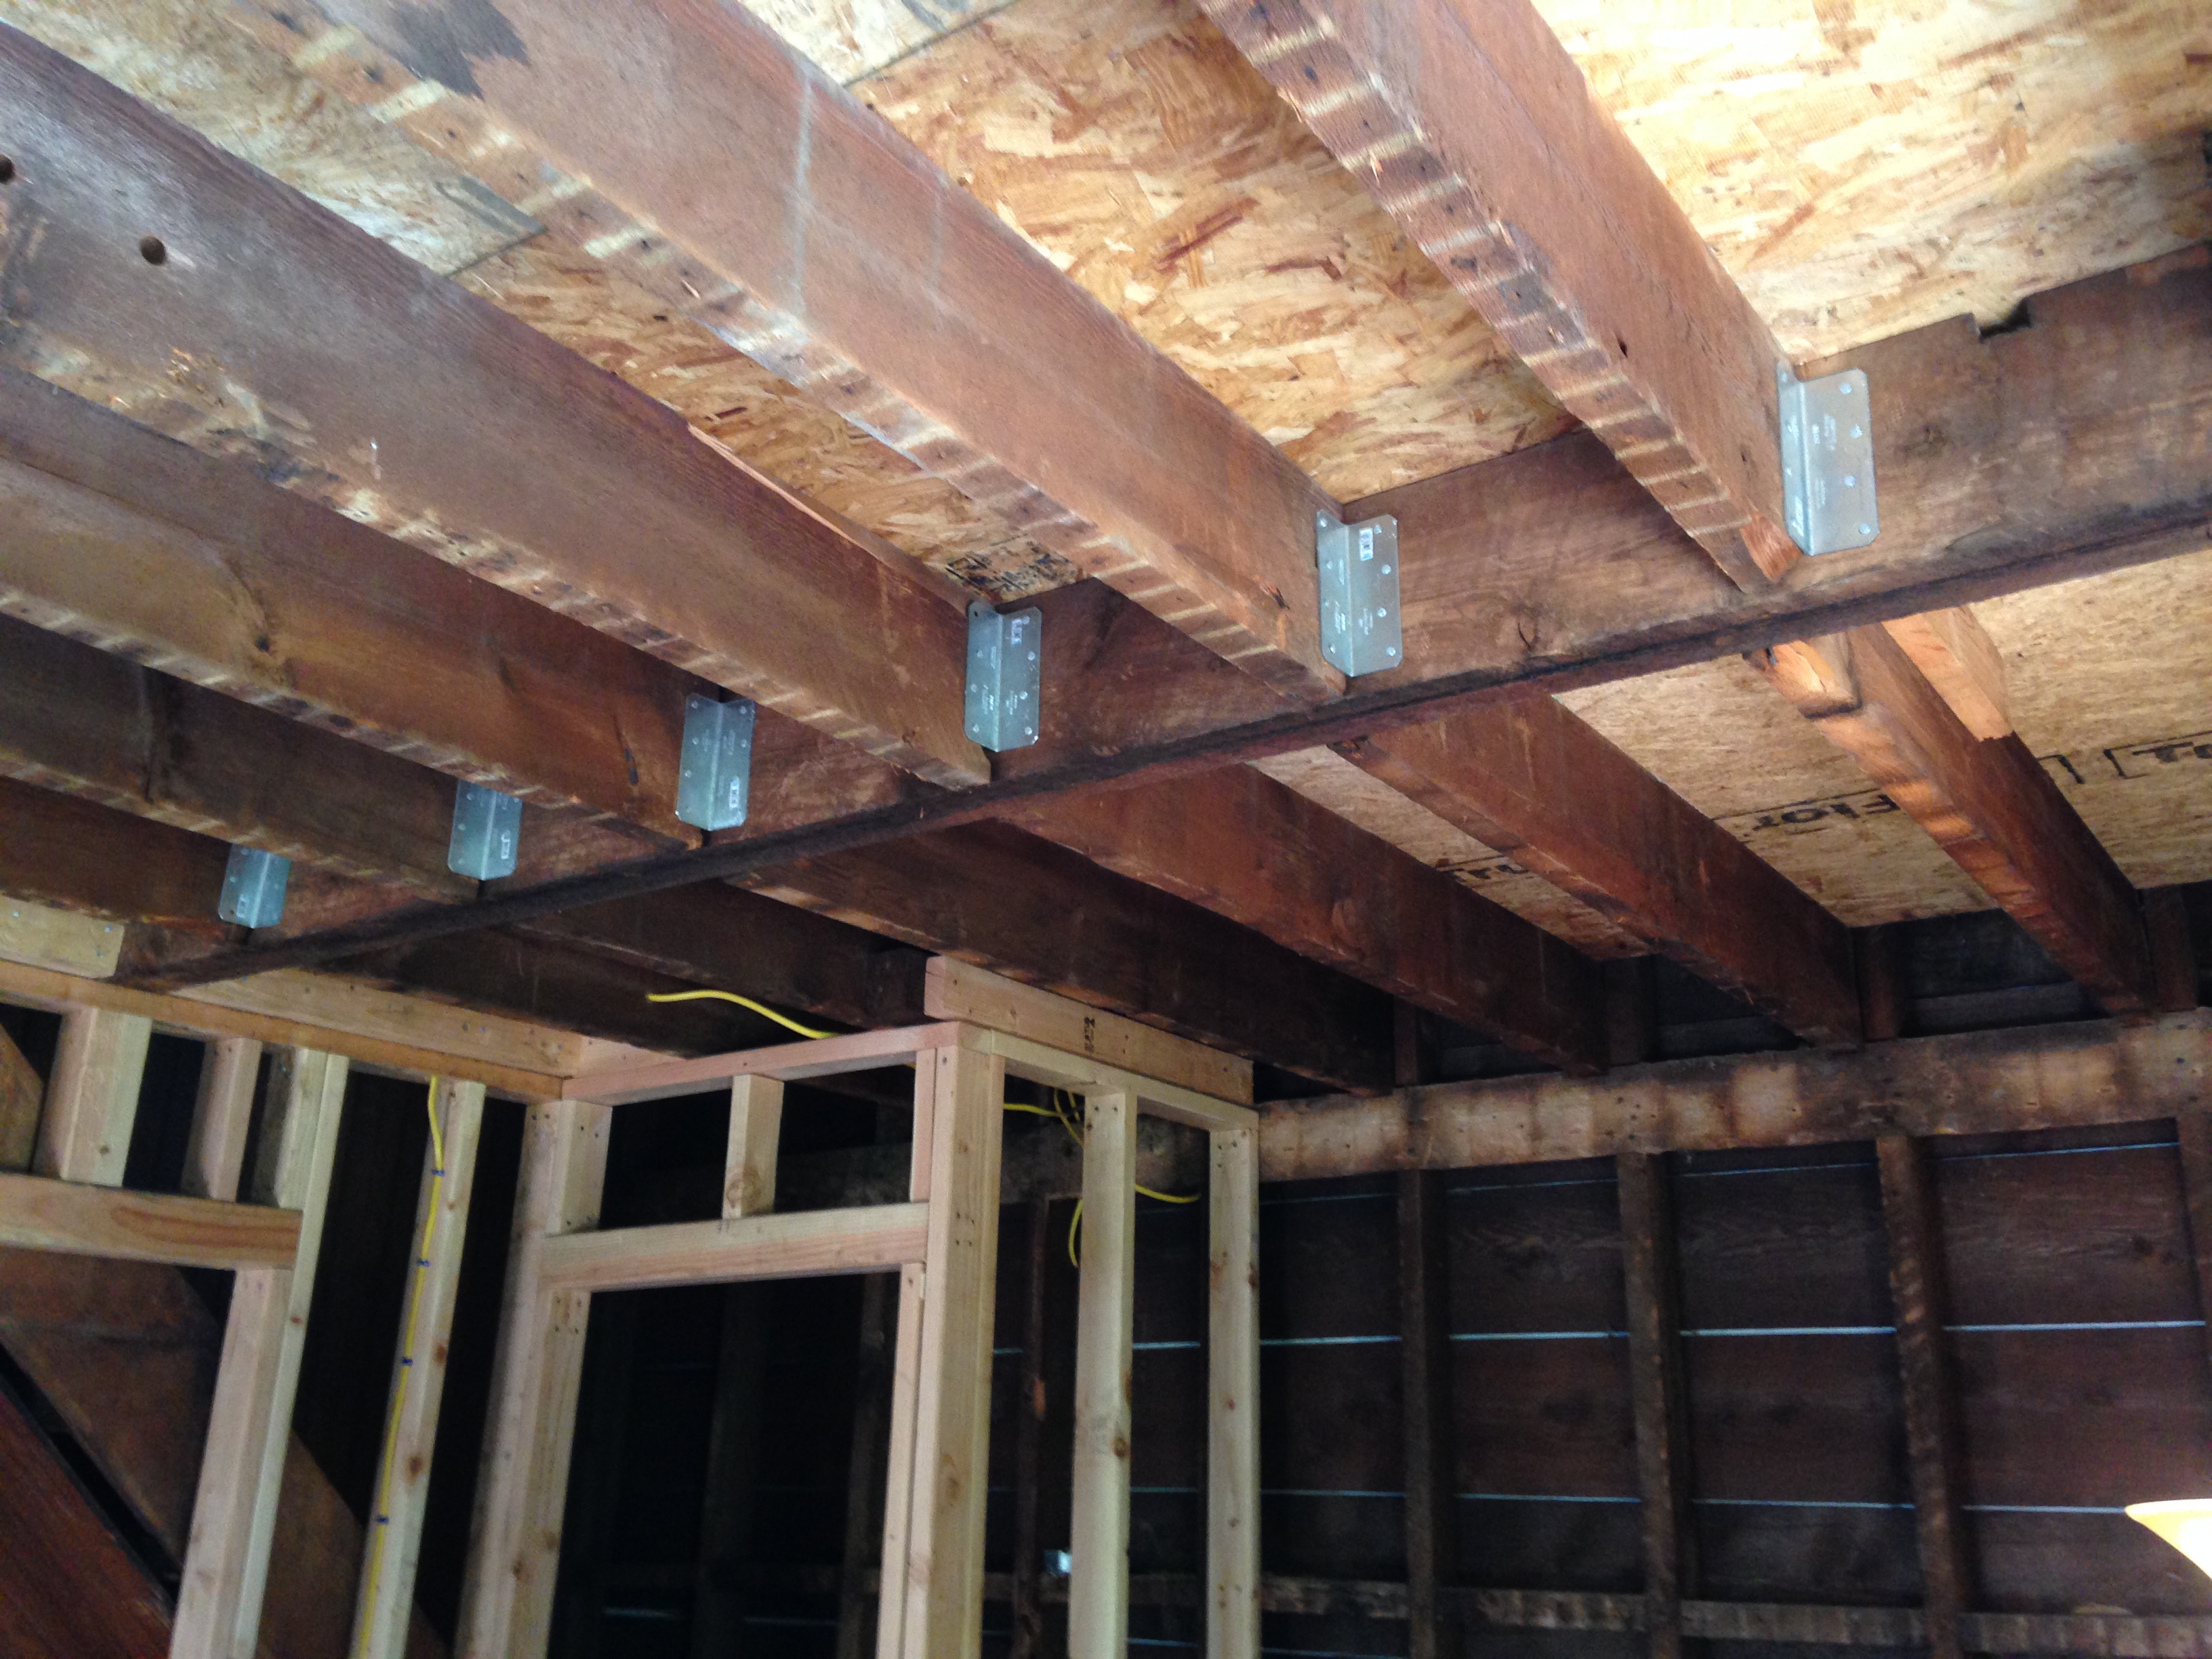
First steps were redoing the floor. Luckily there were enough joists properly spaced so in comparison to the kitchen this was a breeze.
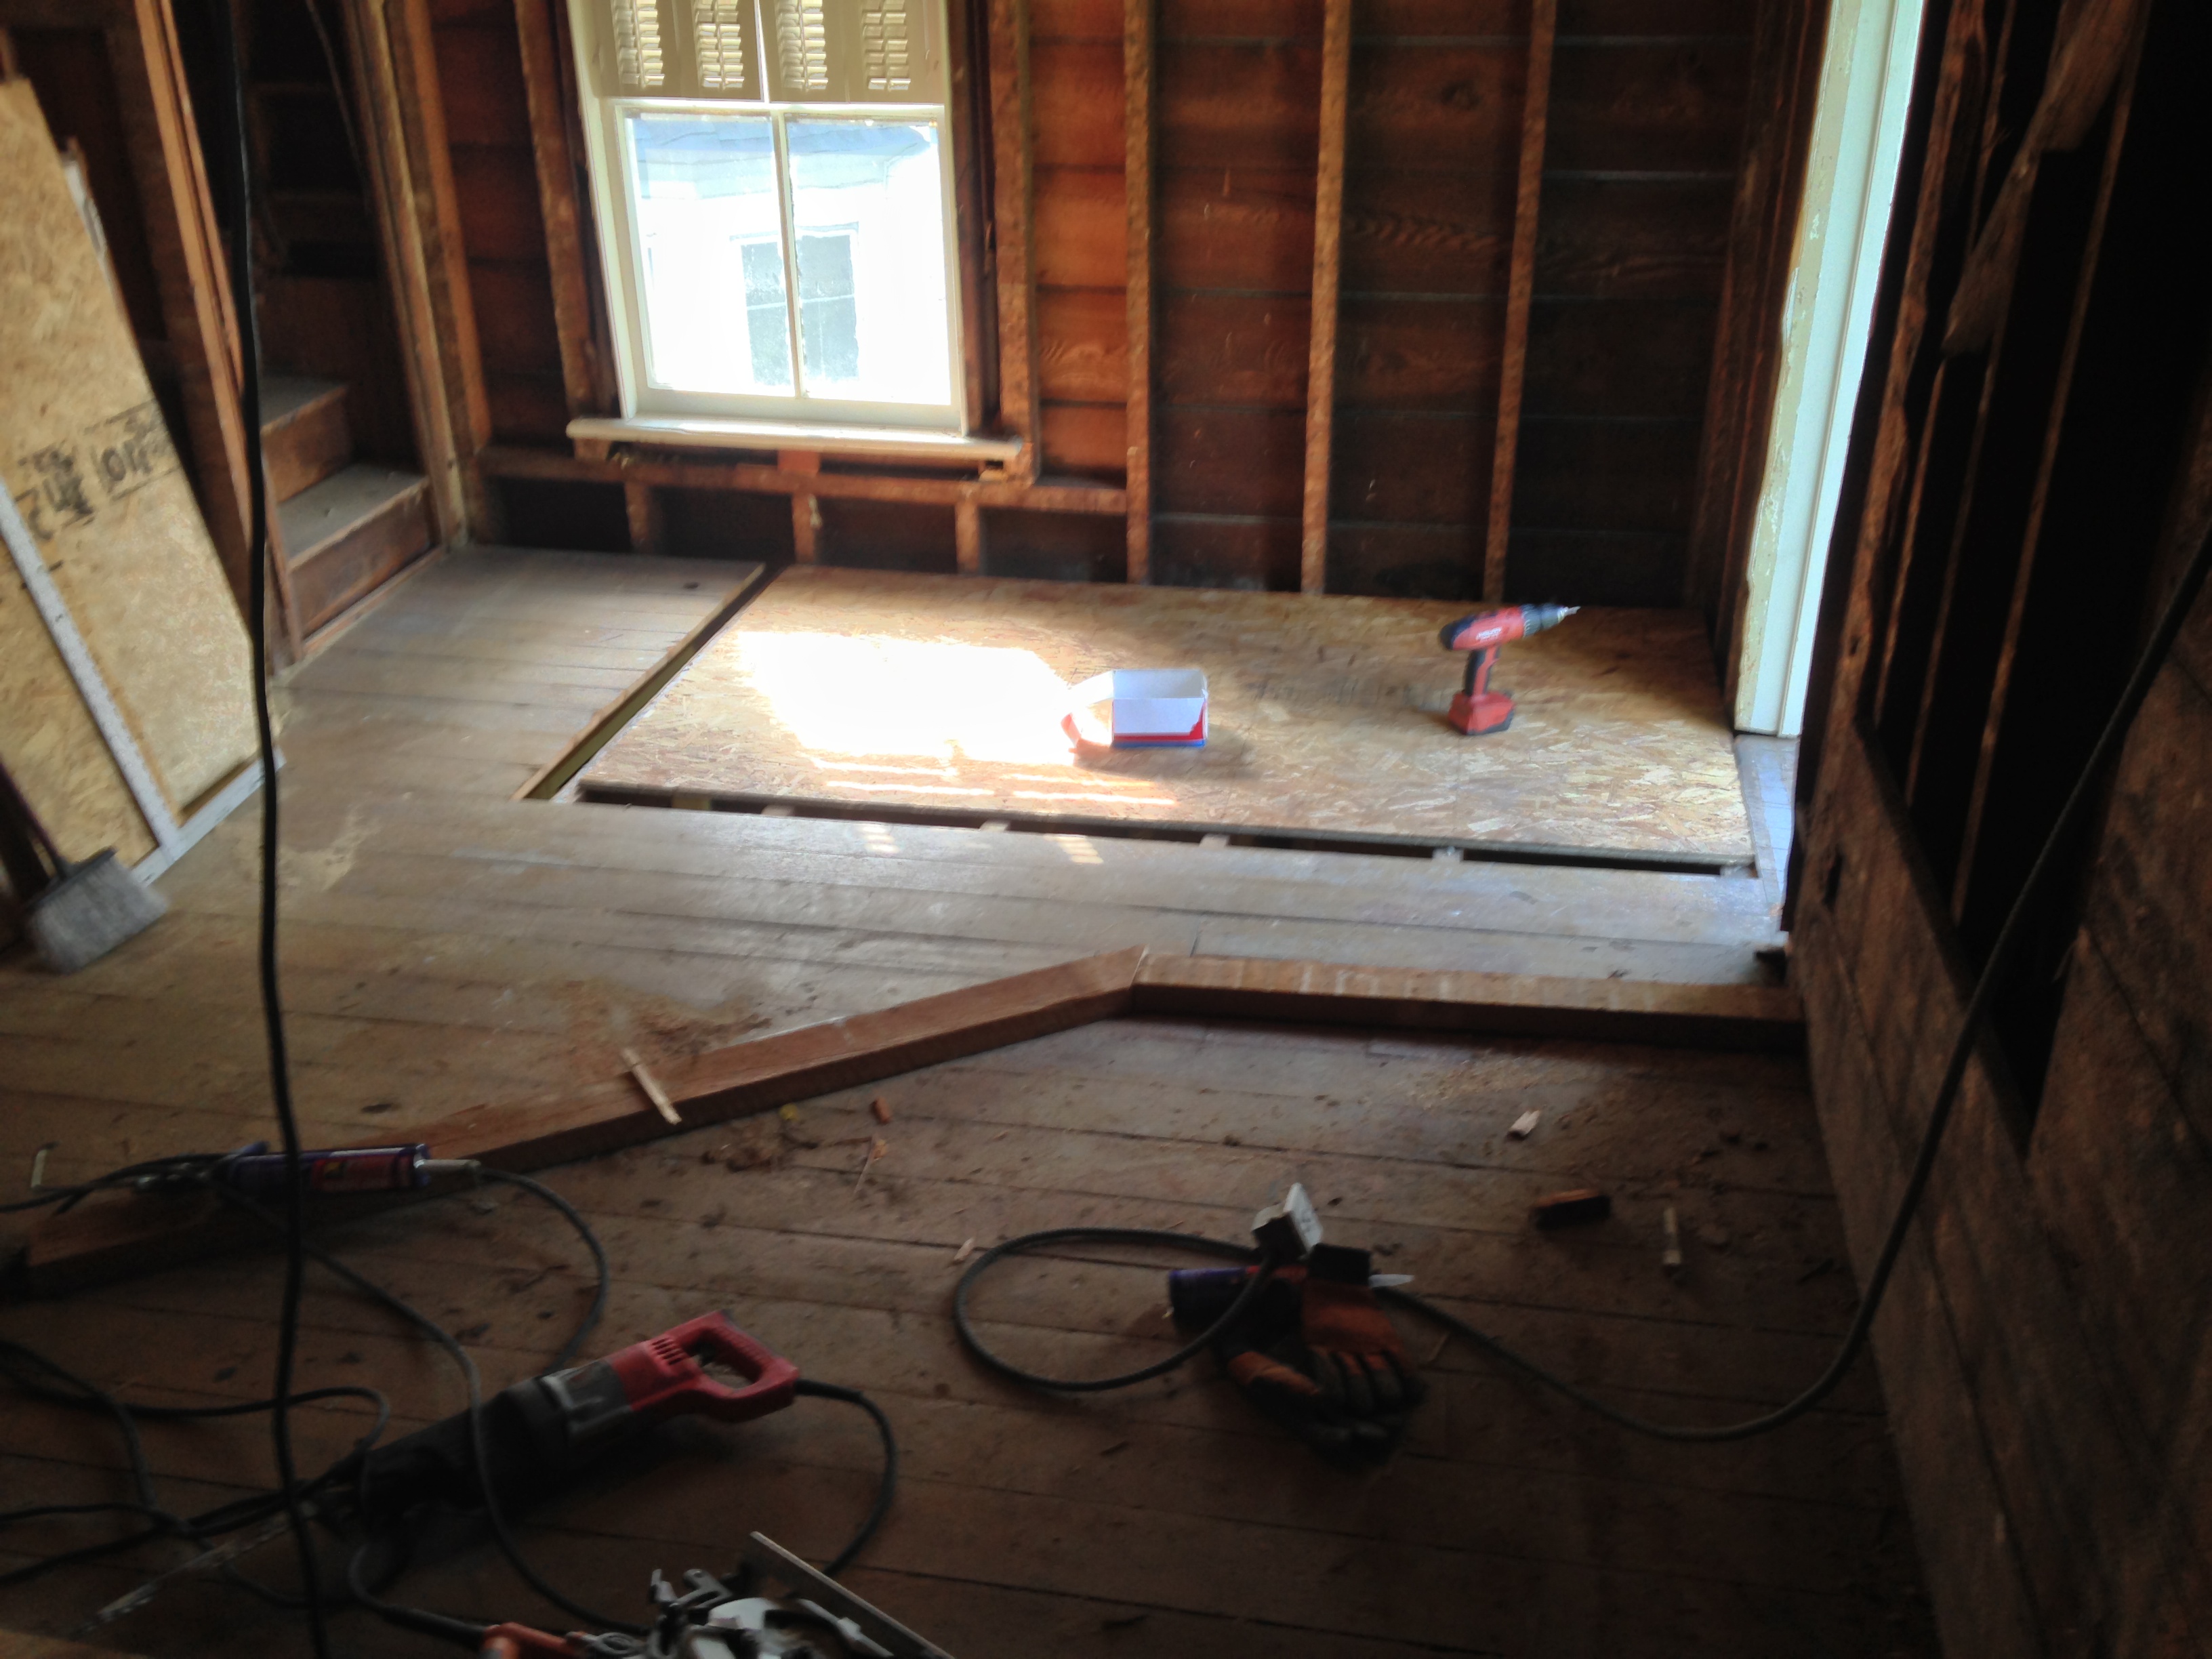
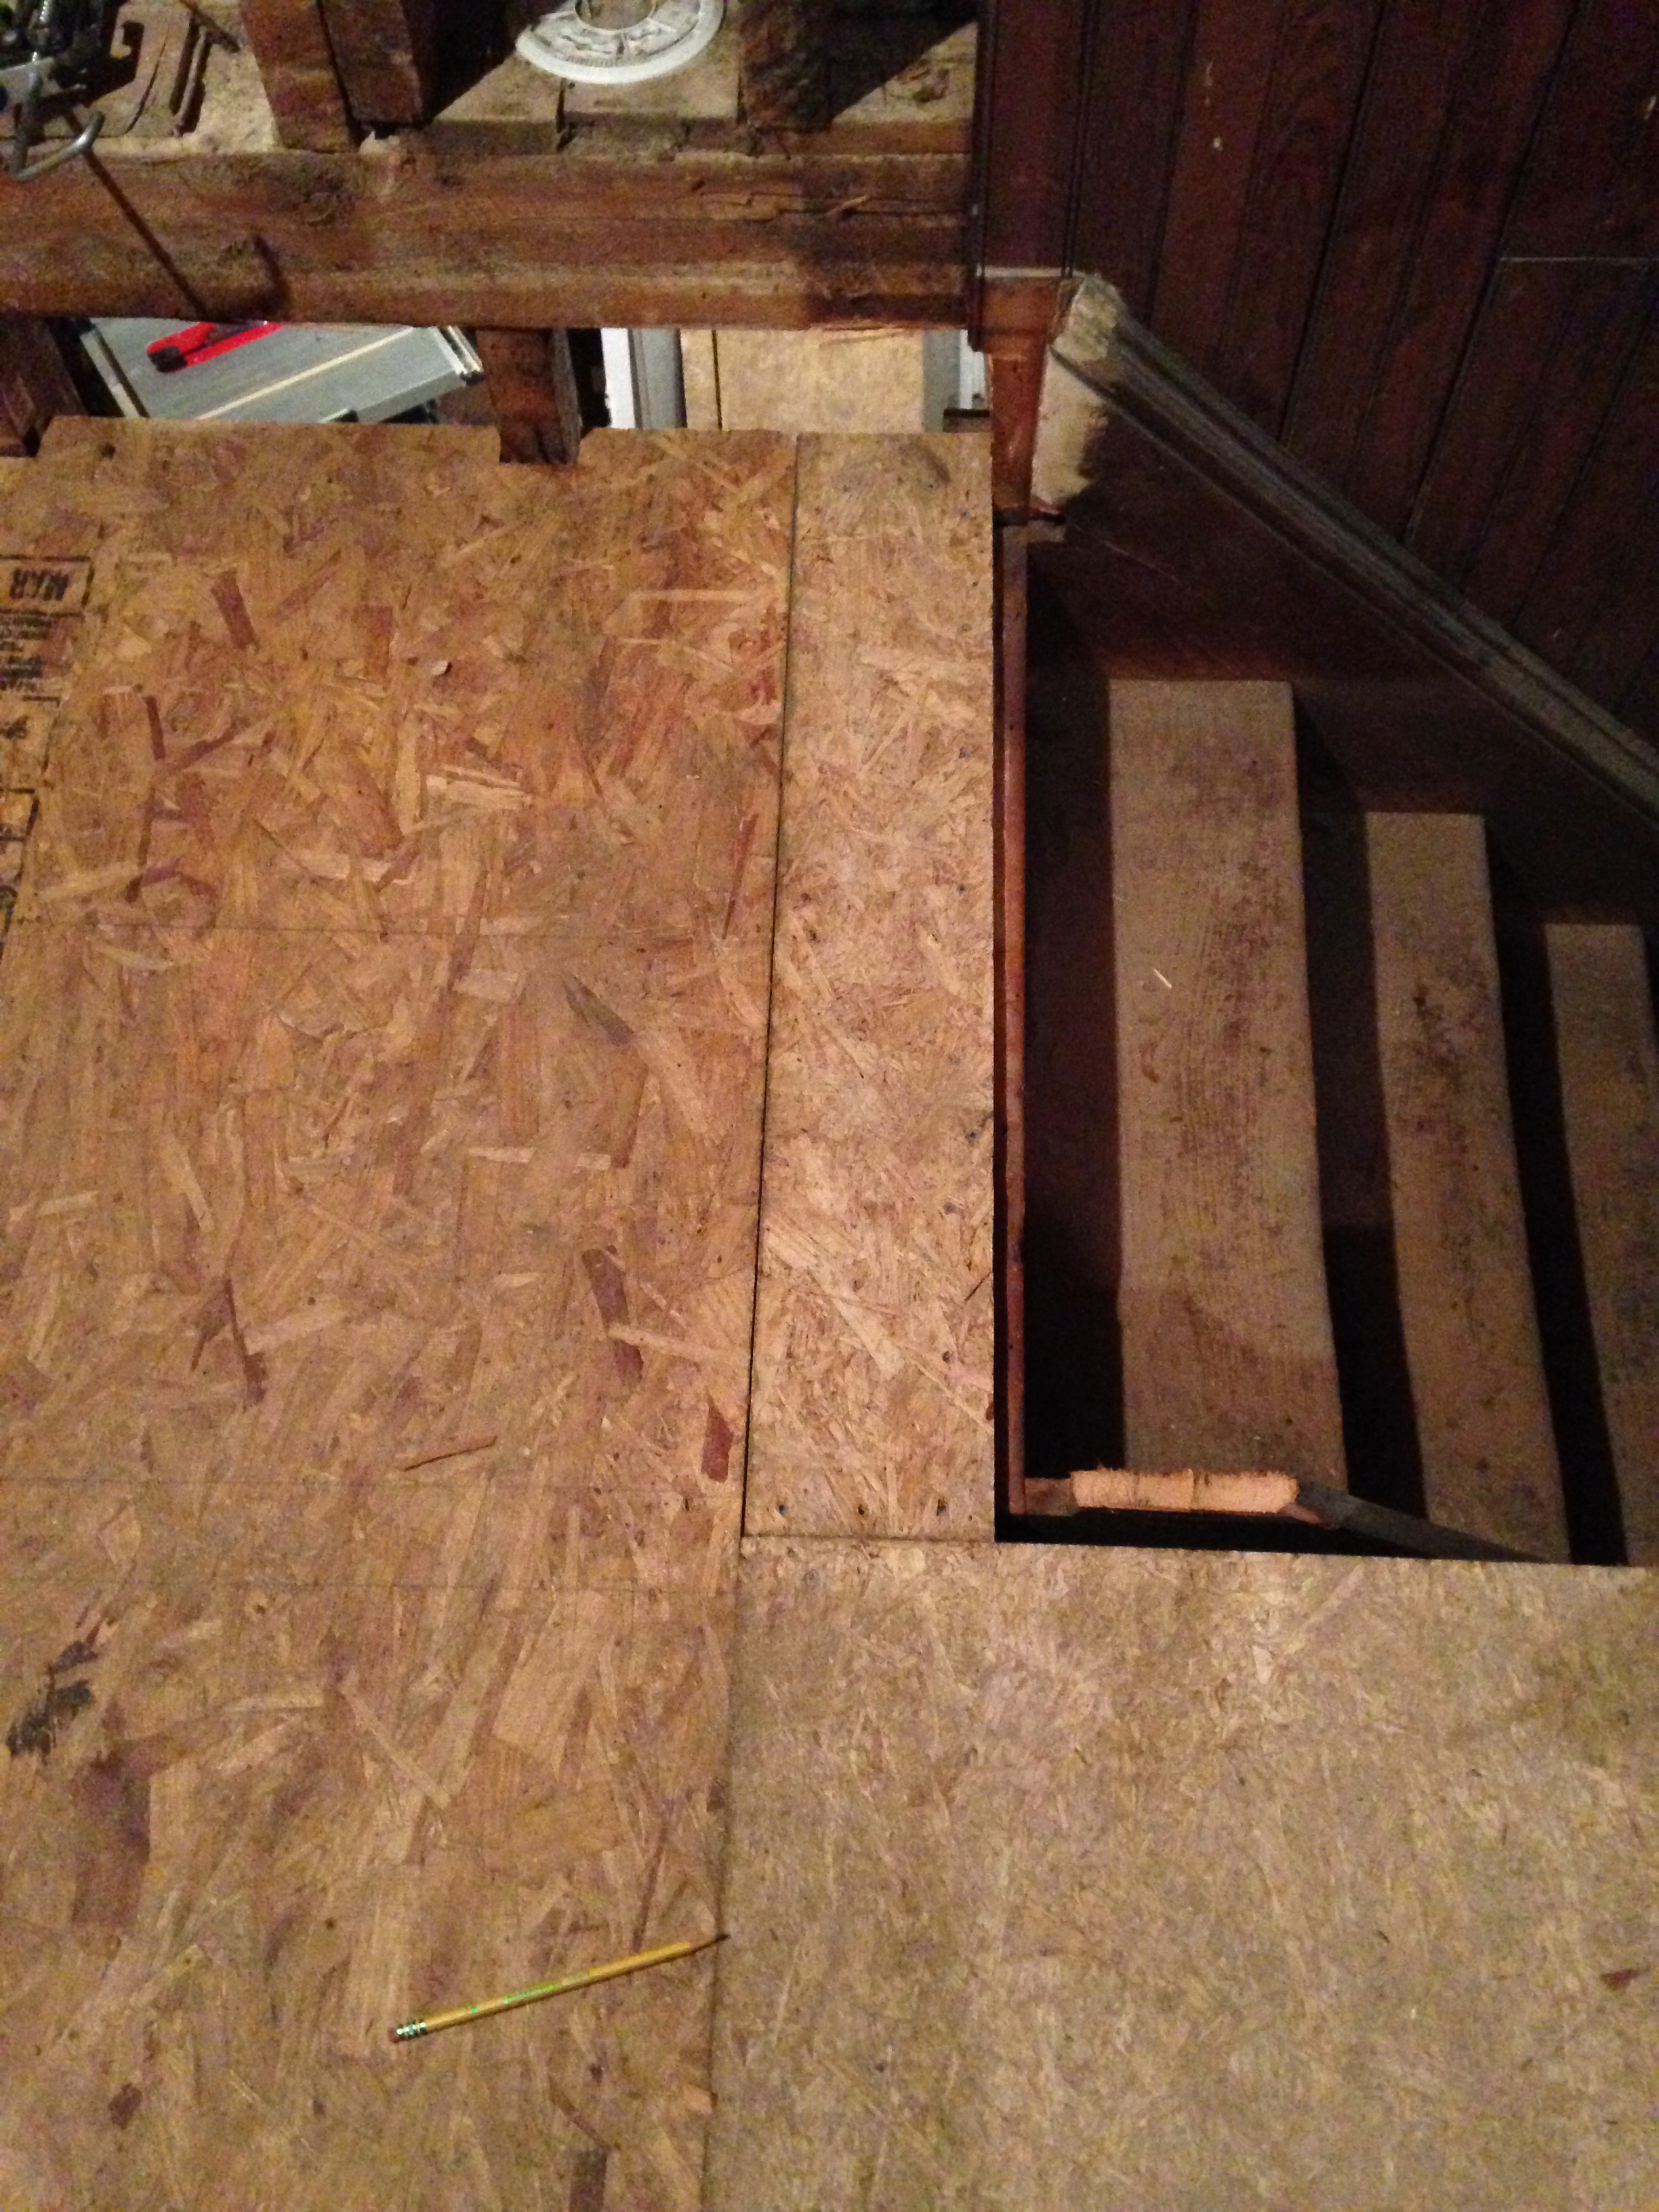
That is until we got to the toilet.
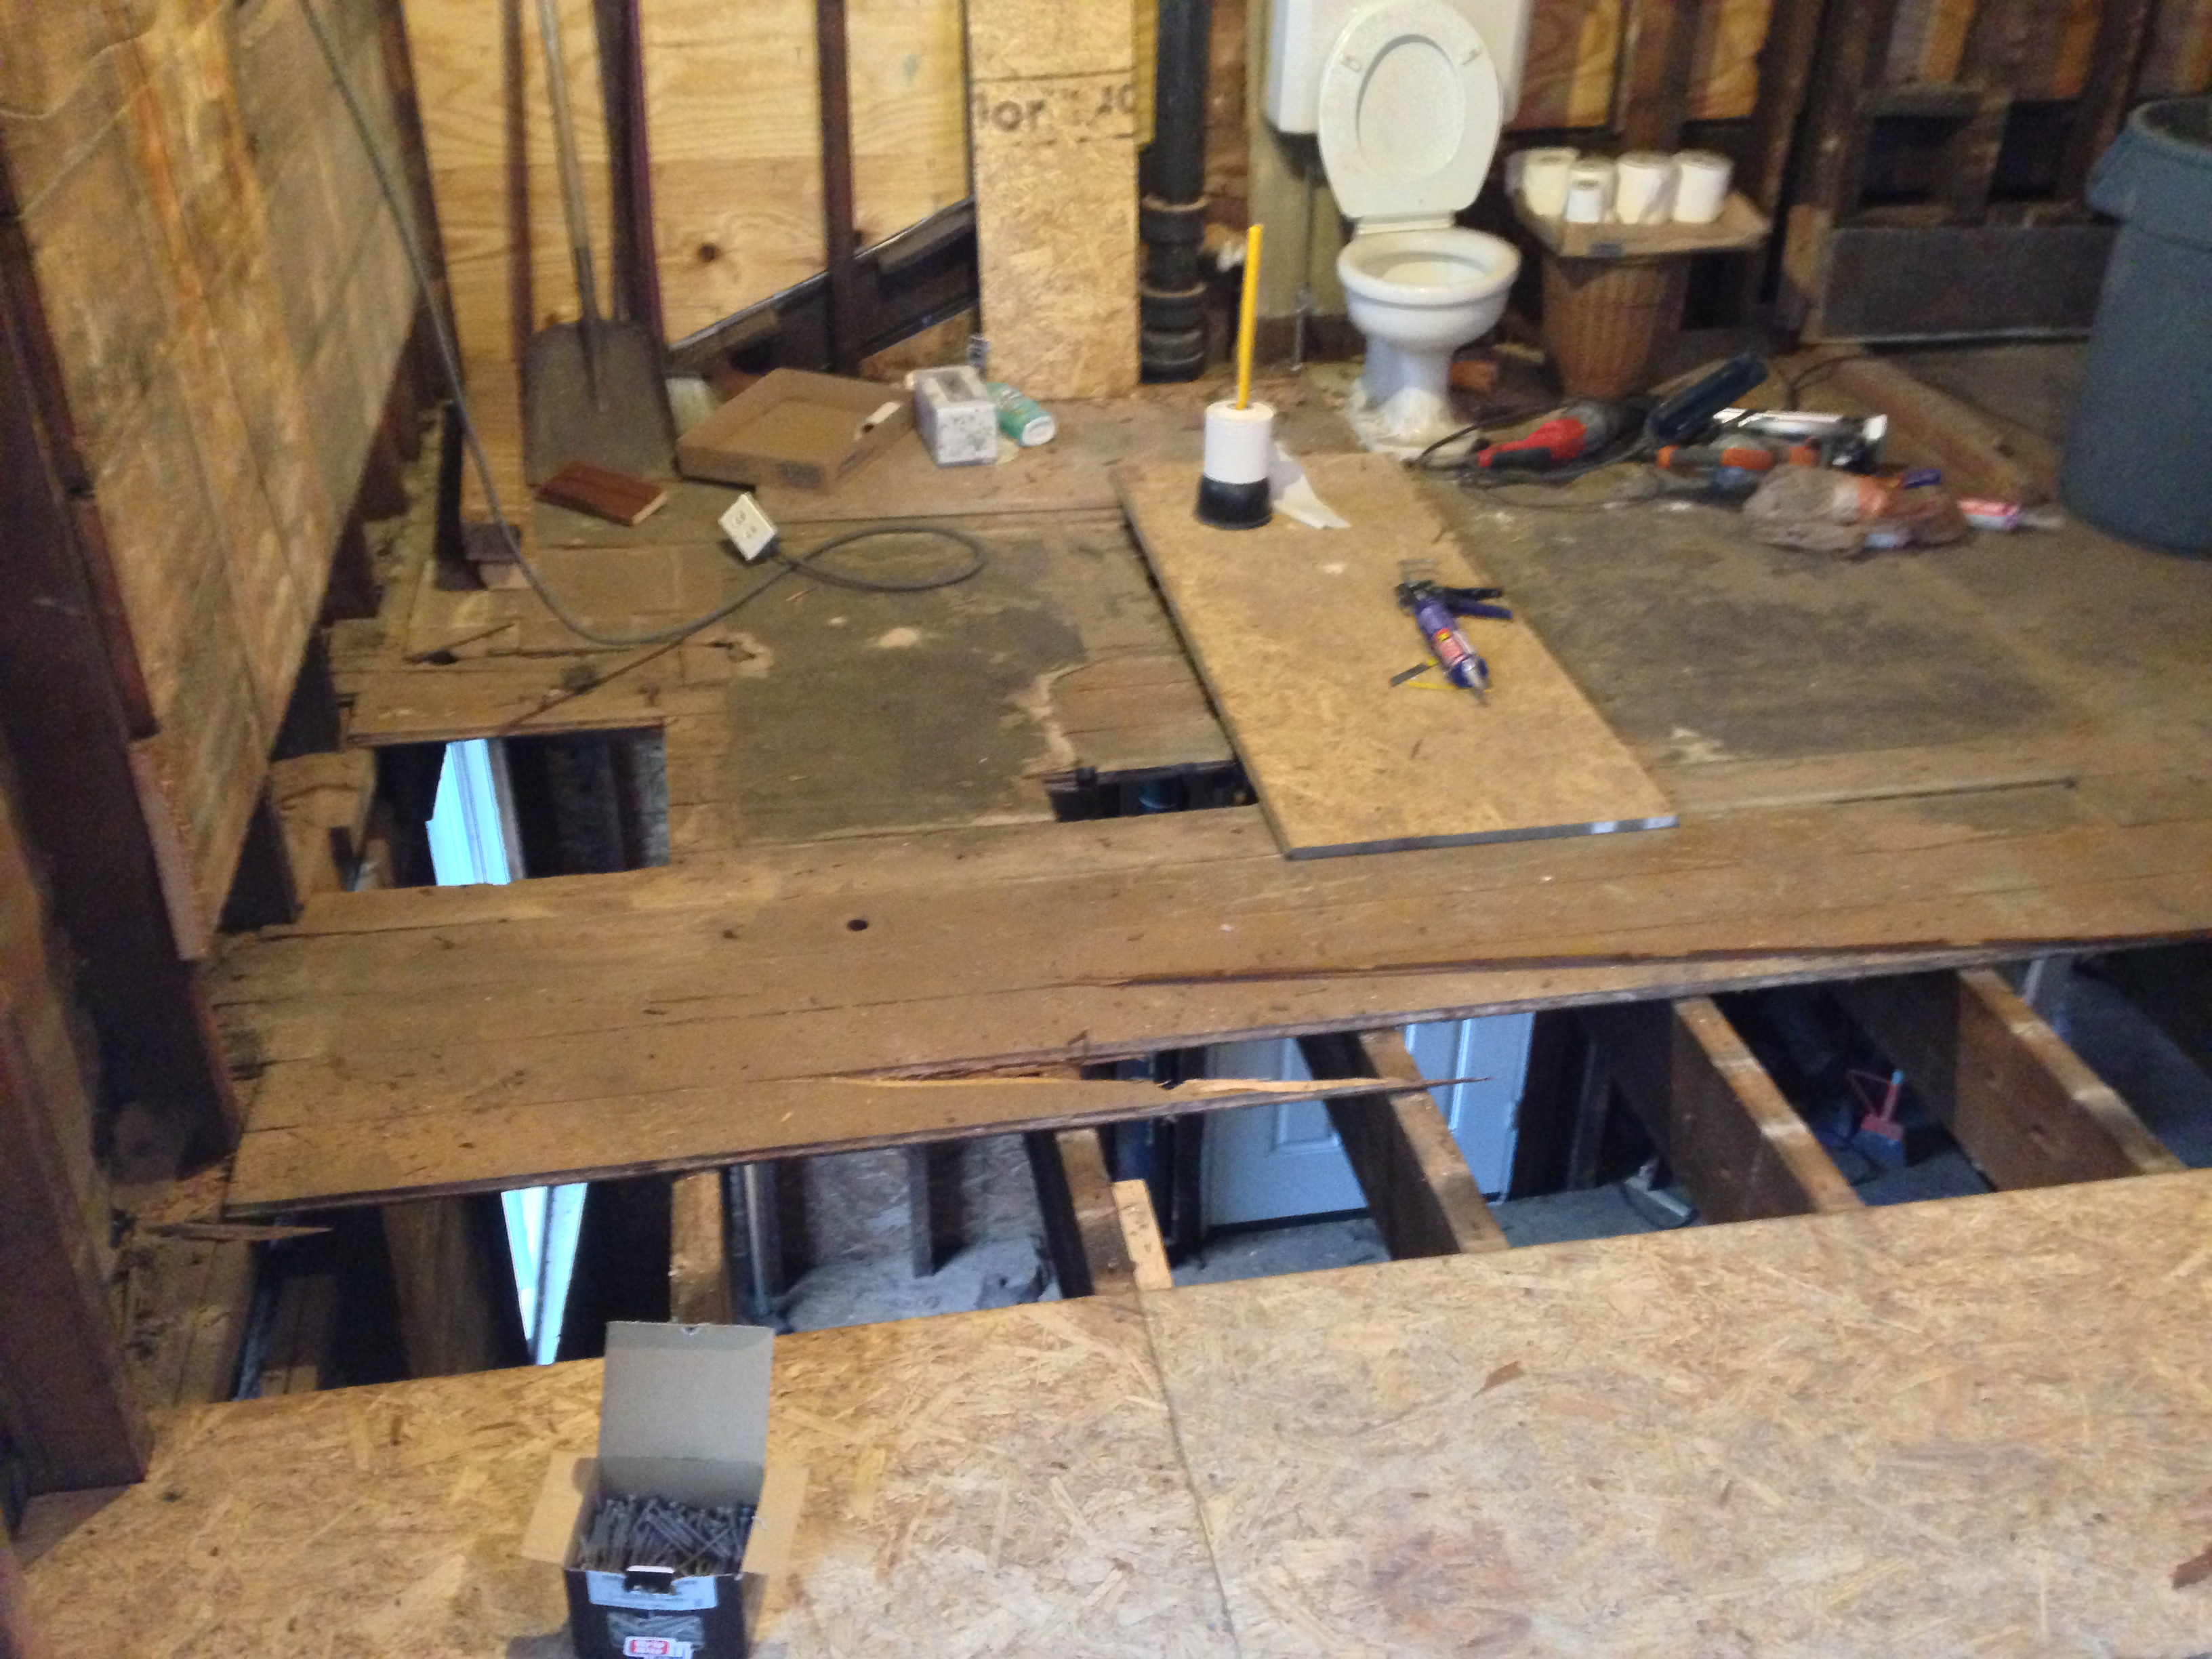
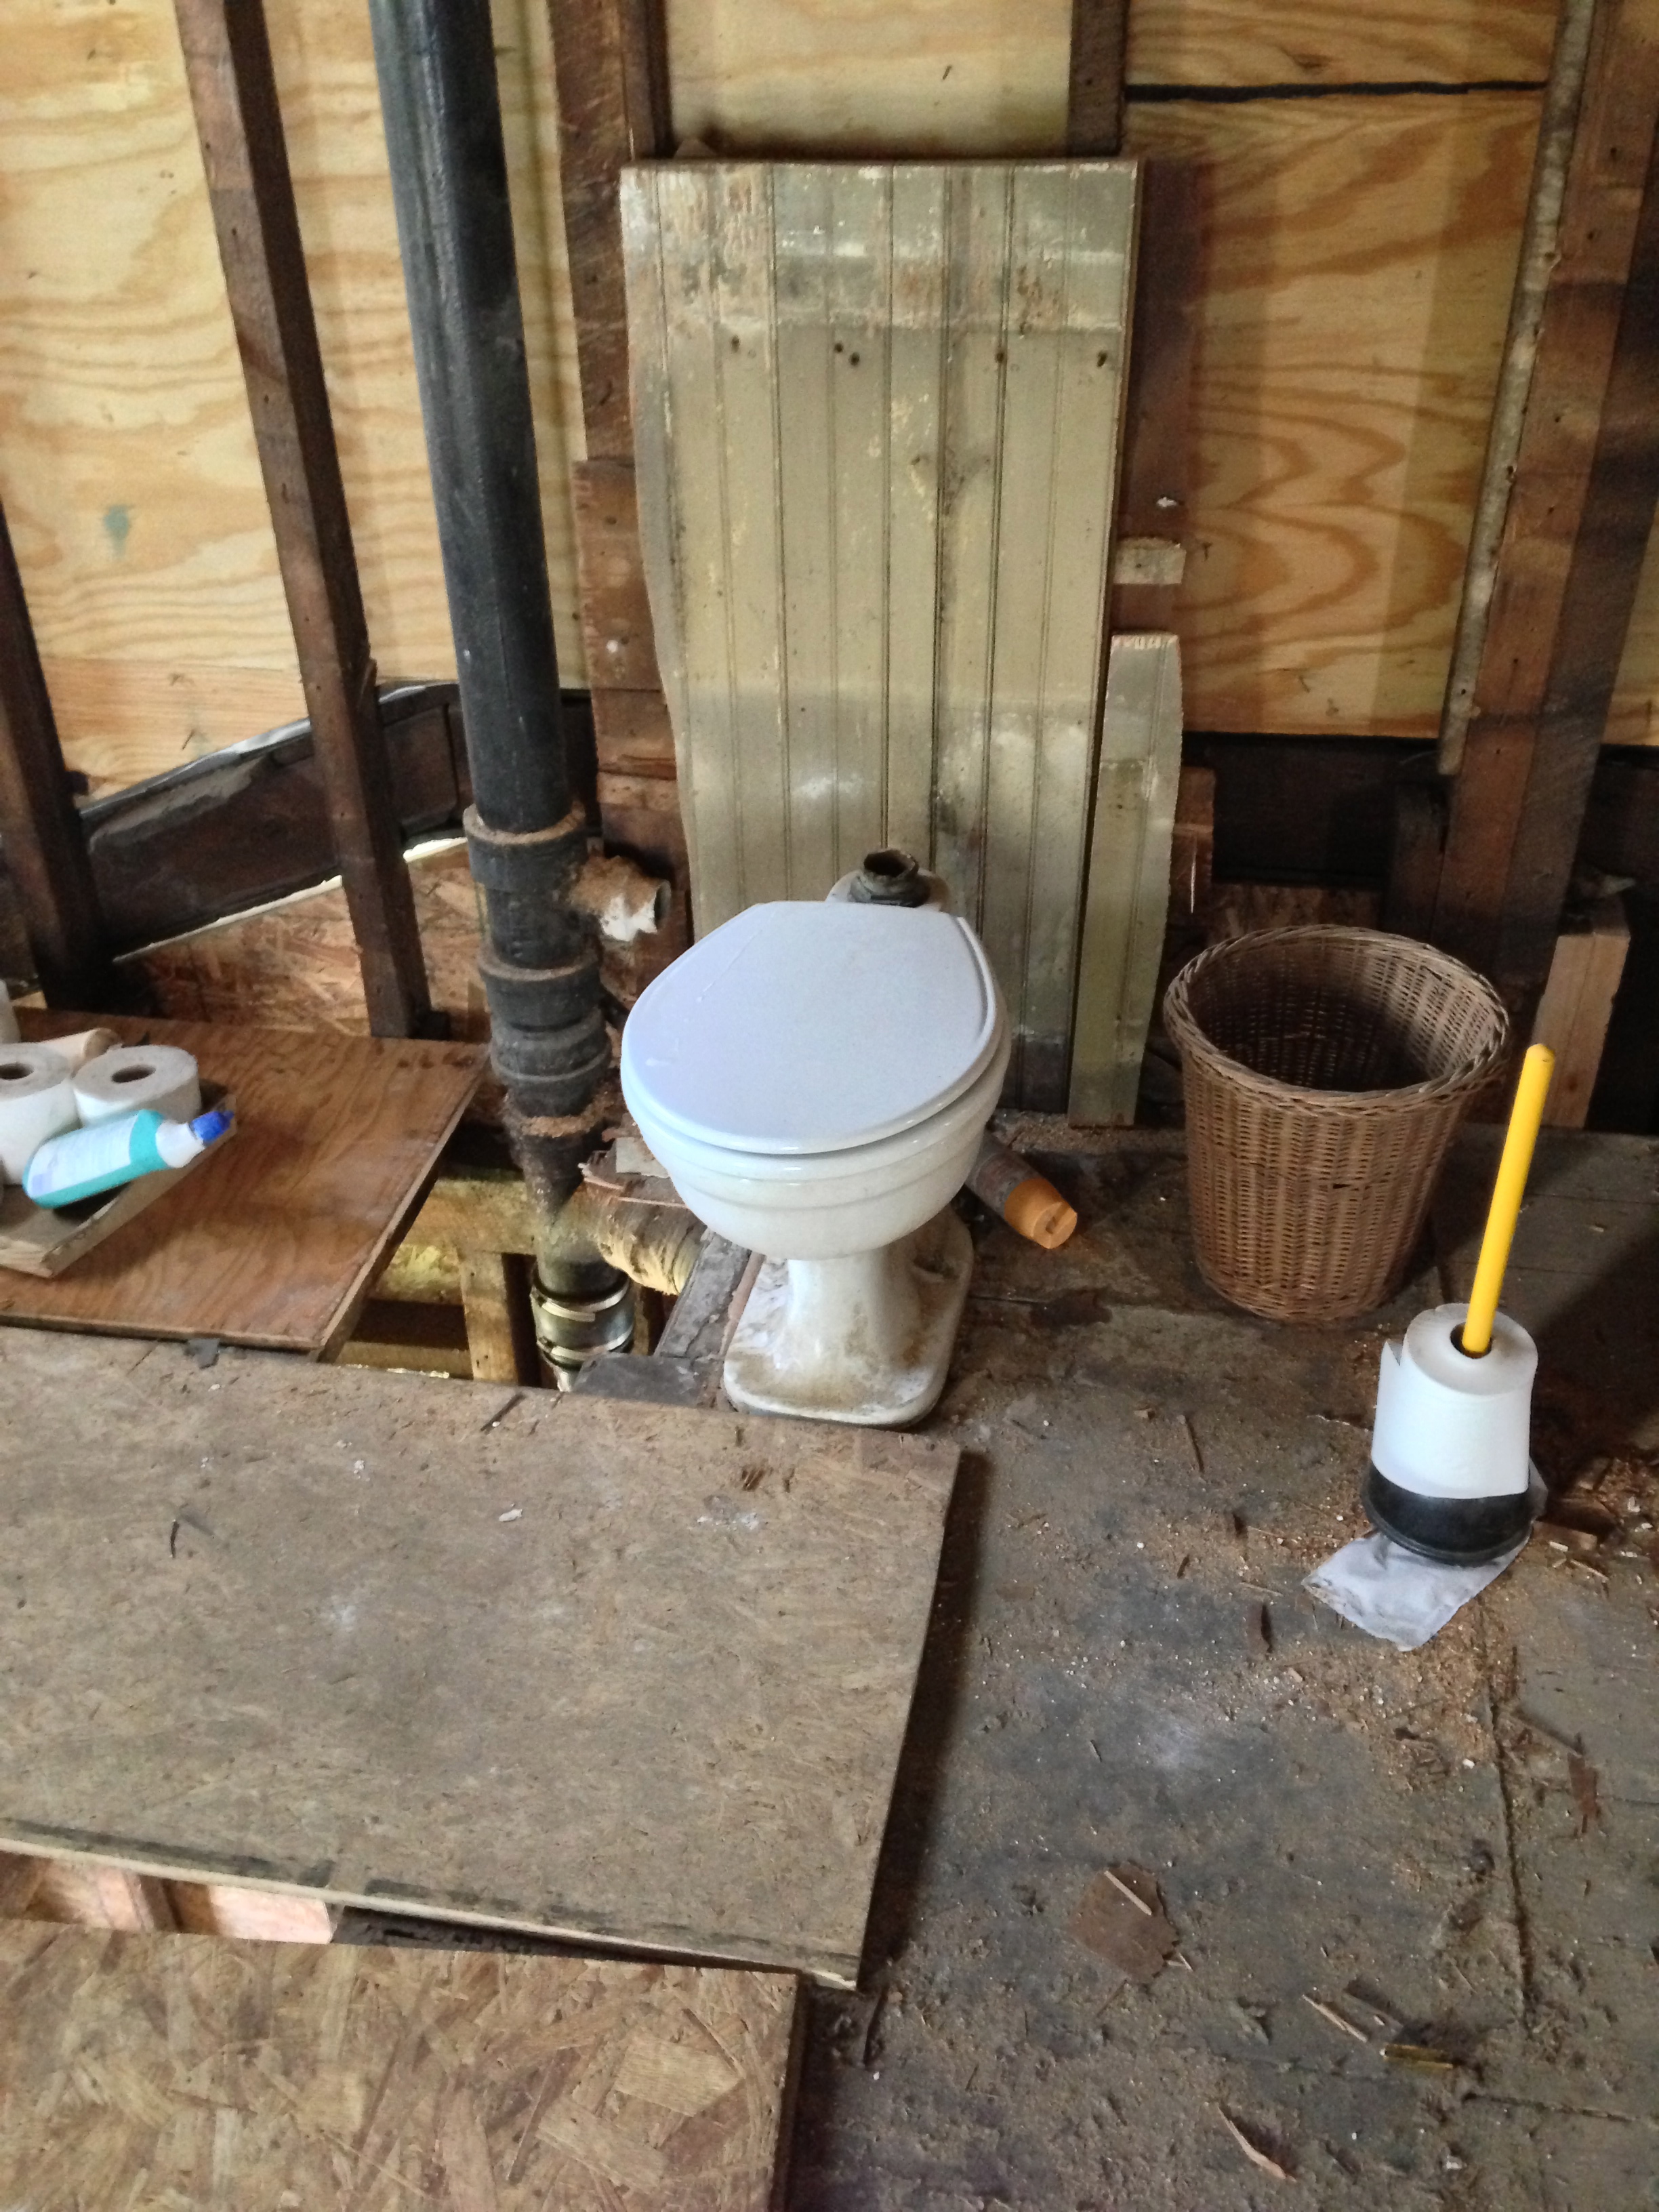
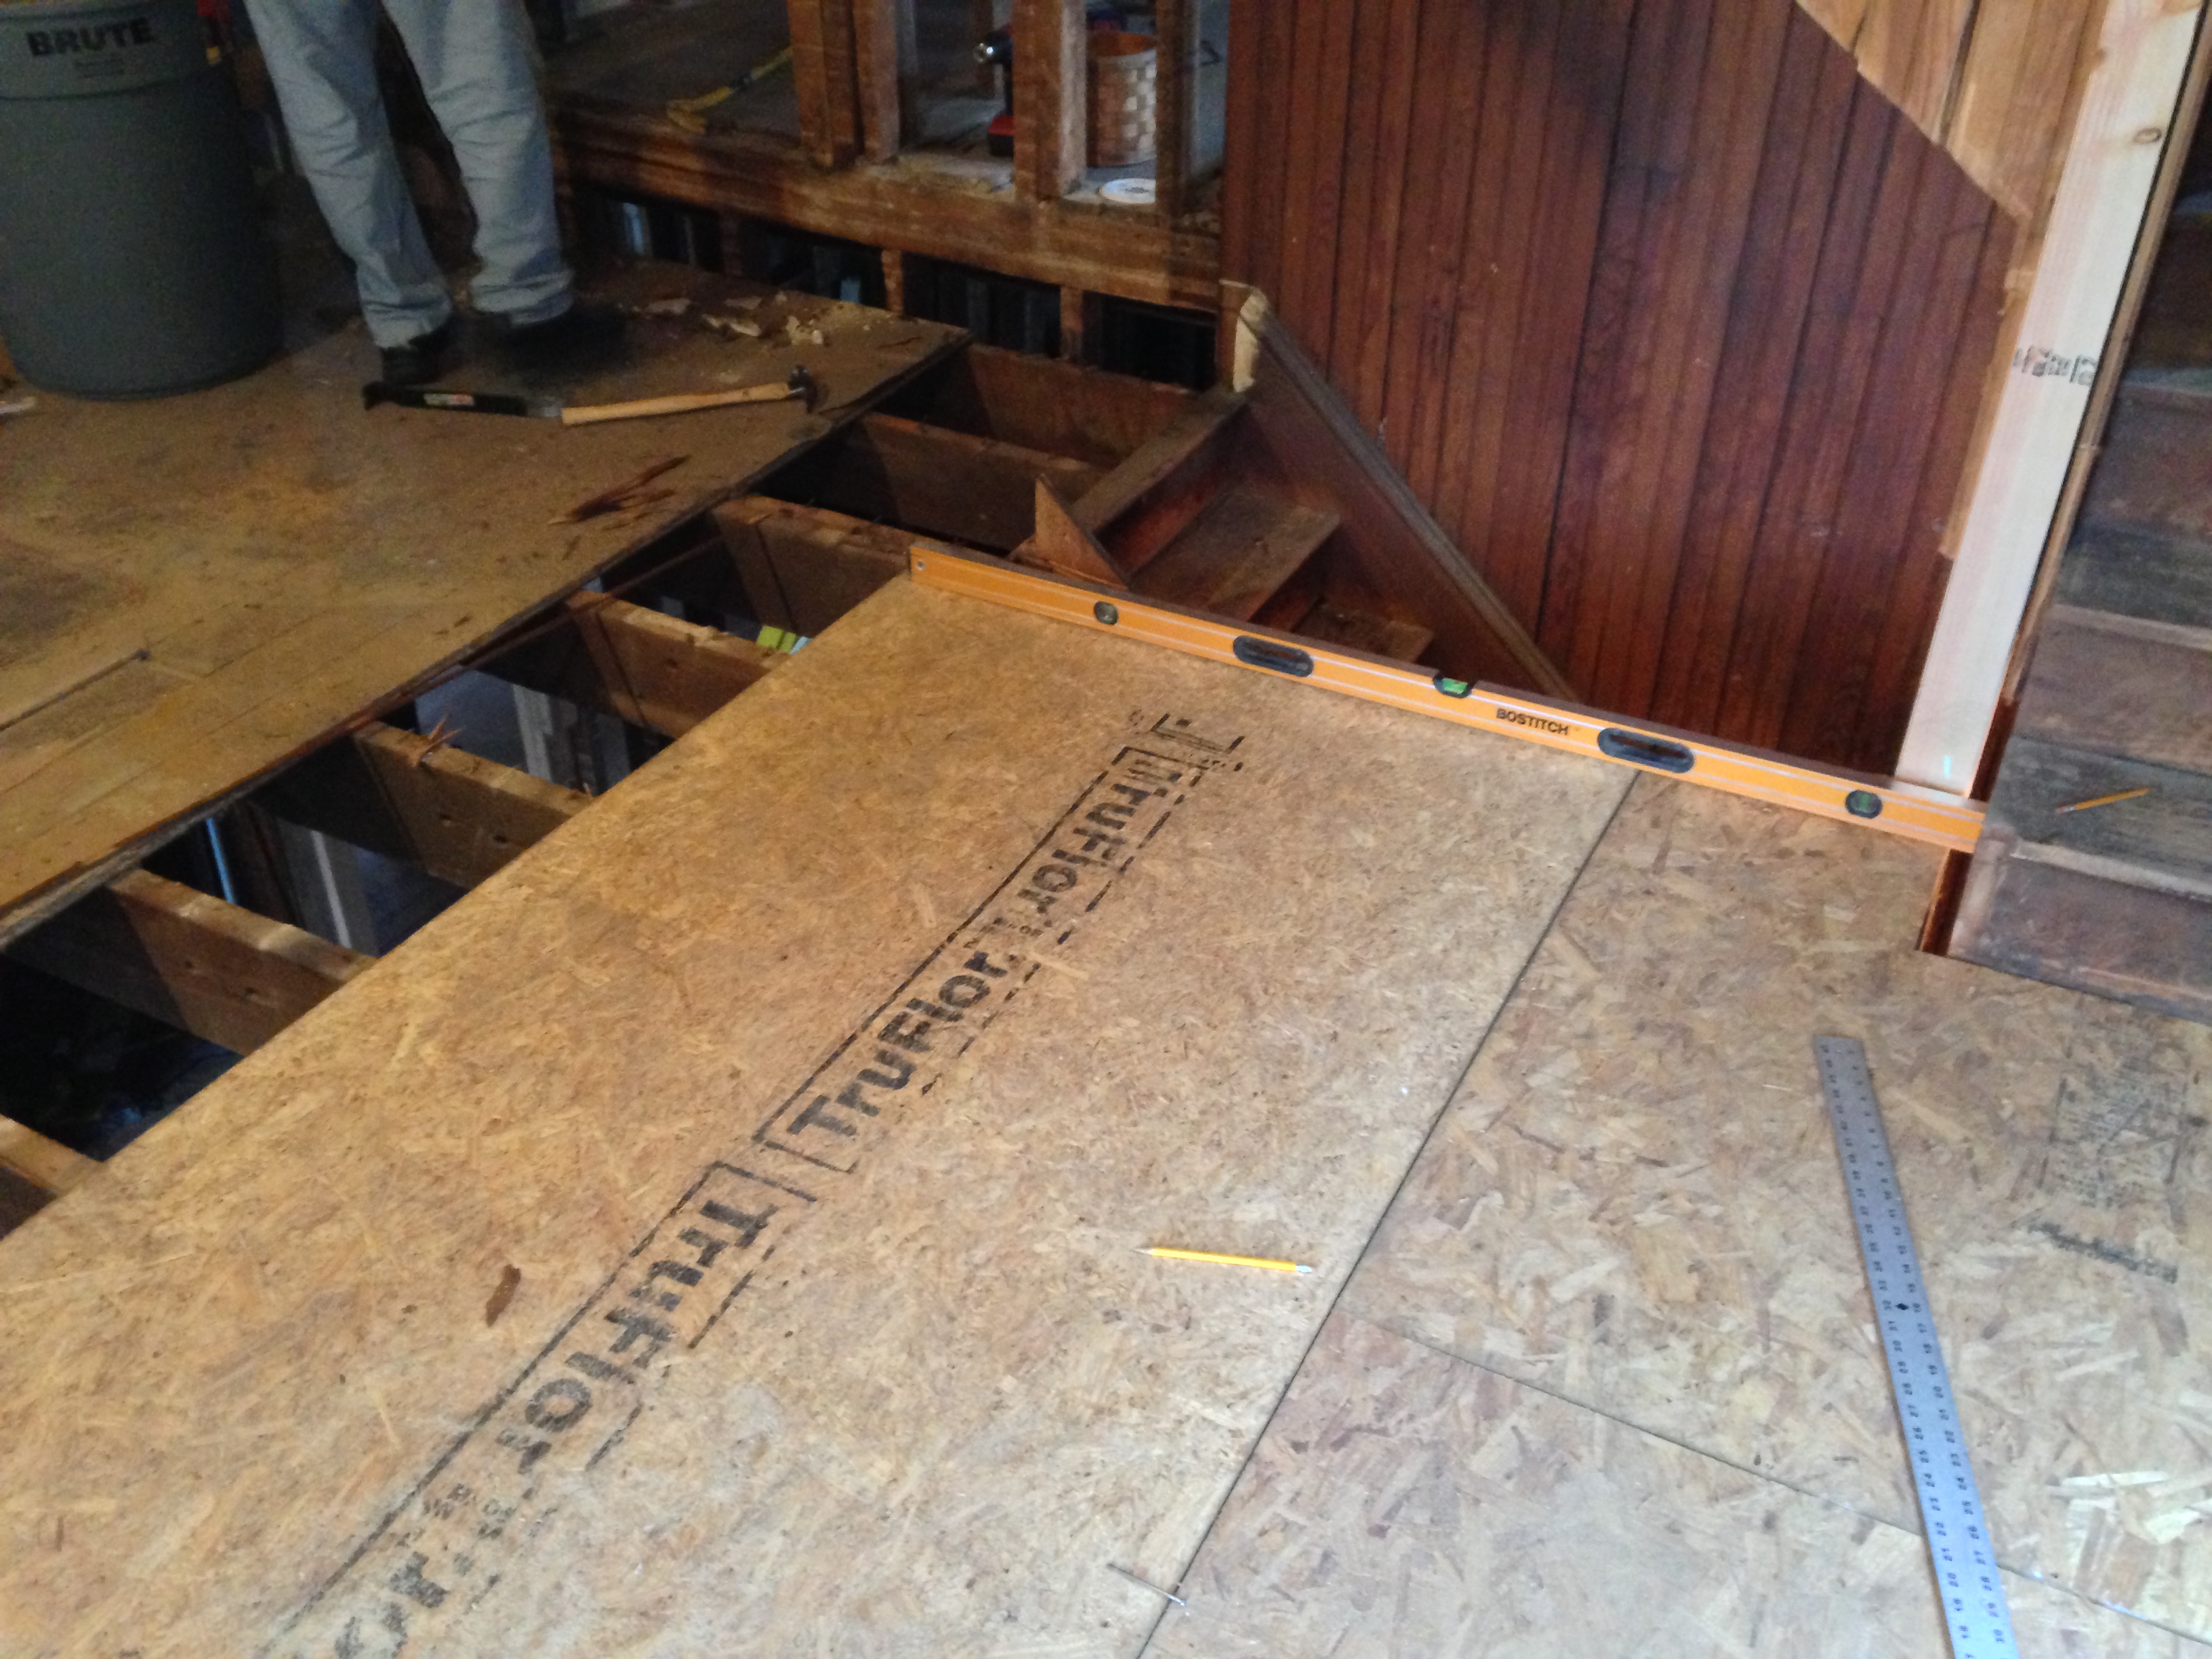
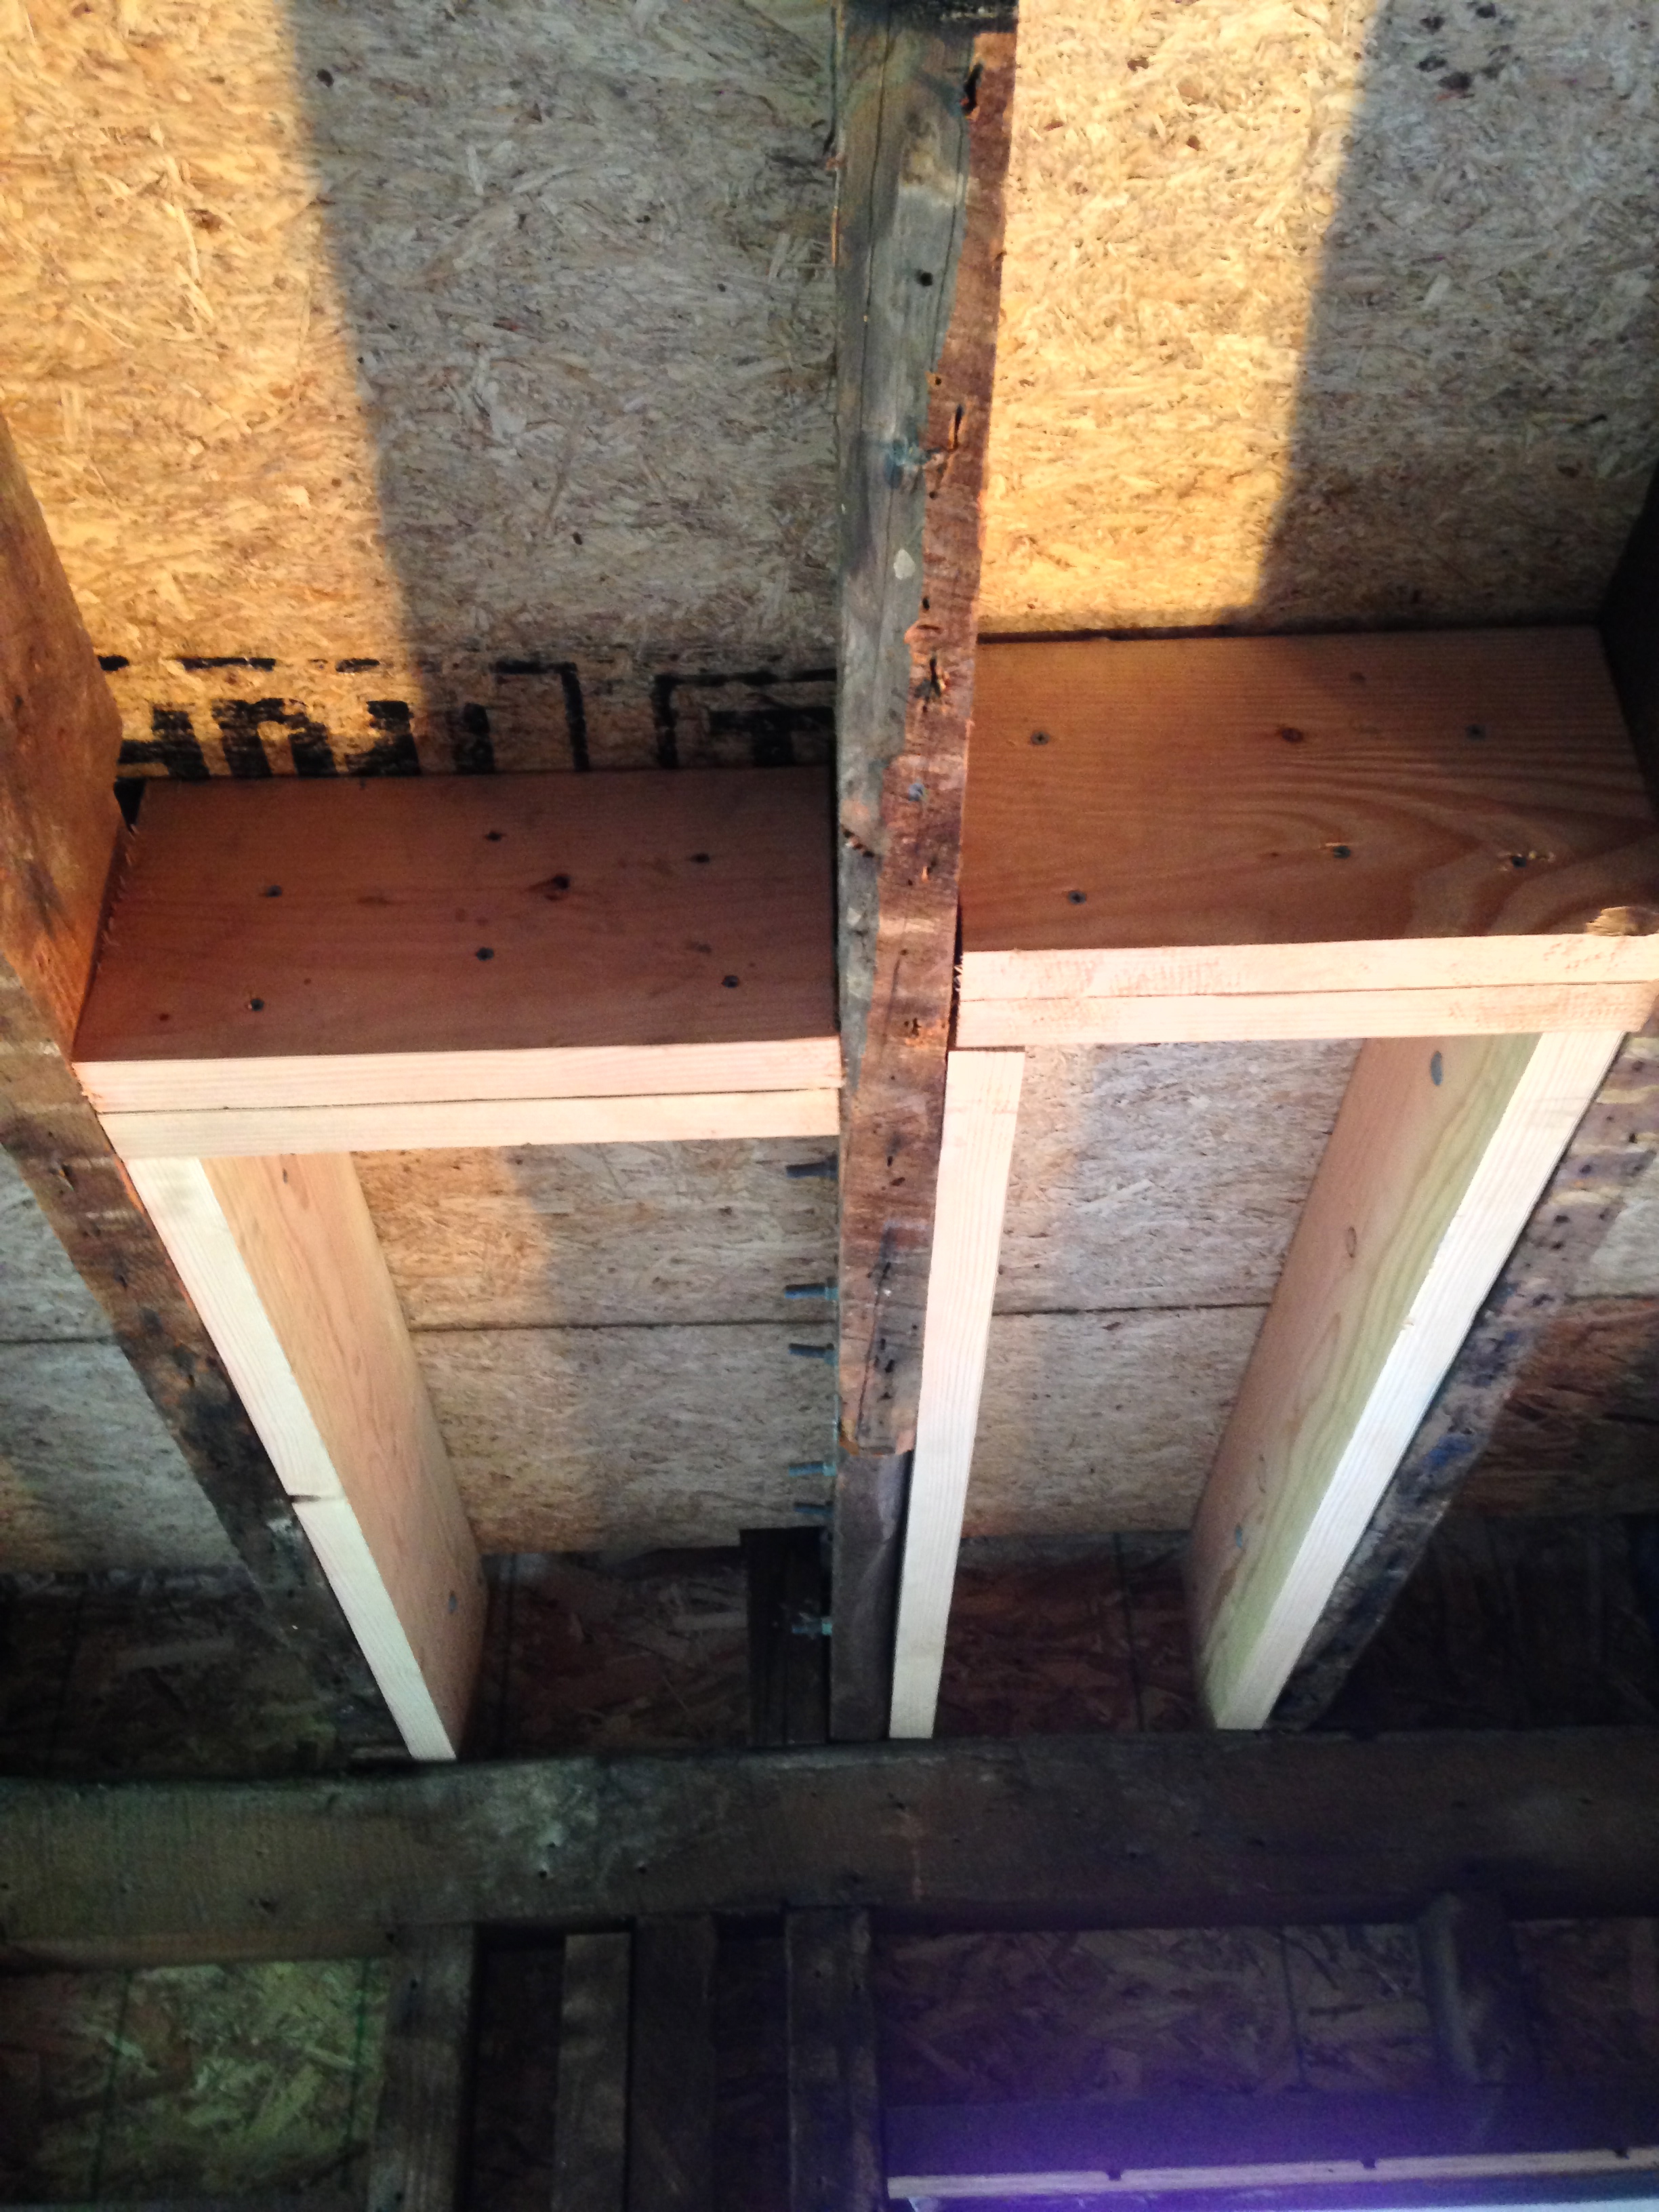
After removing the toilet this is the joist, or remnants thereof, that were underneath. How no one fell through the floor into the kitchen was a total mystery. There was literally nothing holding it up but the piping.
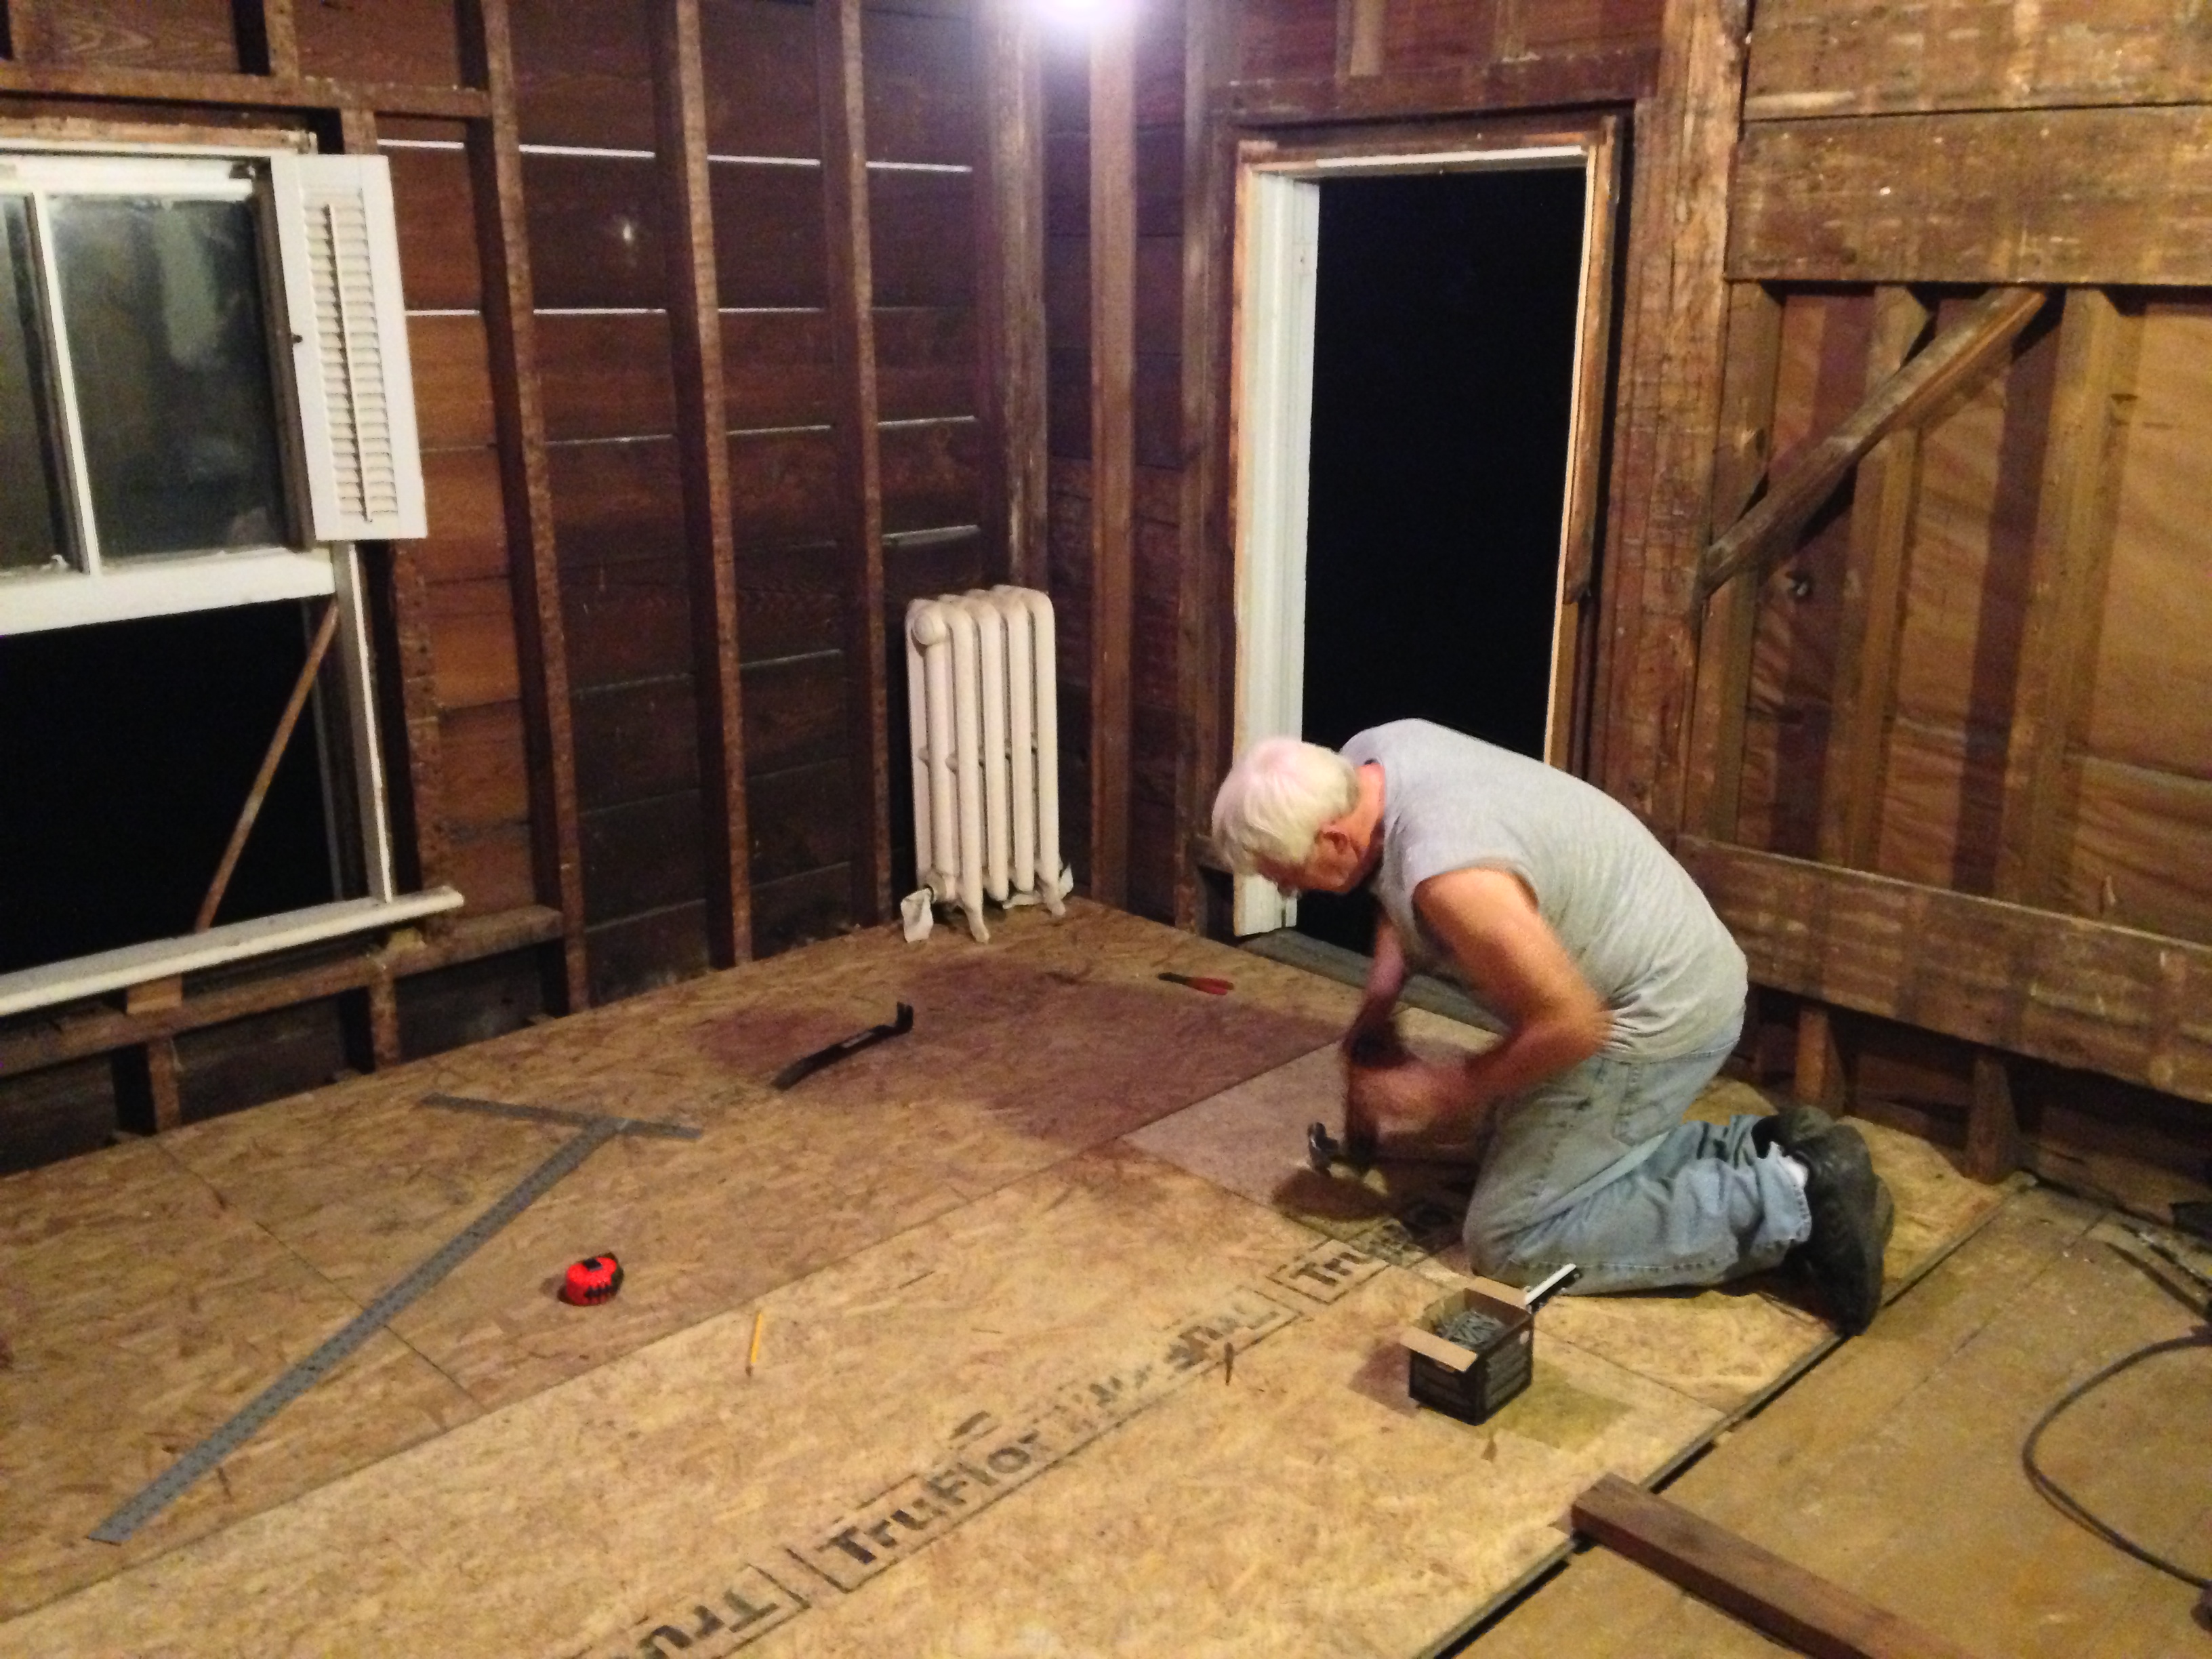
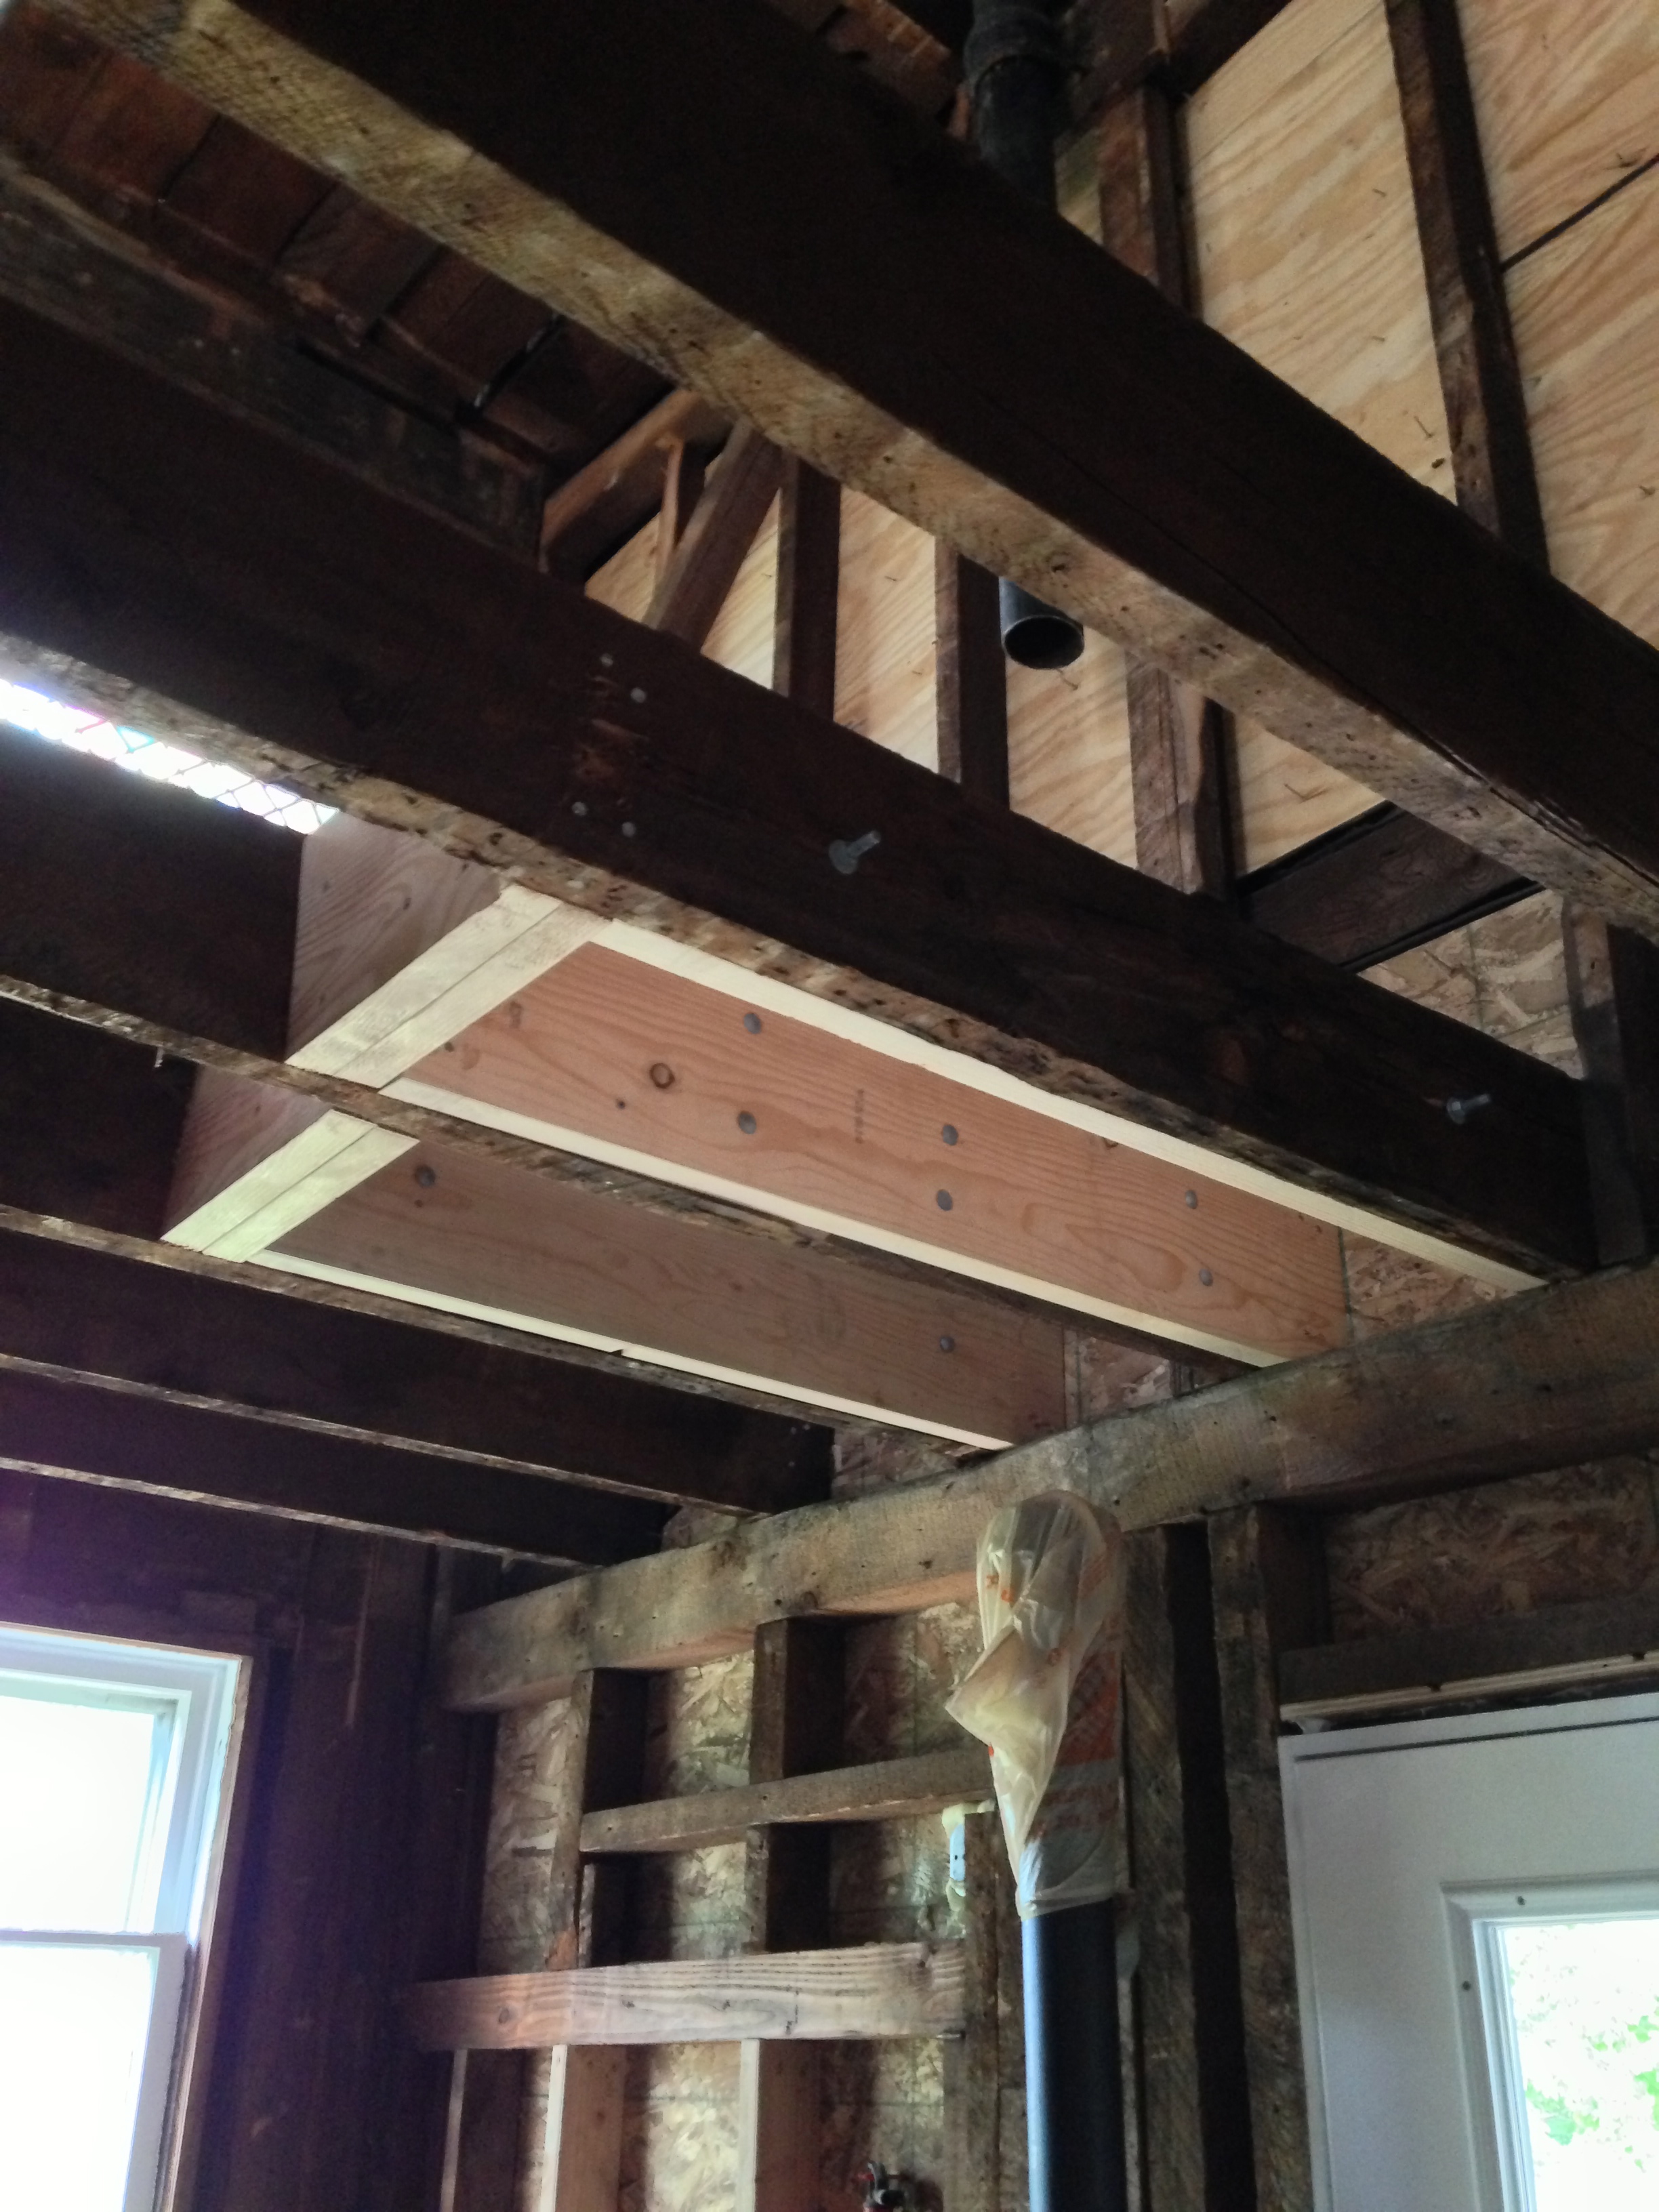
Naturally we repaired it all.
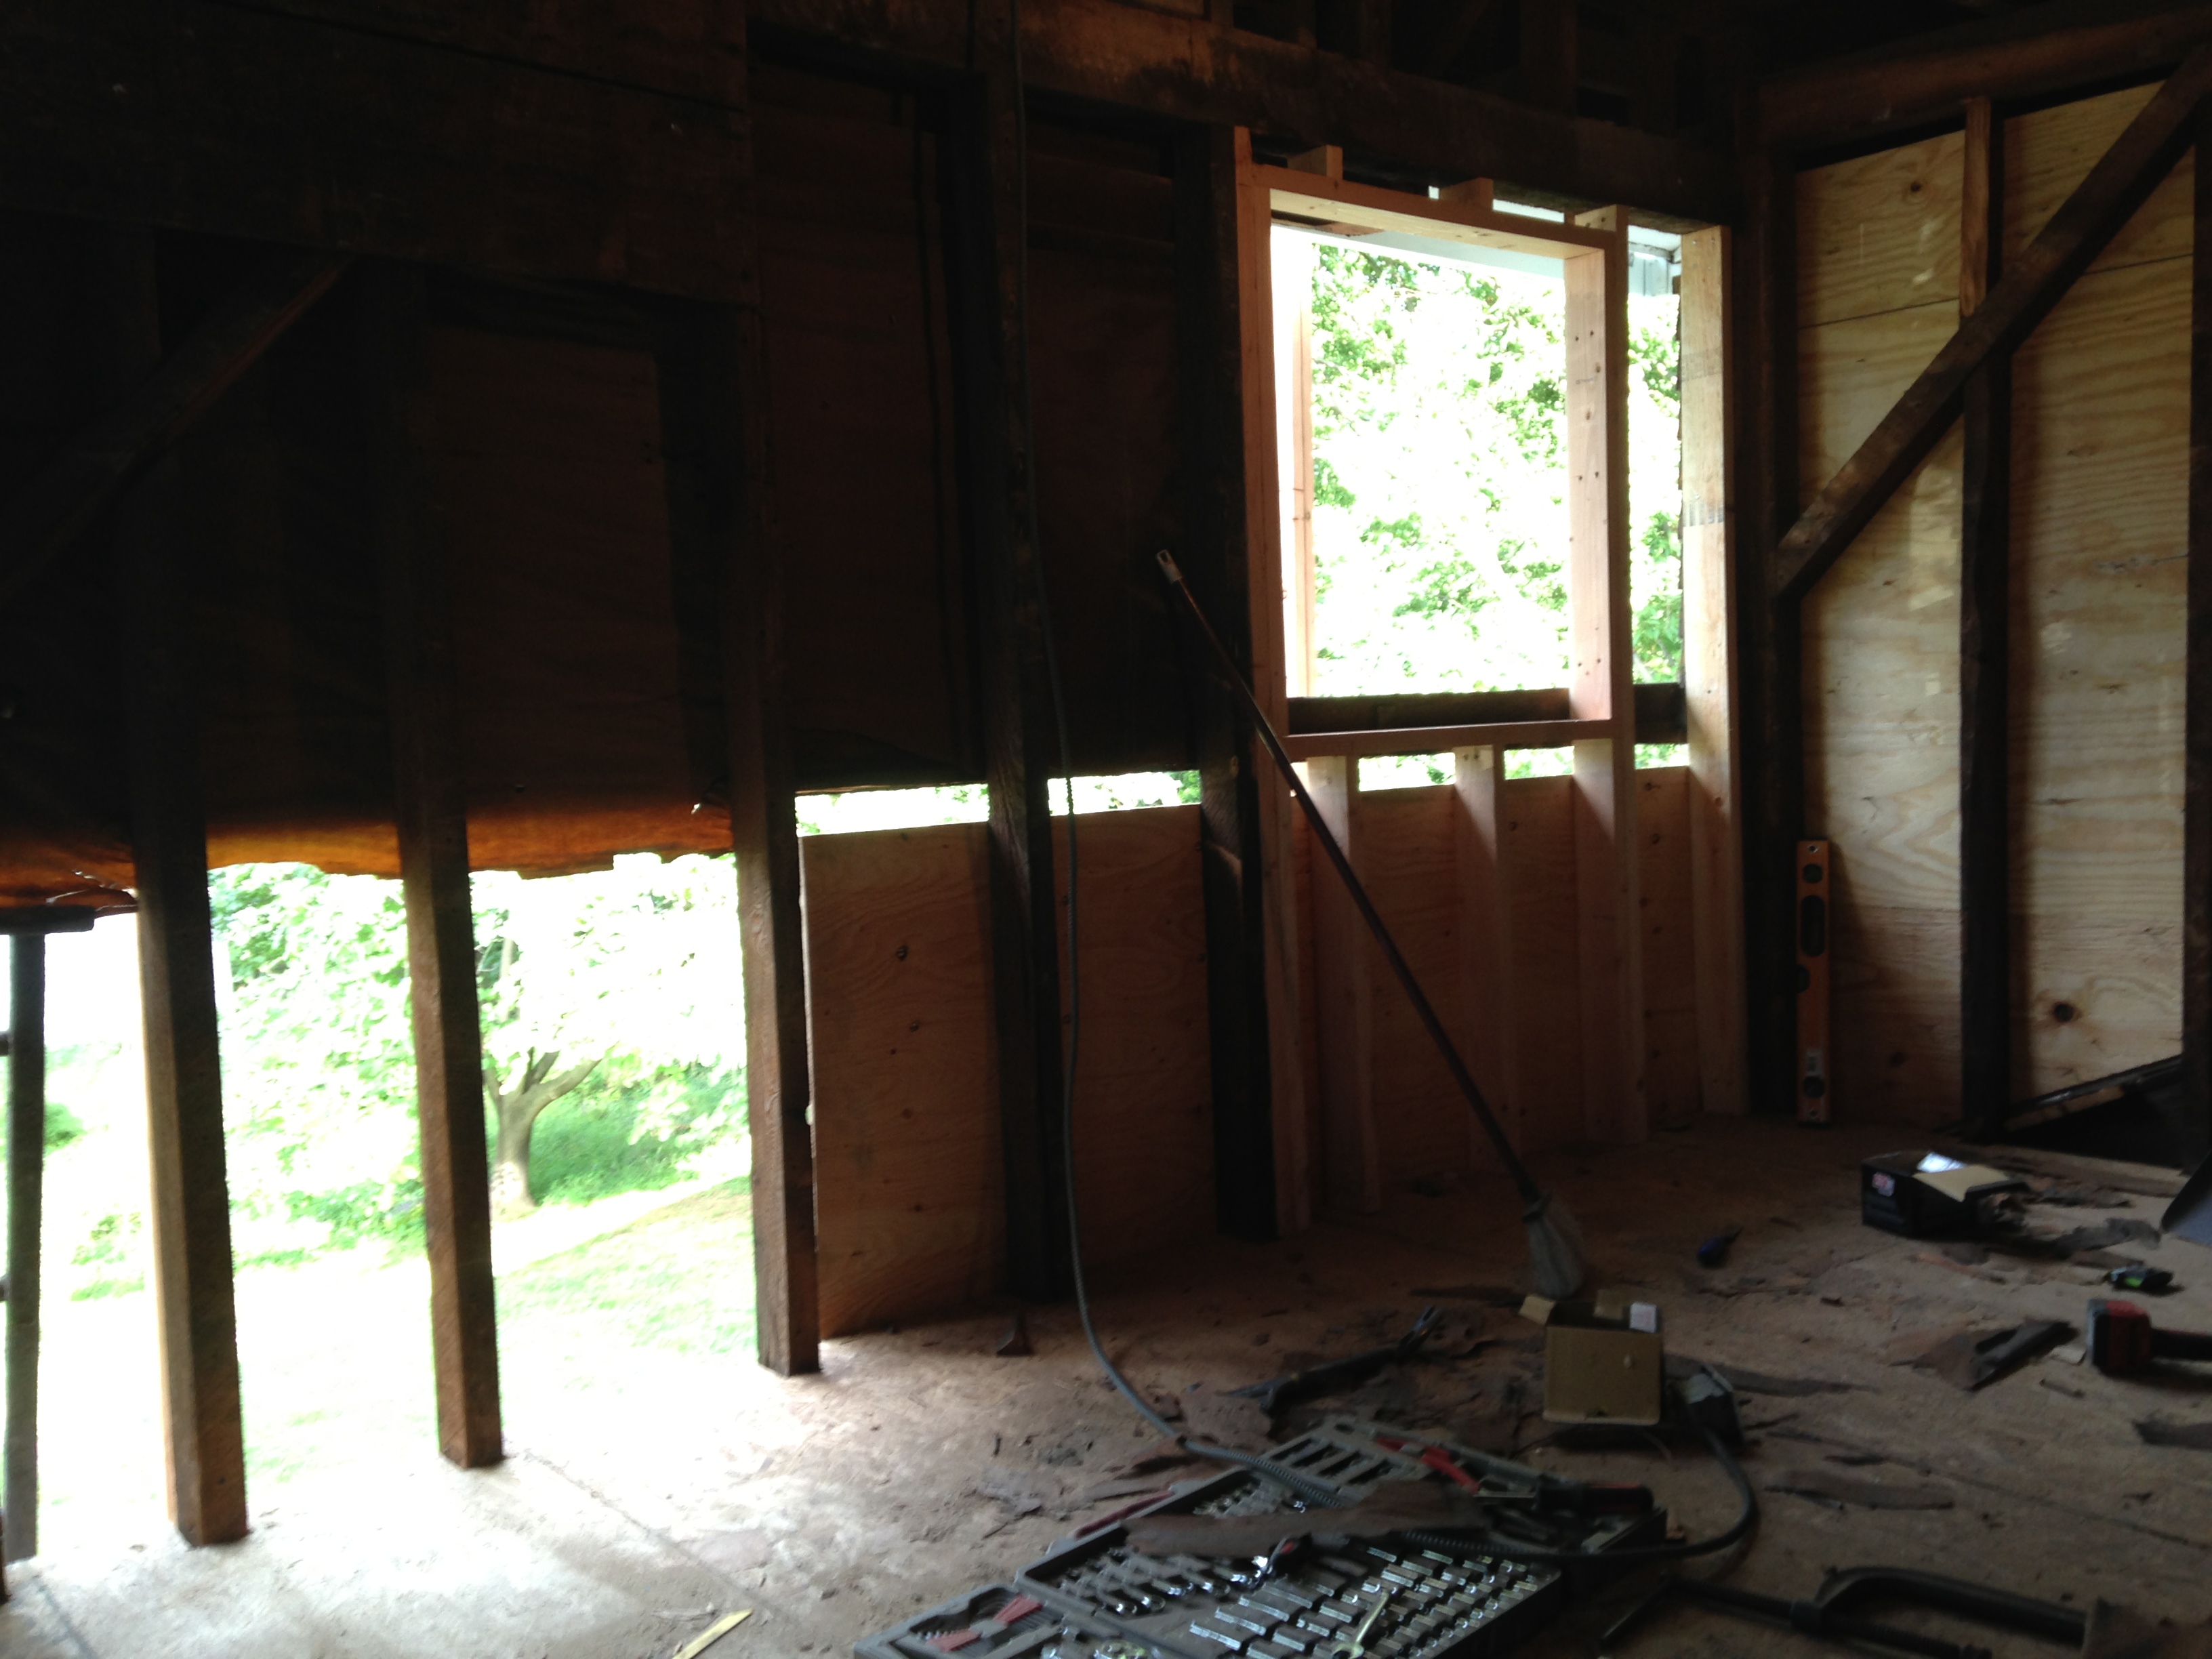
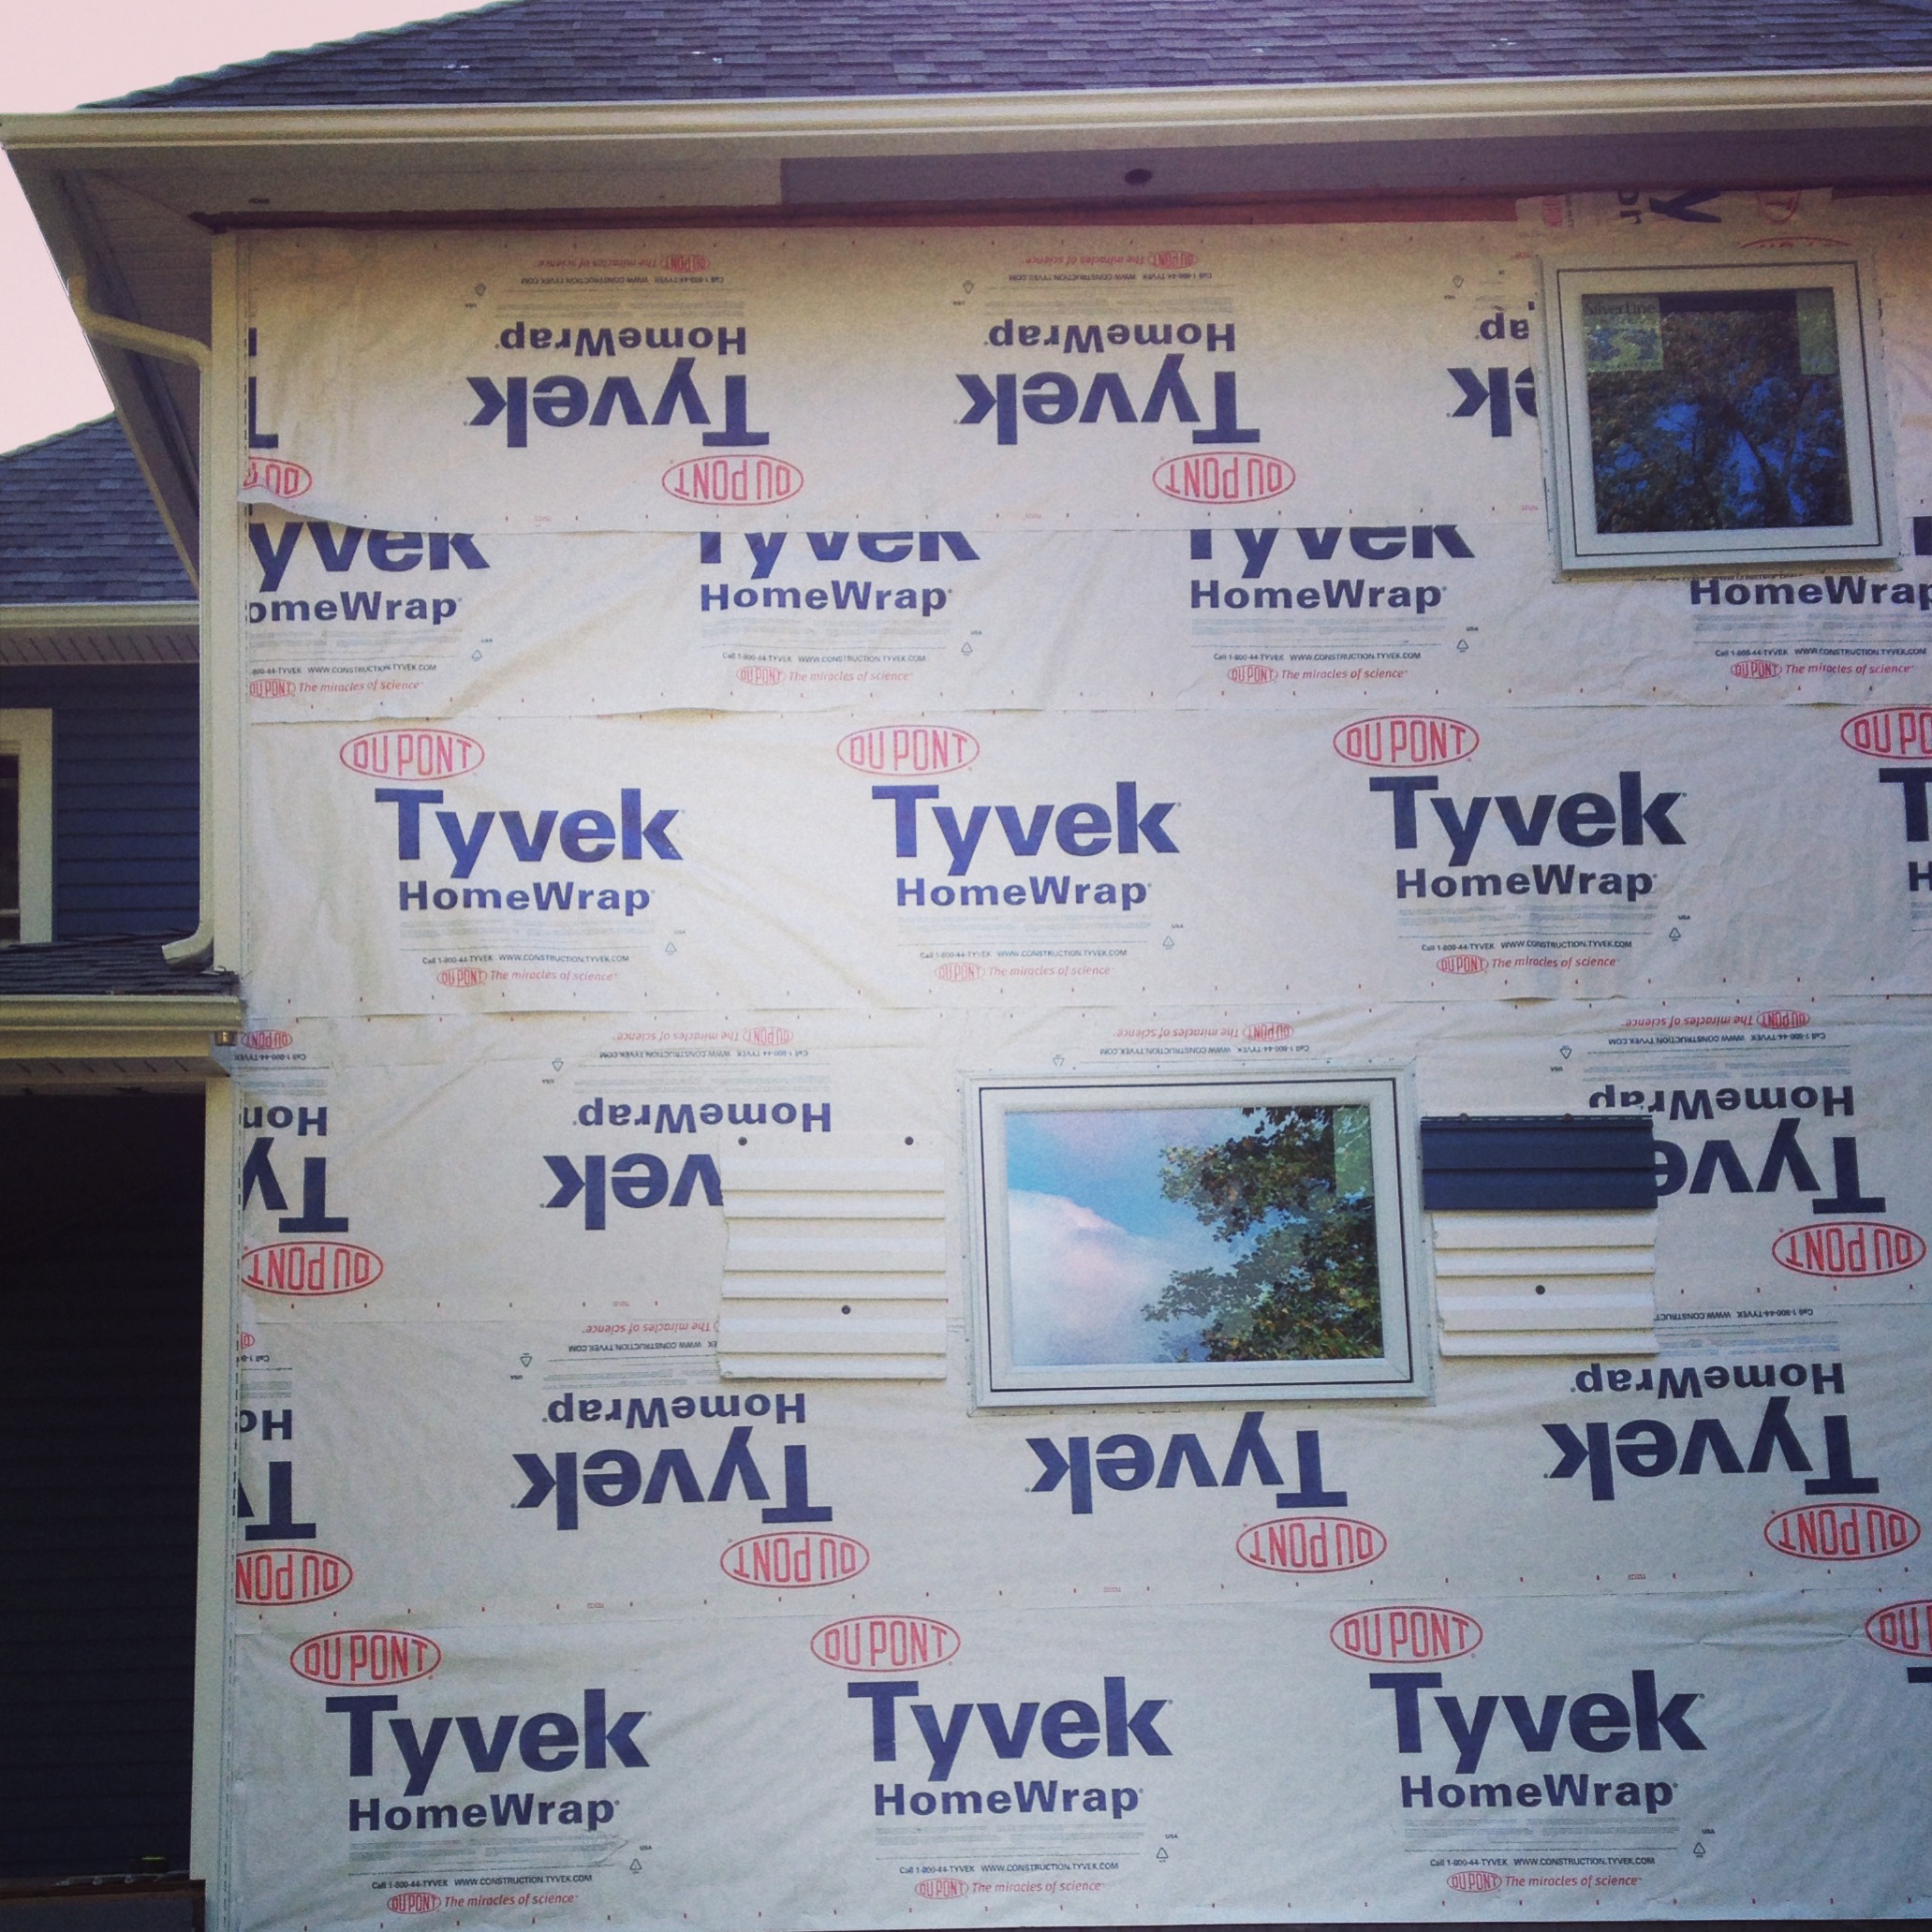
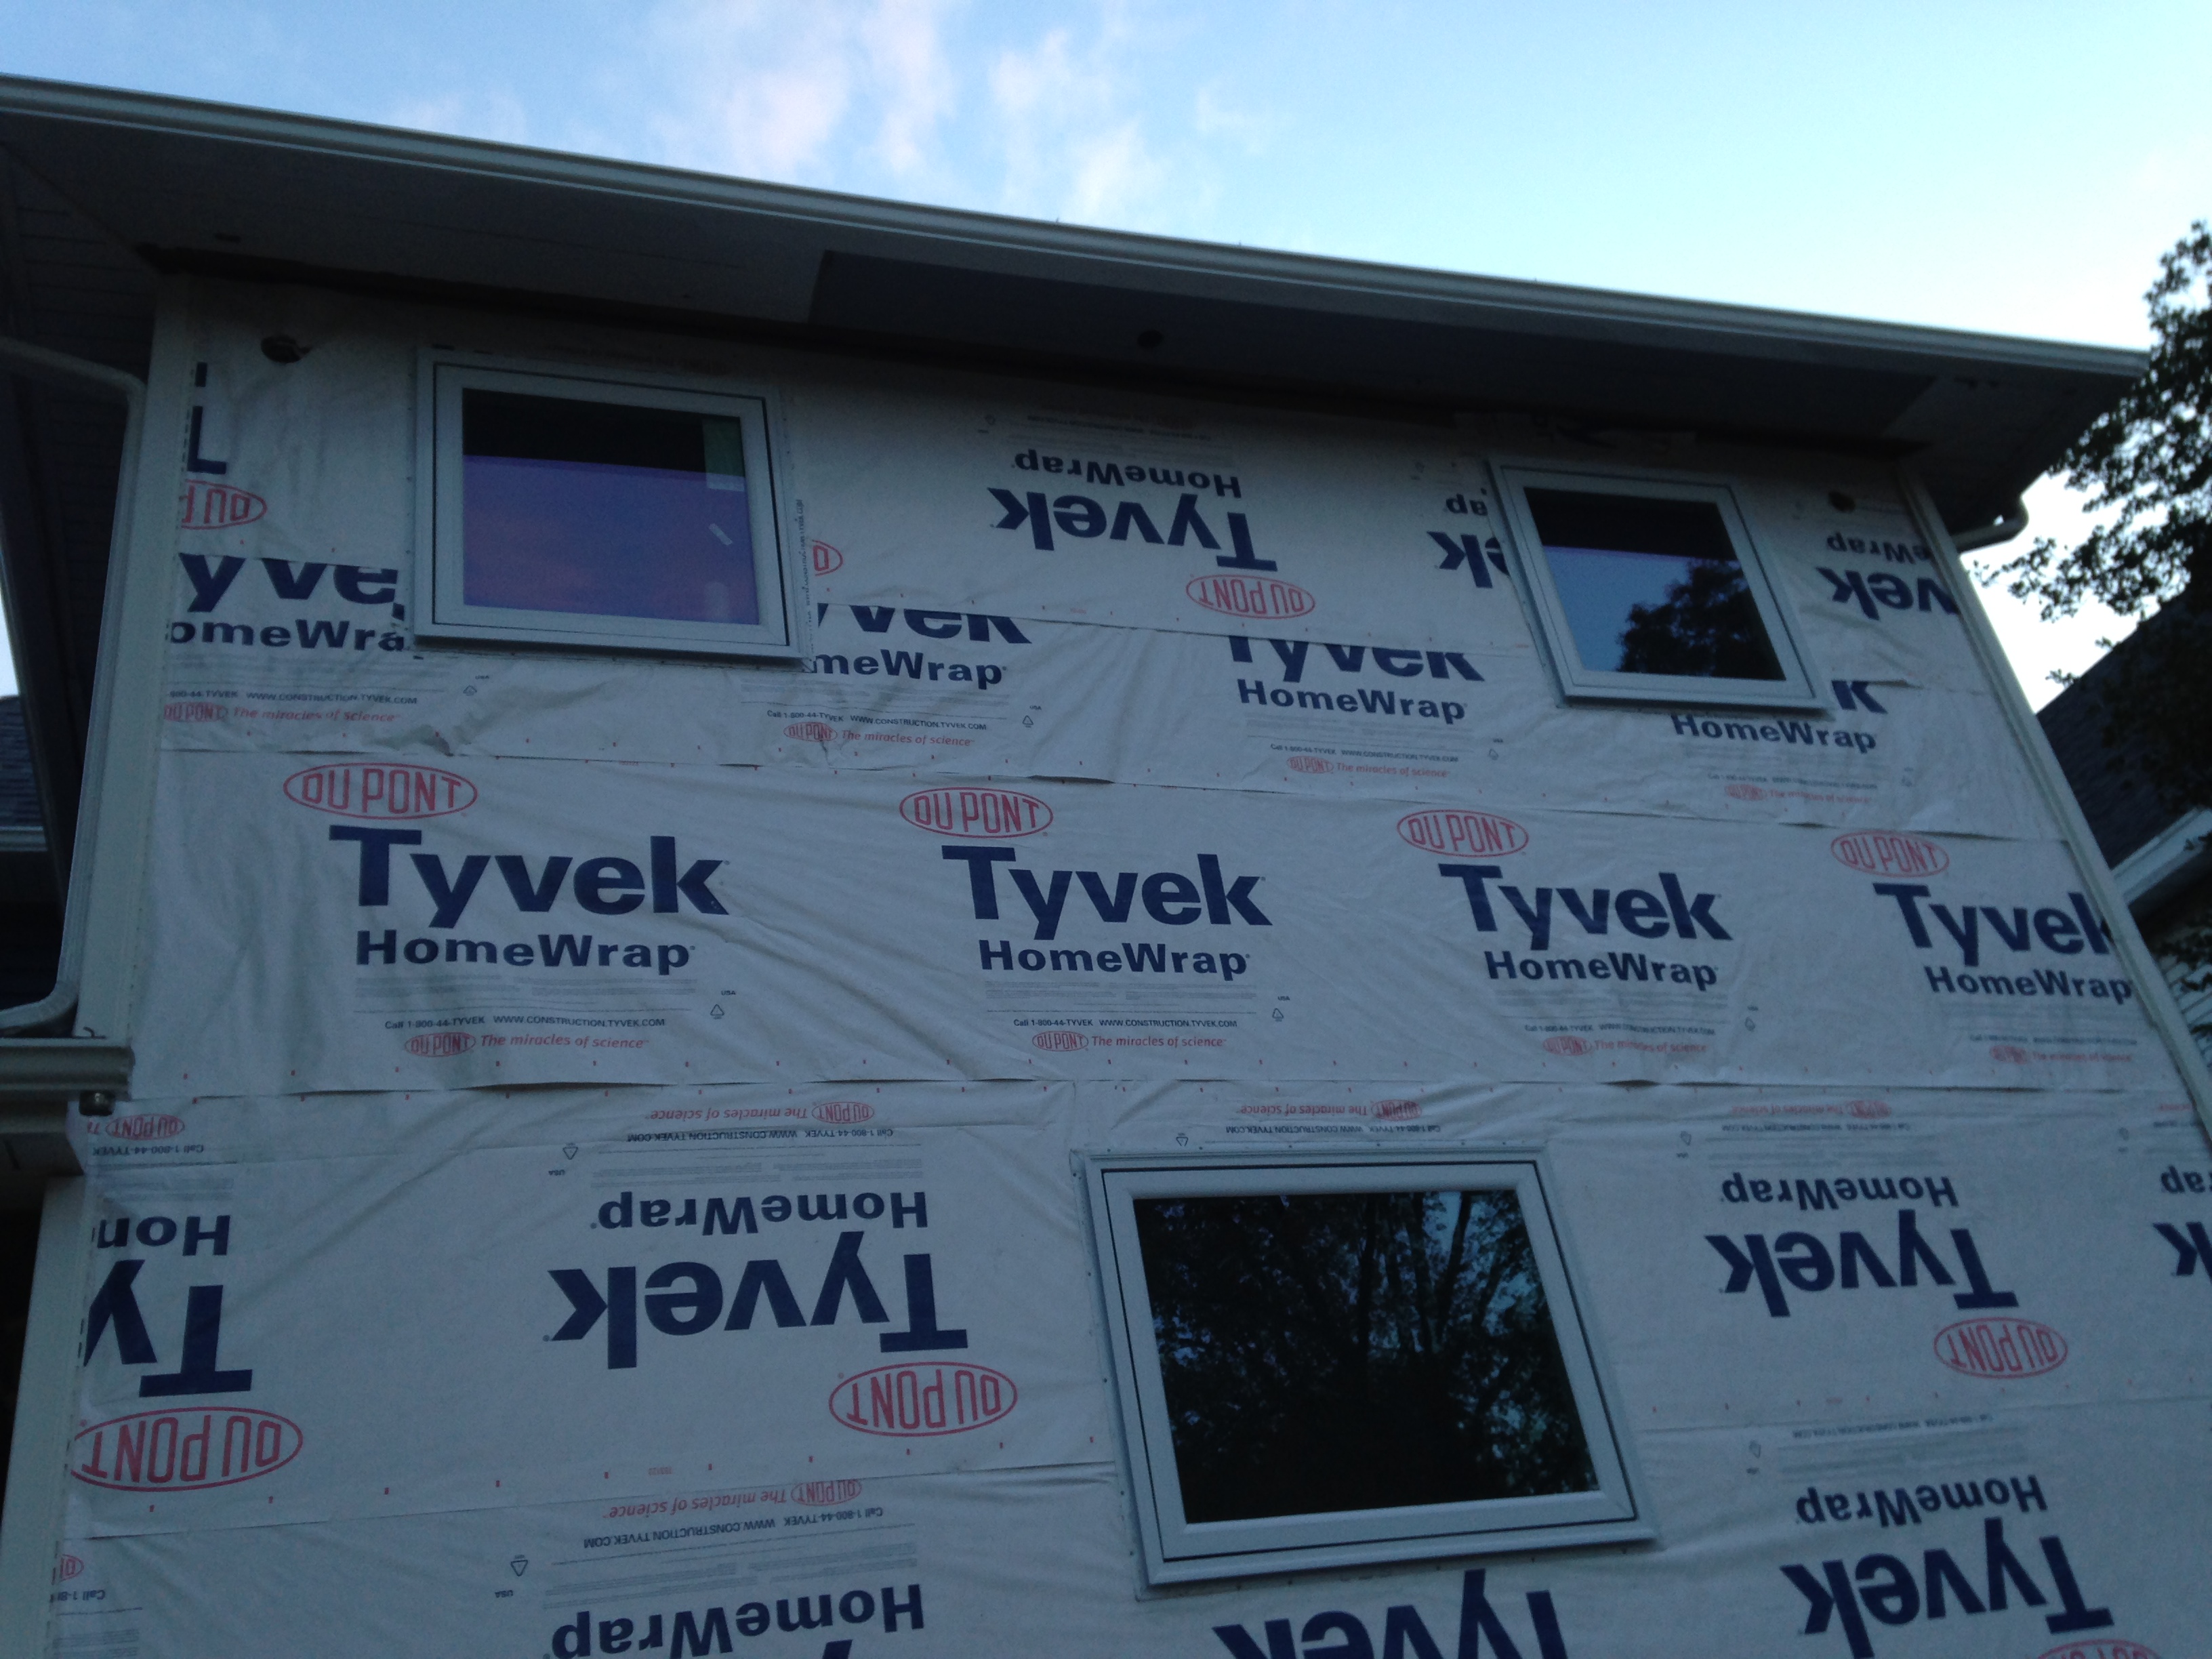
The windows in the bathroom and back of the house were replaced with the same awning windows as the kitchen. Andersen brand, nothing amazing but they look nice and get the job done.
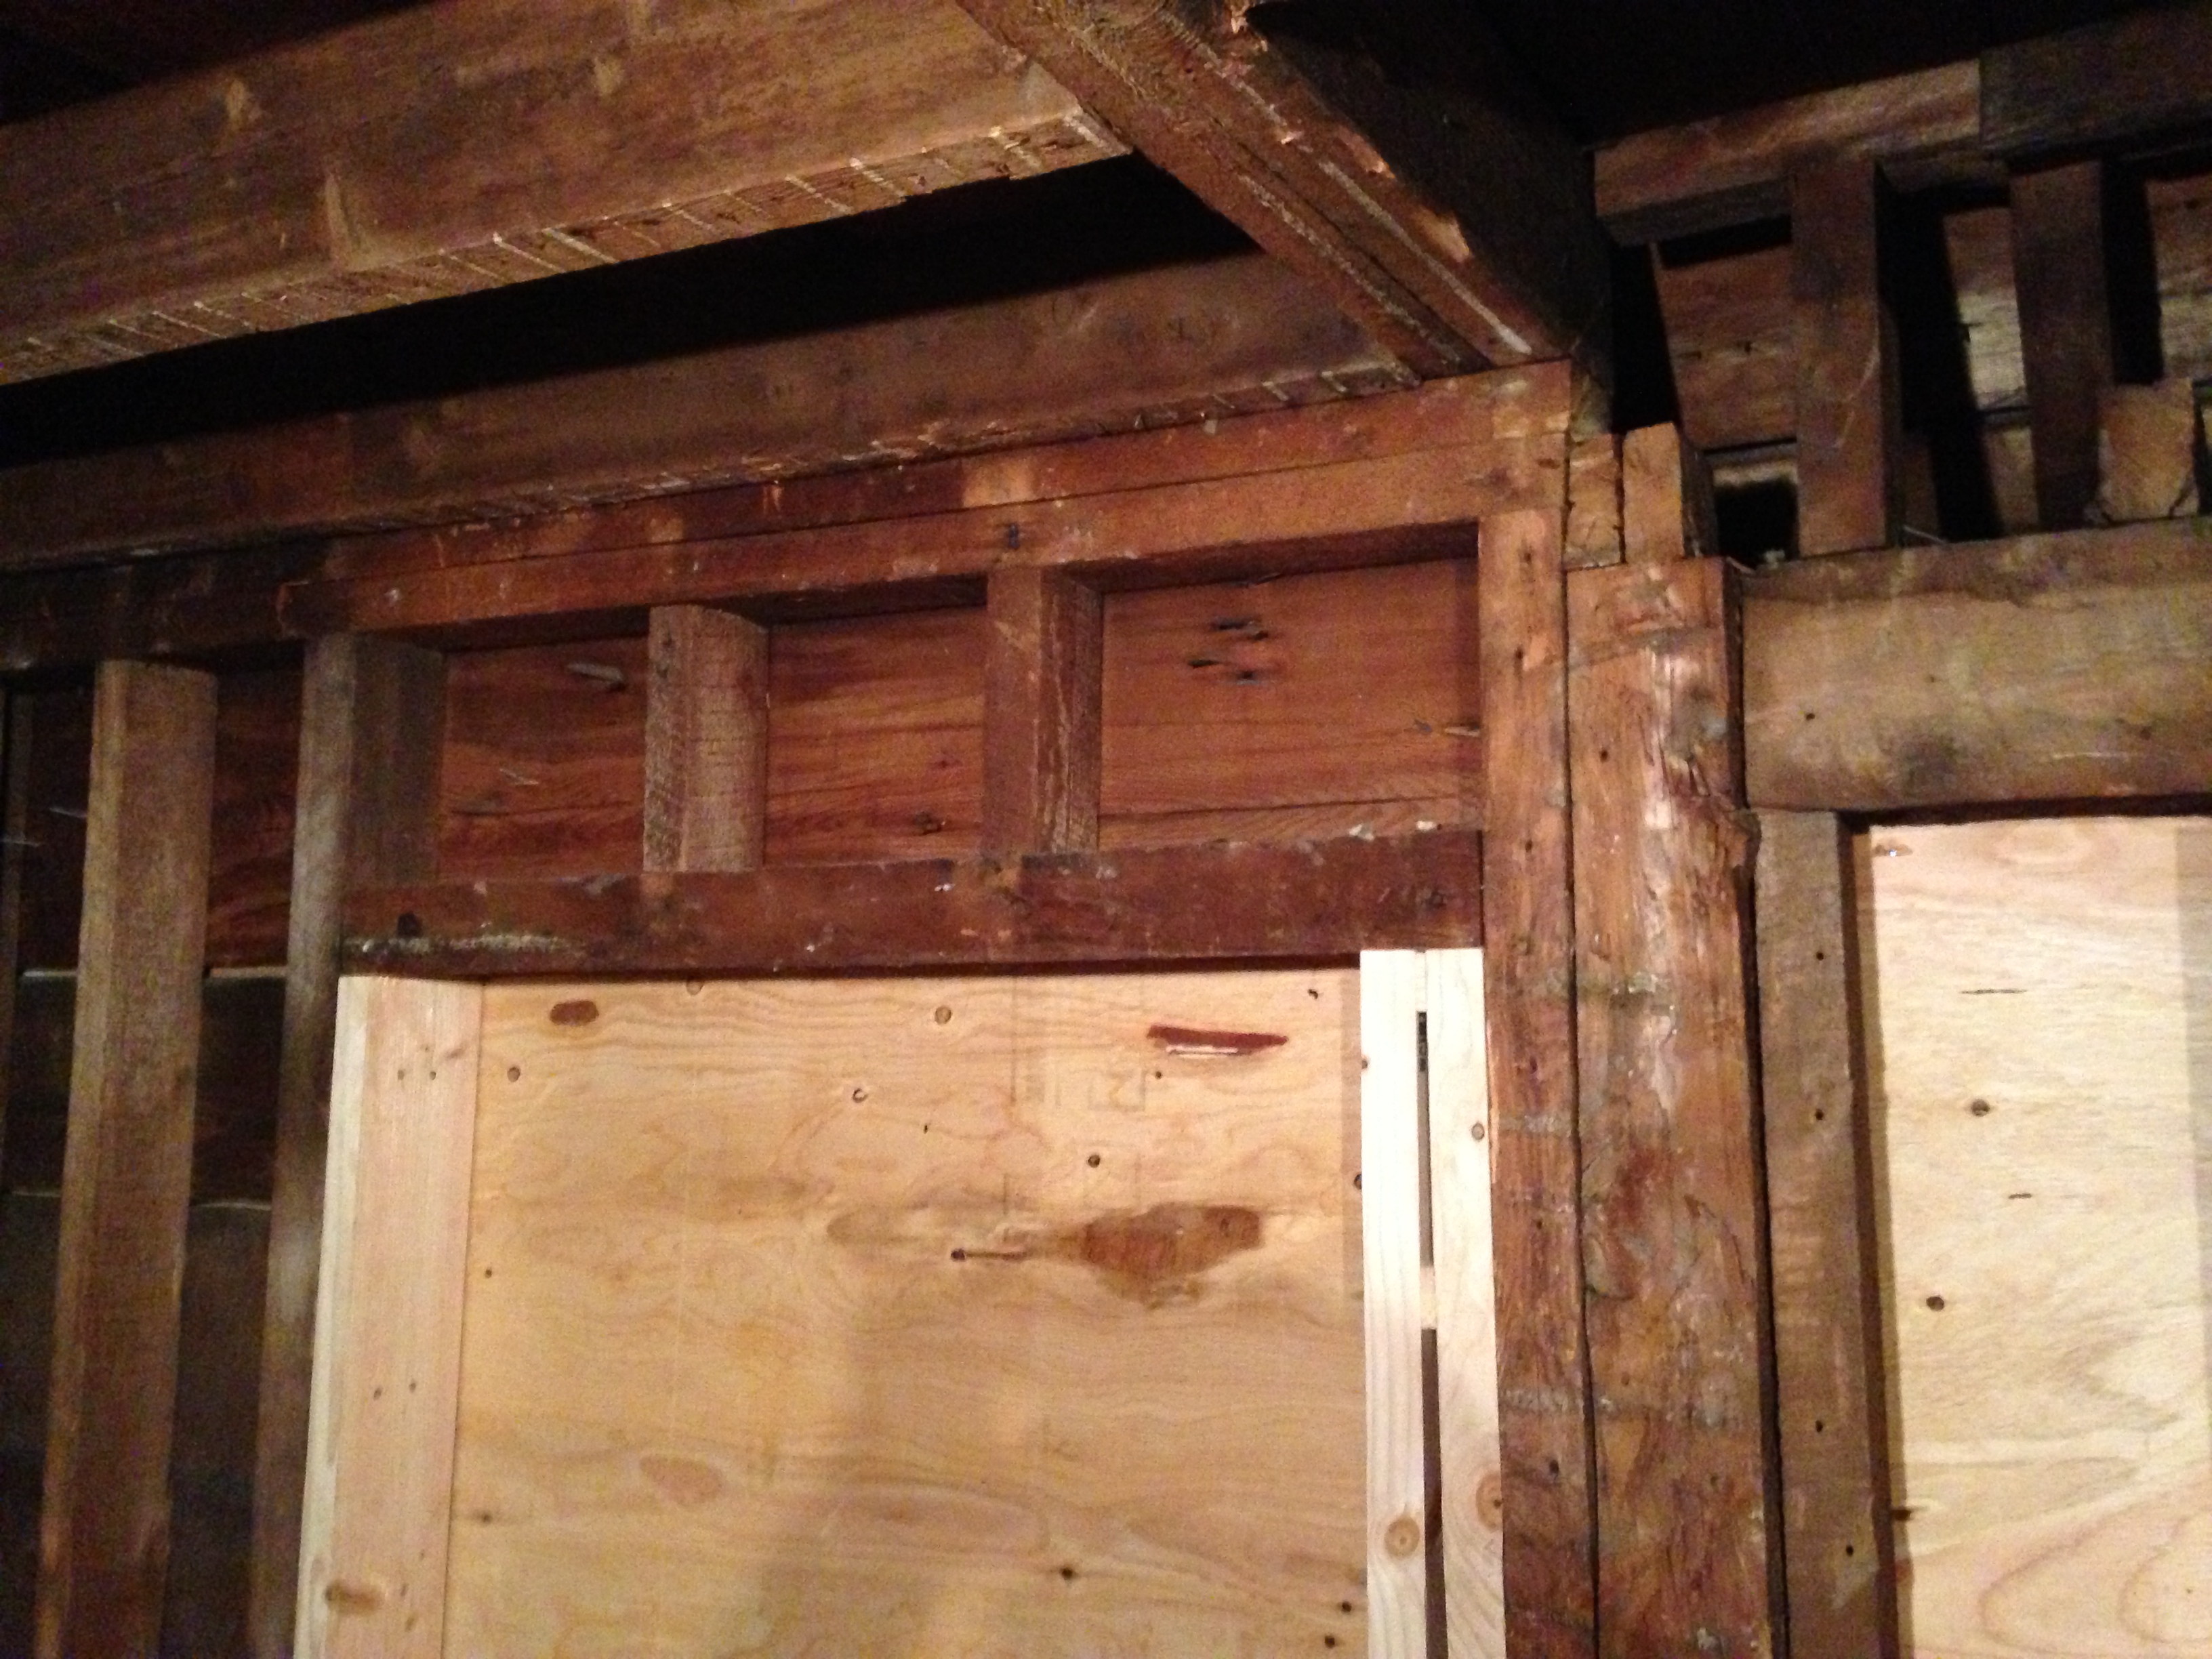
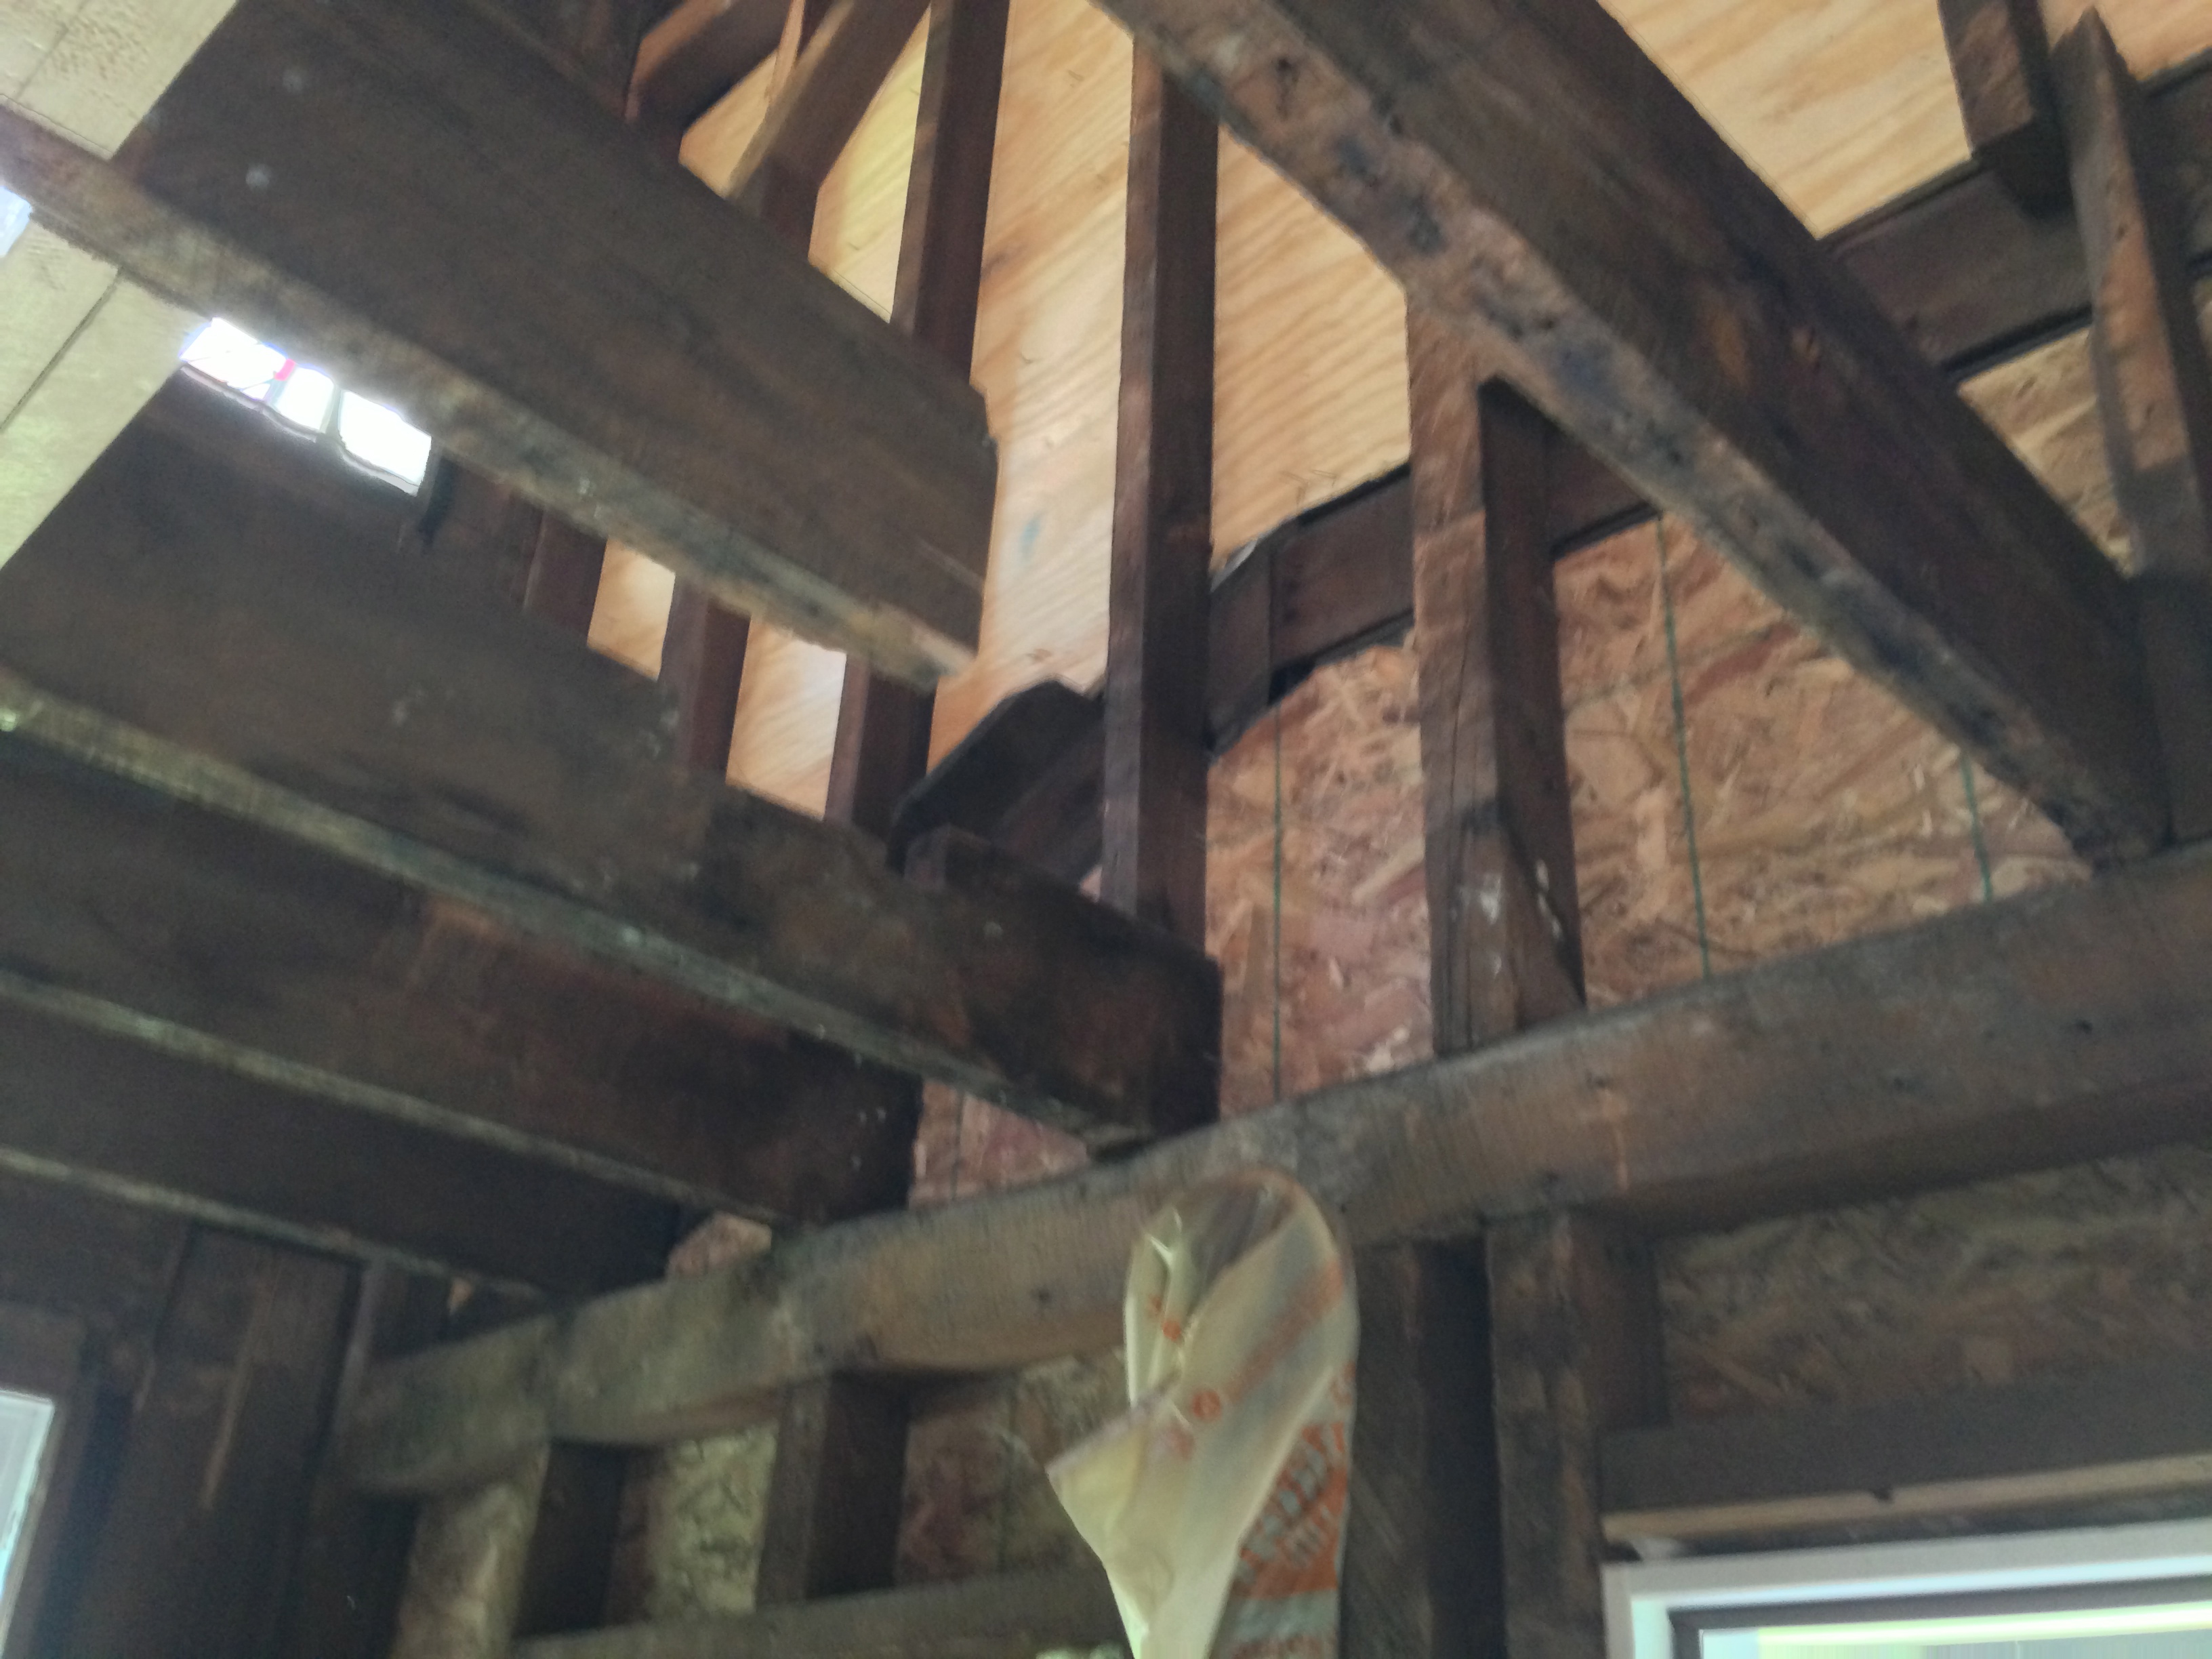
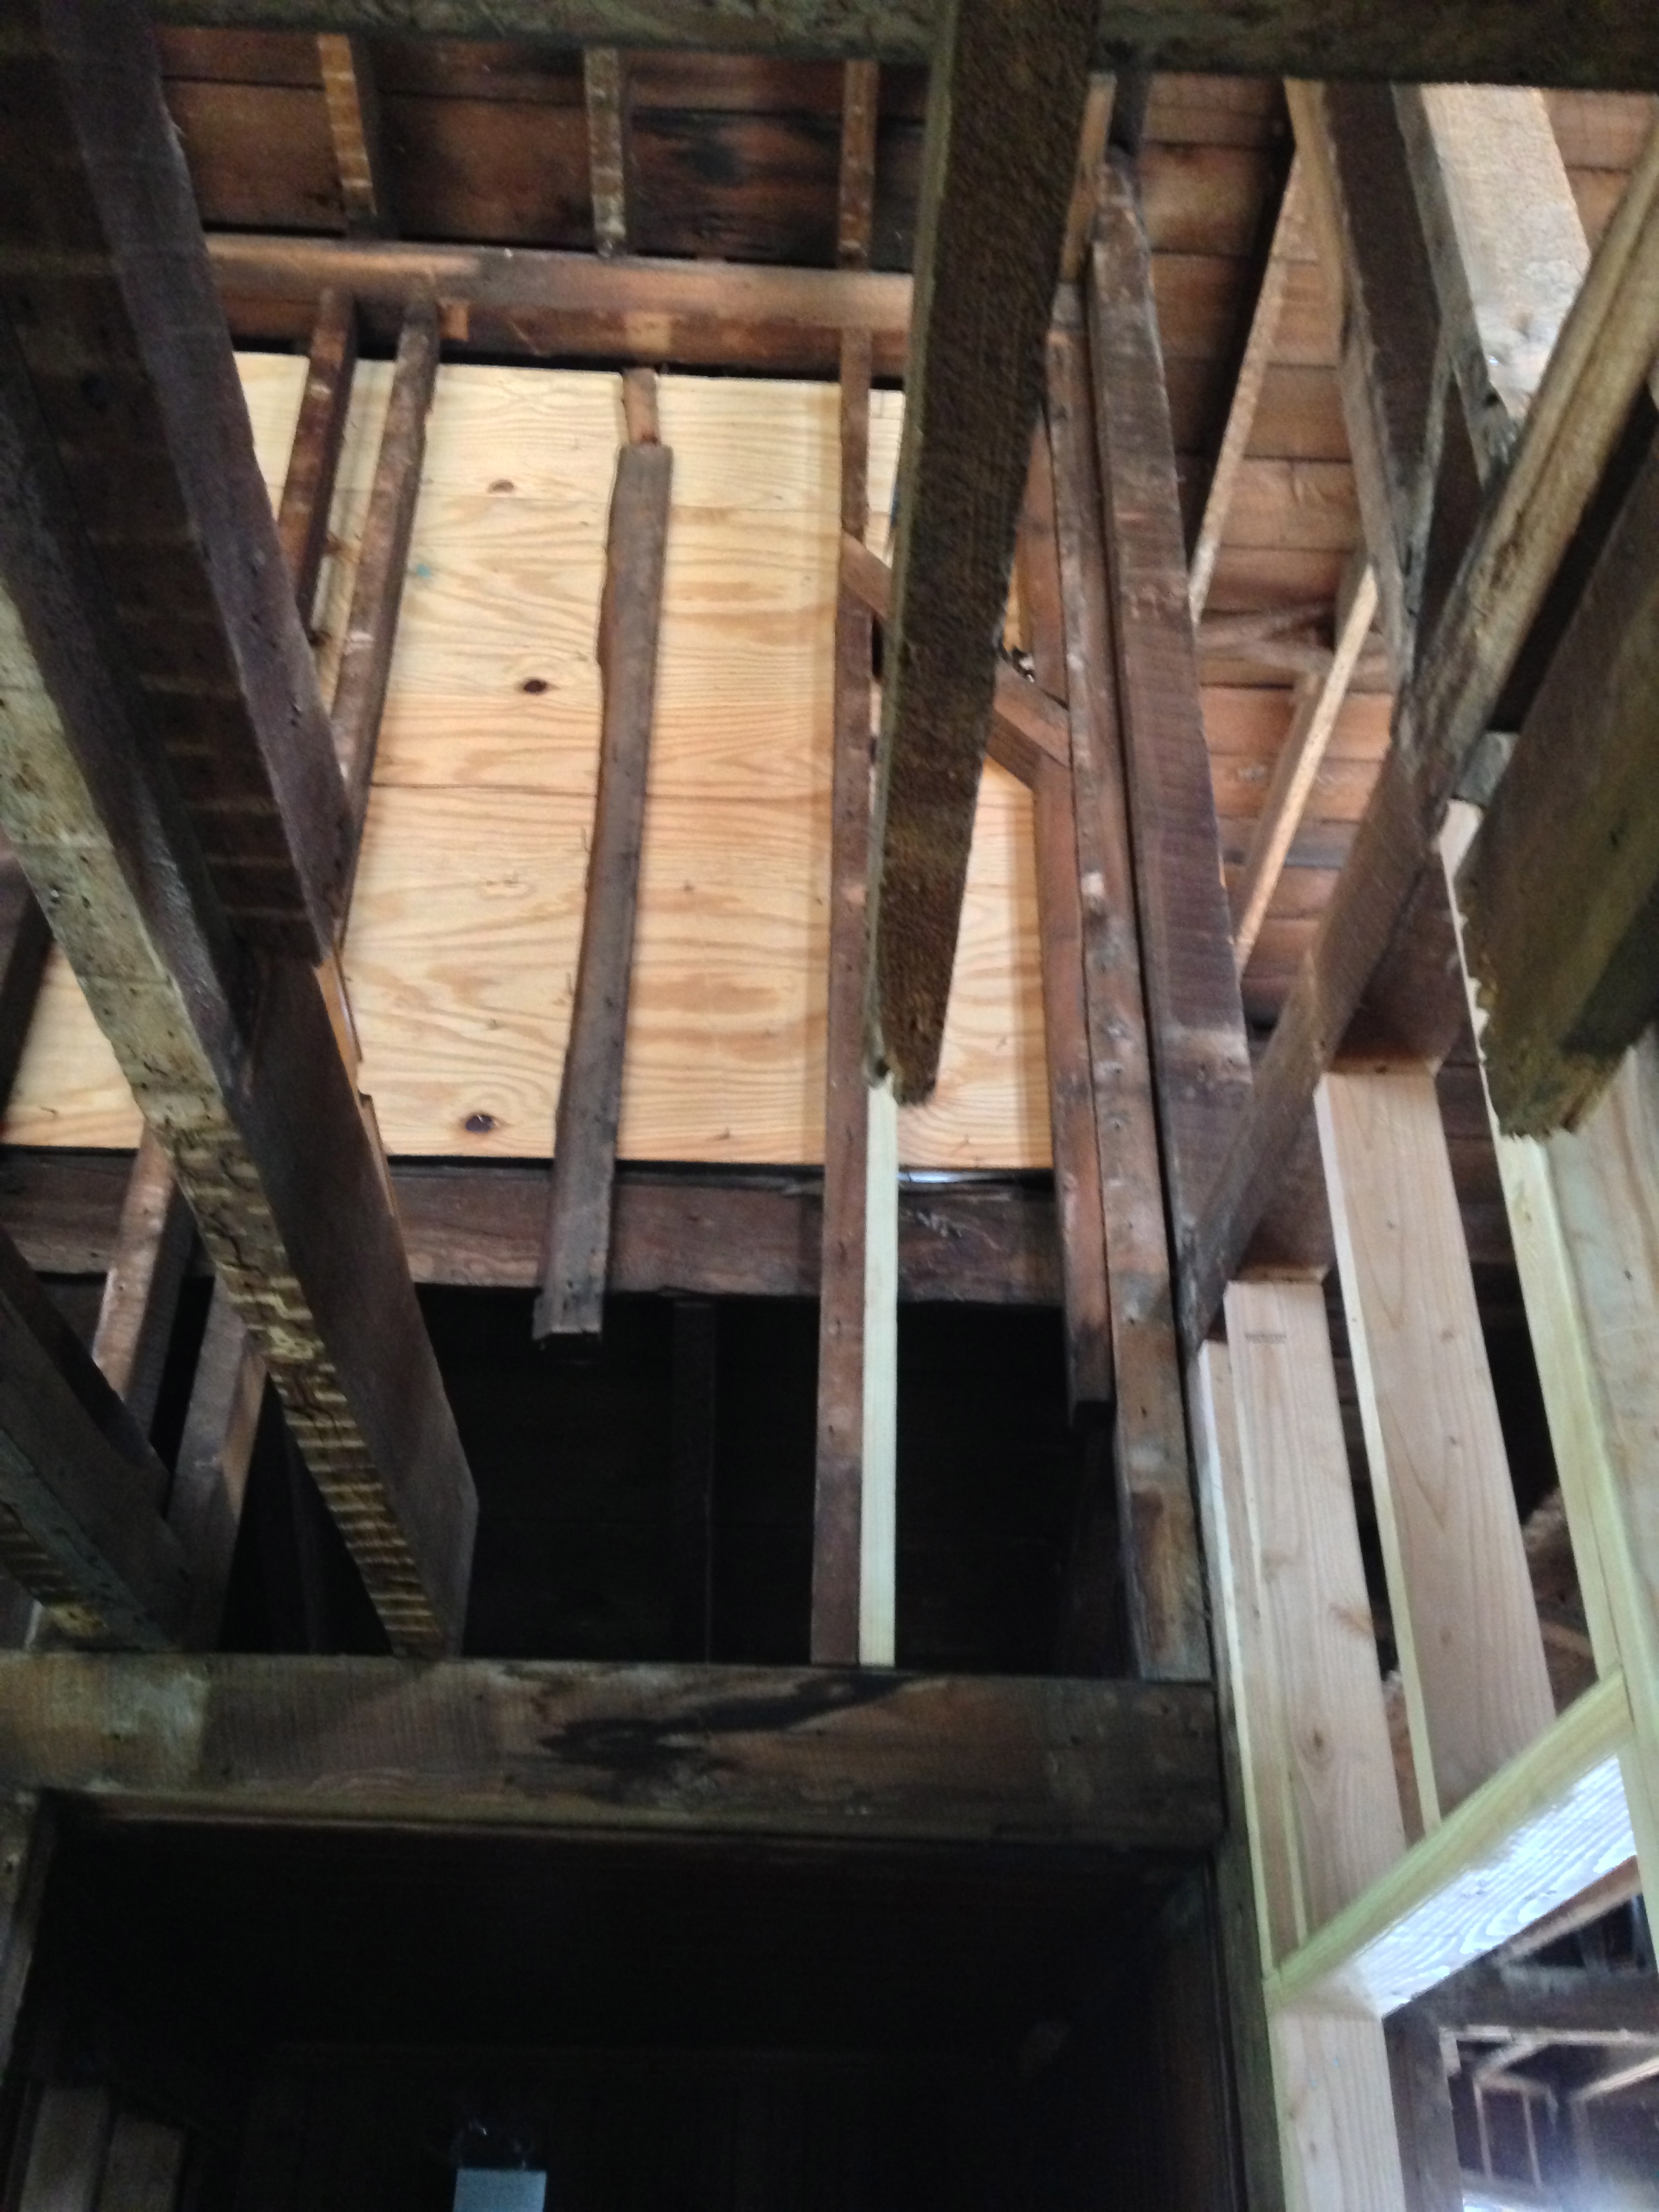
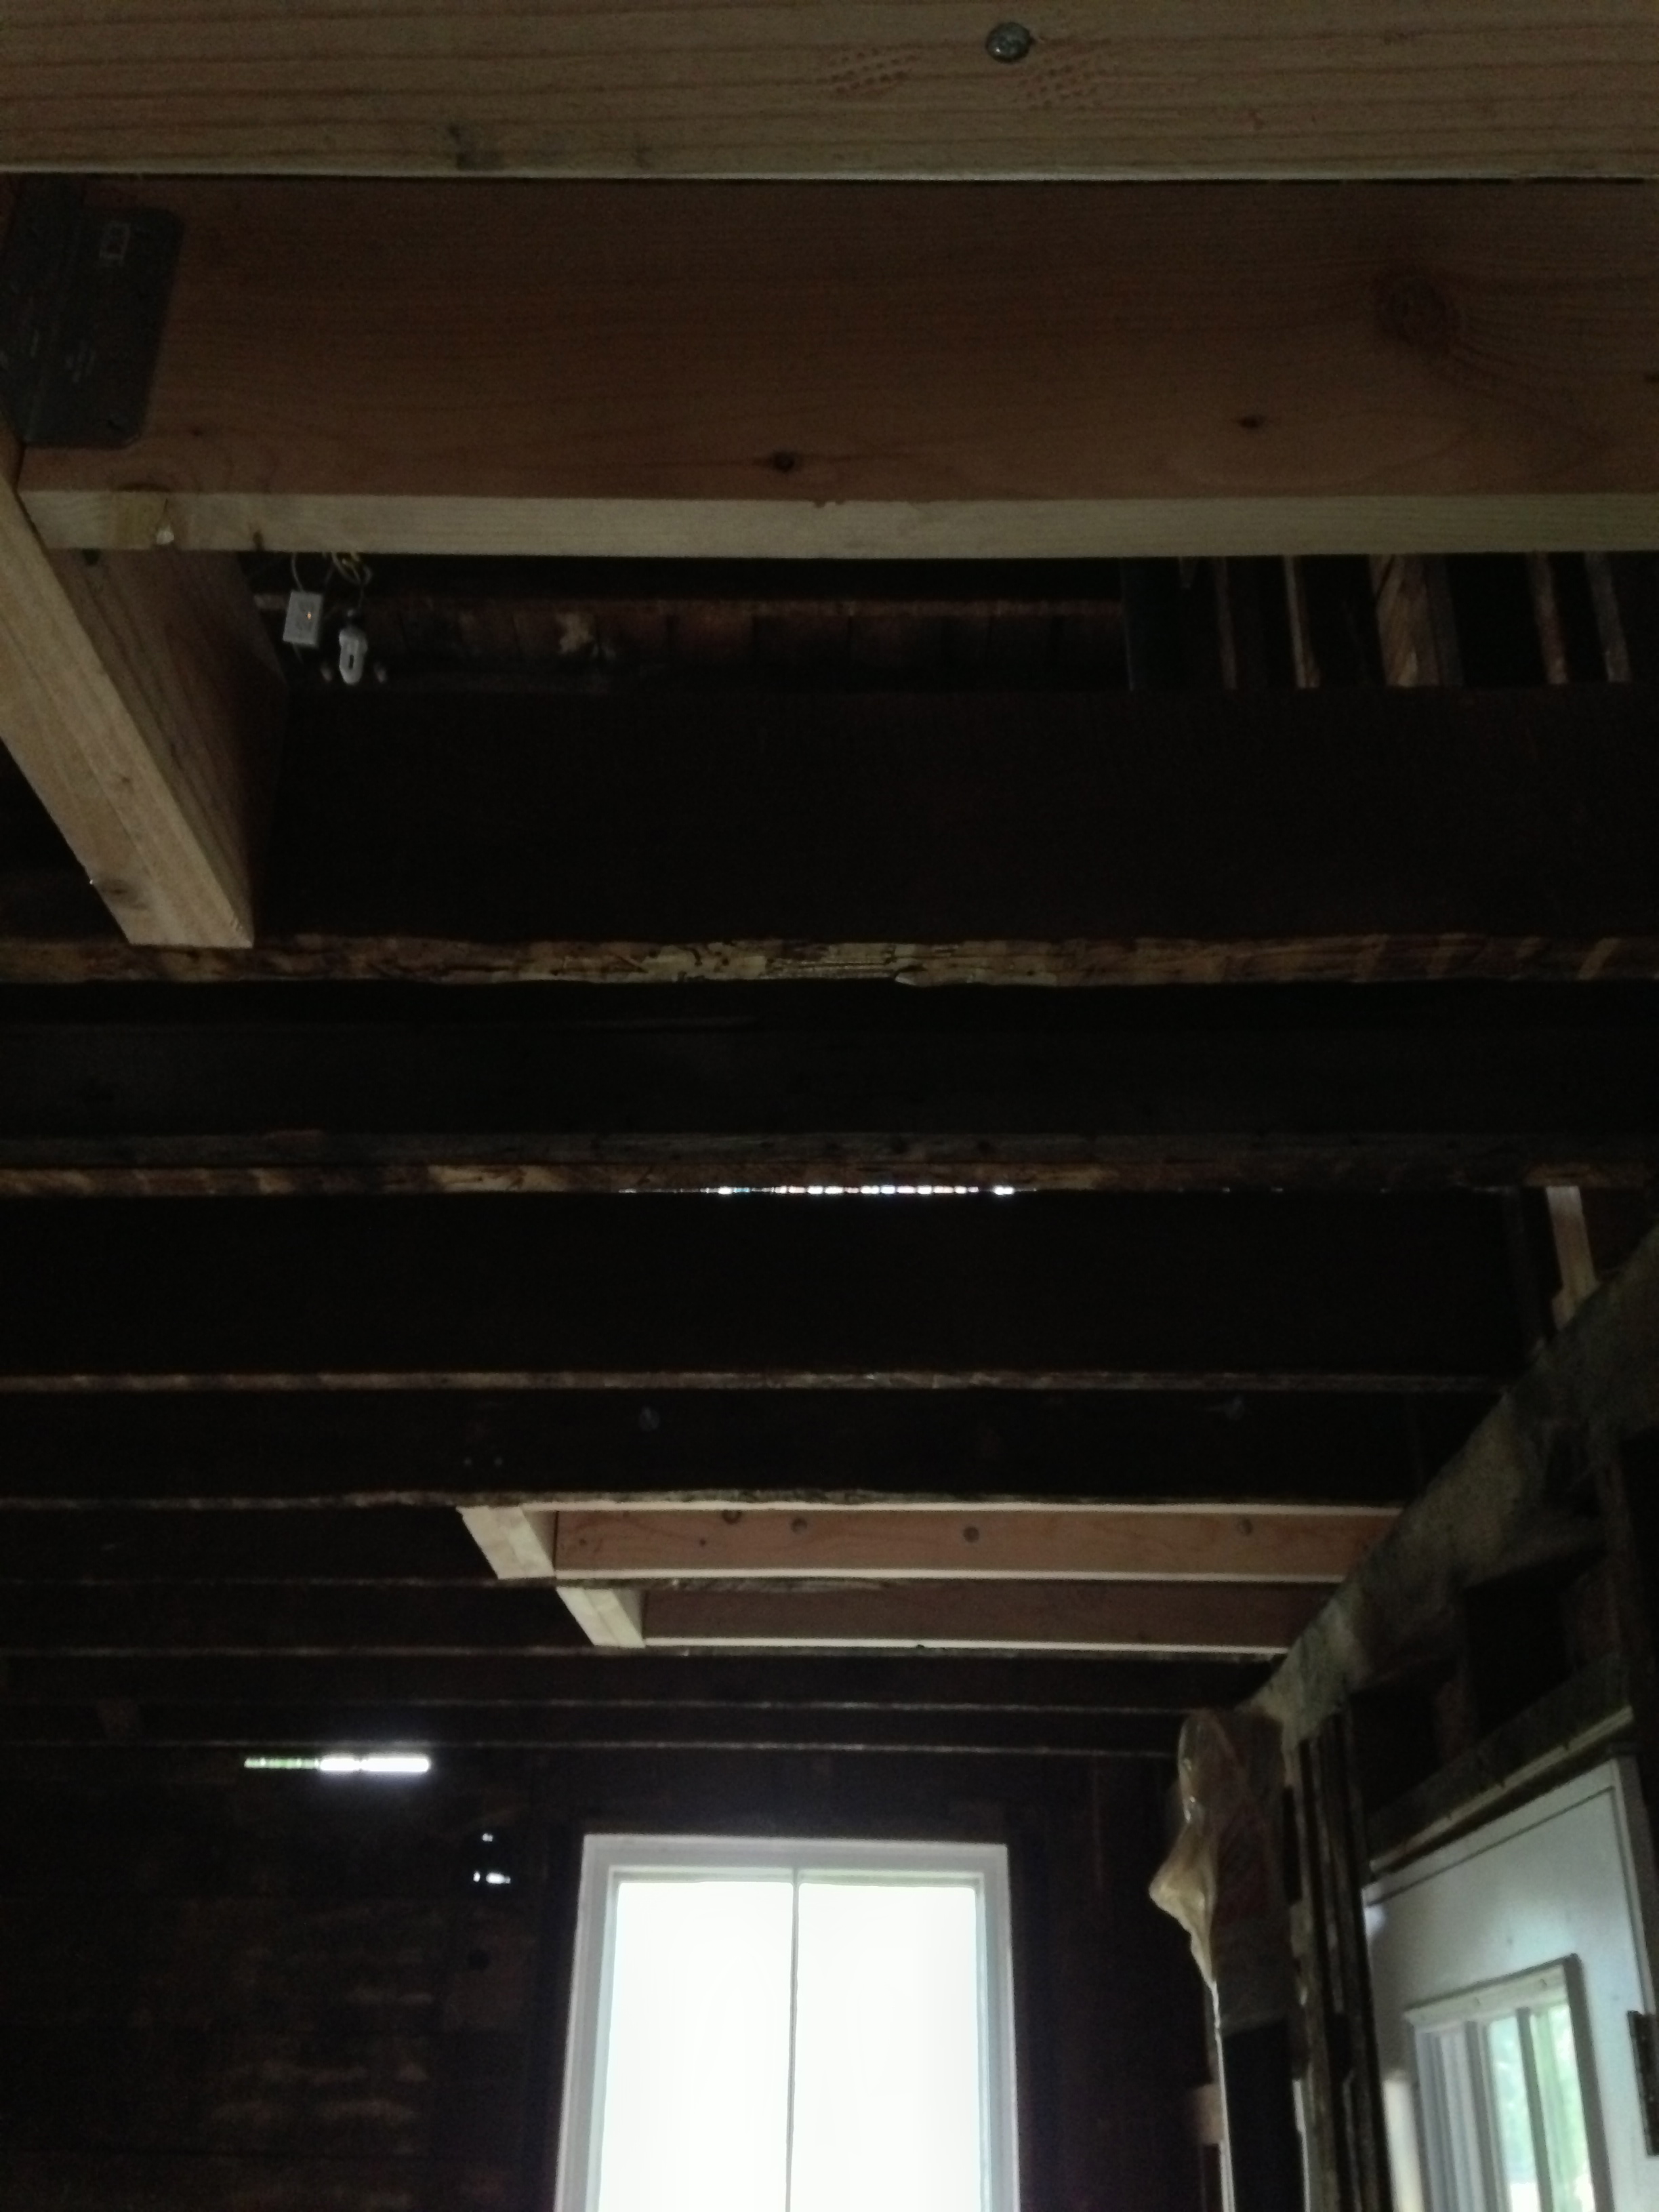
The floor was finished up and hangers were put on all the joists where they met the girder running through the middle of the room, it really made a difference in terms of sturdiness.
We then cut out holes for the windows and put them in, fixing them from the outside. I don’t have pictures of this process because I was busy holding on for dear life.

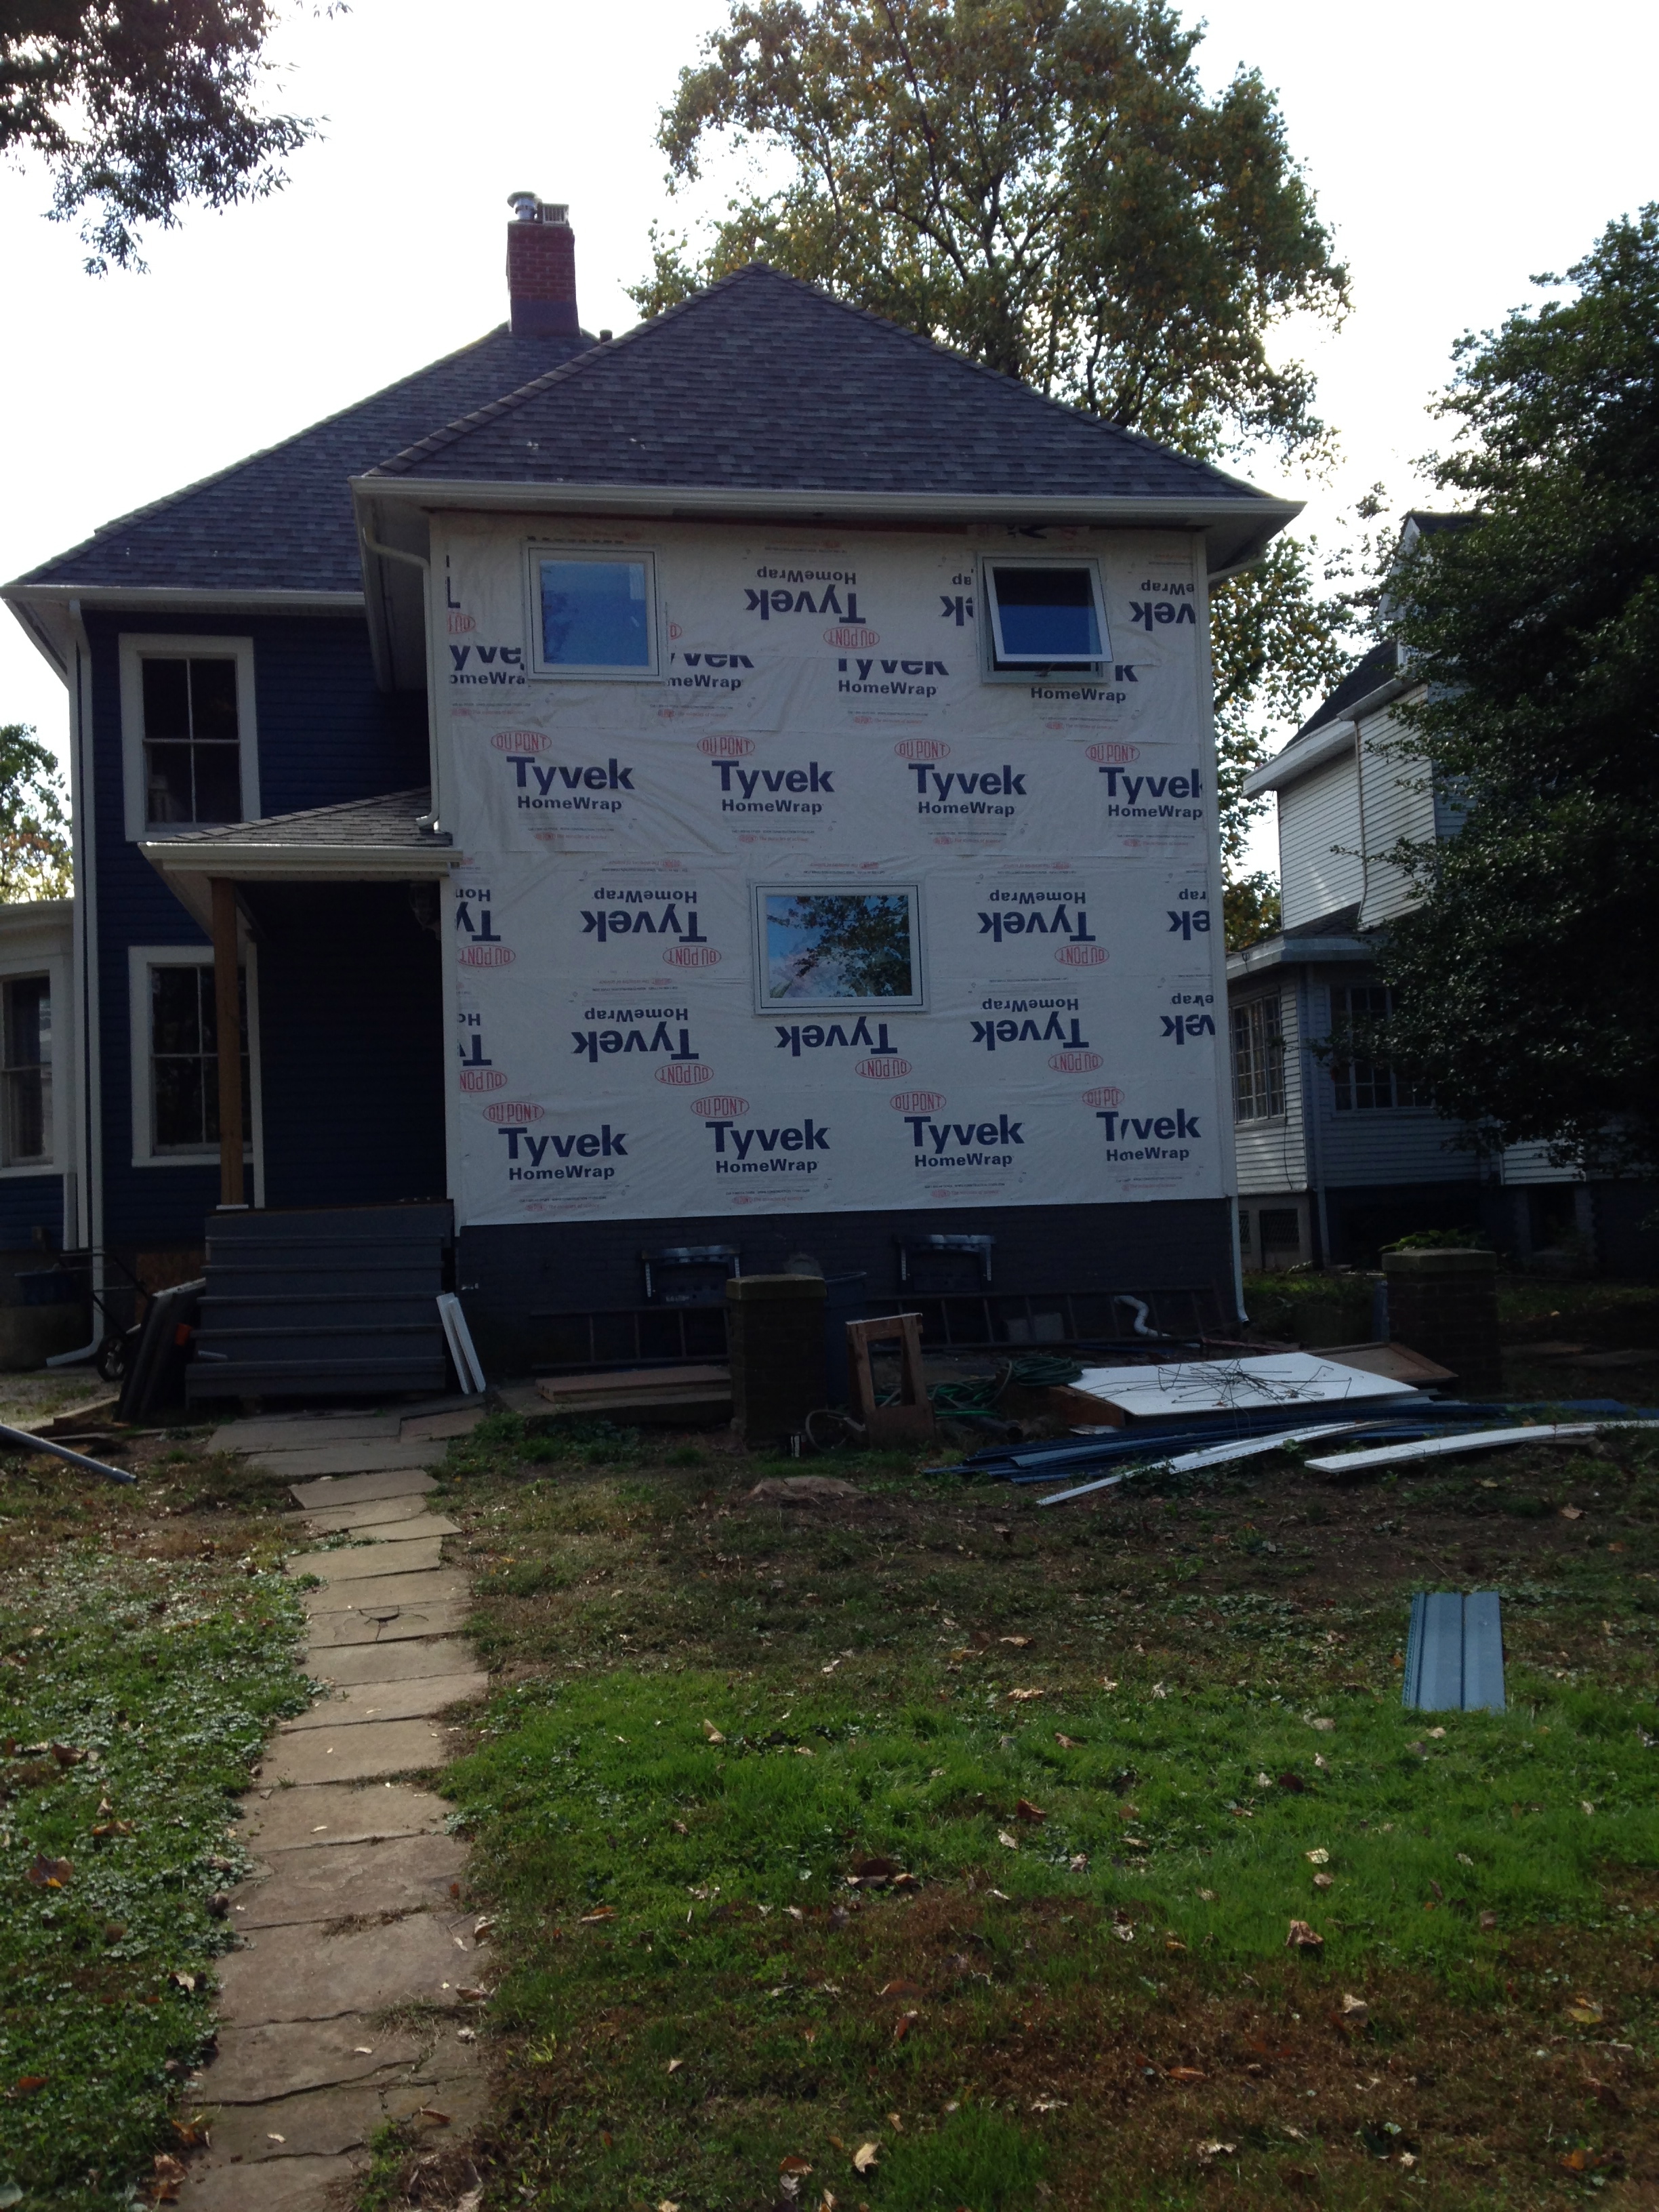
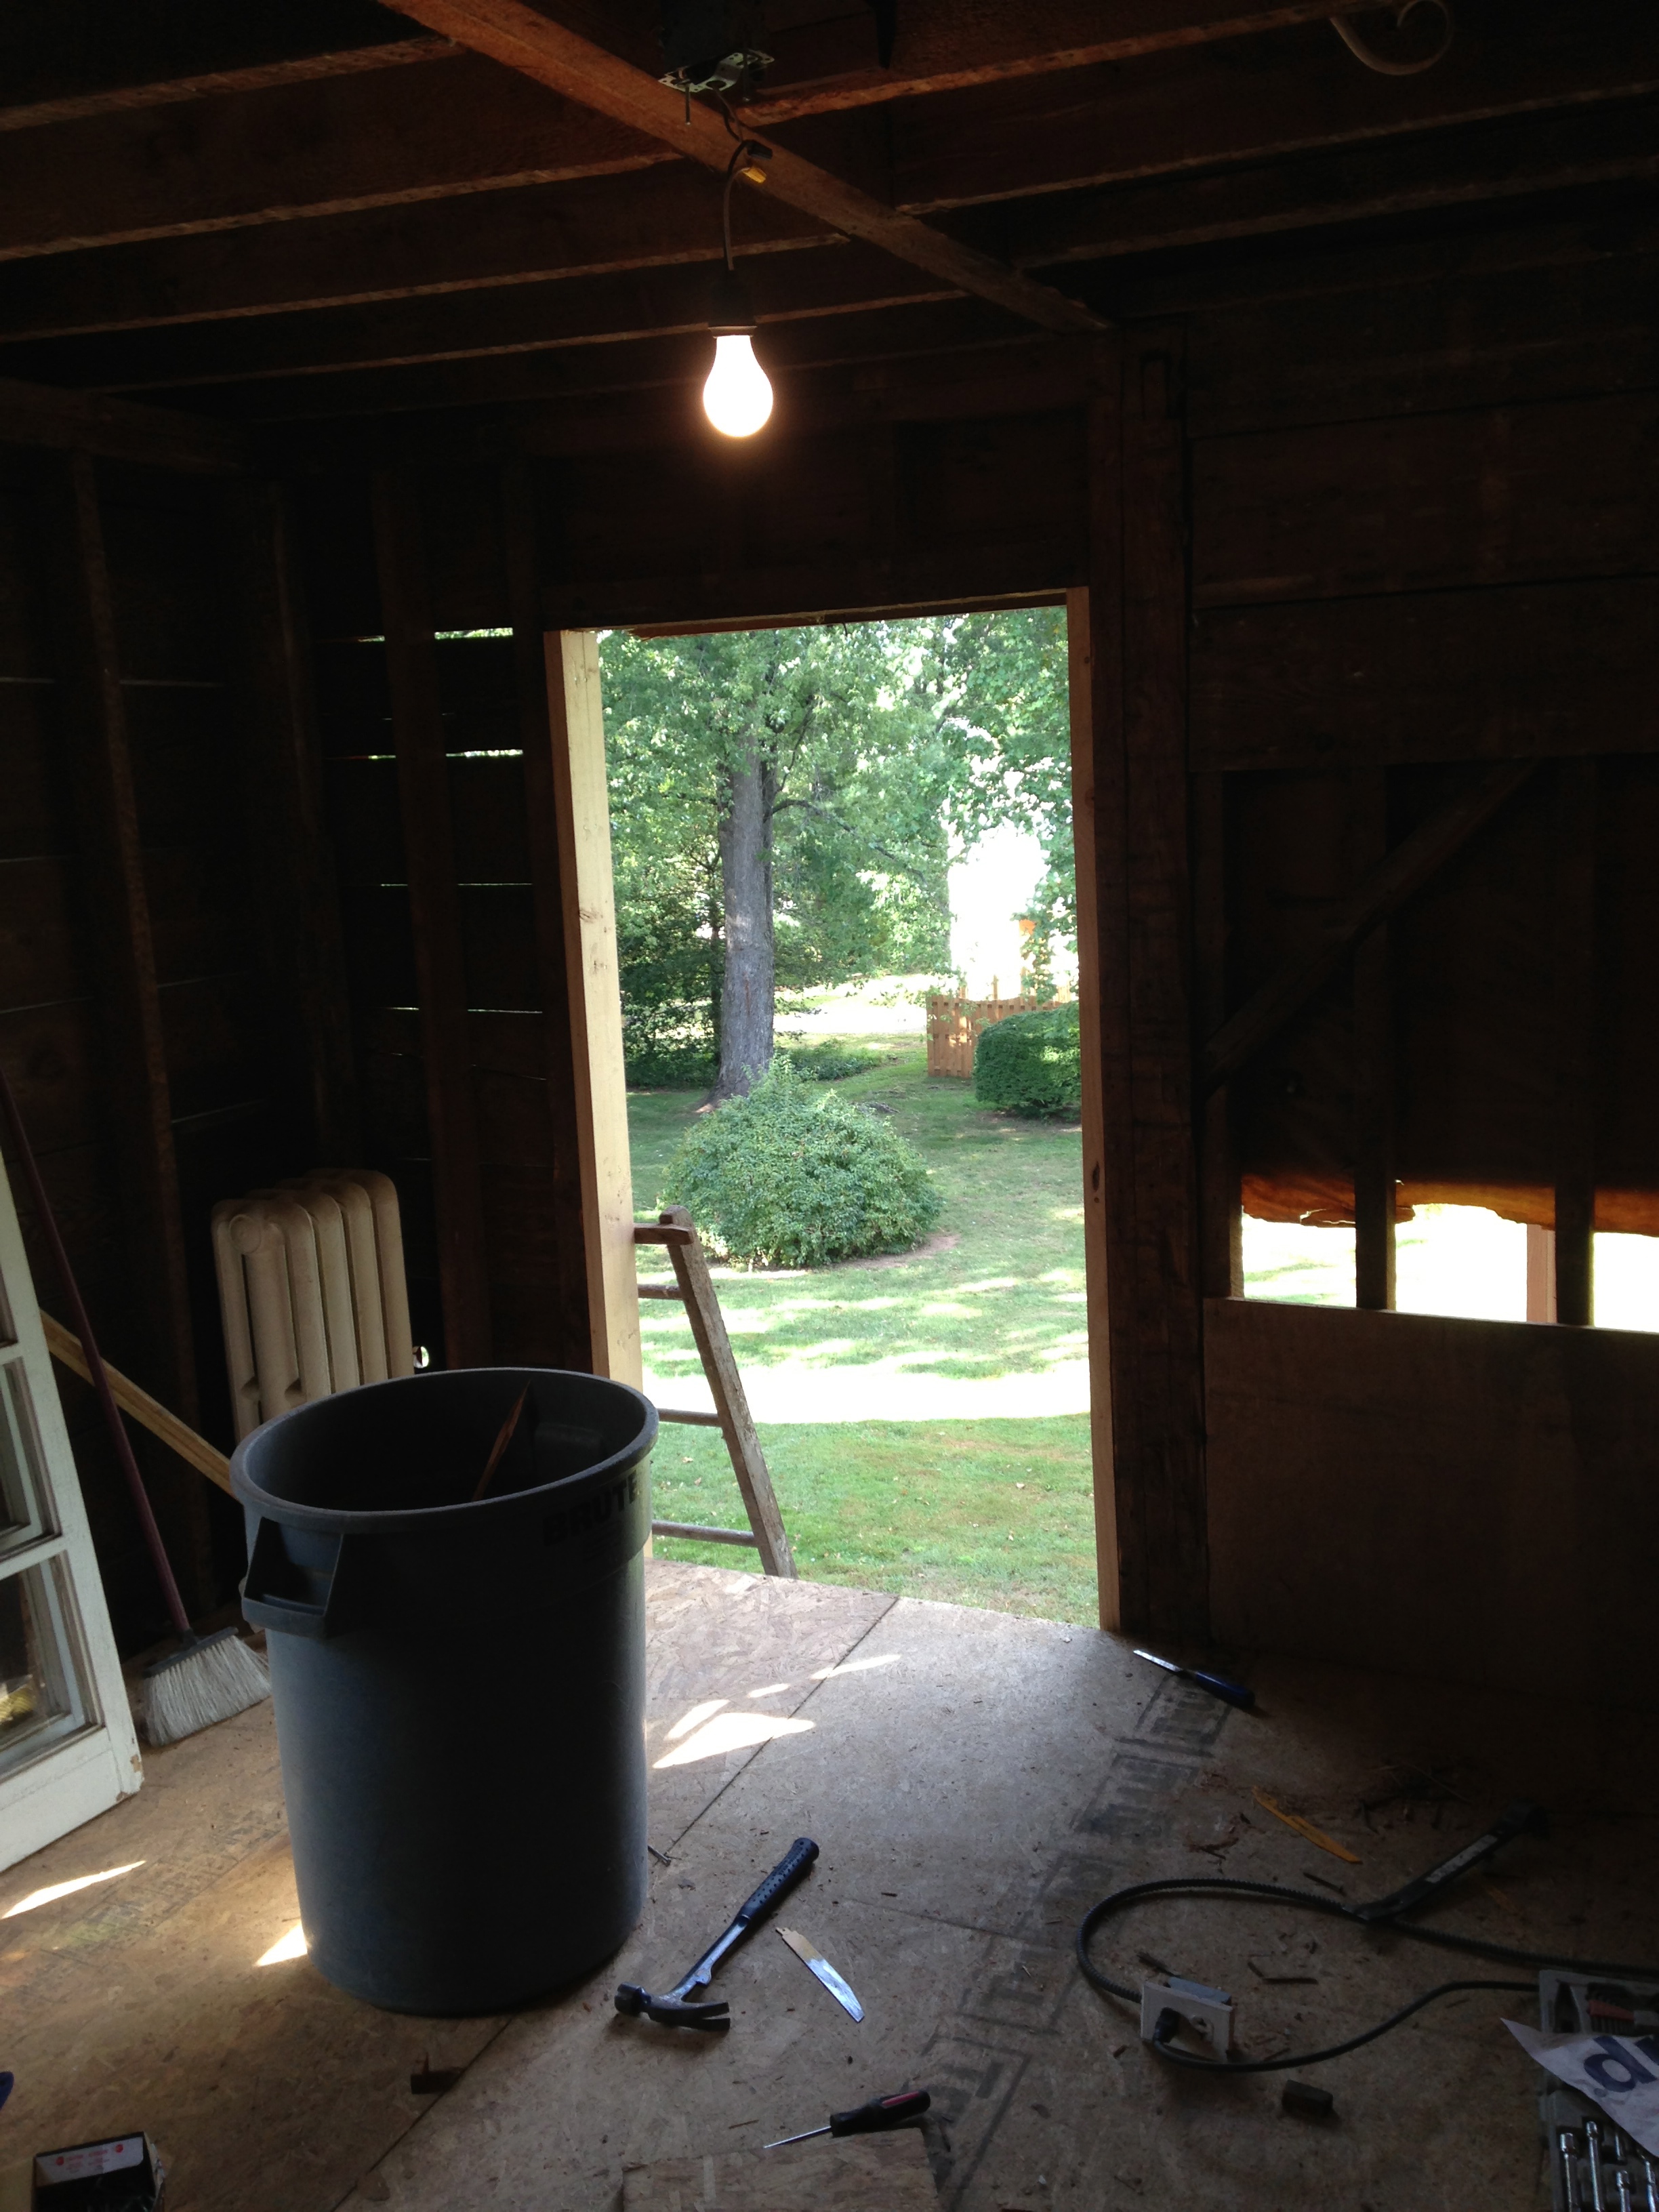
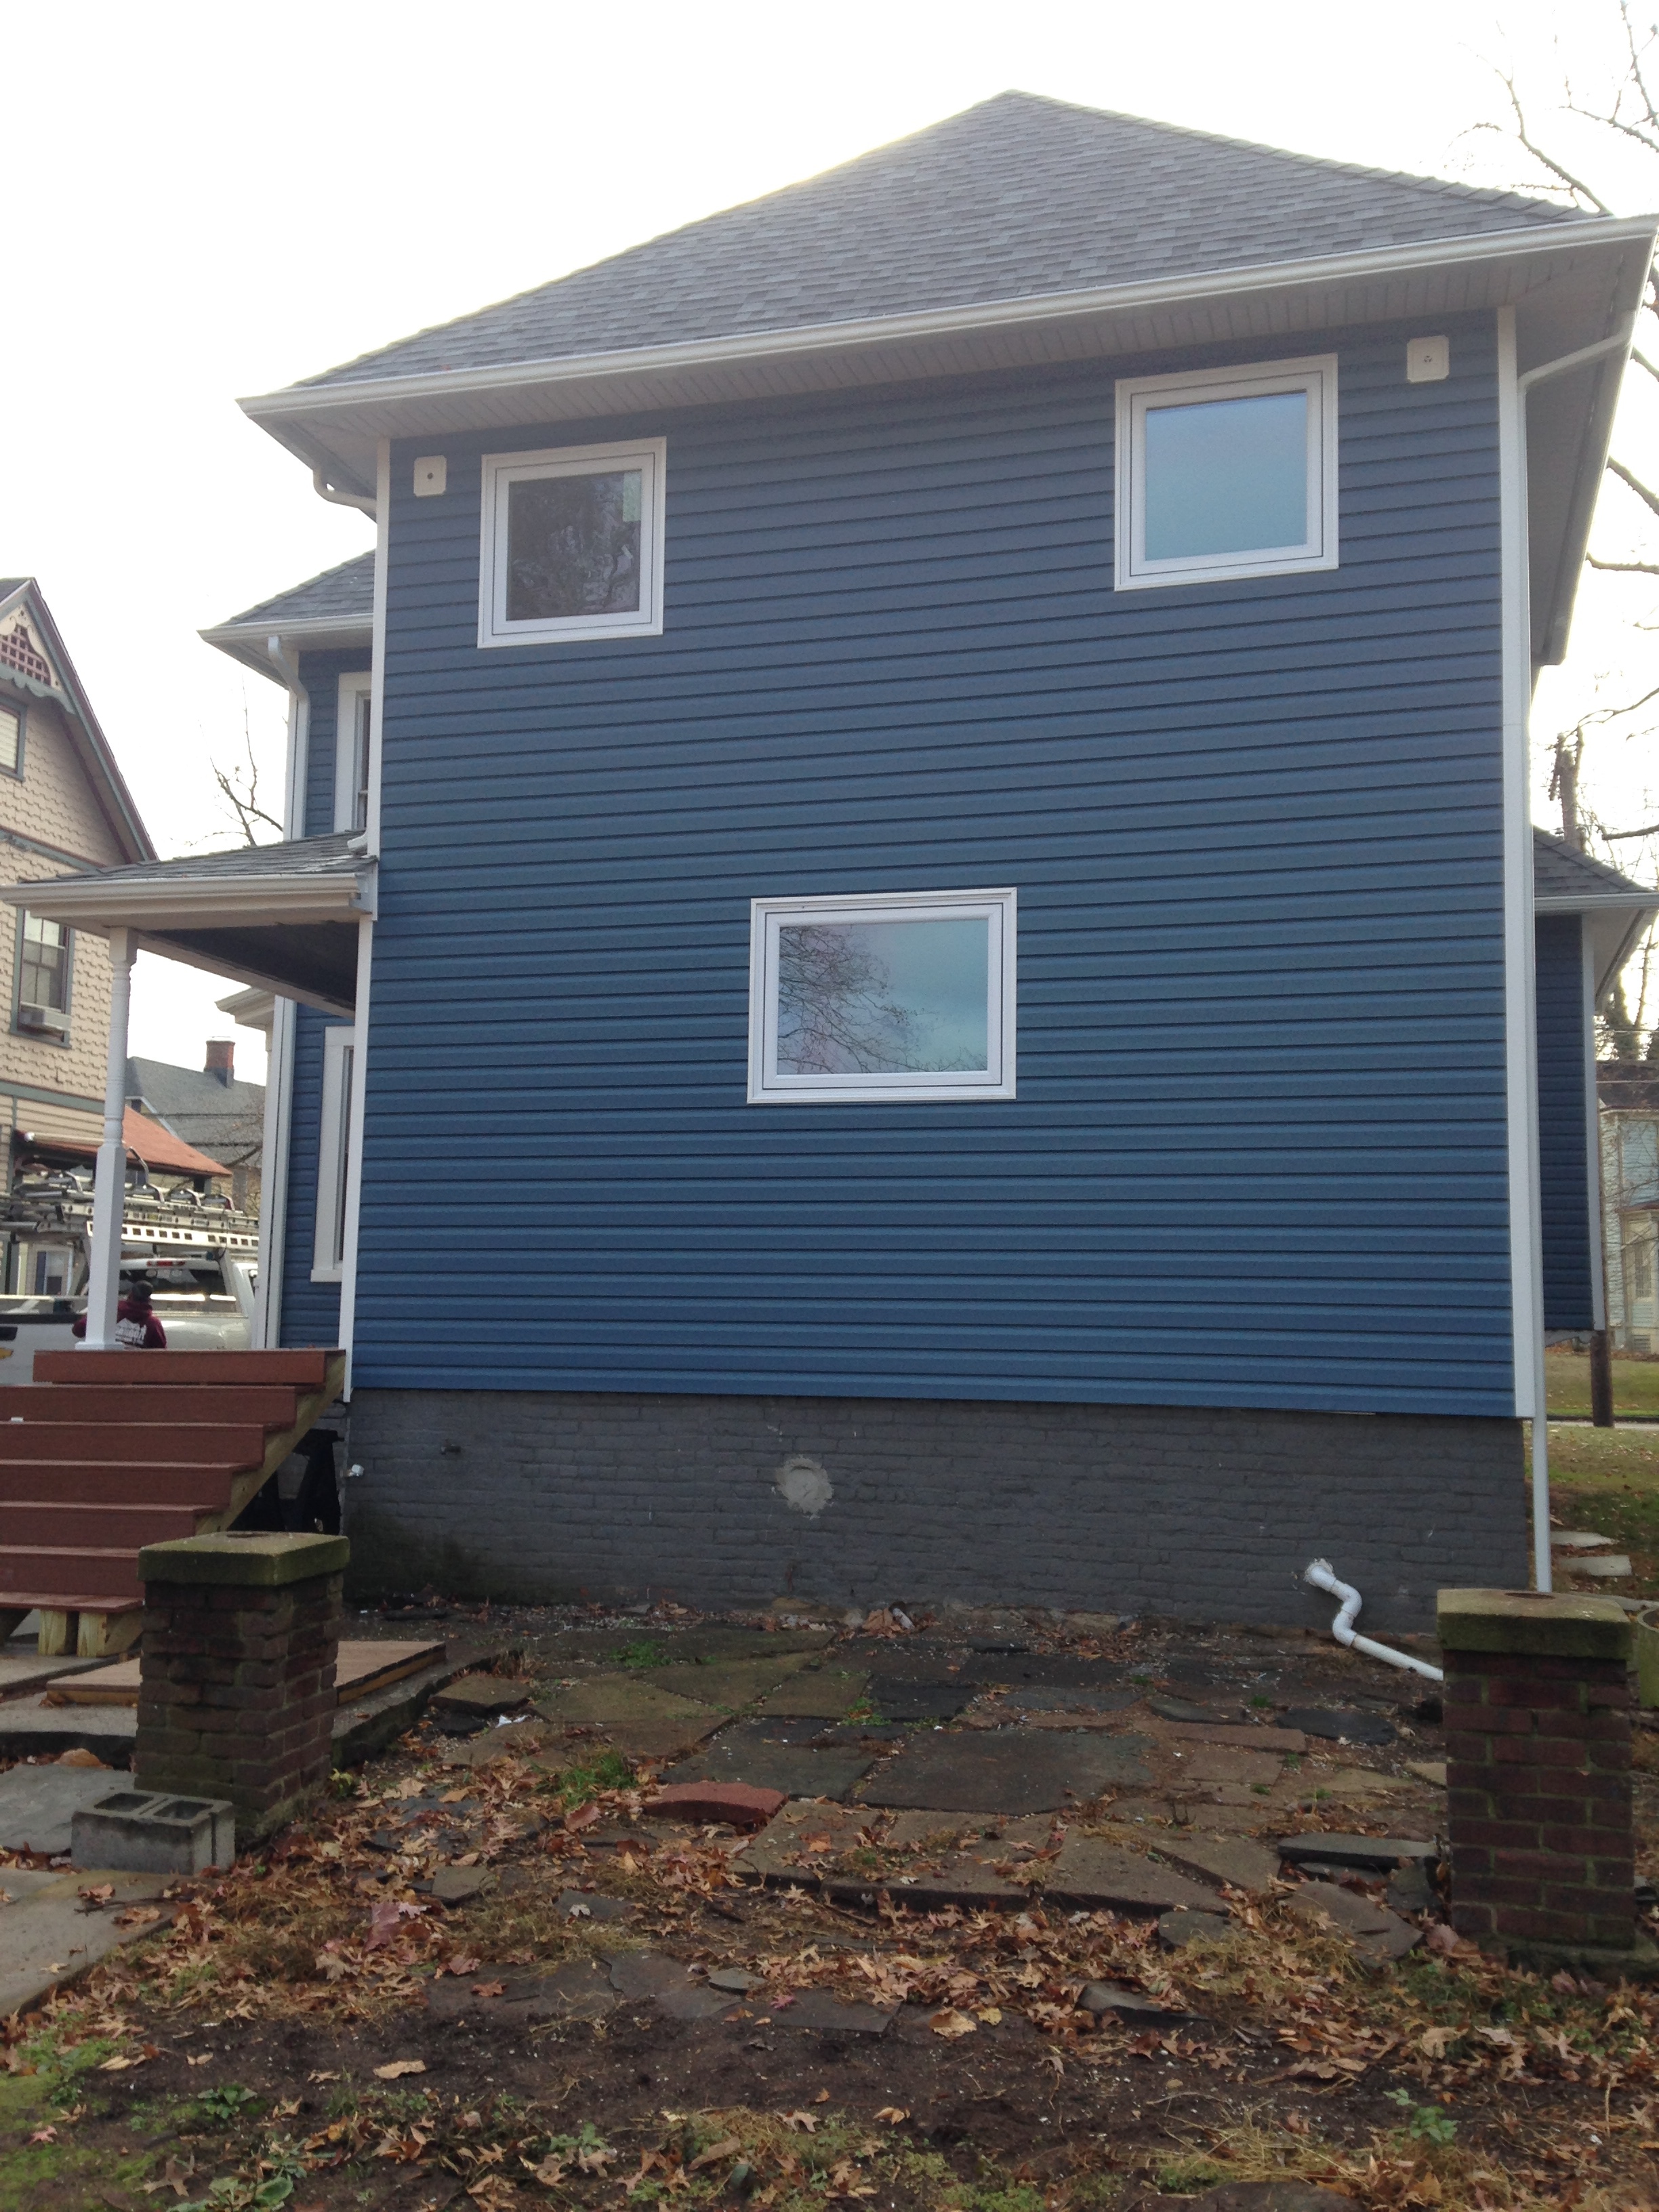
We then called out the siding company to do their magic. They got it all done in 3 hours. Jerks. And that is the total completion of siding on the house. Hooray!

2 thoughts on “Redoing the Bathroom Floor and Finishing the Back Wall”