
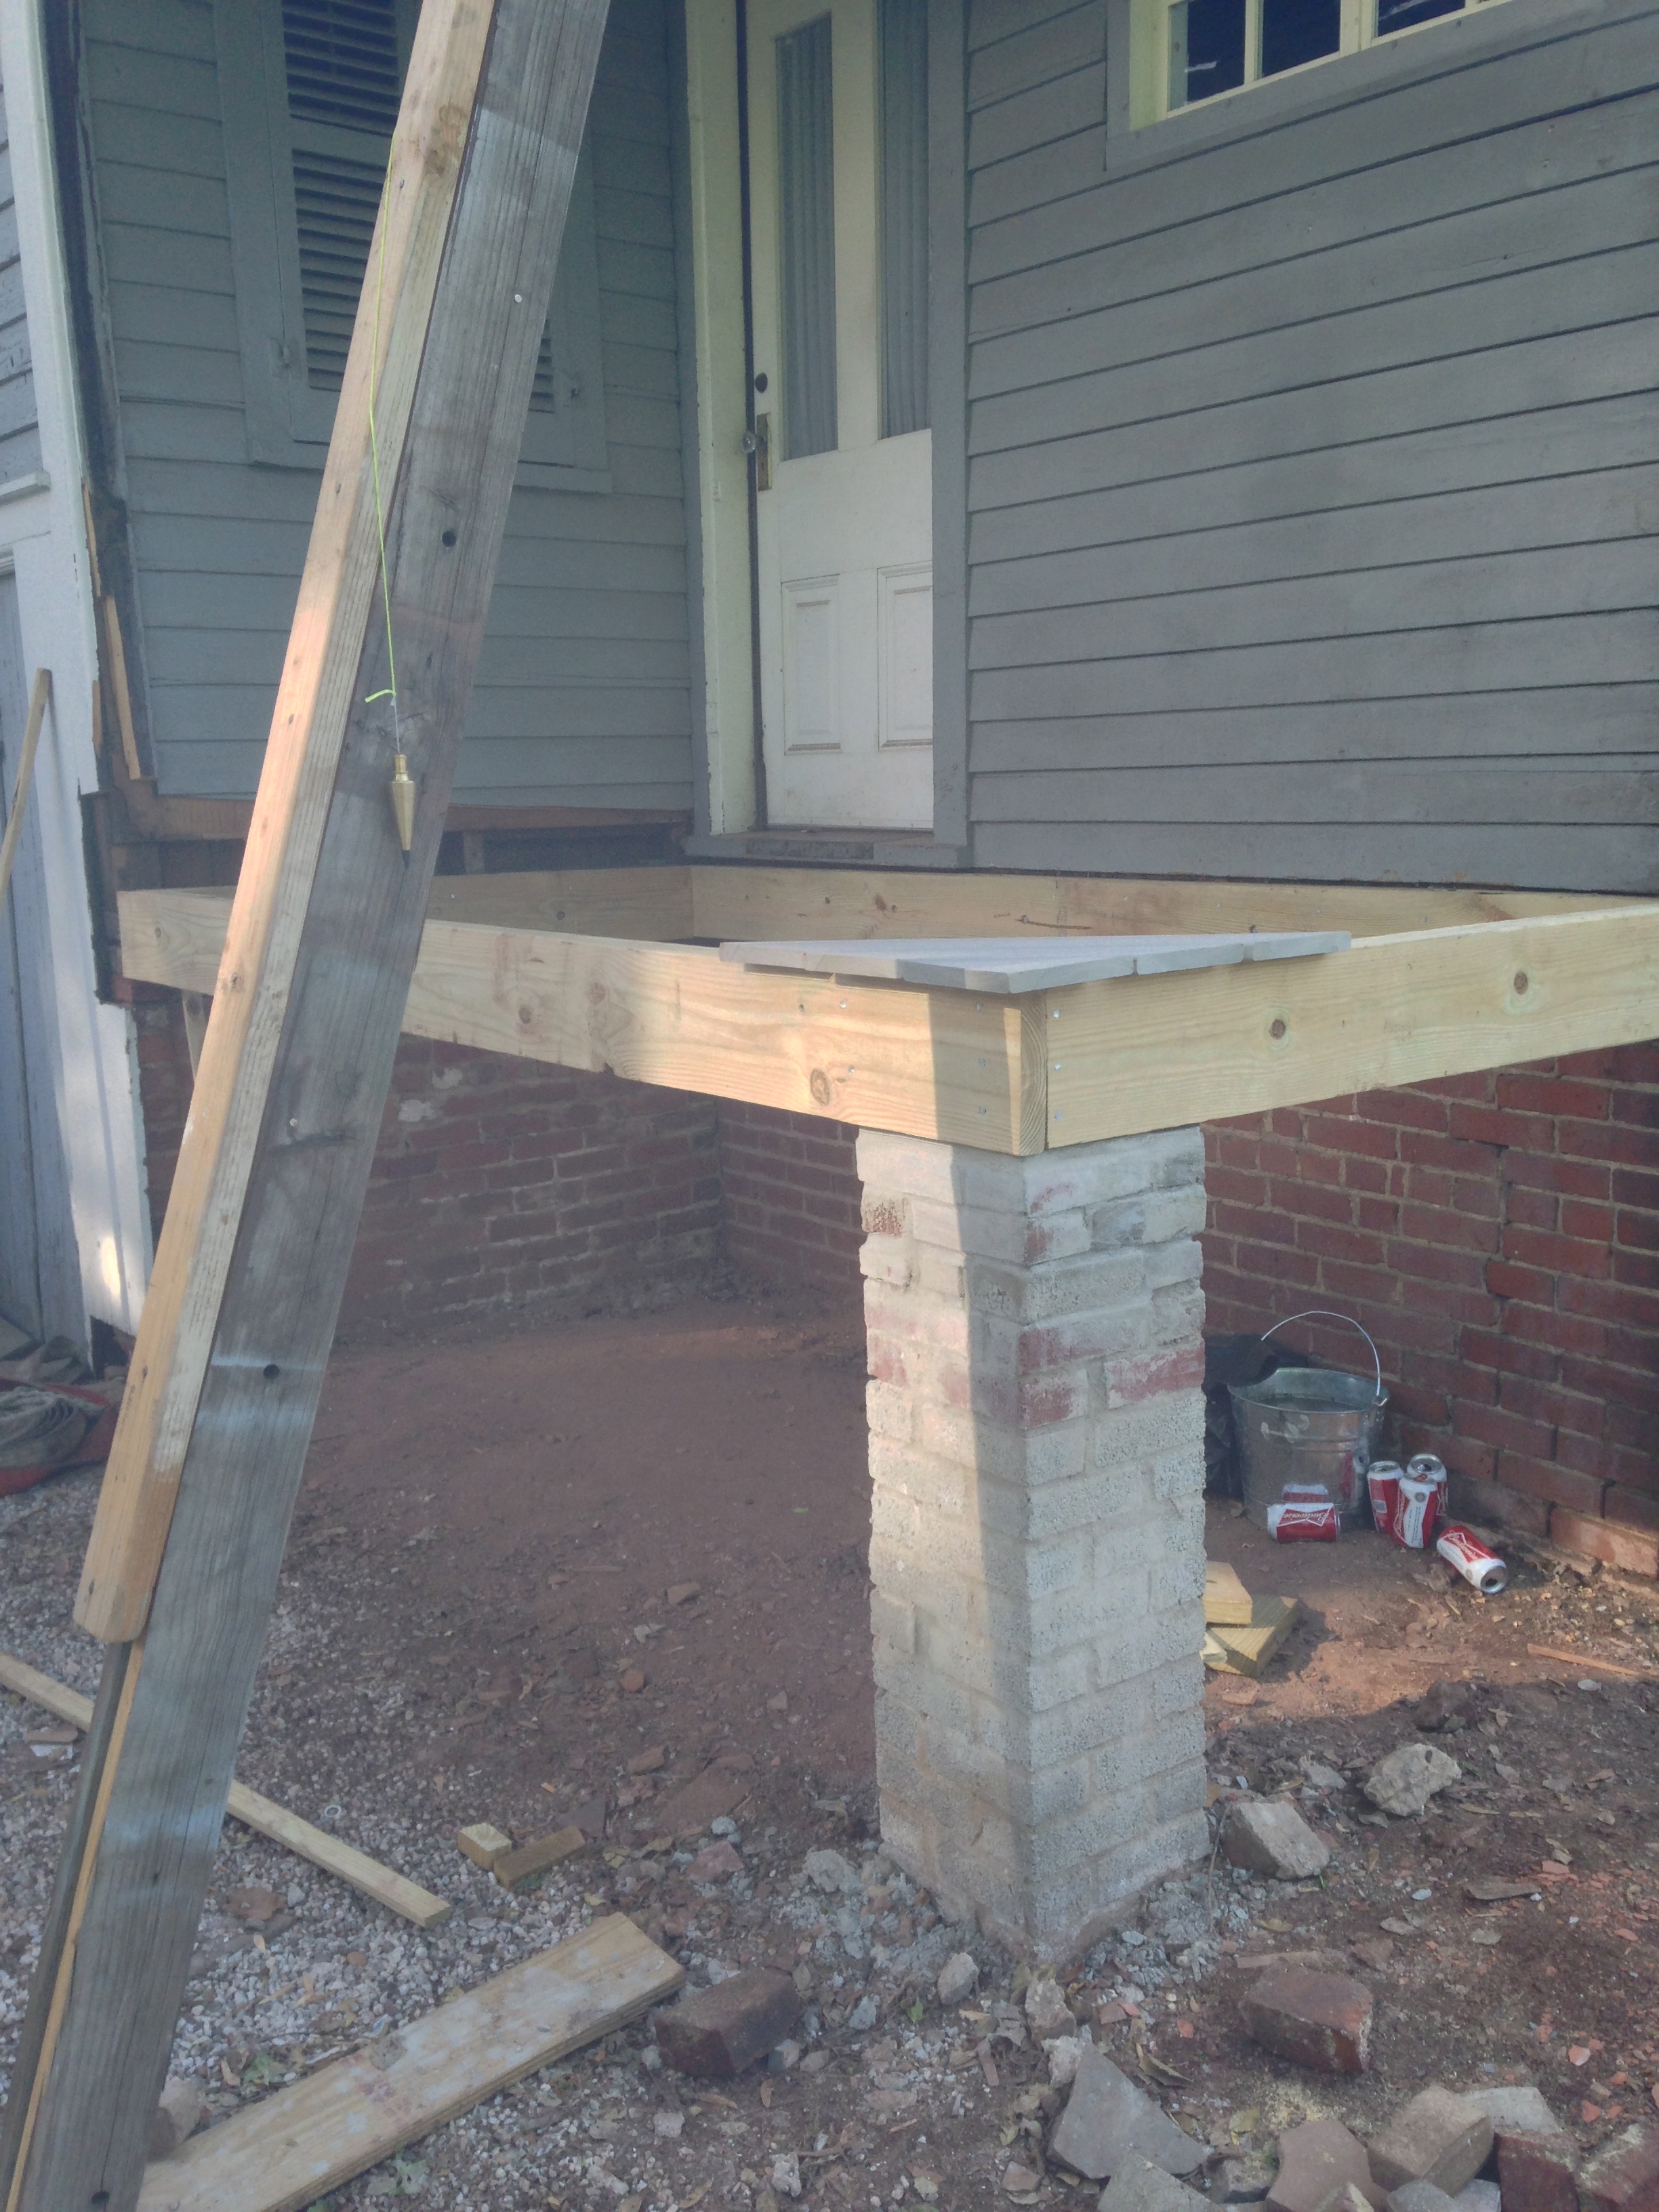
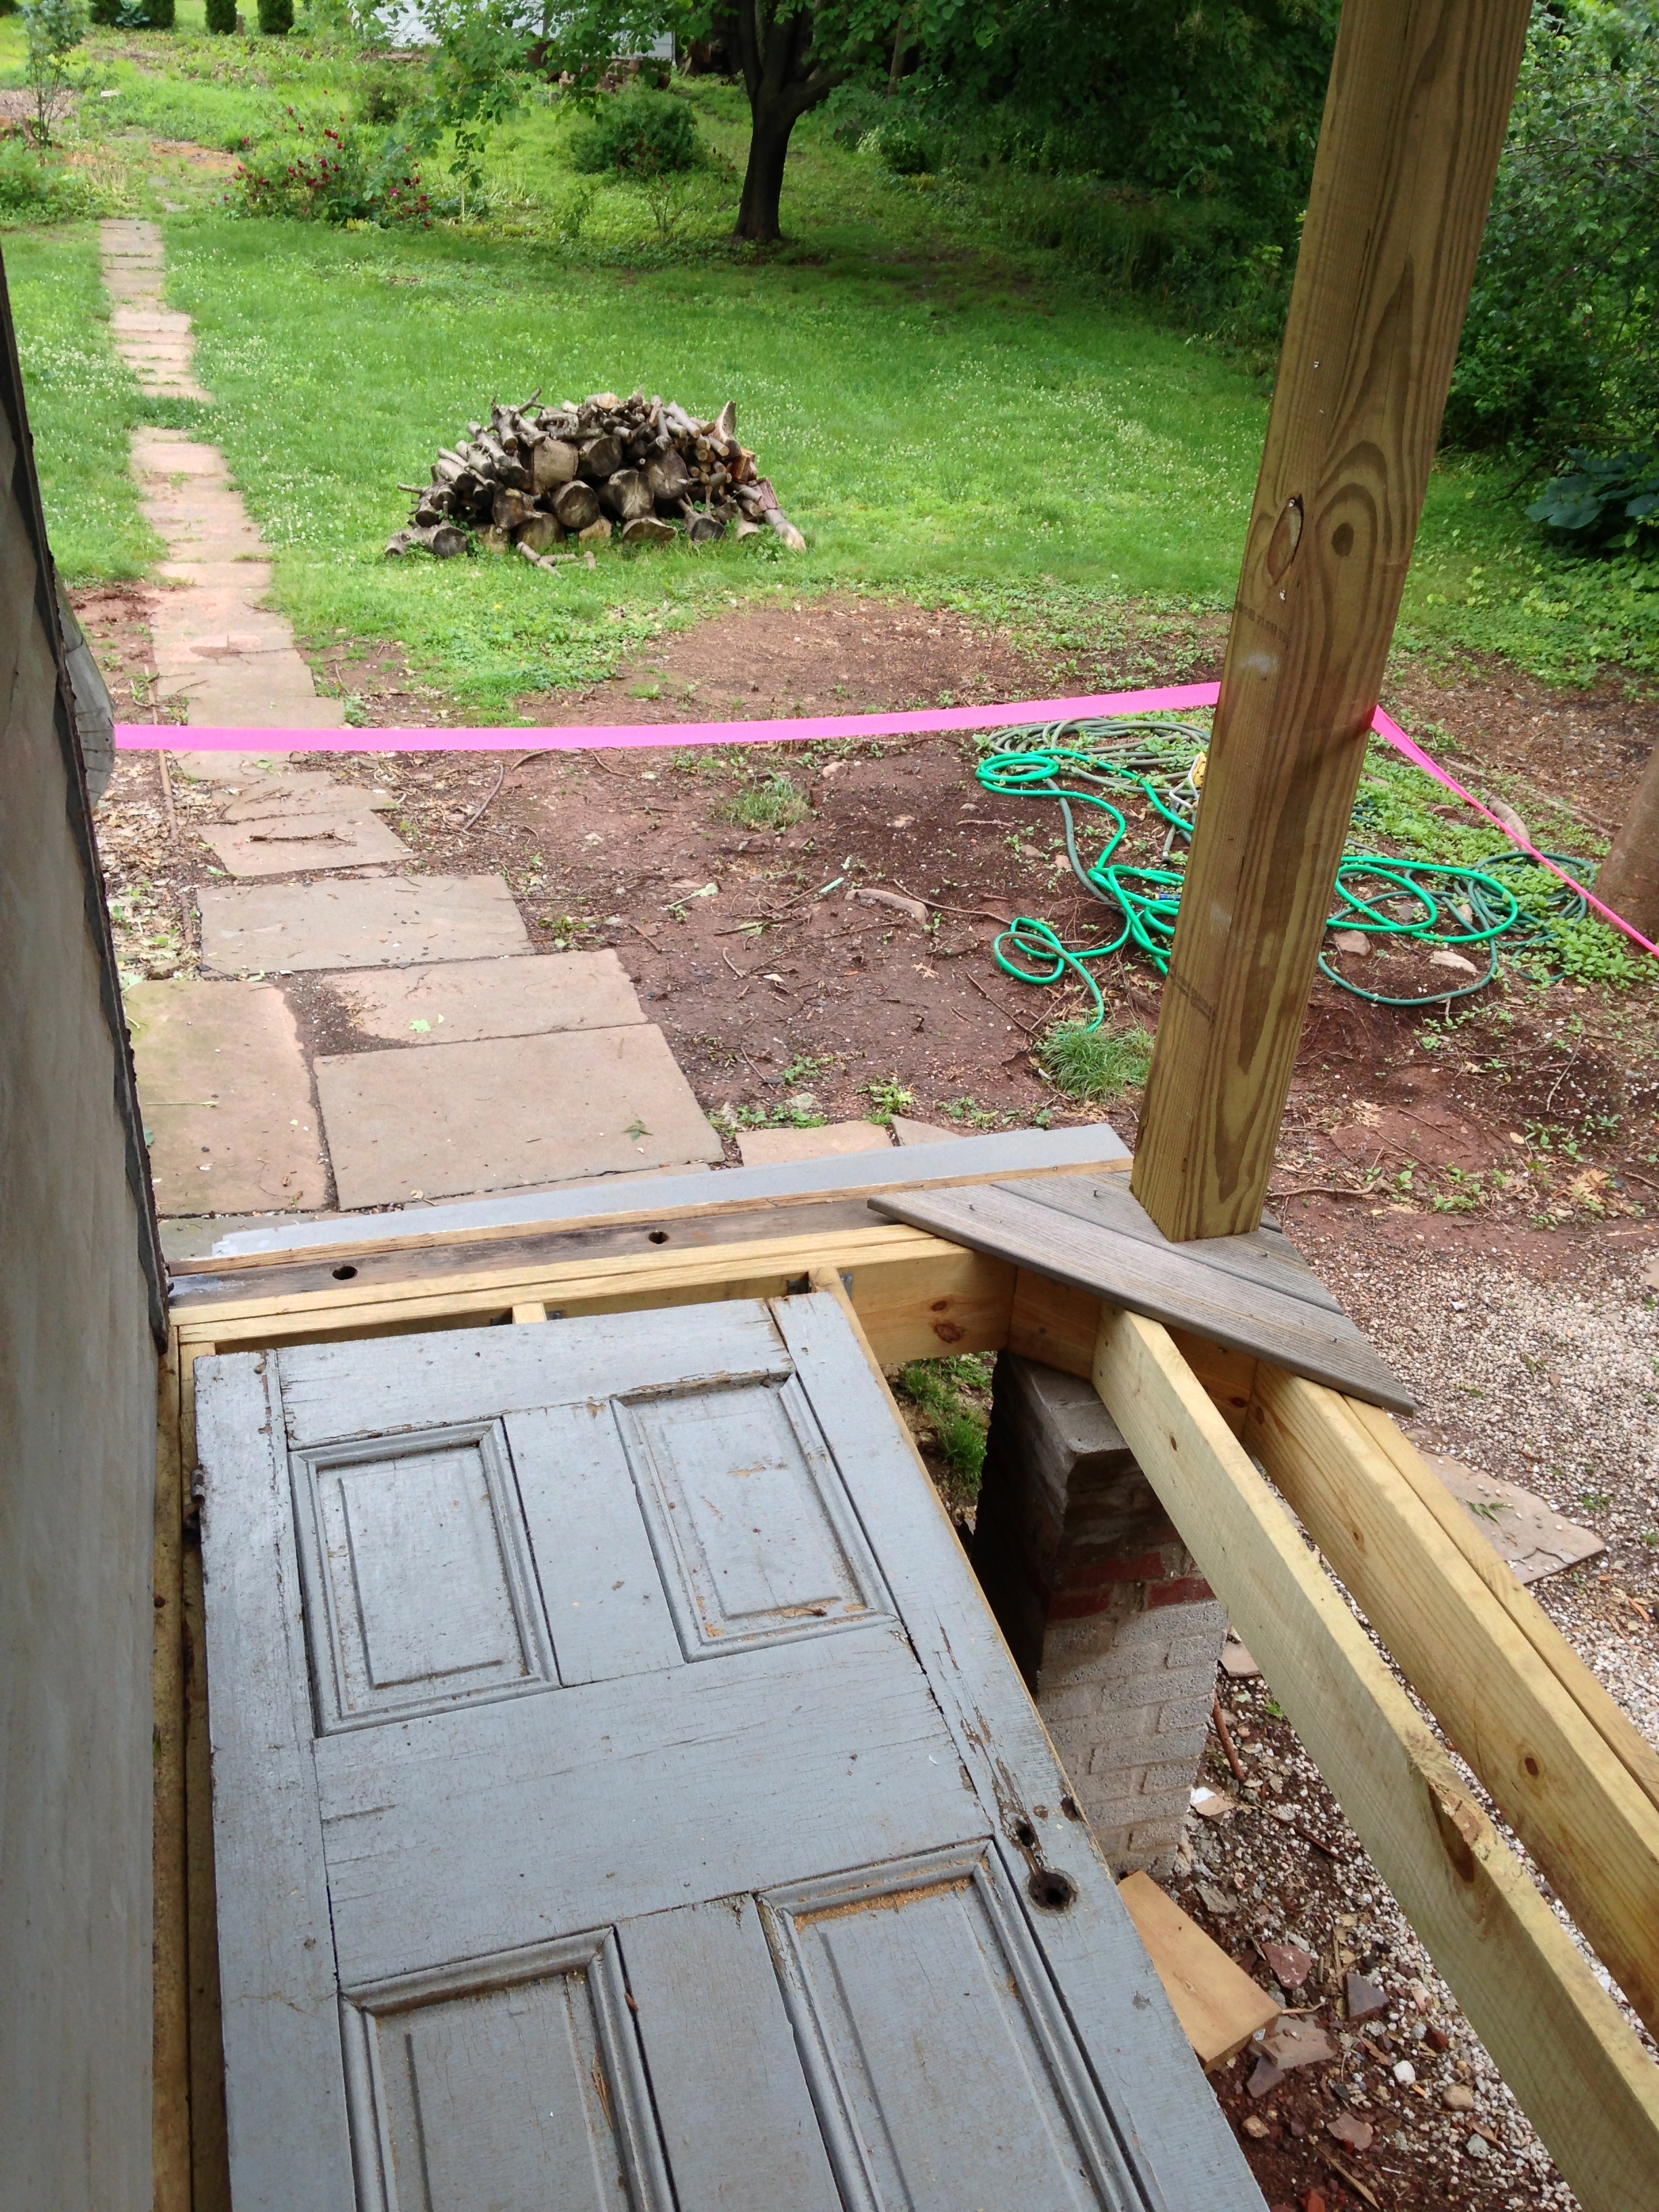
There’s a side porch off the kitchen. You can check it out in This outside photo (it’s the crooked one) and right after the kitchen. It was sideways, it was rotten, it had to go and go it did. Quickly. Almost scarily “I’m surprised I didn’t fall through this thing” quickly.
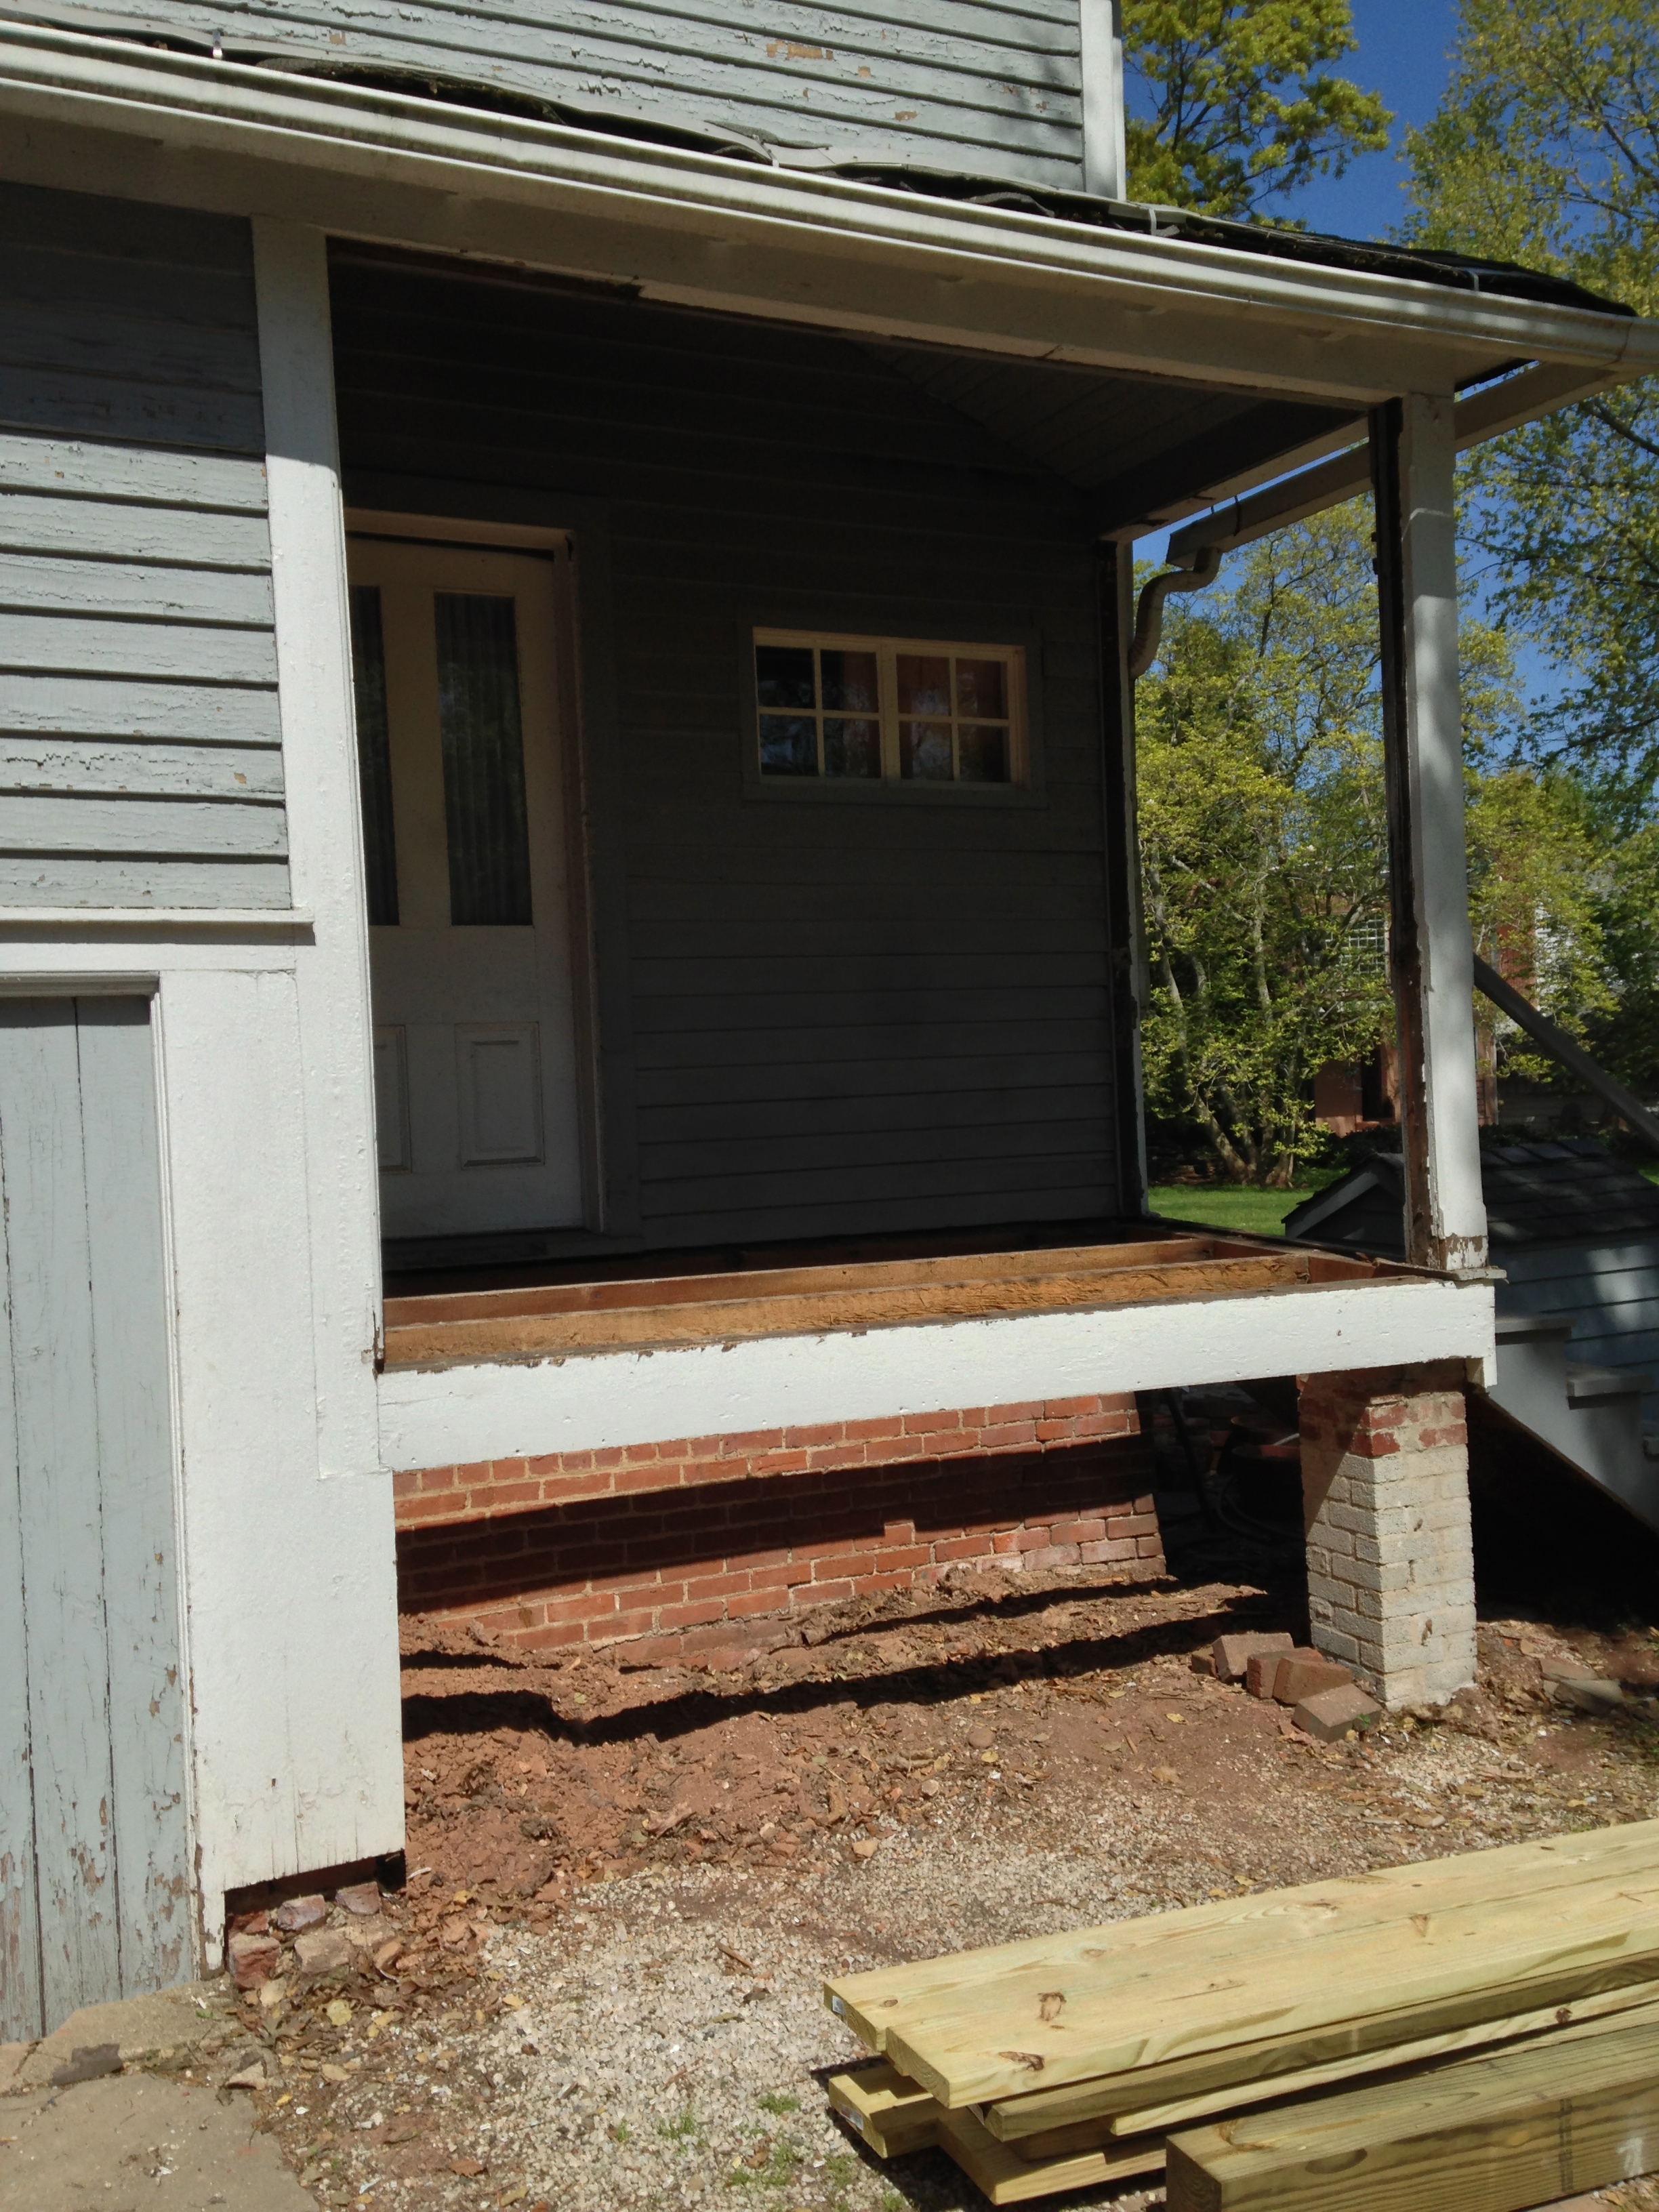
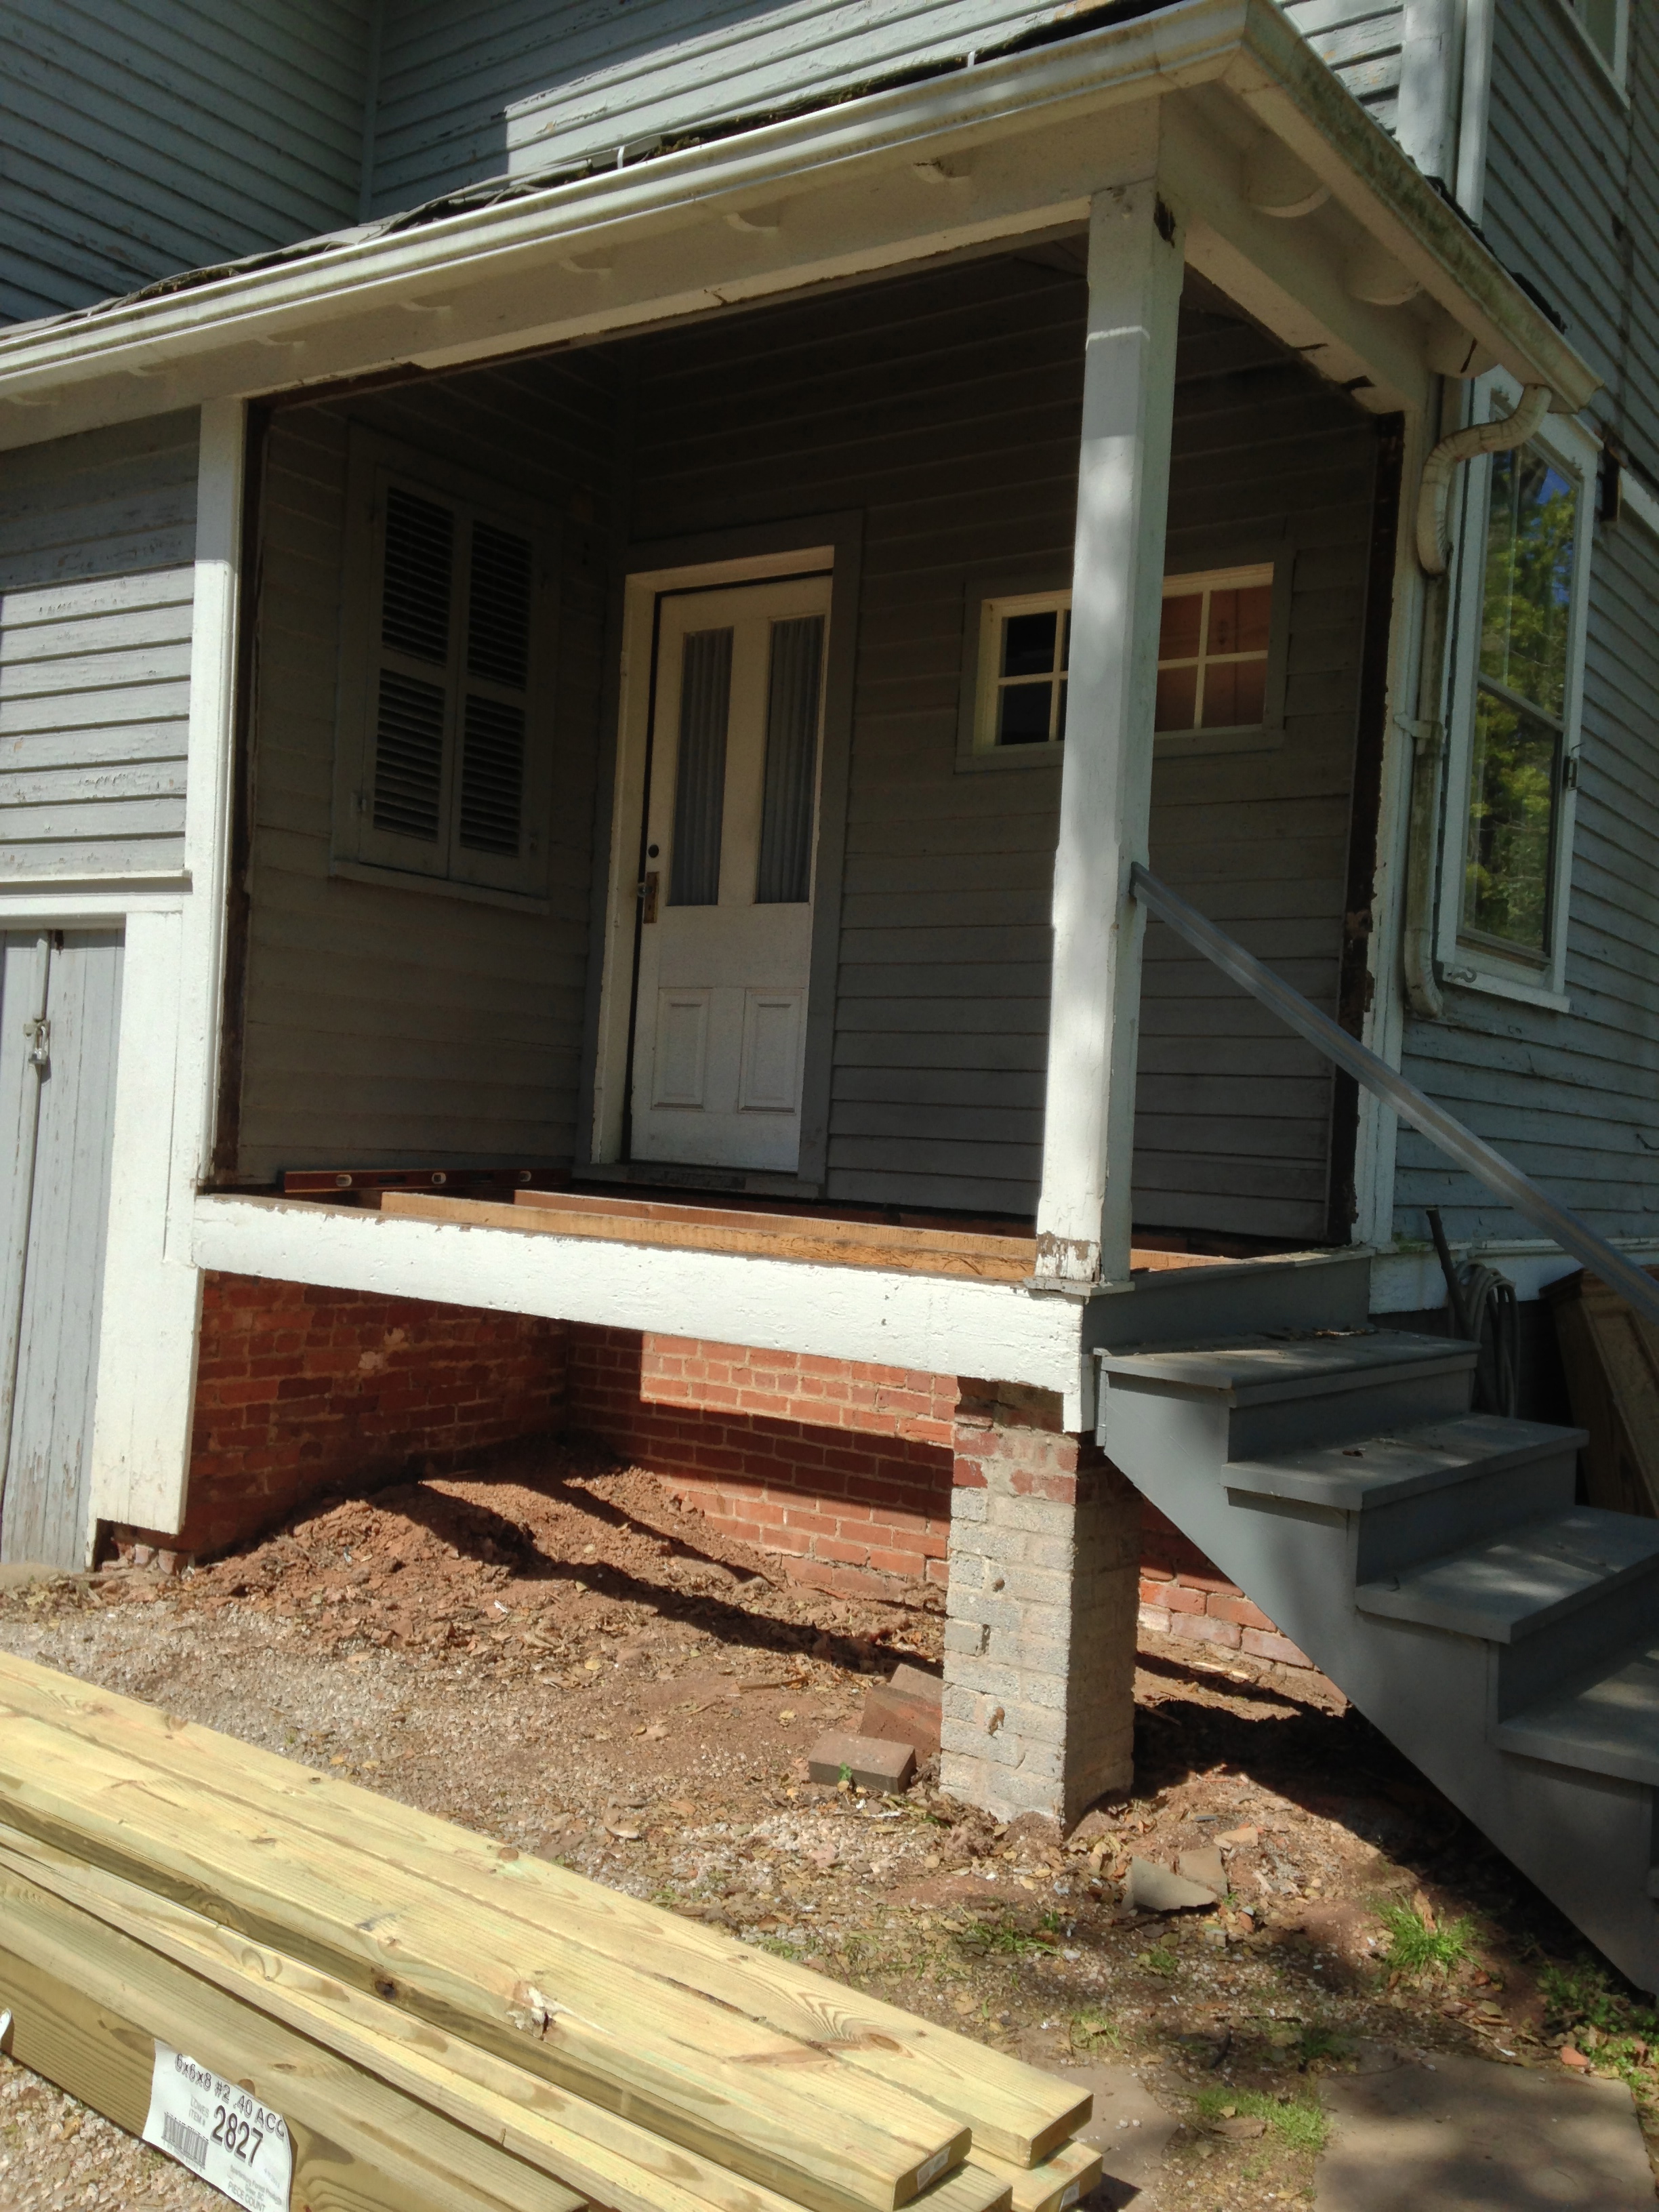
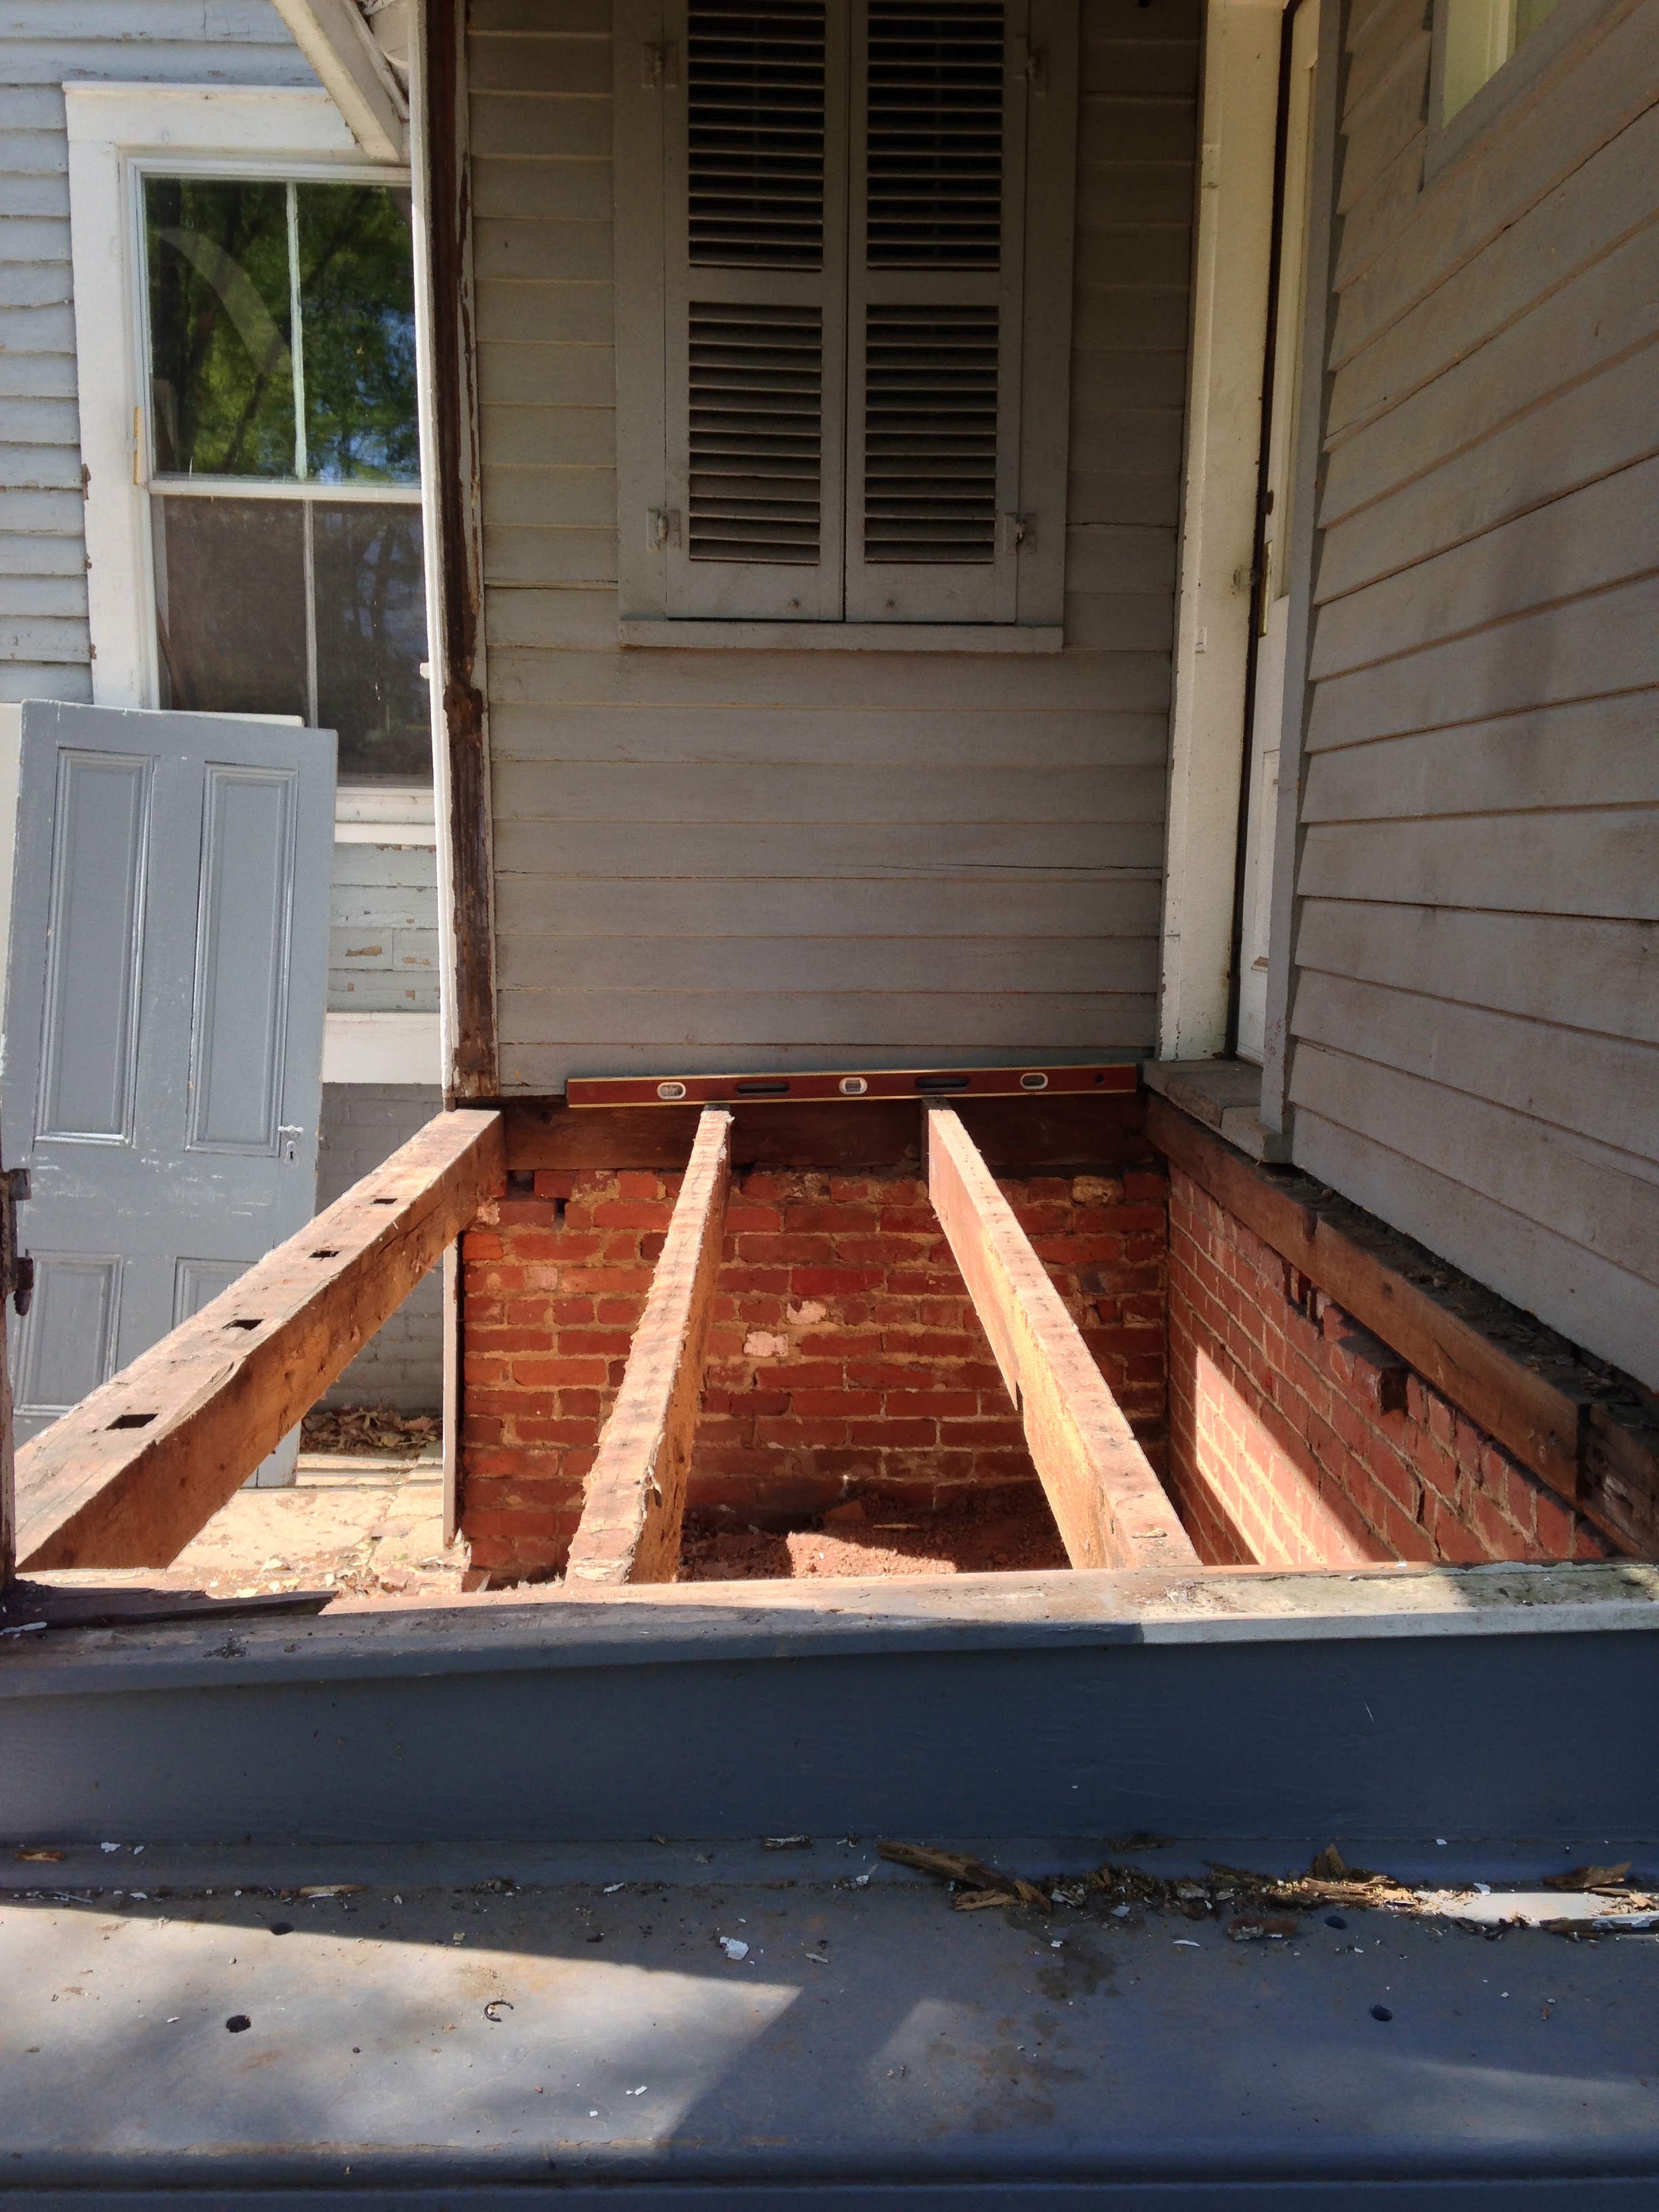
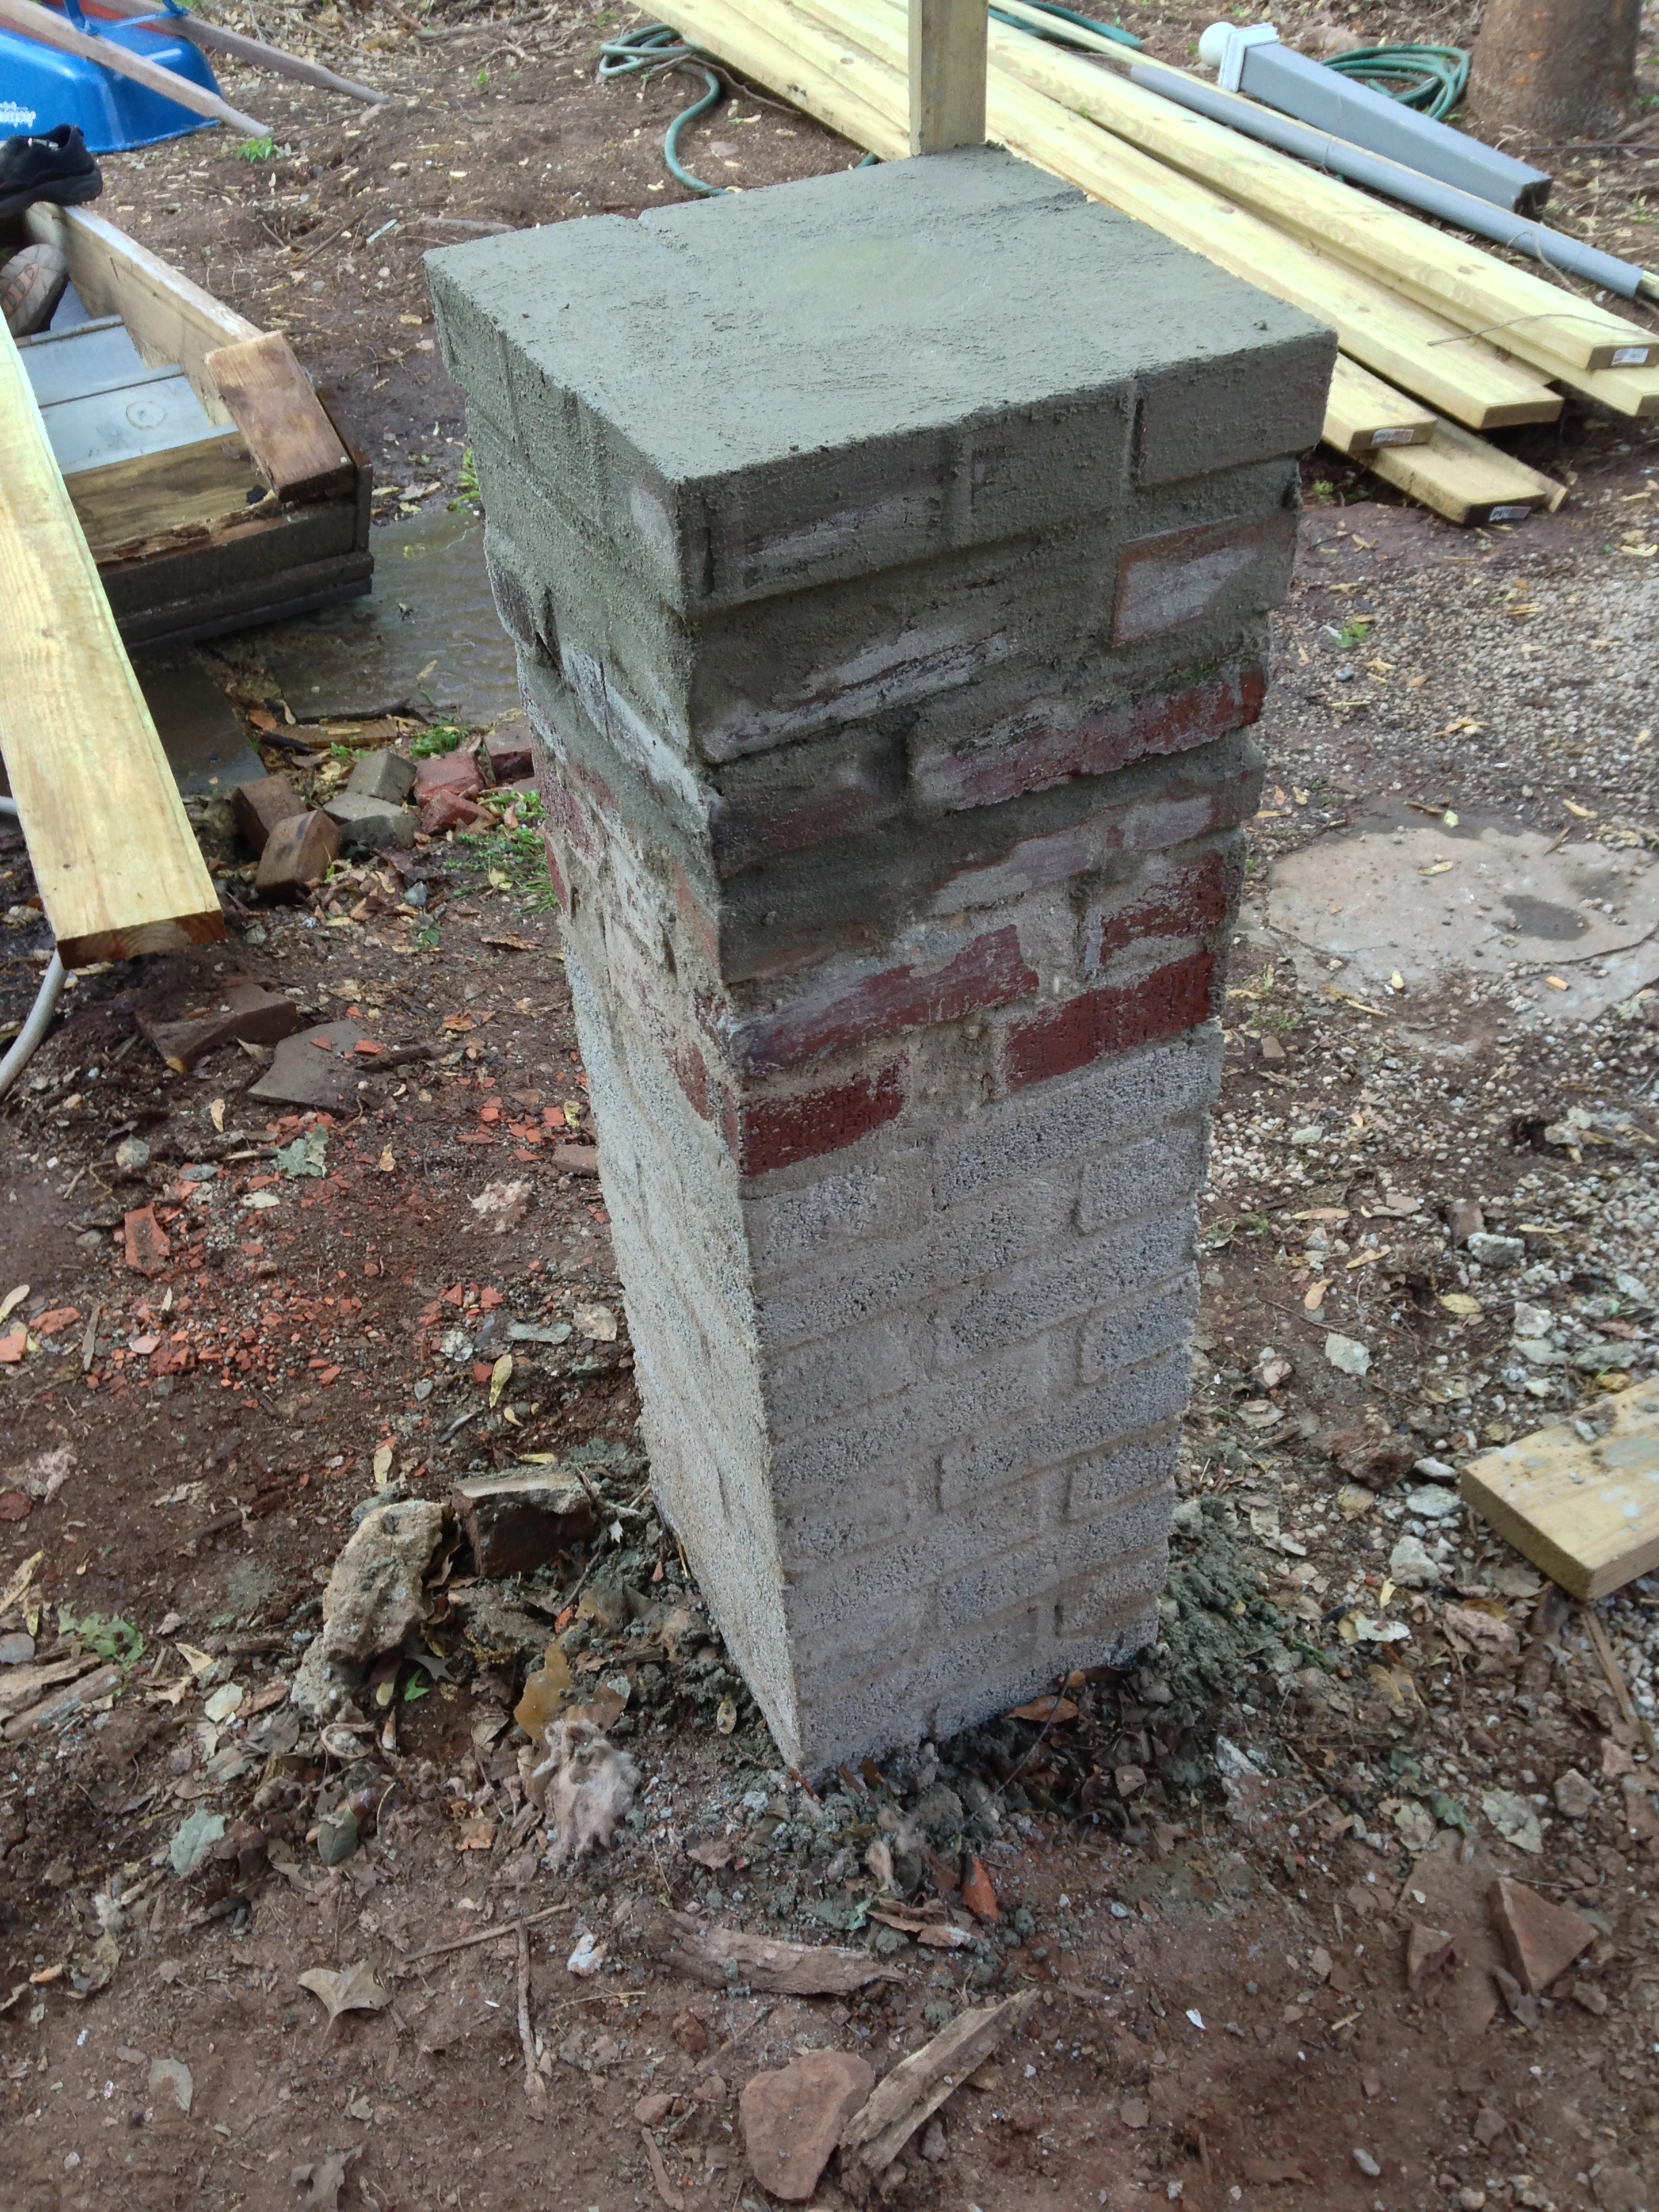
We extended the footing post up so that it wouldn’t sit like it was drunk anymore, then we framed it out with treated lumber.
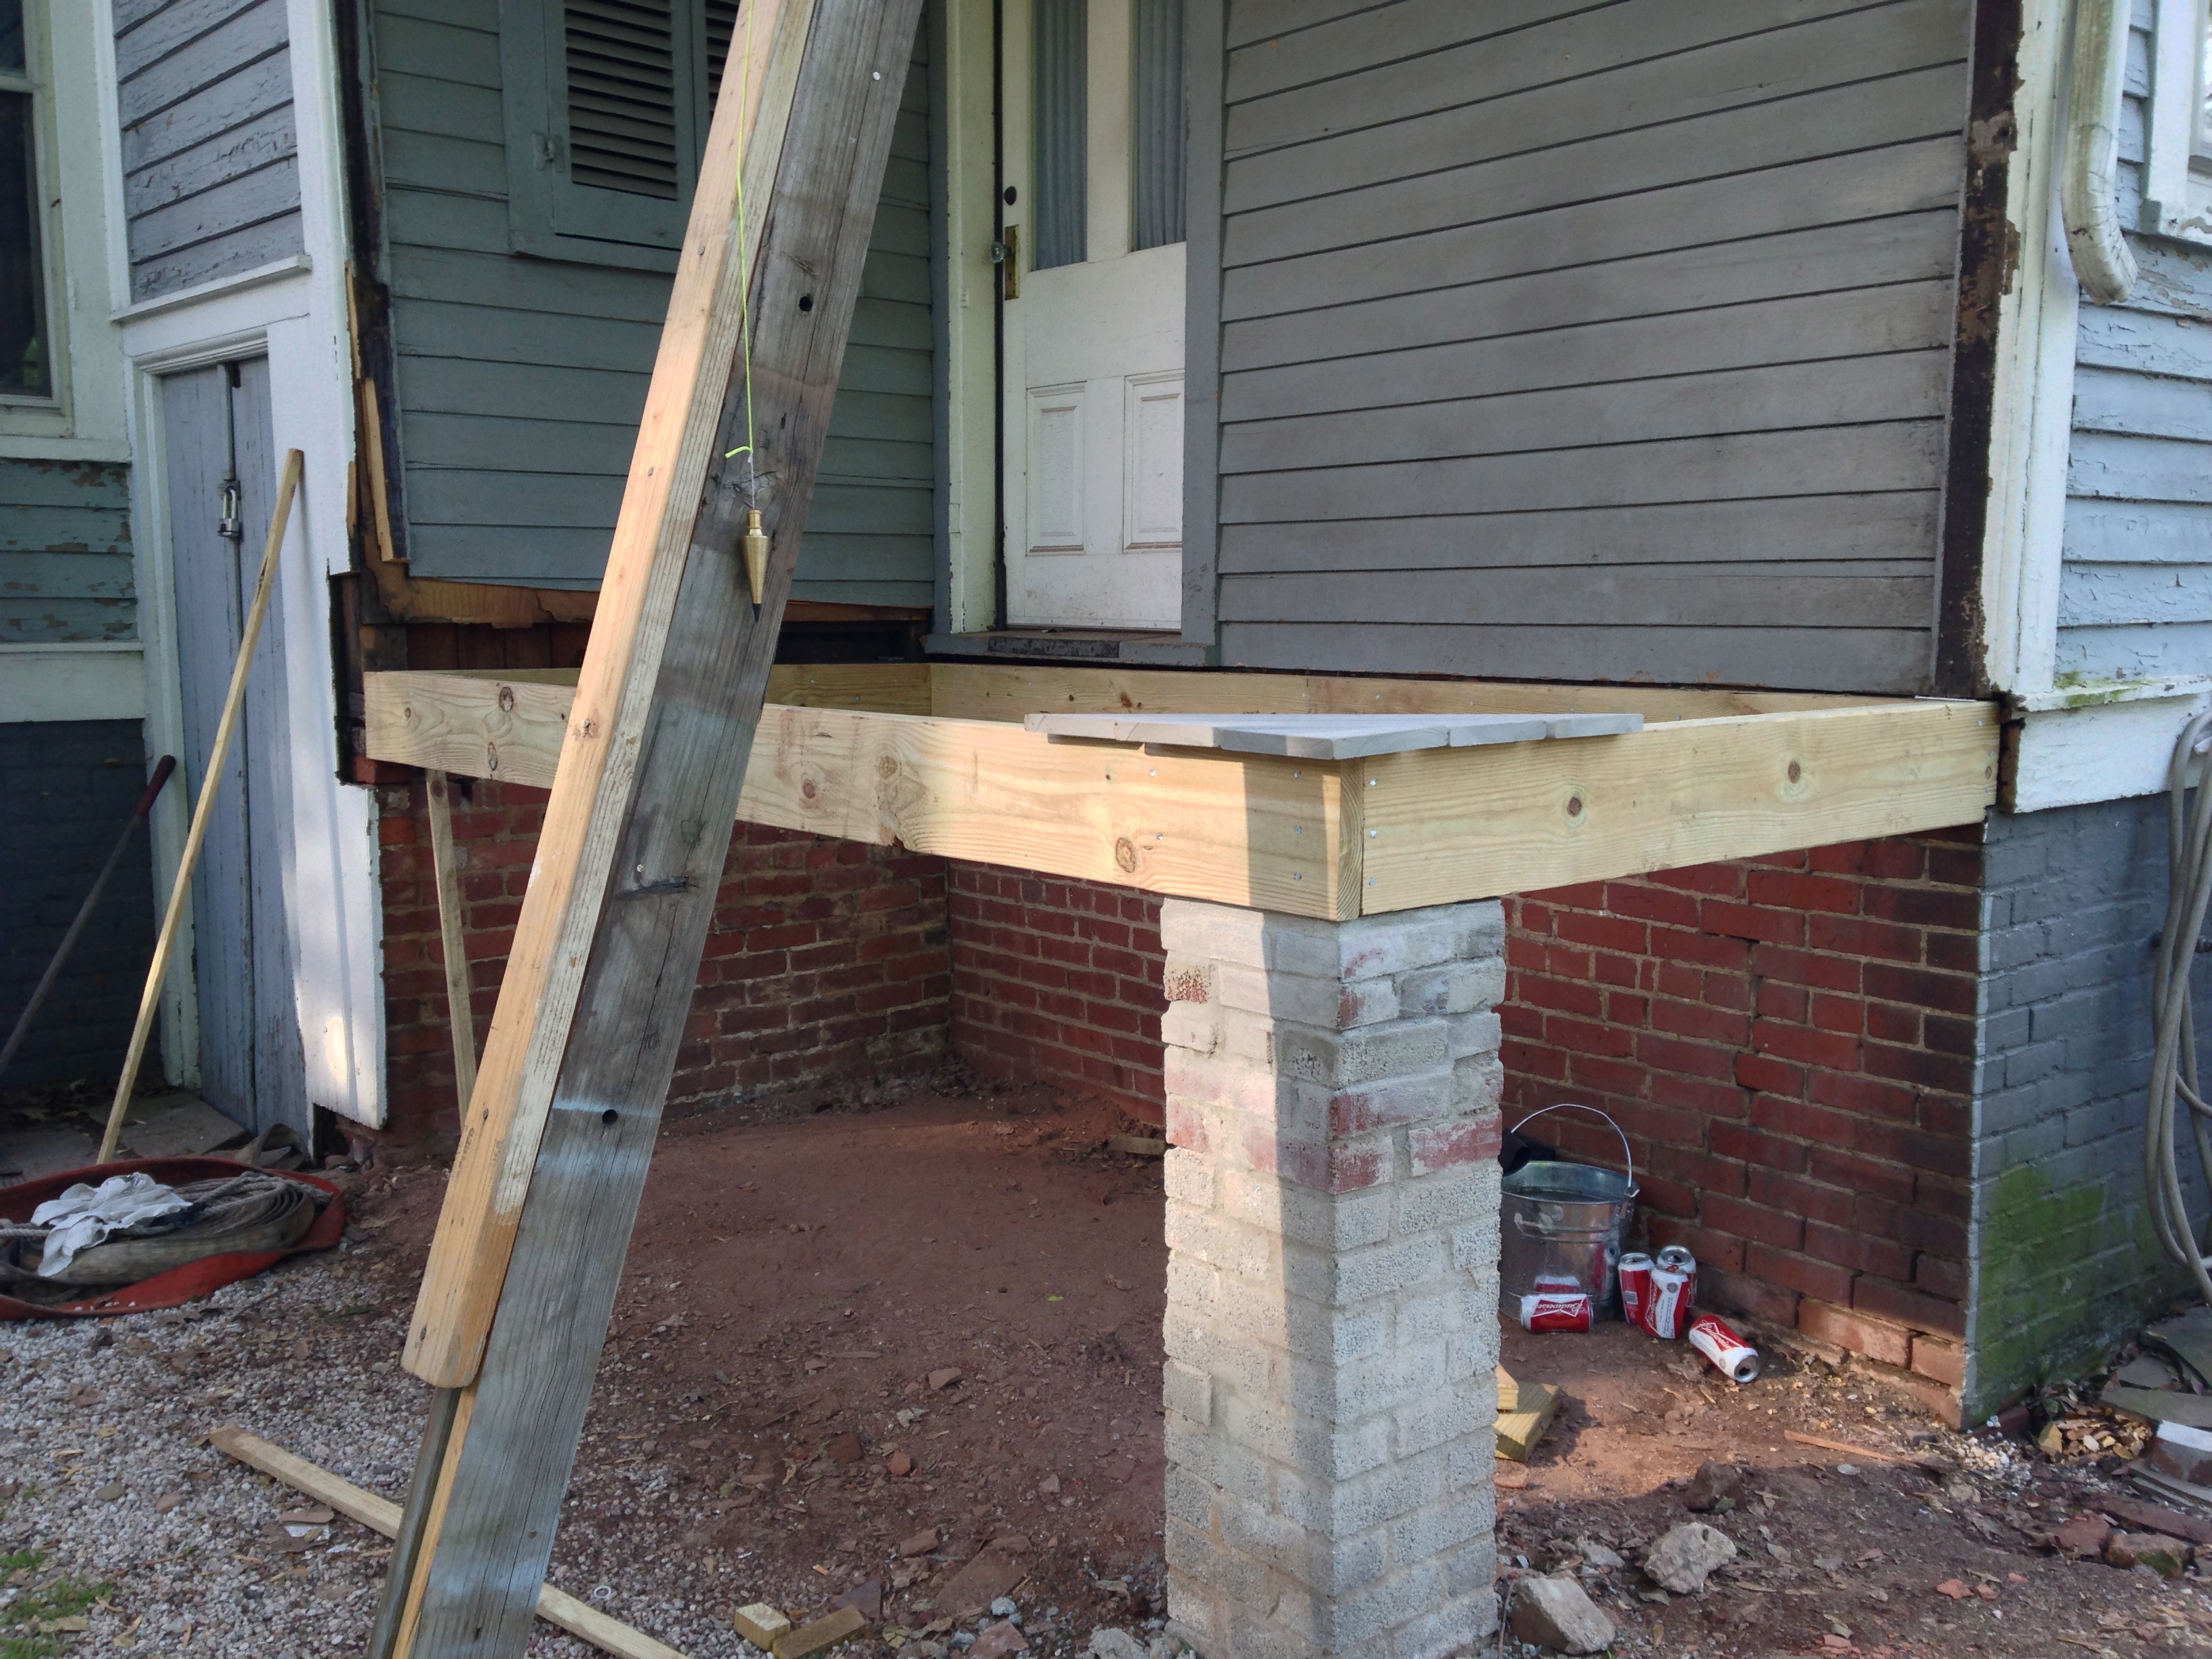
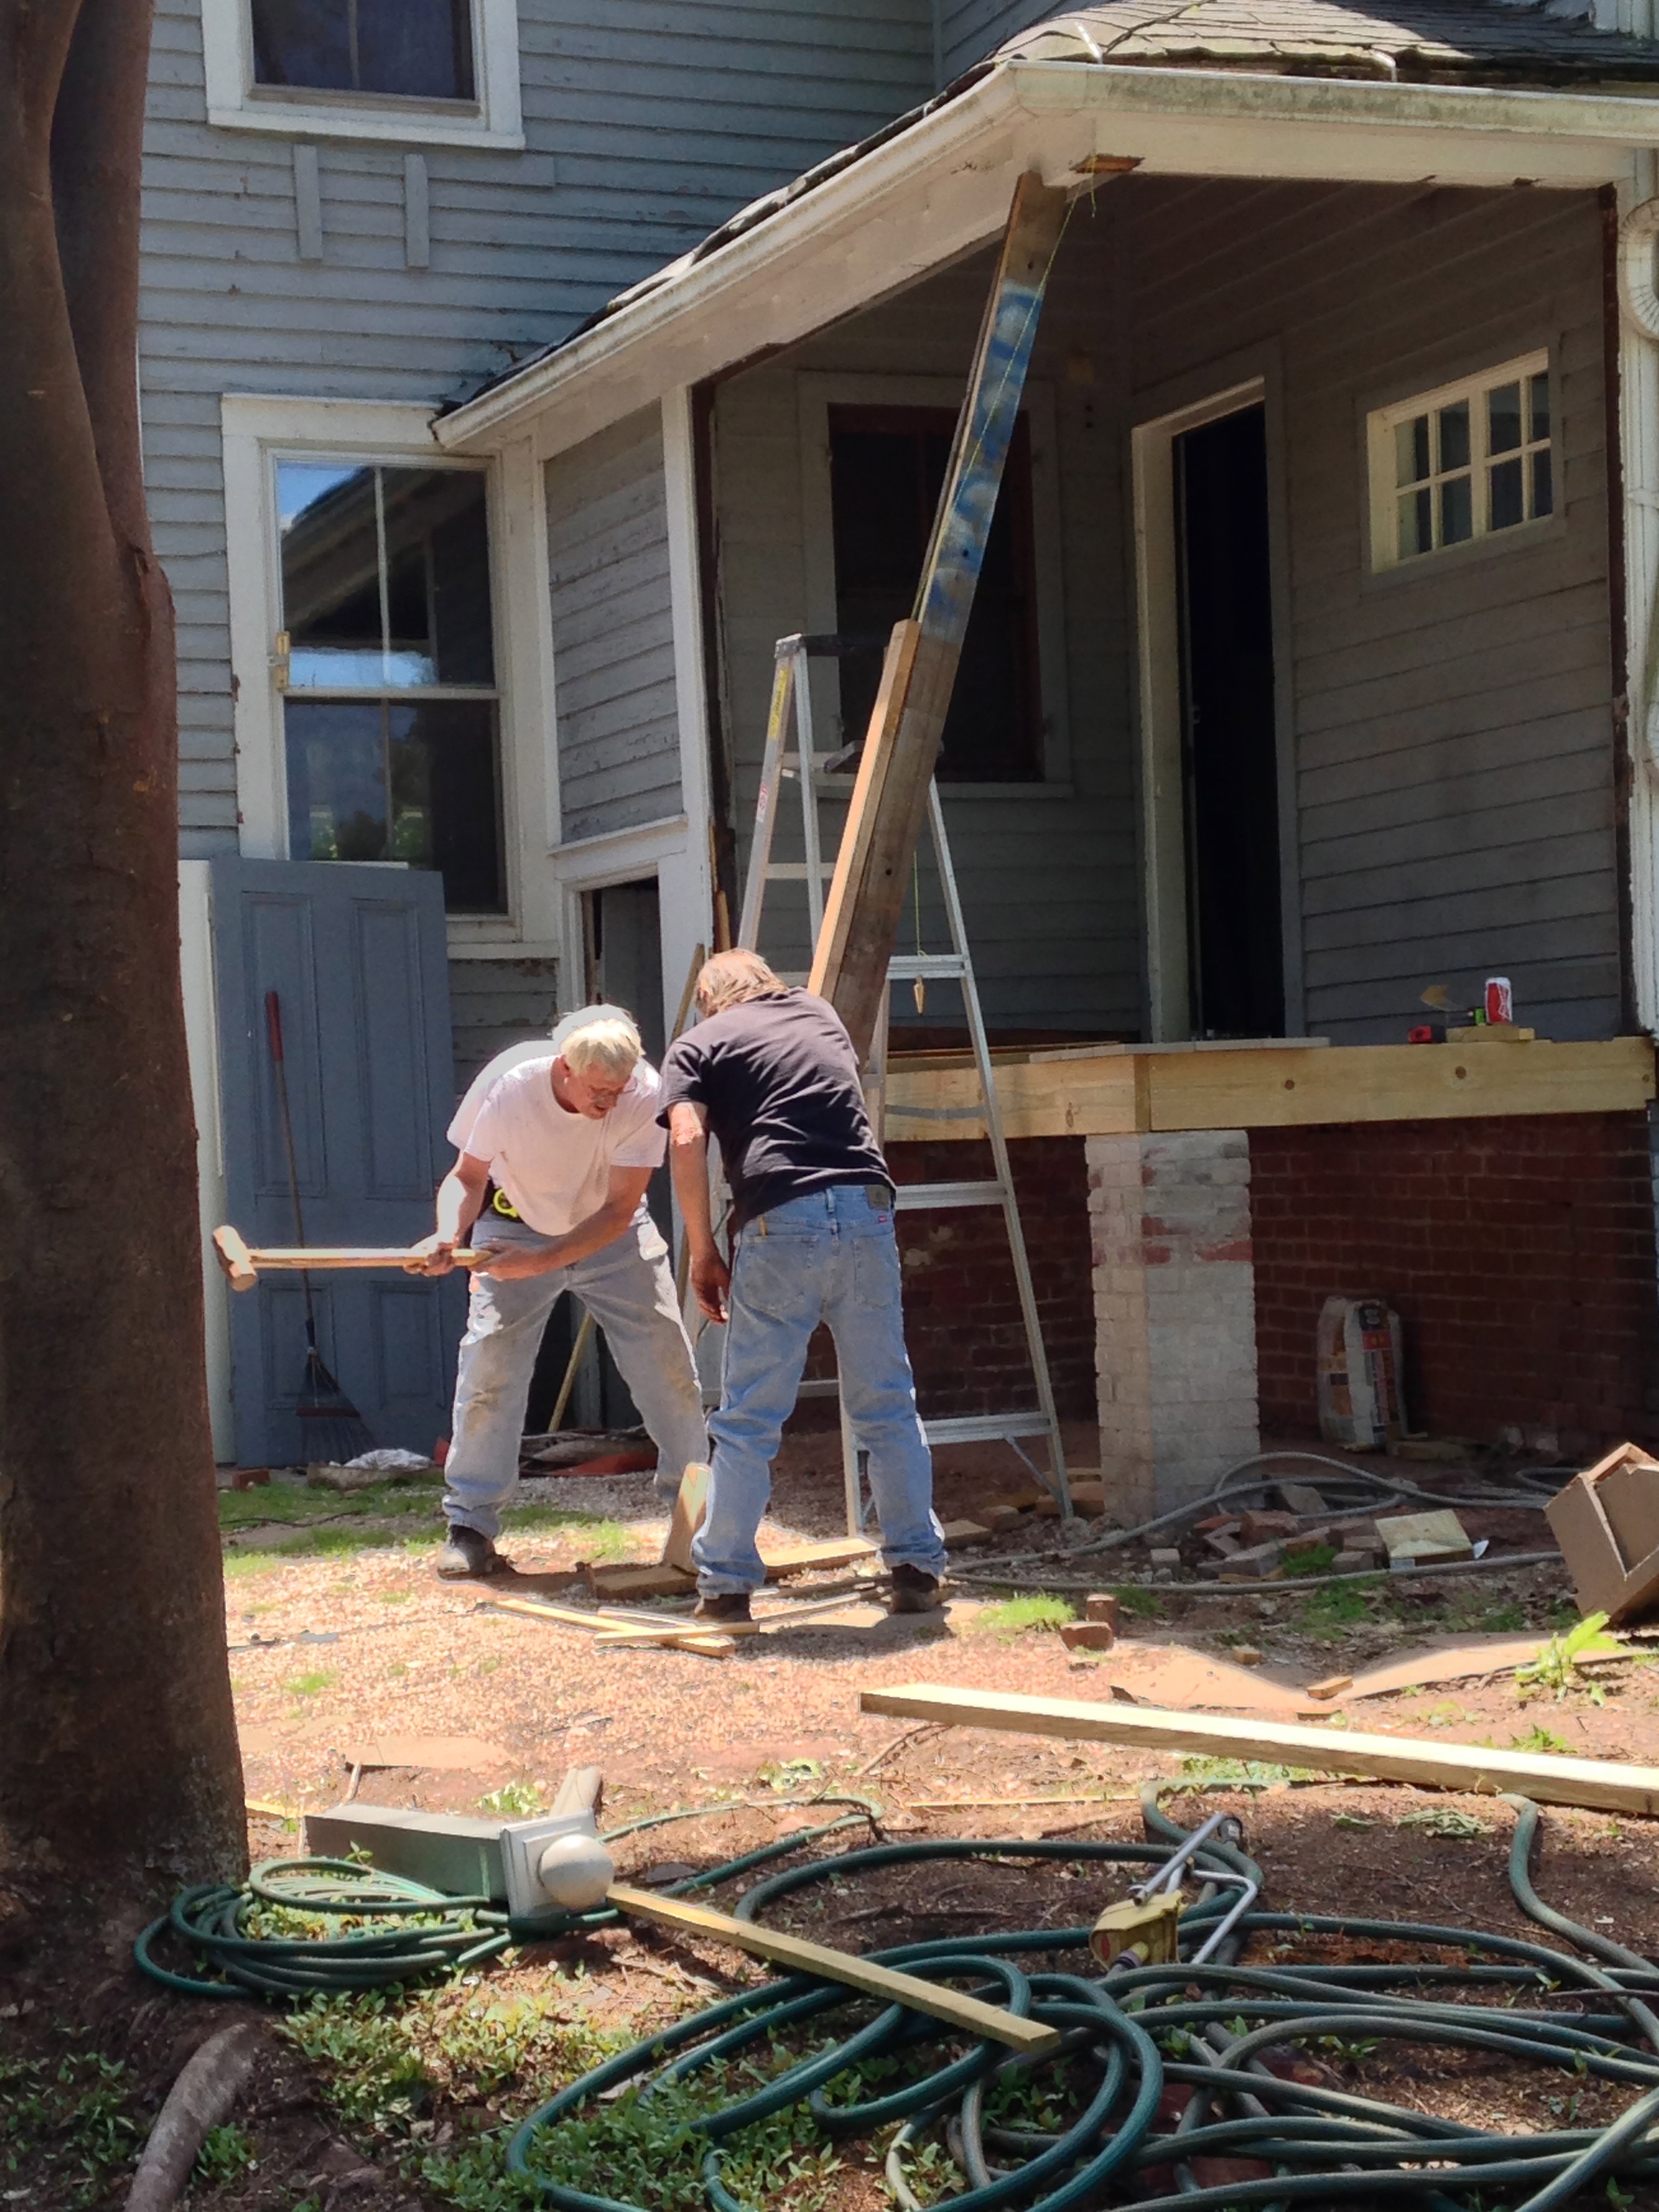
We didn’t want the roof to collapse so my dad and Uncle James put in a temporary support.

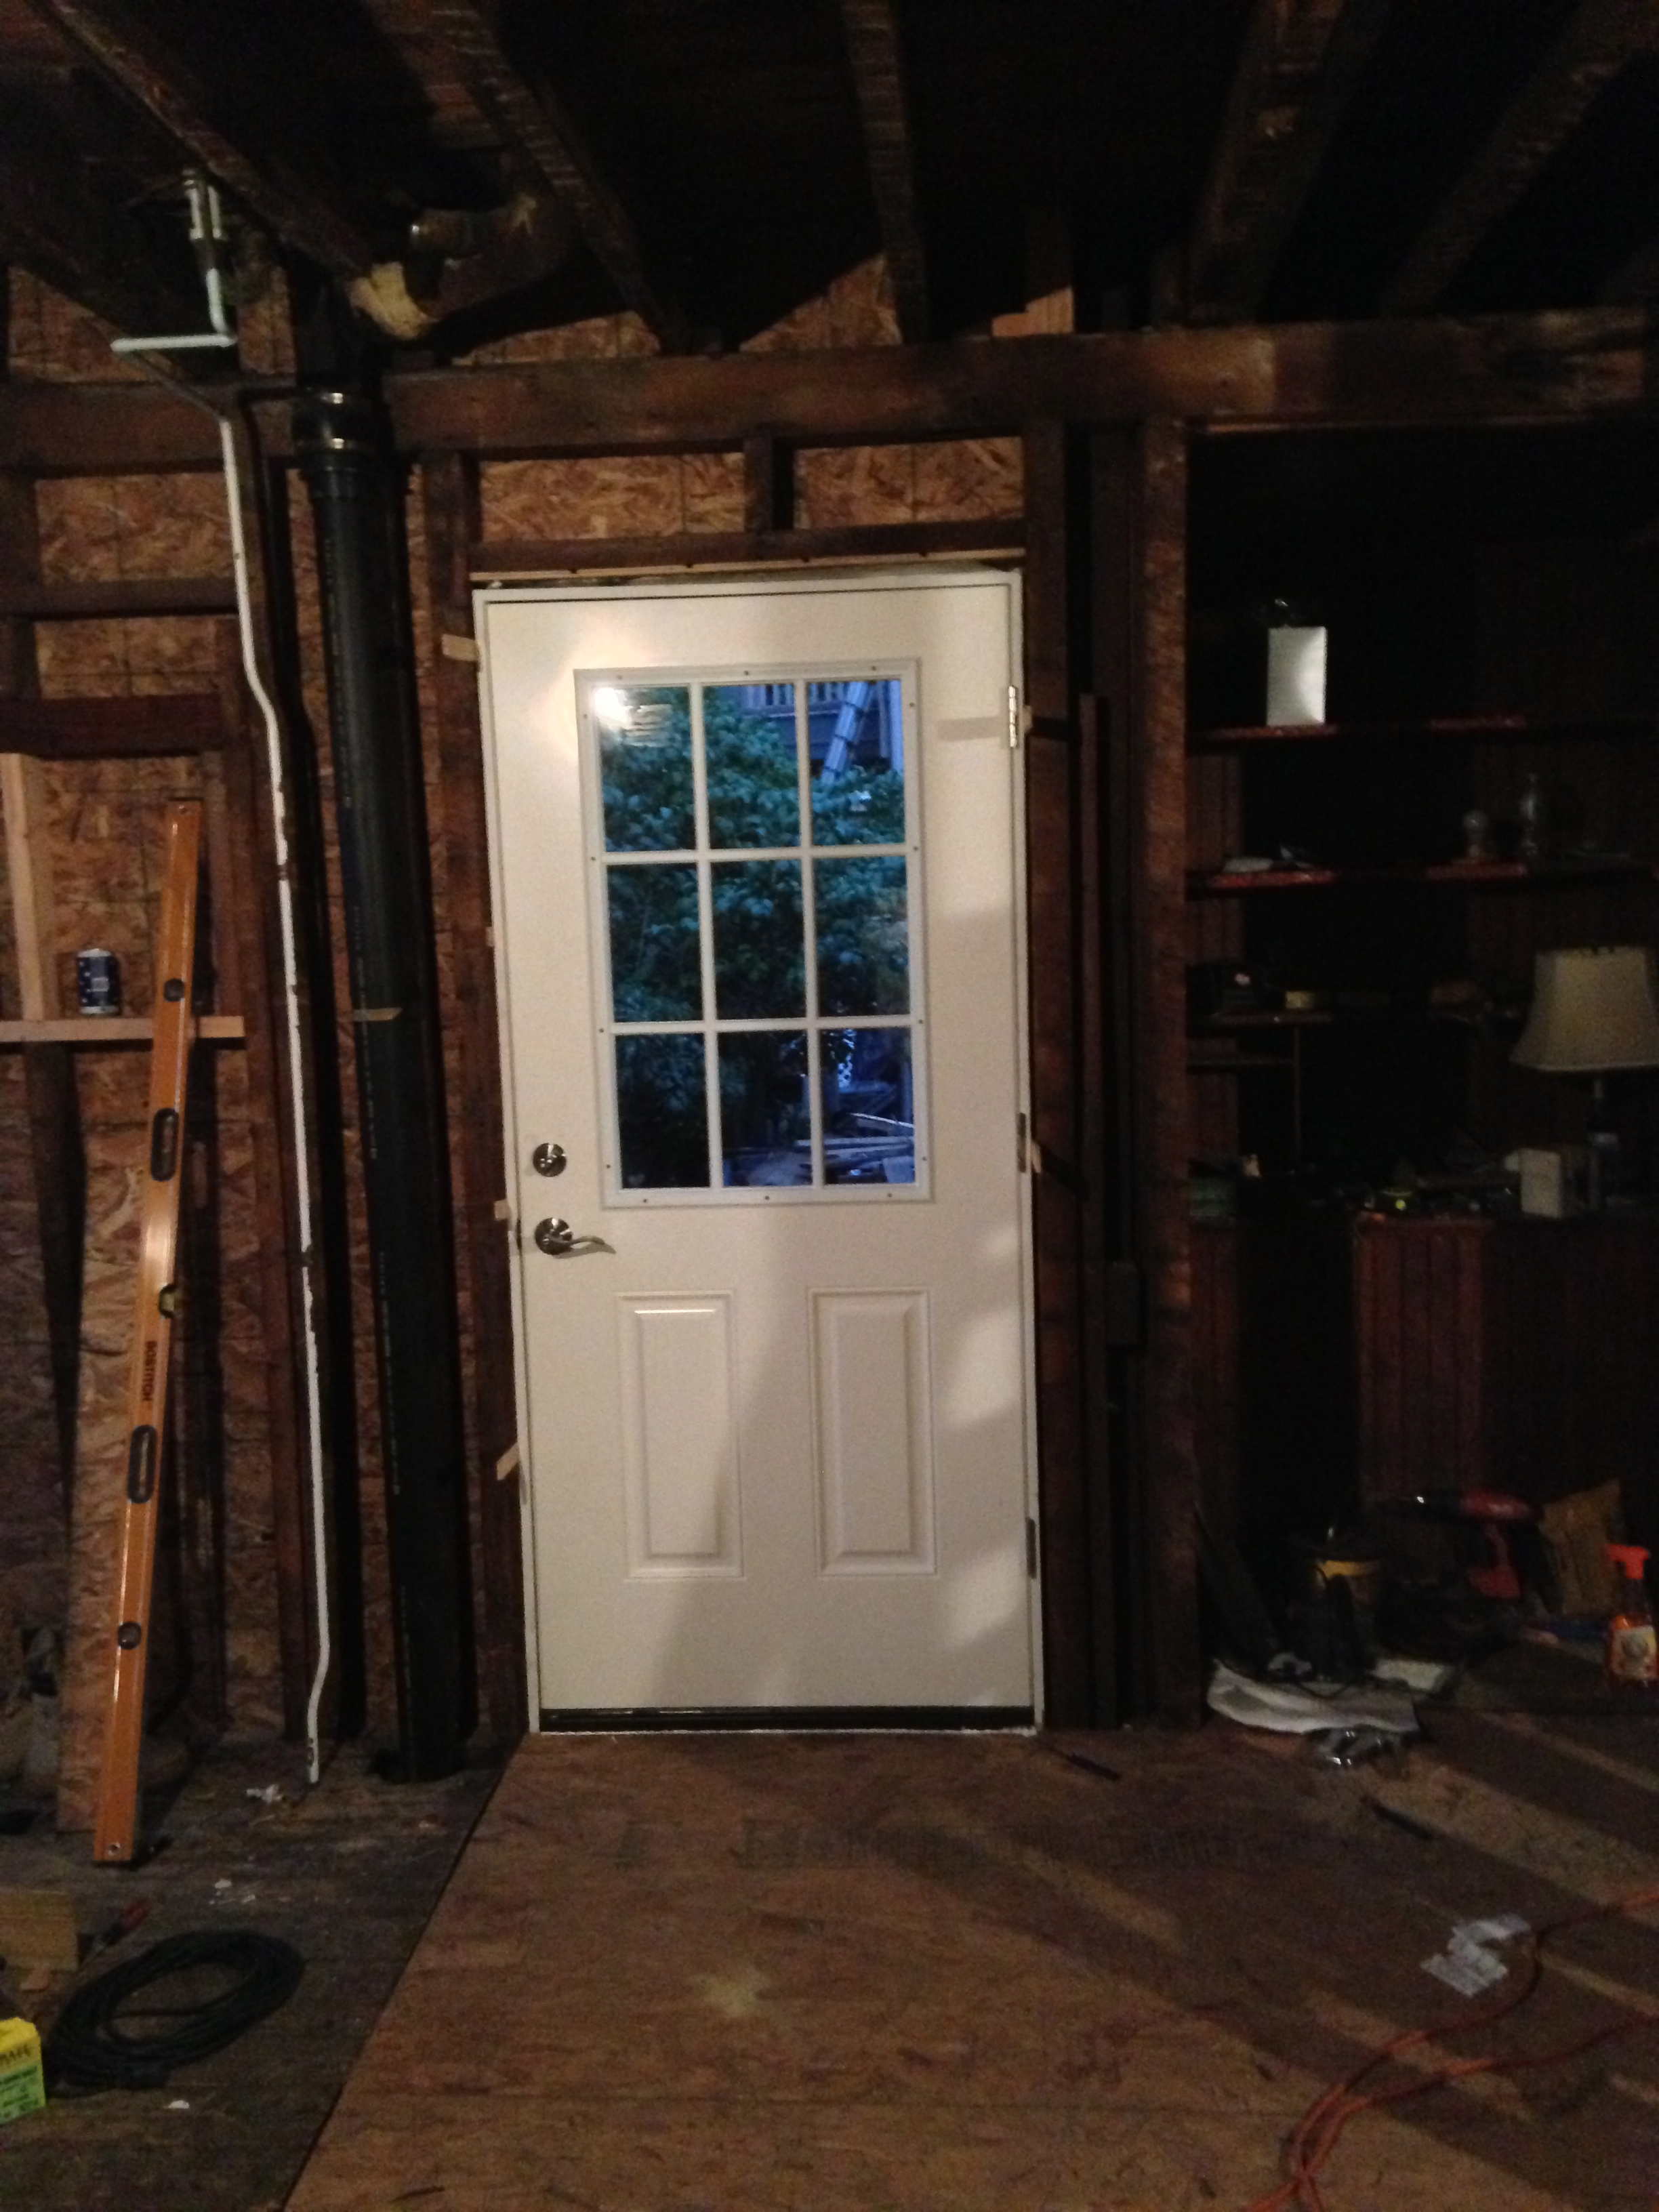
We ended up needing a way to go in and out of the back of the house (go figure) so we used a door to get the job done. I’m happy to report that the door snapped one day when I was walking on it sending me through the porn into the pile of bricks below it. The whole right side of my body was bruised for quite awhile.
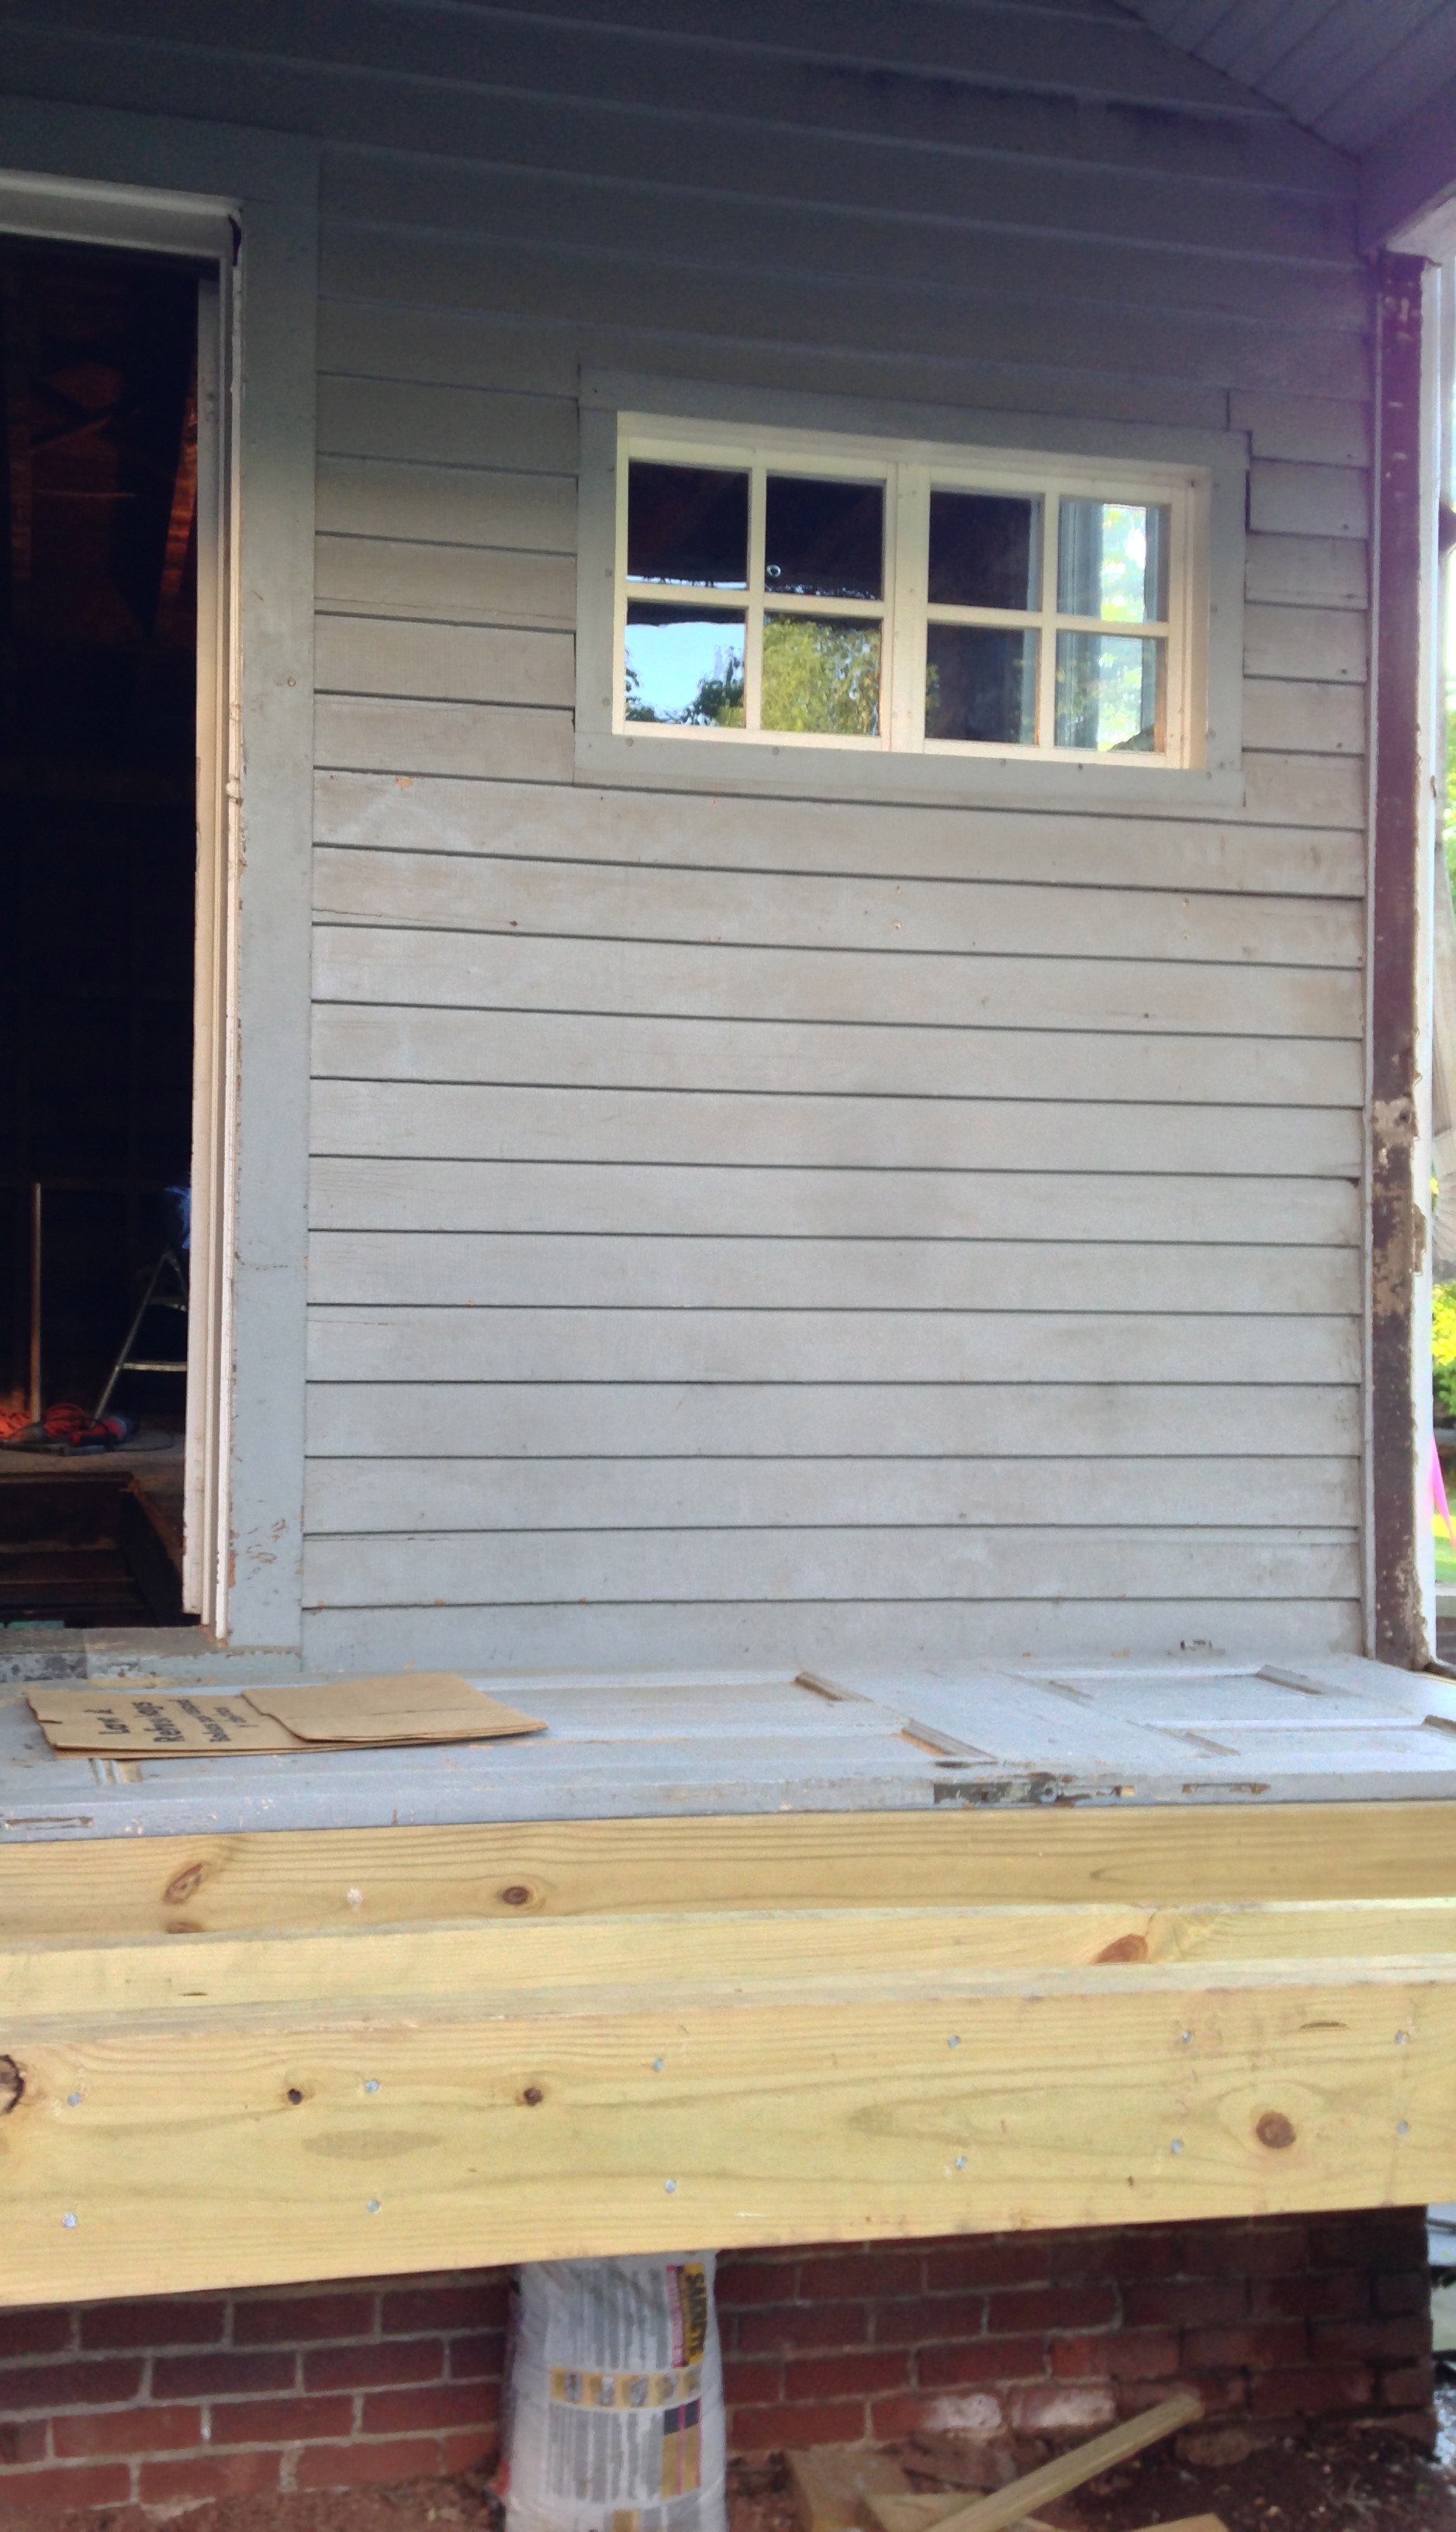
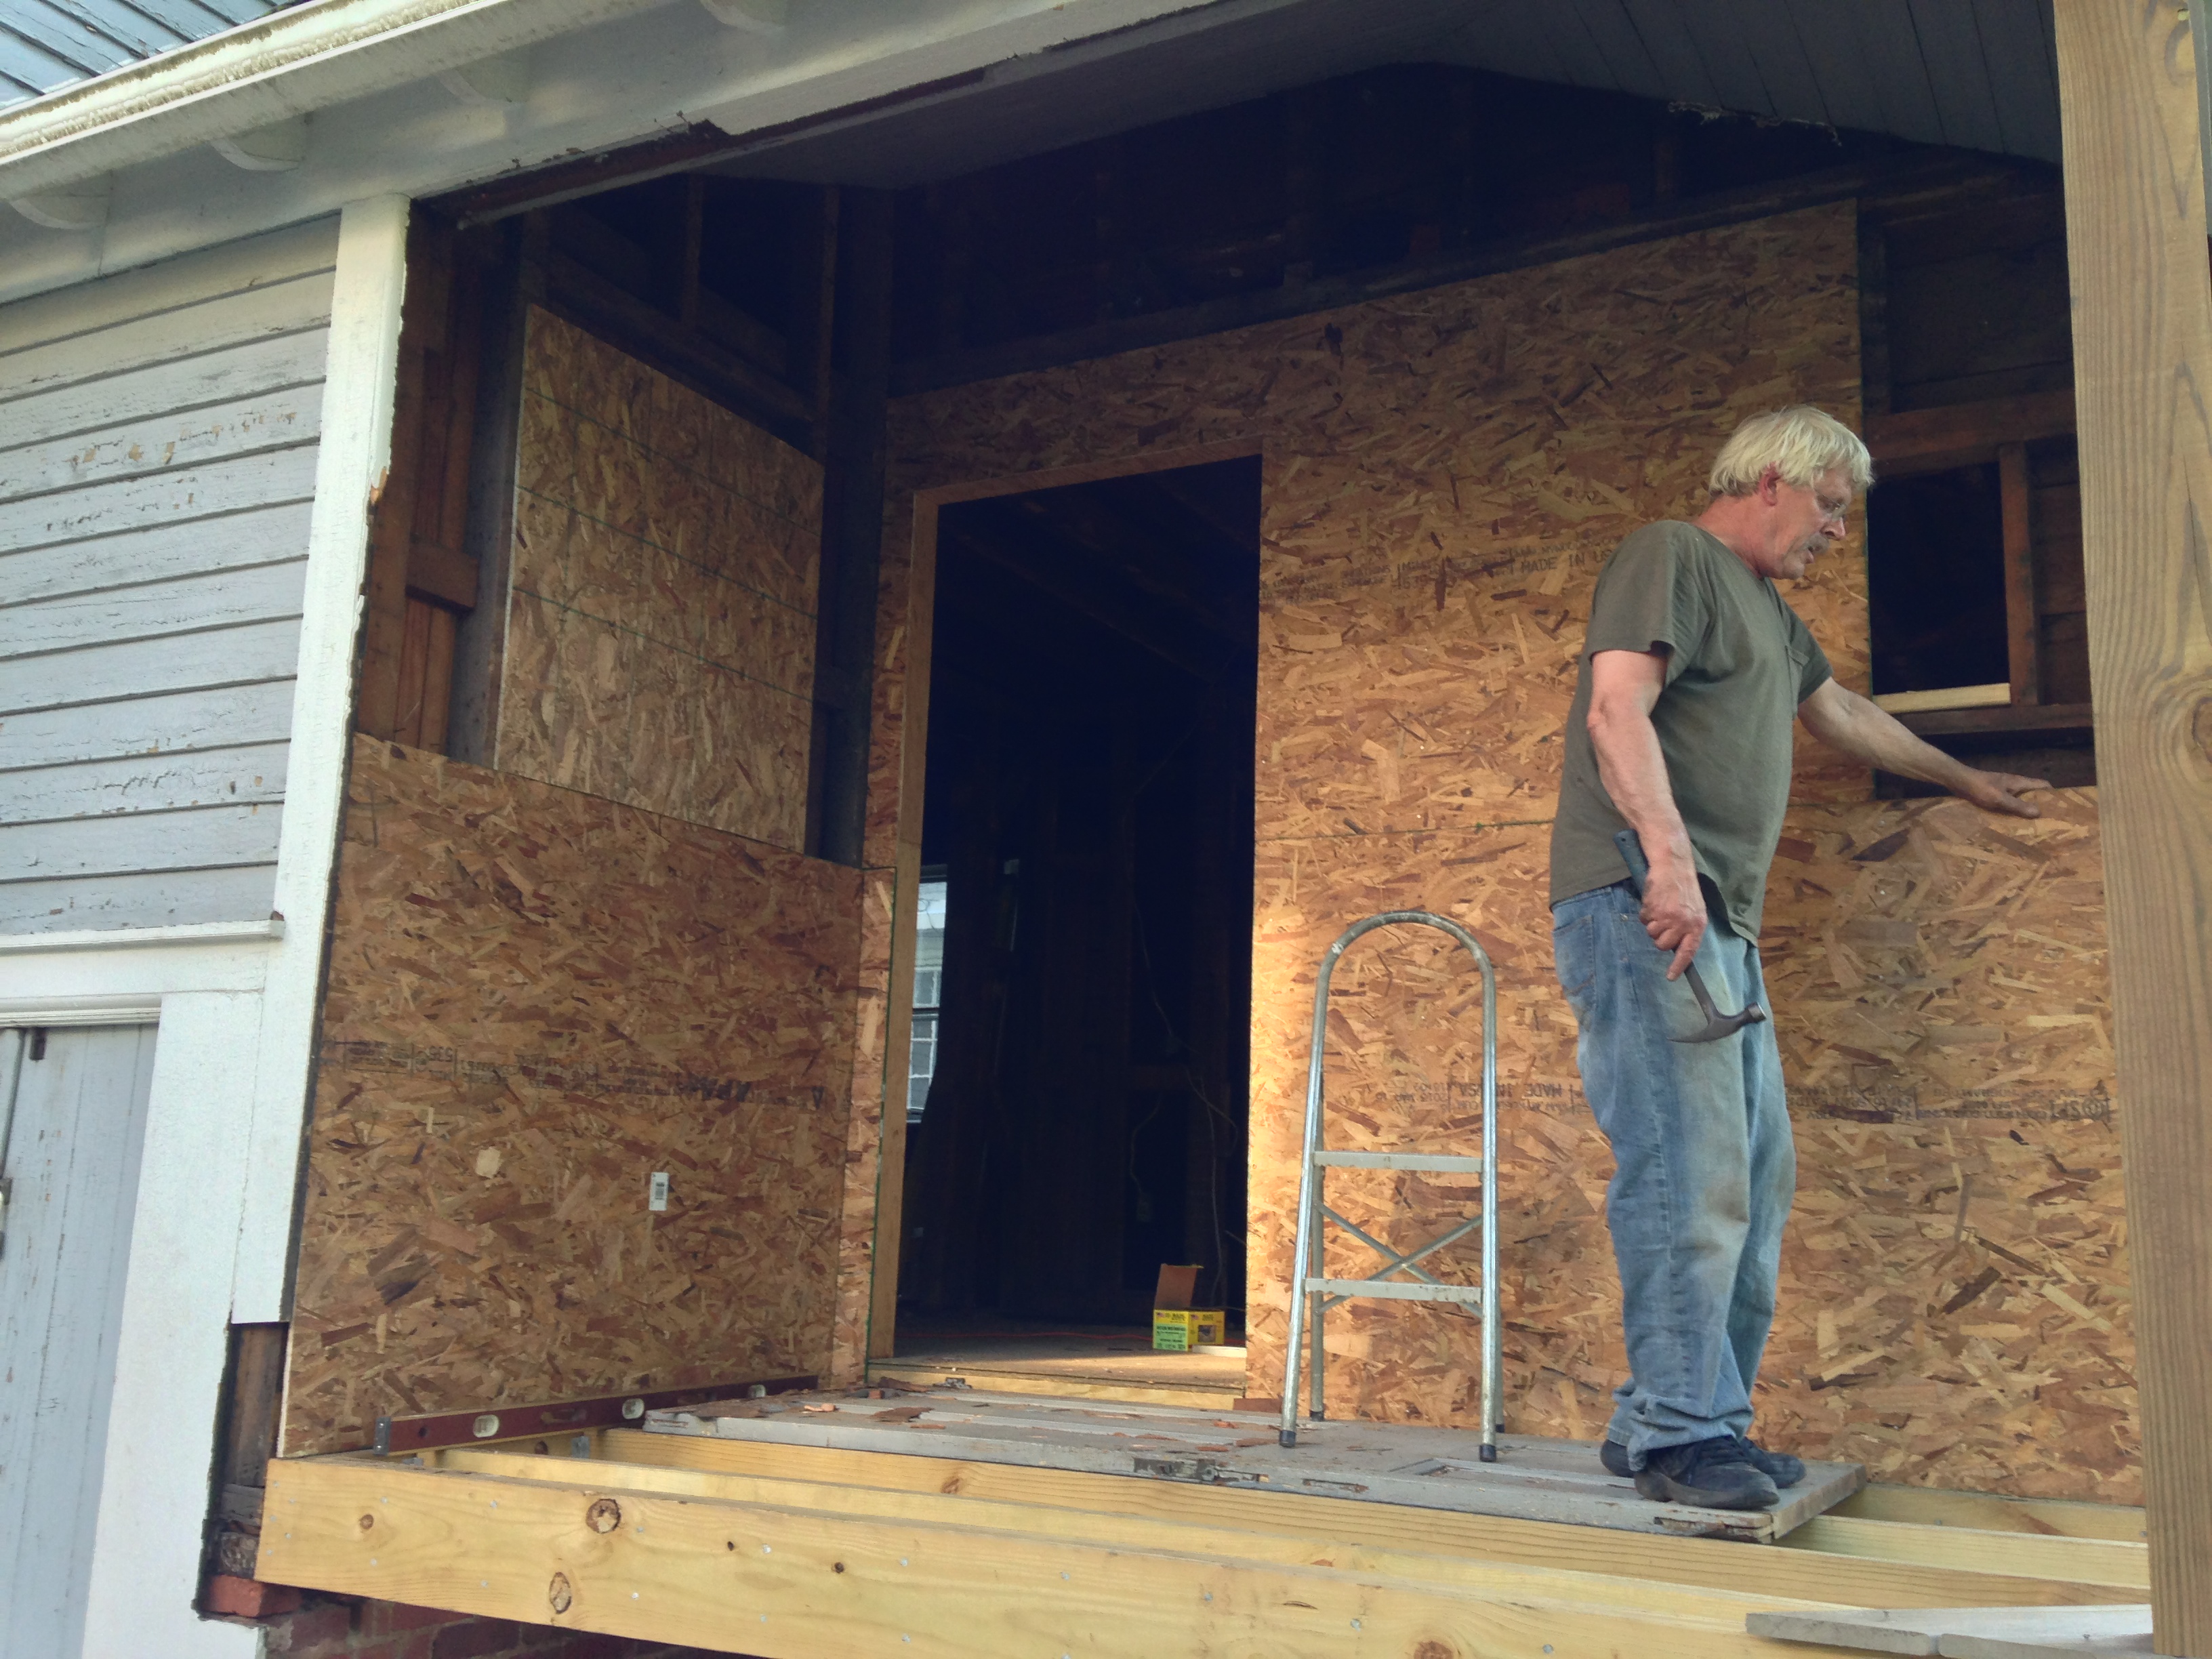
After framing came taking off the old wall. We decided to get everything ready for it ourselves since the sheathing was on the inside and we were in need of a new back door. That was a busy weekend.
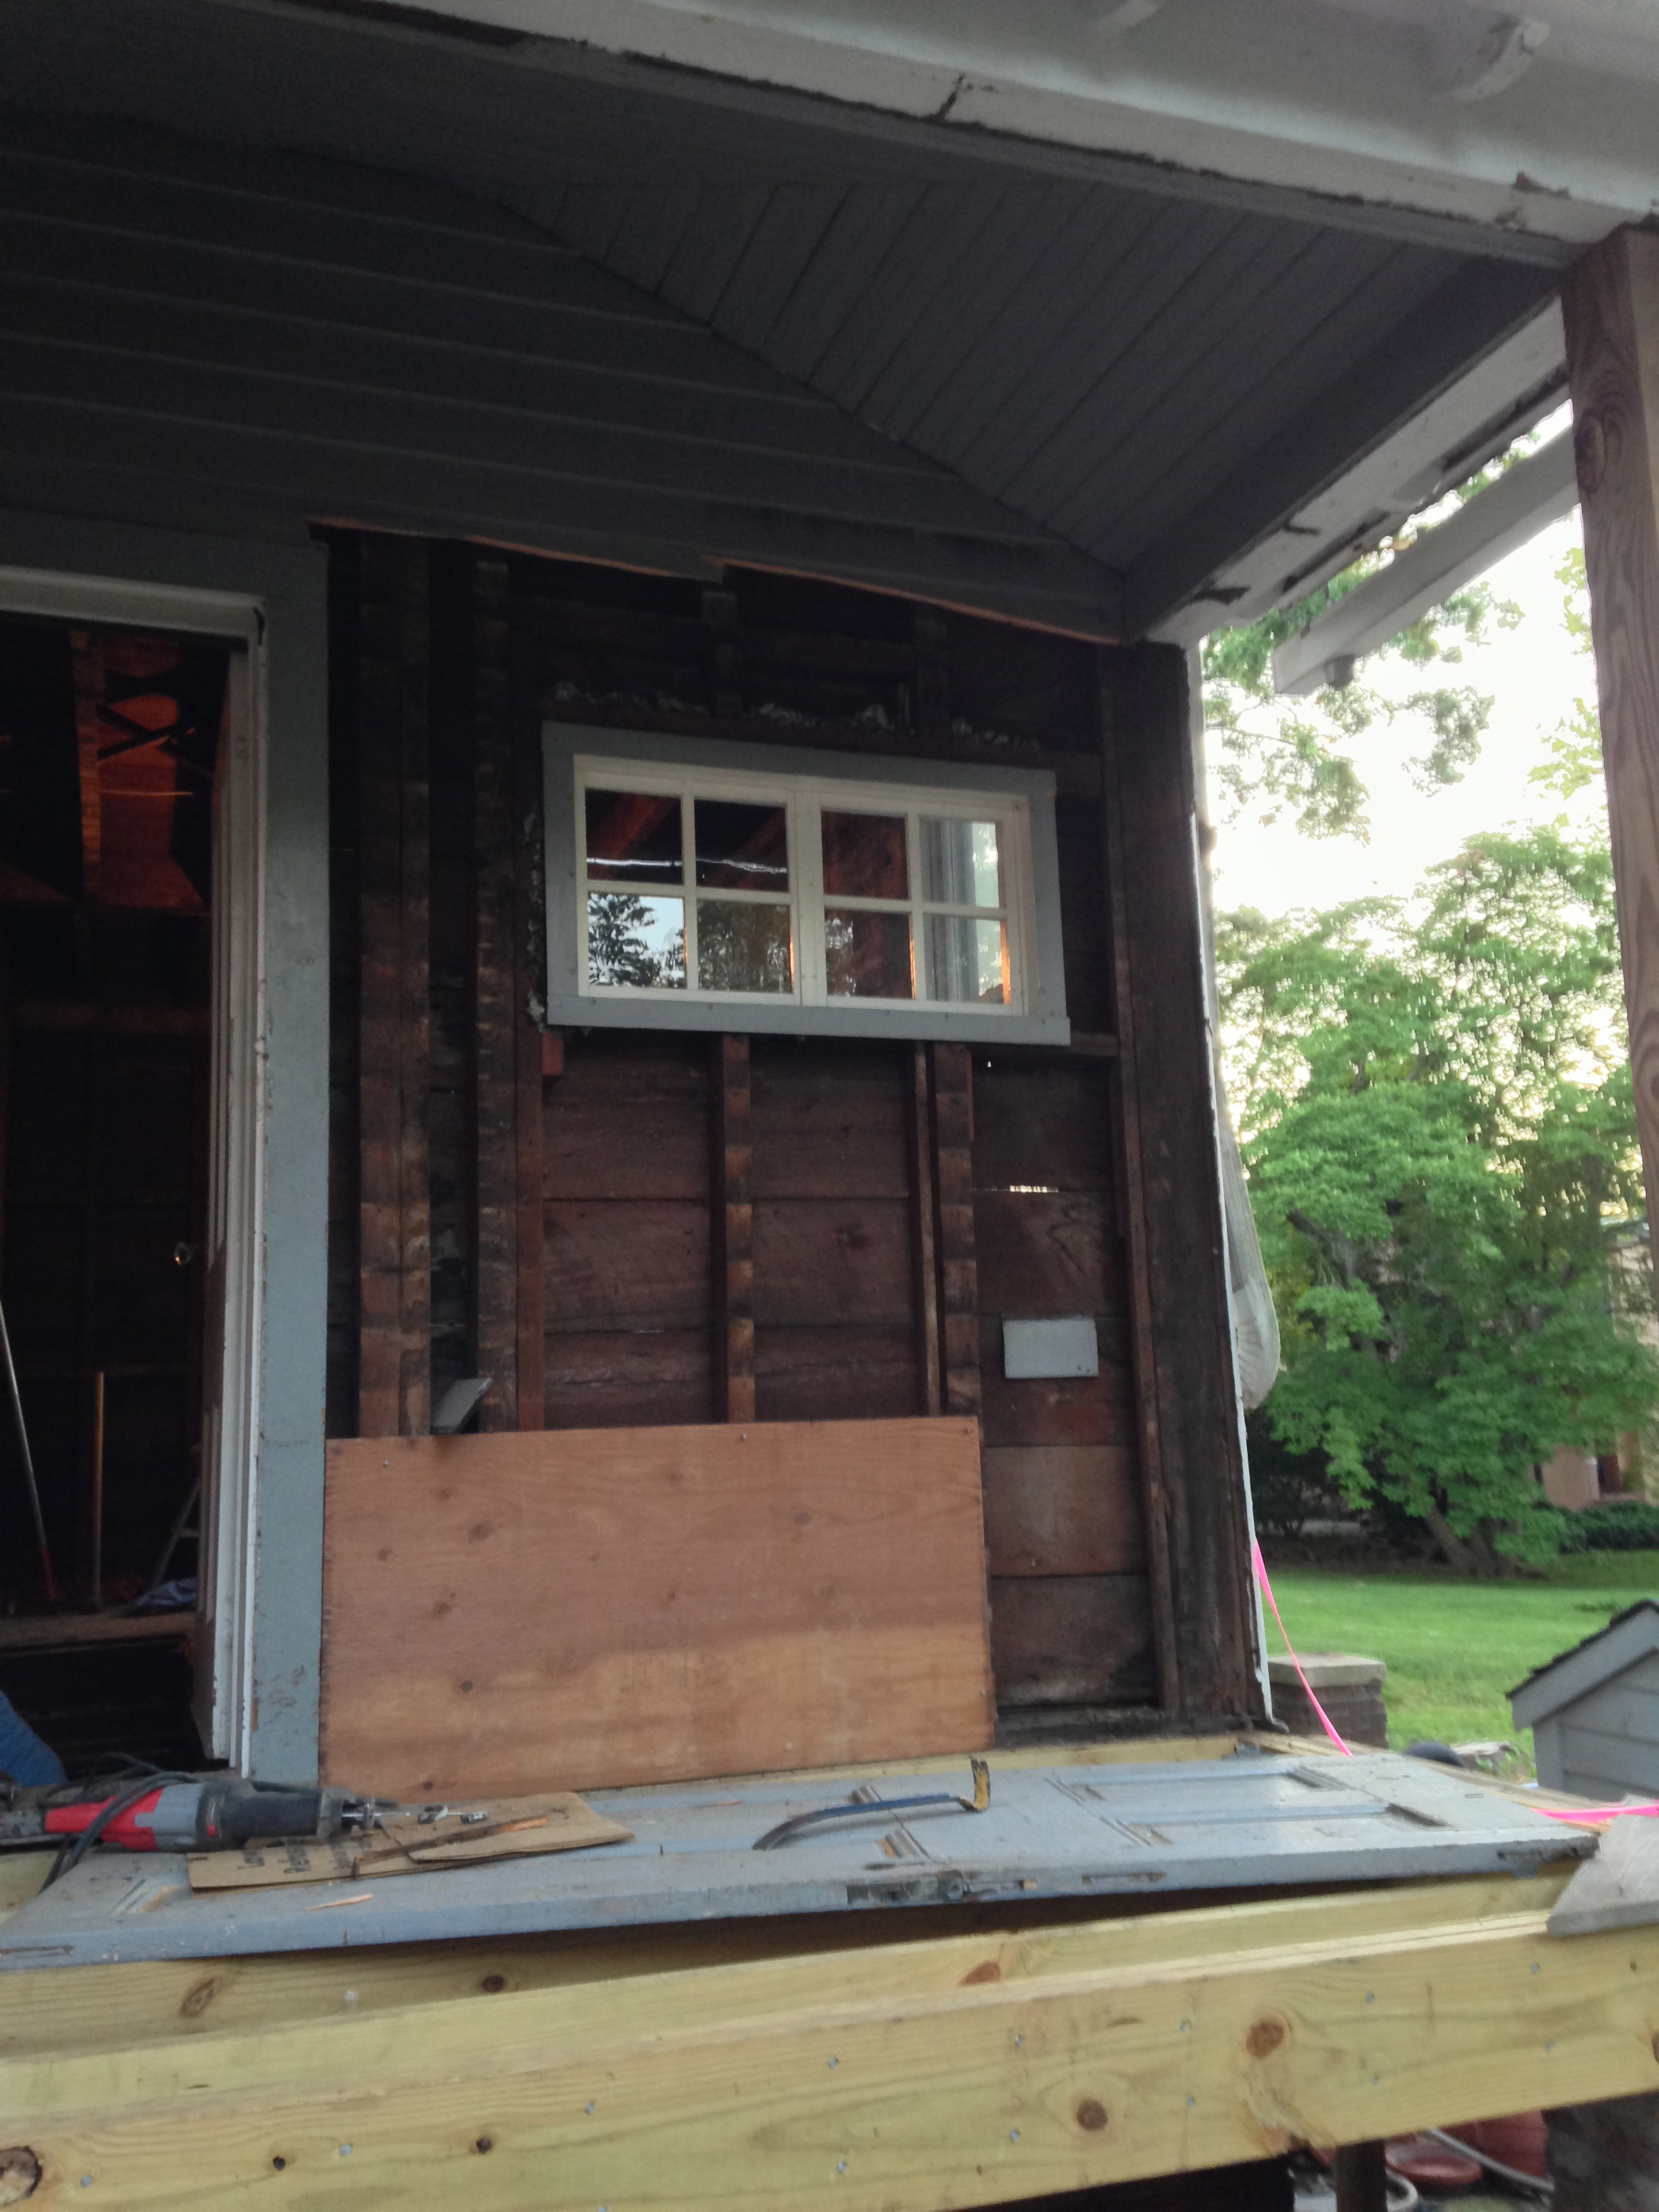

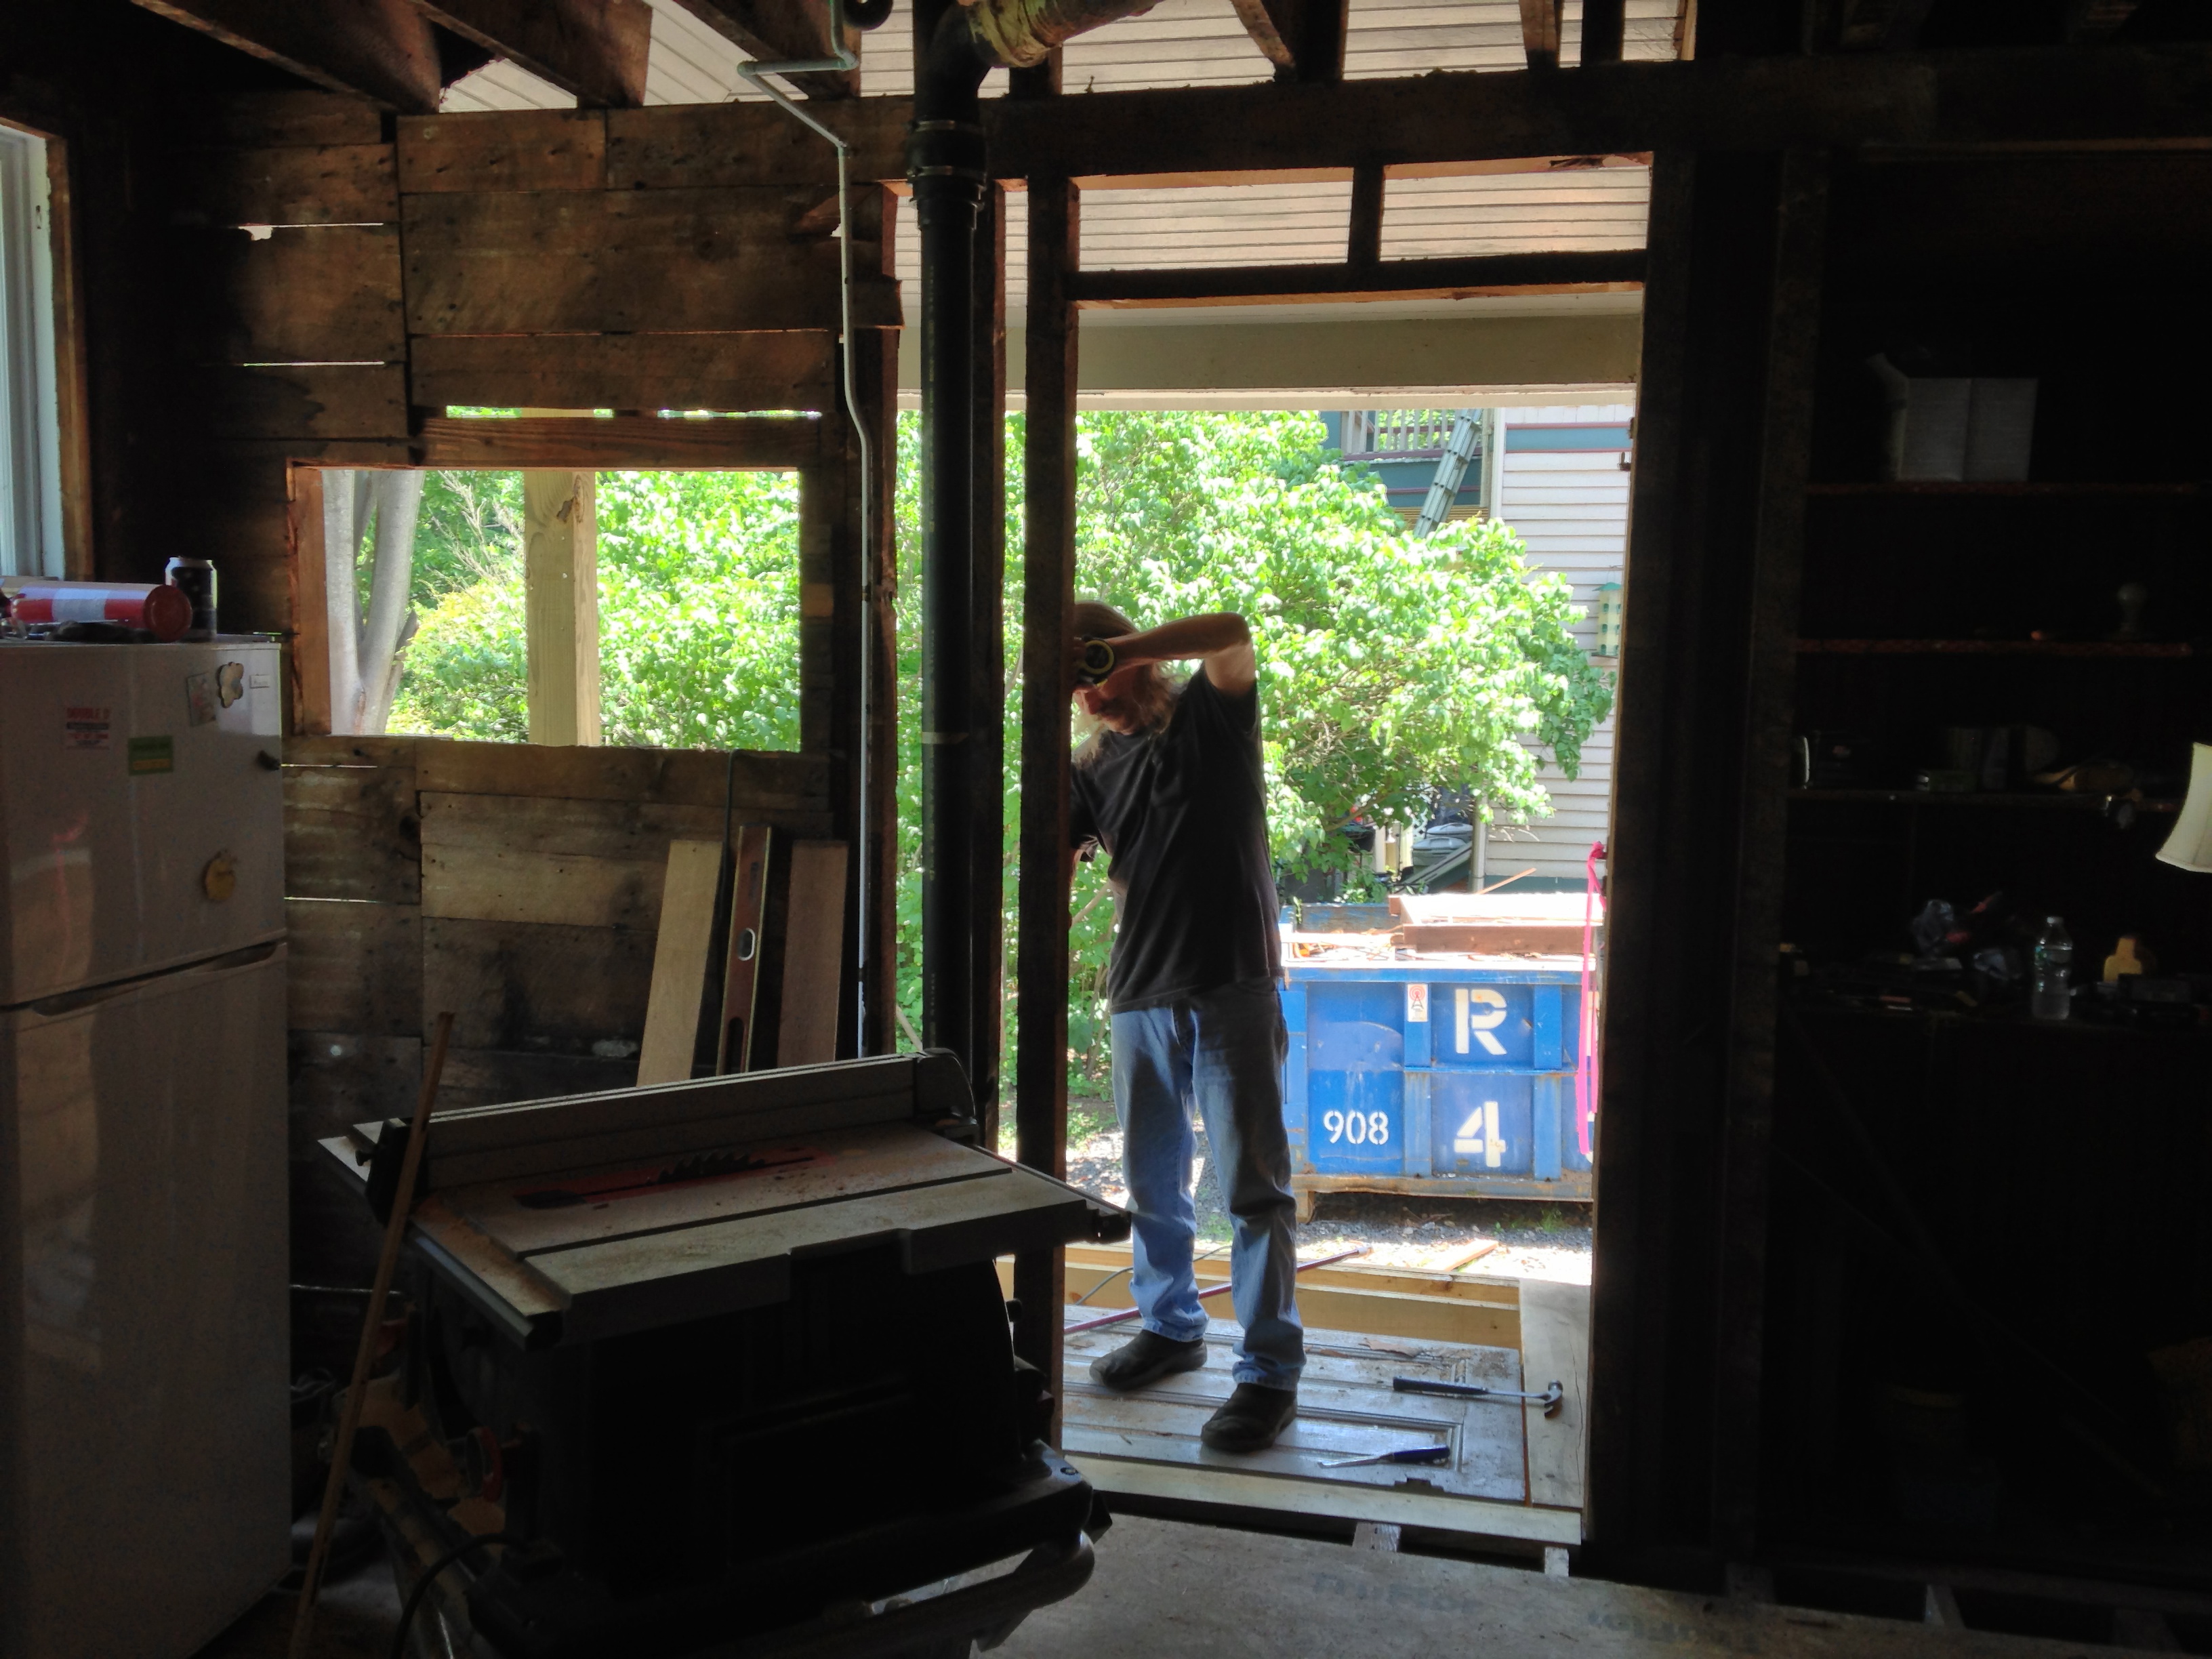

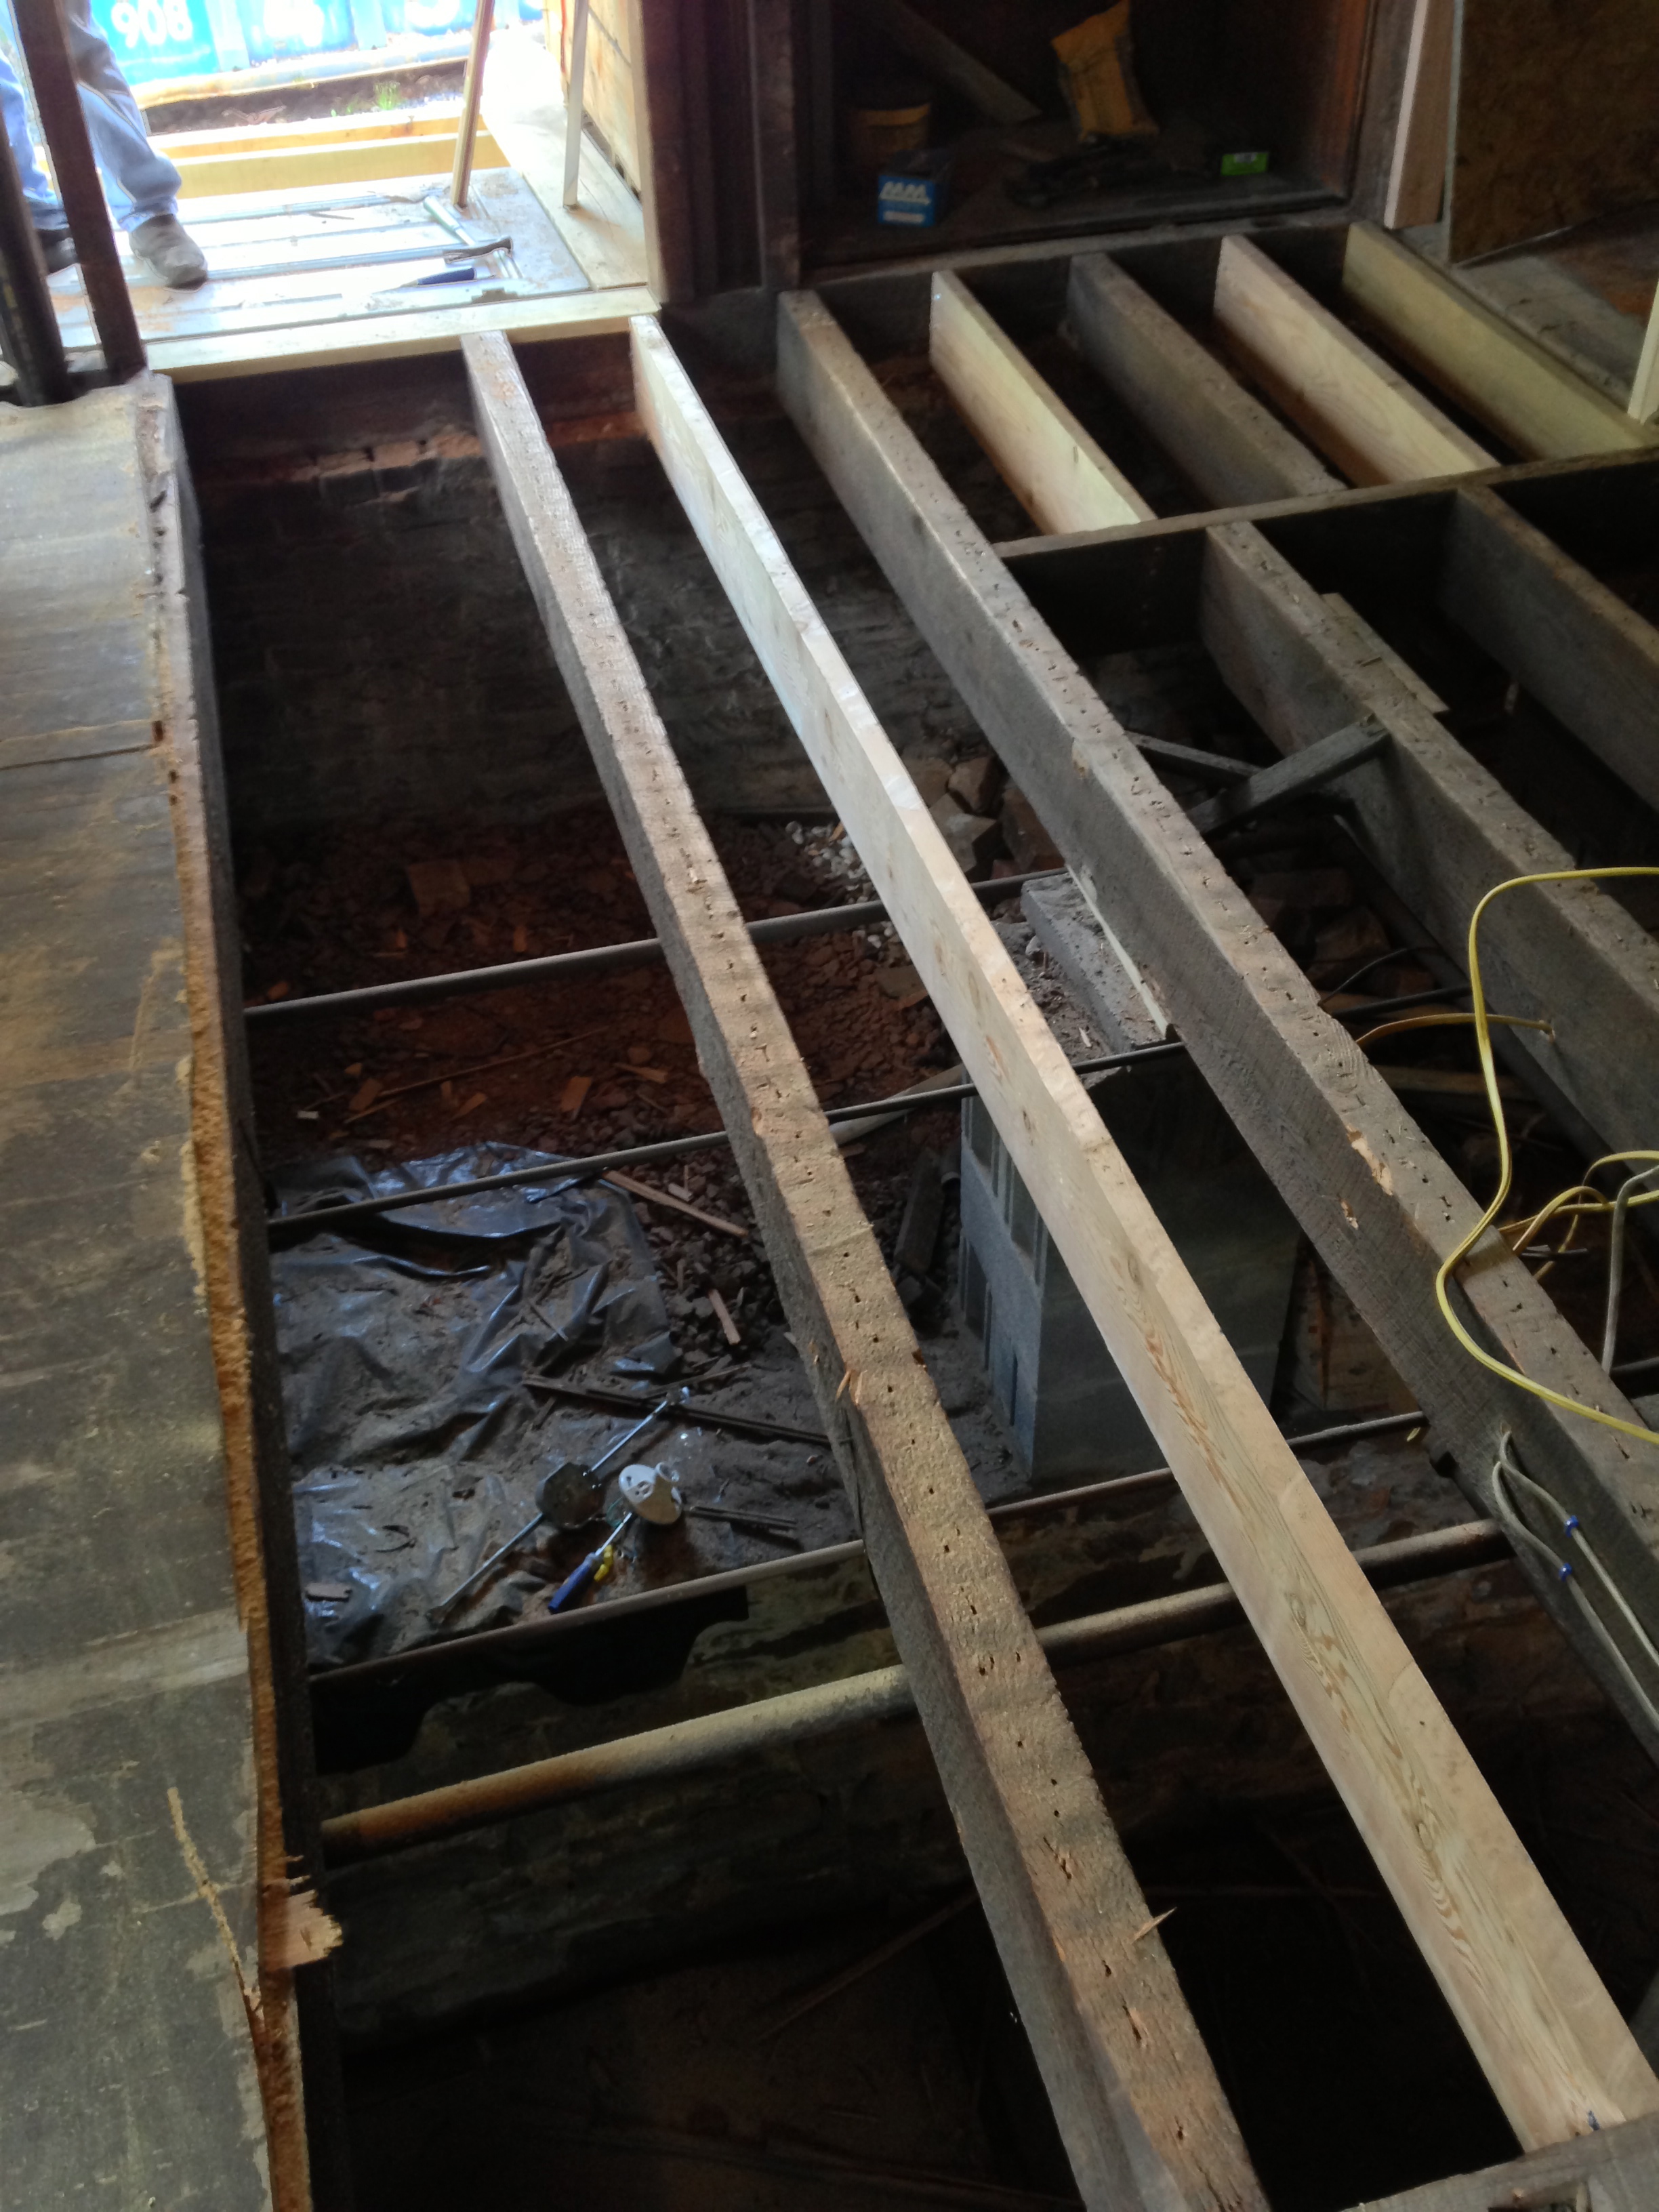
Of course that meant we then needed to work on the kitchen, which meant replacing the joists in the floor and adding new ones. Putting a simple back door in was proving to be a lot more work than anticipated. Not to mention the joists were 16 feet long. Fun to work with. For another perspective please check out THIS post about the Kitchen Demolition

But work continued in earnest. Who wants to leave their backdoor sans door?

Good enough!
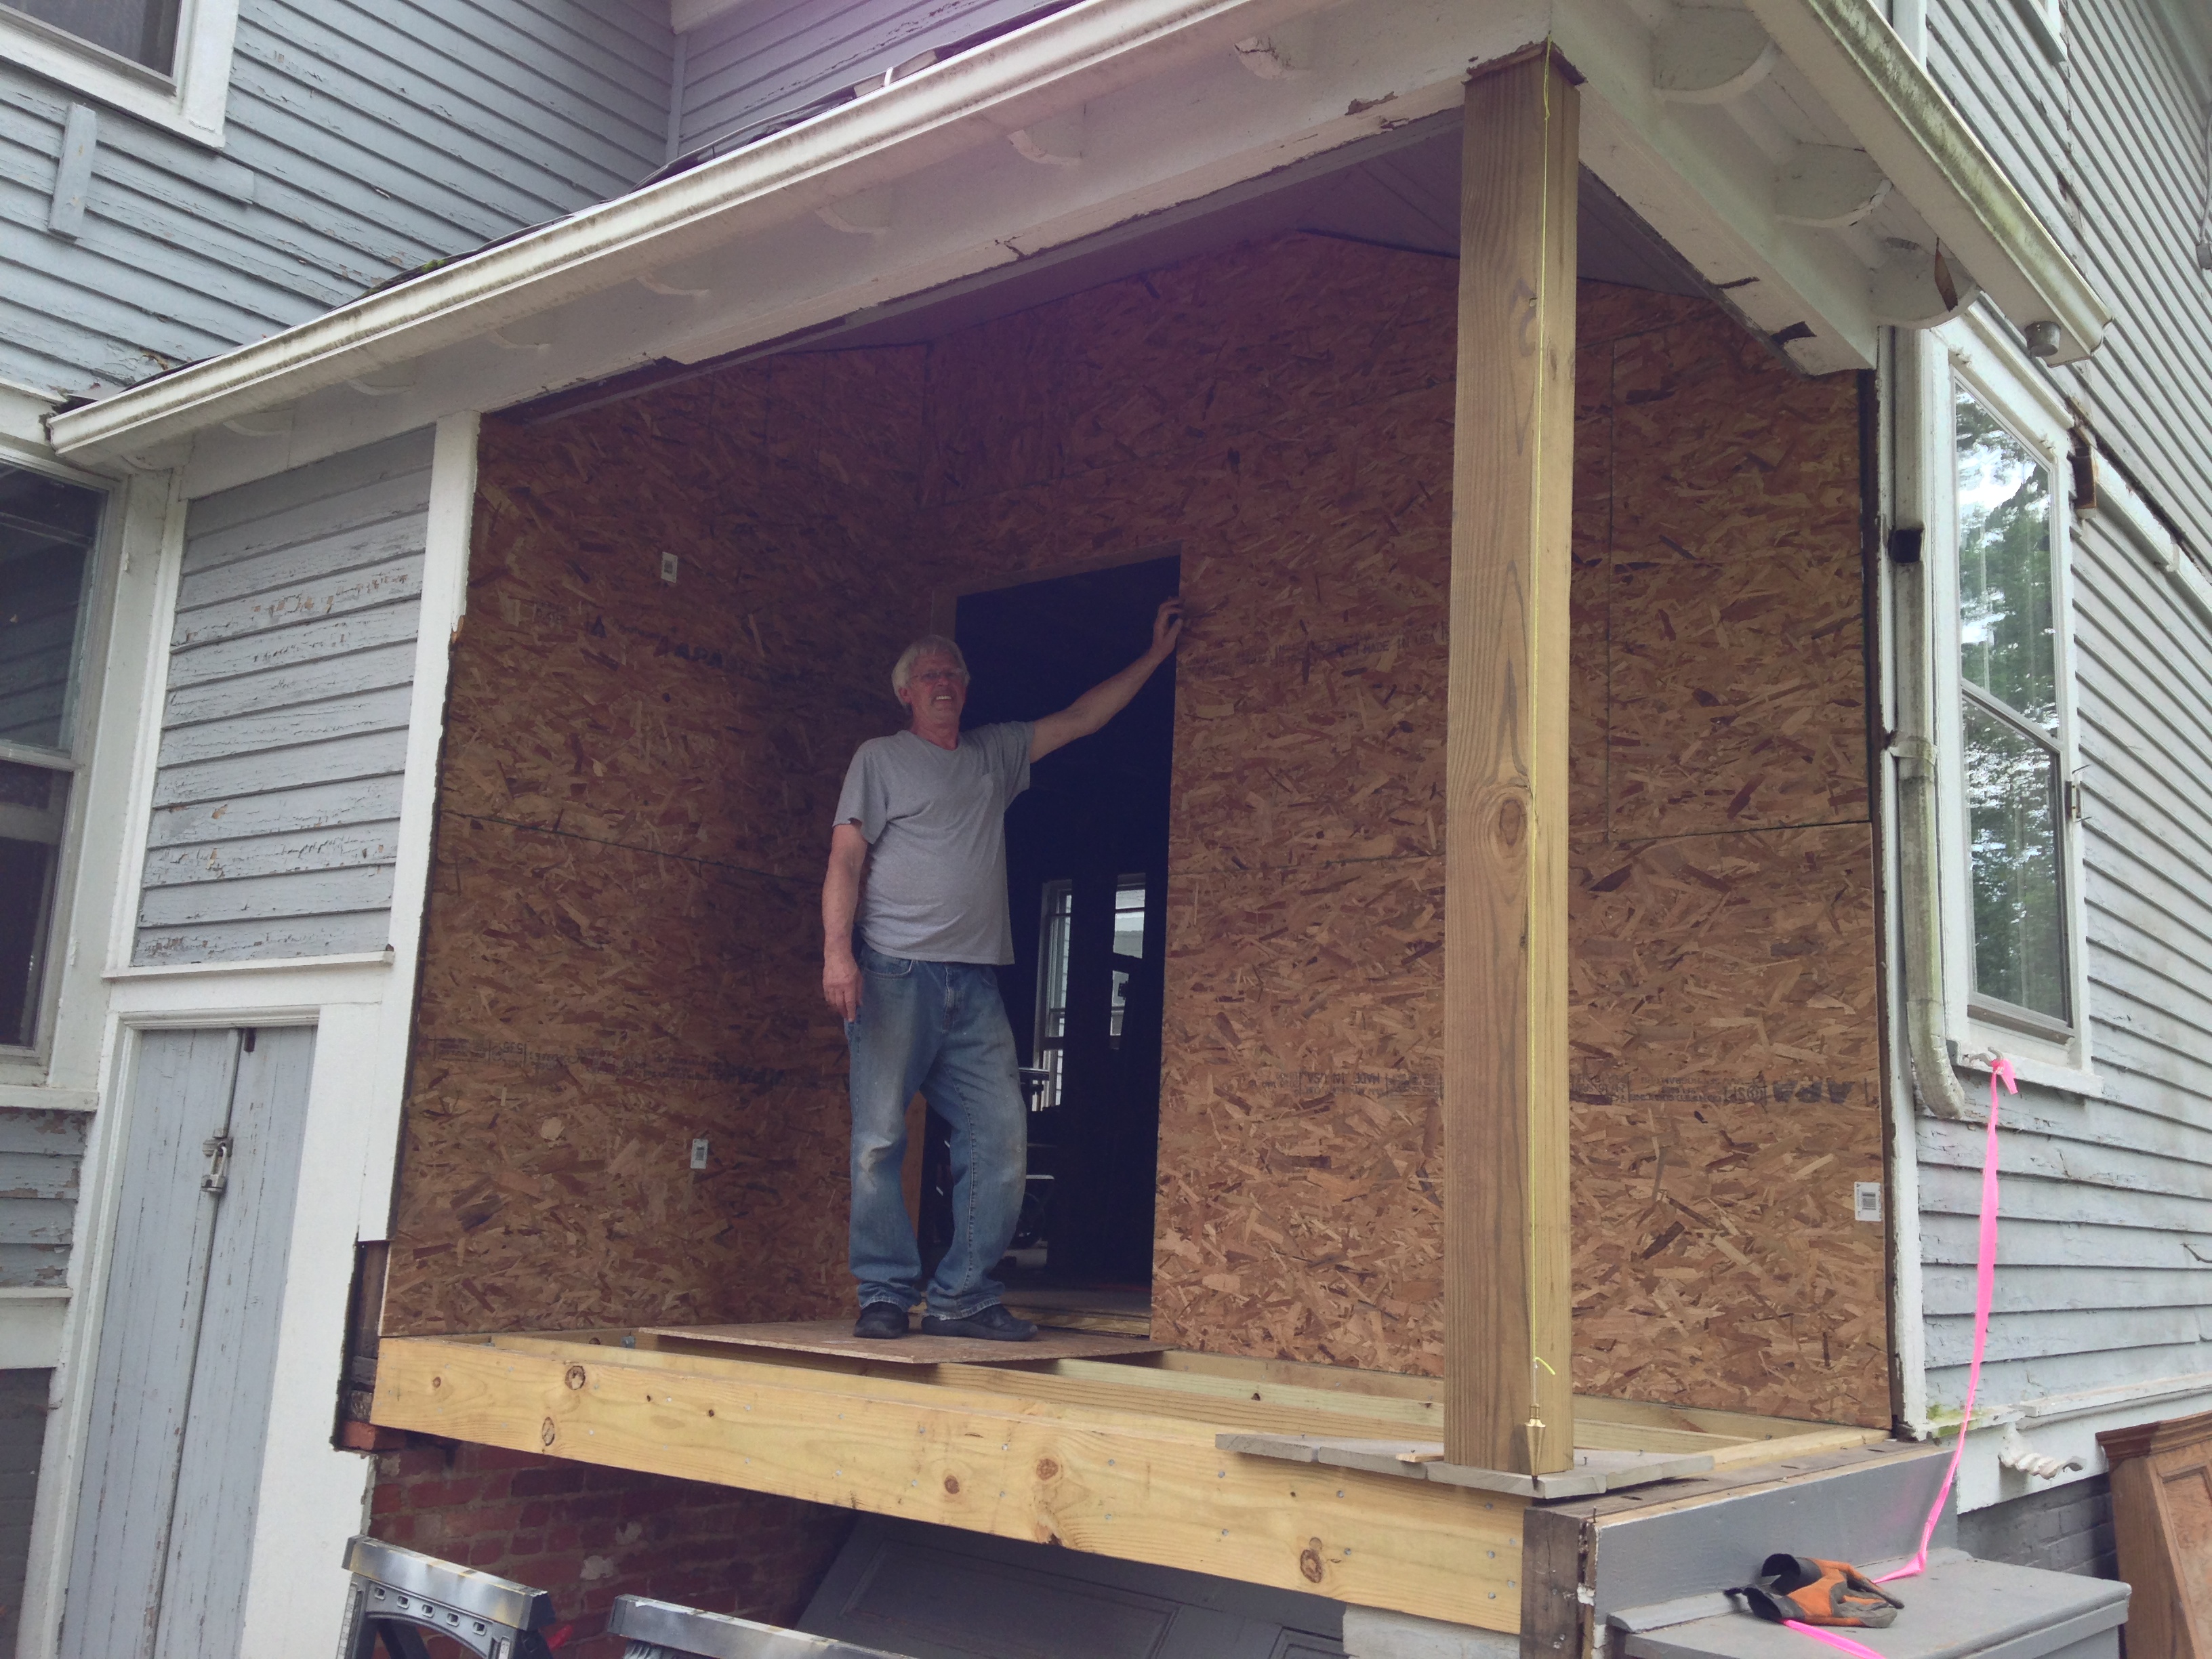
And there’s a door.

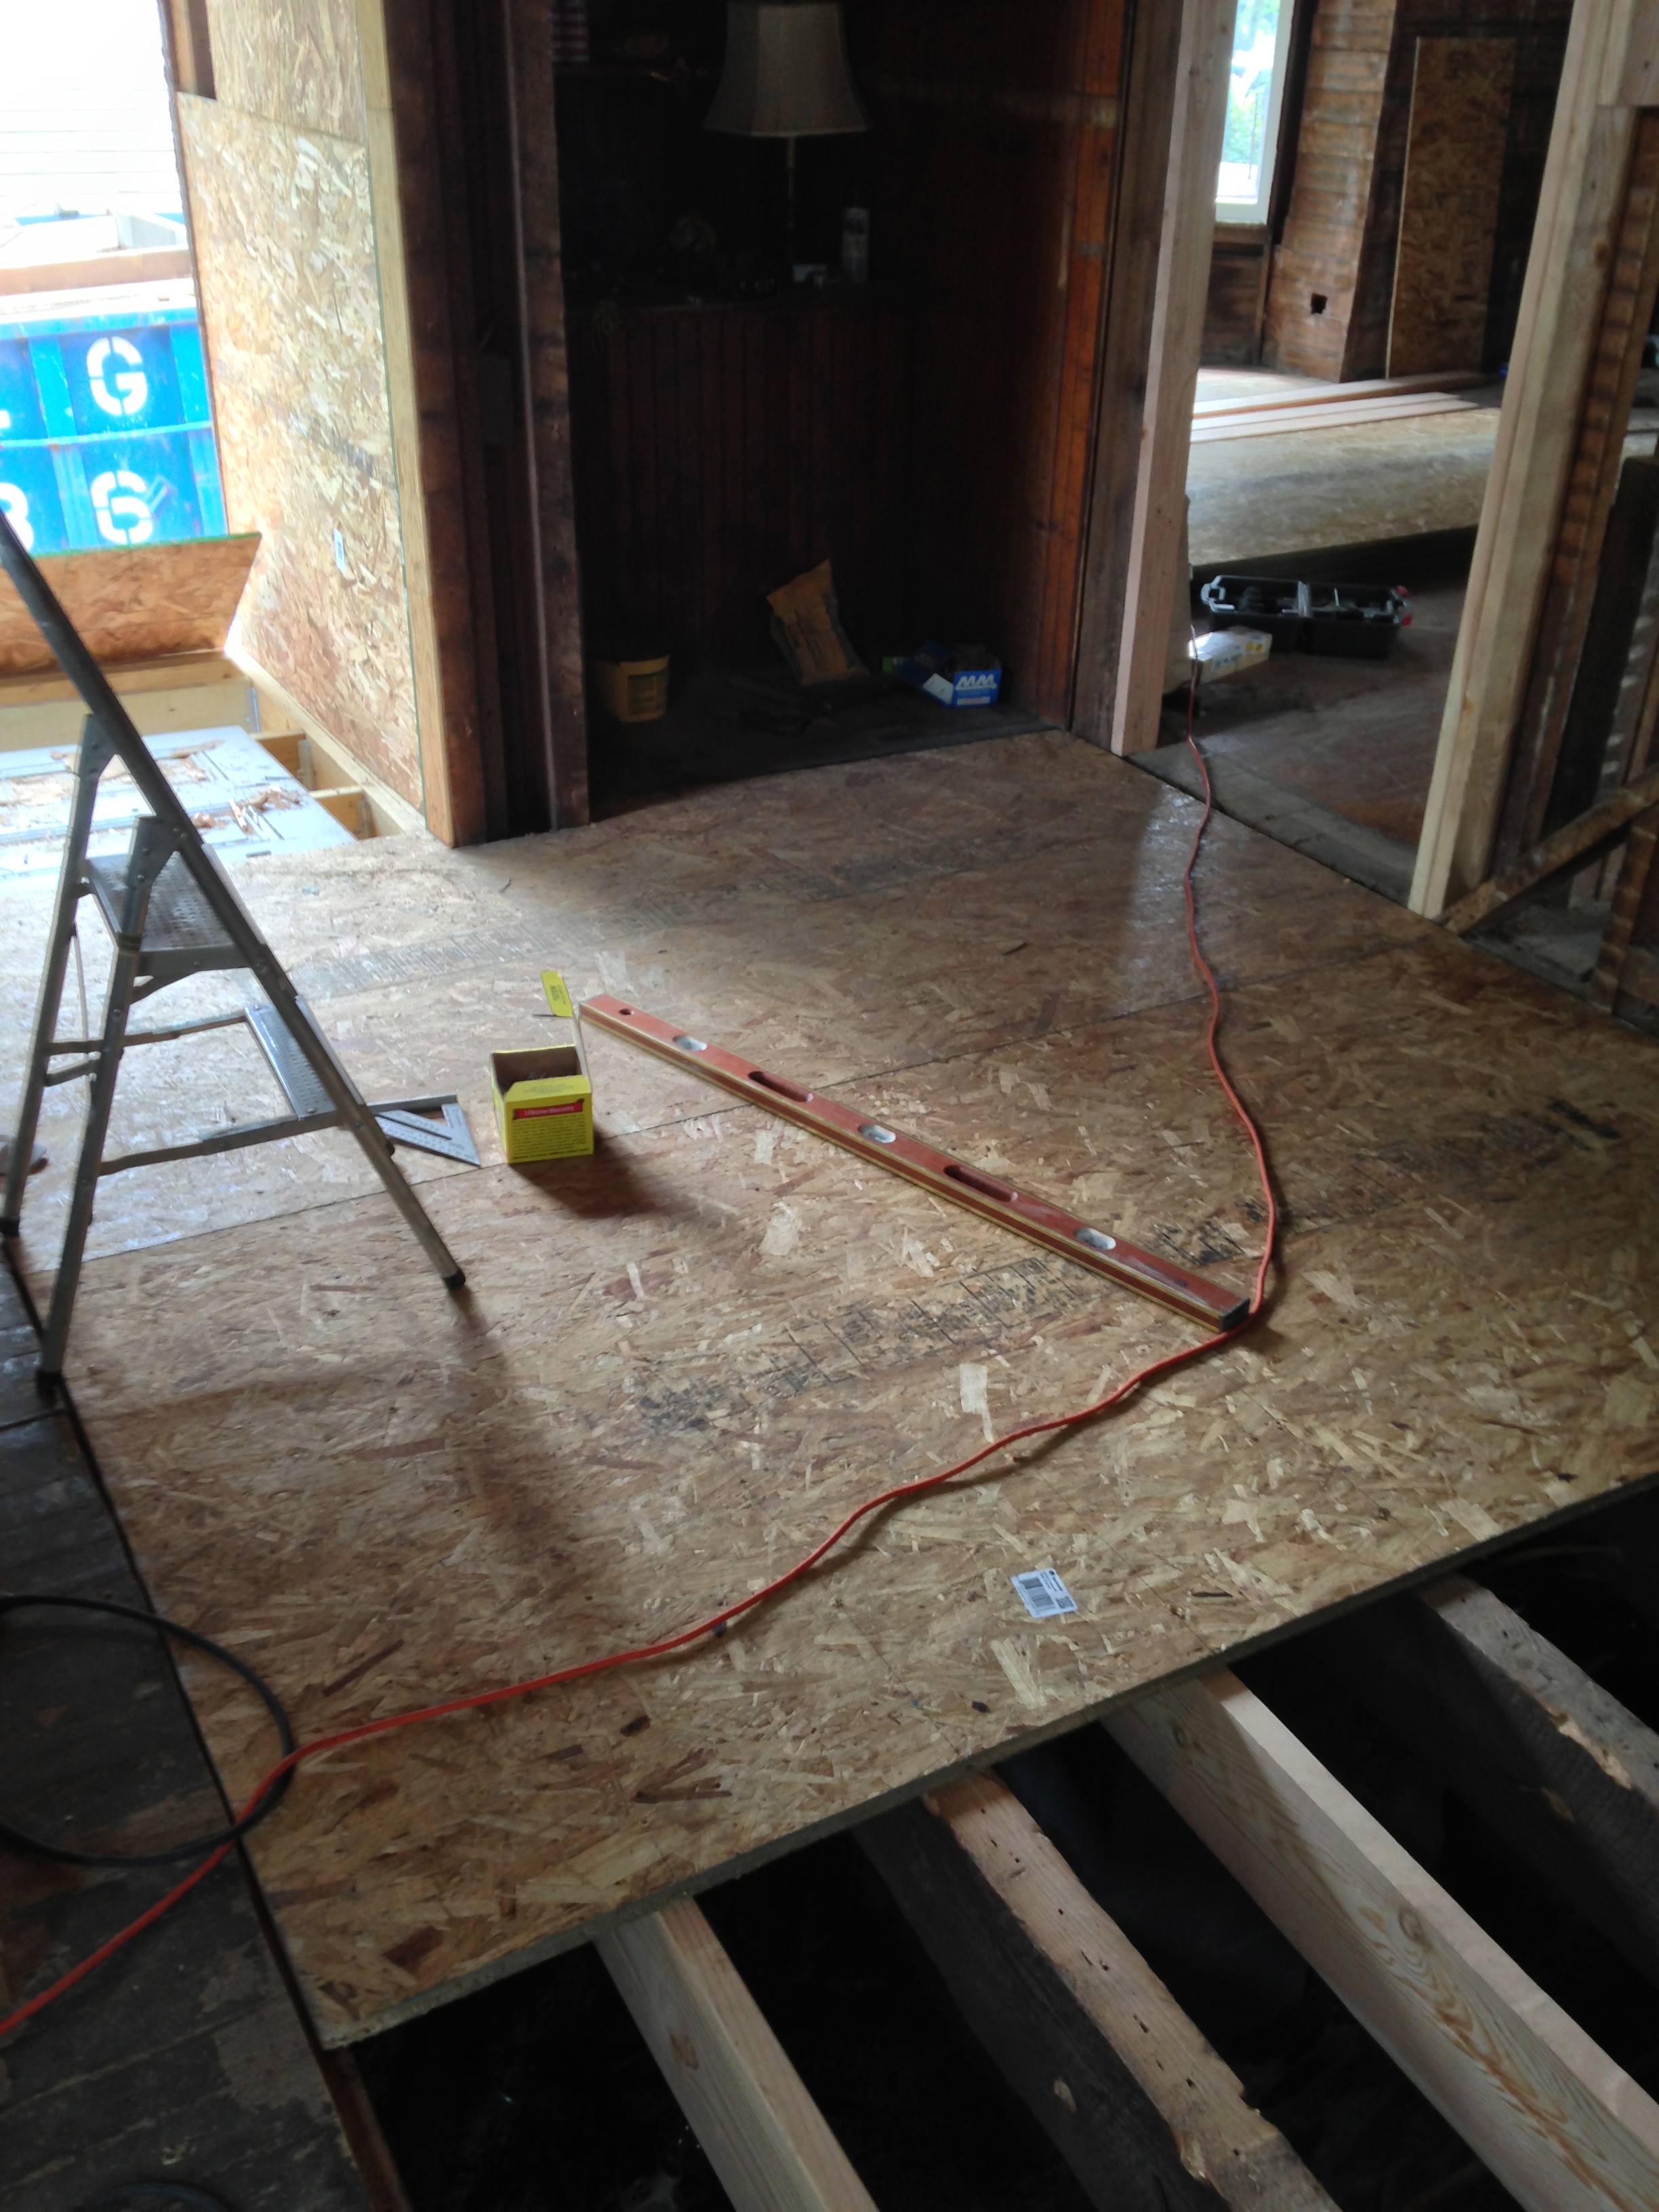
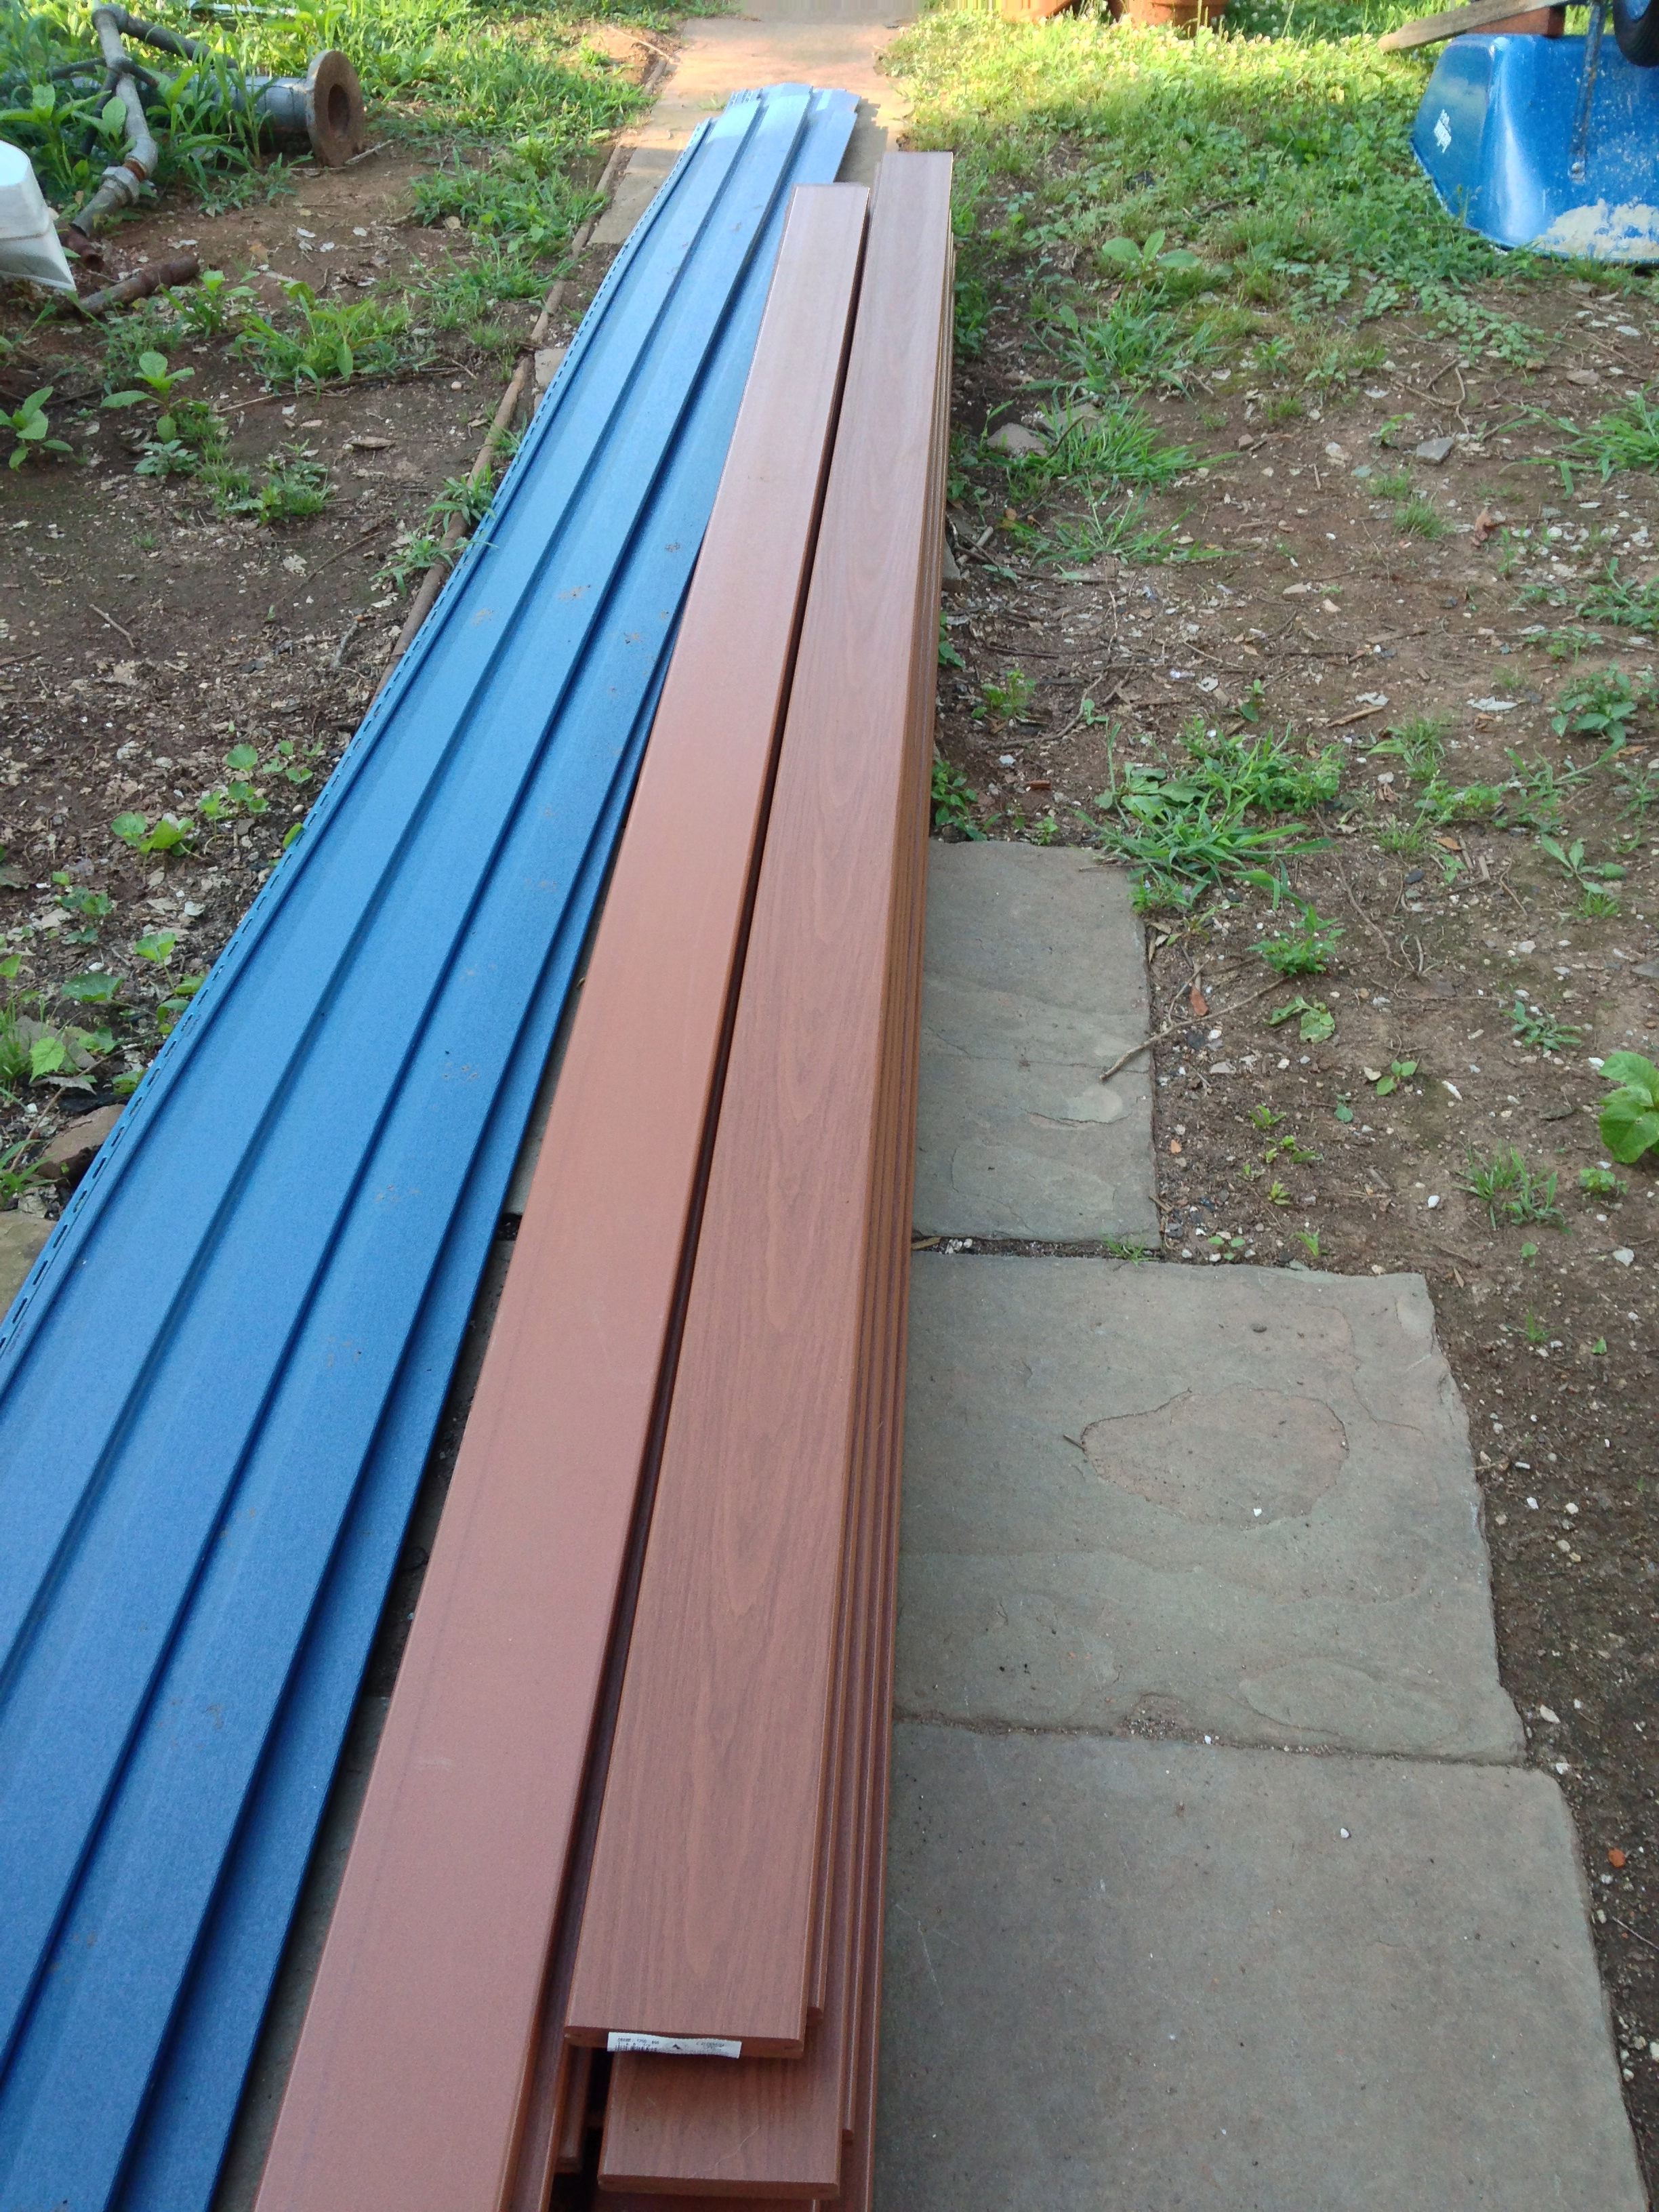
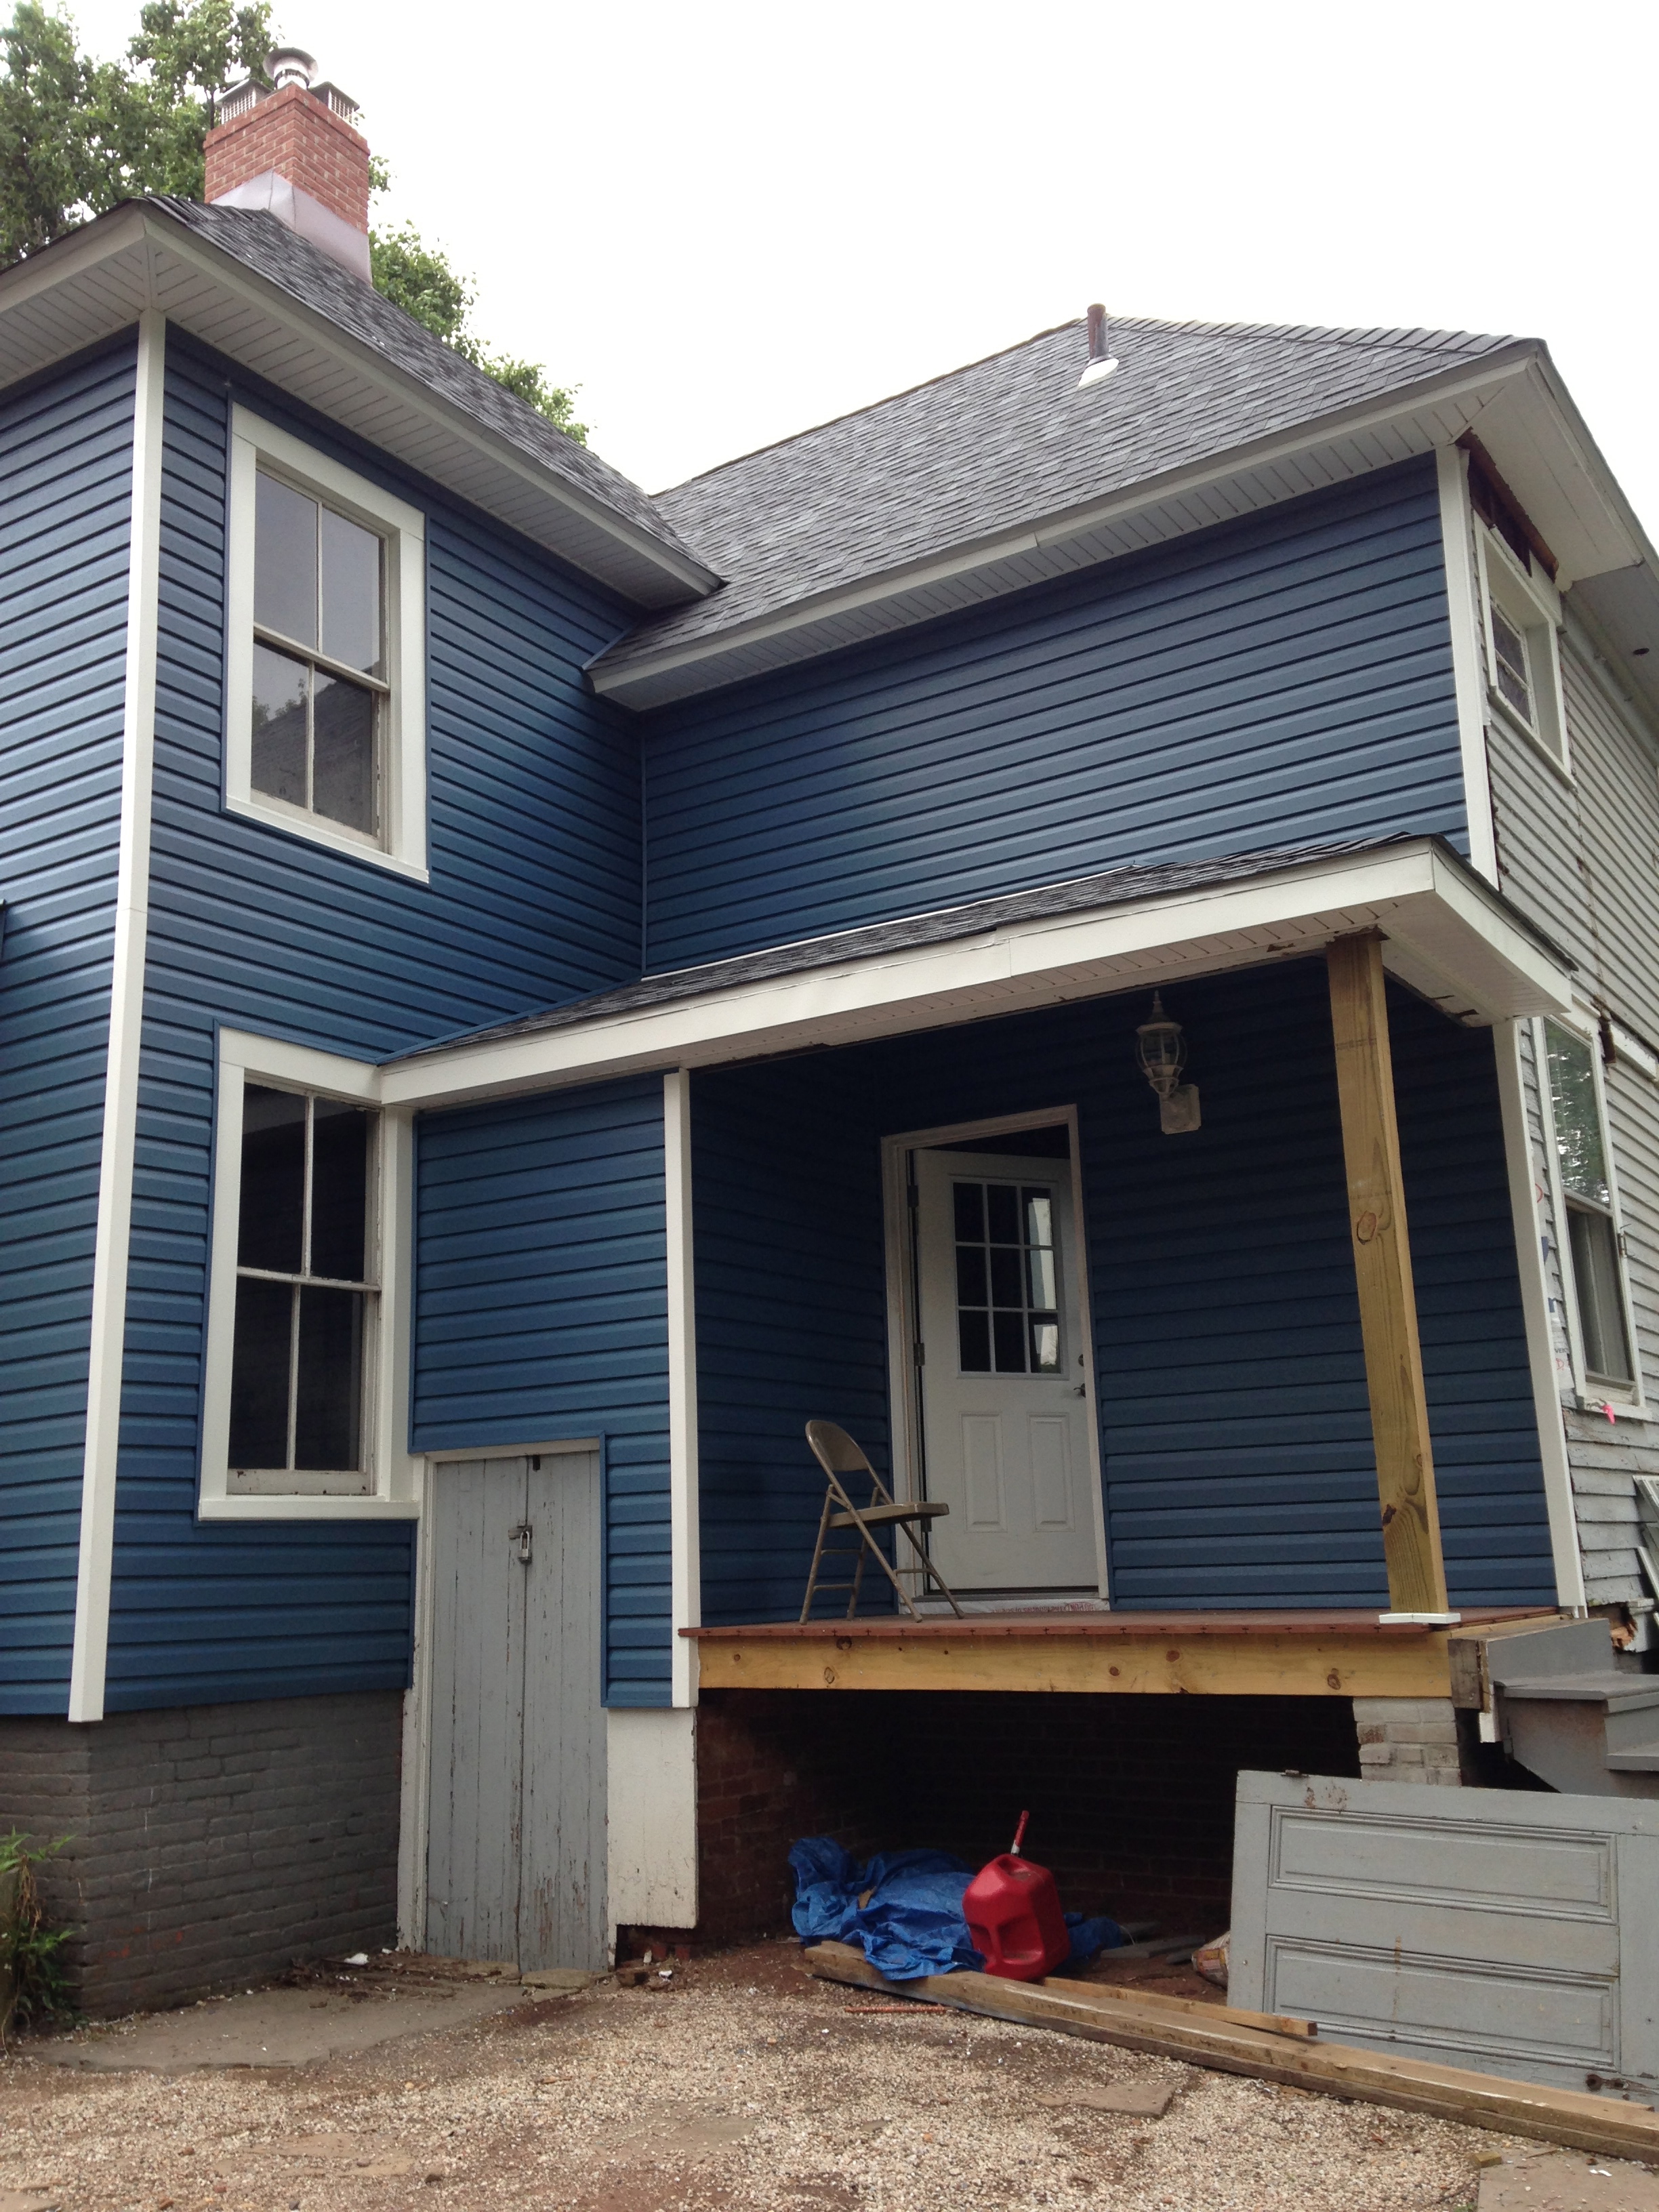
We then tyveked the house up and left it alone until the siding guys came to do it.
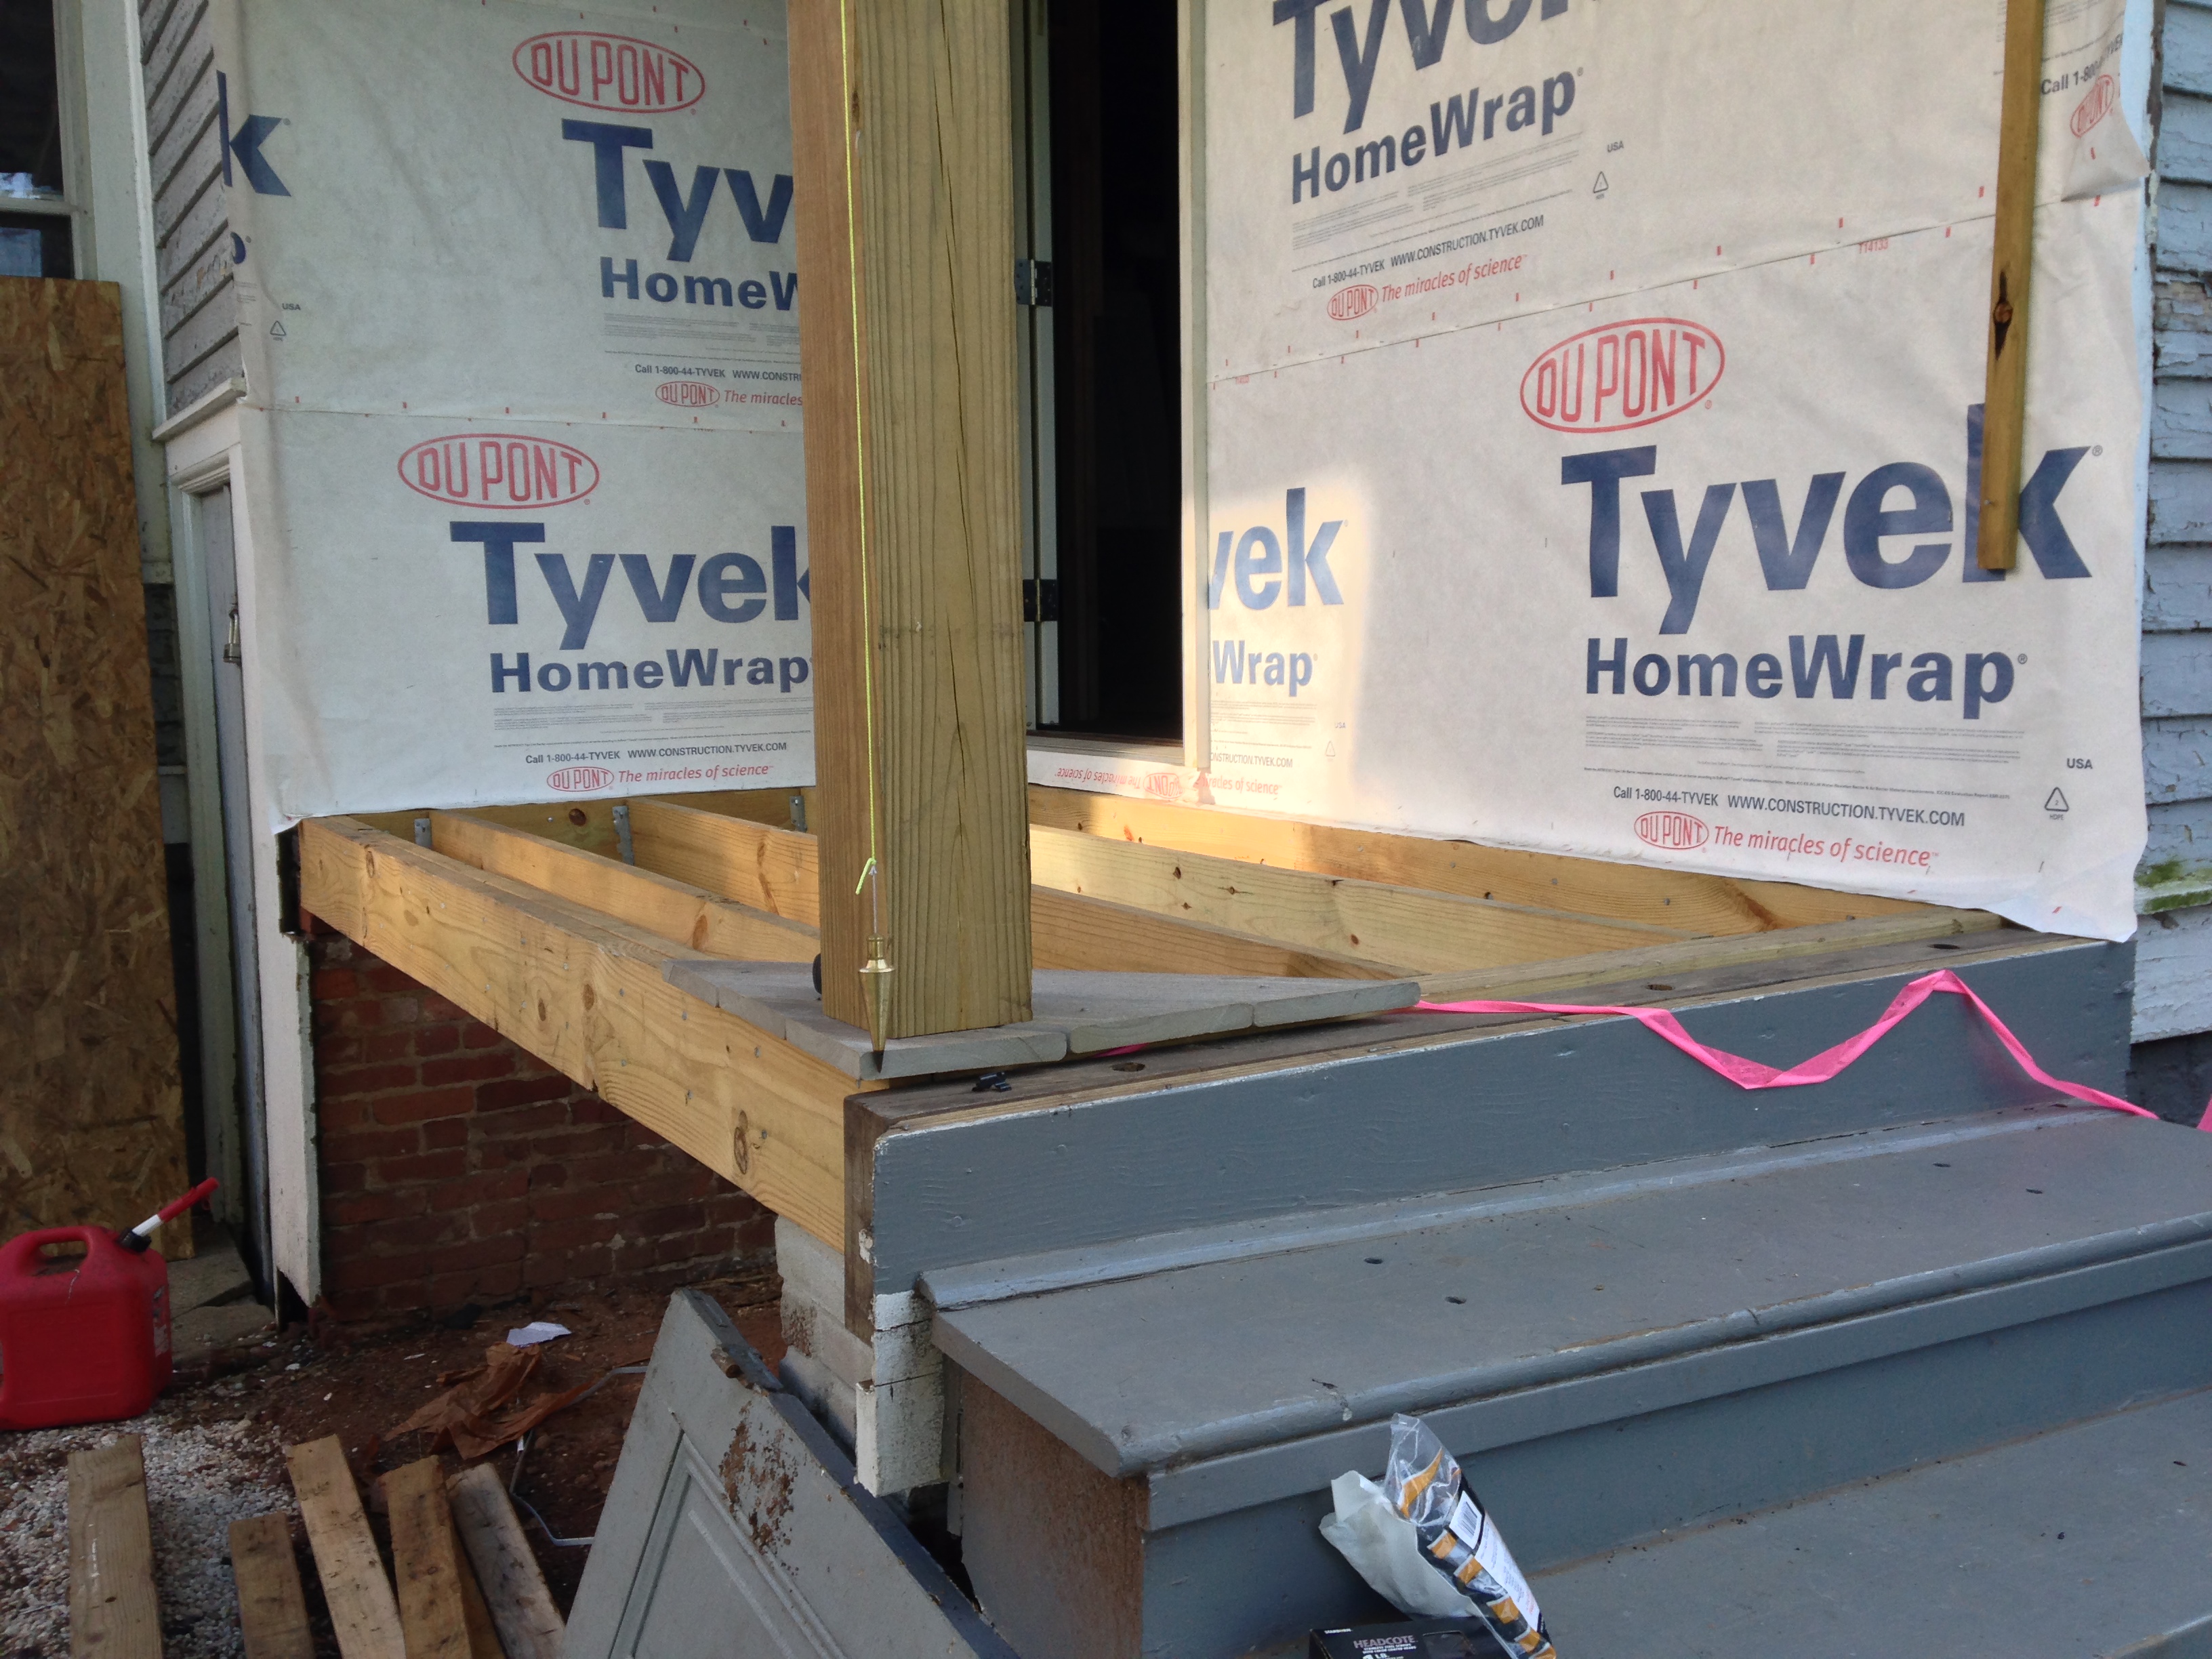
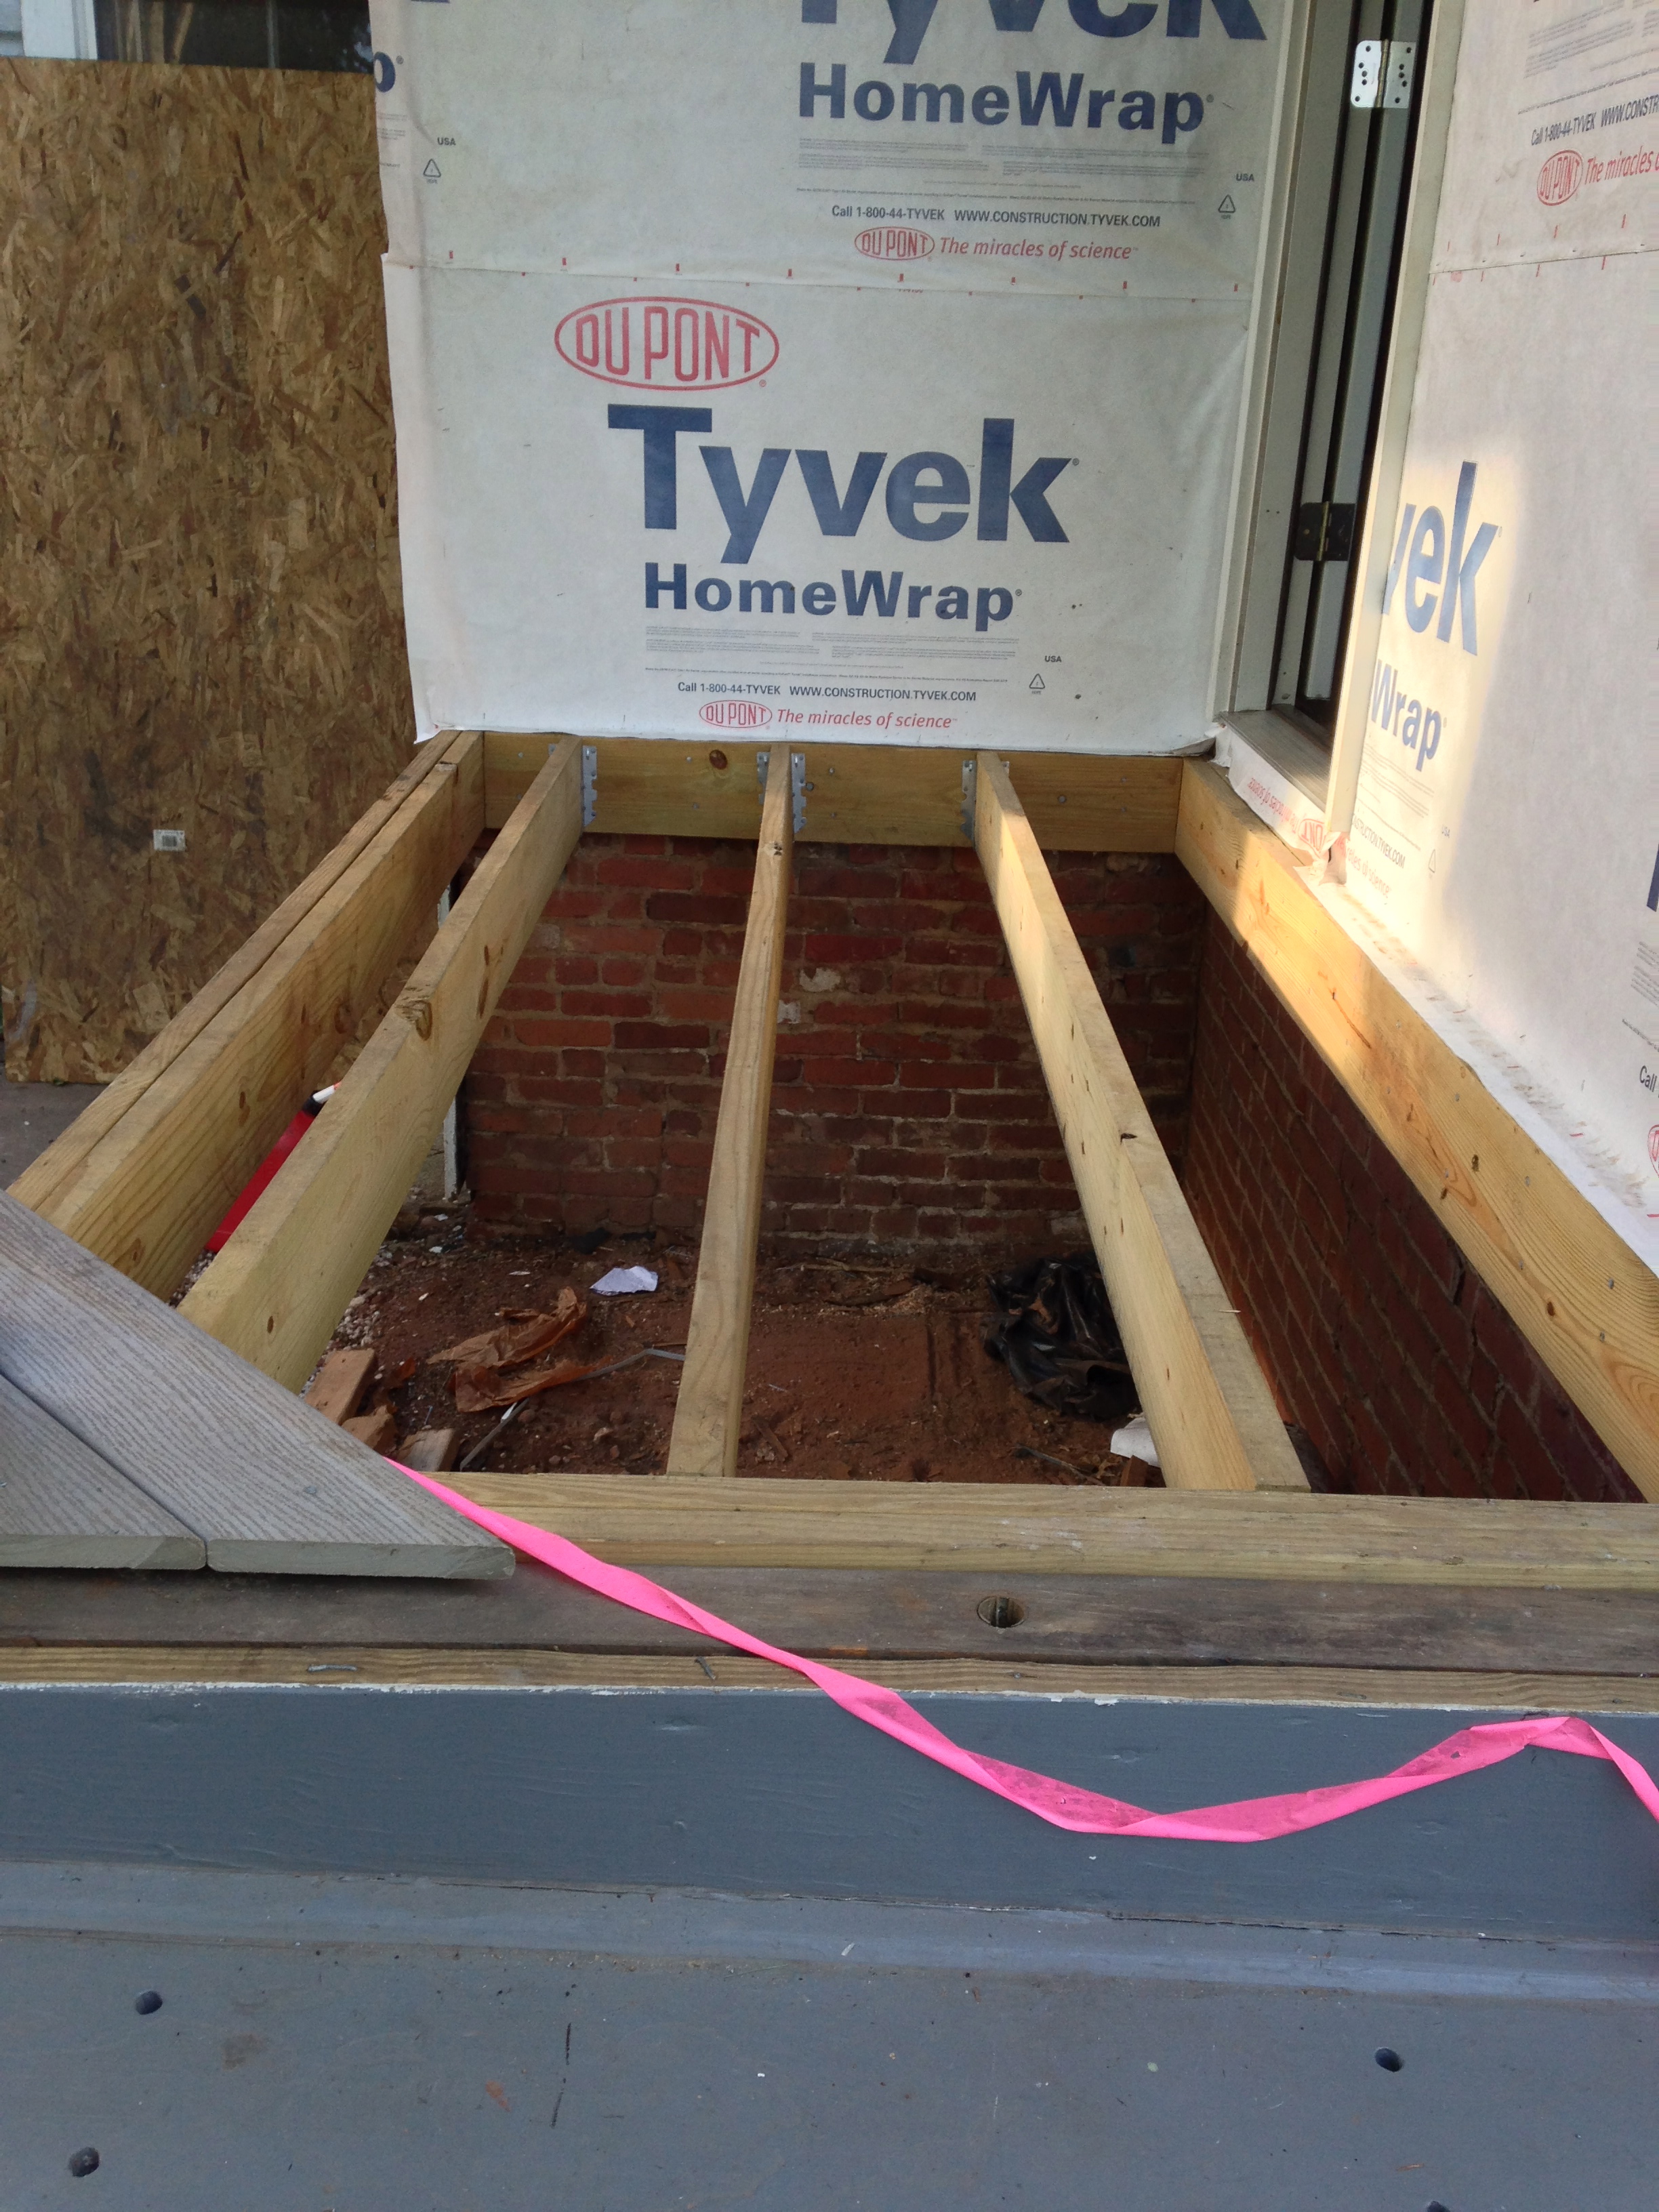
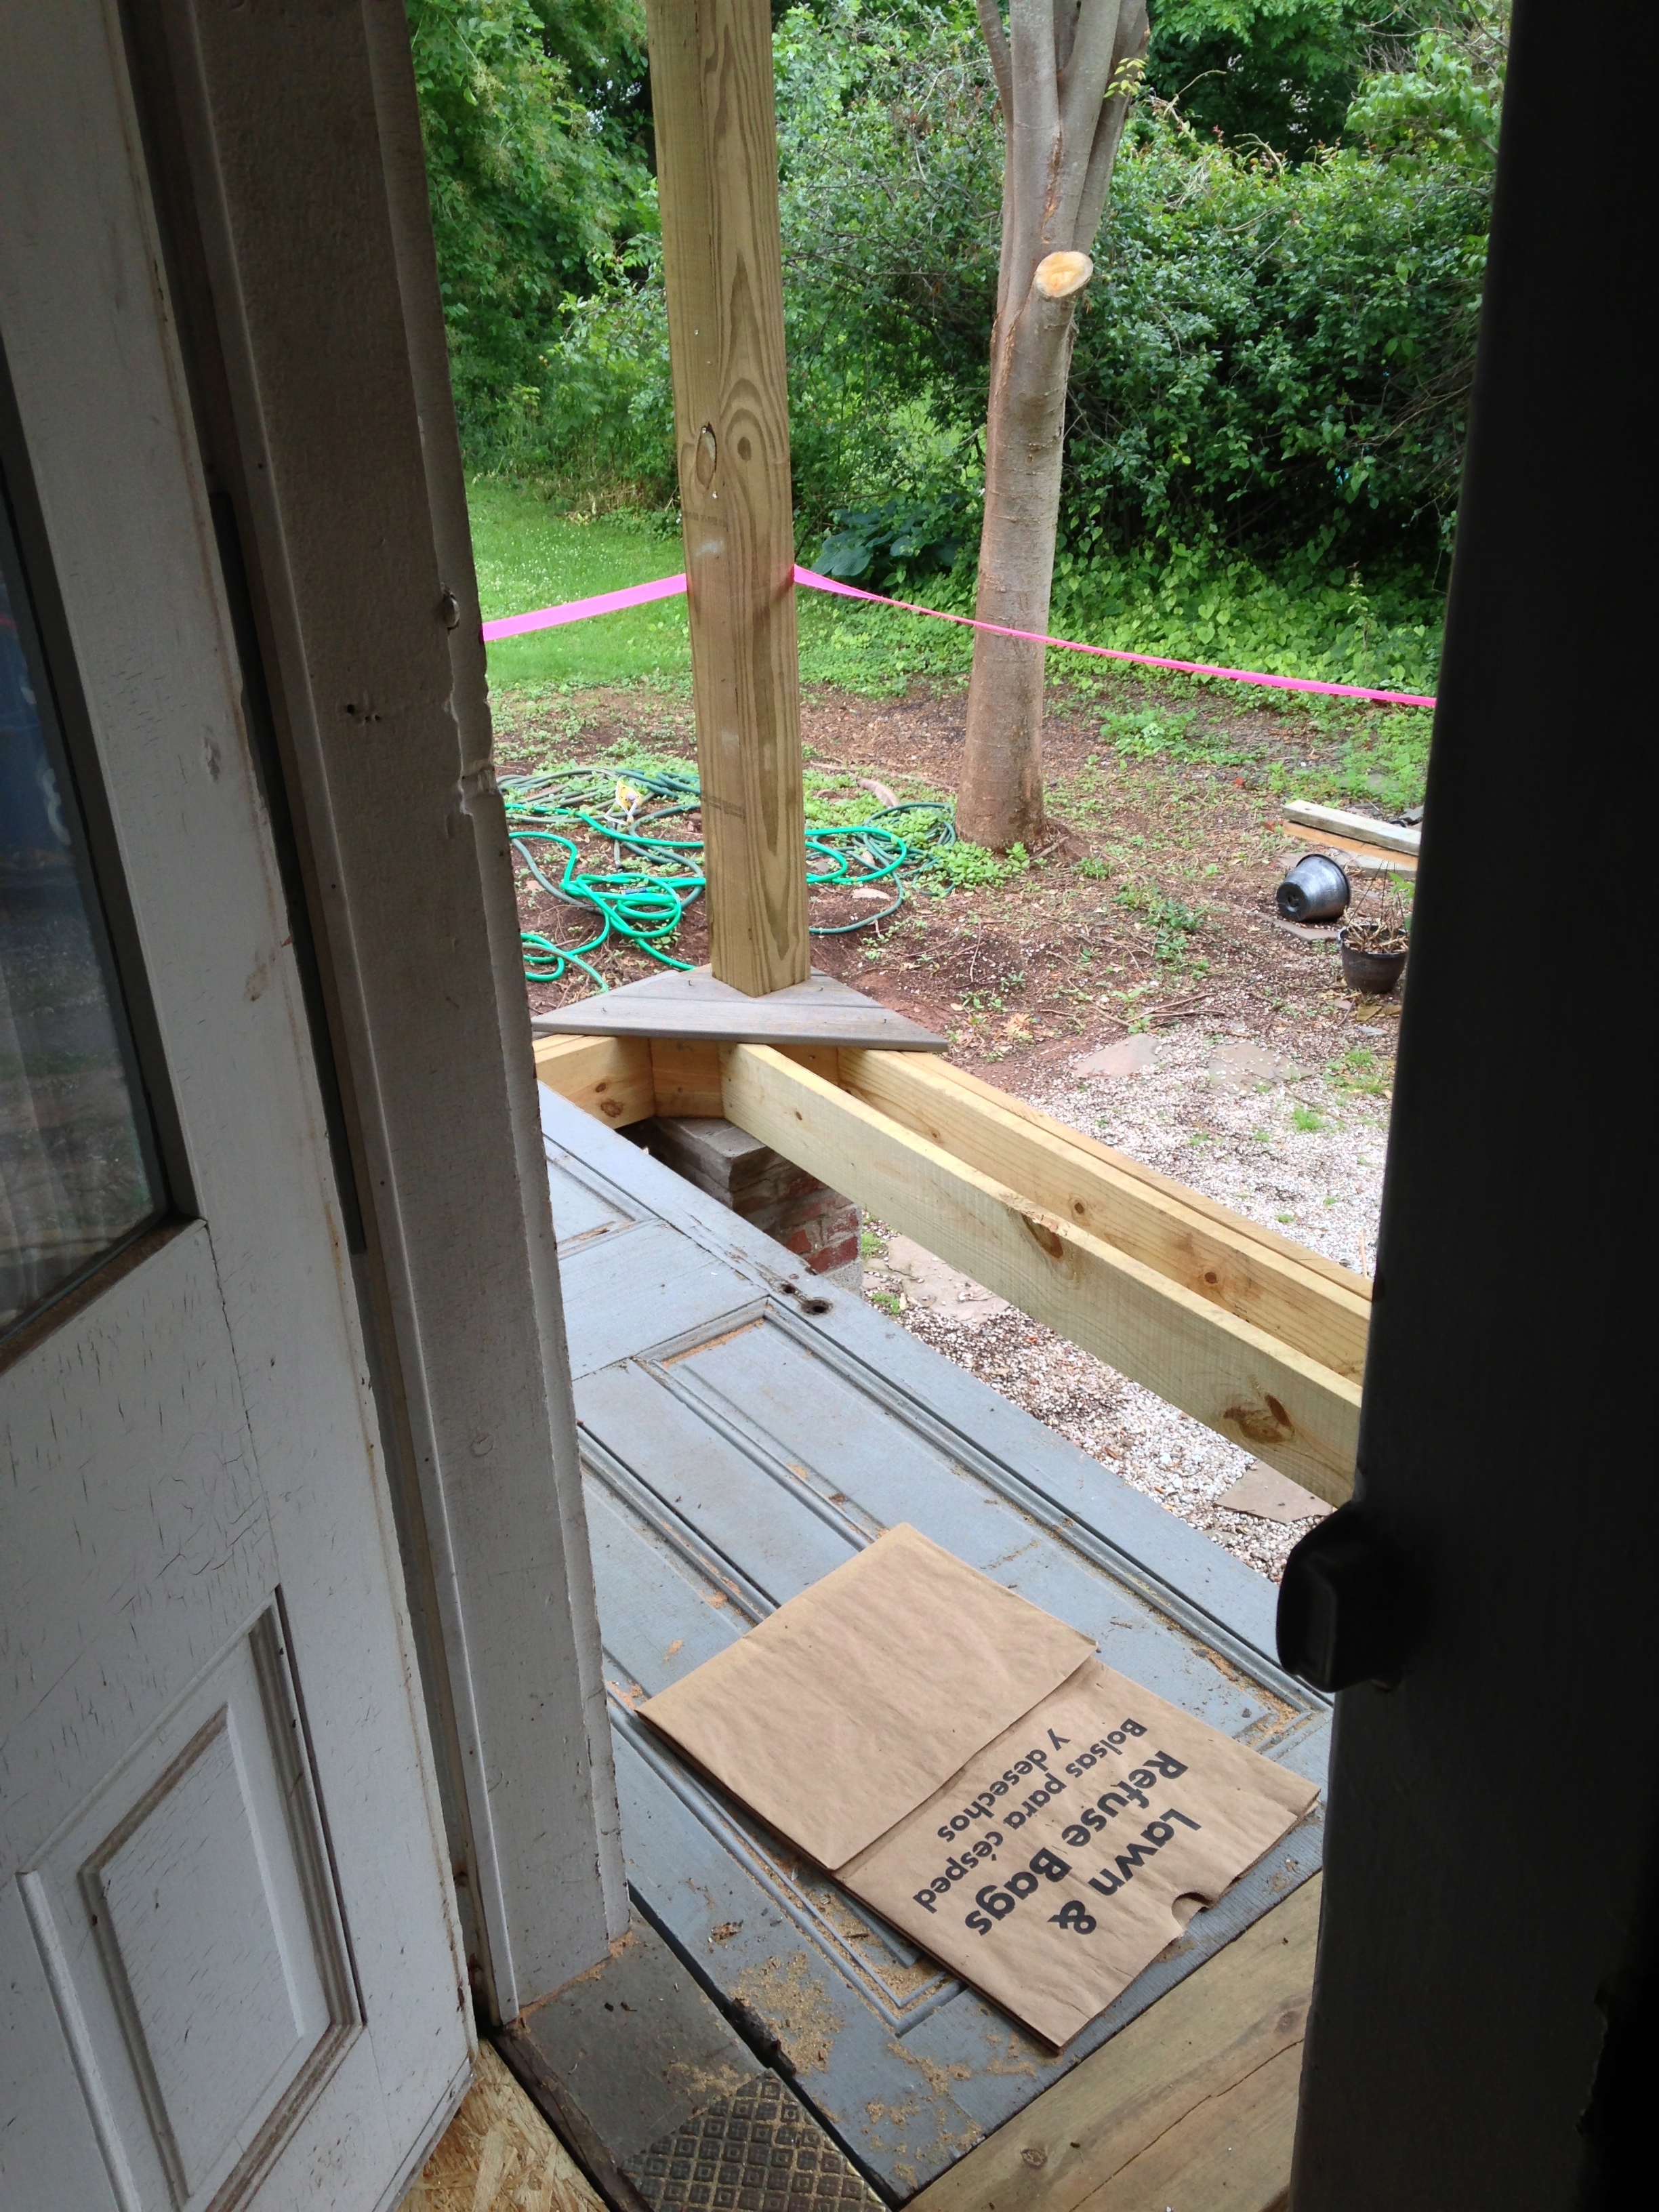
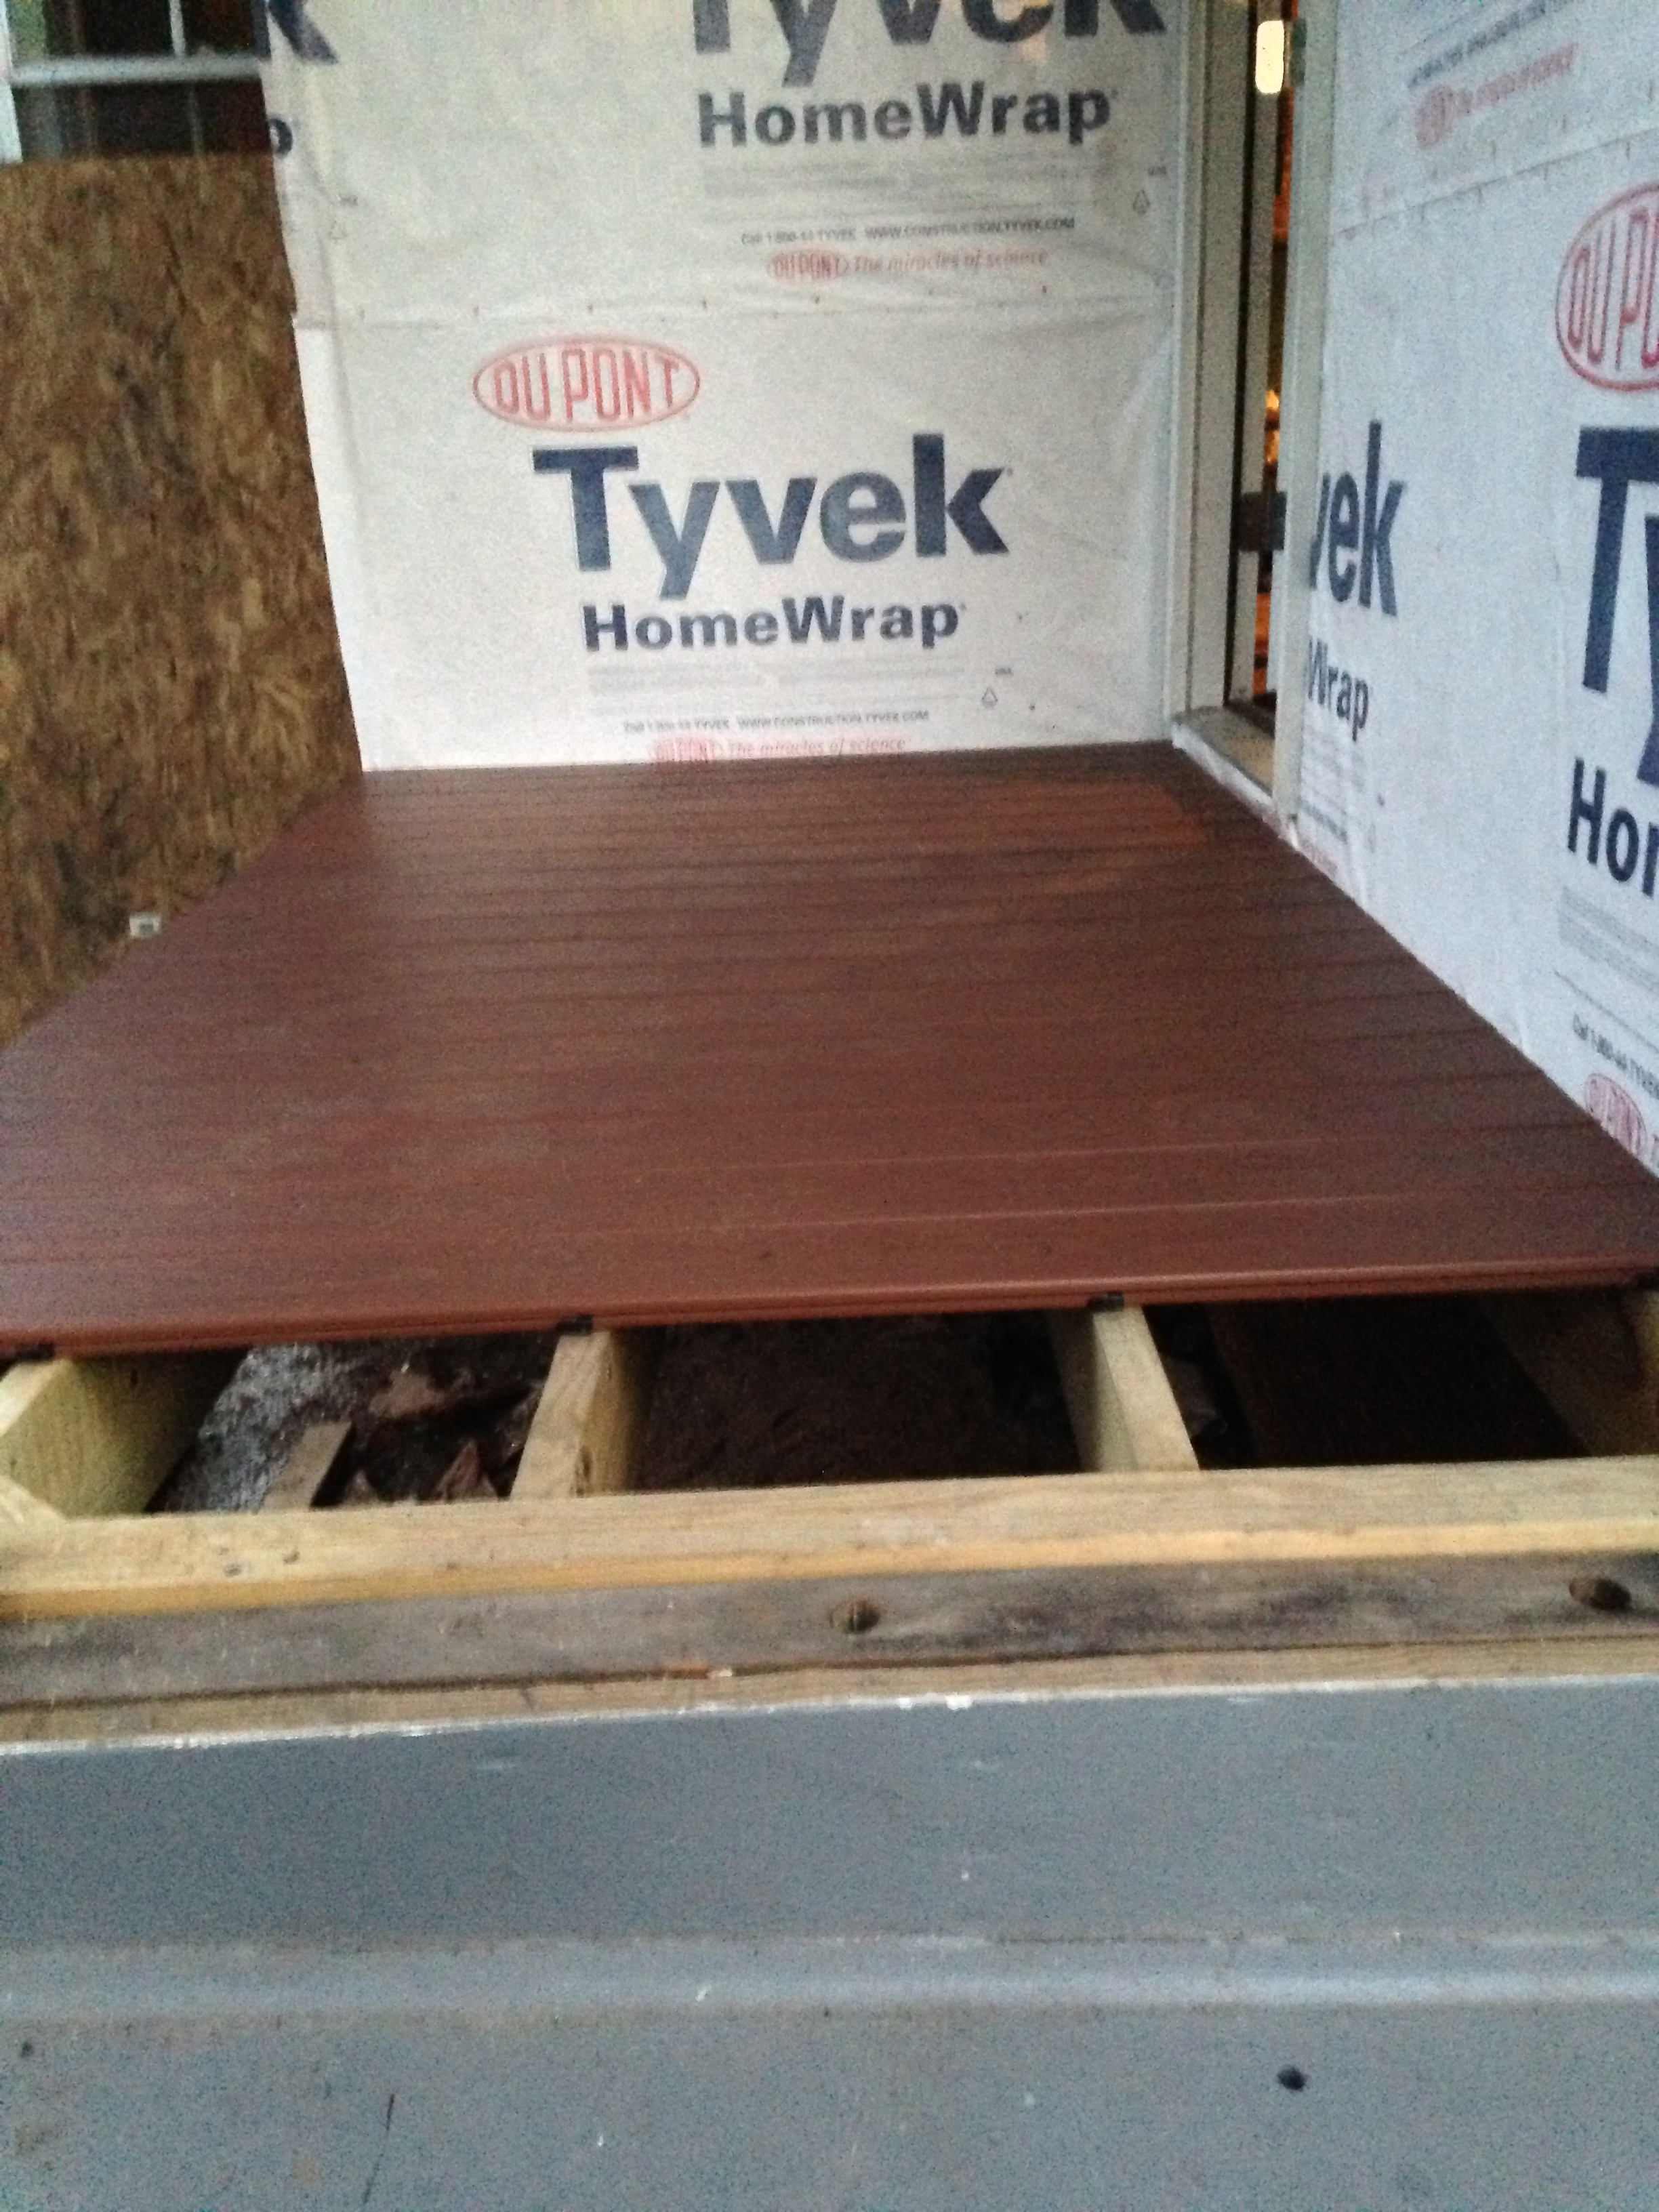
Strangely enough the siding and floor for the porch was delivered on the same day. We were faster out of the gate and got to work on making a floor for them to stand on to put up the siding – hopefully before they caught up.

Faster!

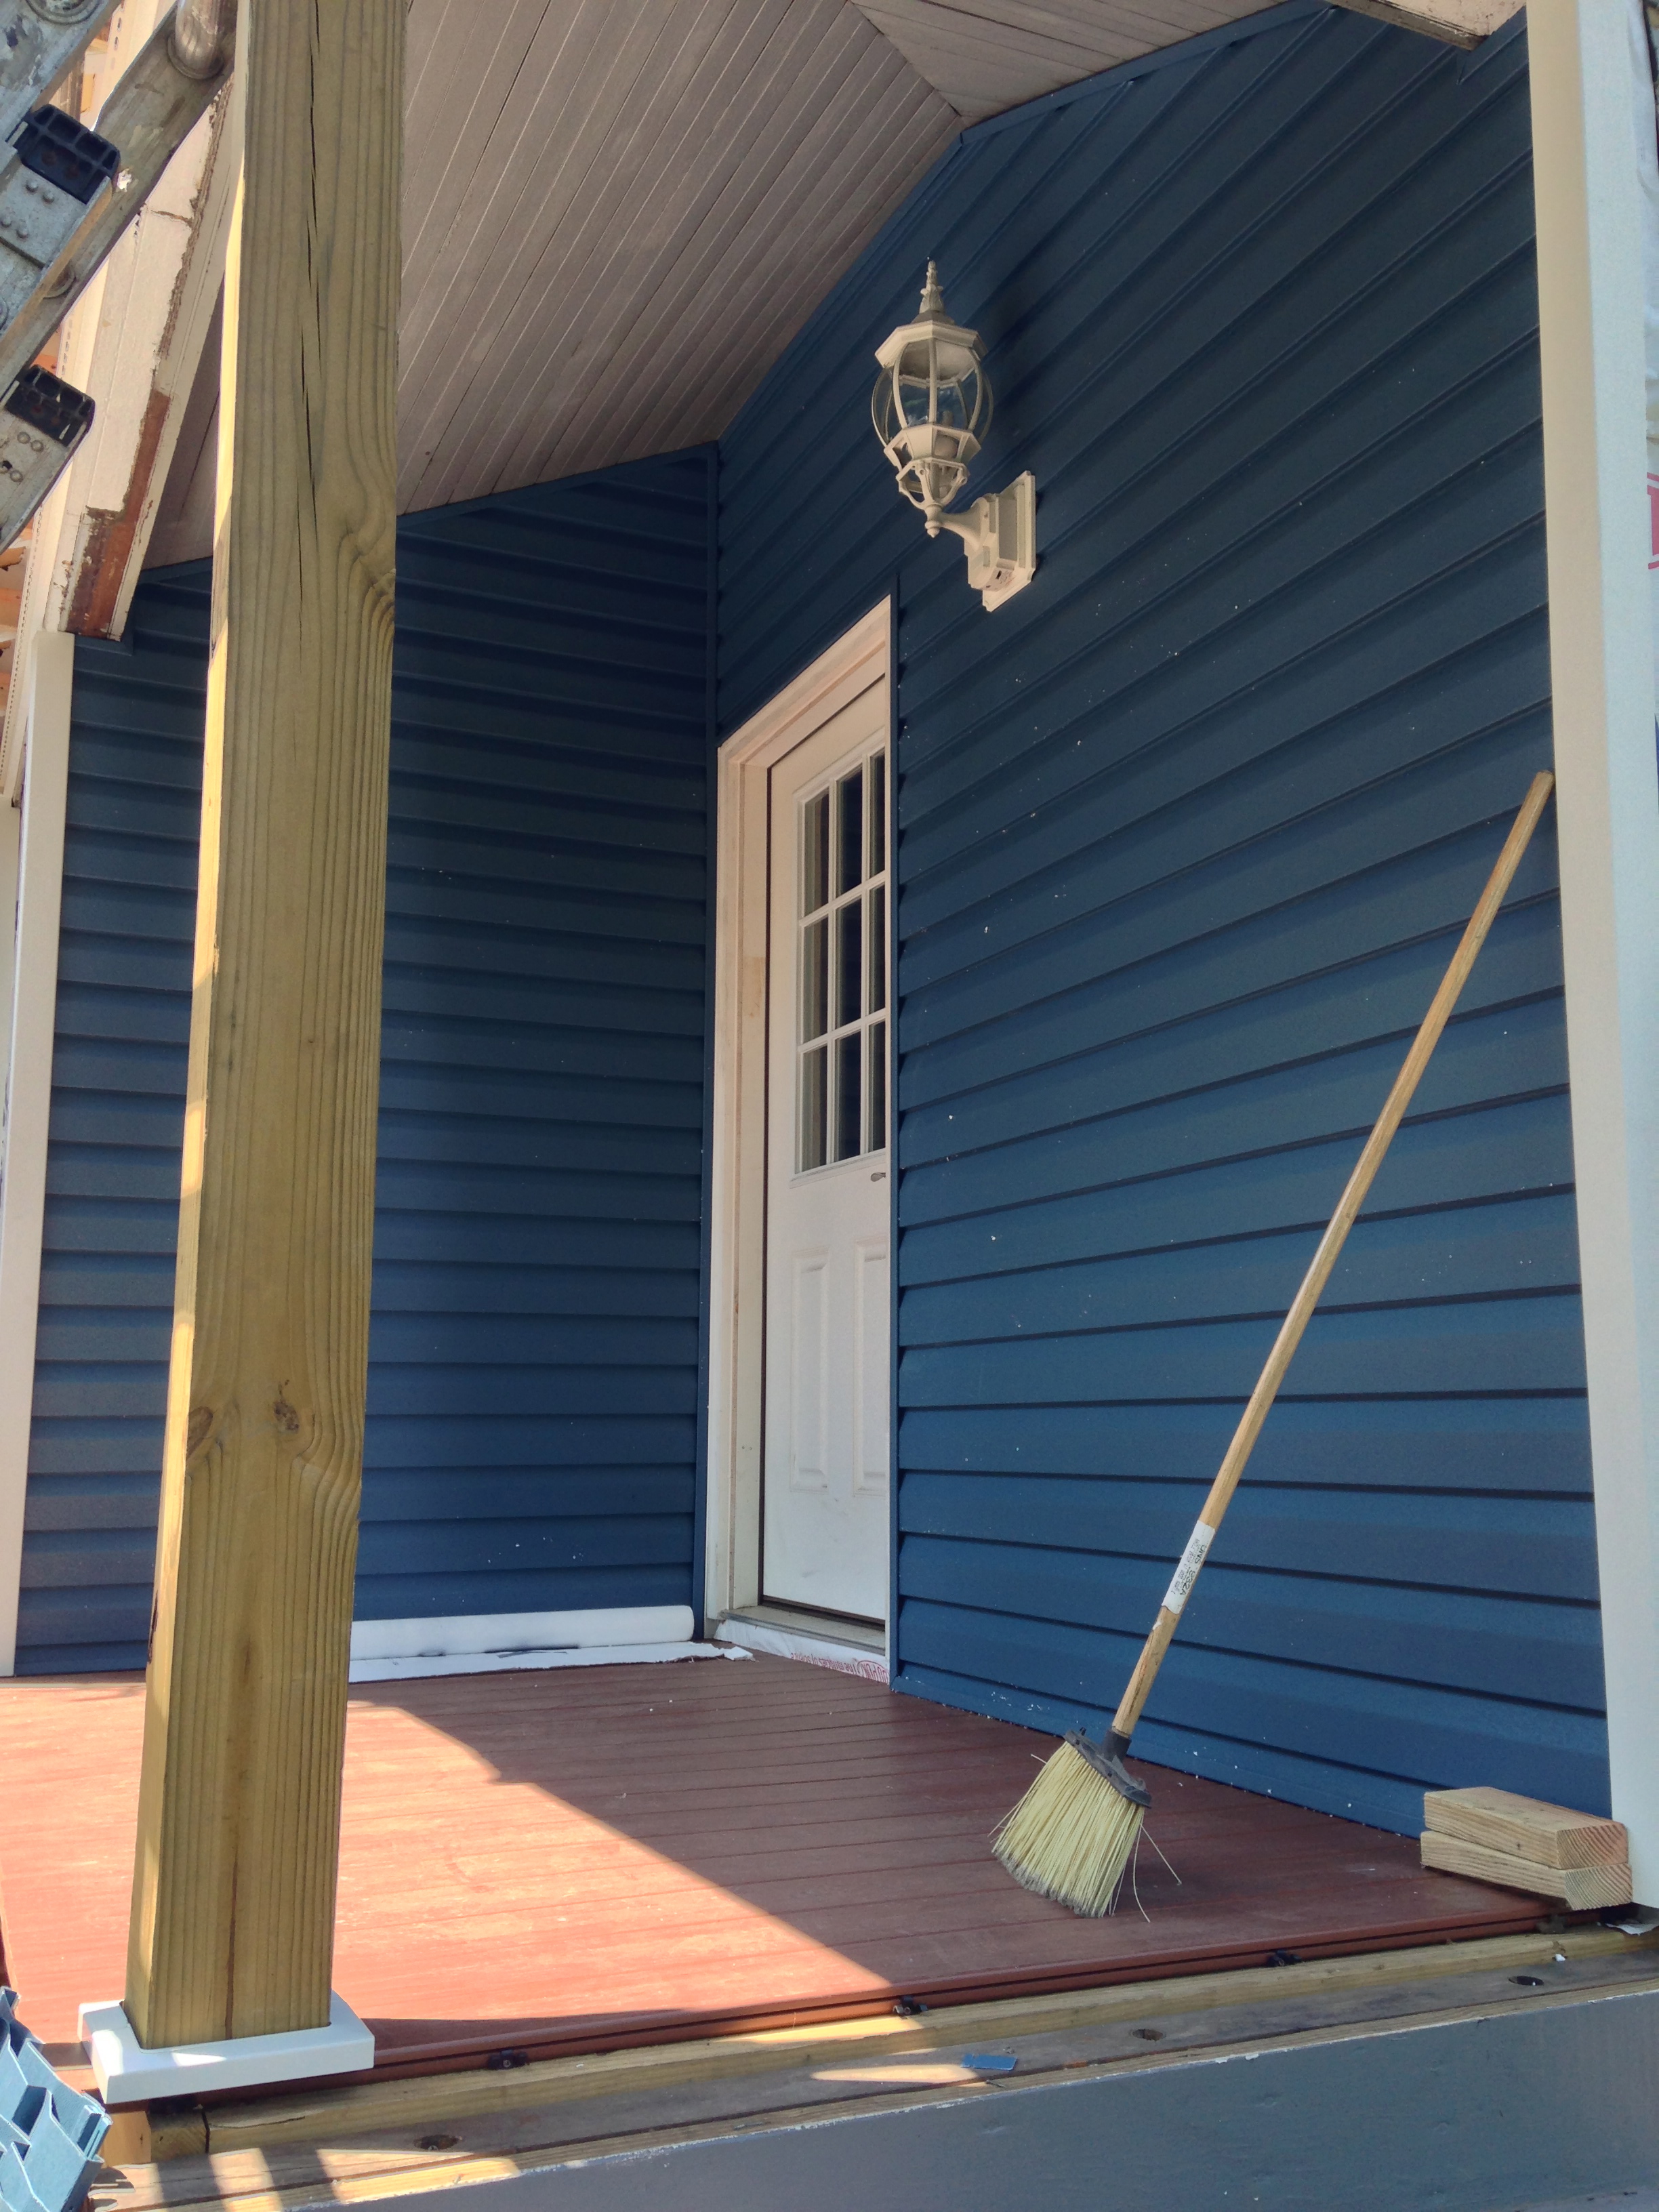
I look thrilled as usual. We finished up that little hole I was standing in and the next day they came to do the siding, check it out in this post

Looking good!
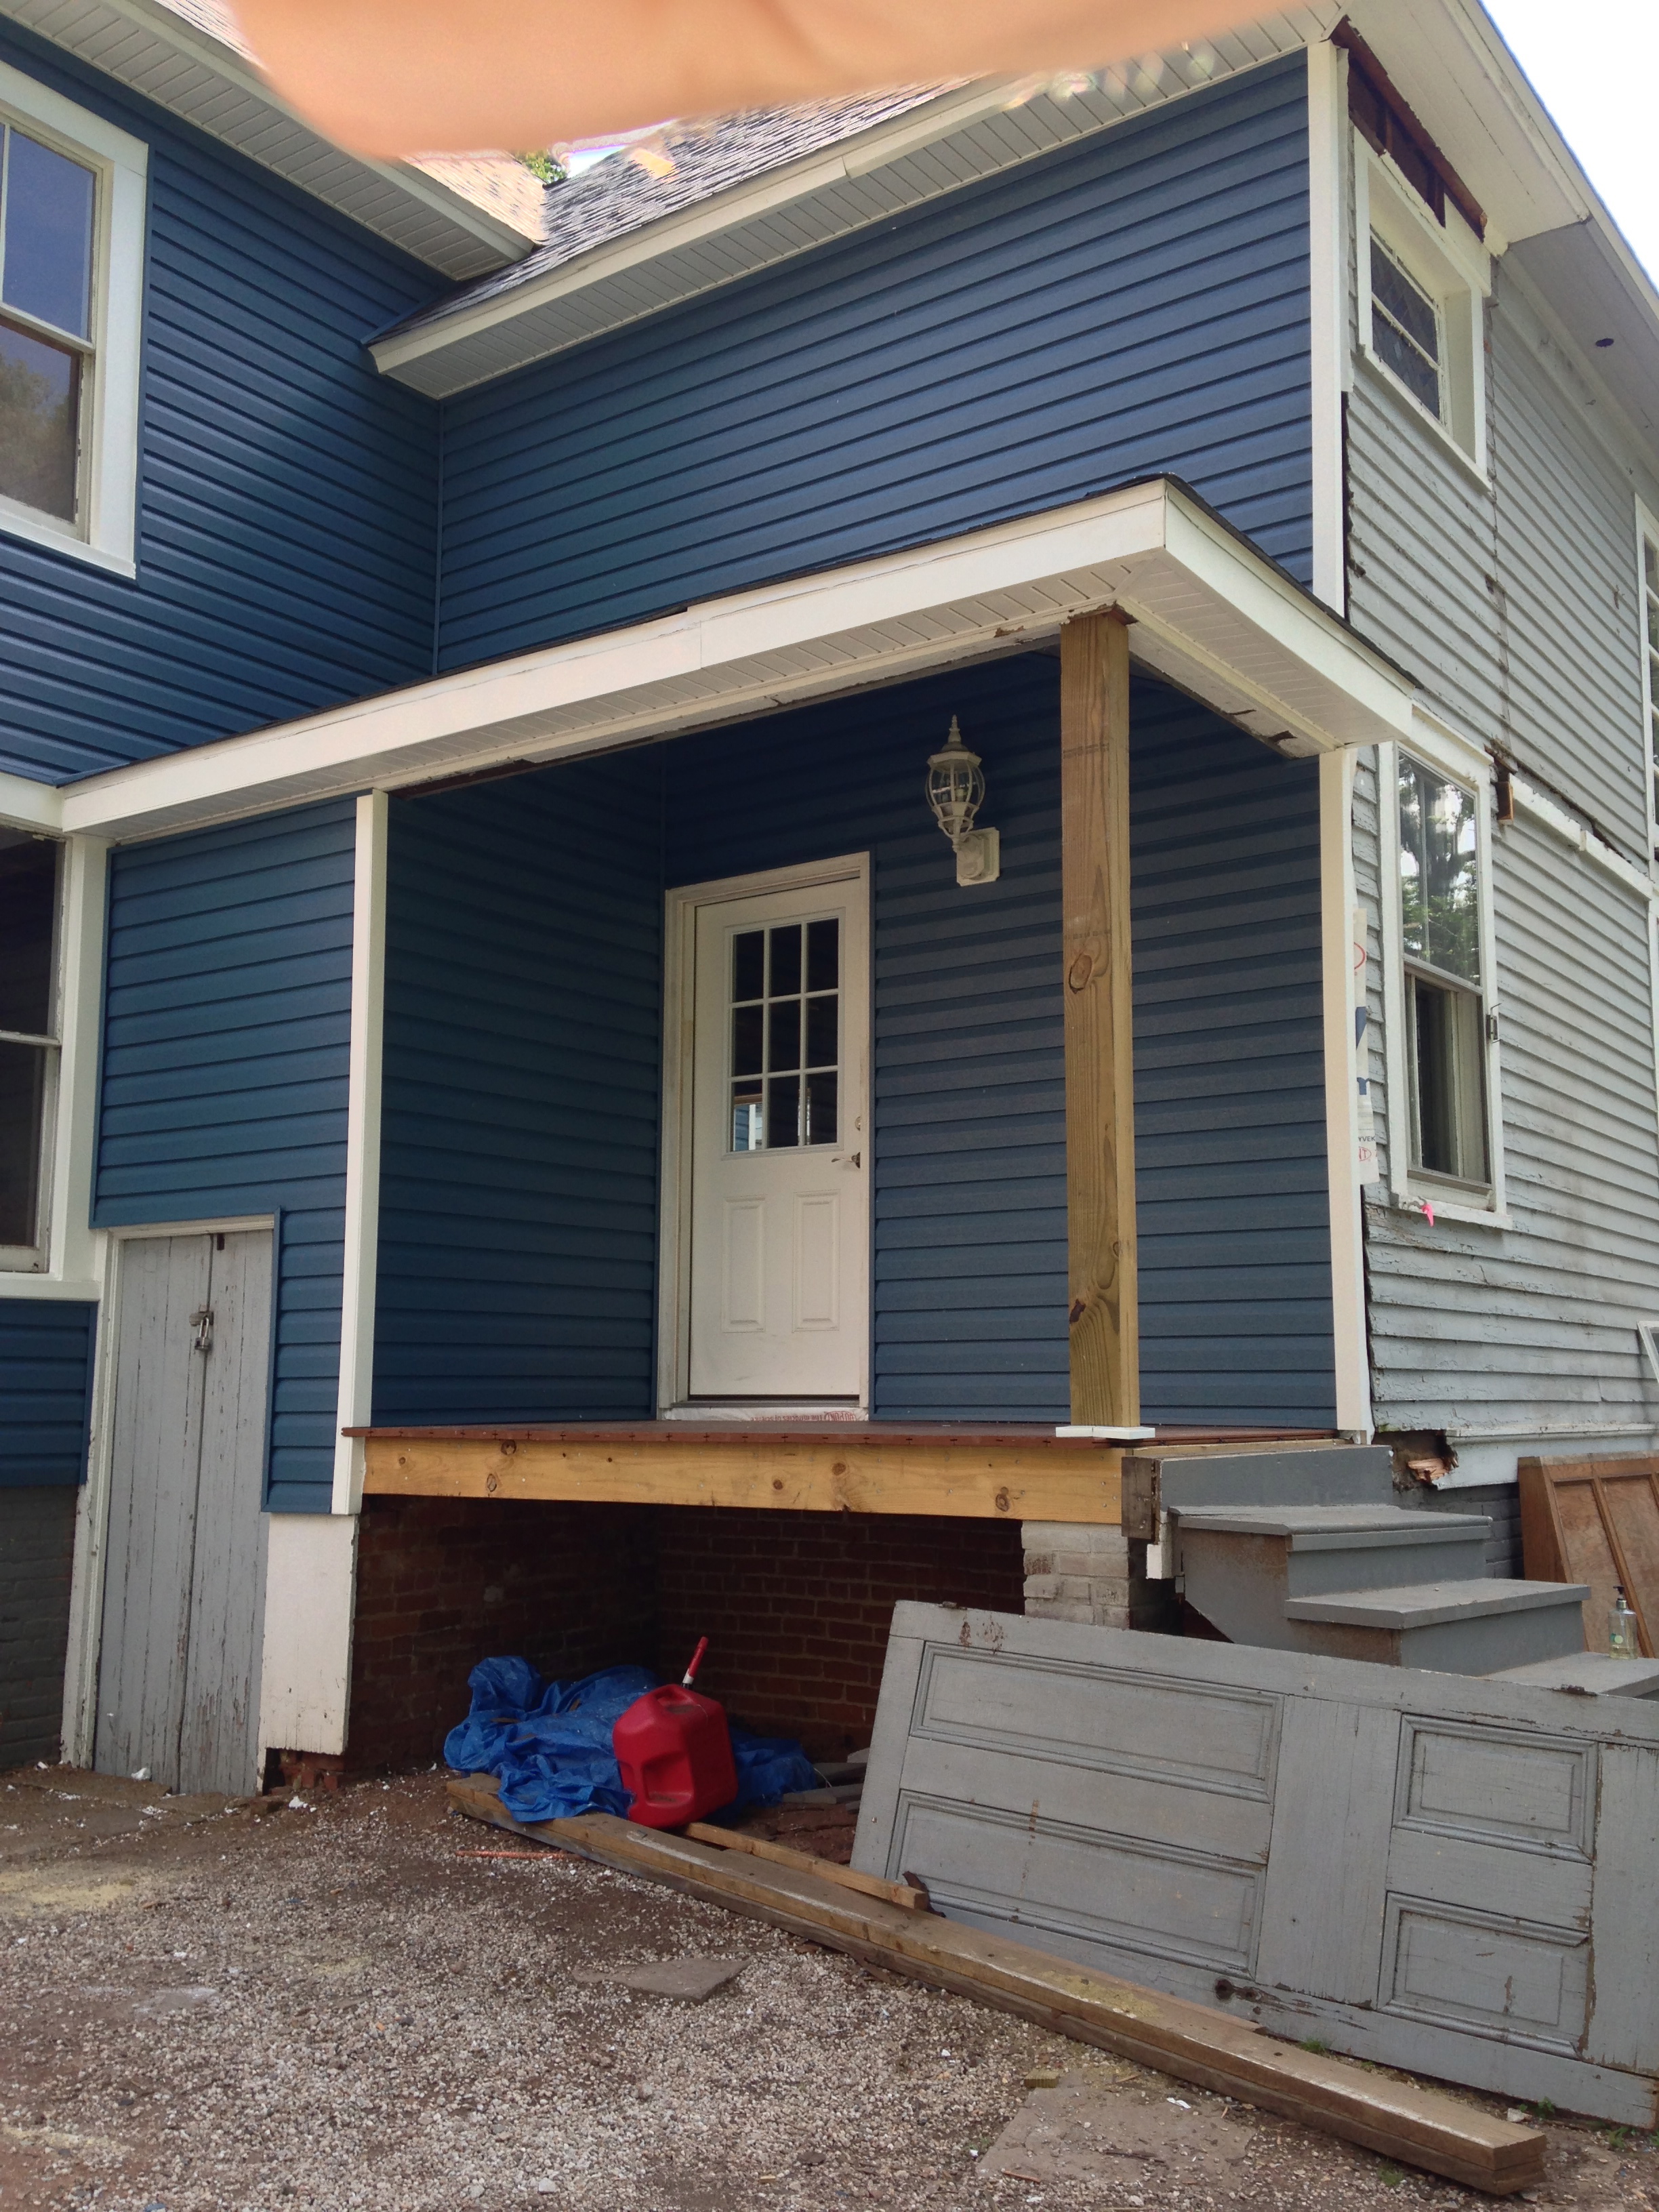
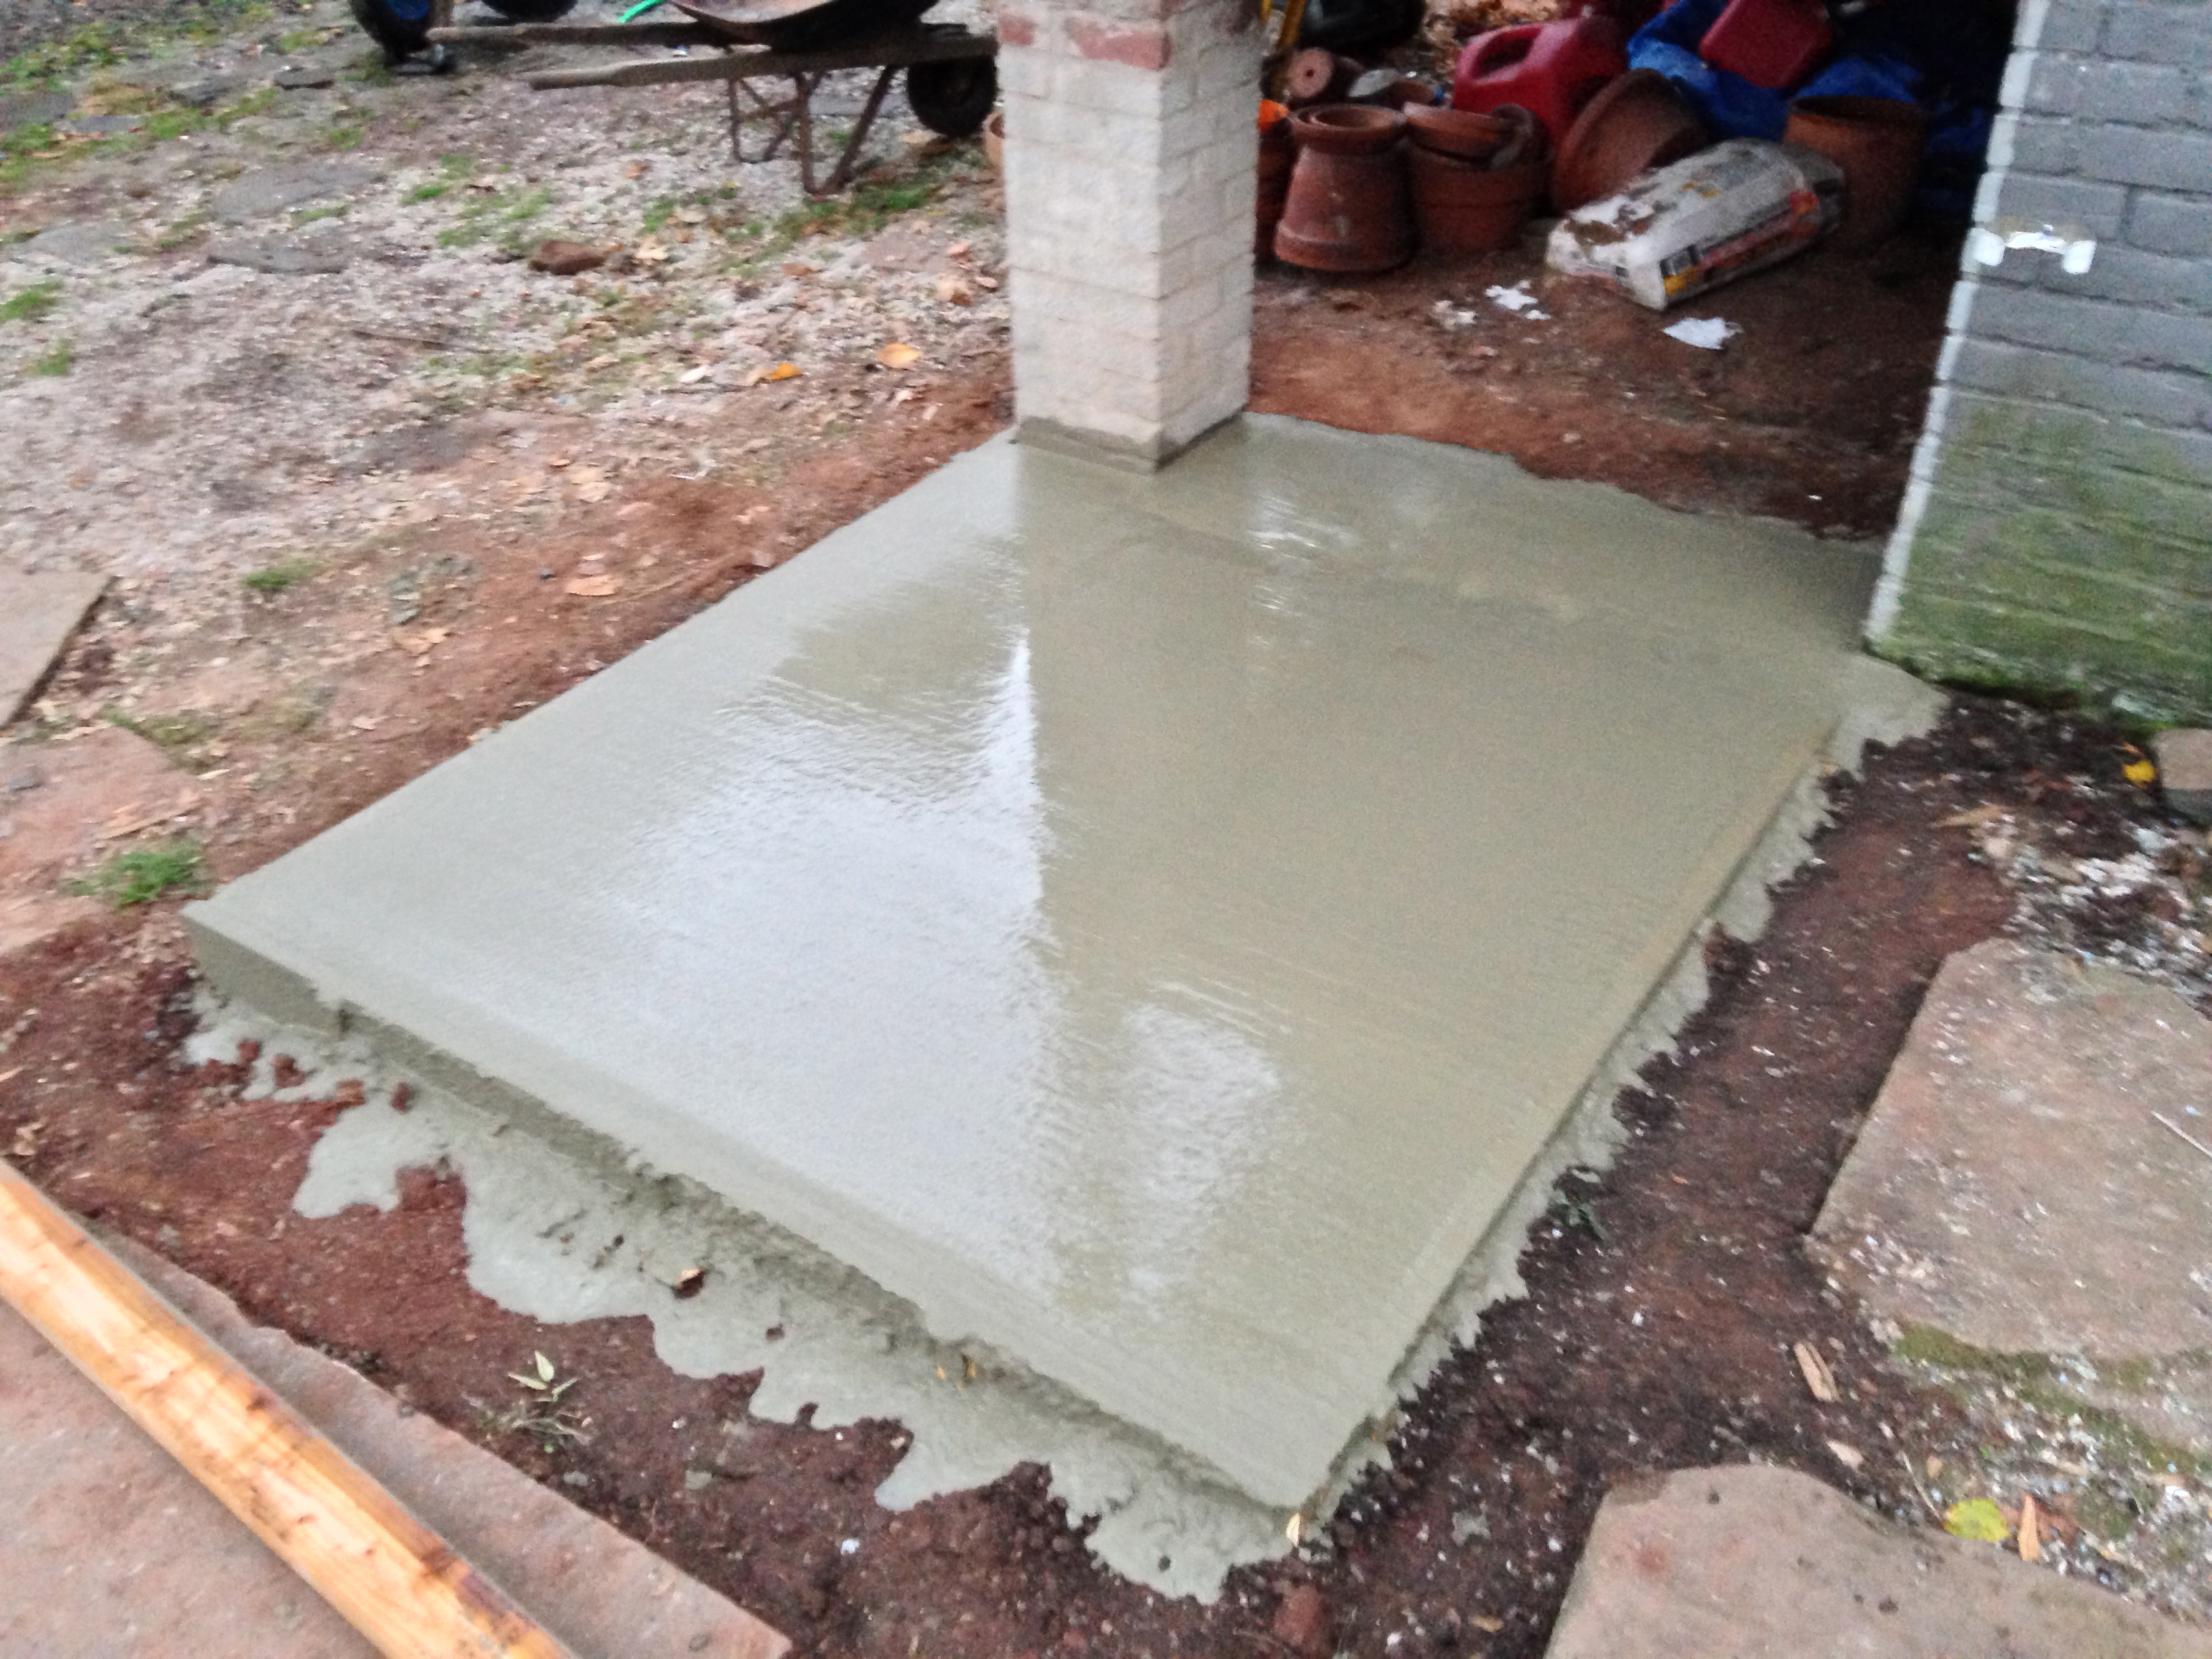
We kept the old steps there for a few months until we were ready to lay down some concrete and make some new ones. First step was prepping the area for a slab.


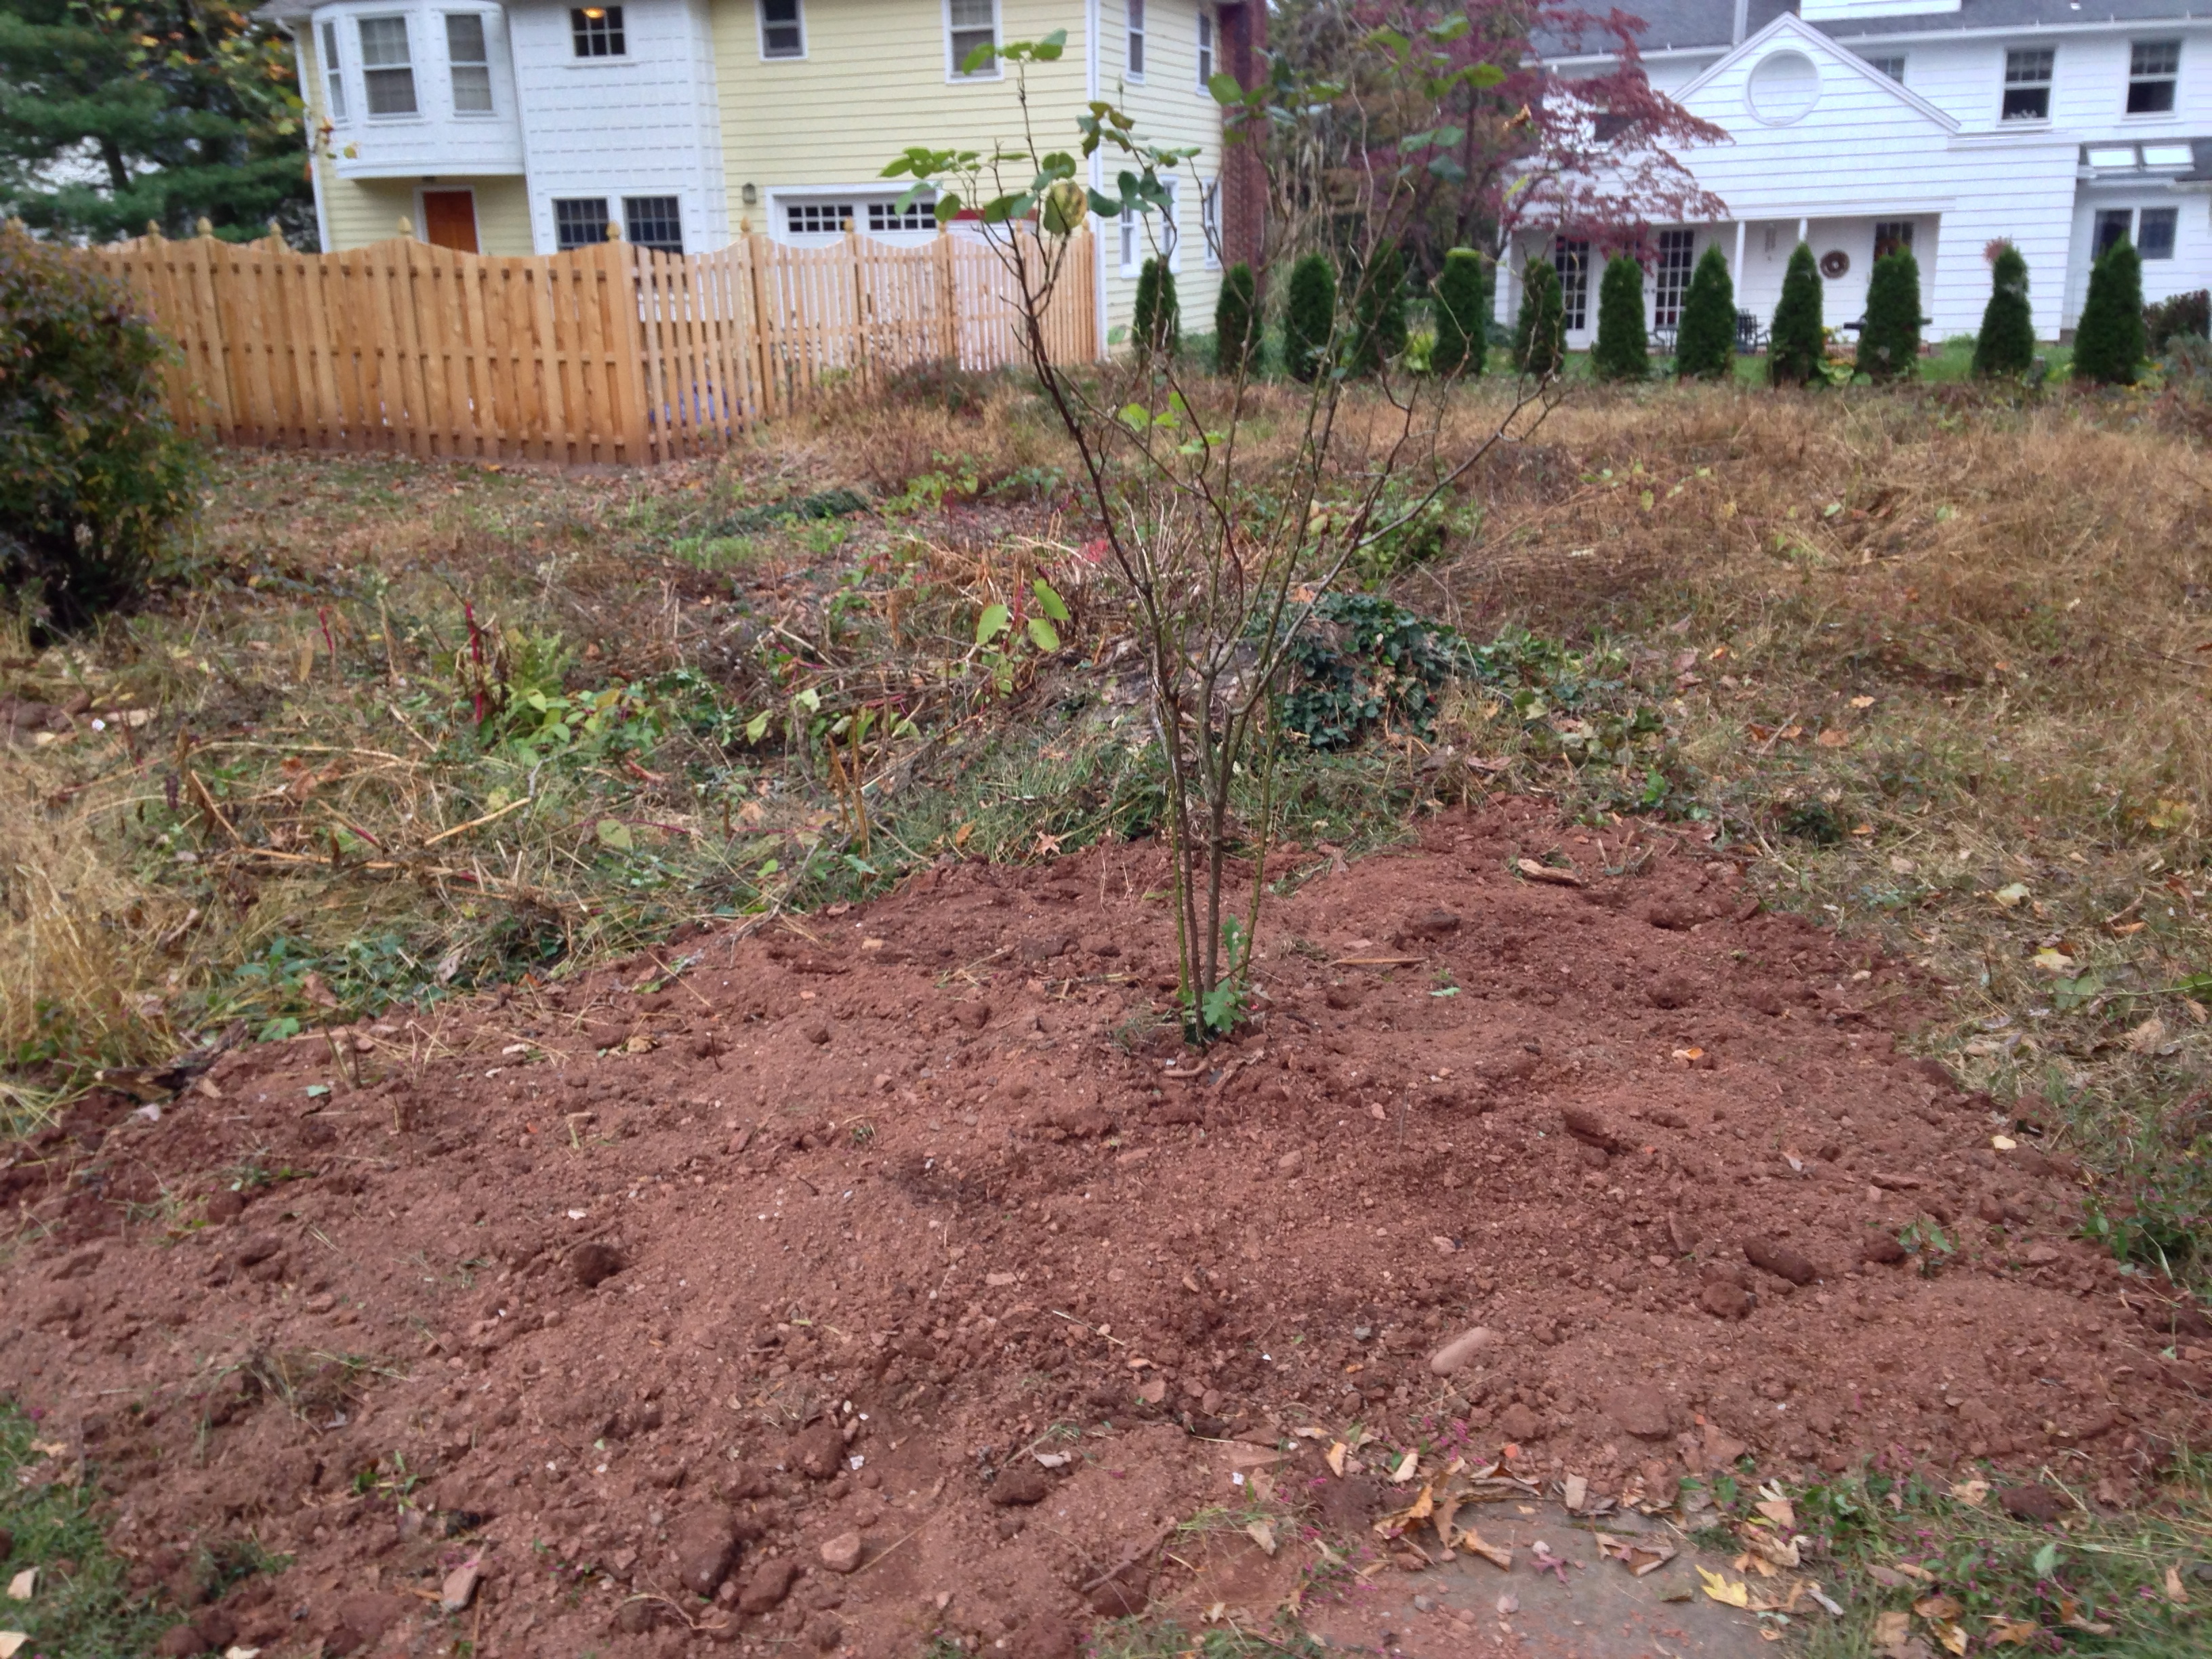
All of the extra dirt went towards taming the back yard a little. Very little.
And there’s the slab.
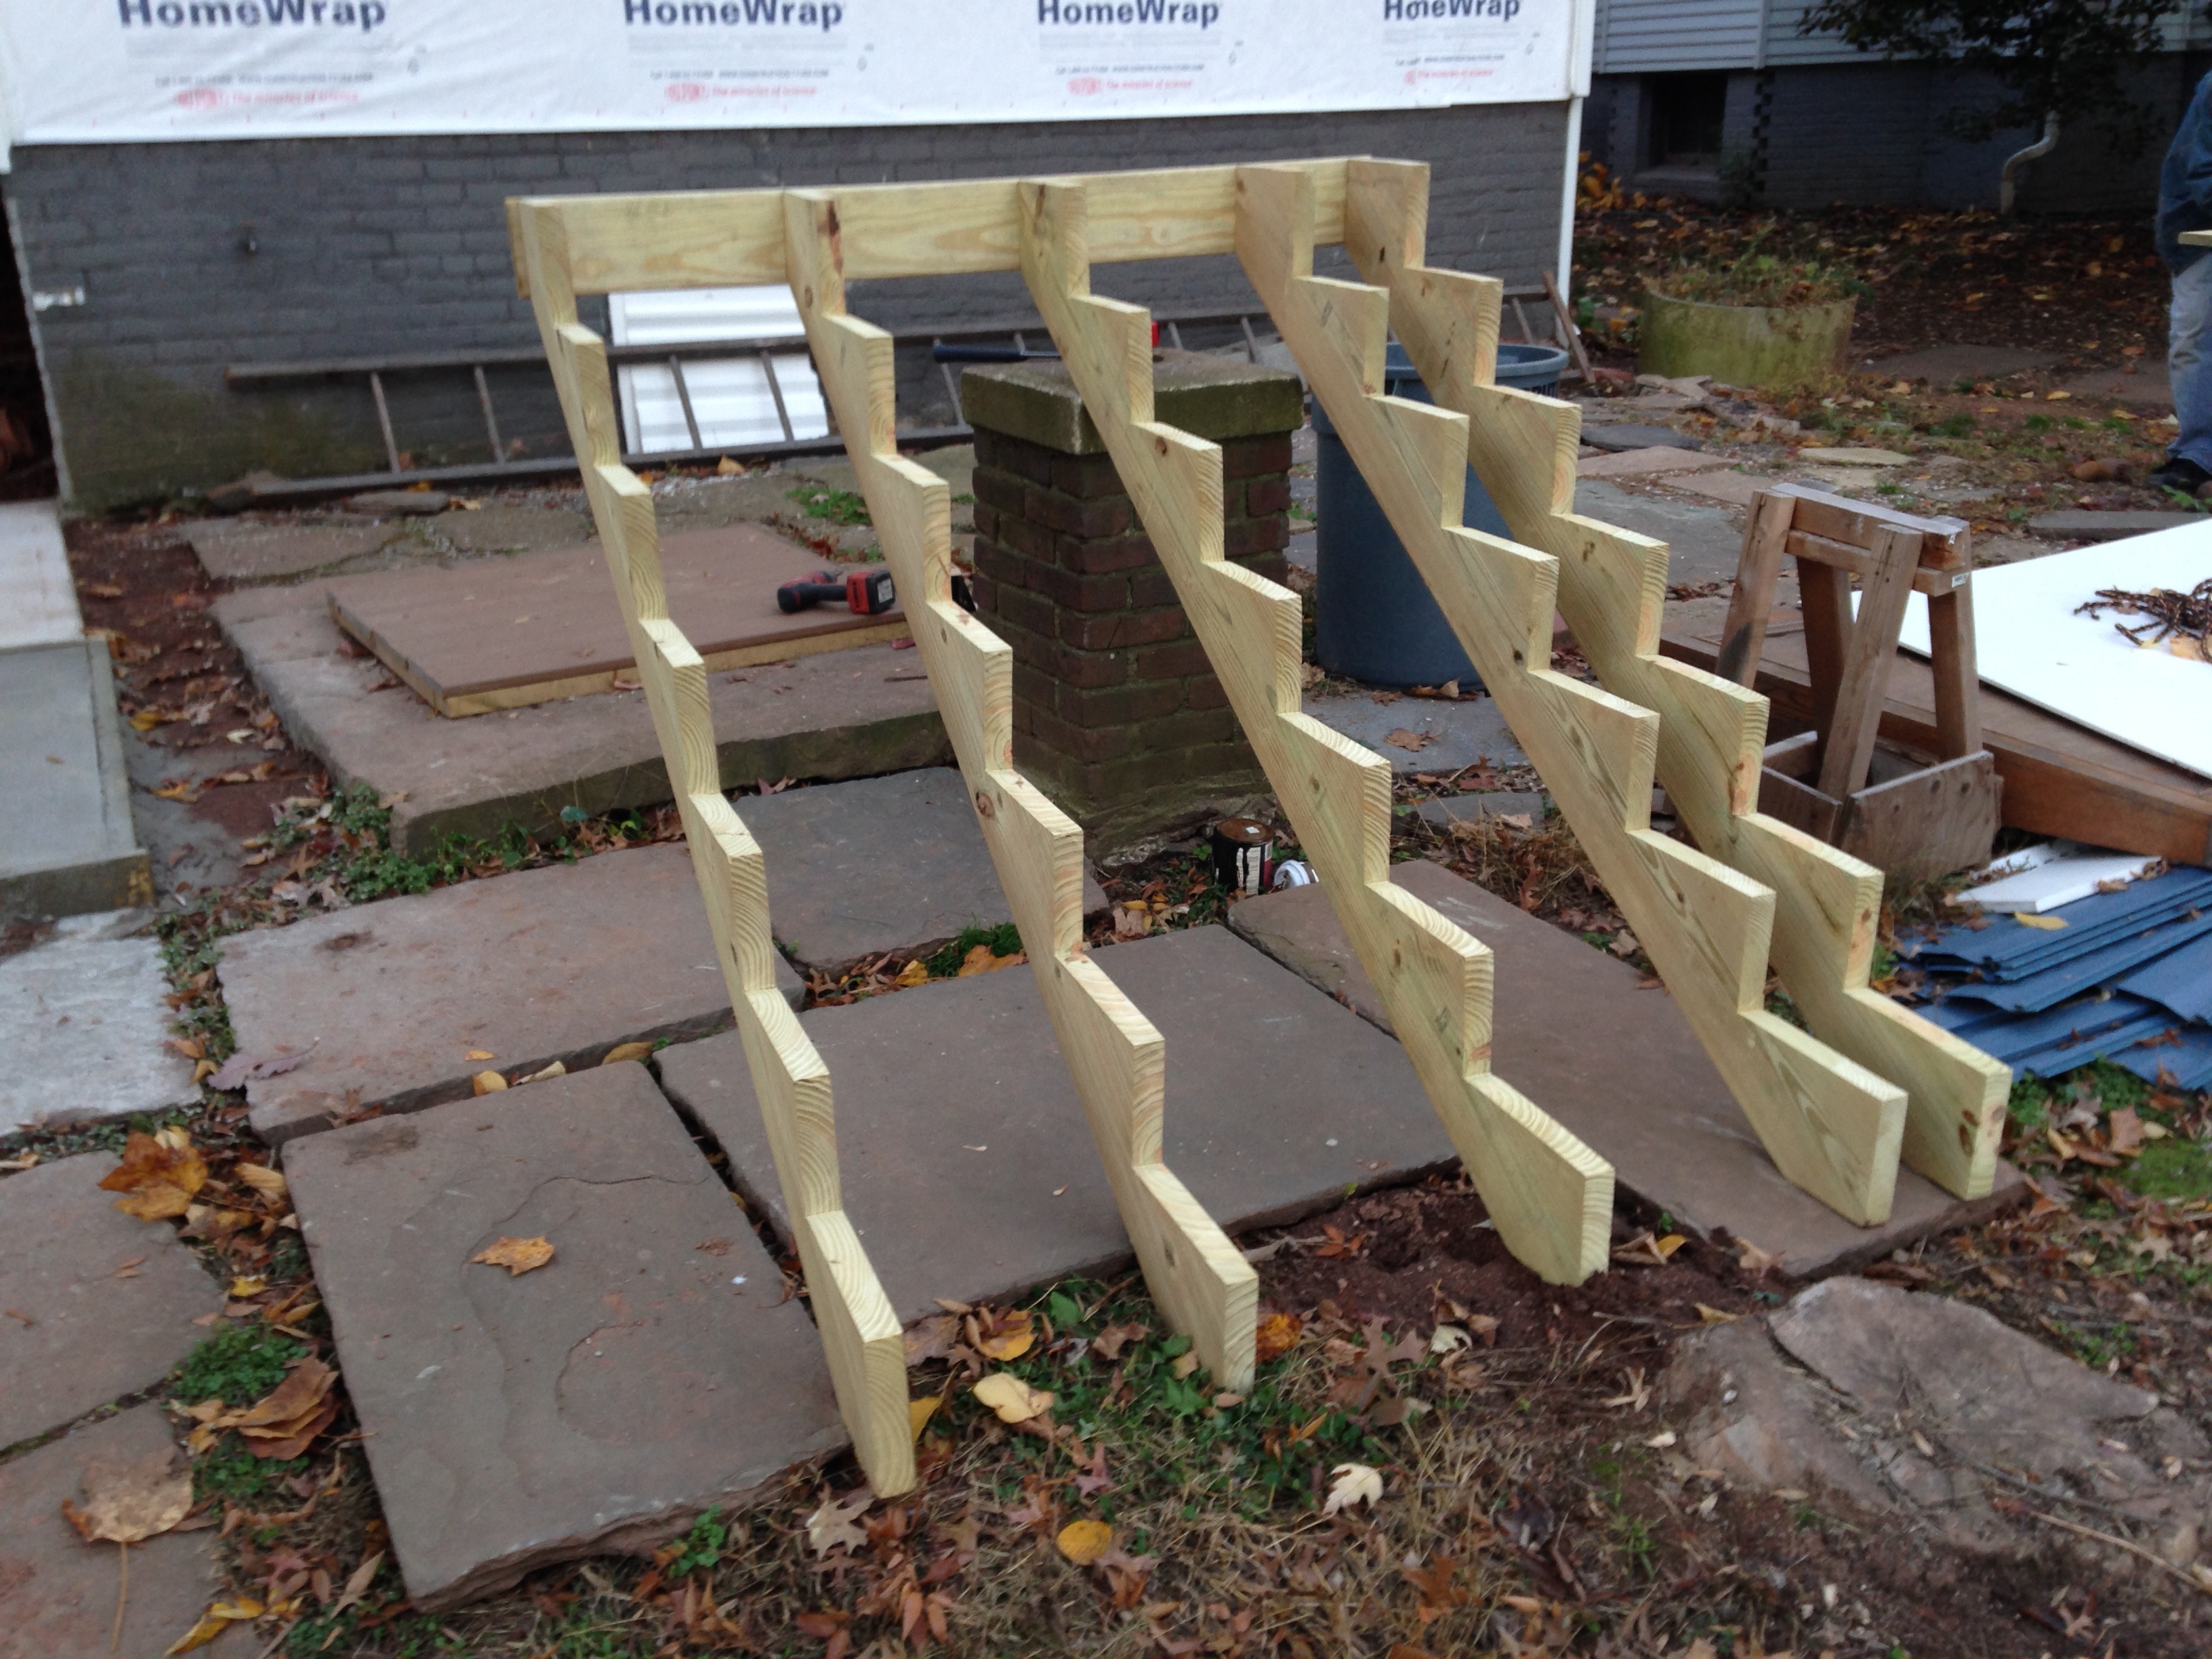
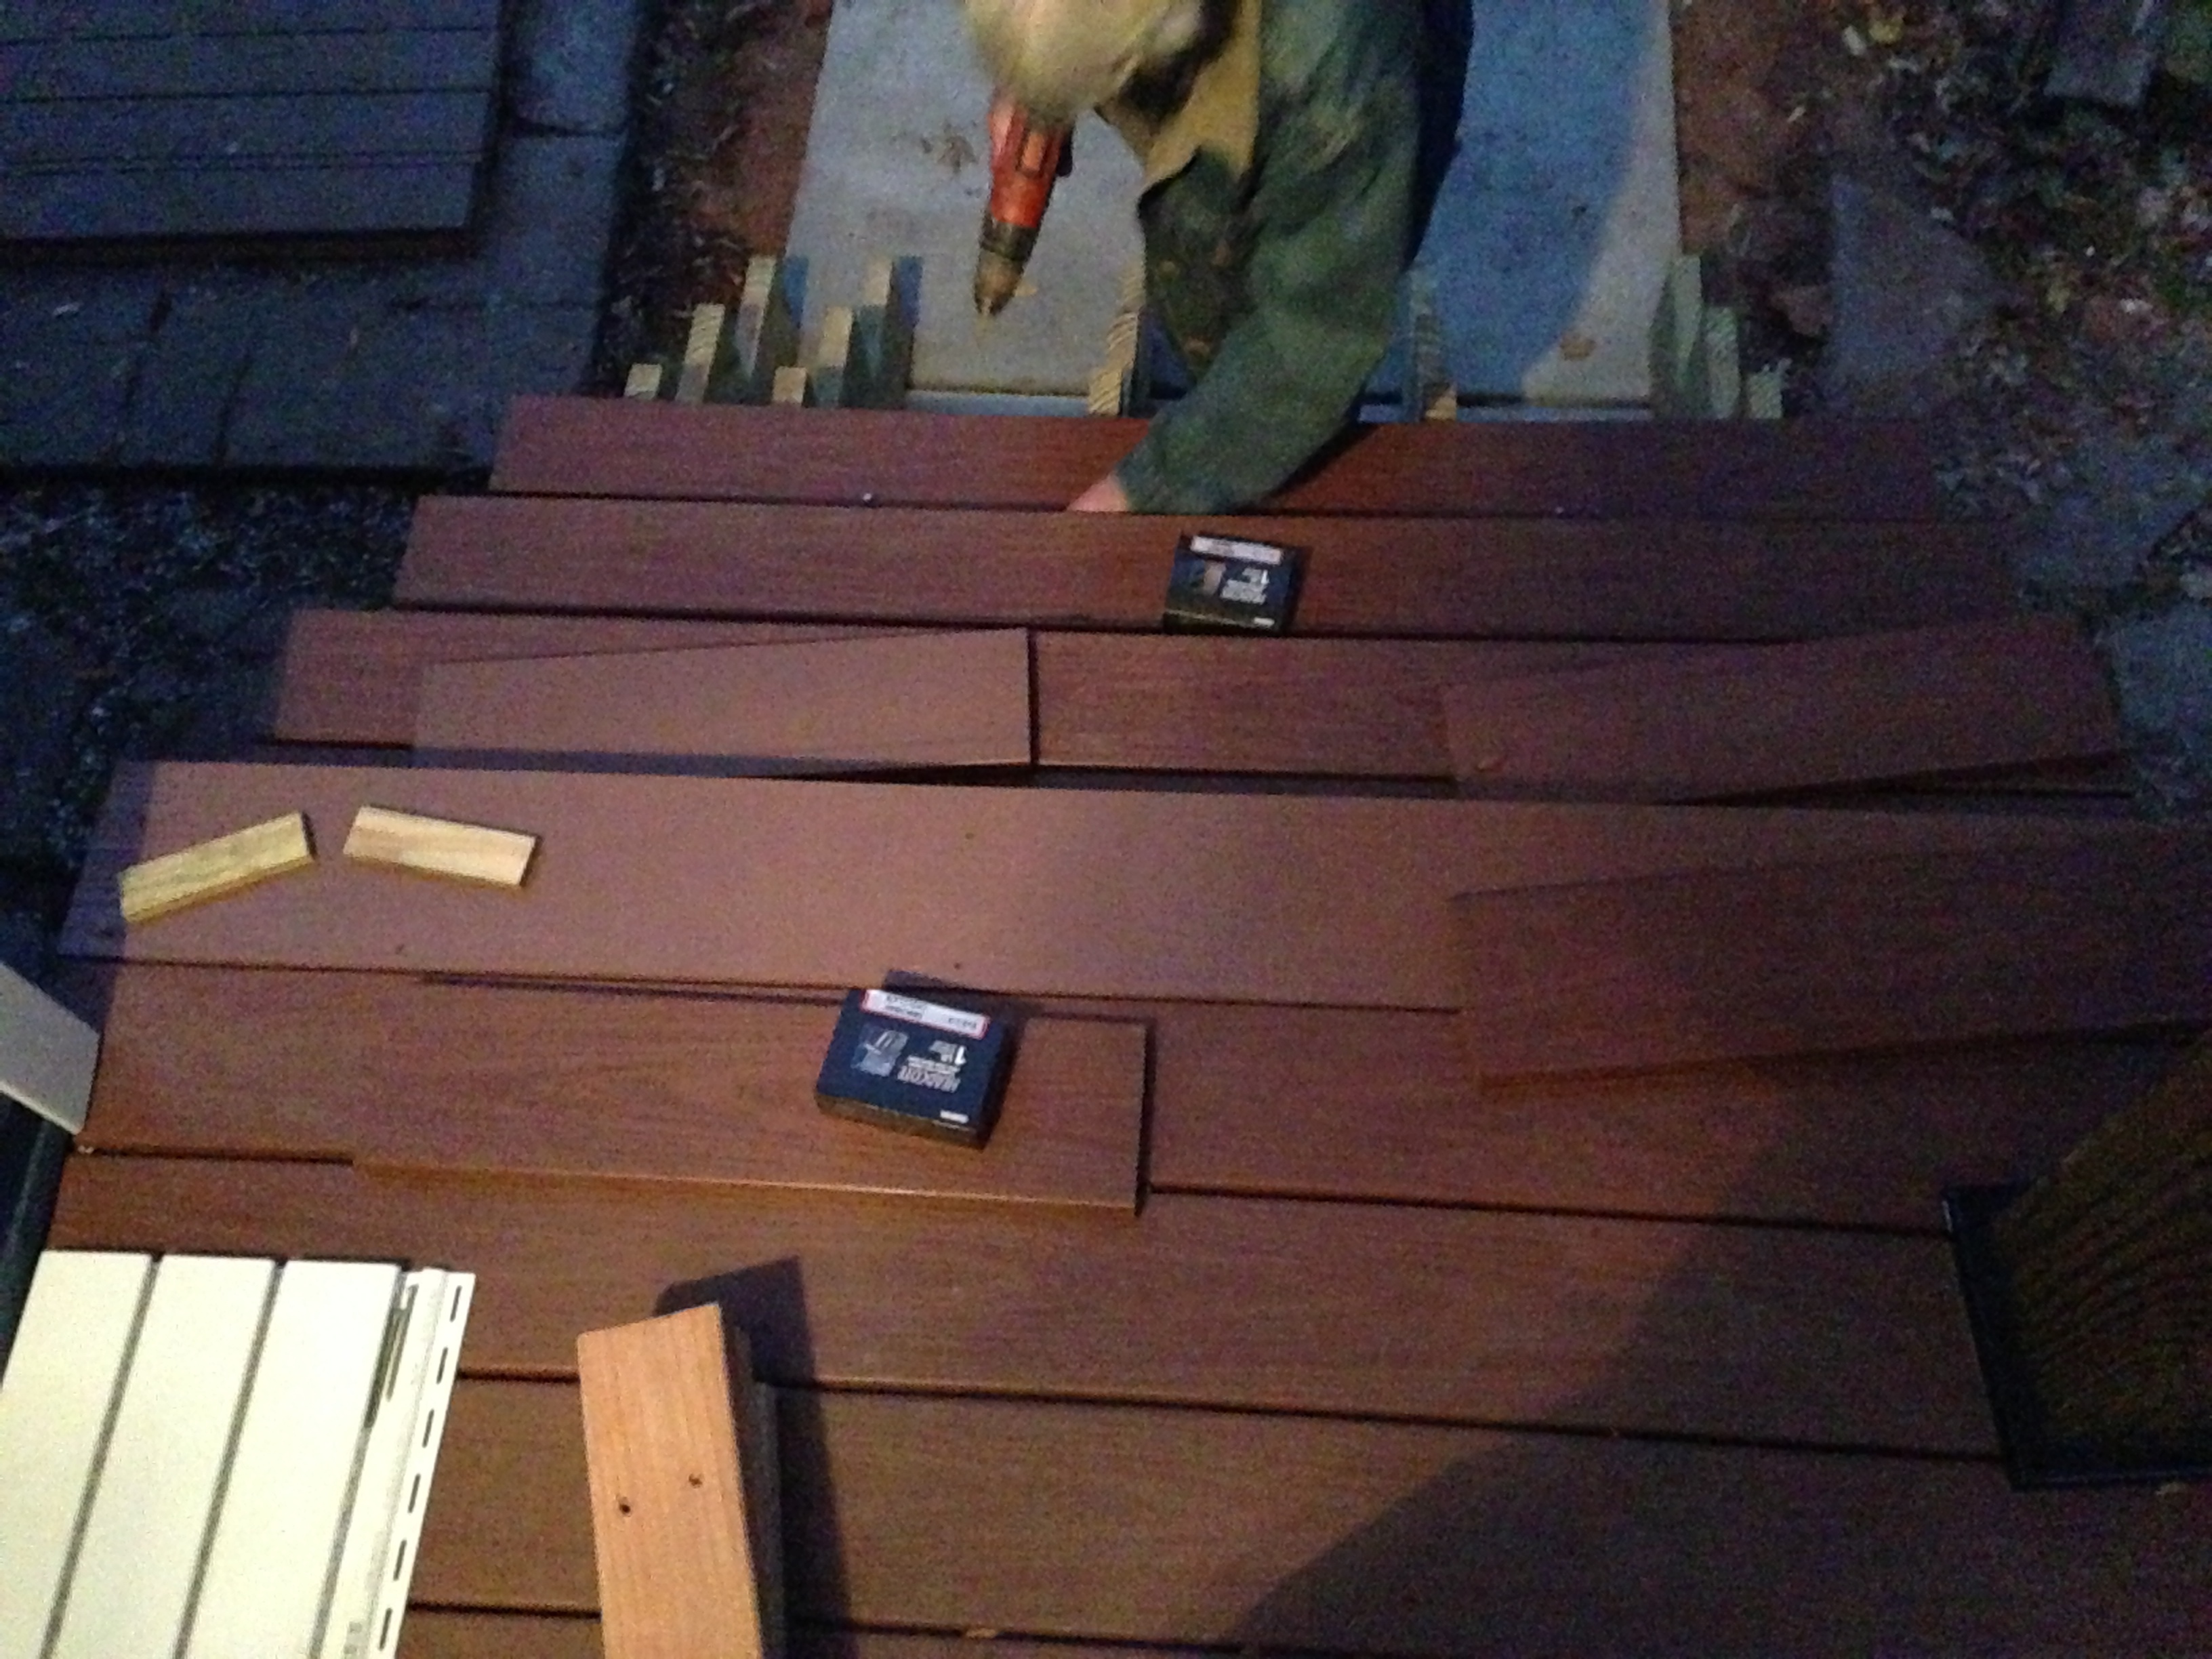
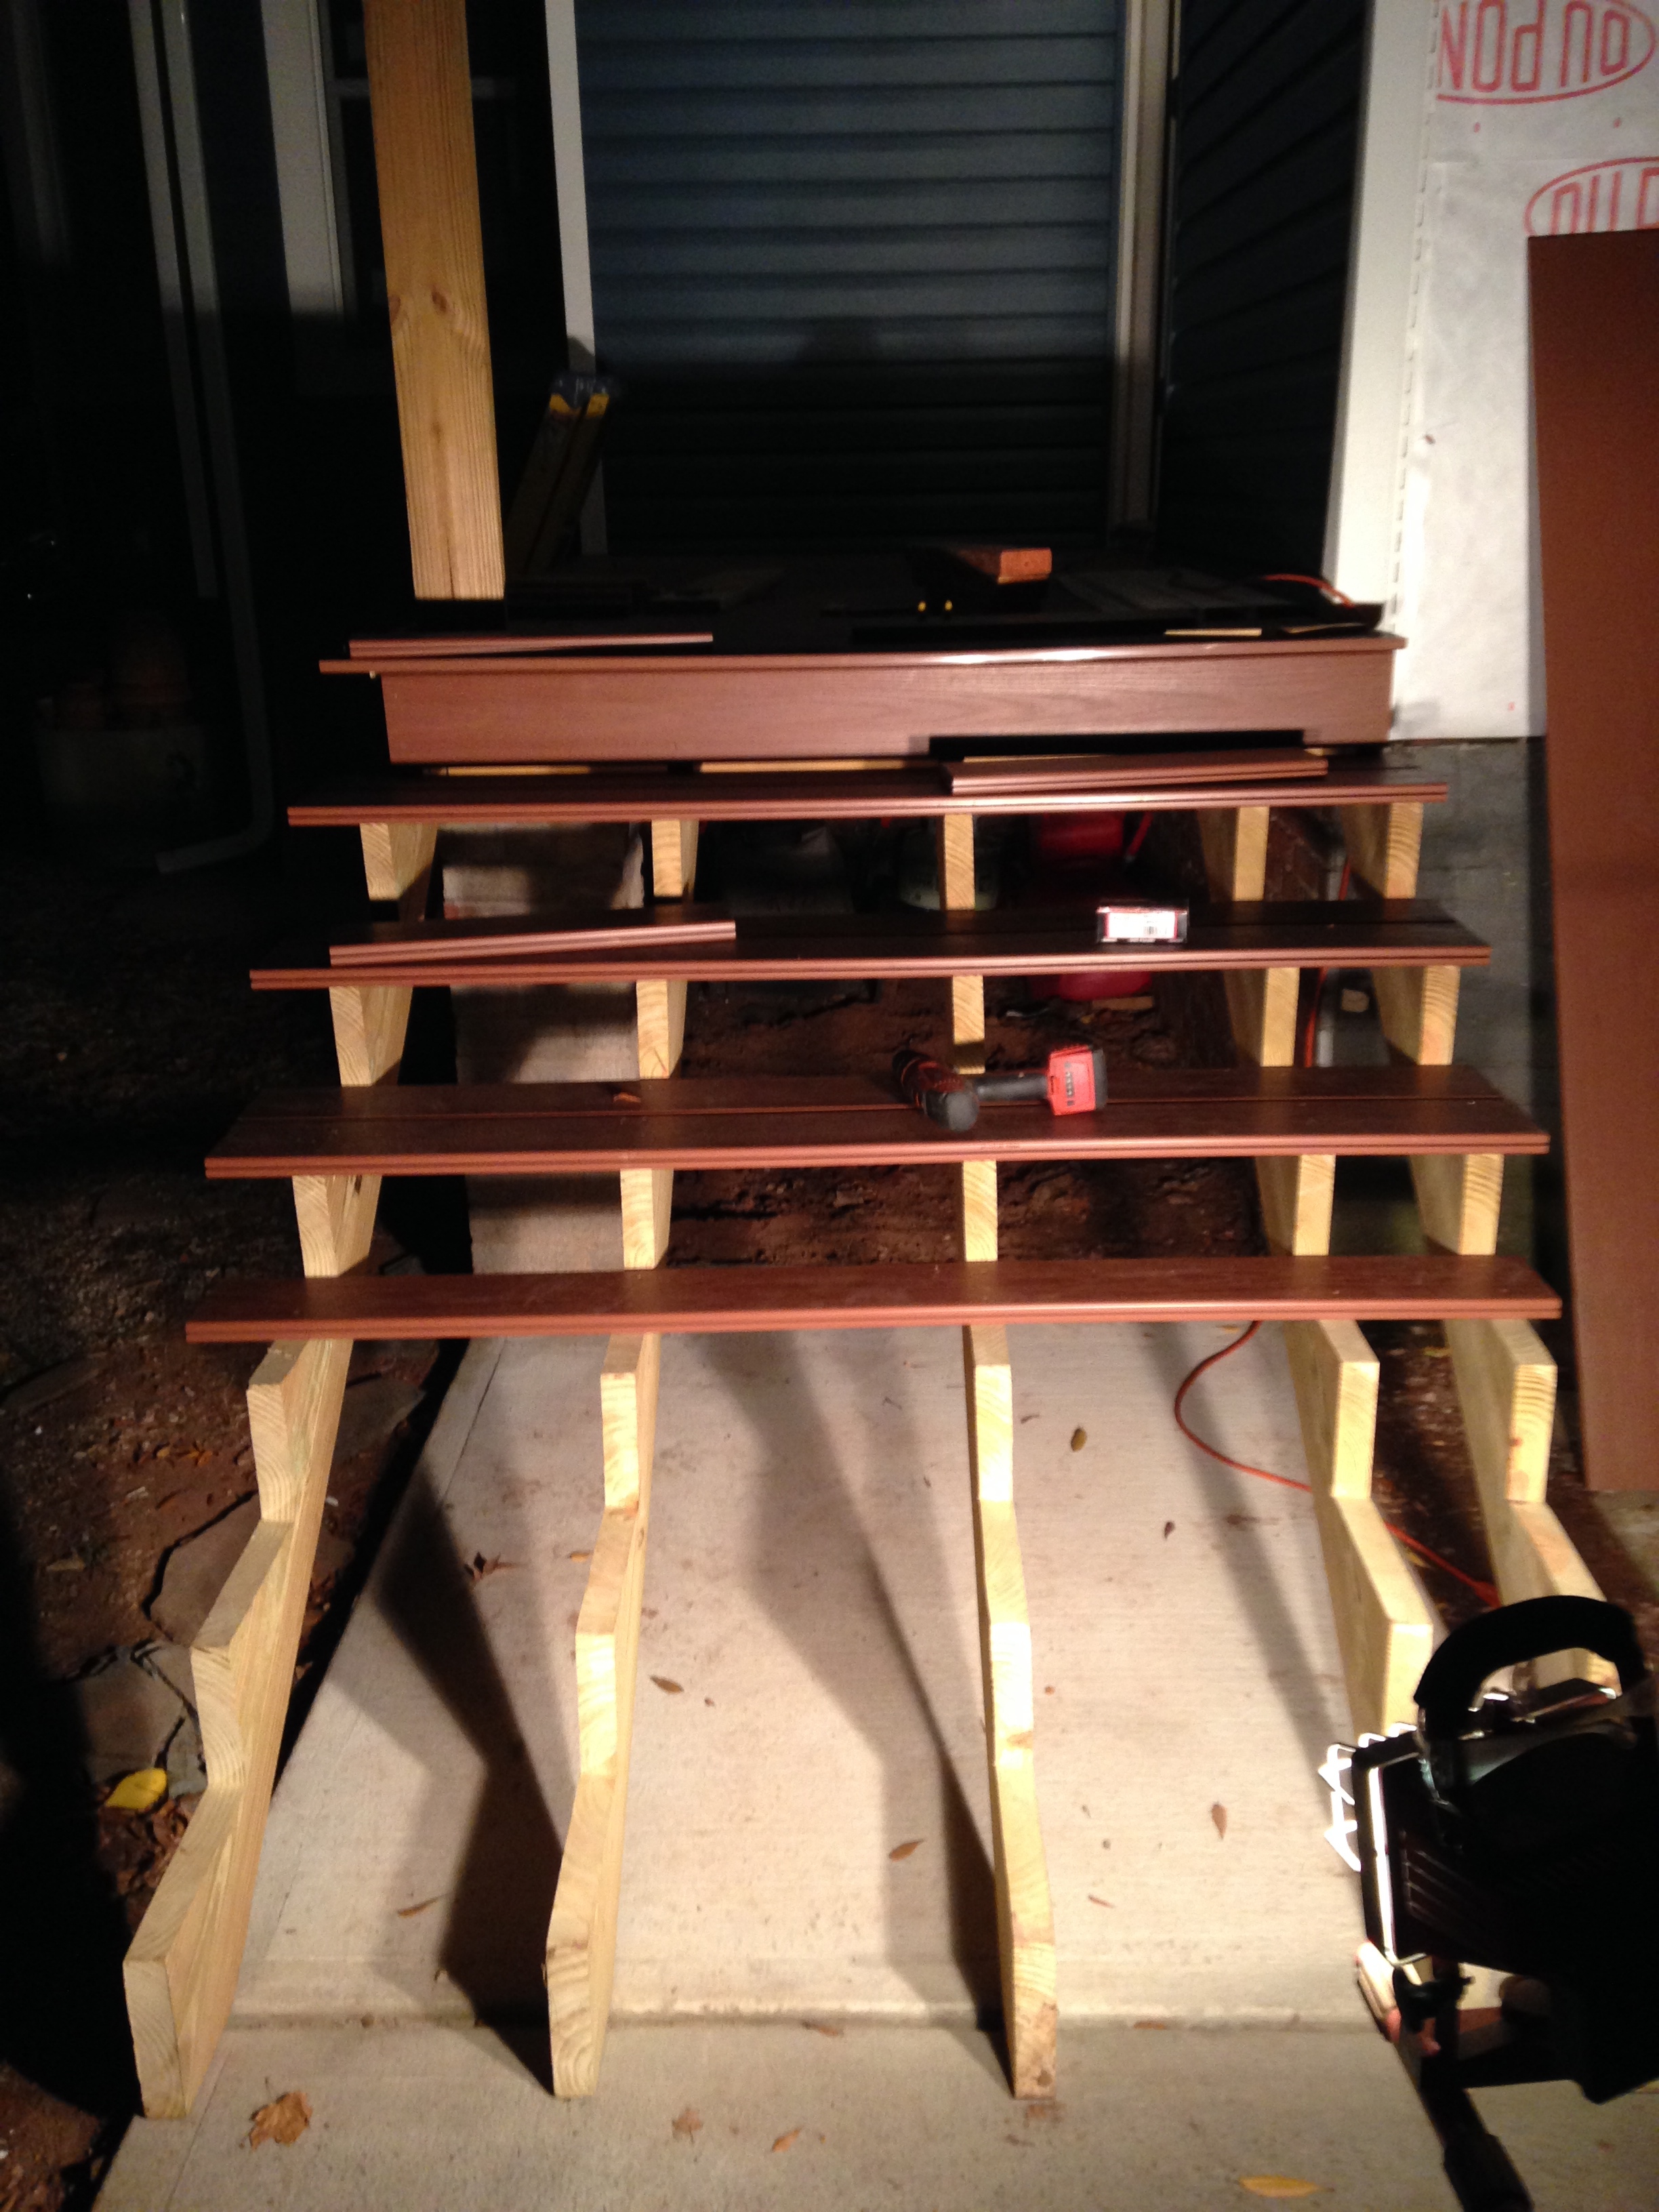
Then we custom cut some stair stringers (Home Depot only sells them up to 5 steps) out of some pressure treated lumber. These suckers were way heavier than they looked!
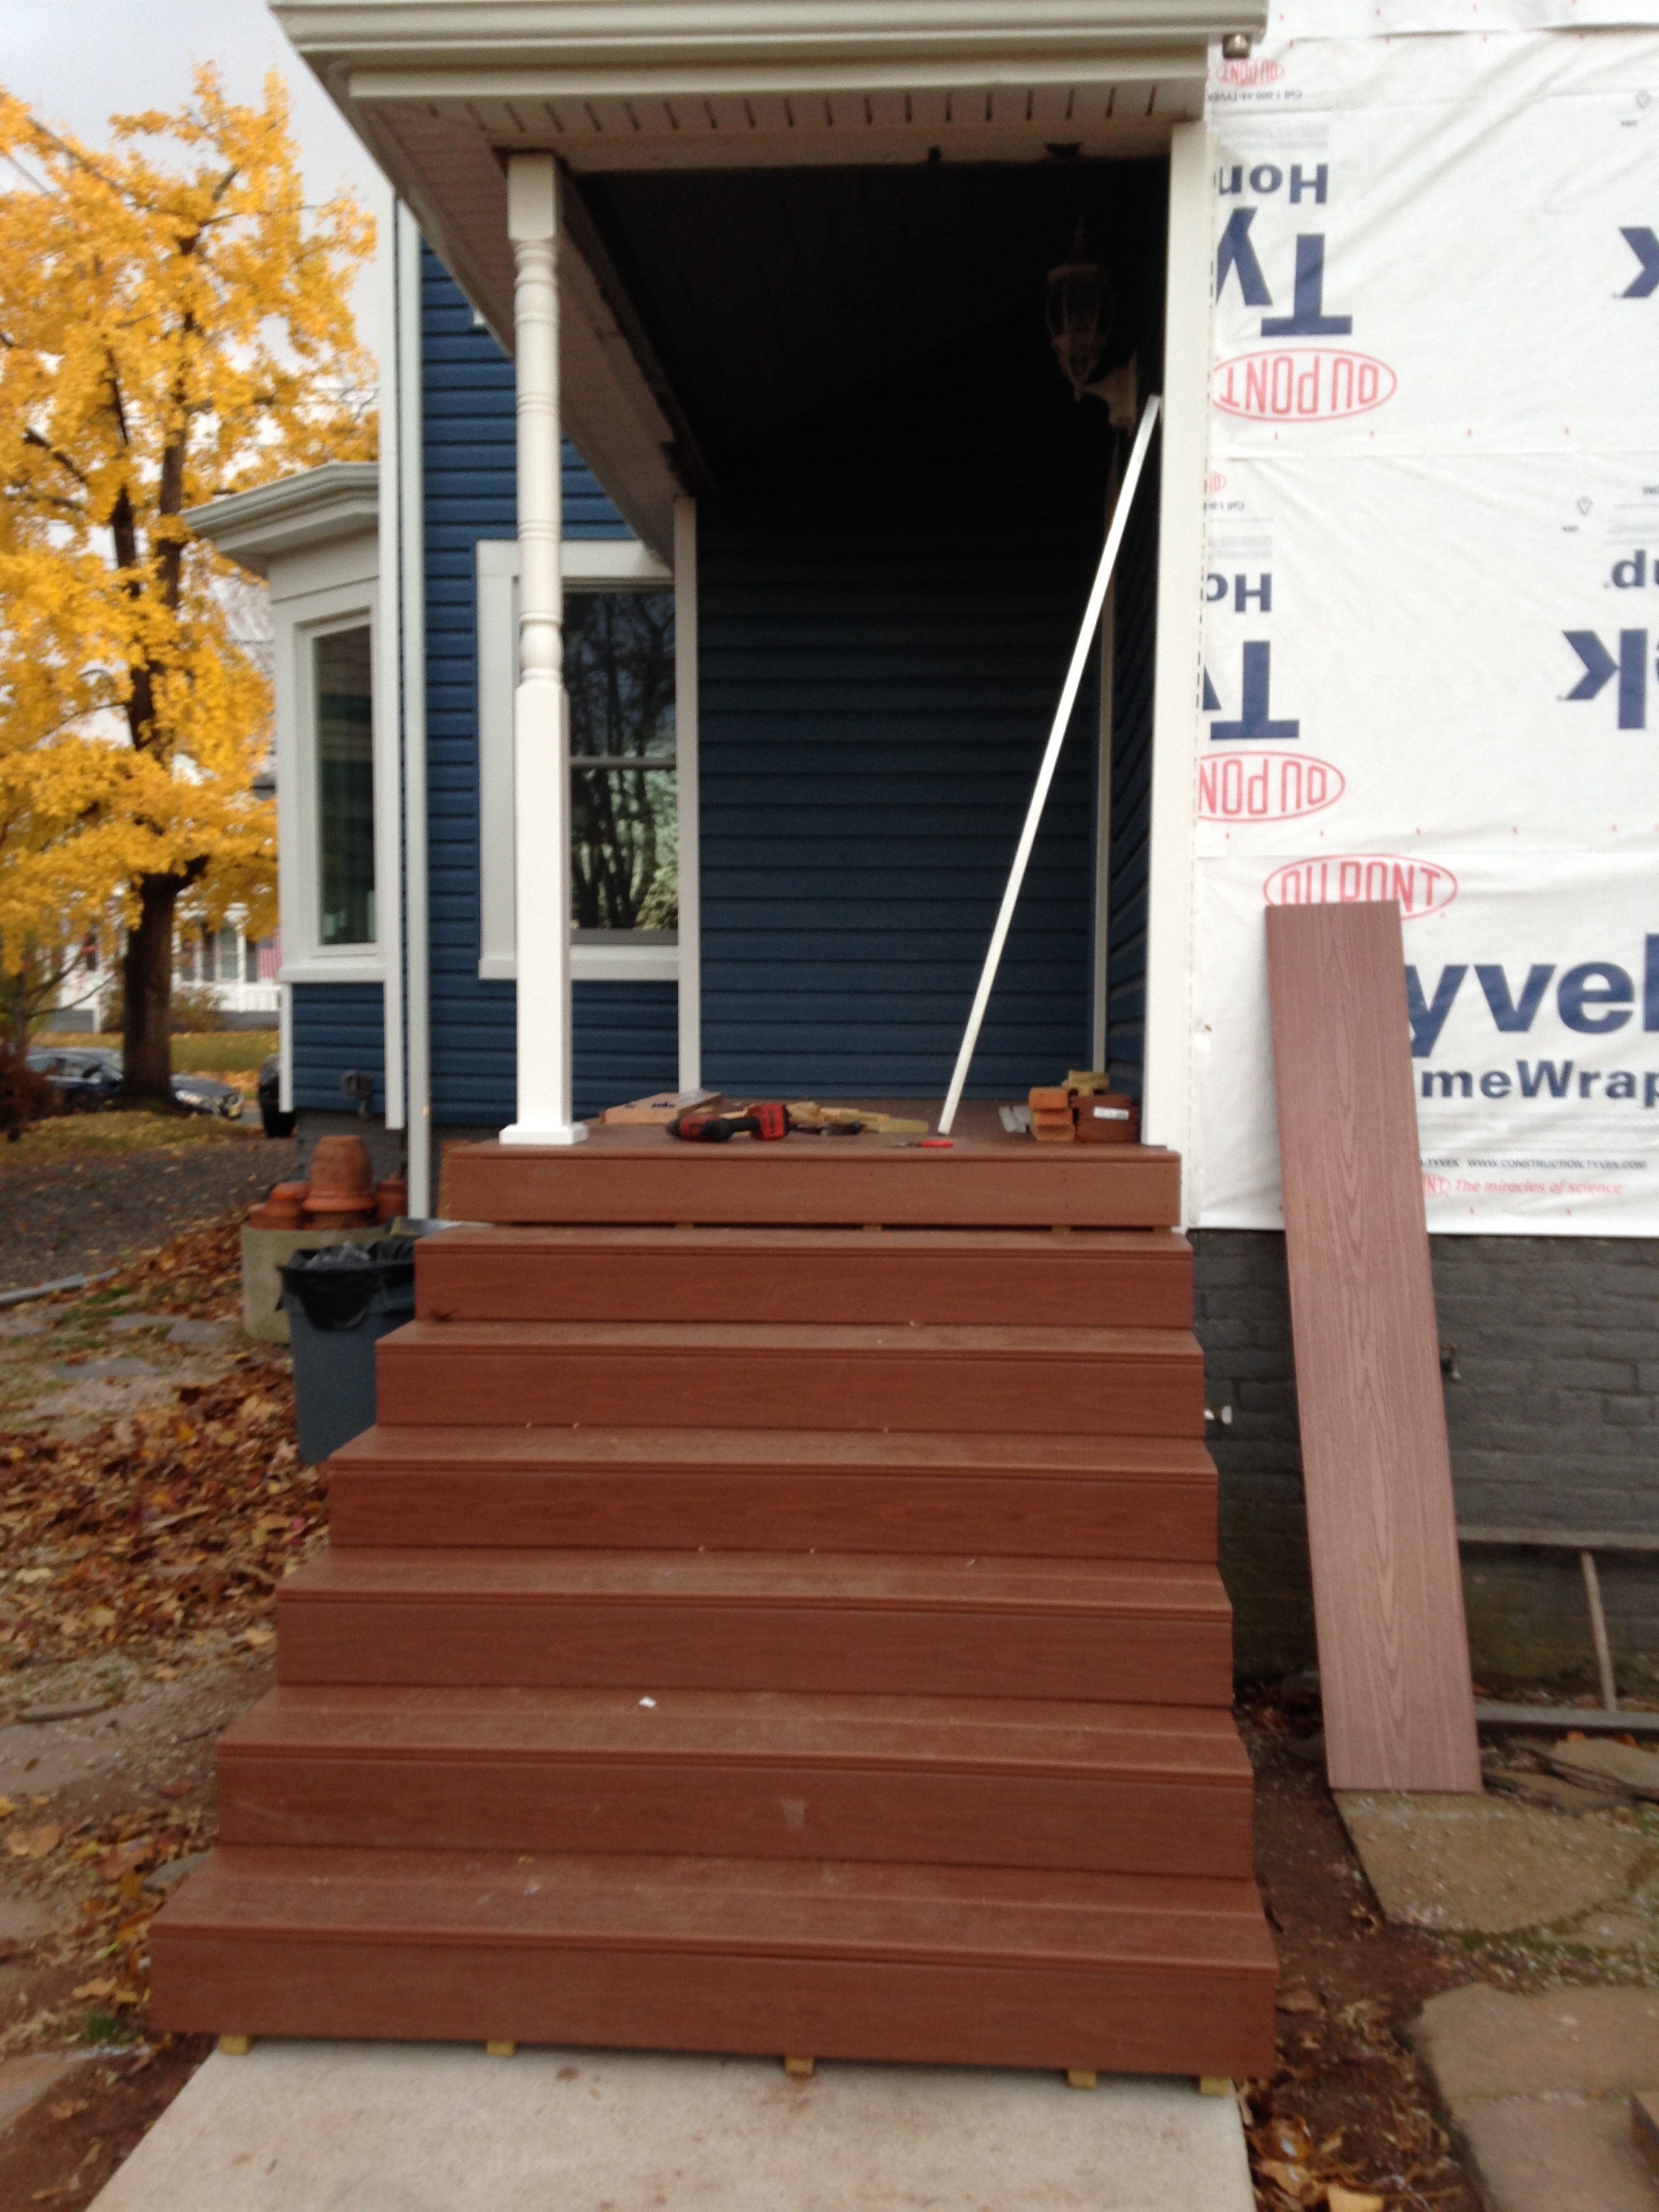
We put them in place then used the same trex material for the steps themselves. For our first attempt at building steps I think they came out quite nice.

And there’s our Victorian style post! I picked it out myself after arguing with myself over which one I liked best. Took me an hour. It was sad.
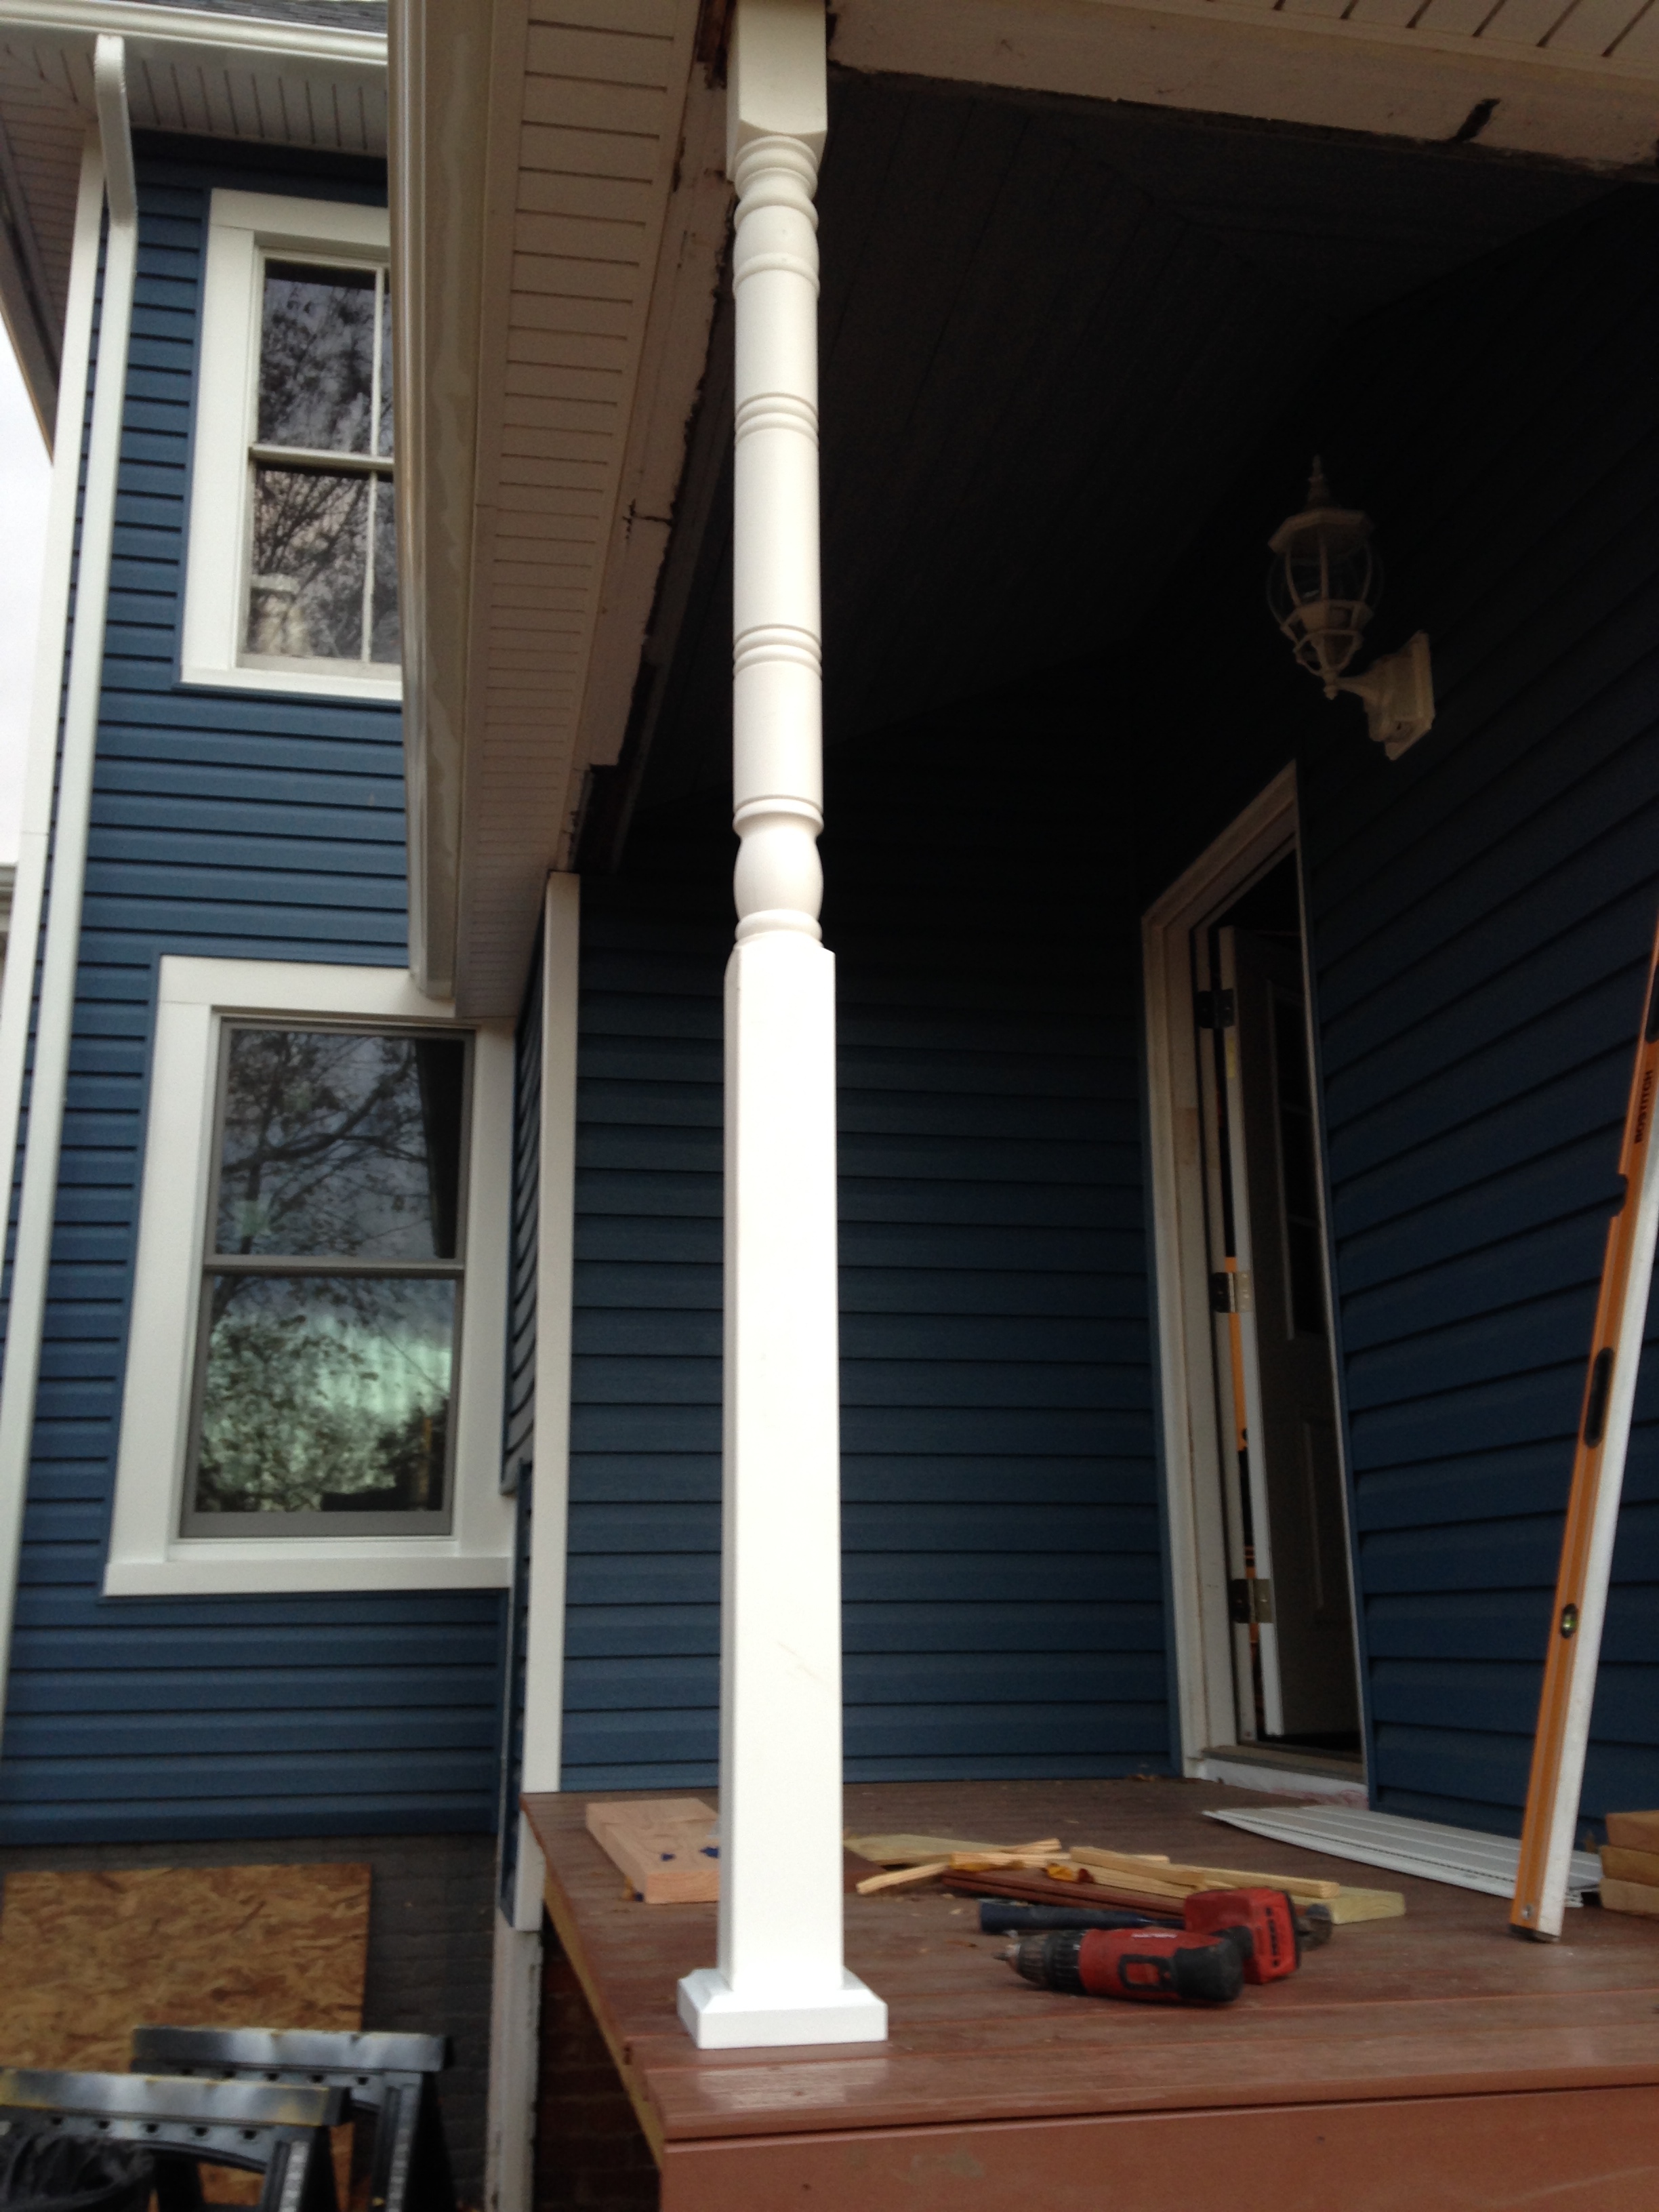
All that’s left are some railings and it’s perfect!
2 thoughts on “Side Porch Redo – Victorian Post Included”