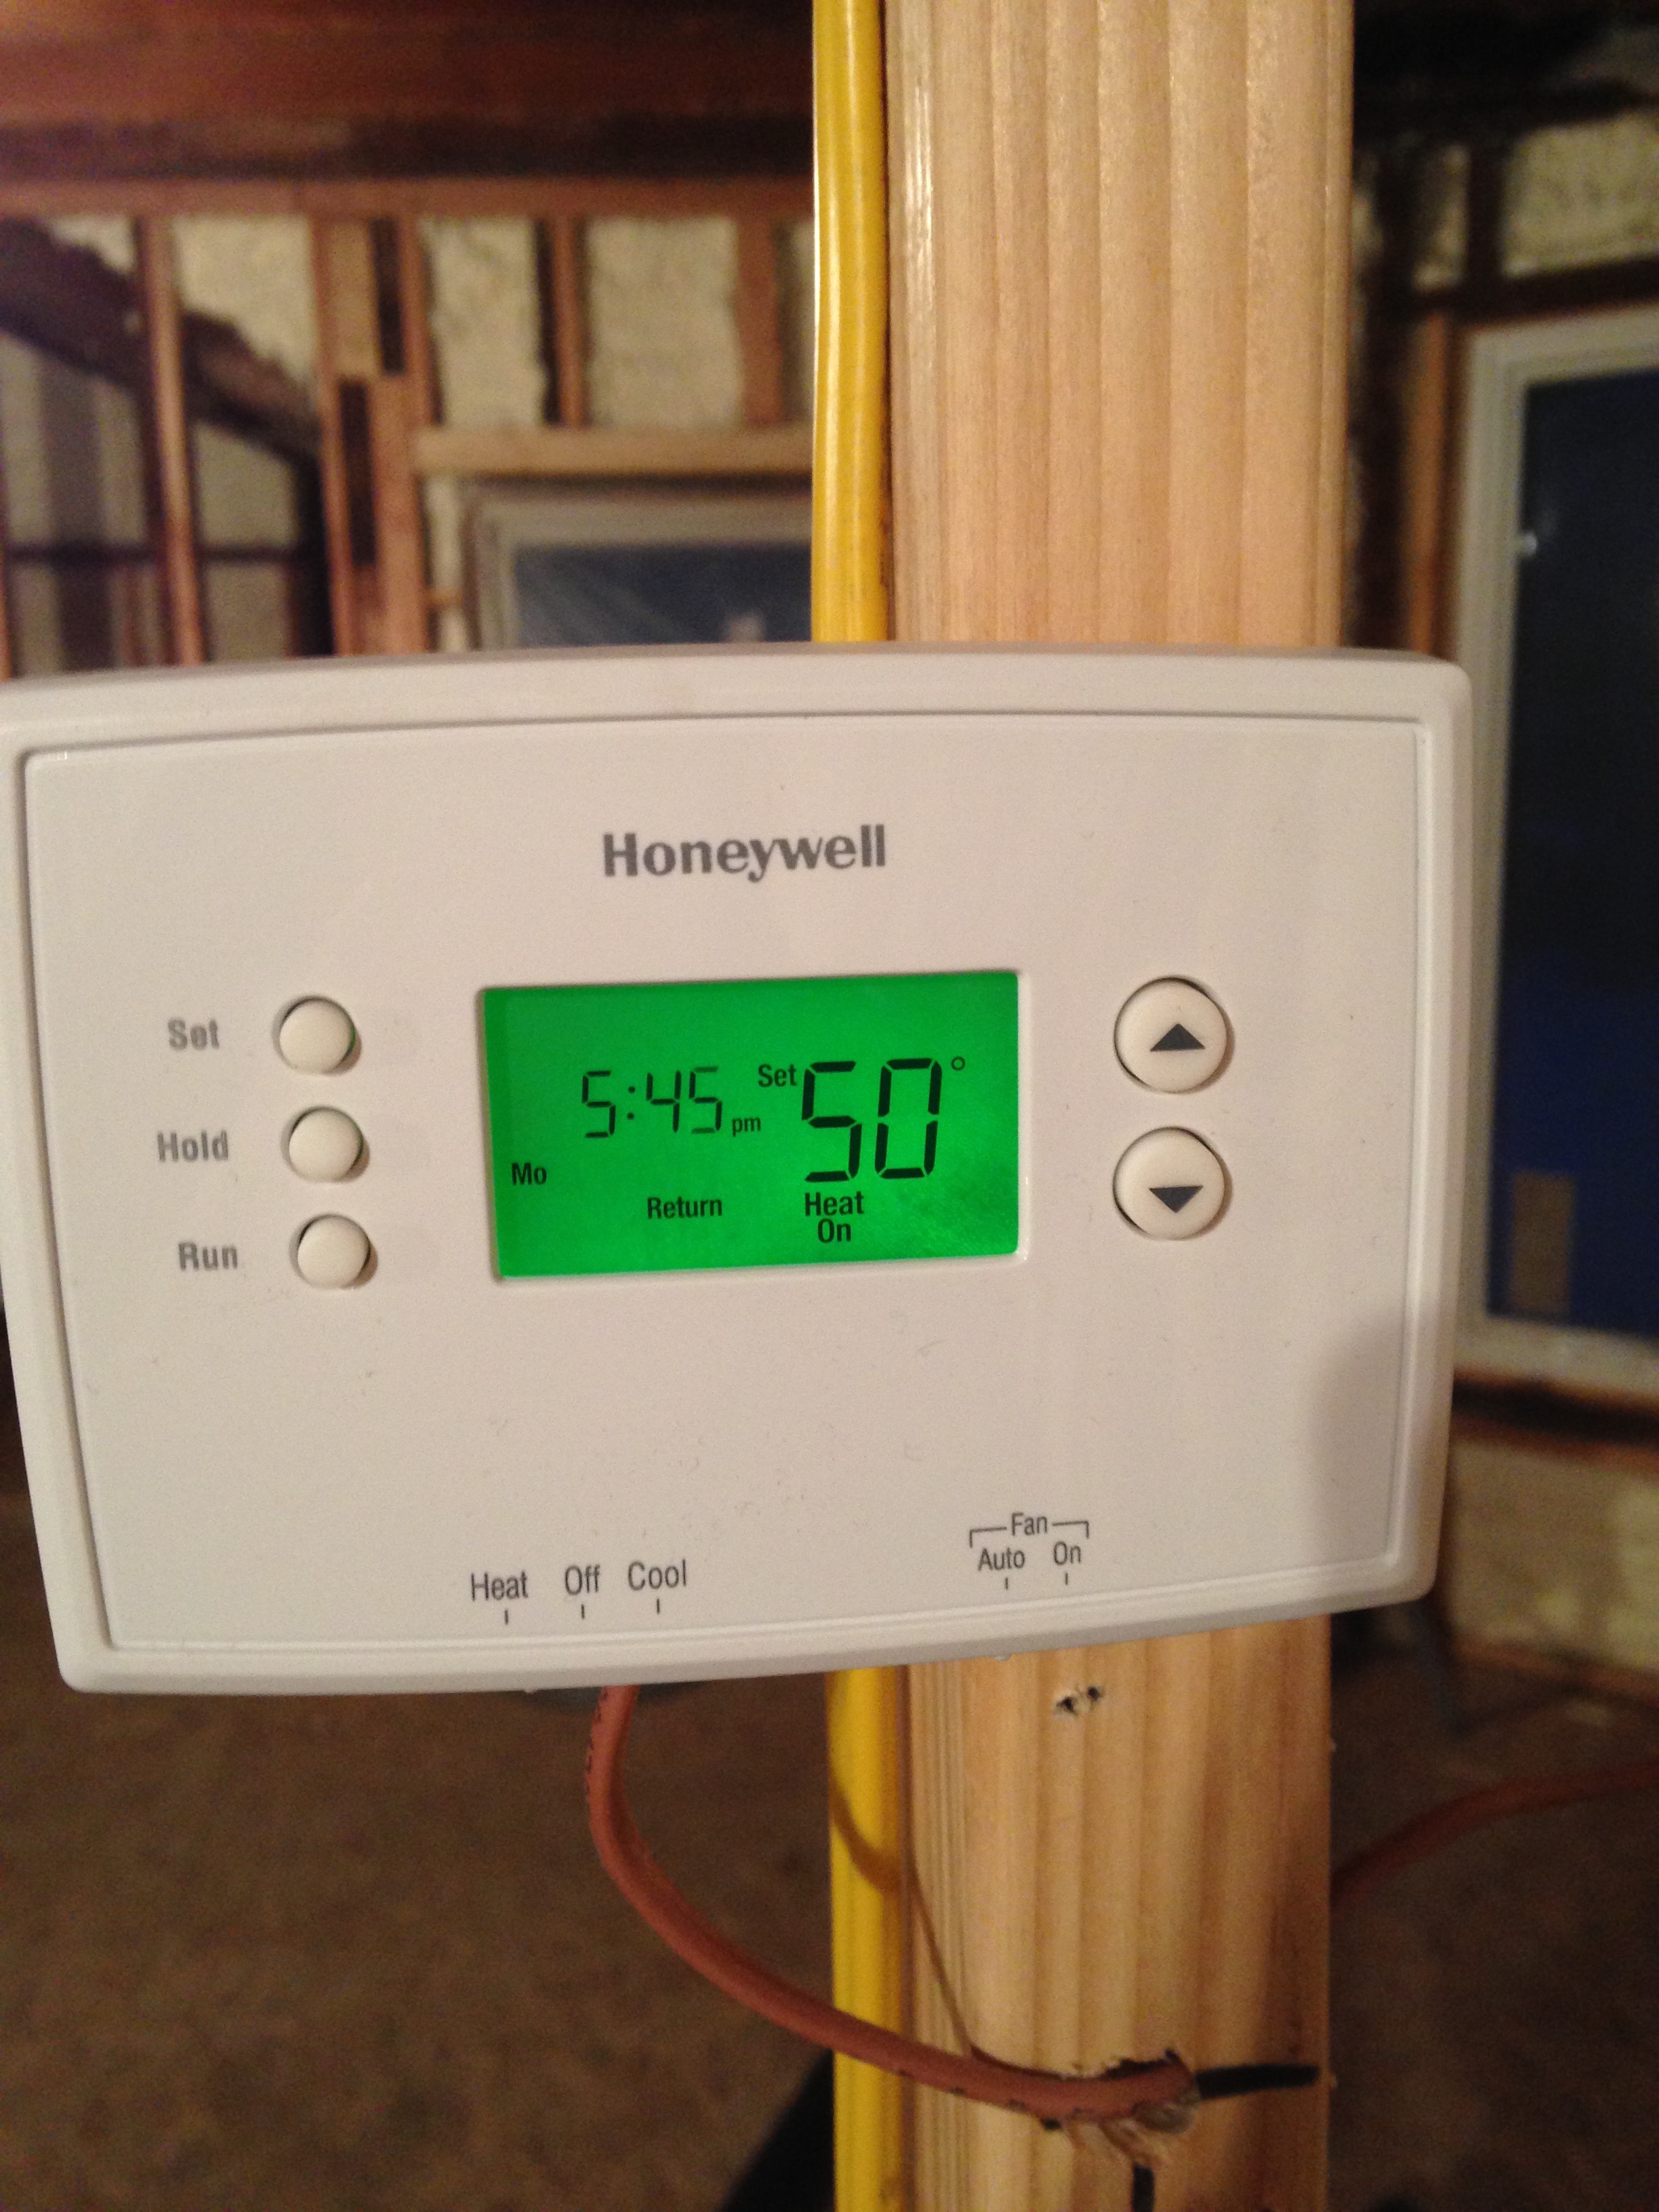
Prior to our purchase and the last hundred twenty some-odd years this Victorian has been heated by radiators. They were inefficient and in conjunction with the ancient windows the house always hovered around 64F no matter what it was set to, so we were bleeding money right out the window with the price of heating oil. Now that the windows were replaced it was time to tackle the HVAC system.
To put in perspective the last few winters, here is our fireplace when we weren’t using it:
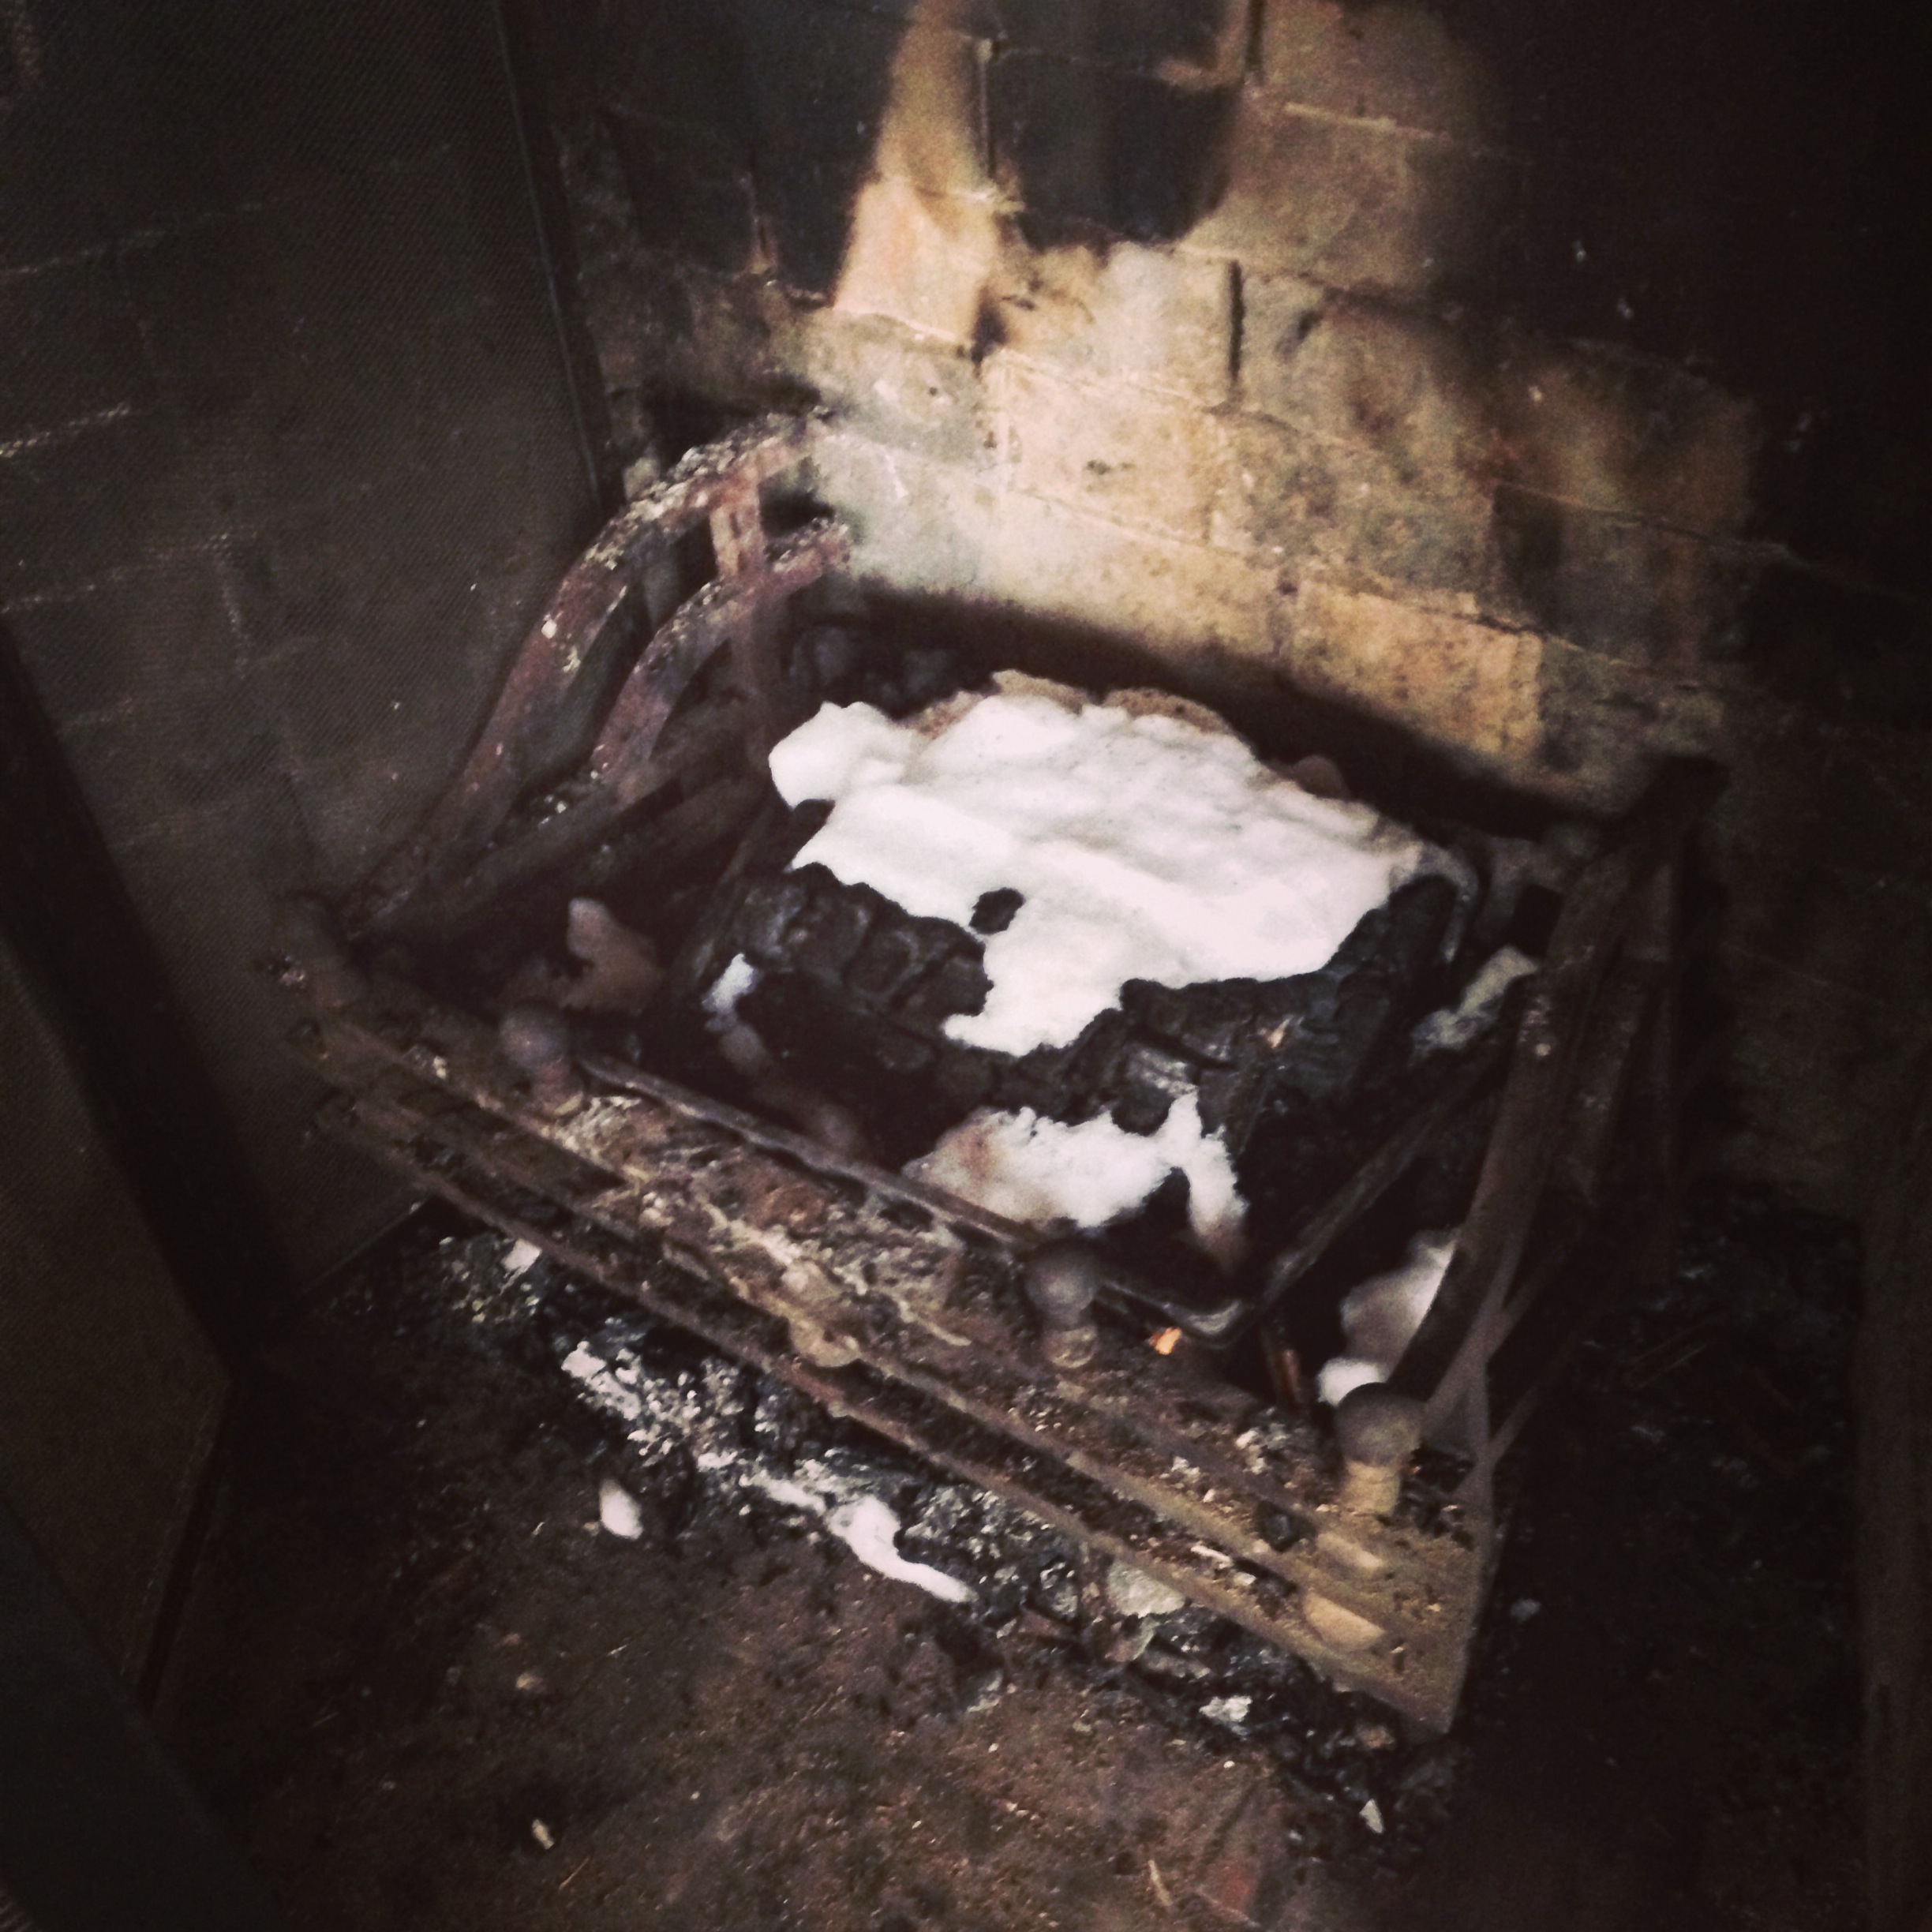
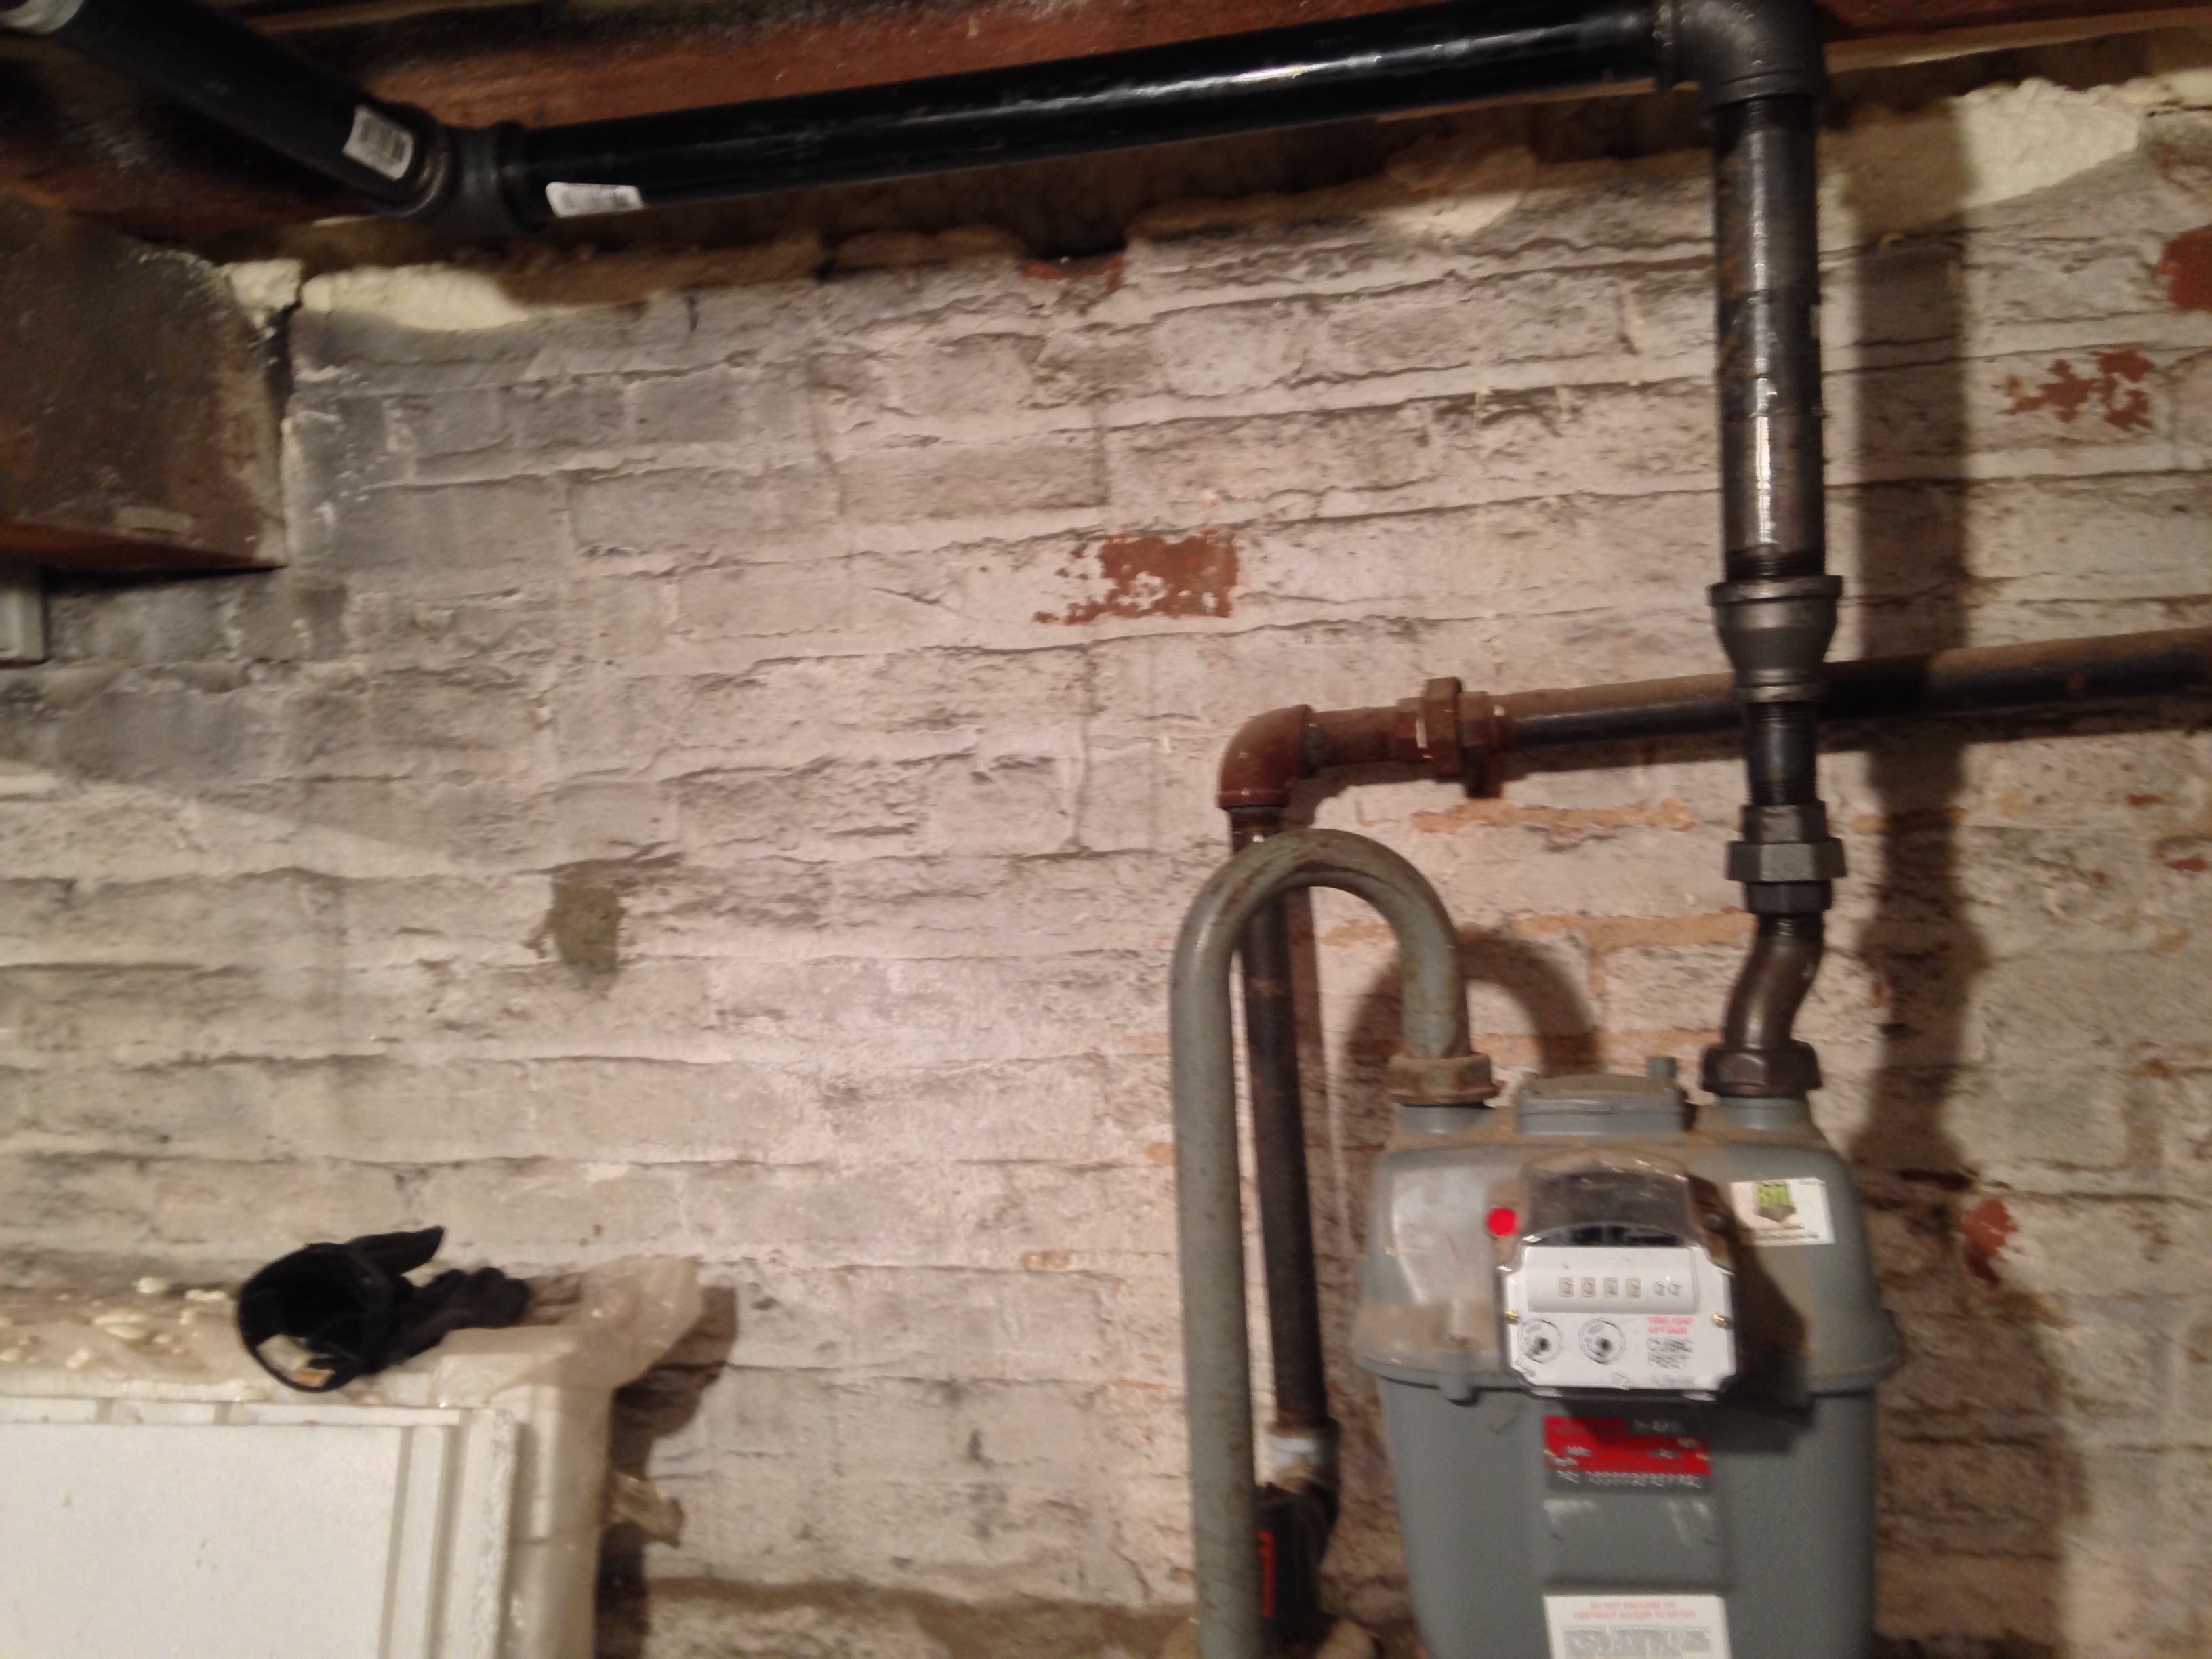
We’ve had the chimney lined and a cap put on so that doesn’t happen anymore. At any rate, there was only a small natural gas line in previously, it ran to the water heater, then the stove, and that was that. We started from scratch with the gas piping, back where it comes into the house at the meter.
Since we were running pipe we had to calculate the size of the piping needed based on the amount of appliances we’re going to be running off natural gas. So we needed enough pipe for:
1. Furnace #1
2. Furnace #2
3. Stove
4. Tankless Water Heater
5. Future expansion
Since we are going for the most energy efficient house as possible we wanted to install both a two zone HVAC system and a tankless water heater. The first furnace would be in the basement and the second in the attic. The attic furnace presented a unique problem which I’ll address in a bit. Since these all suck up a lot of gas we had to start off with a fairly large pipe.
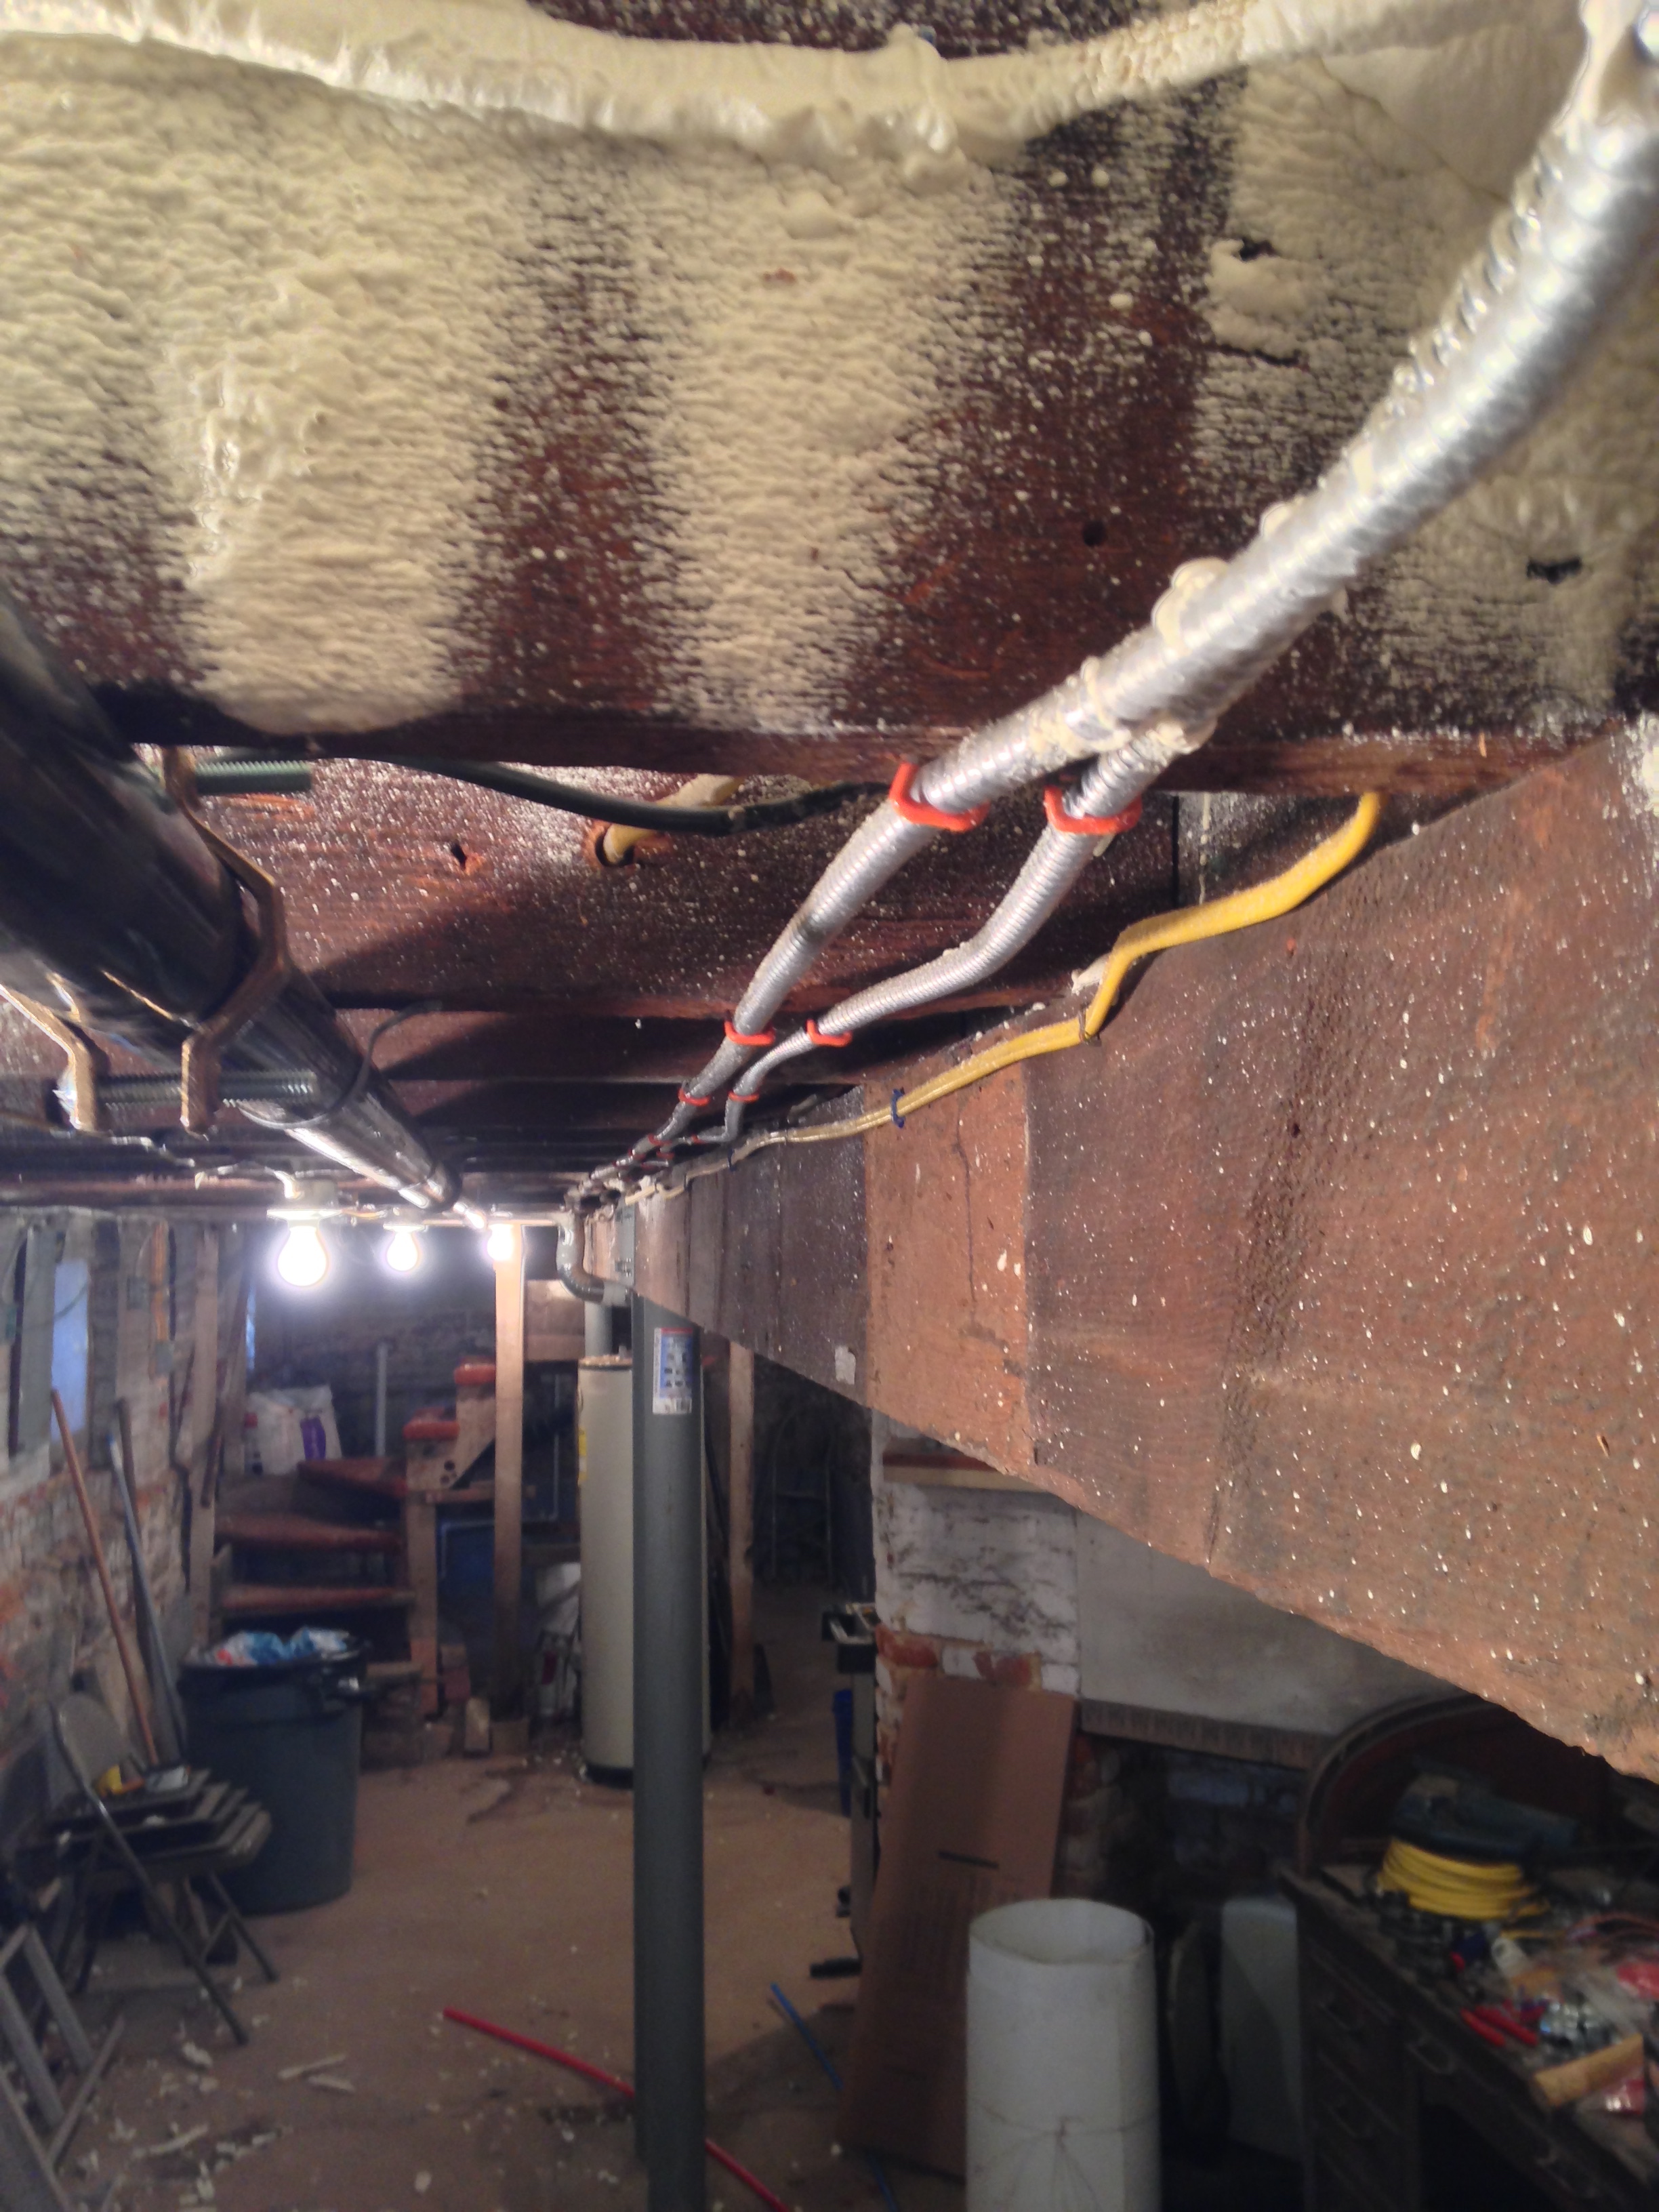
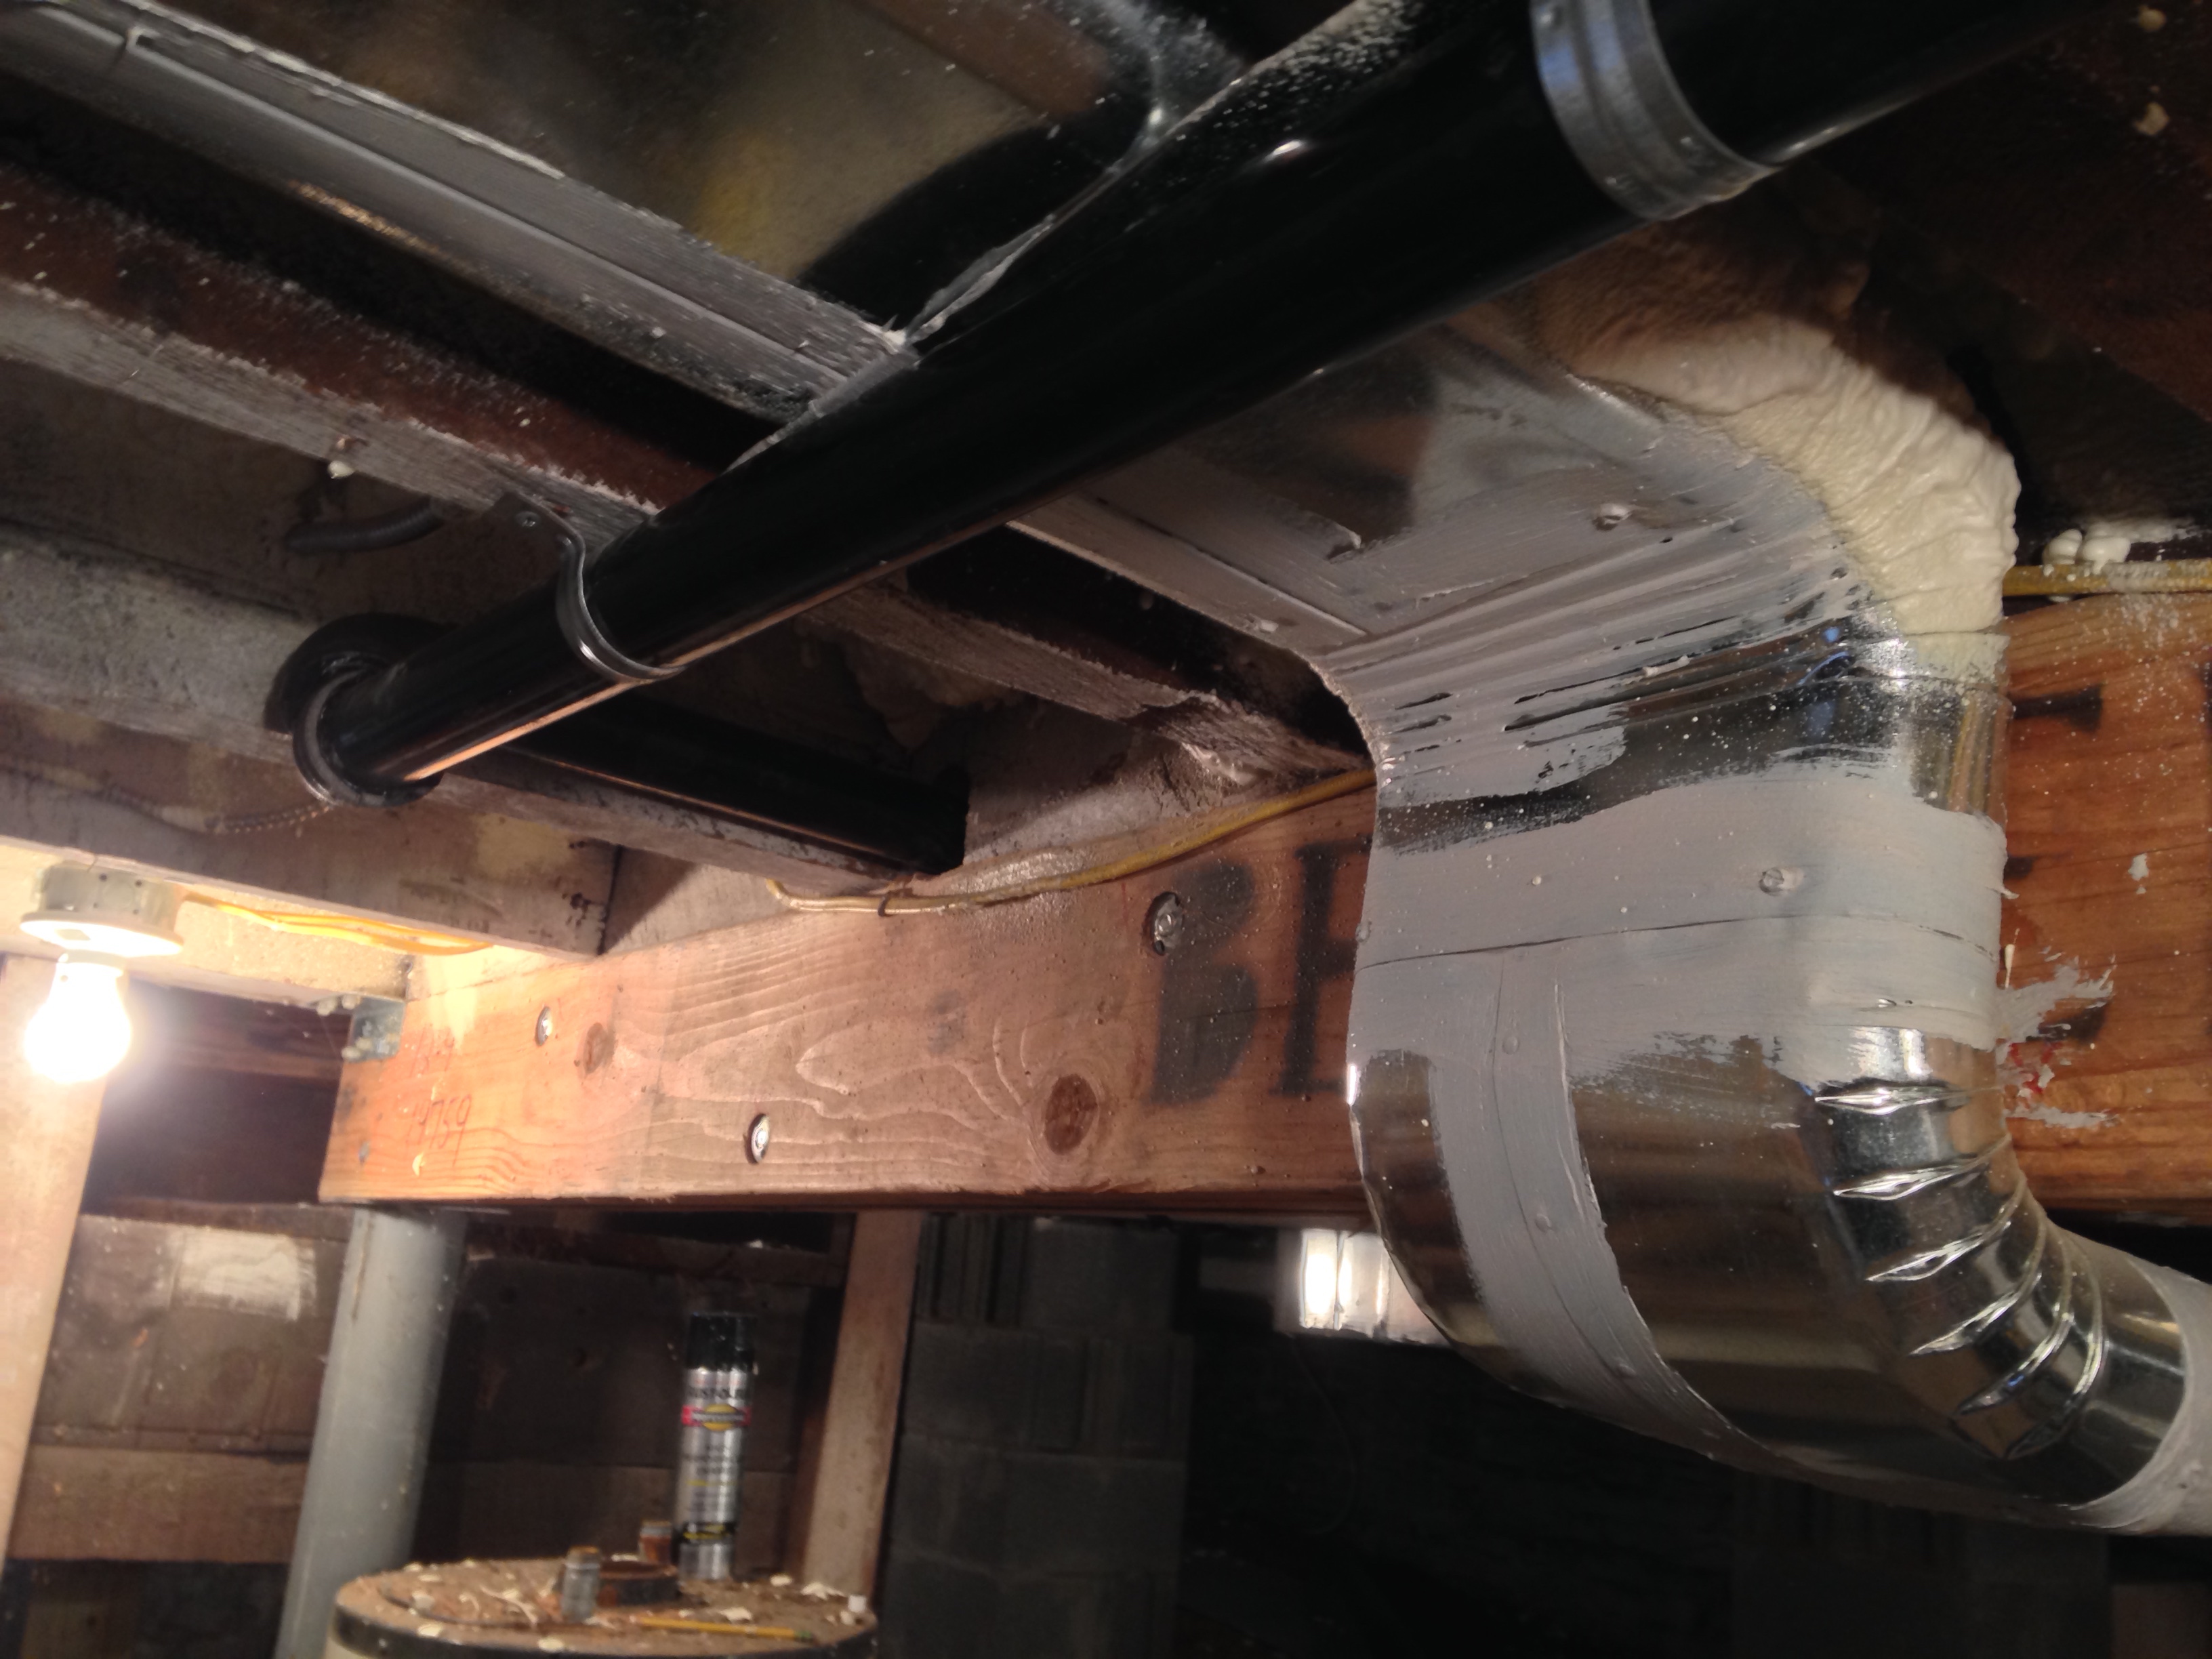


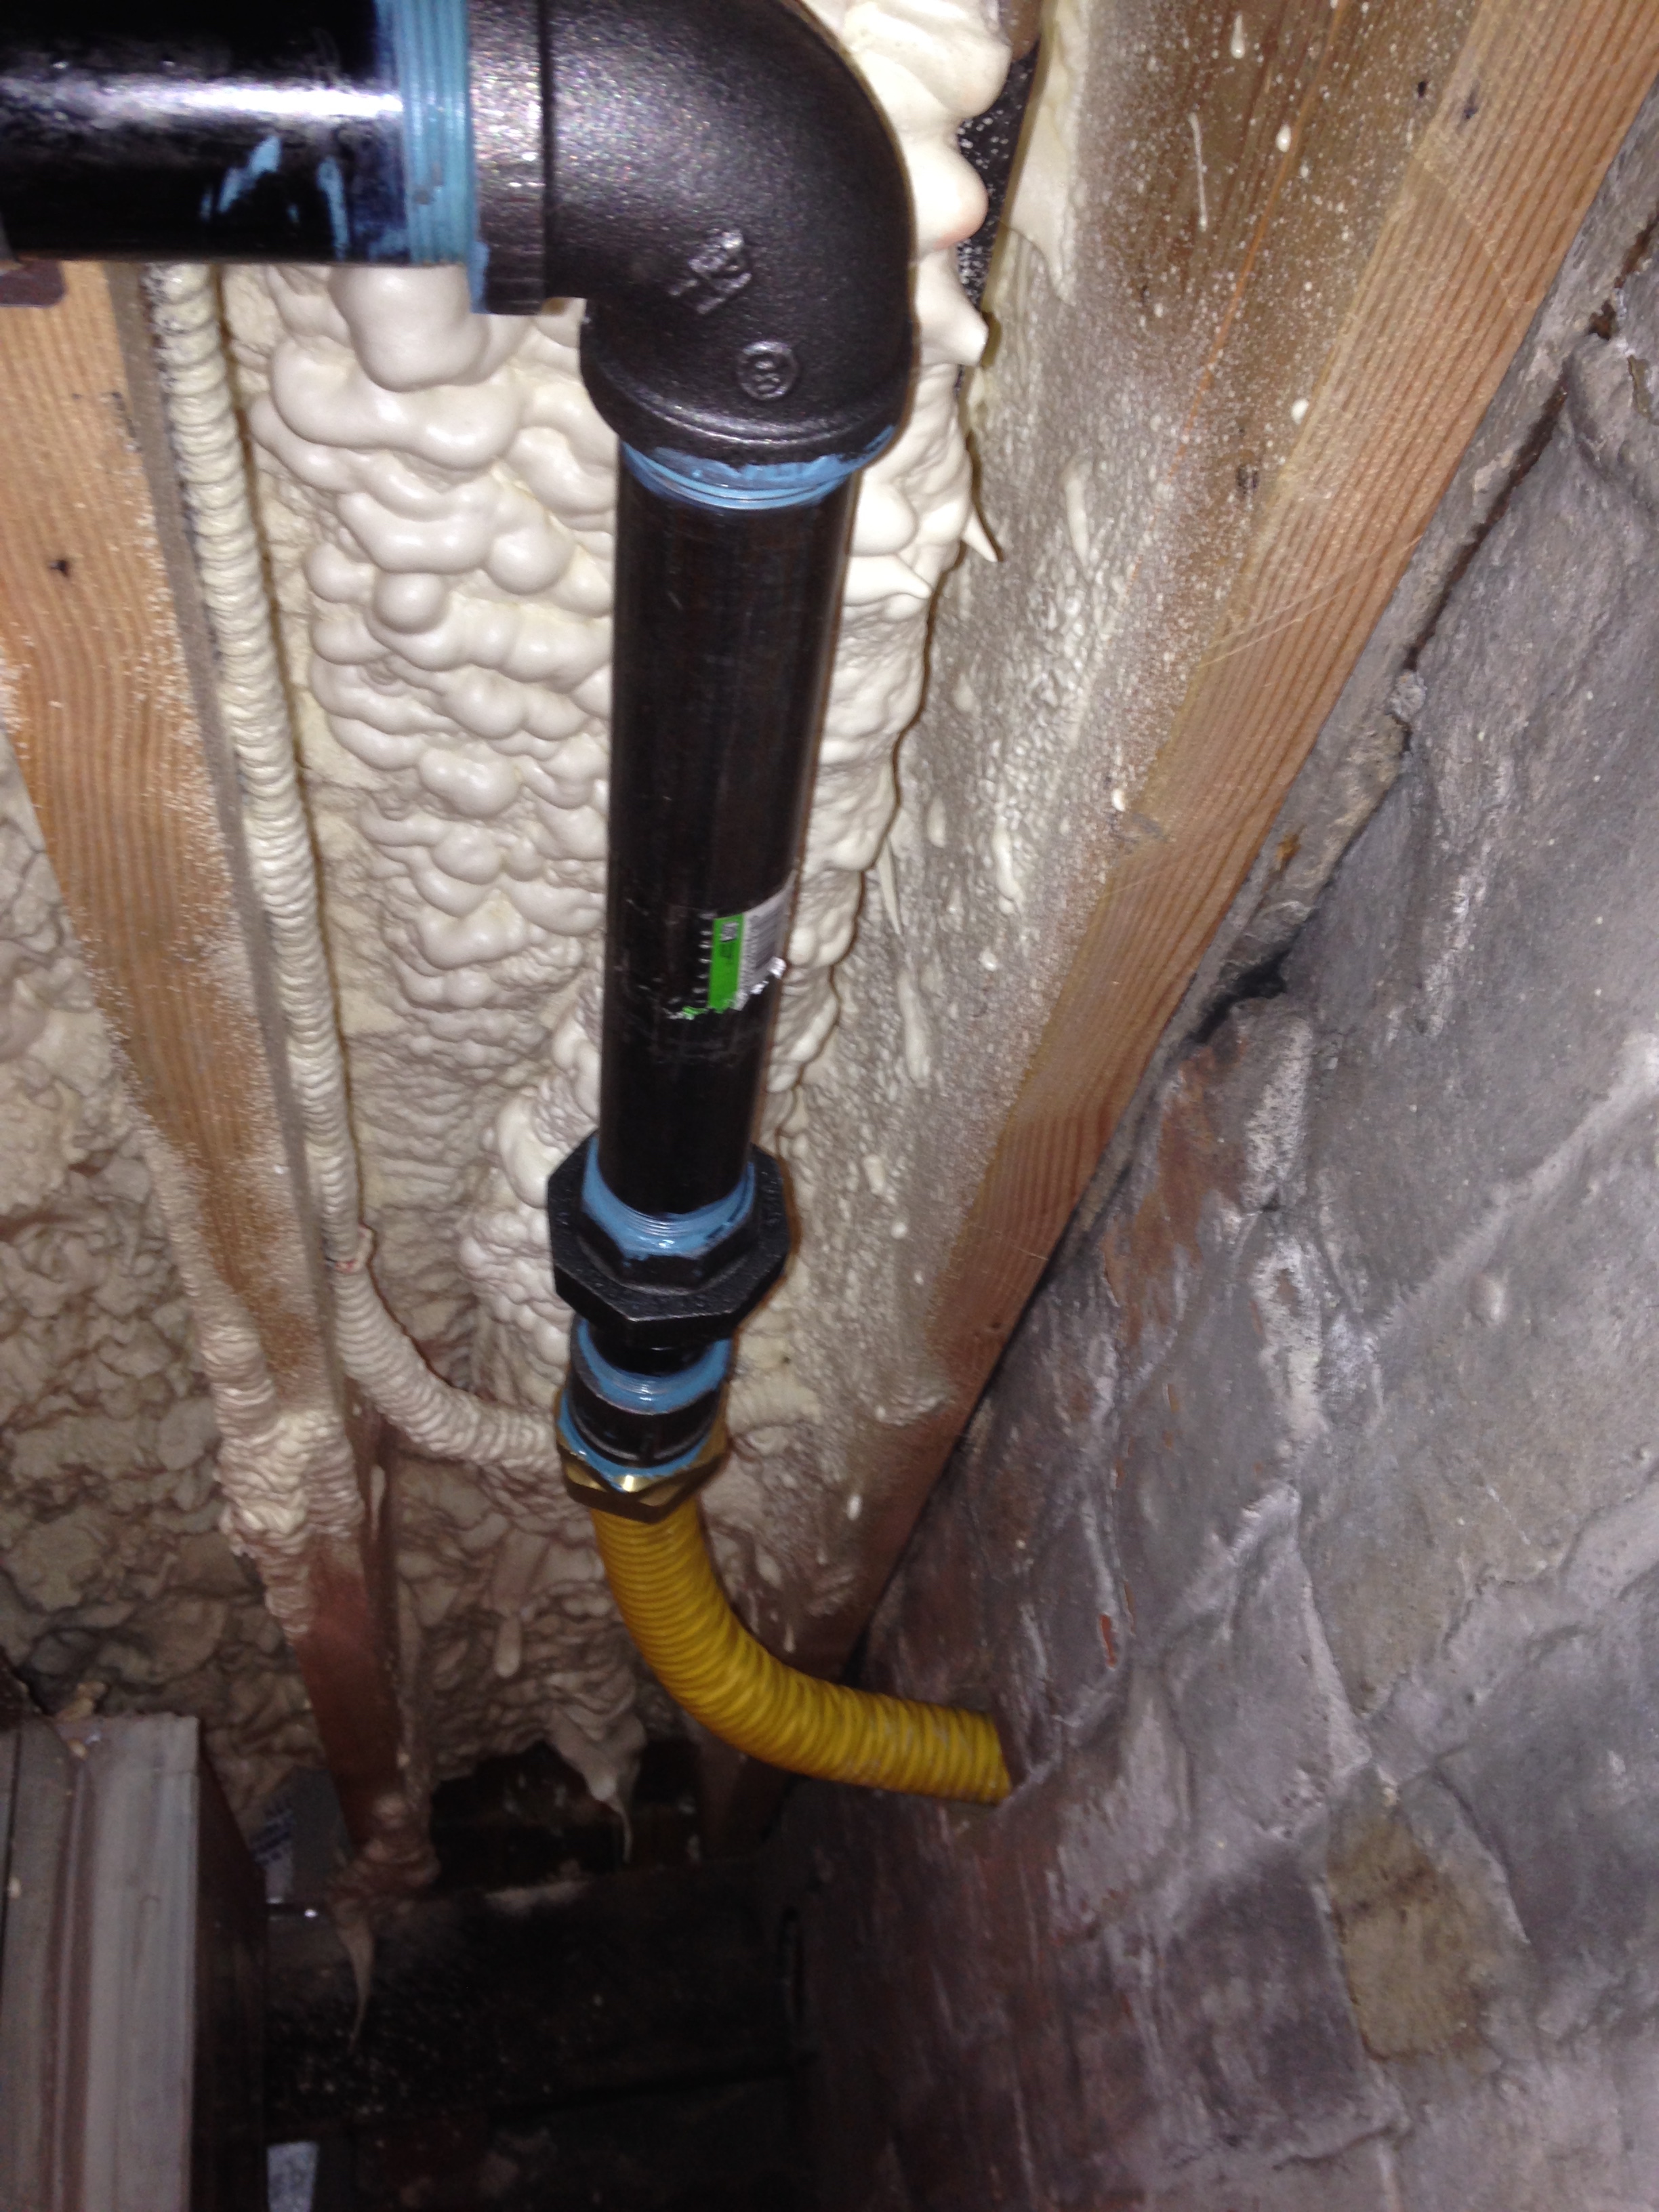
This got us to the basement furnace. There’s a prior T intersection which leads to the back of the house and the future home of the stove and water heater. Since we need to travel UP the height of the house to the attic we had to get a special seamless flexible gas pipe that would cover the height. My dad went and got a certification so we could use it, you can’t even buy it without the proper certification. Since natural gas is explosive, I guess that makes sense.
This is where the flexible pipe connects to the regular pipe:
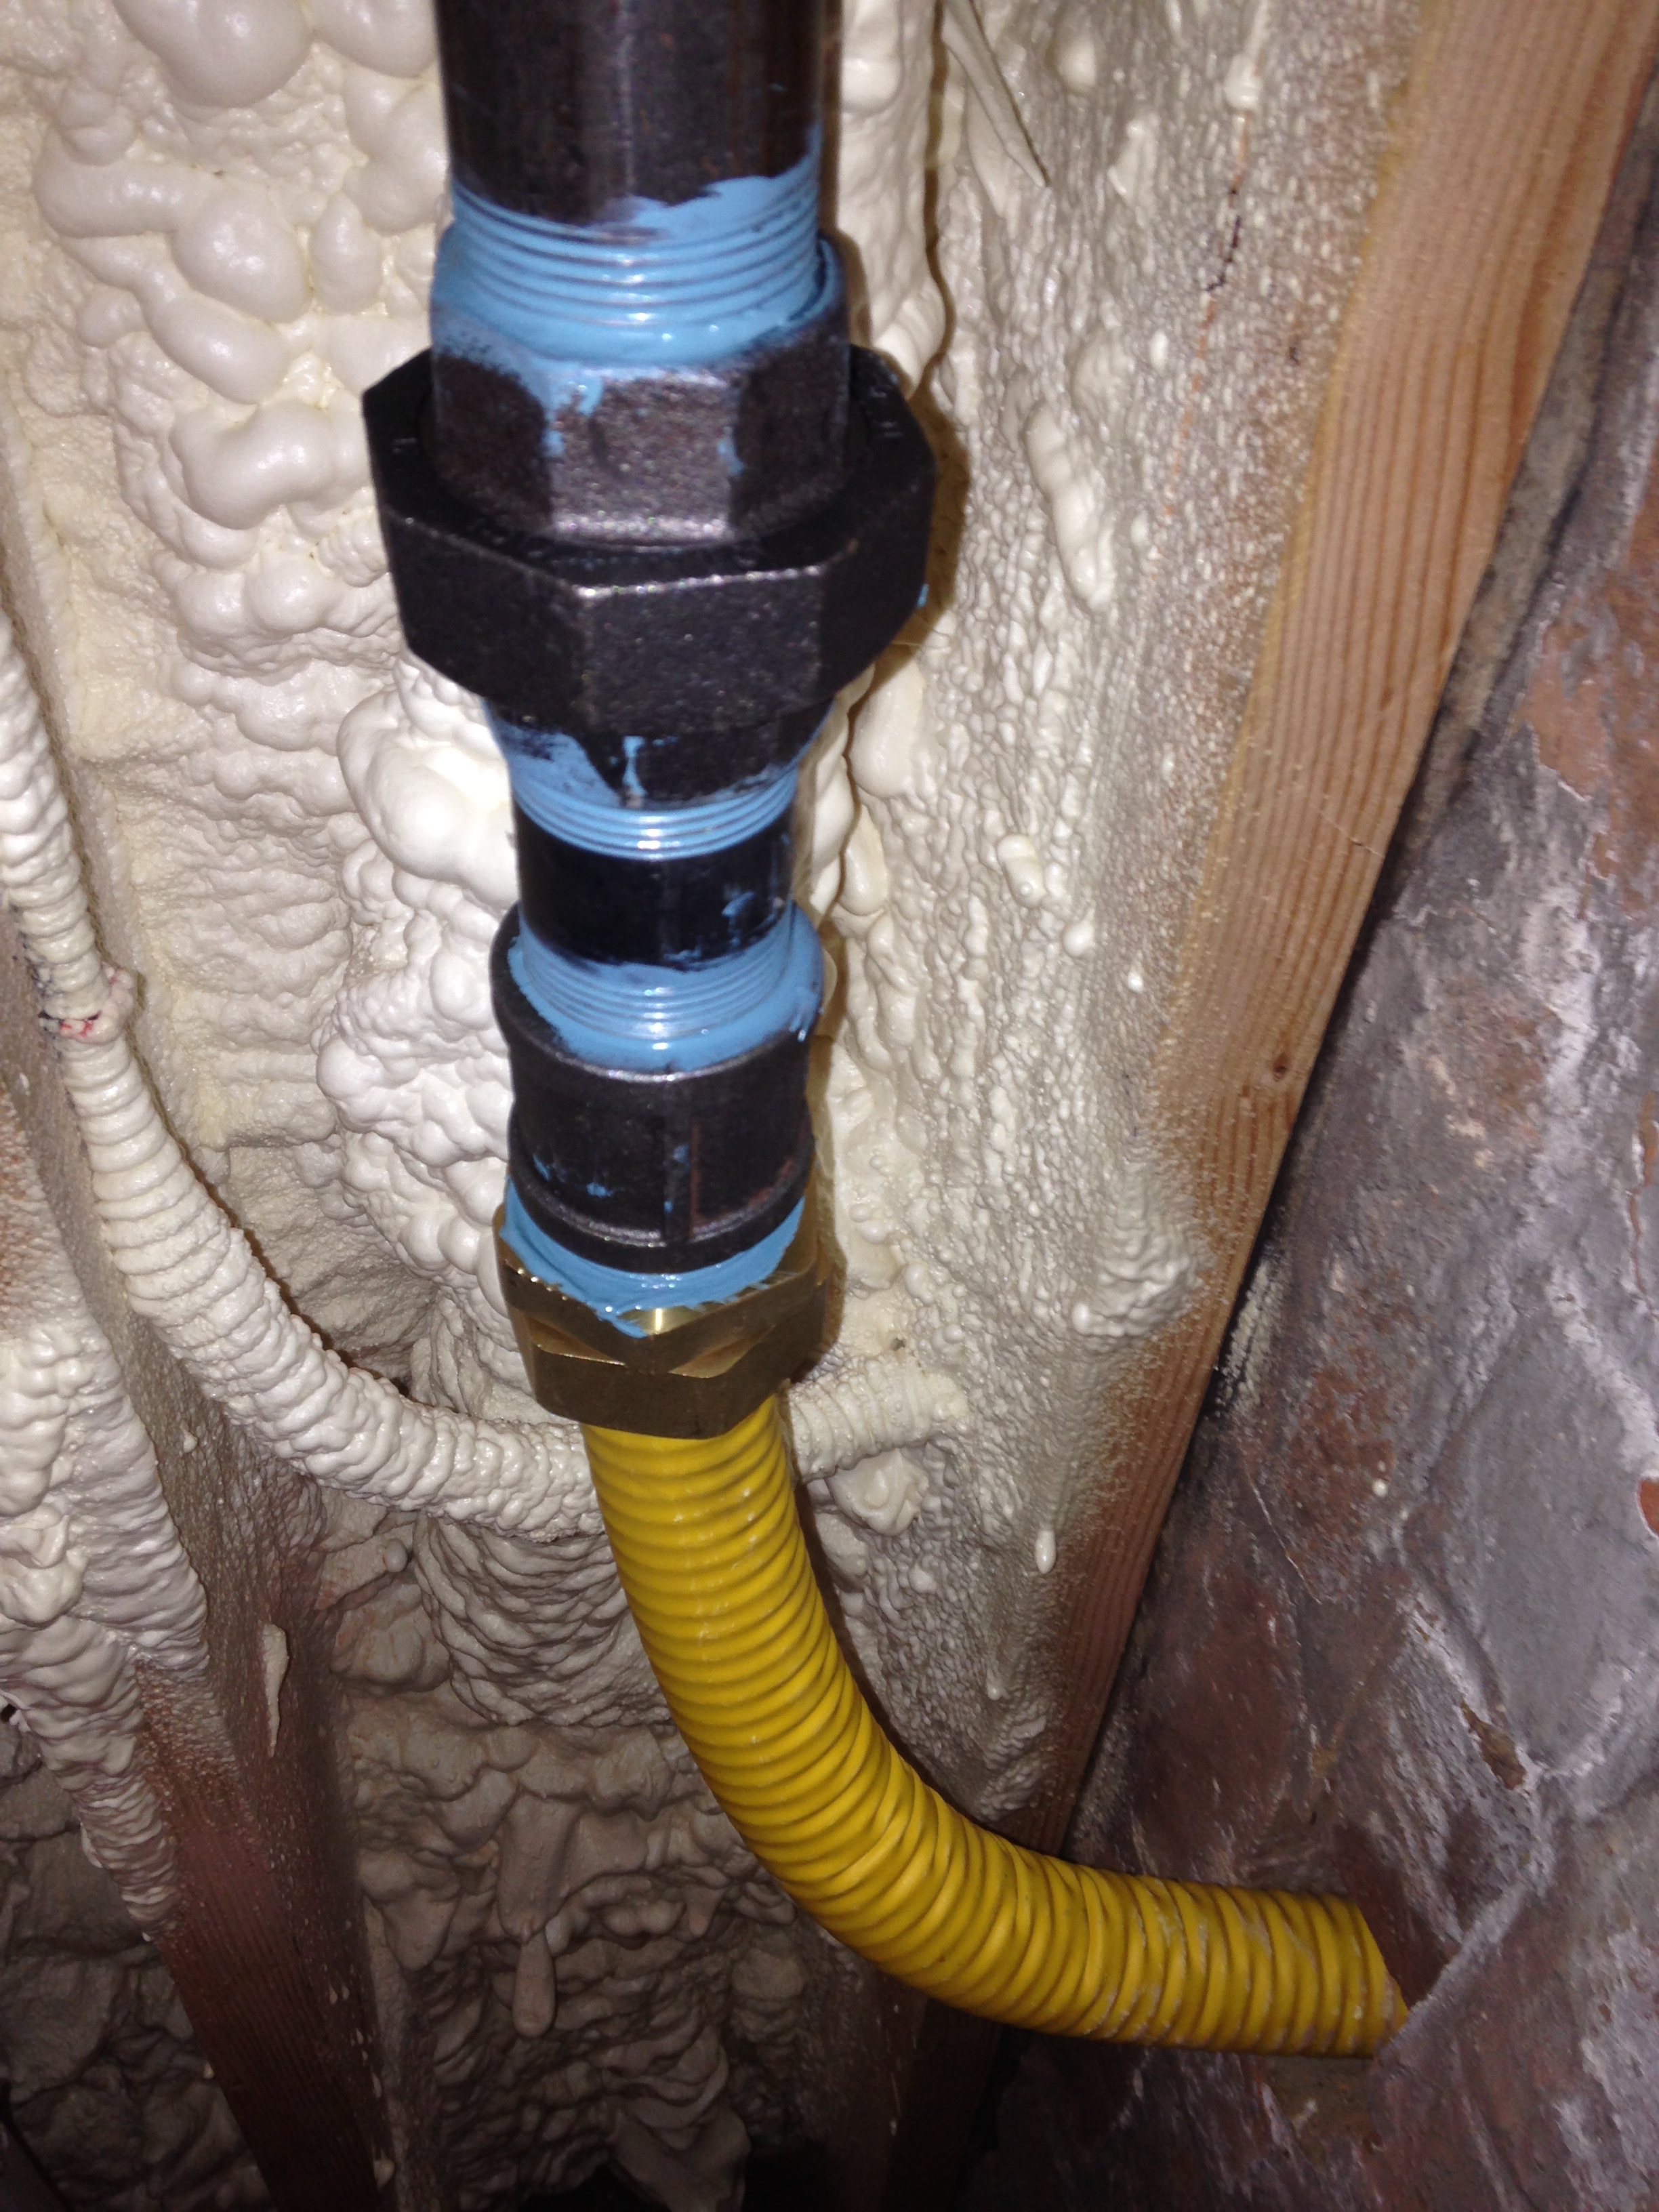
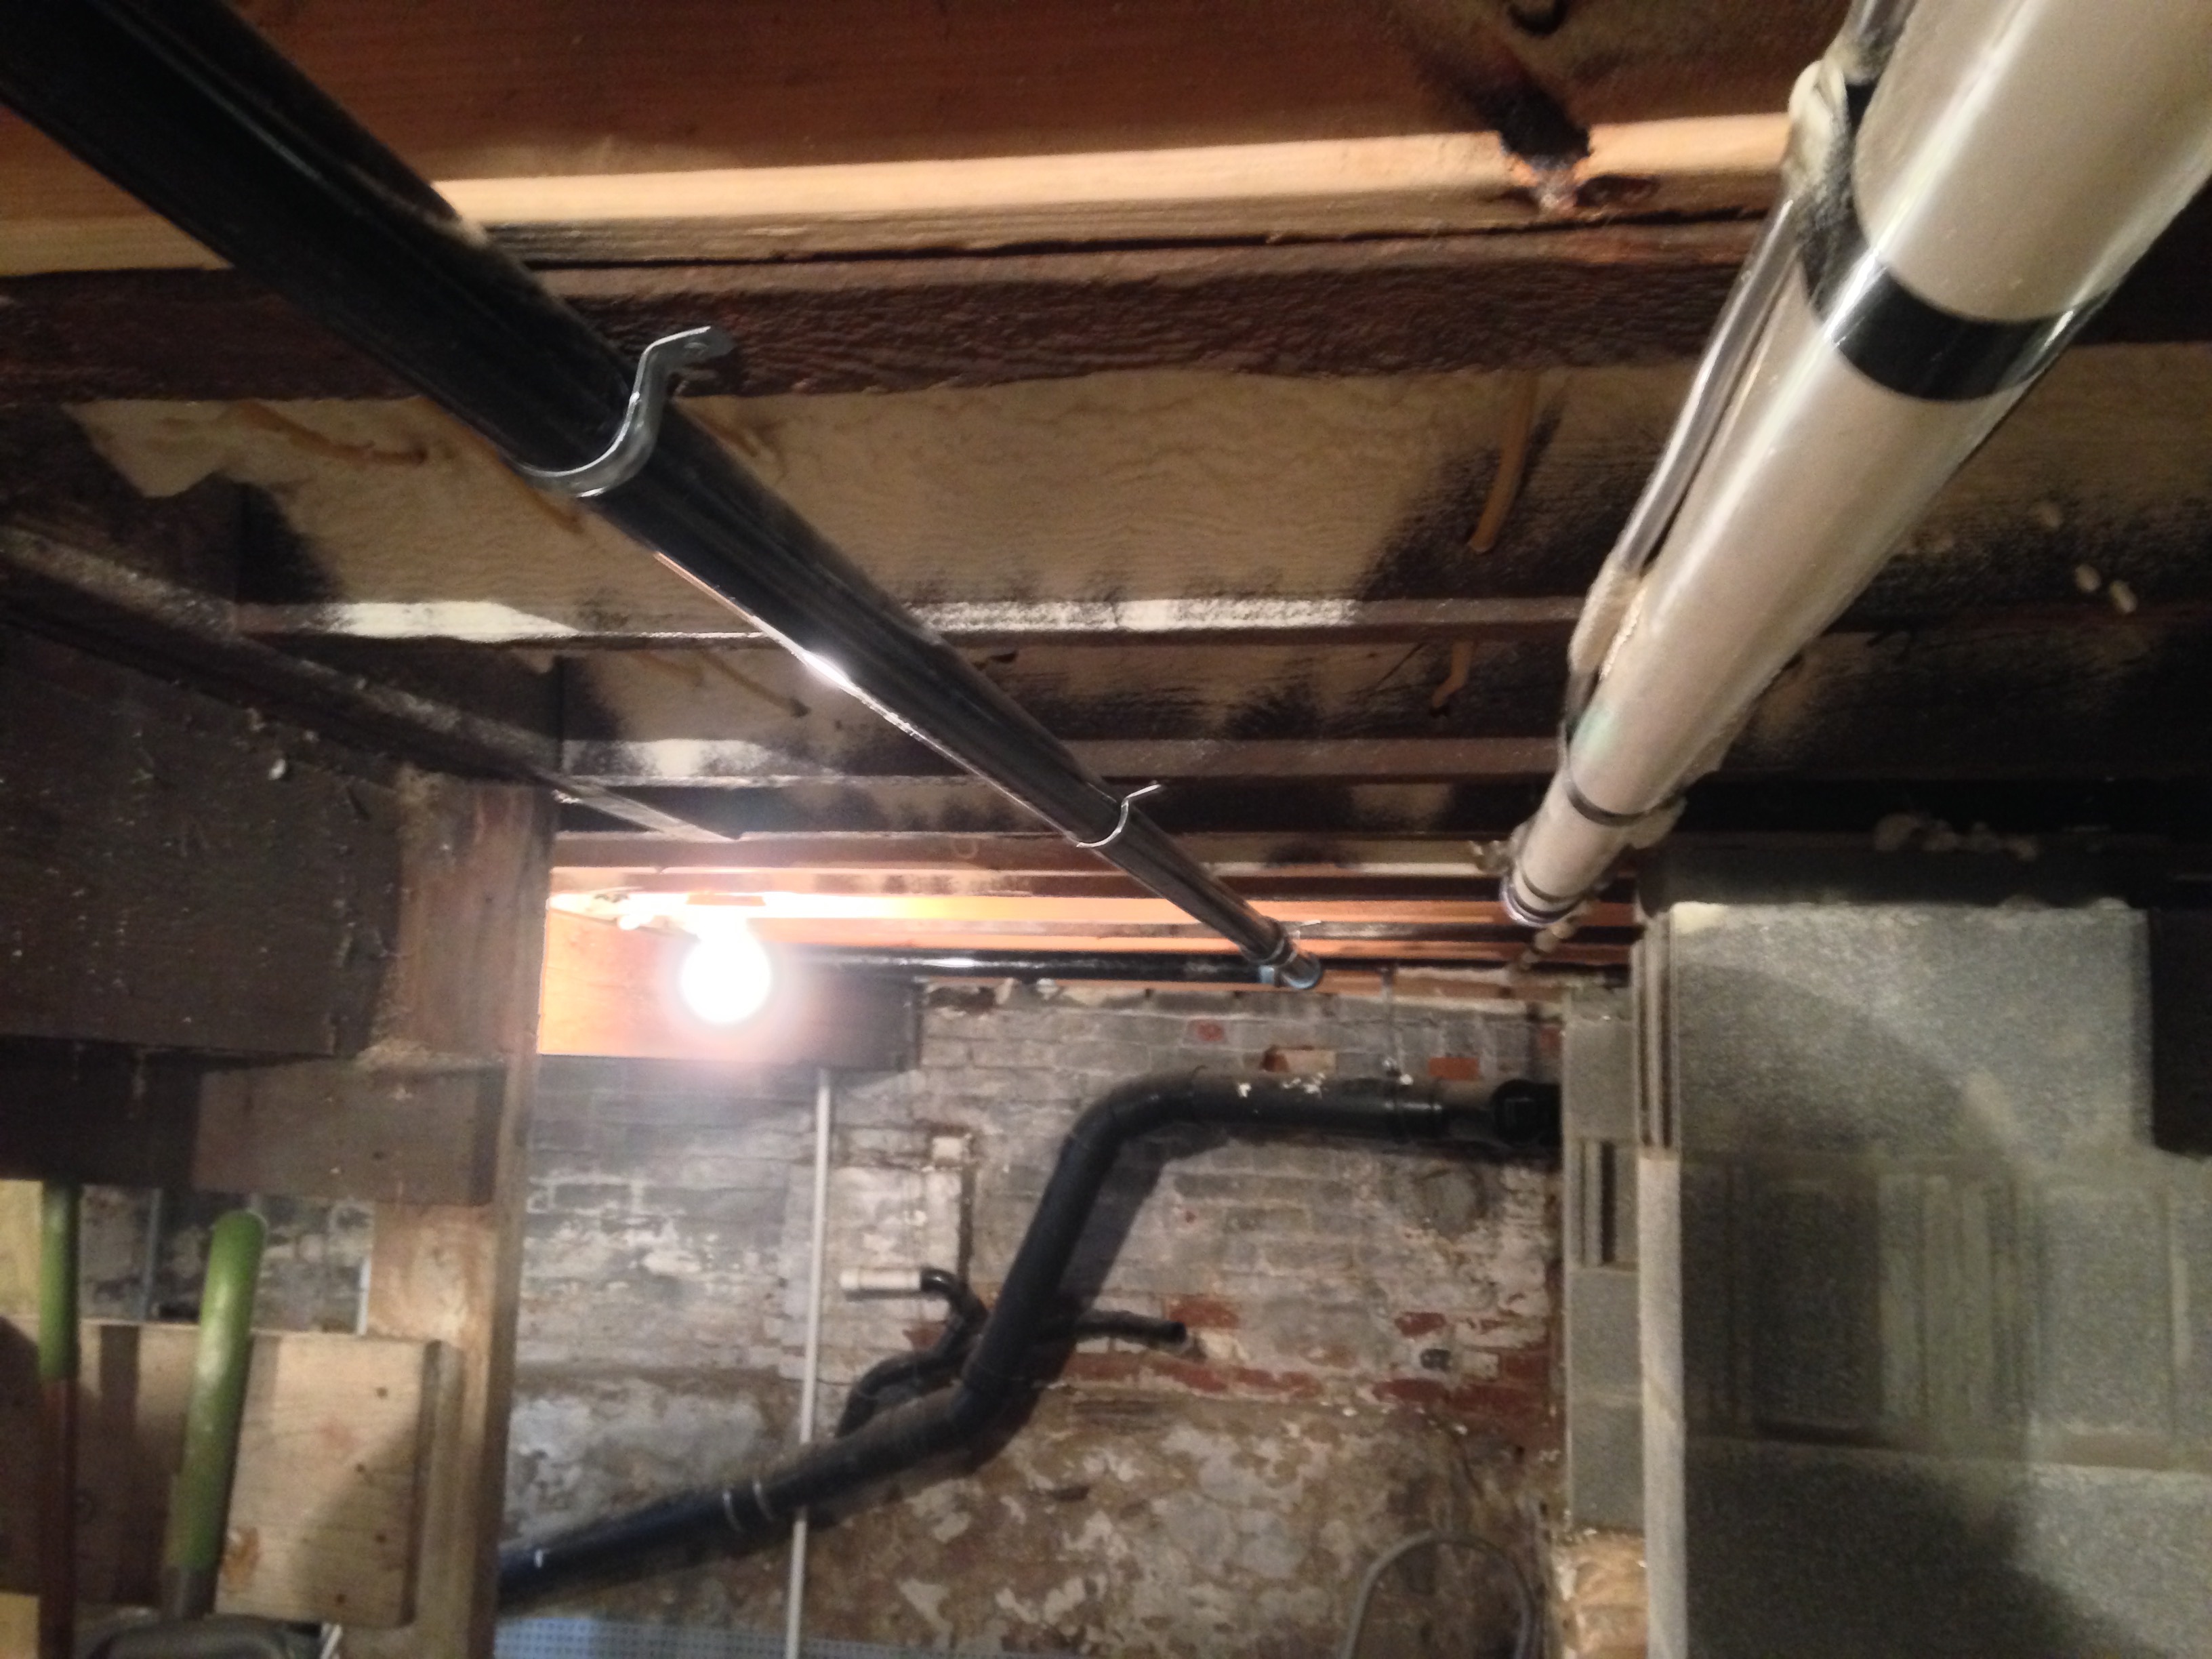
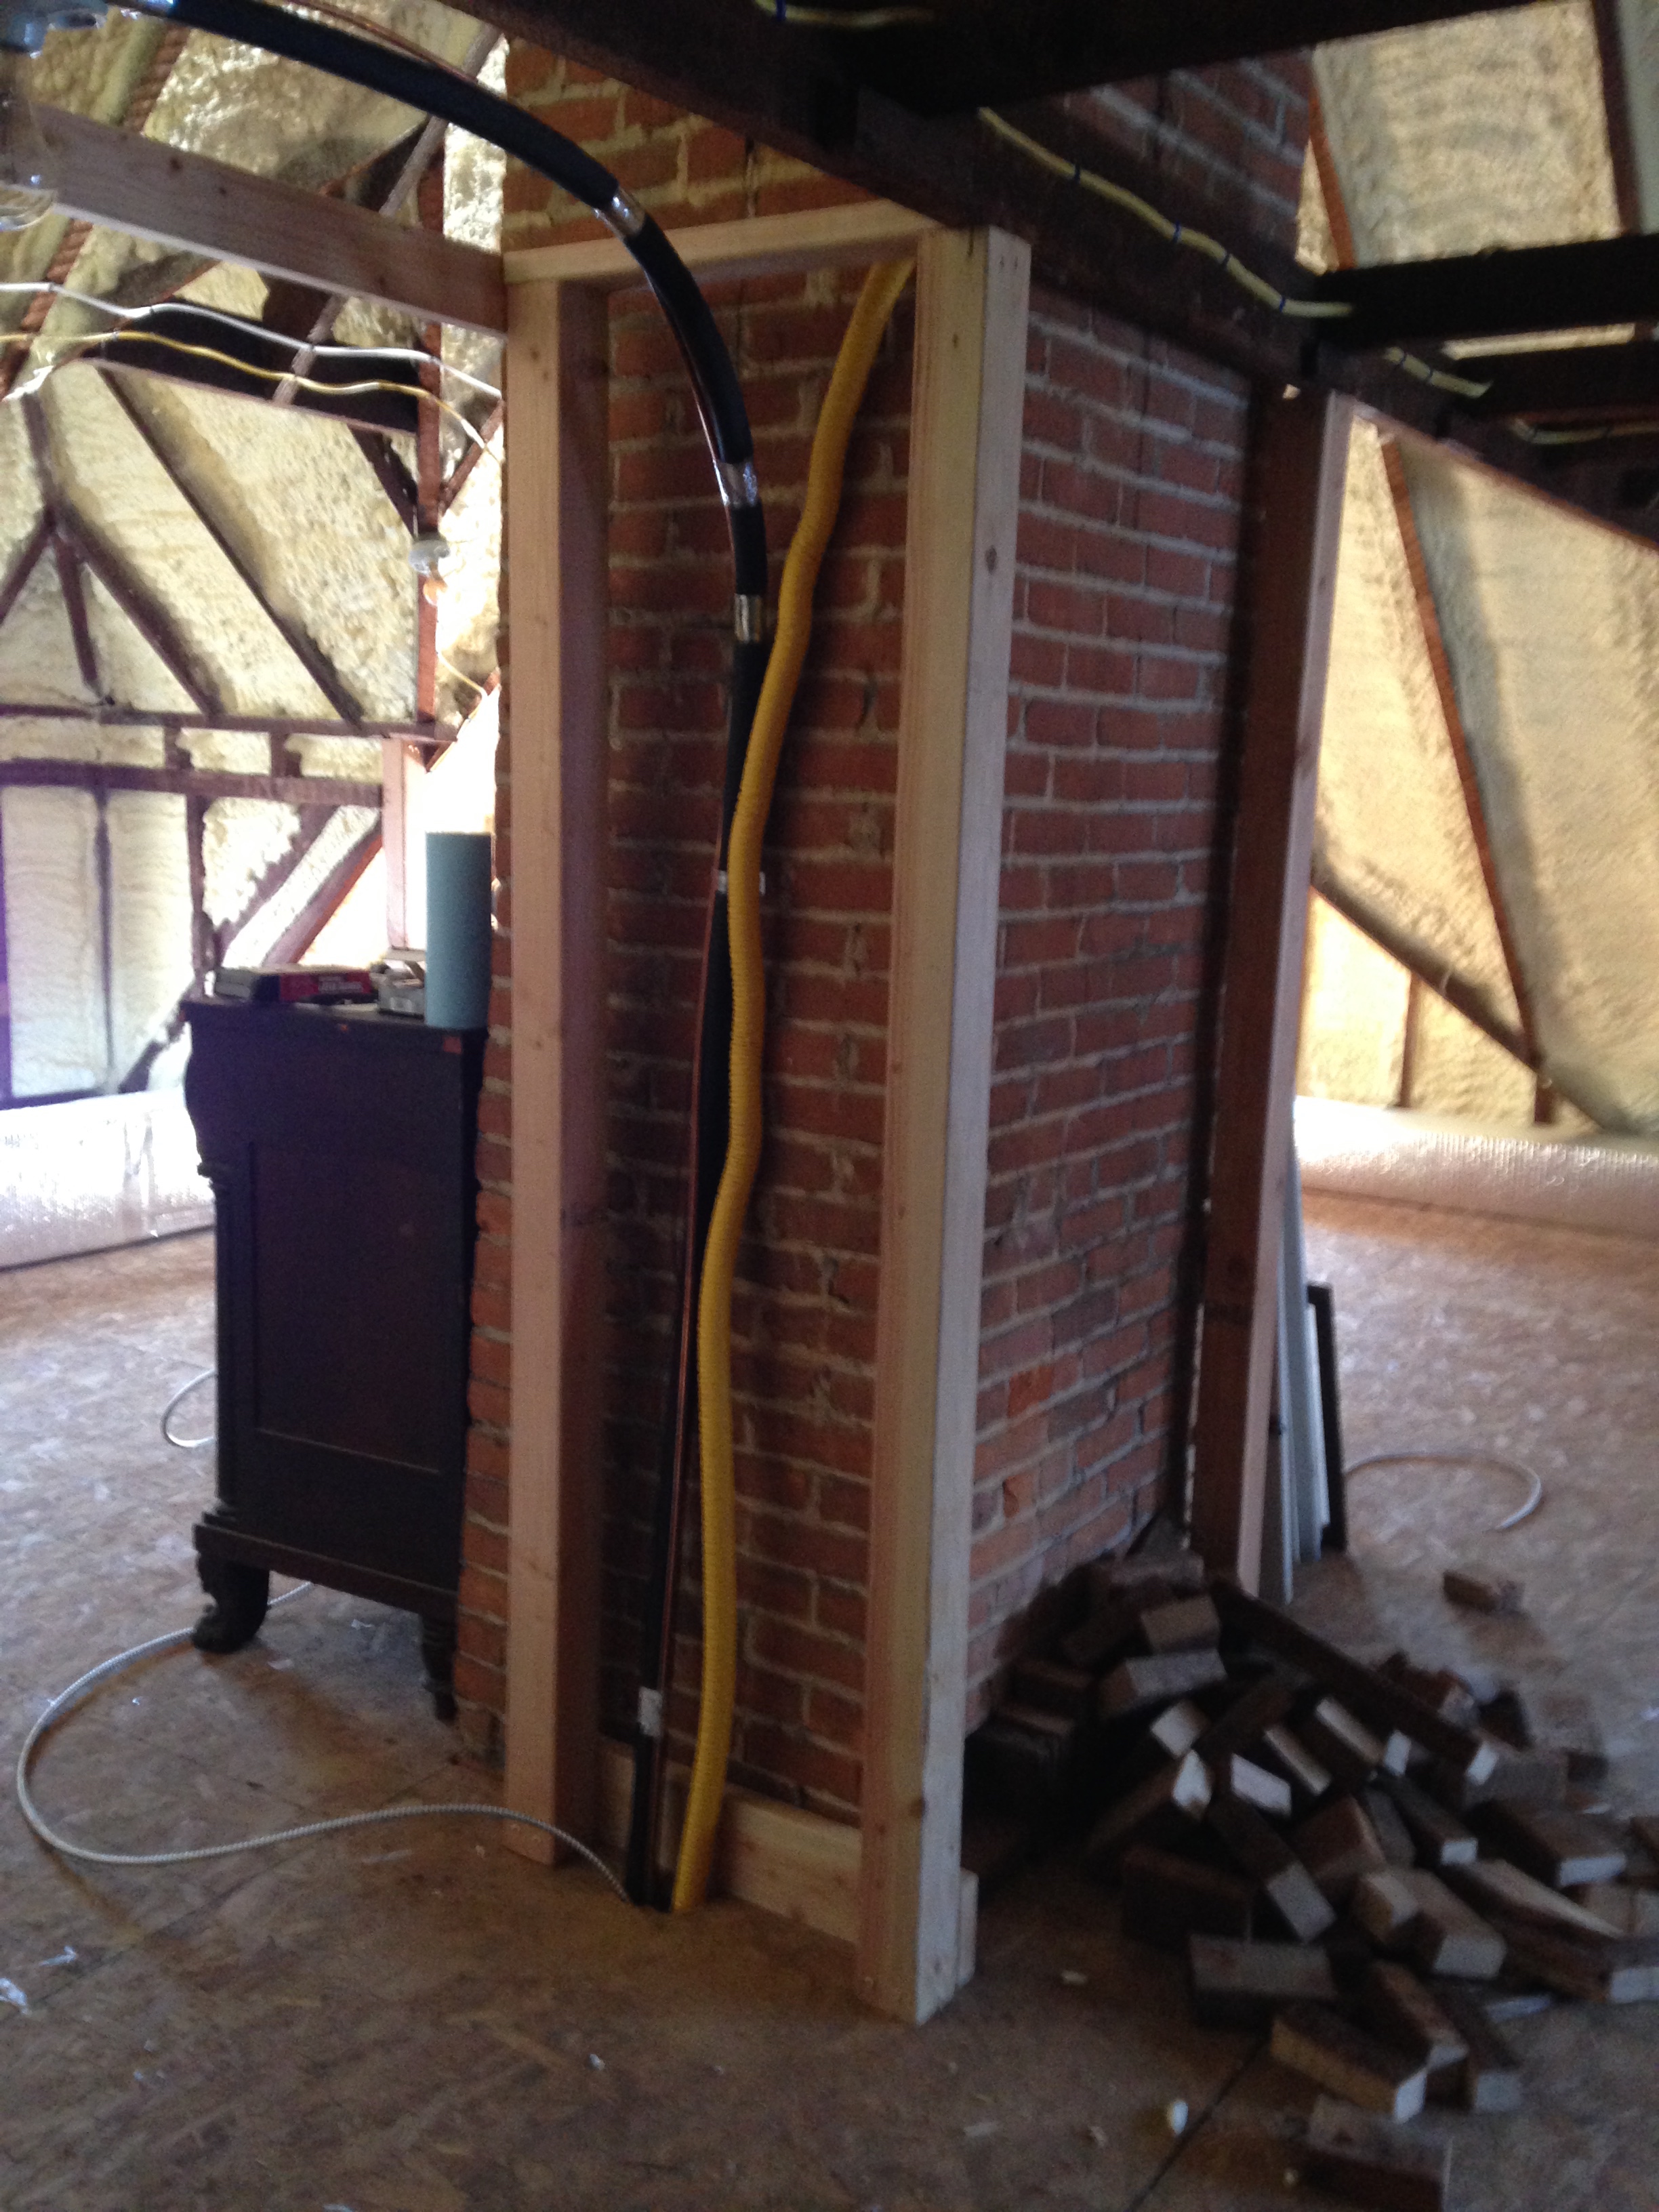
It goes into the wall and as luck would have it we have a space behind the chimney that goes all the way up to the attic without needing anything fancy to get through. Here it is passing through the first floor:

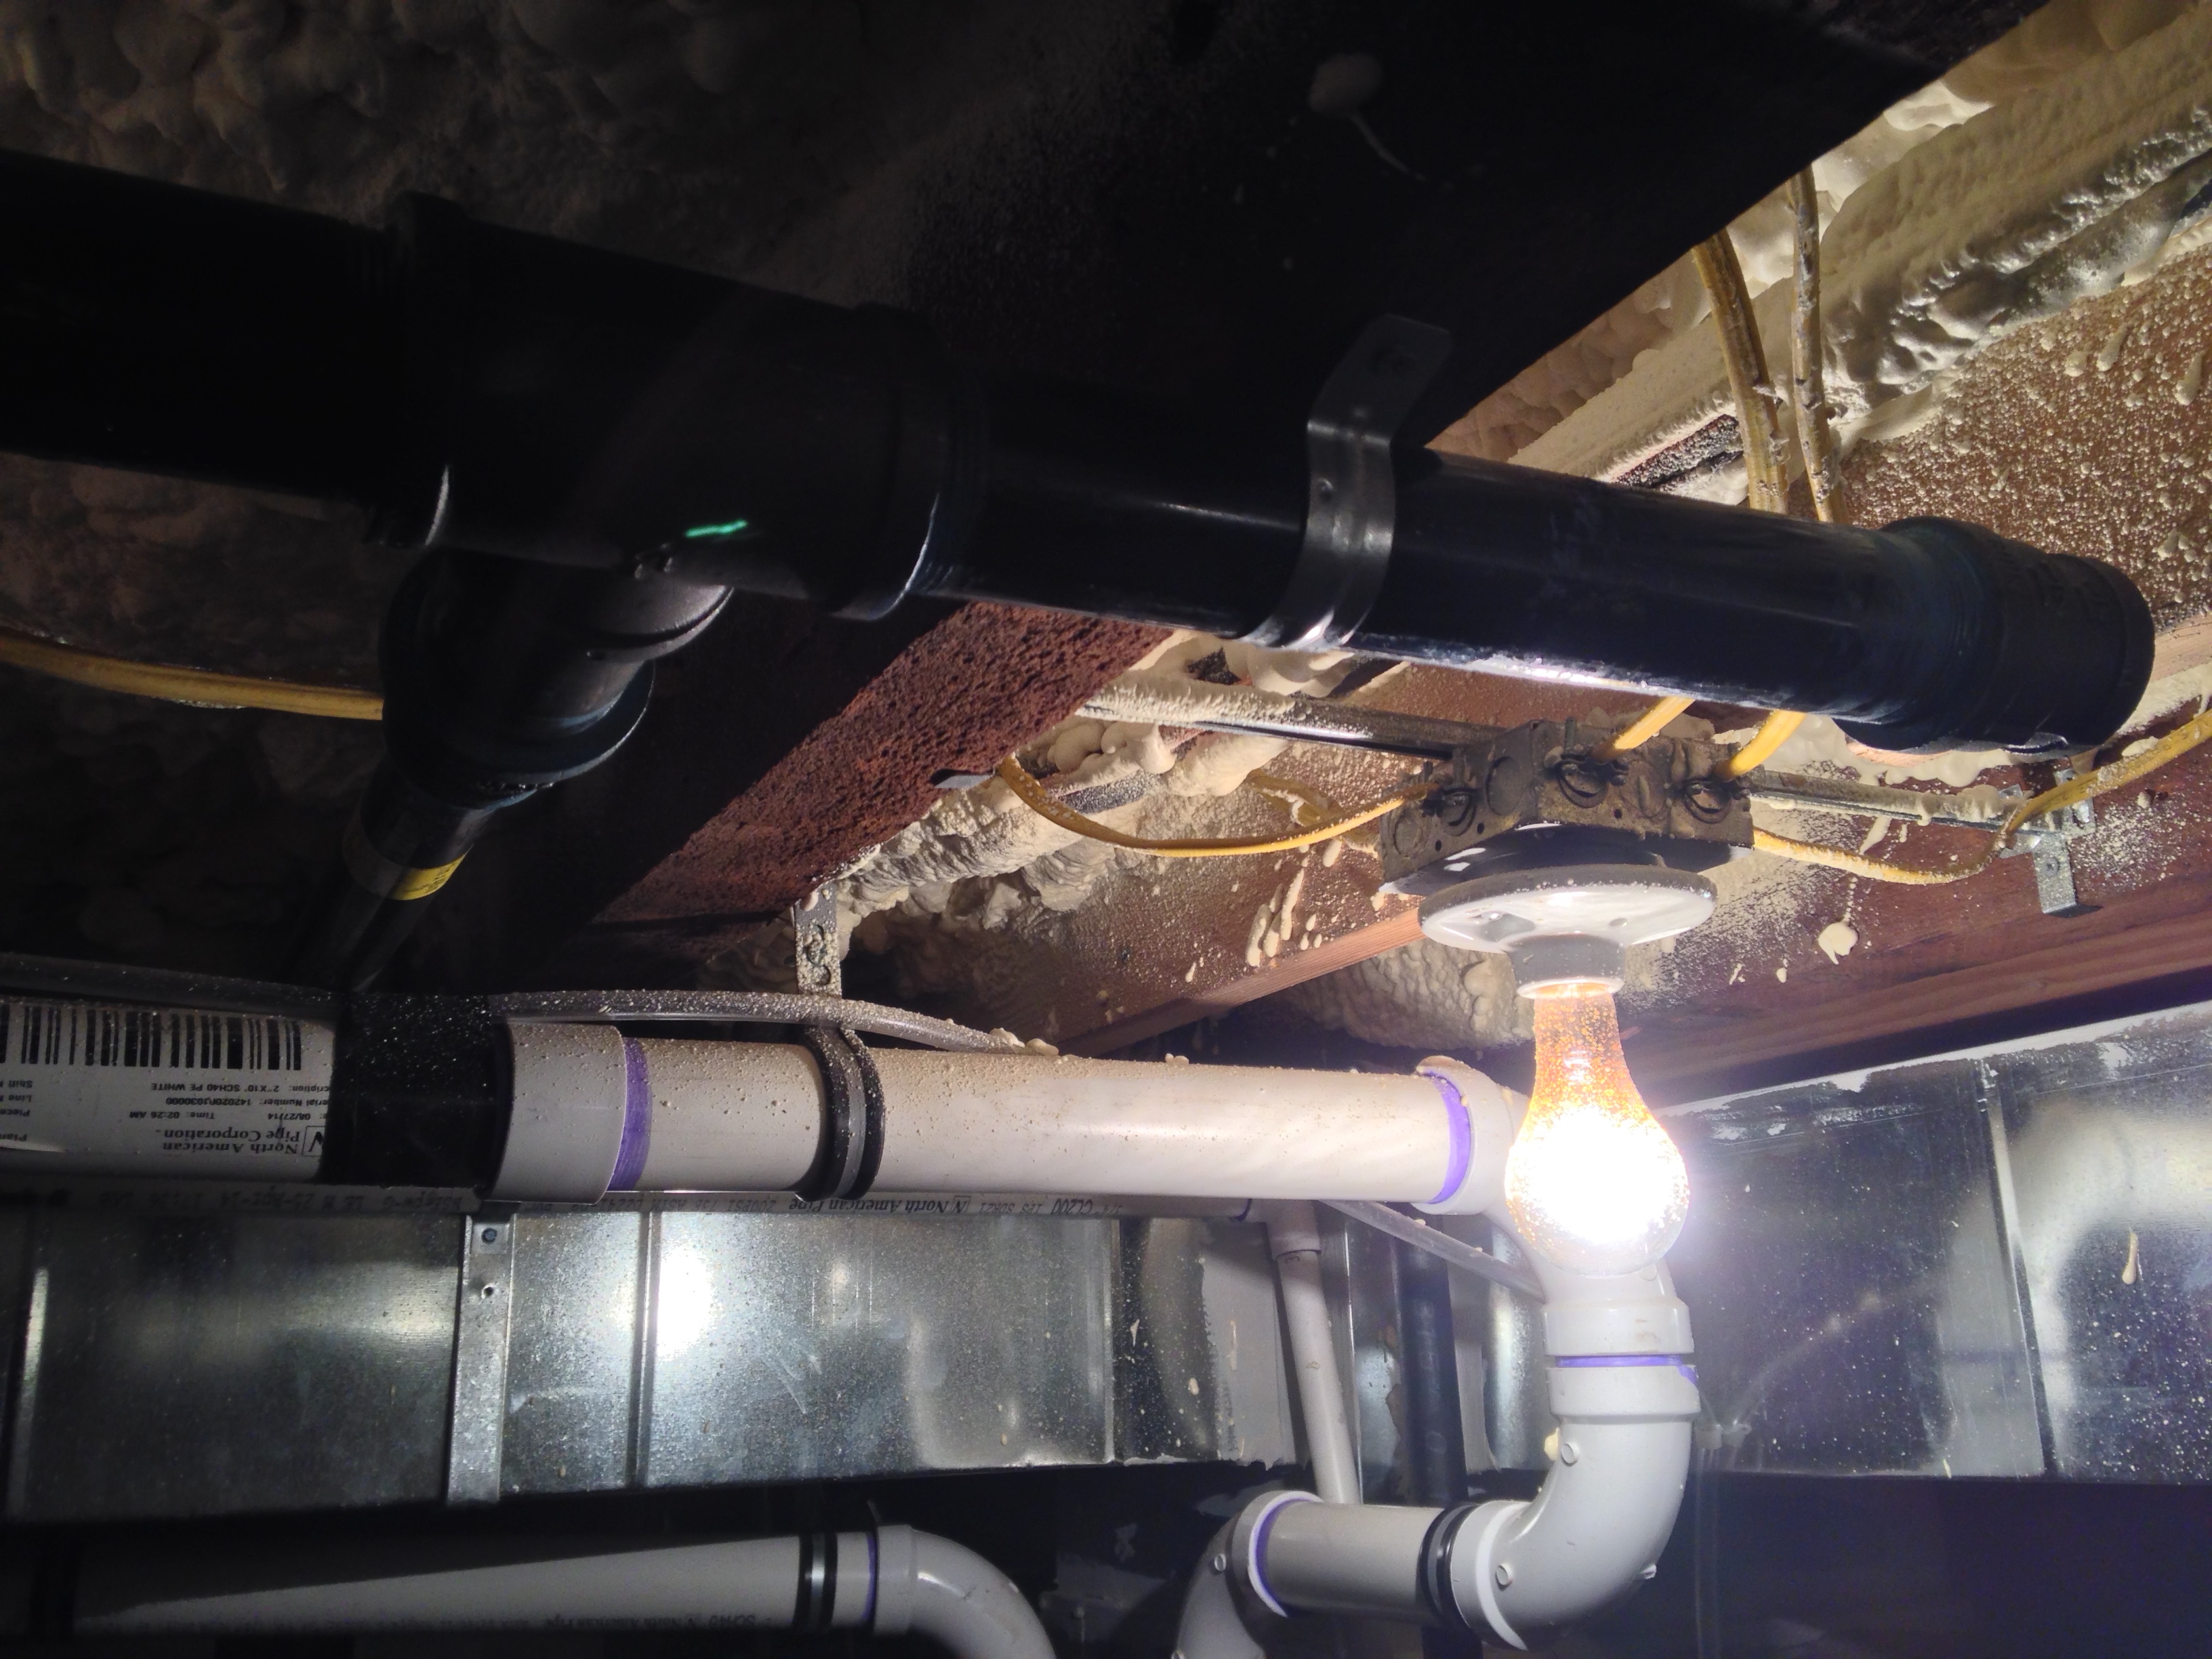
Through the second floor (on the right):

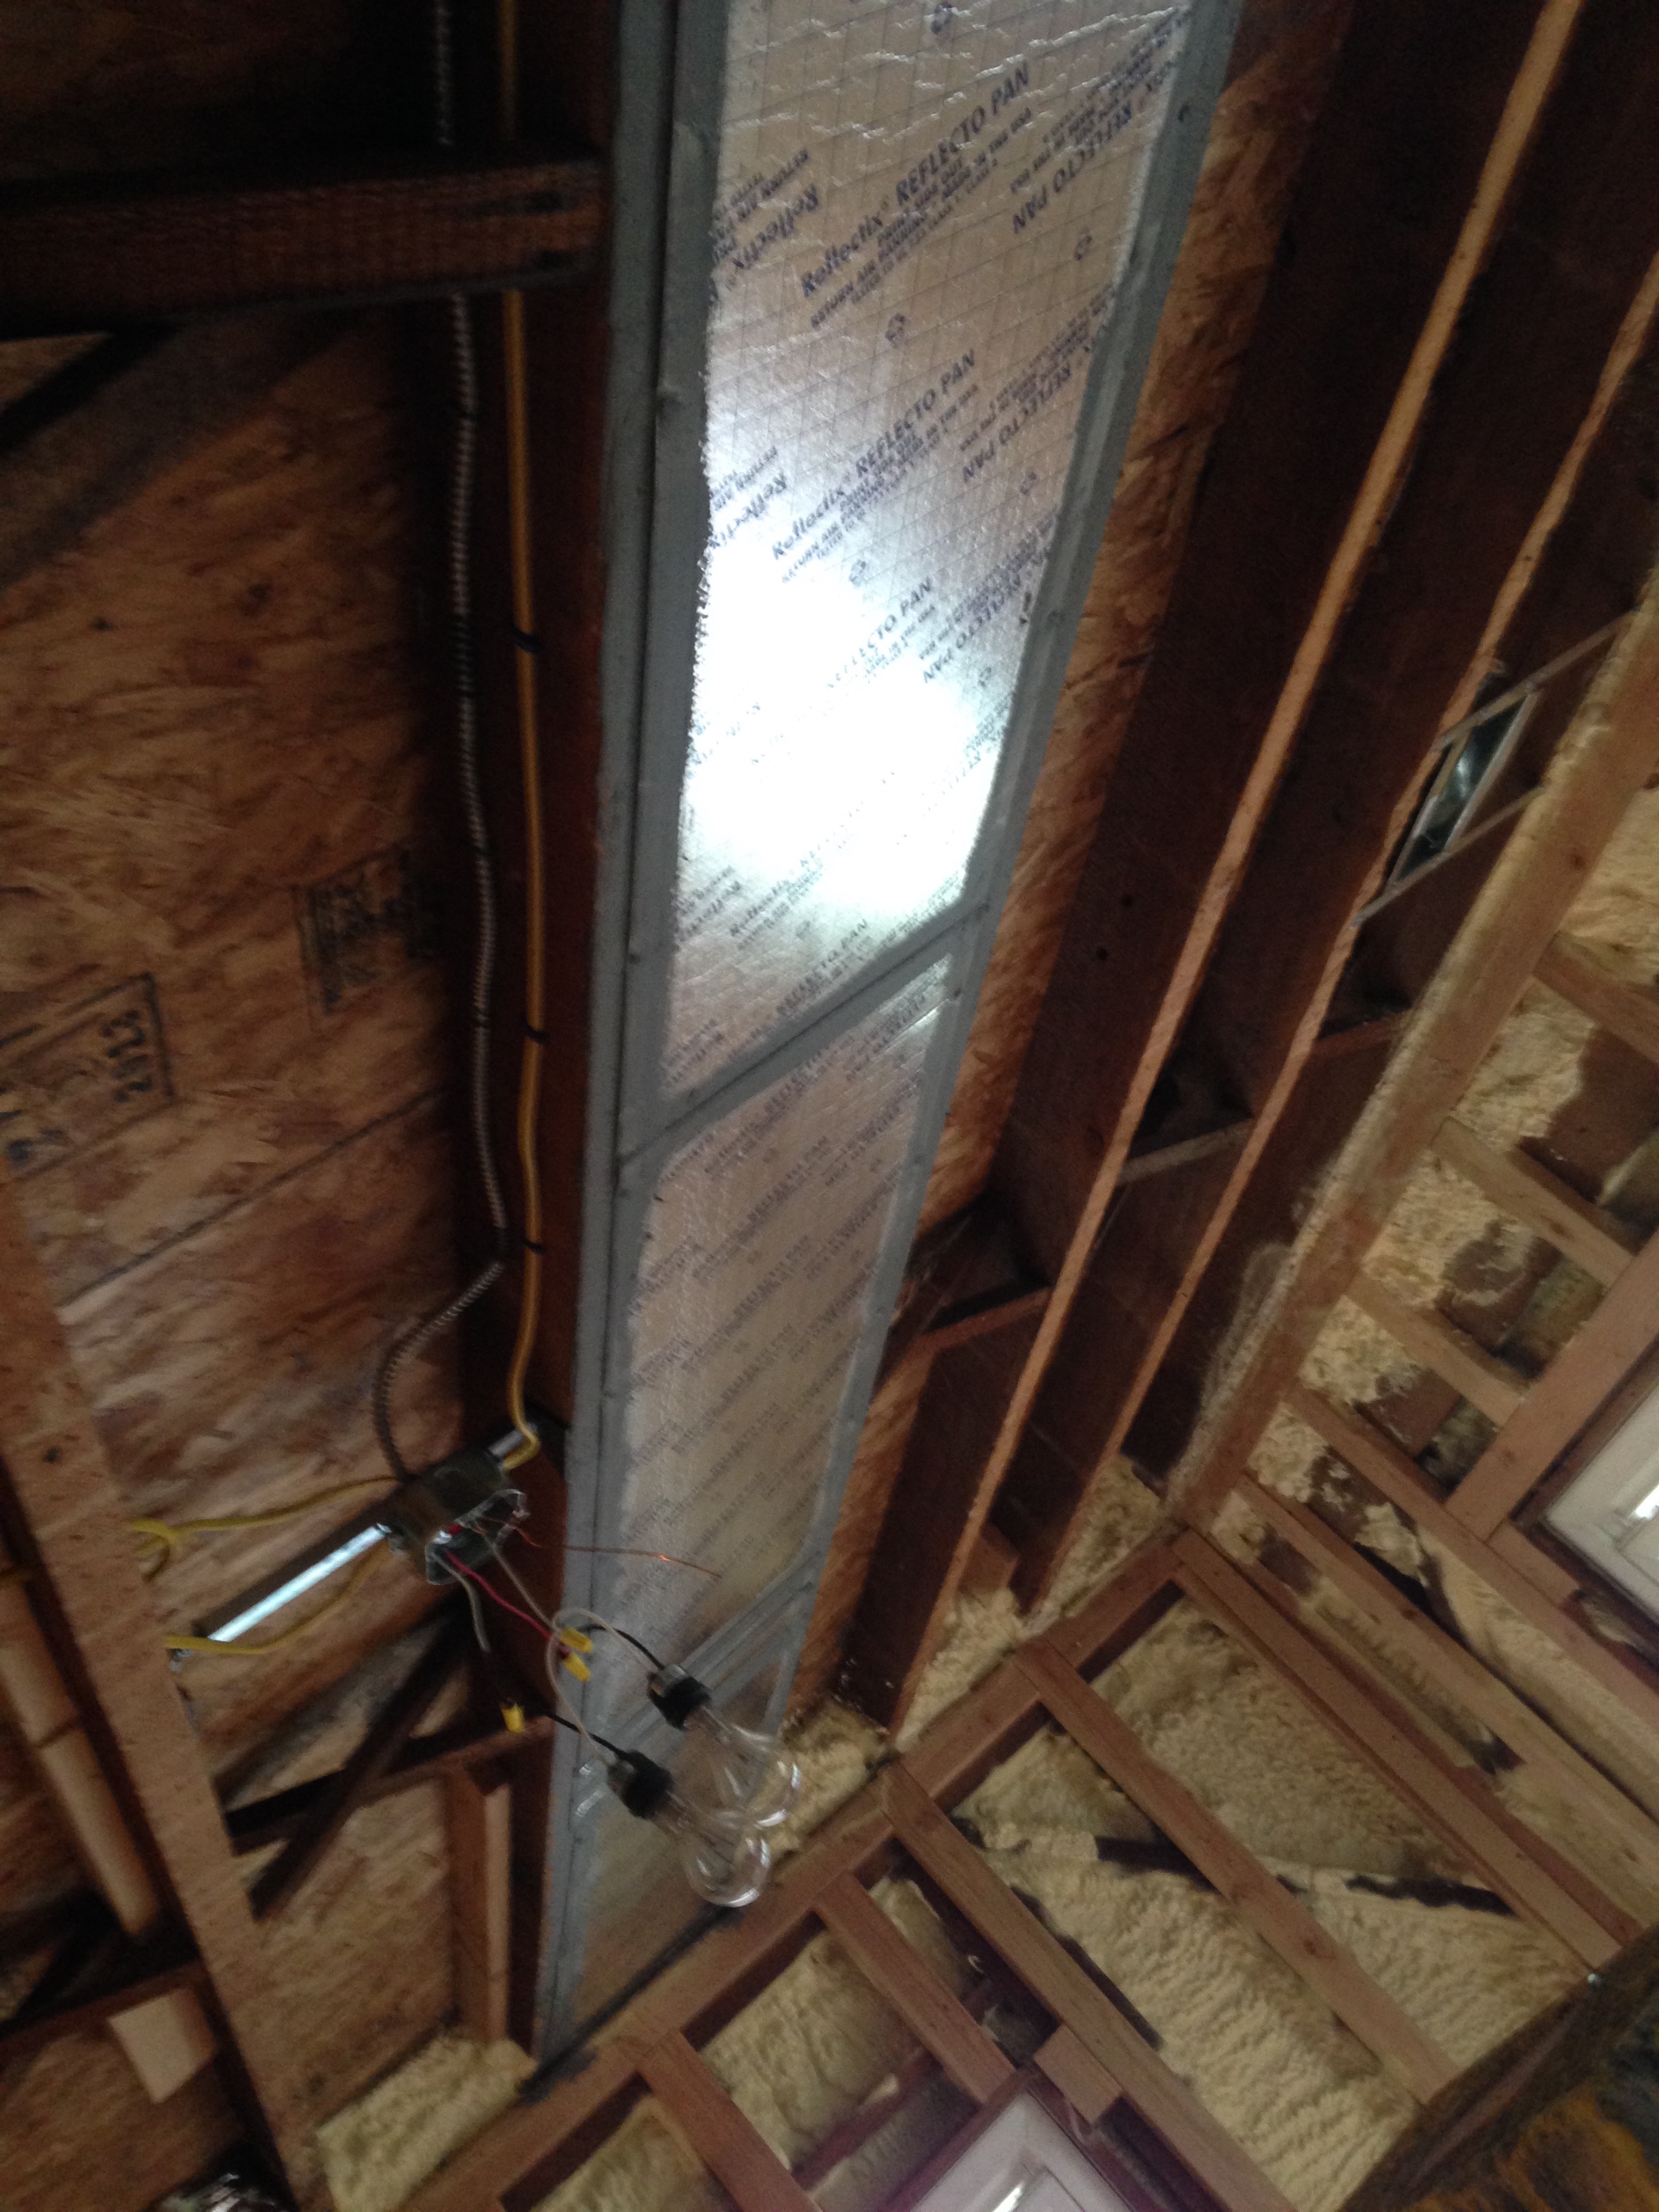
And up into the attic:
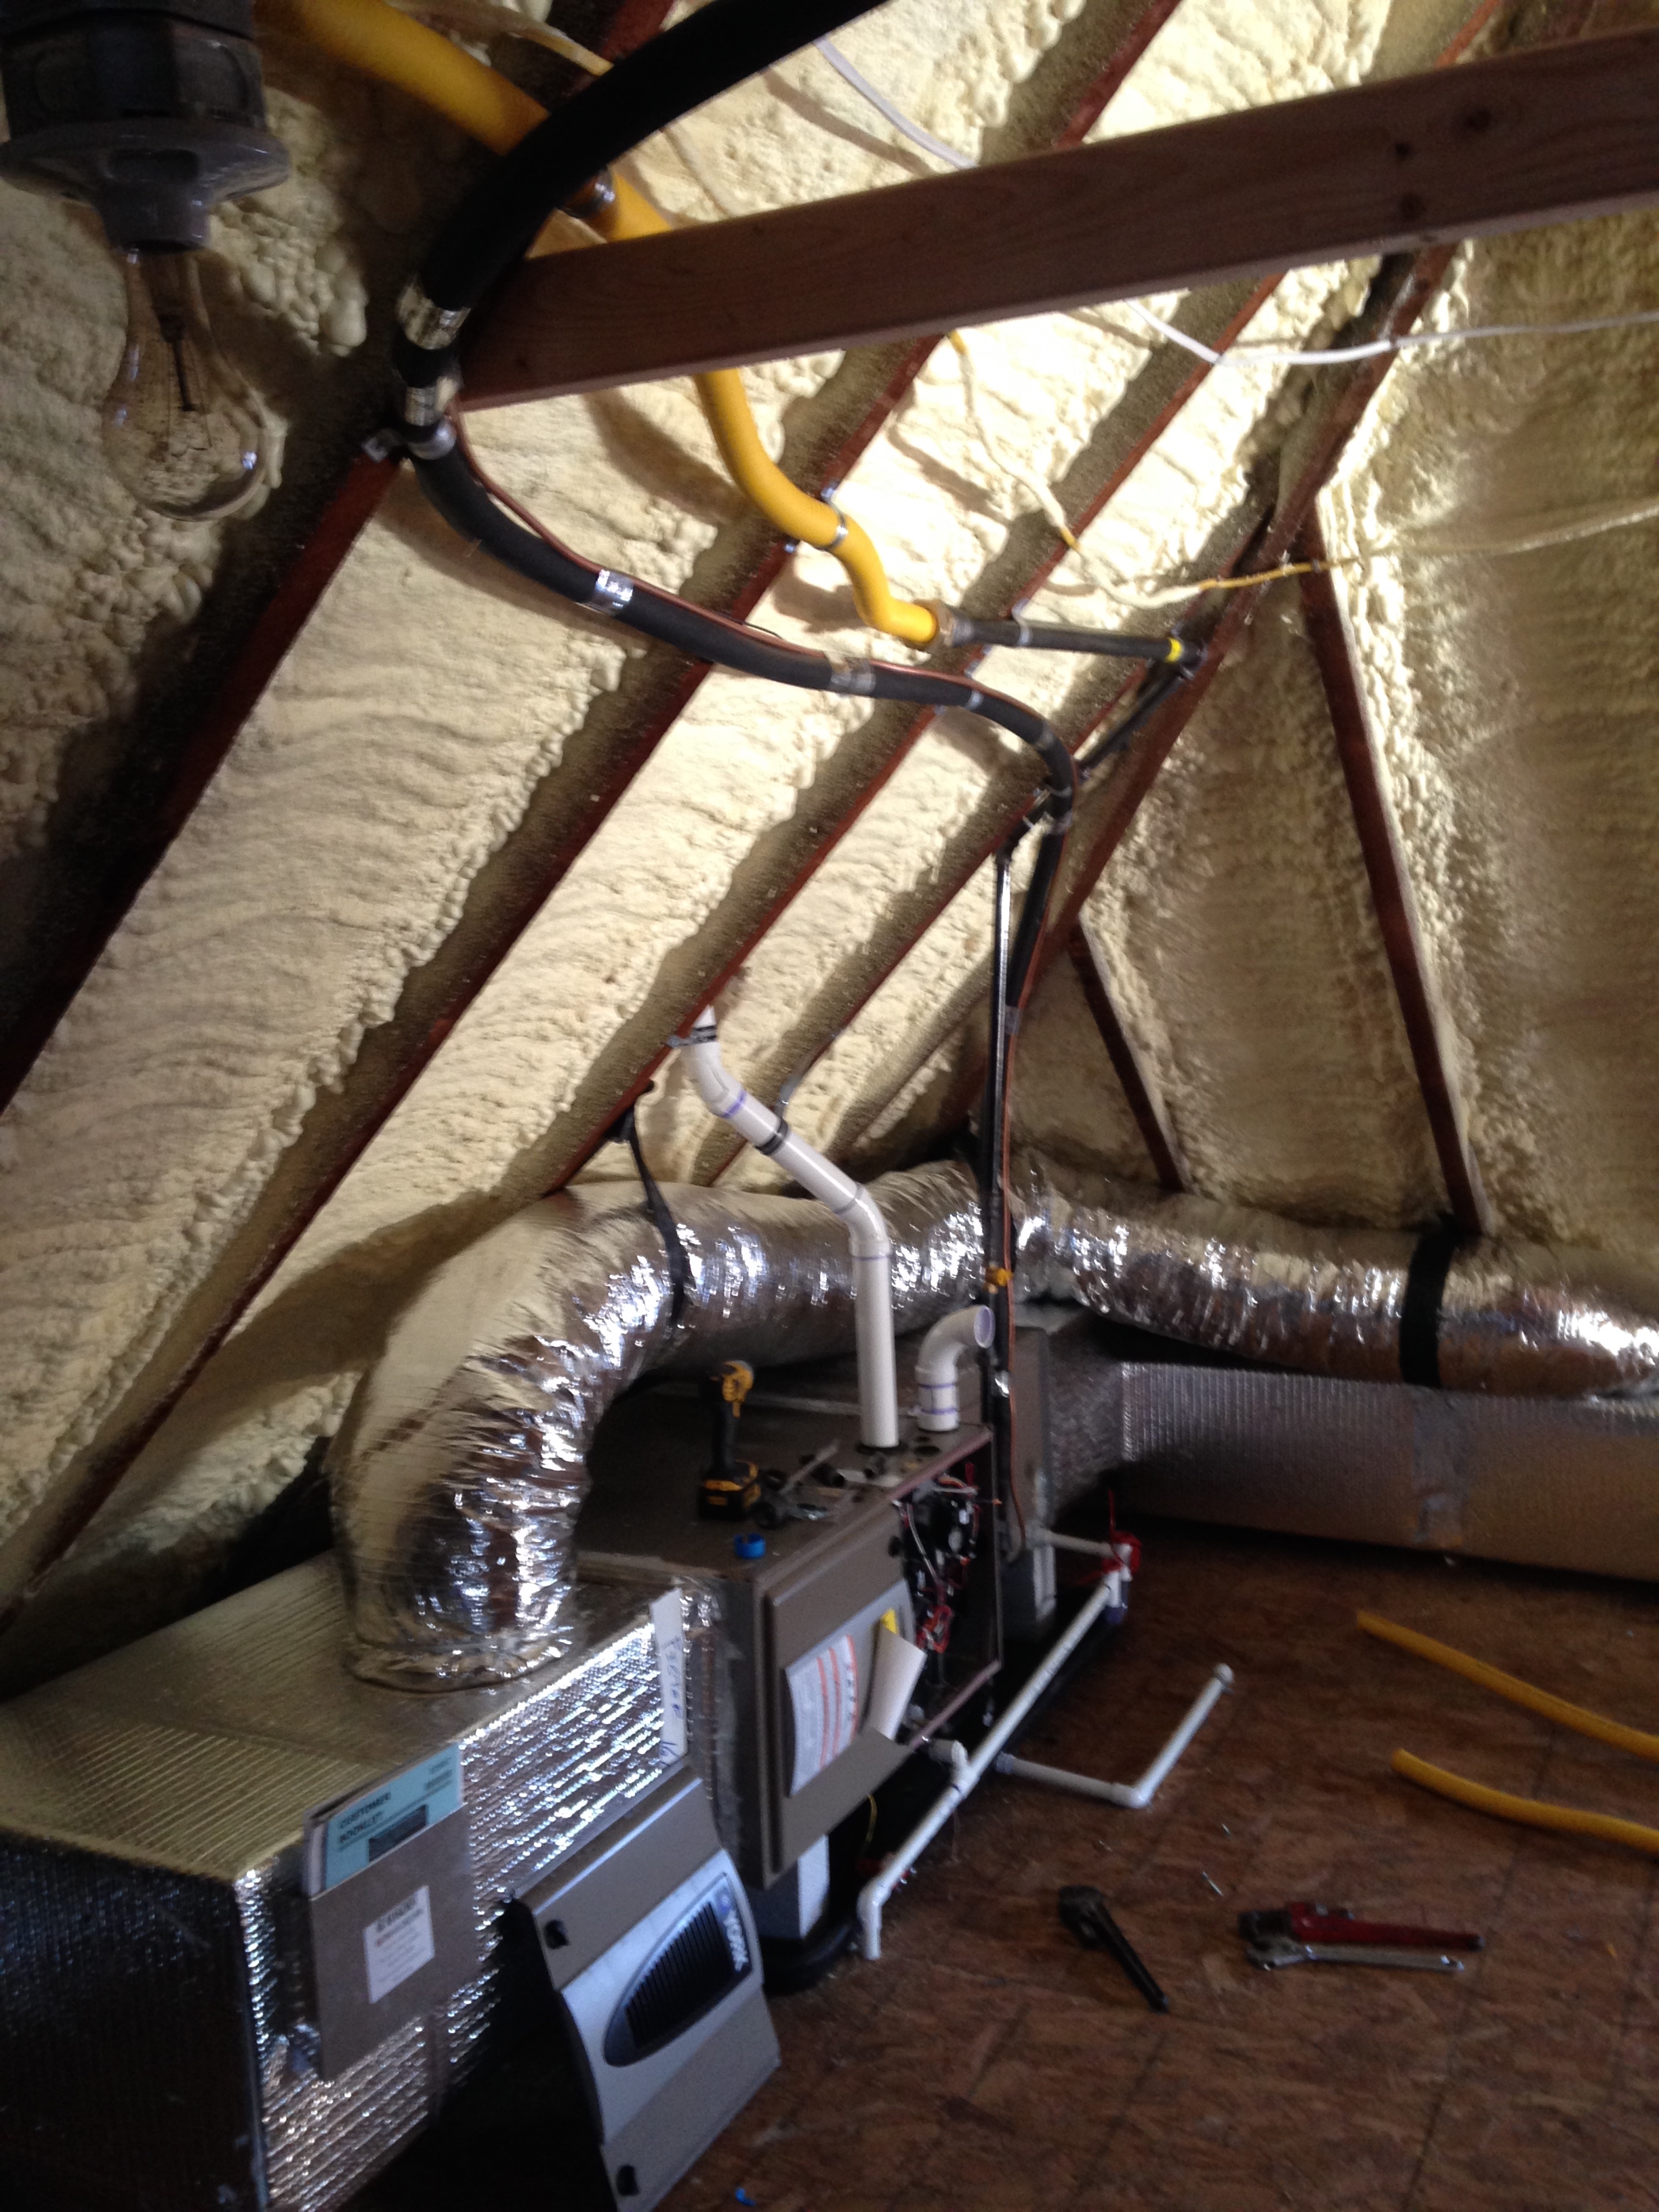
Where it travels over and into the furnace.

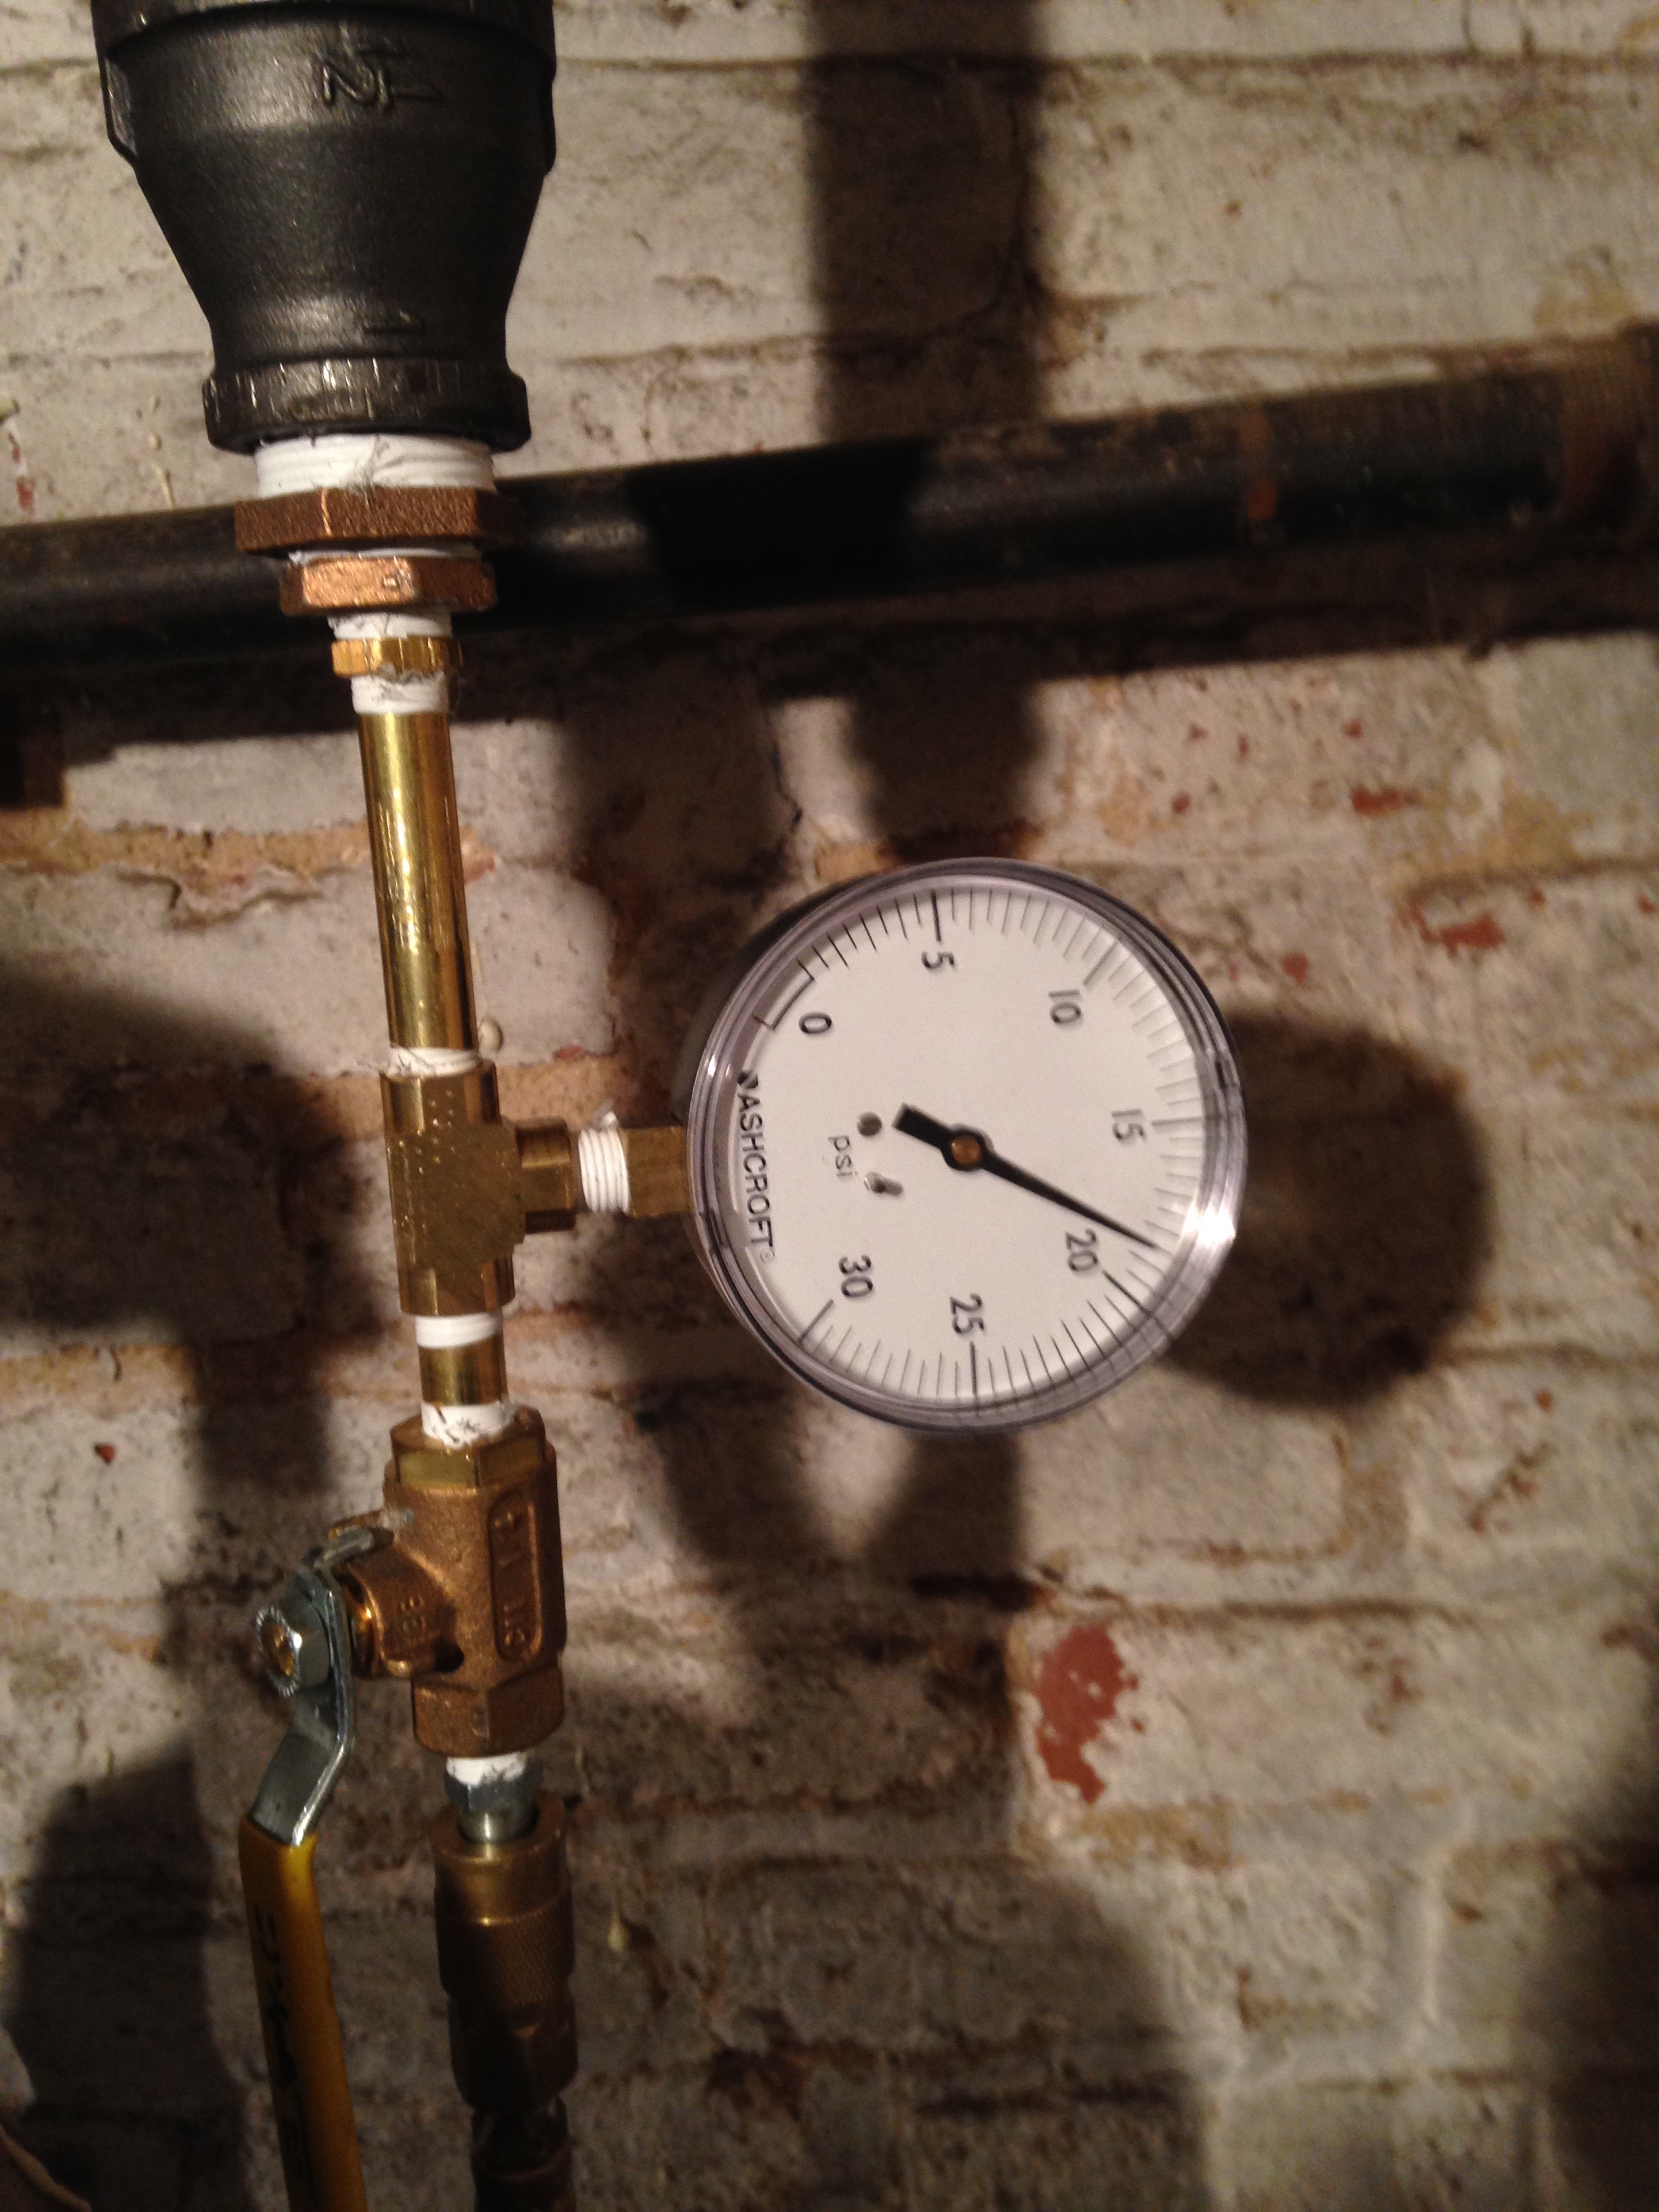
Now that it was hooked up we did a pressure test, passed our inspection, and were good to go.
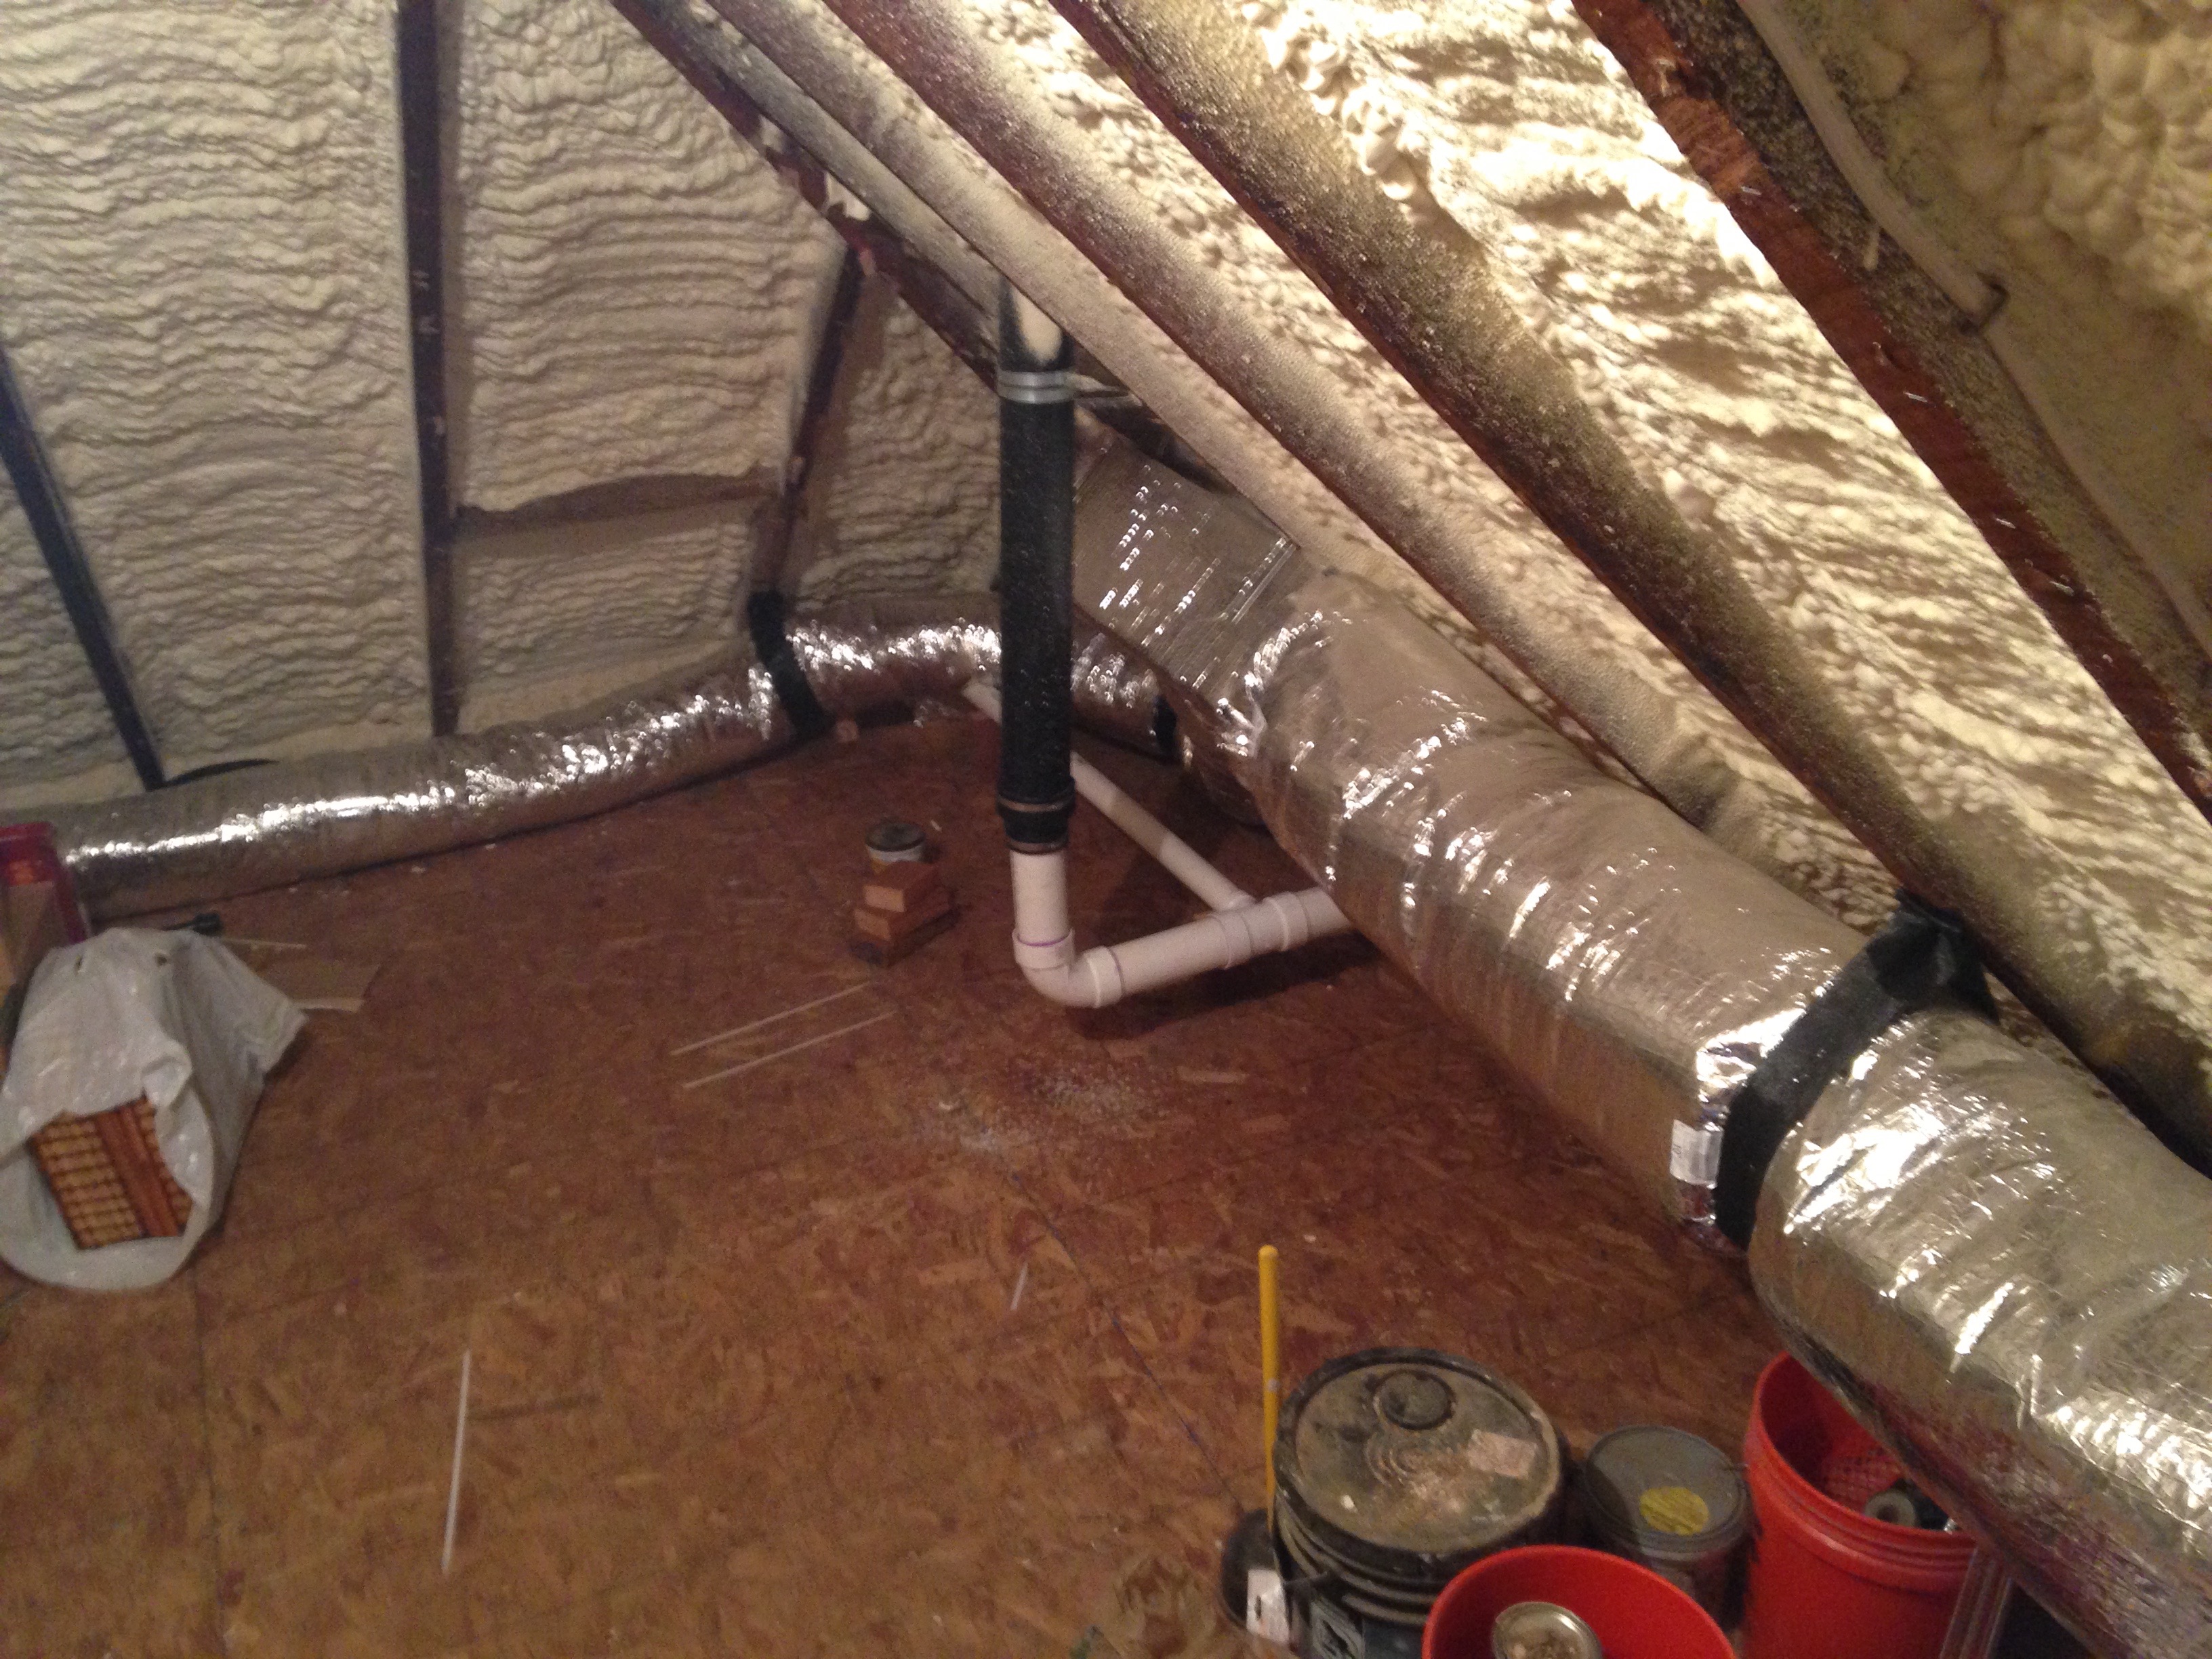
Here is the attic furnace in full view:

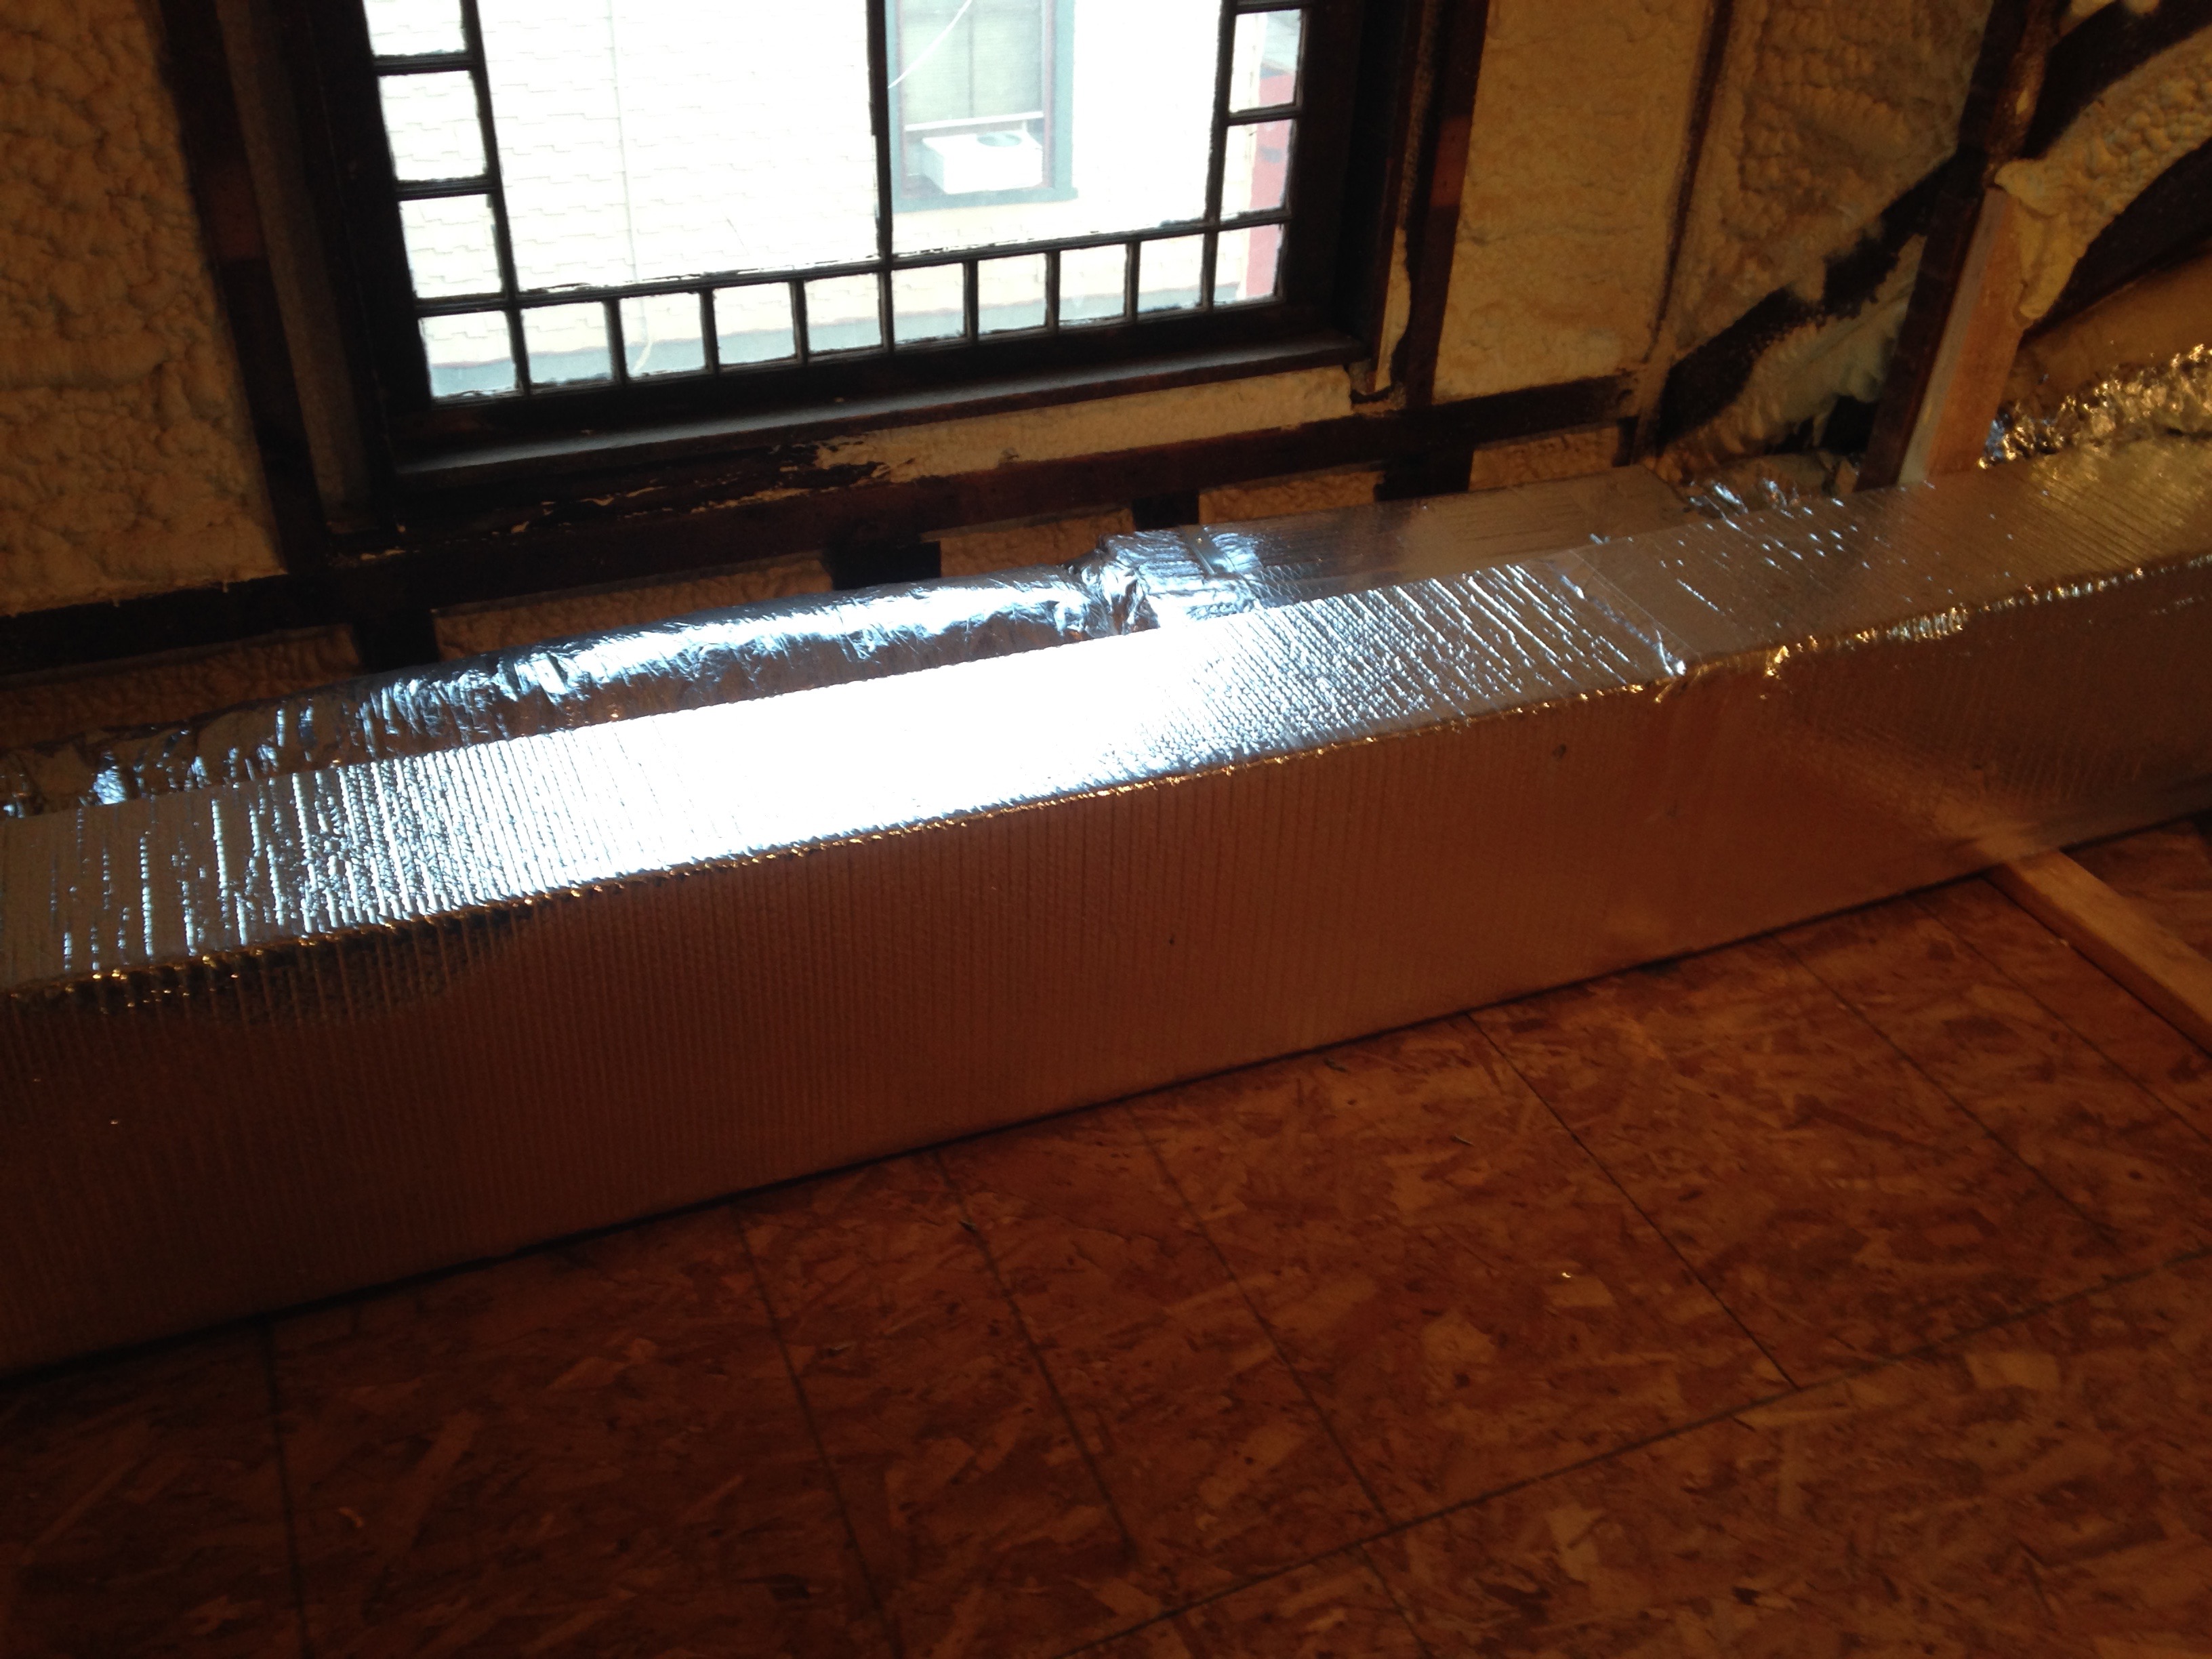
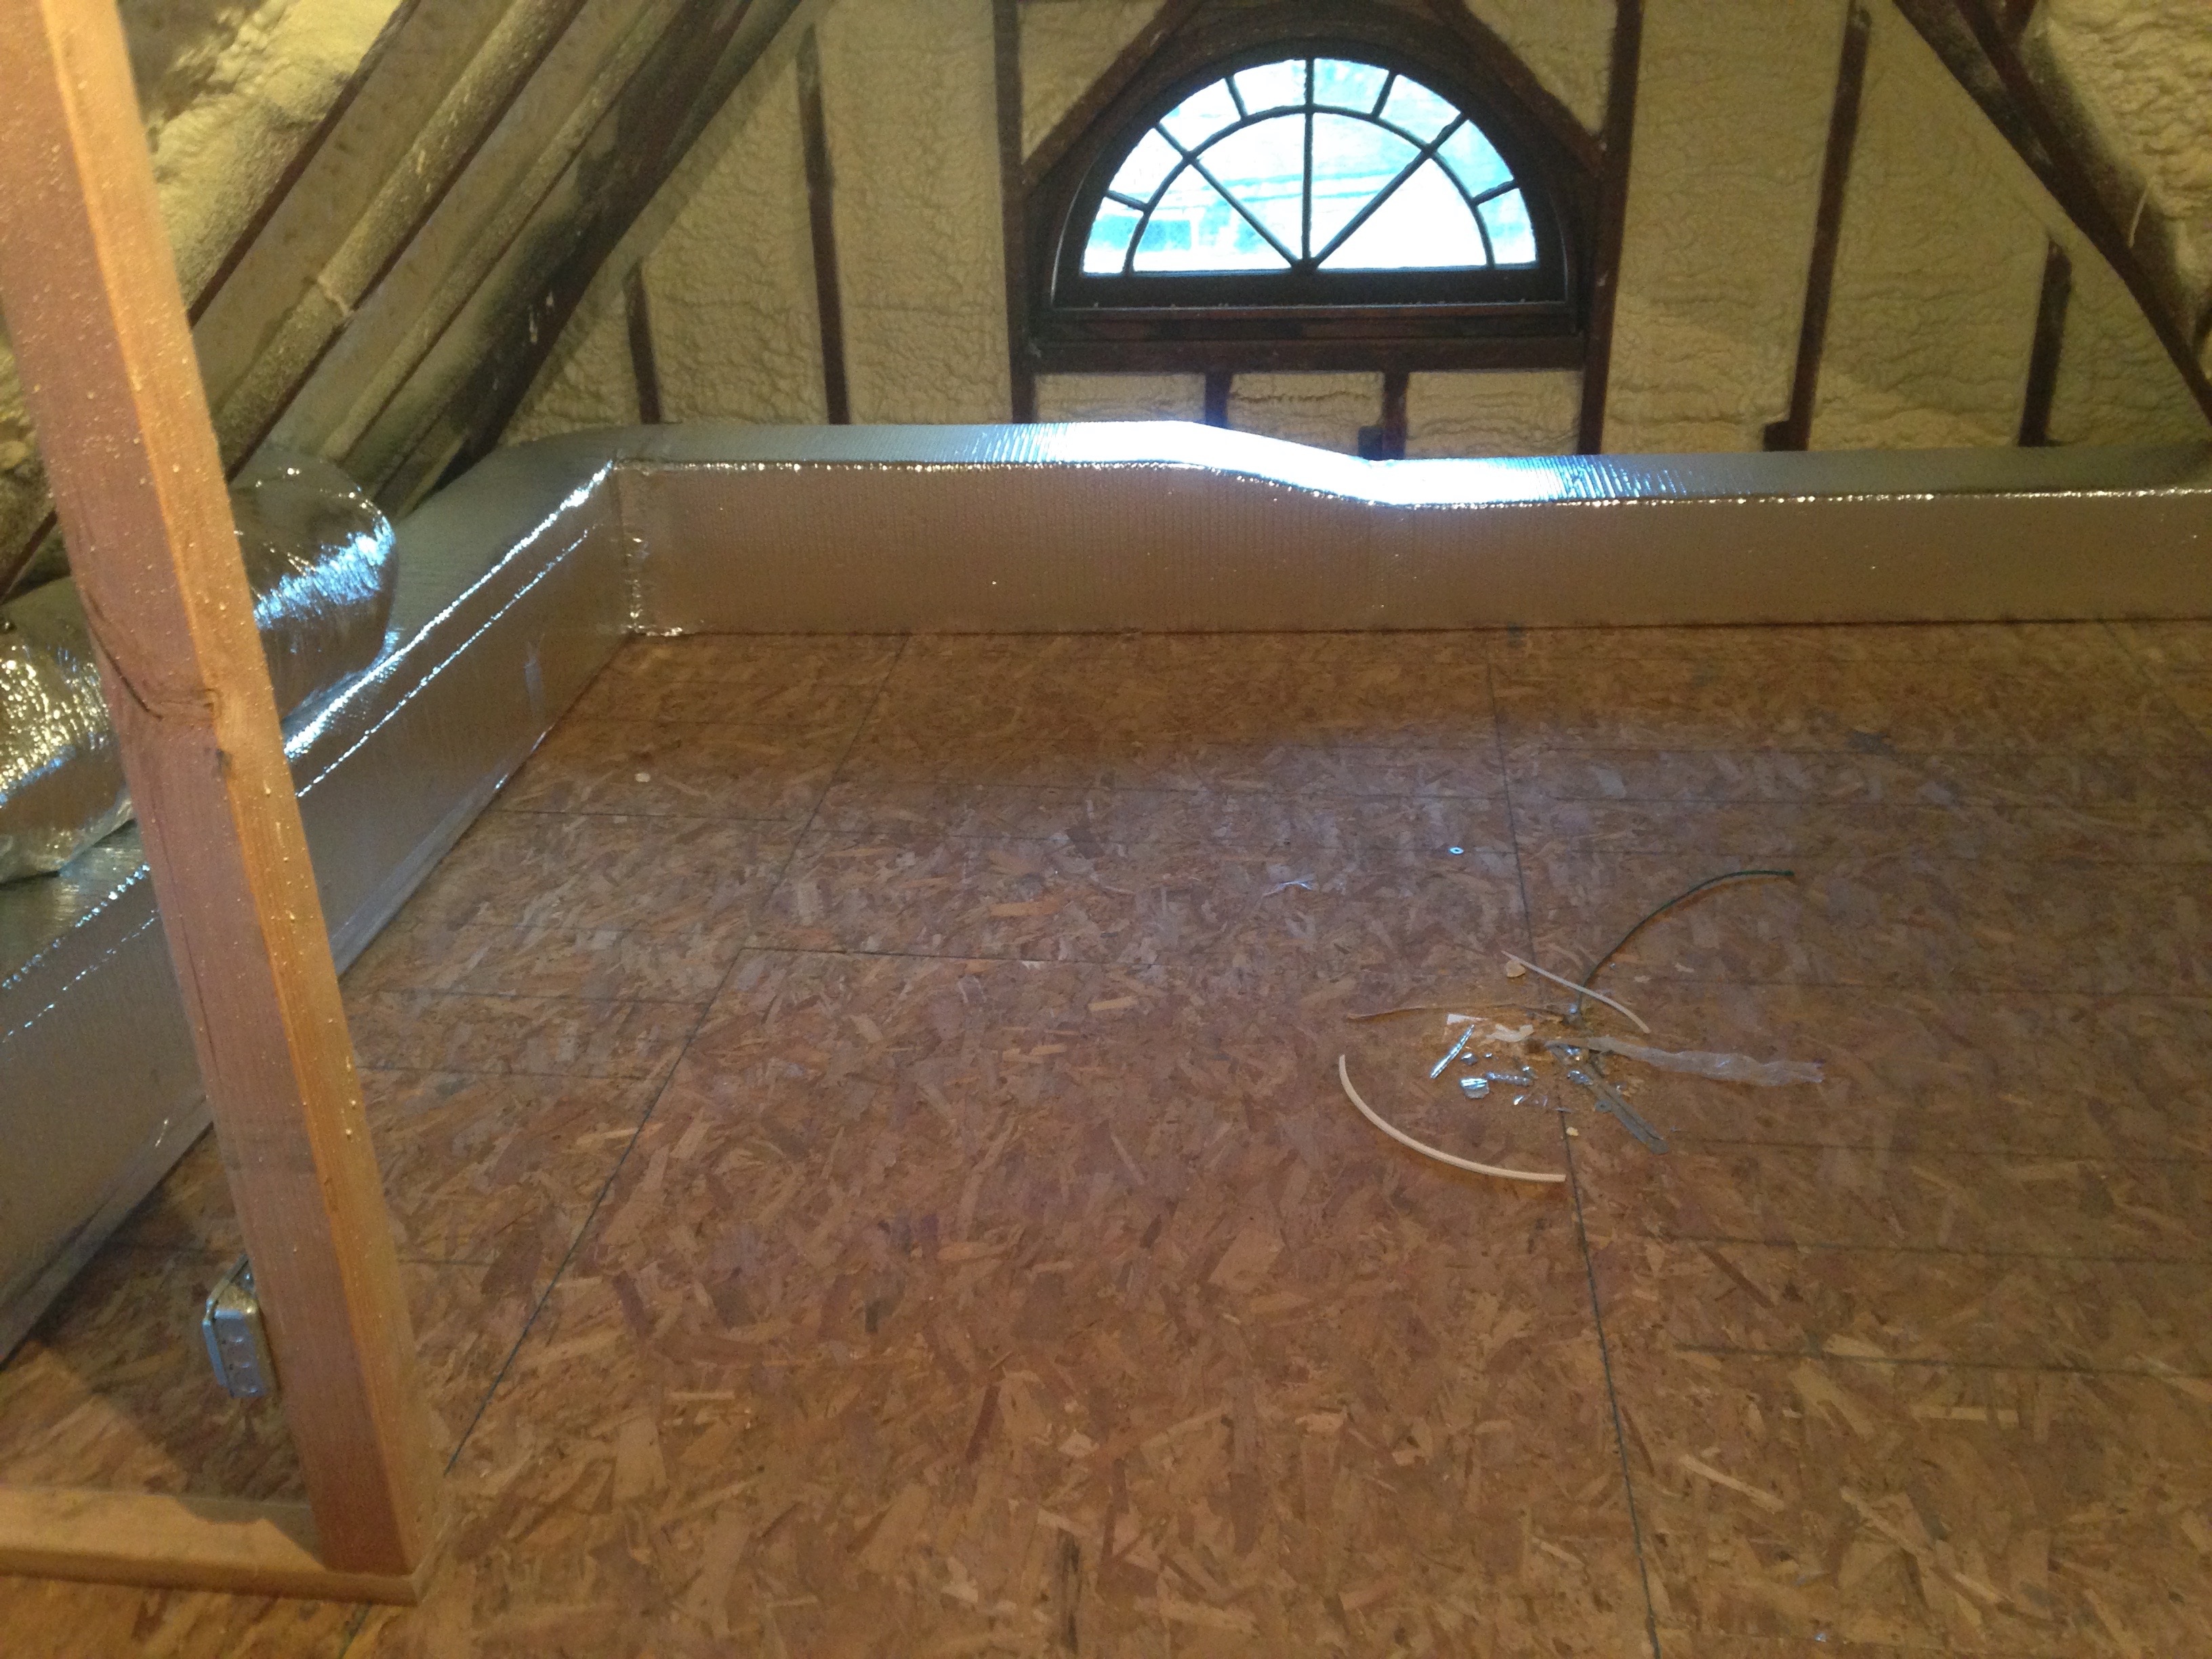
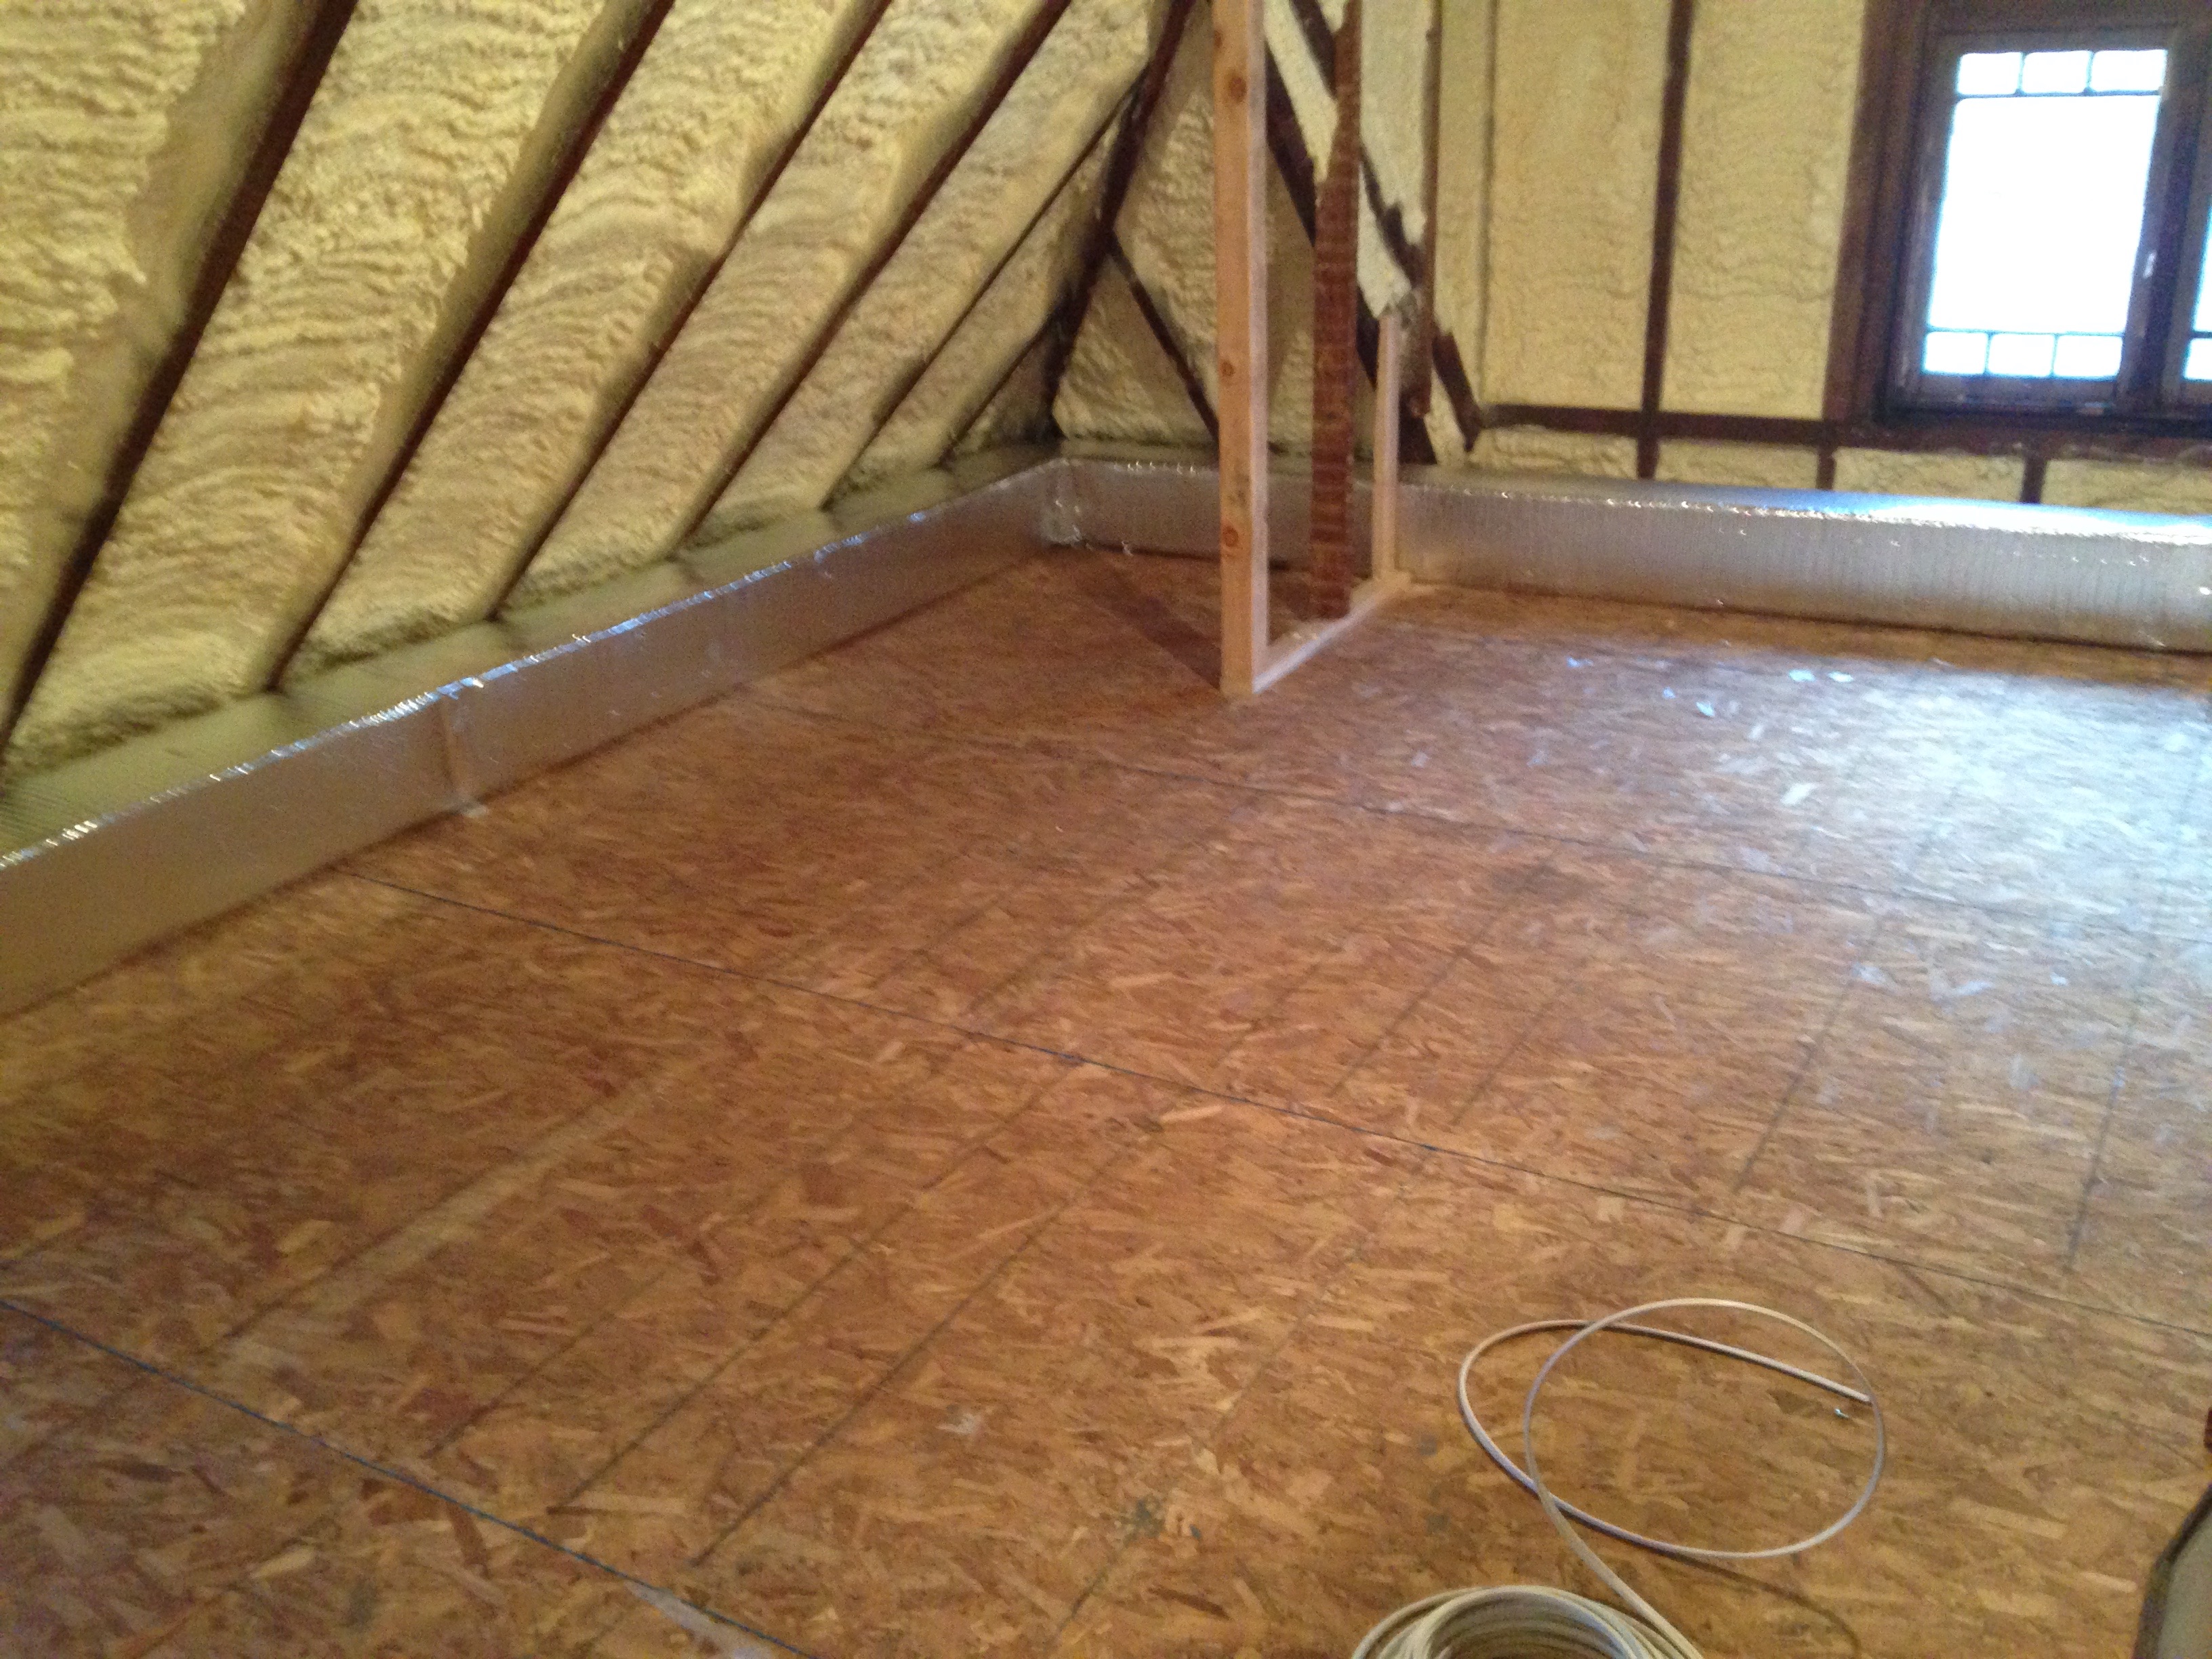
And all of the ductwork going around the attic perimeter:
These are our units, the York Affinity 9.C Furnaces and the Affinity 8T Air Conditioner. I’ll get some better pics of the units installed along with some of the basement ductwork.

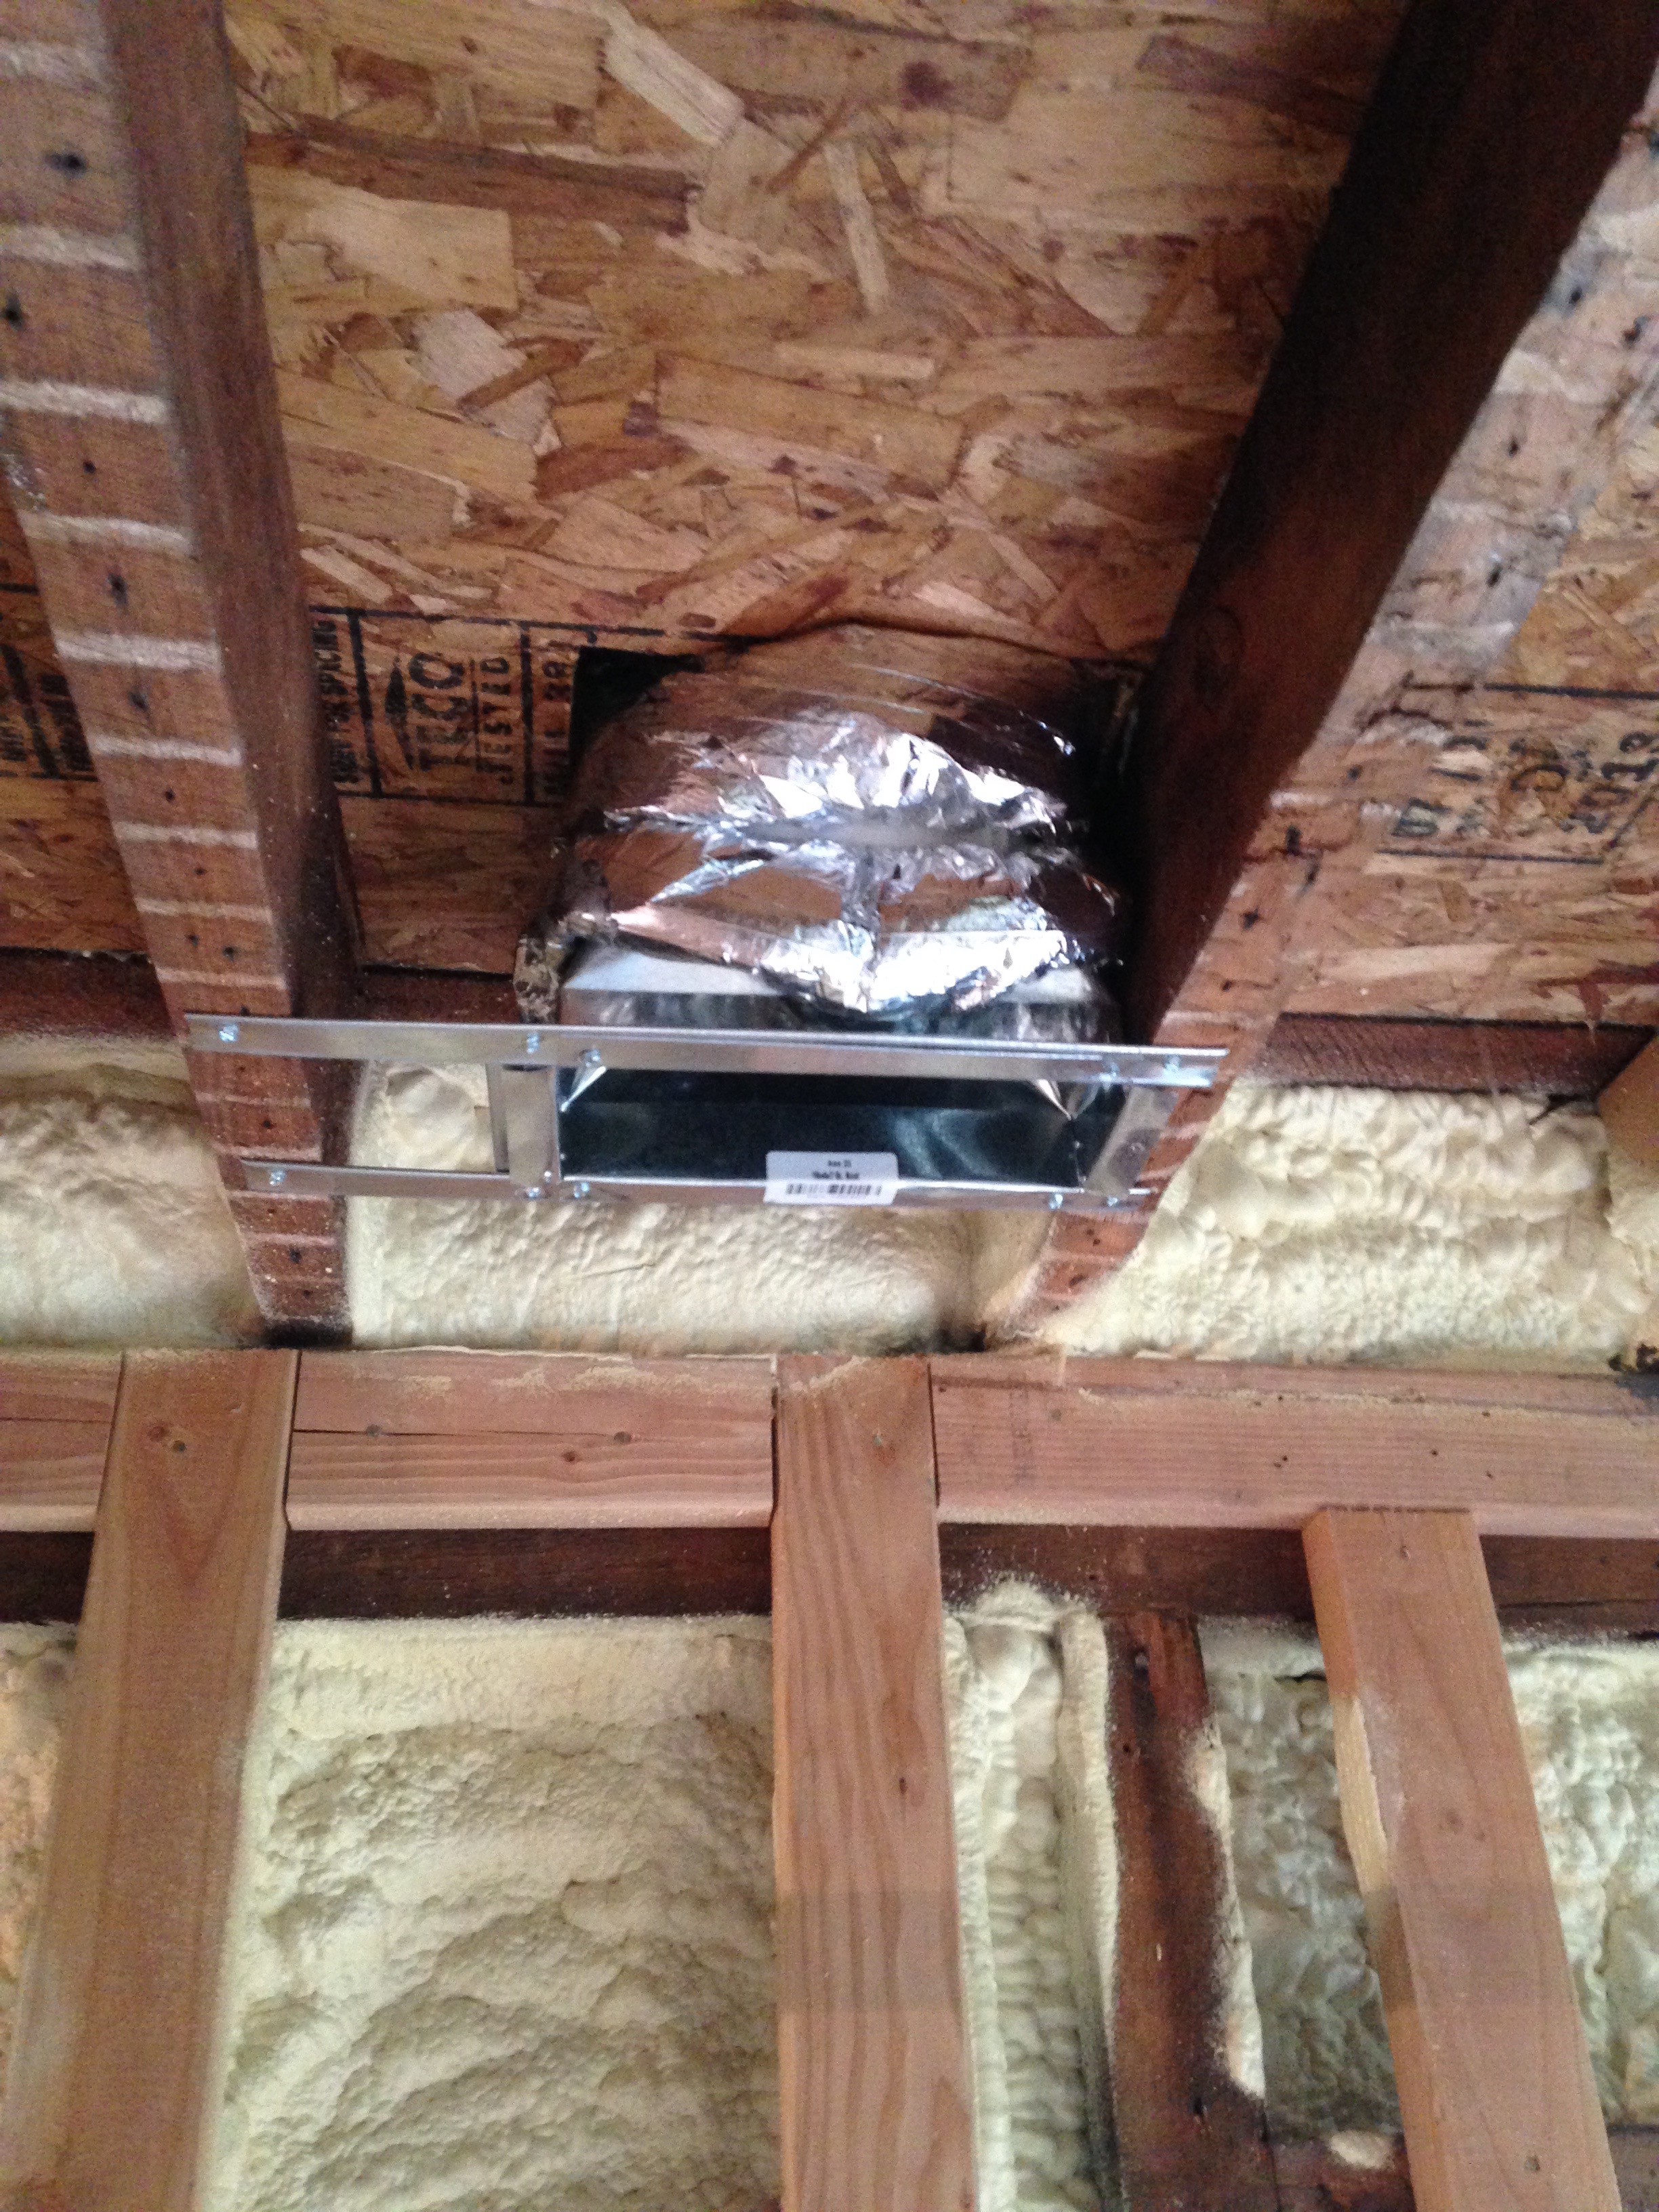
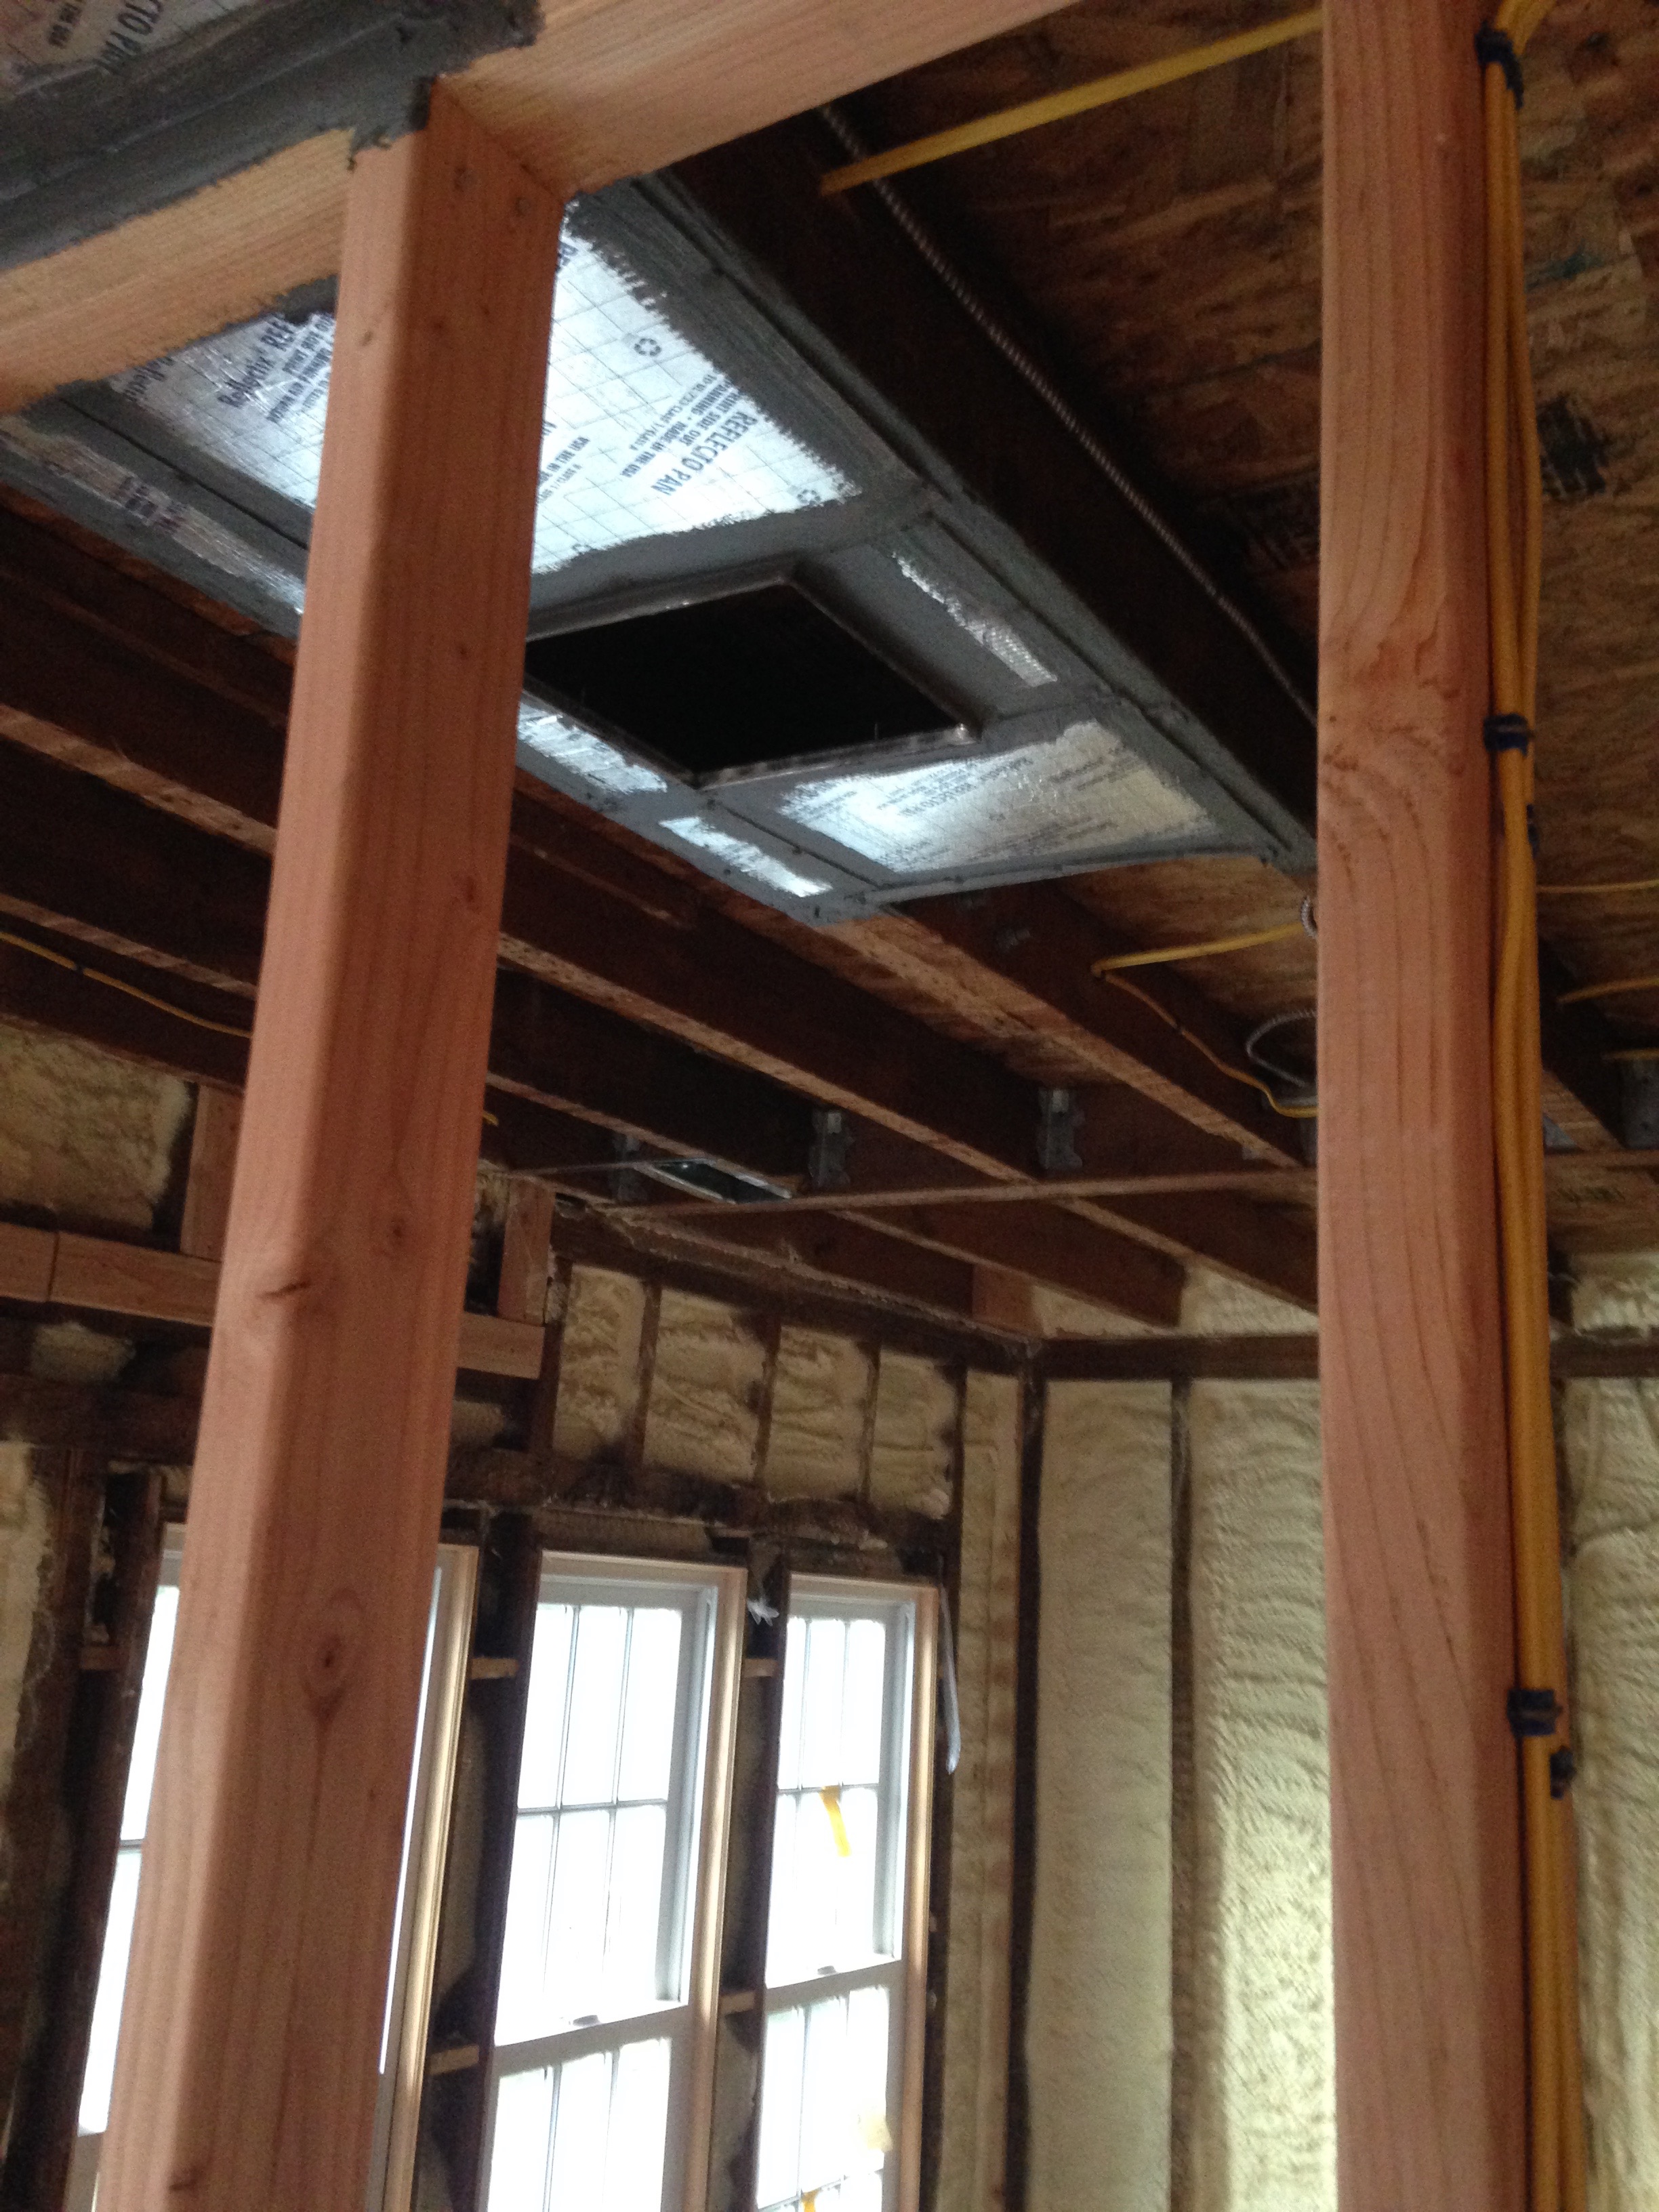
Here are where the vents come into the upstairs along with some returns:

Ahh.