
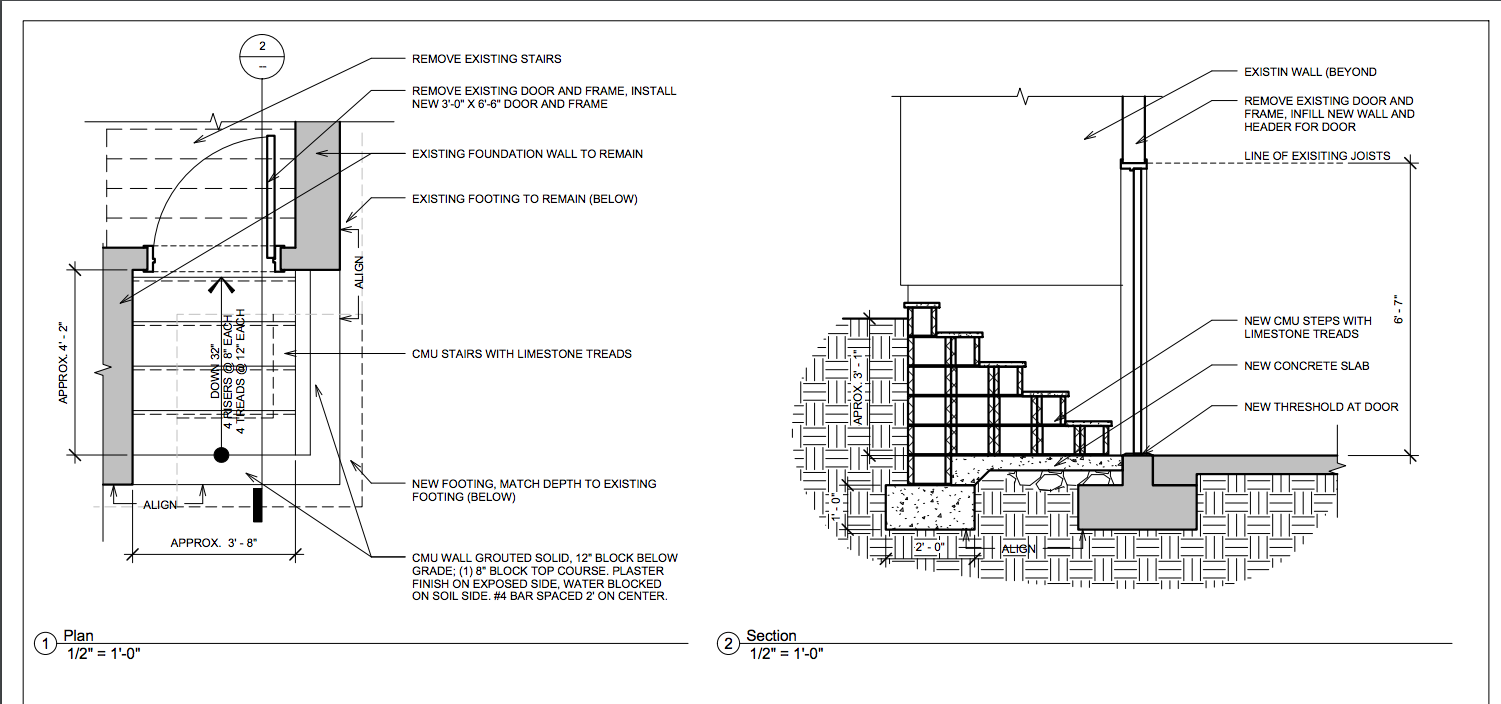
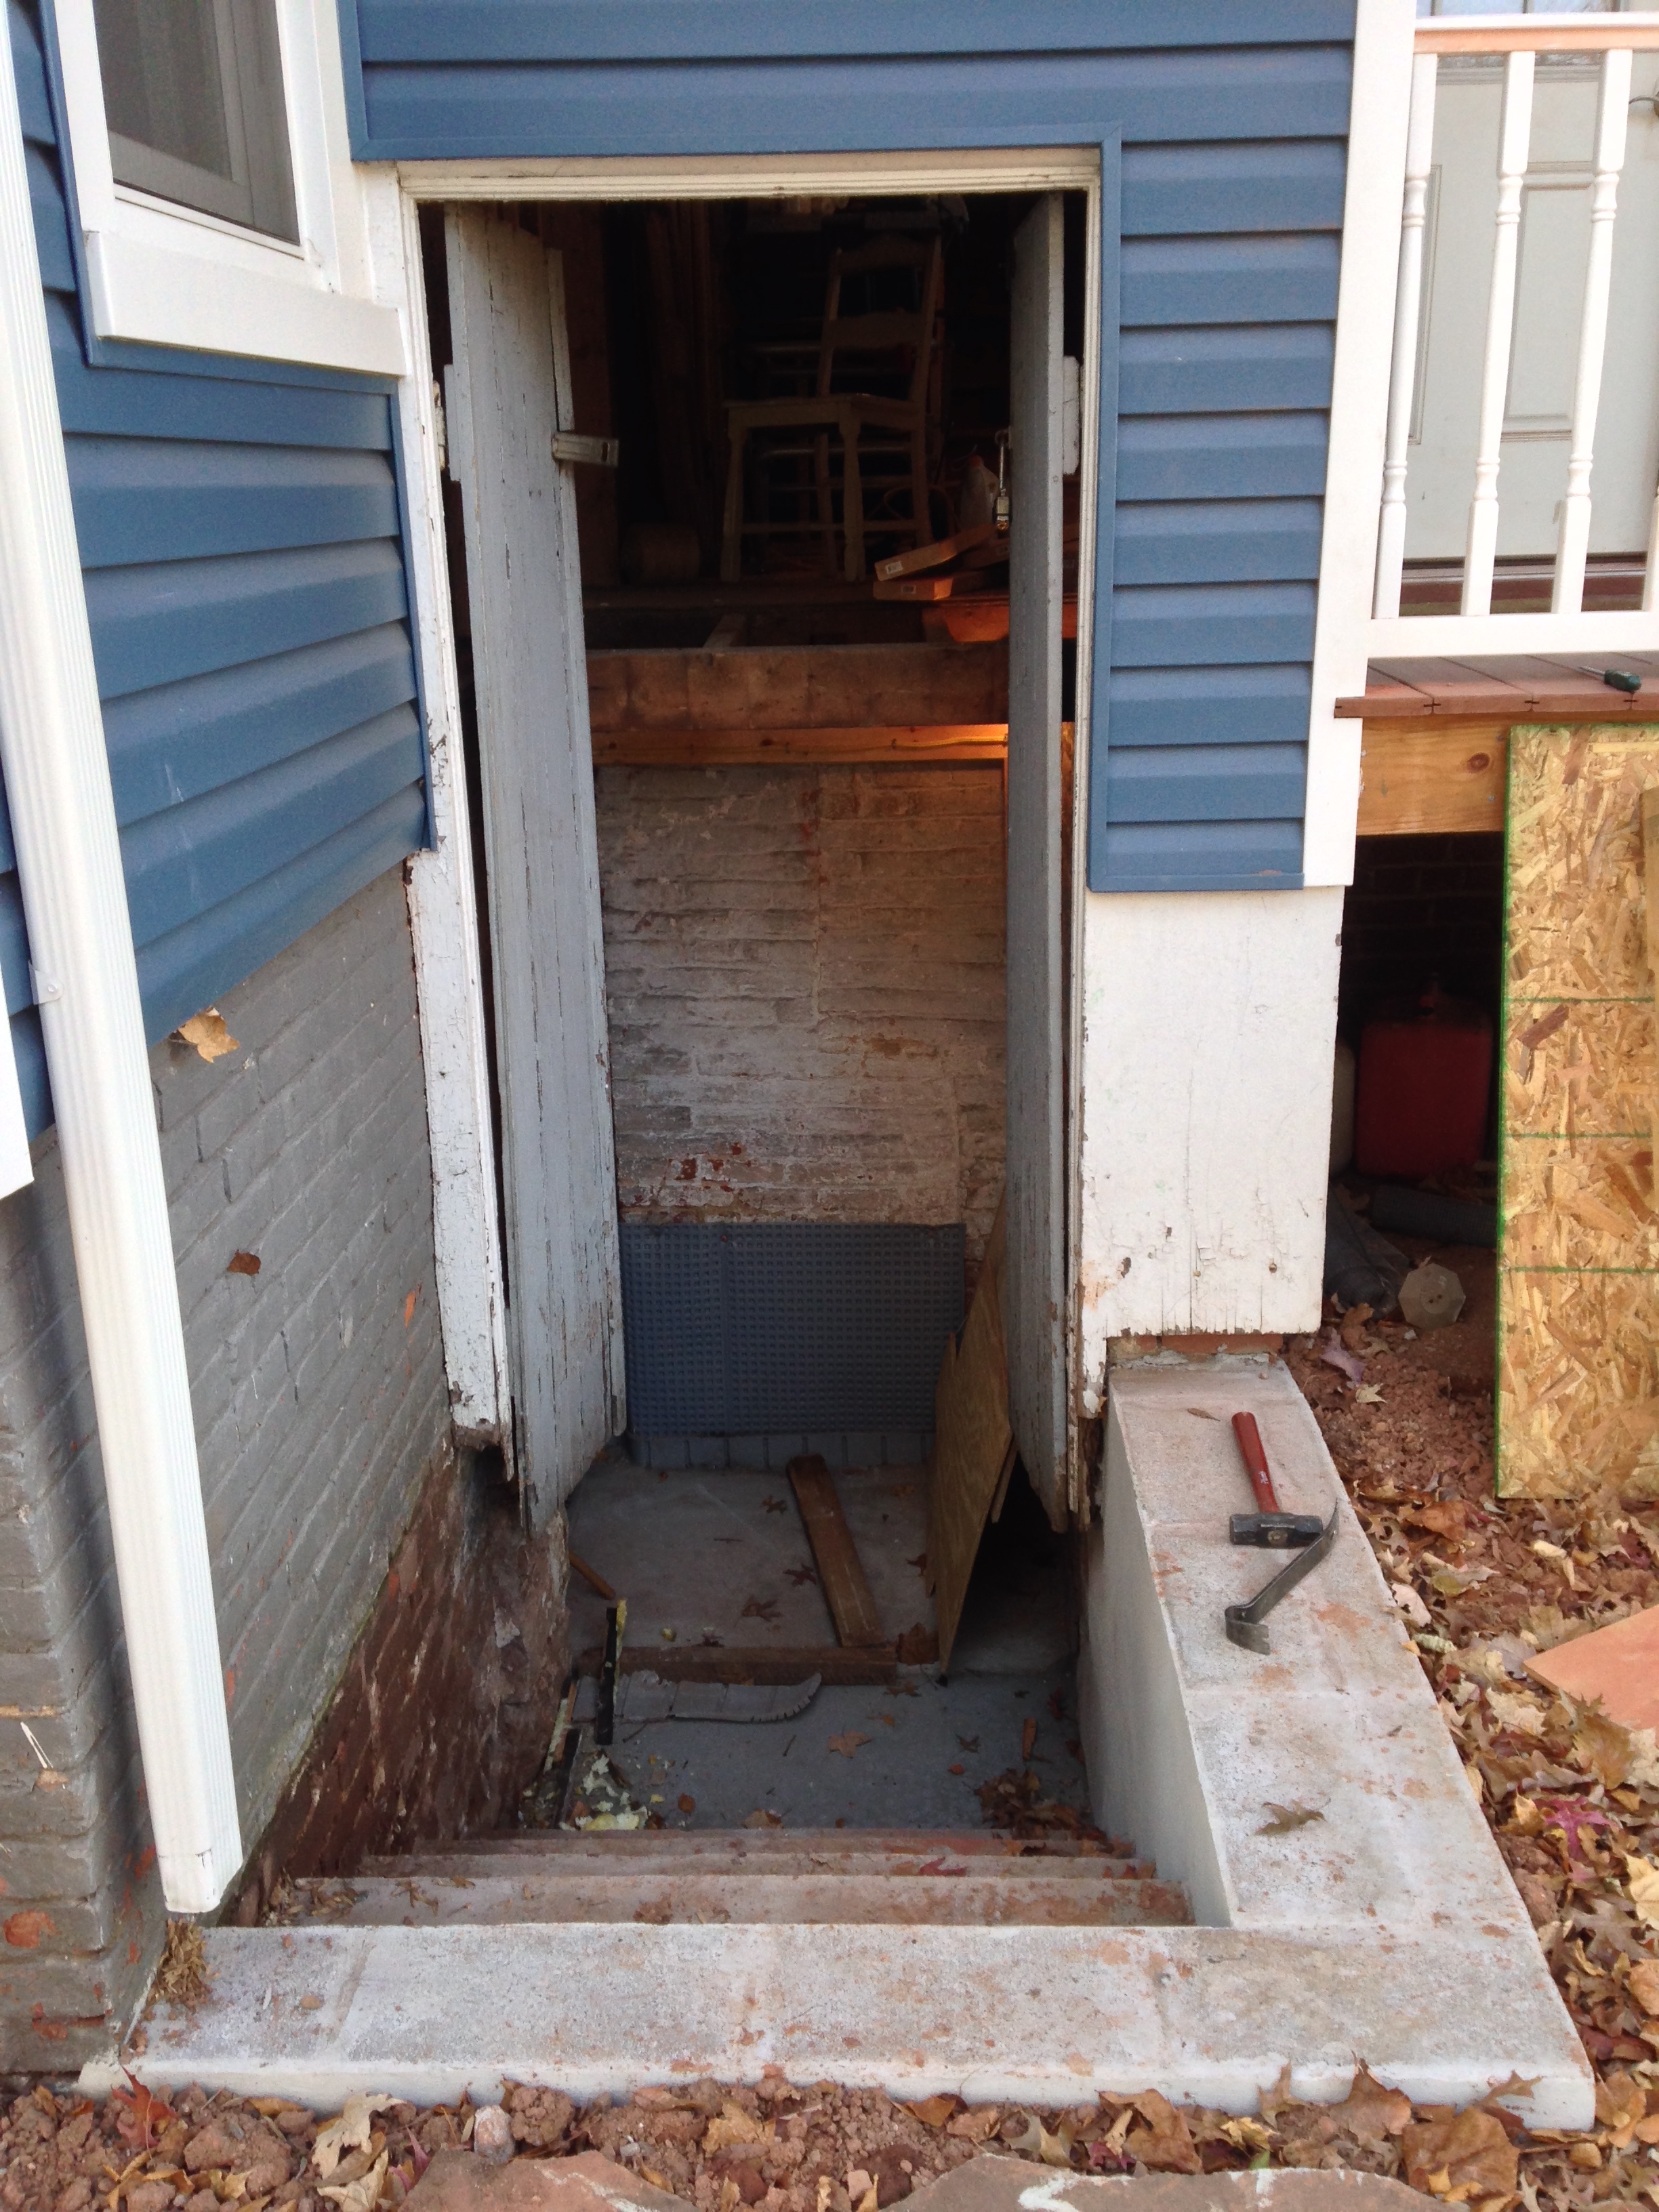
I can’t even find a picture of the before basement walkout so you’ll just have to accept my description of it. The steps were on the inside of the basement door and completely mis-sized so people frequently tripped on them while going in and out. That was it. It was also incredibly tight to get through which made it difficult to move anything of size in or out. We wanted to make it both wider and with the steps on the outside, that way it would be easy to get in and out. Since this is structural, or so the town claims, we needed architectural plans drawn up which Rob Pivovarnick did for us and they came out great:
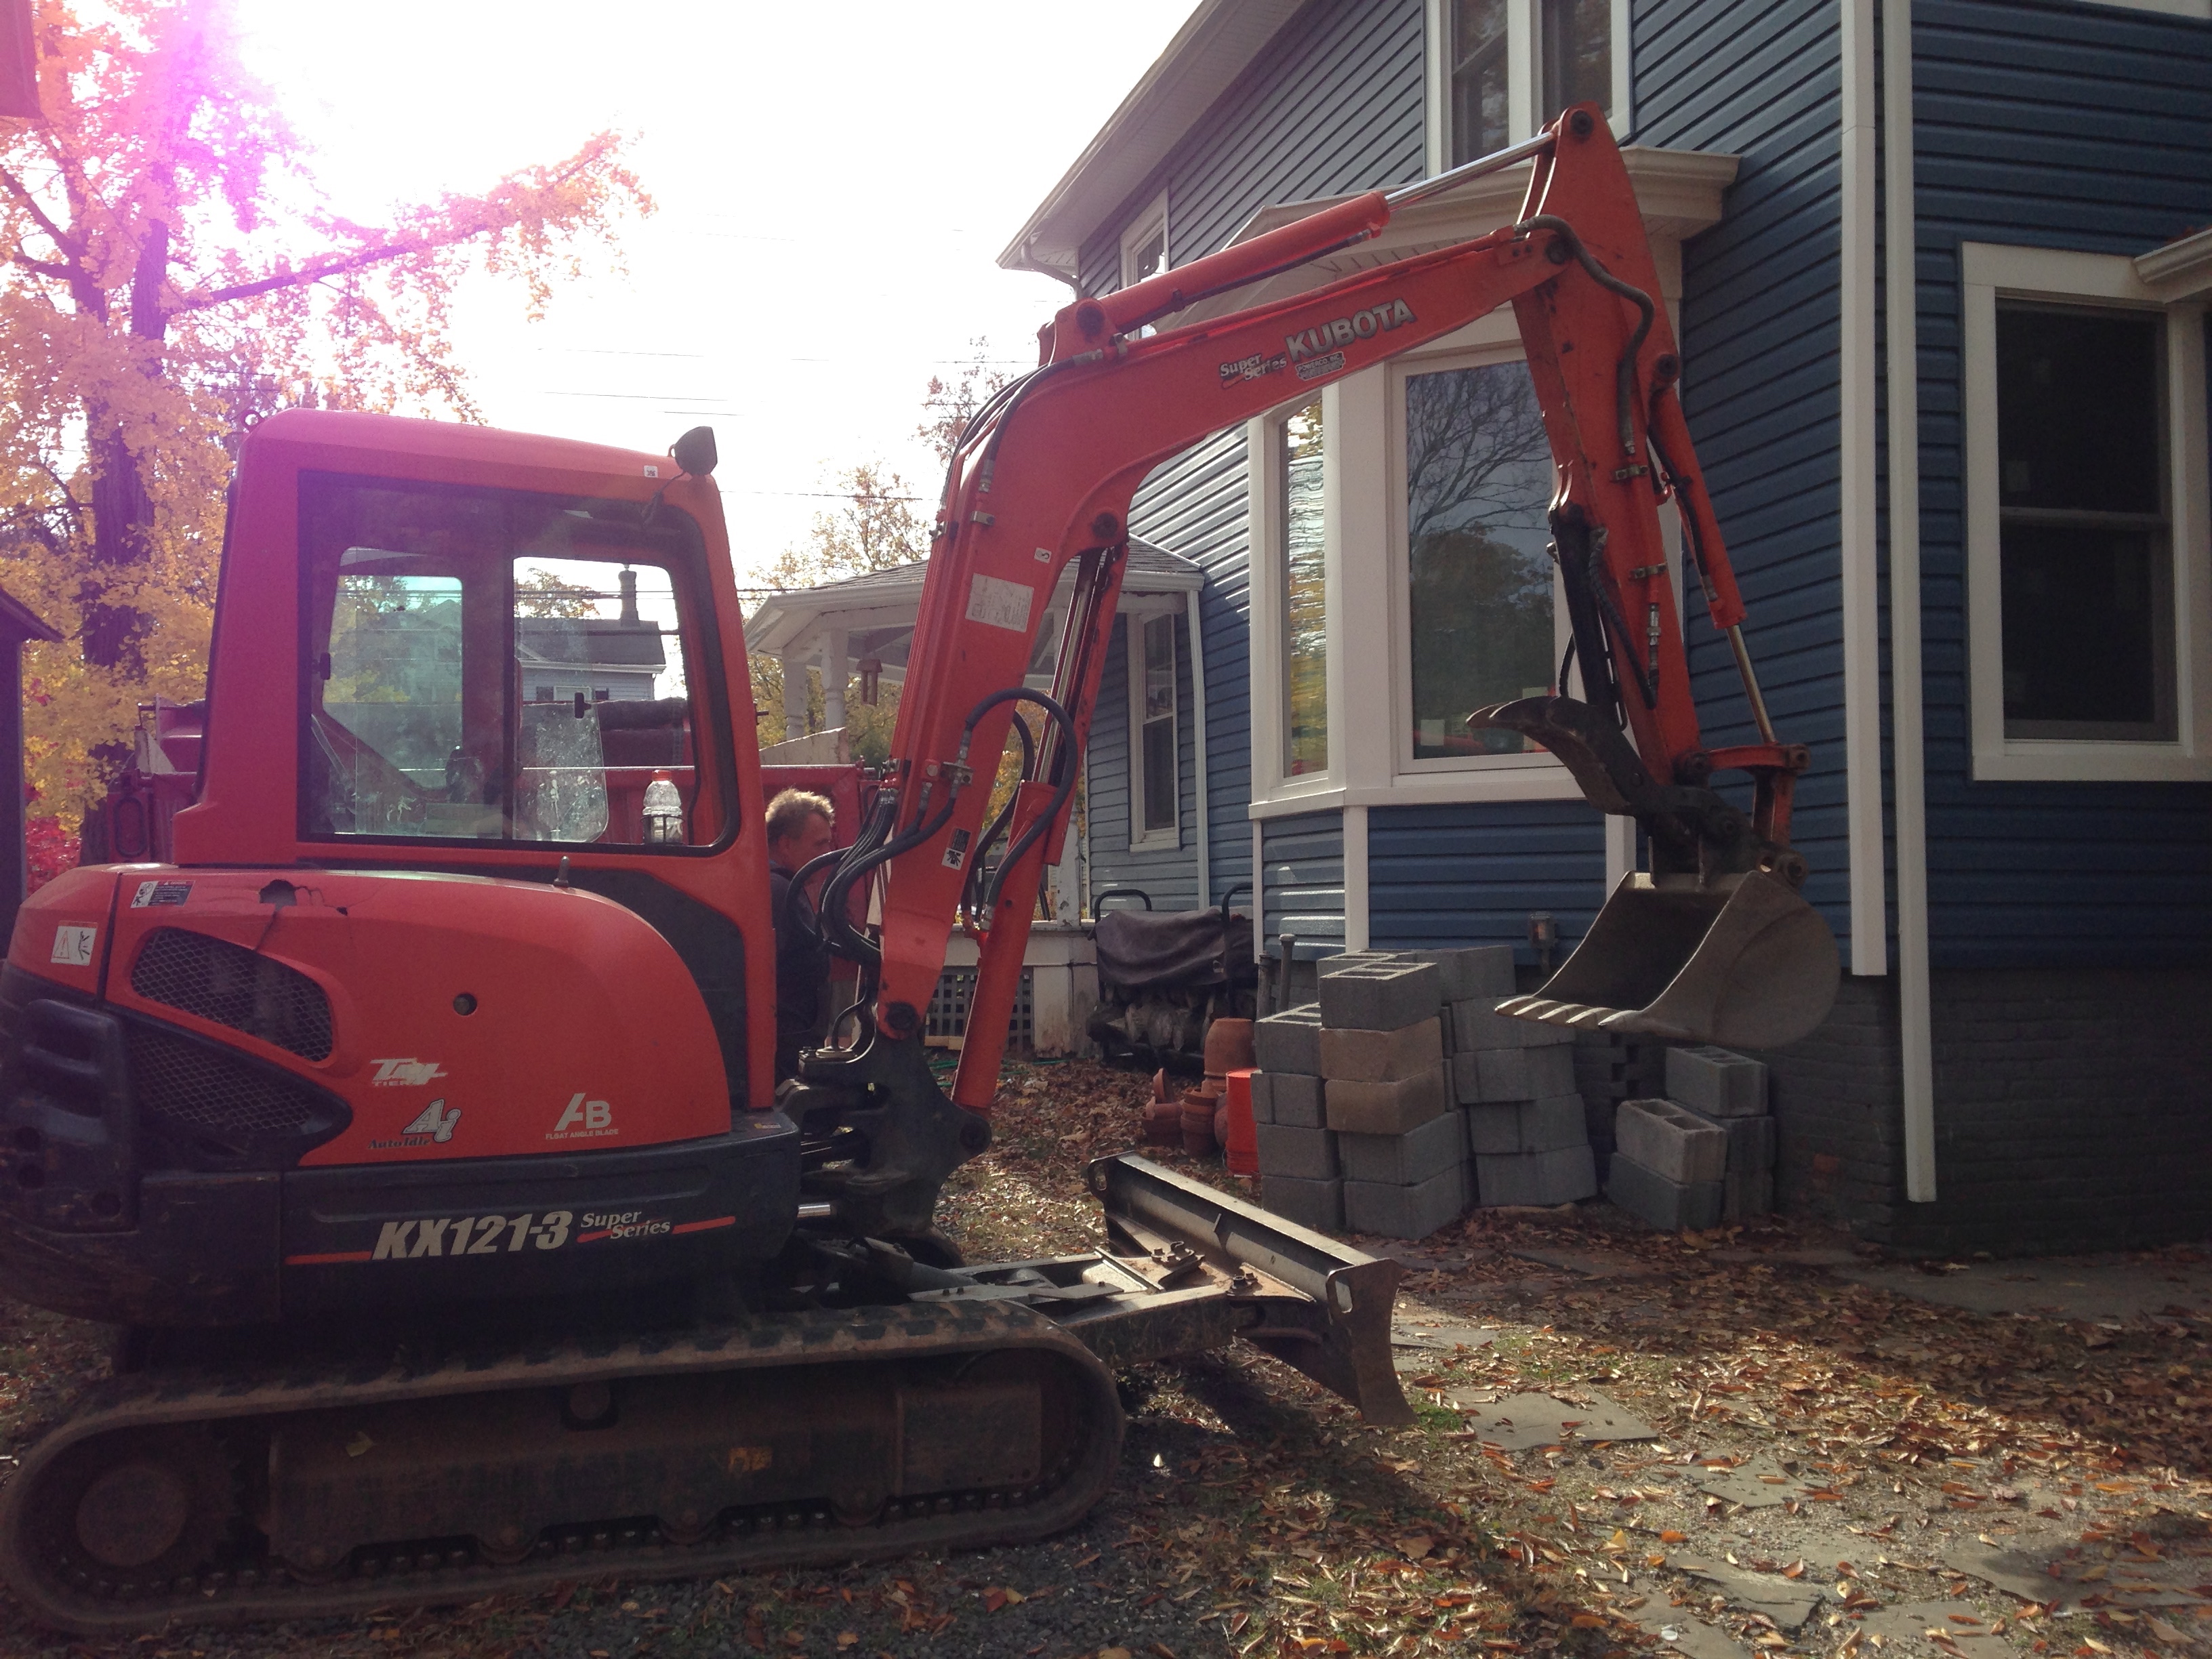
Since this was a little outside of our wheelhouse and my love of digging only goes so far, we decided to contract this one out.


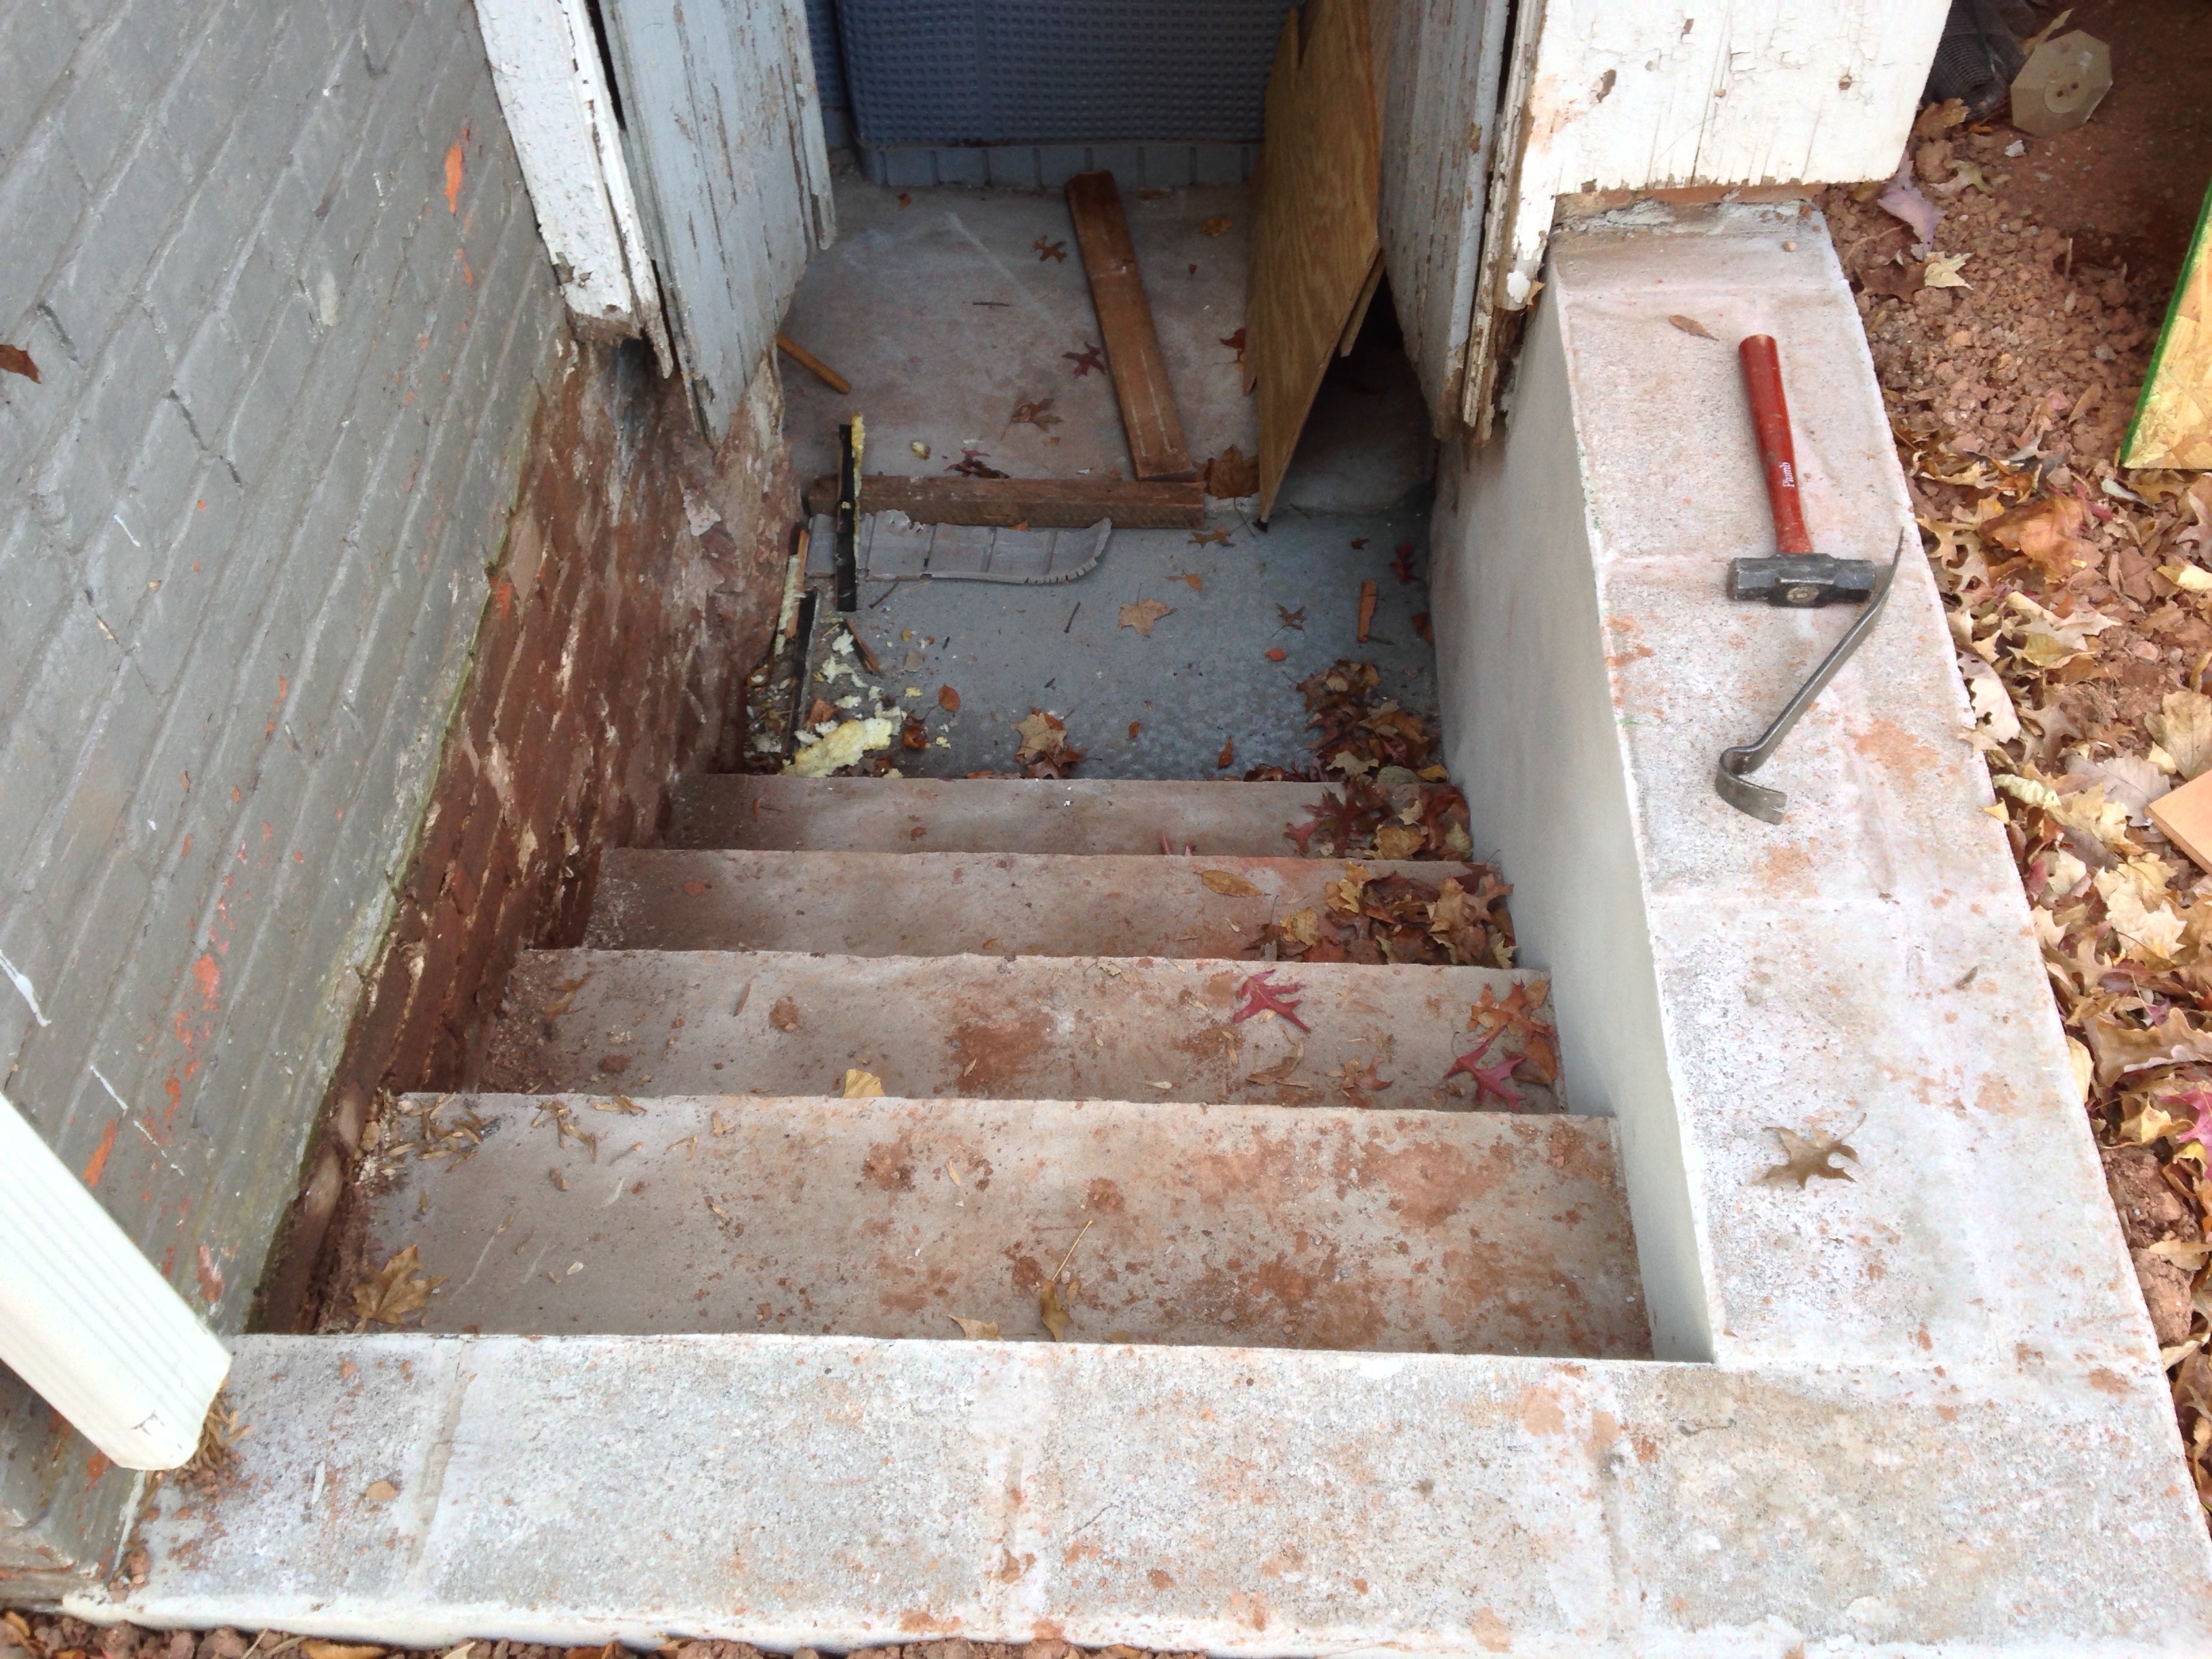
Well that’s about as good a view of the old steps as you’re getting. Worthless I say!
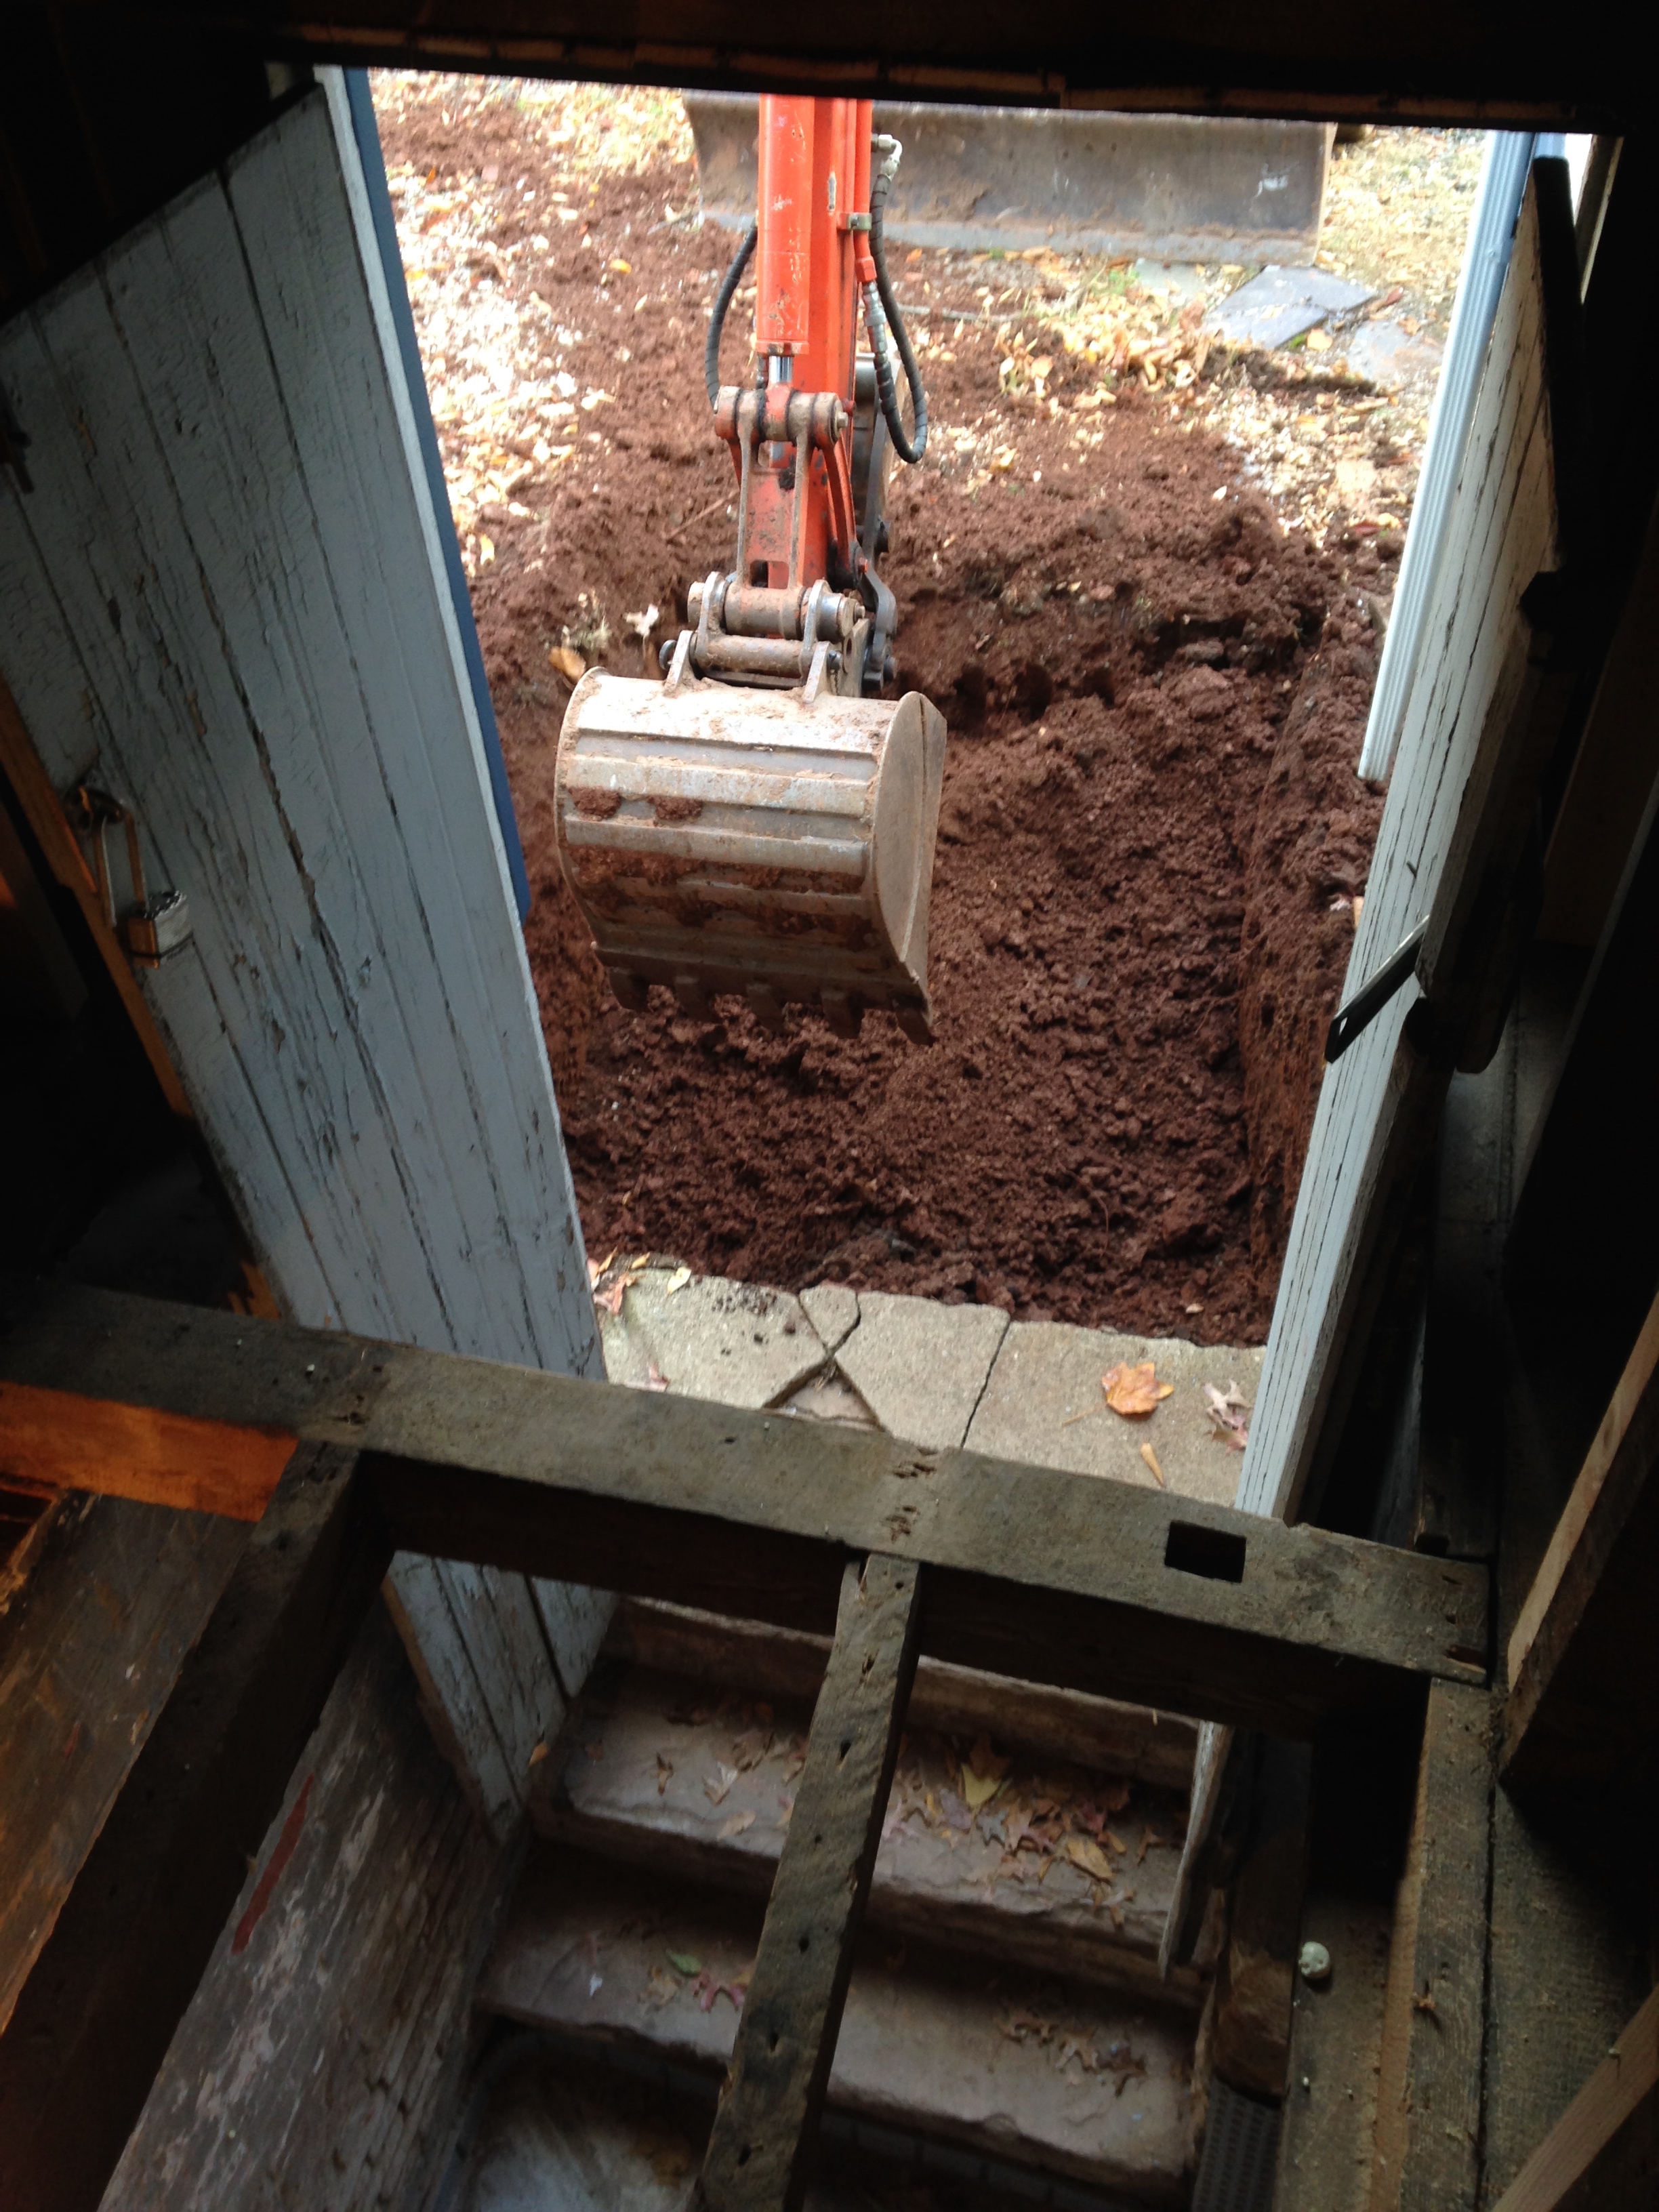
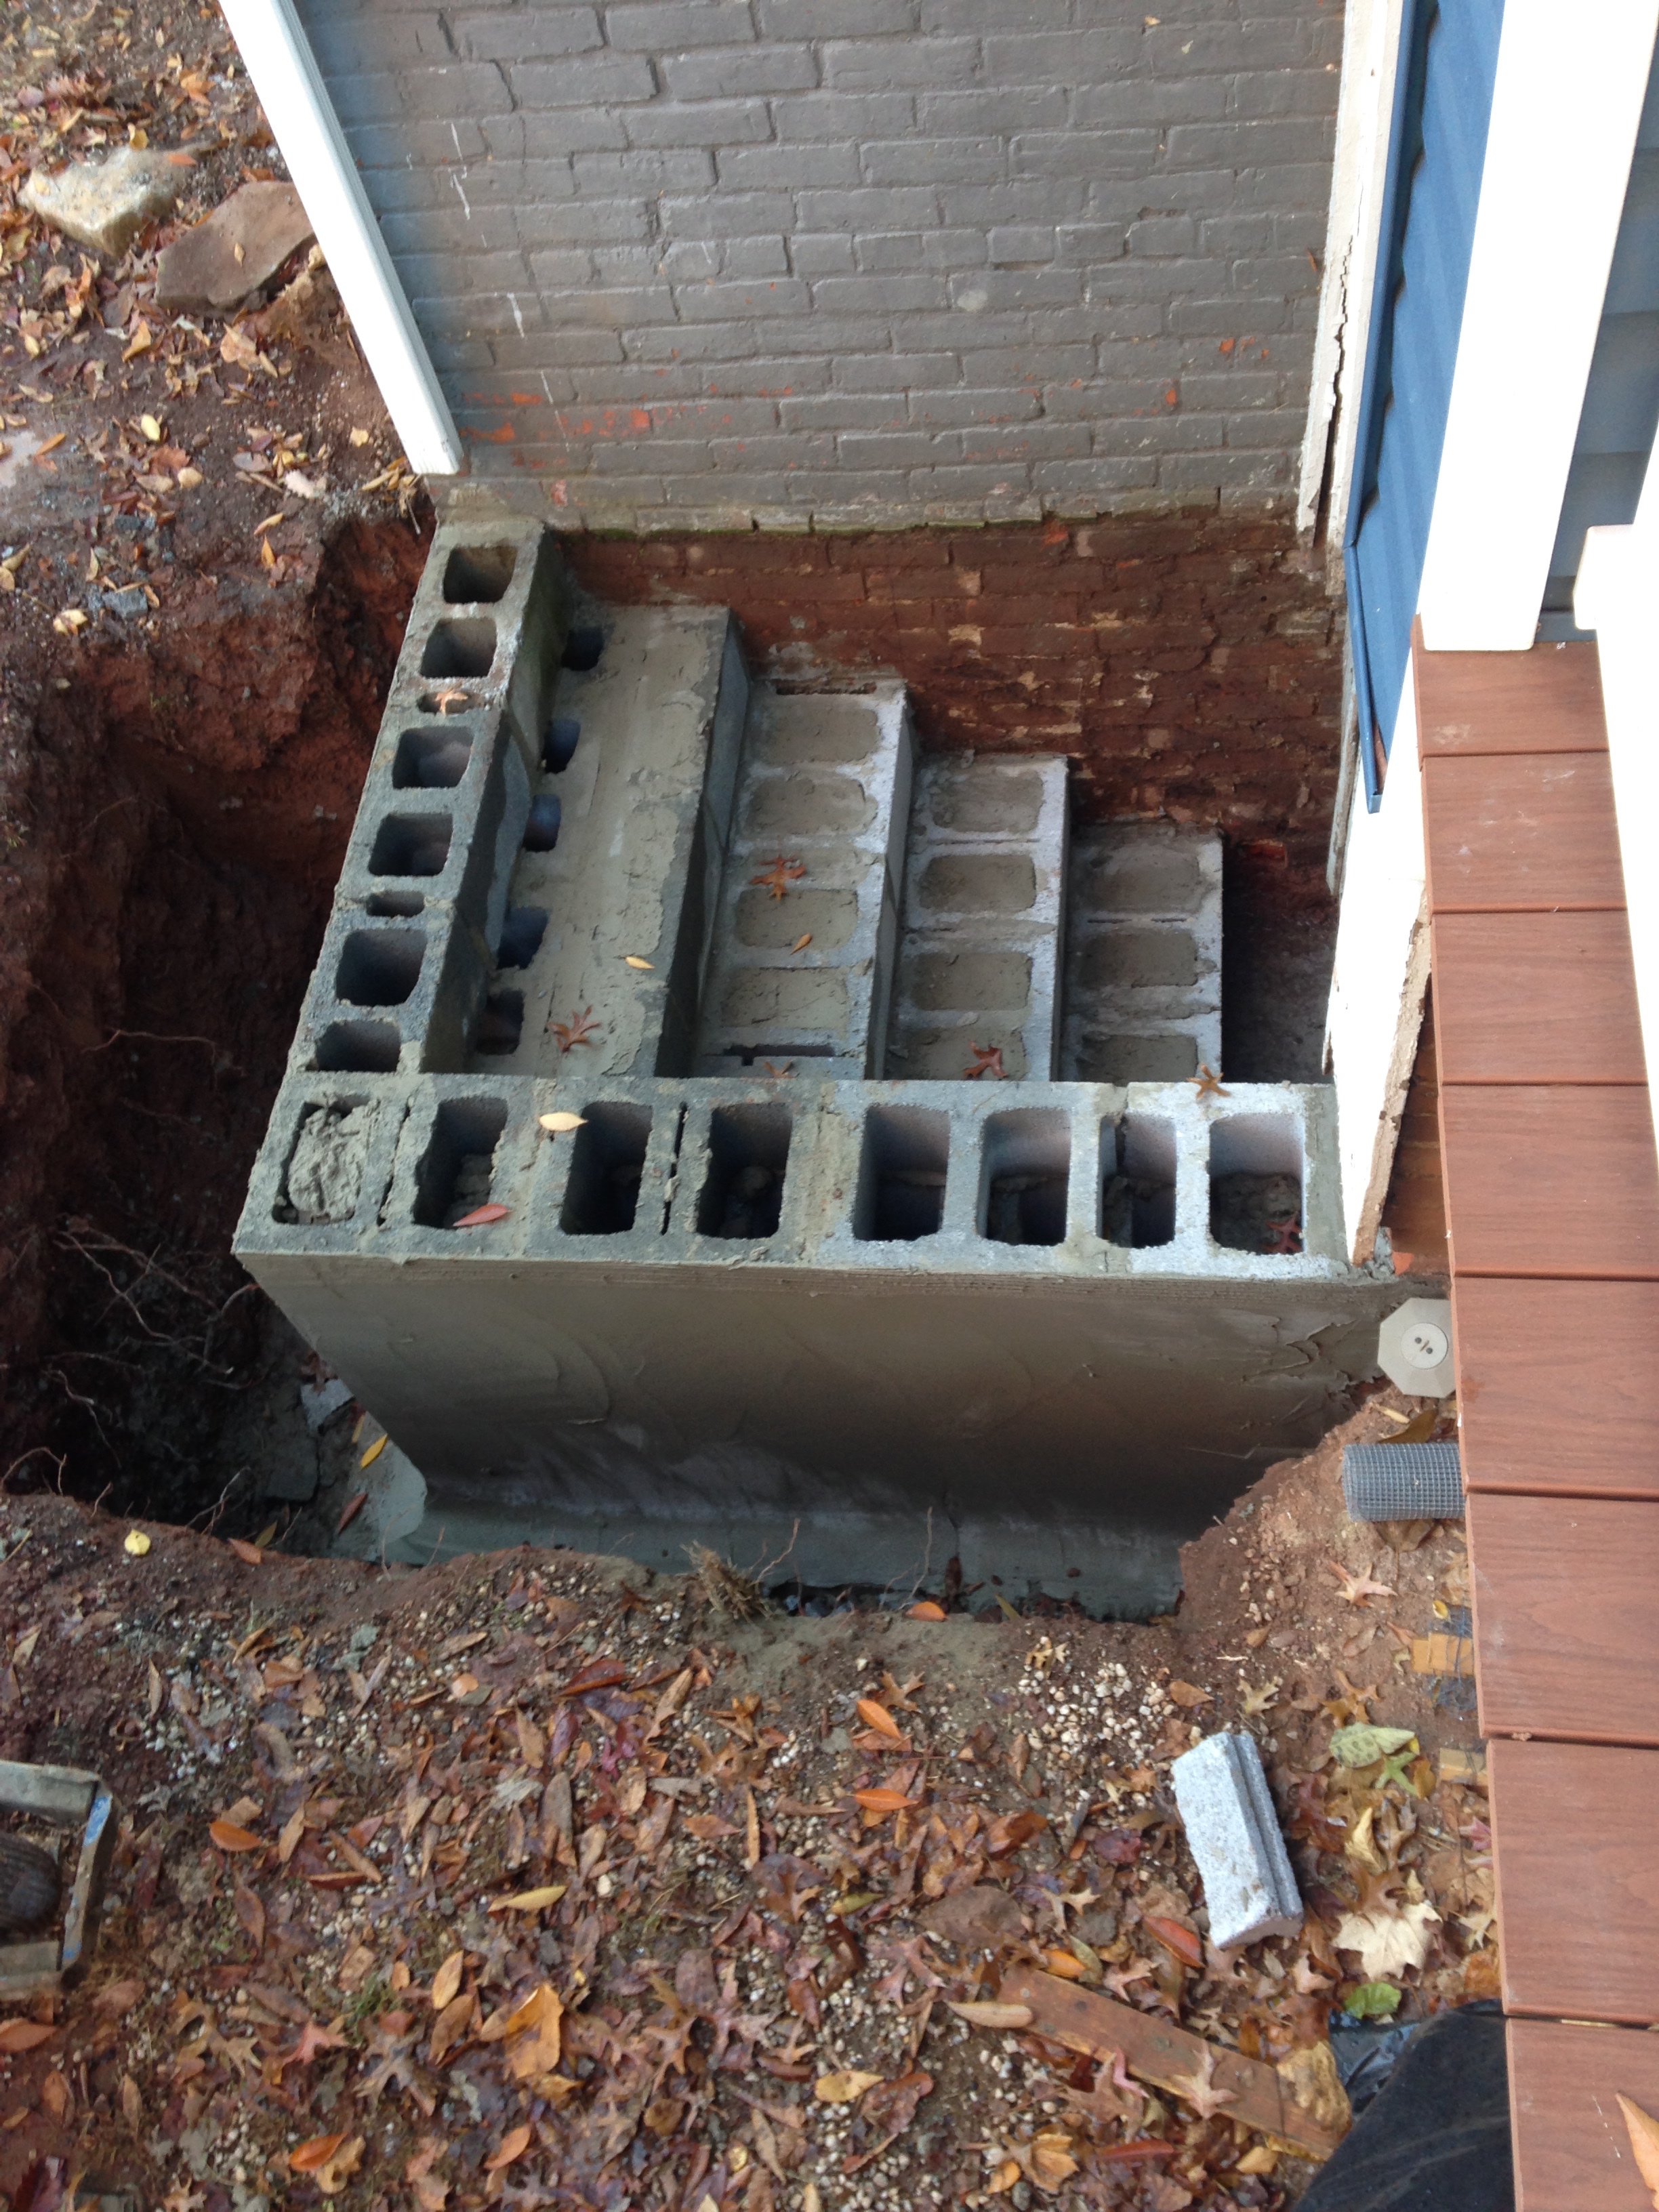
So naturally they were then destroyed. Mwahaha! Then the framing and rebar went in.
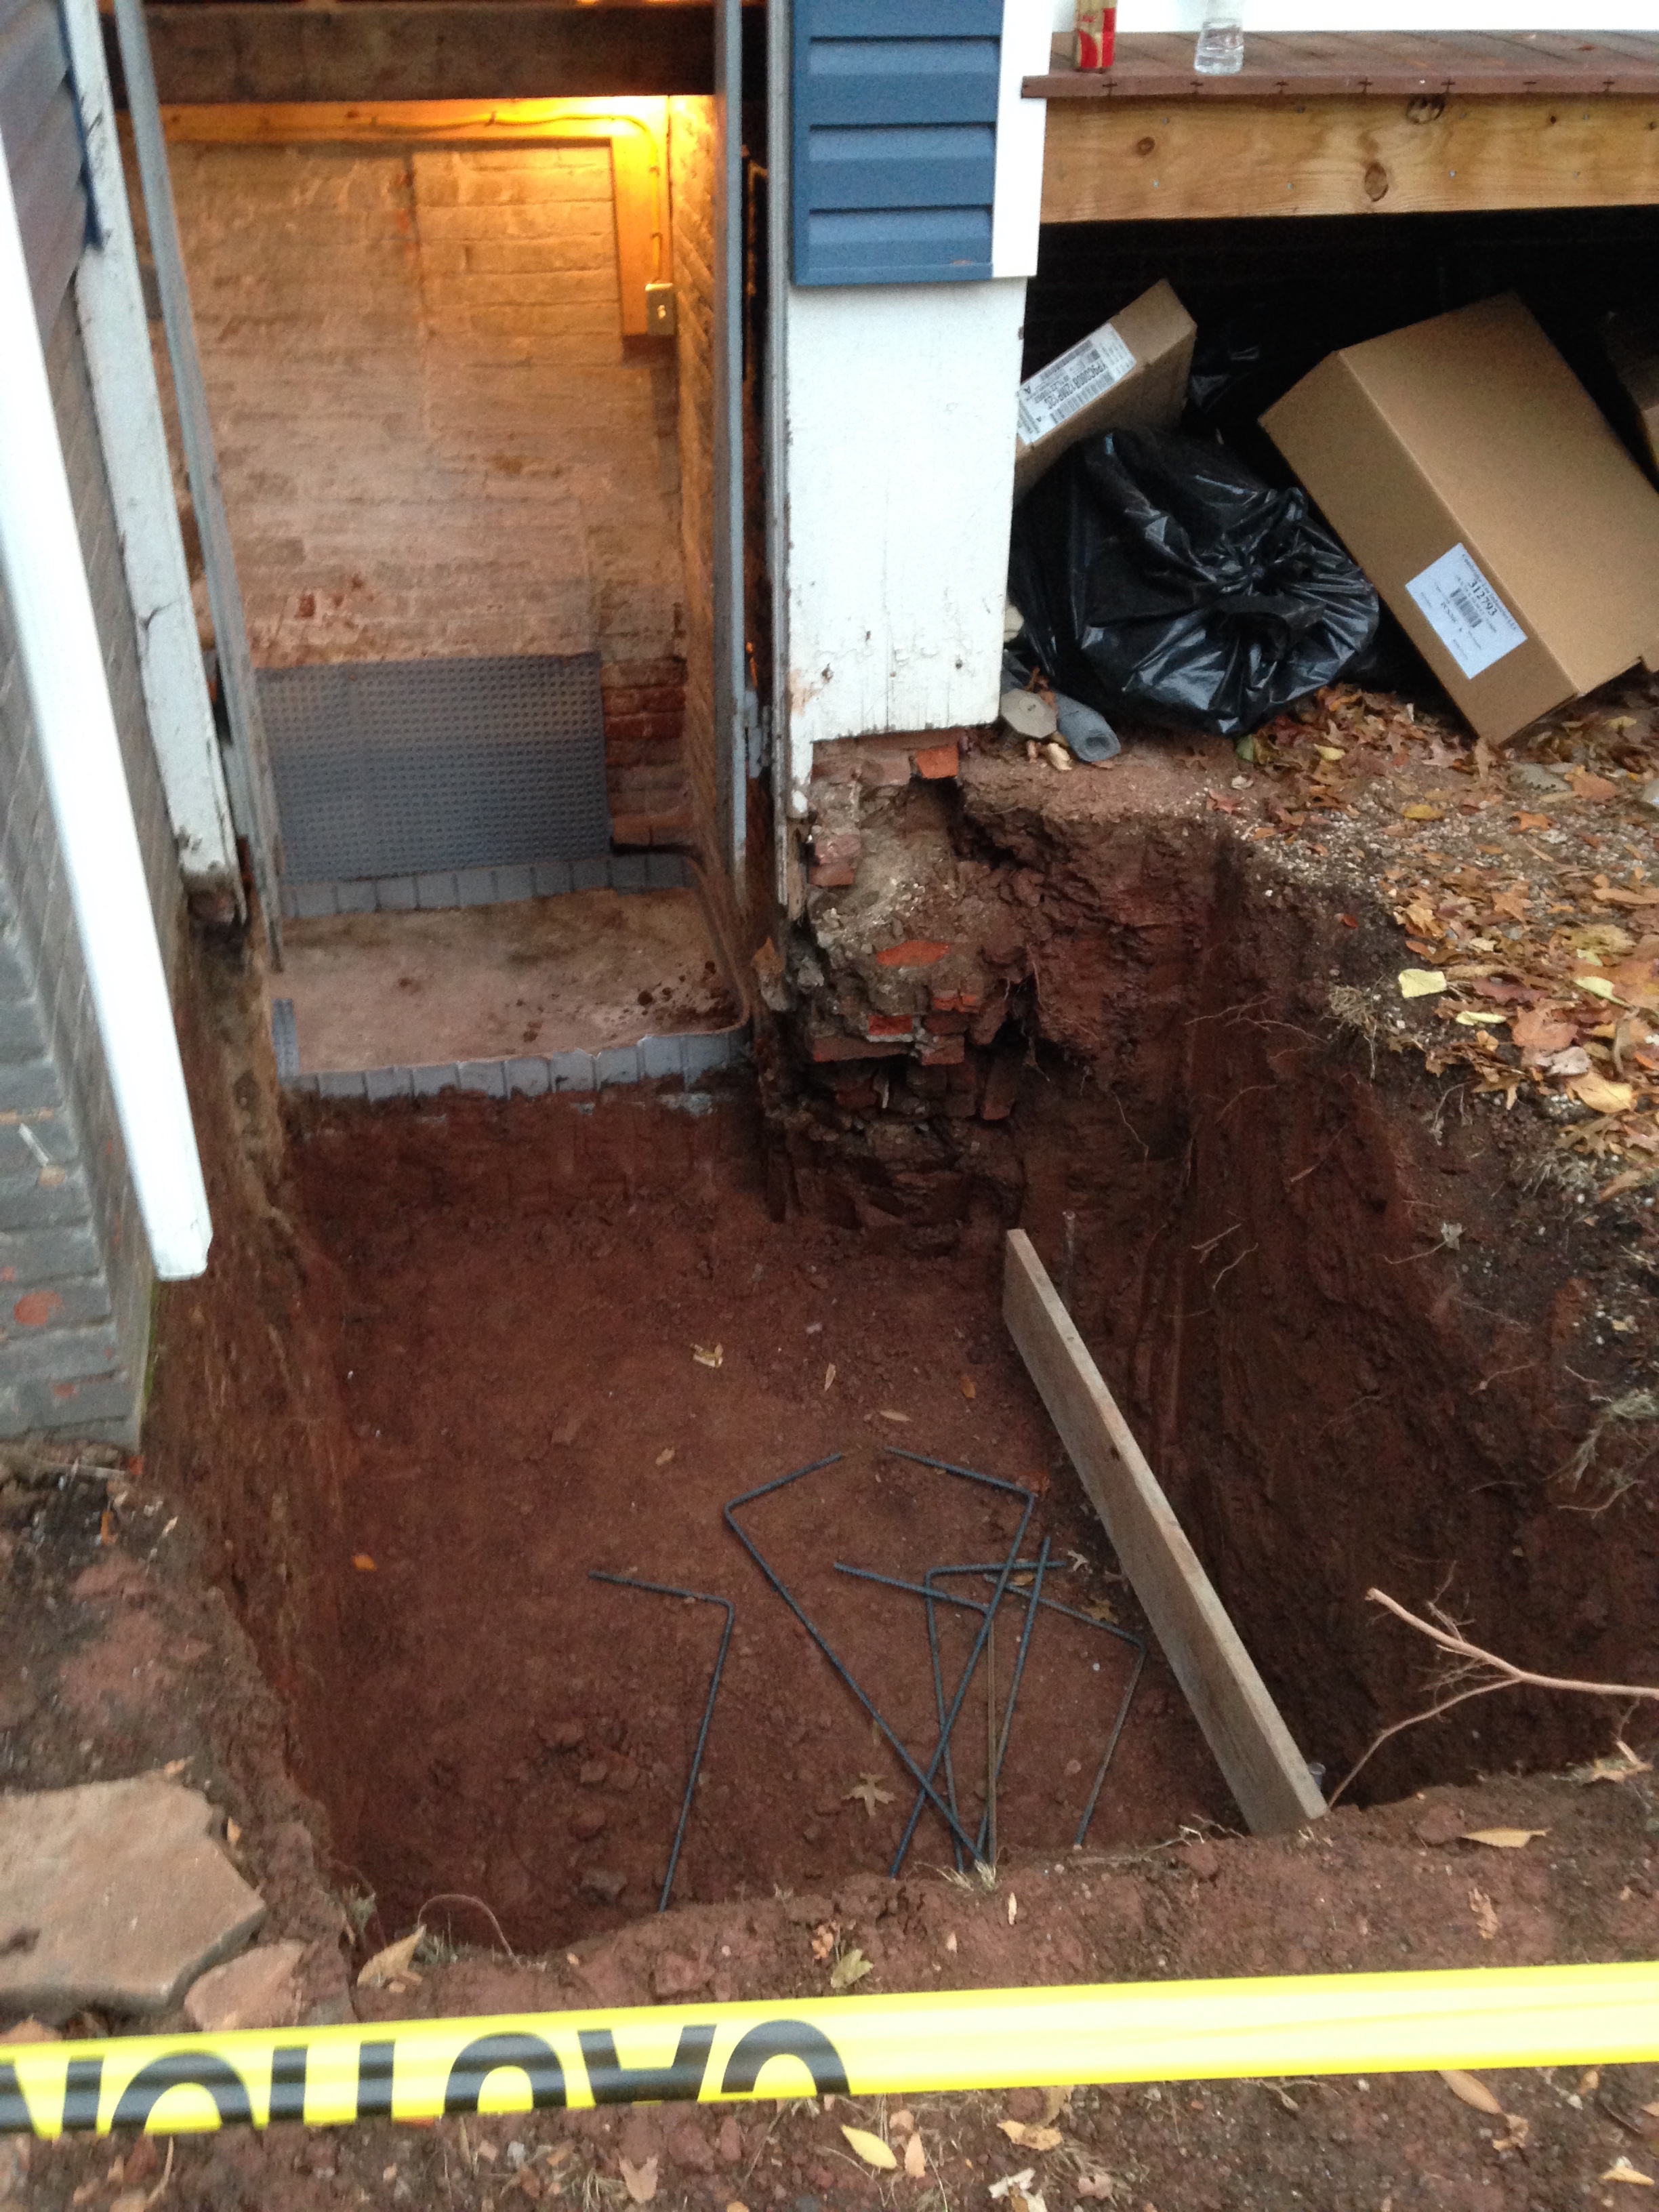
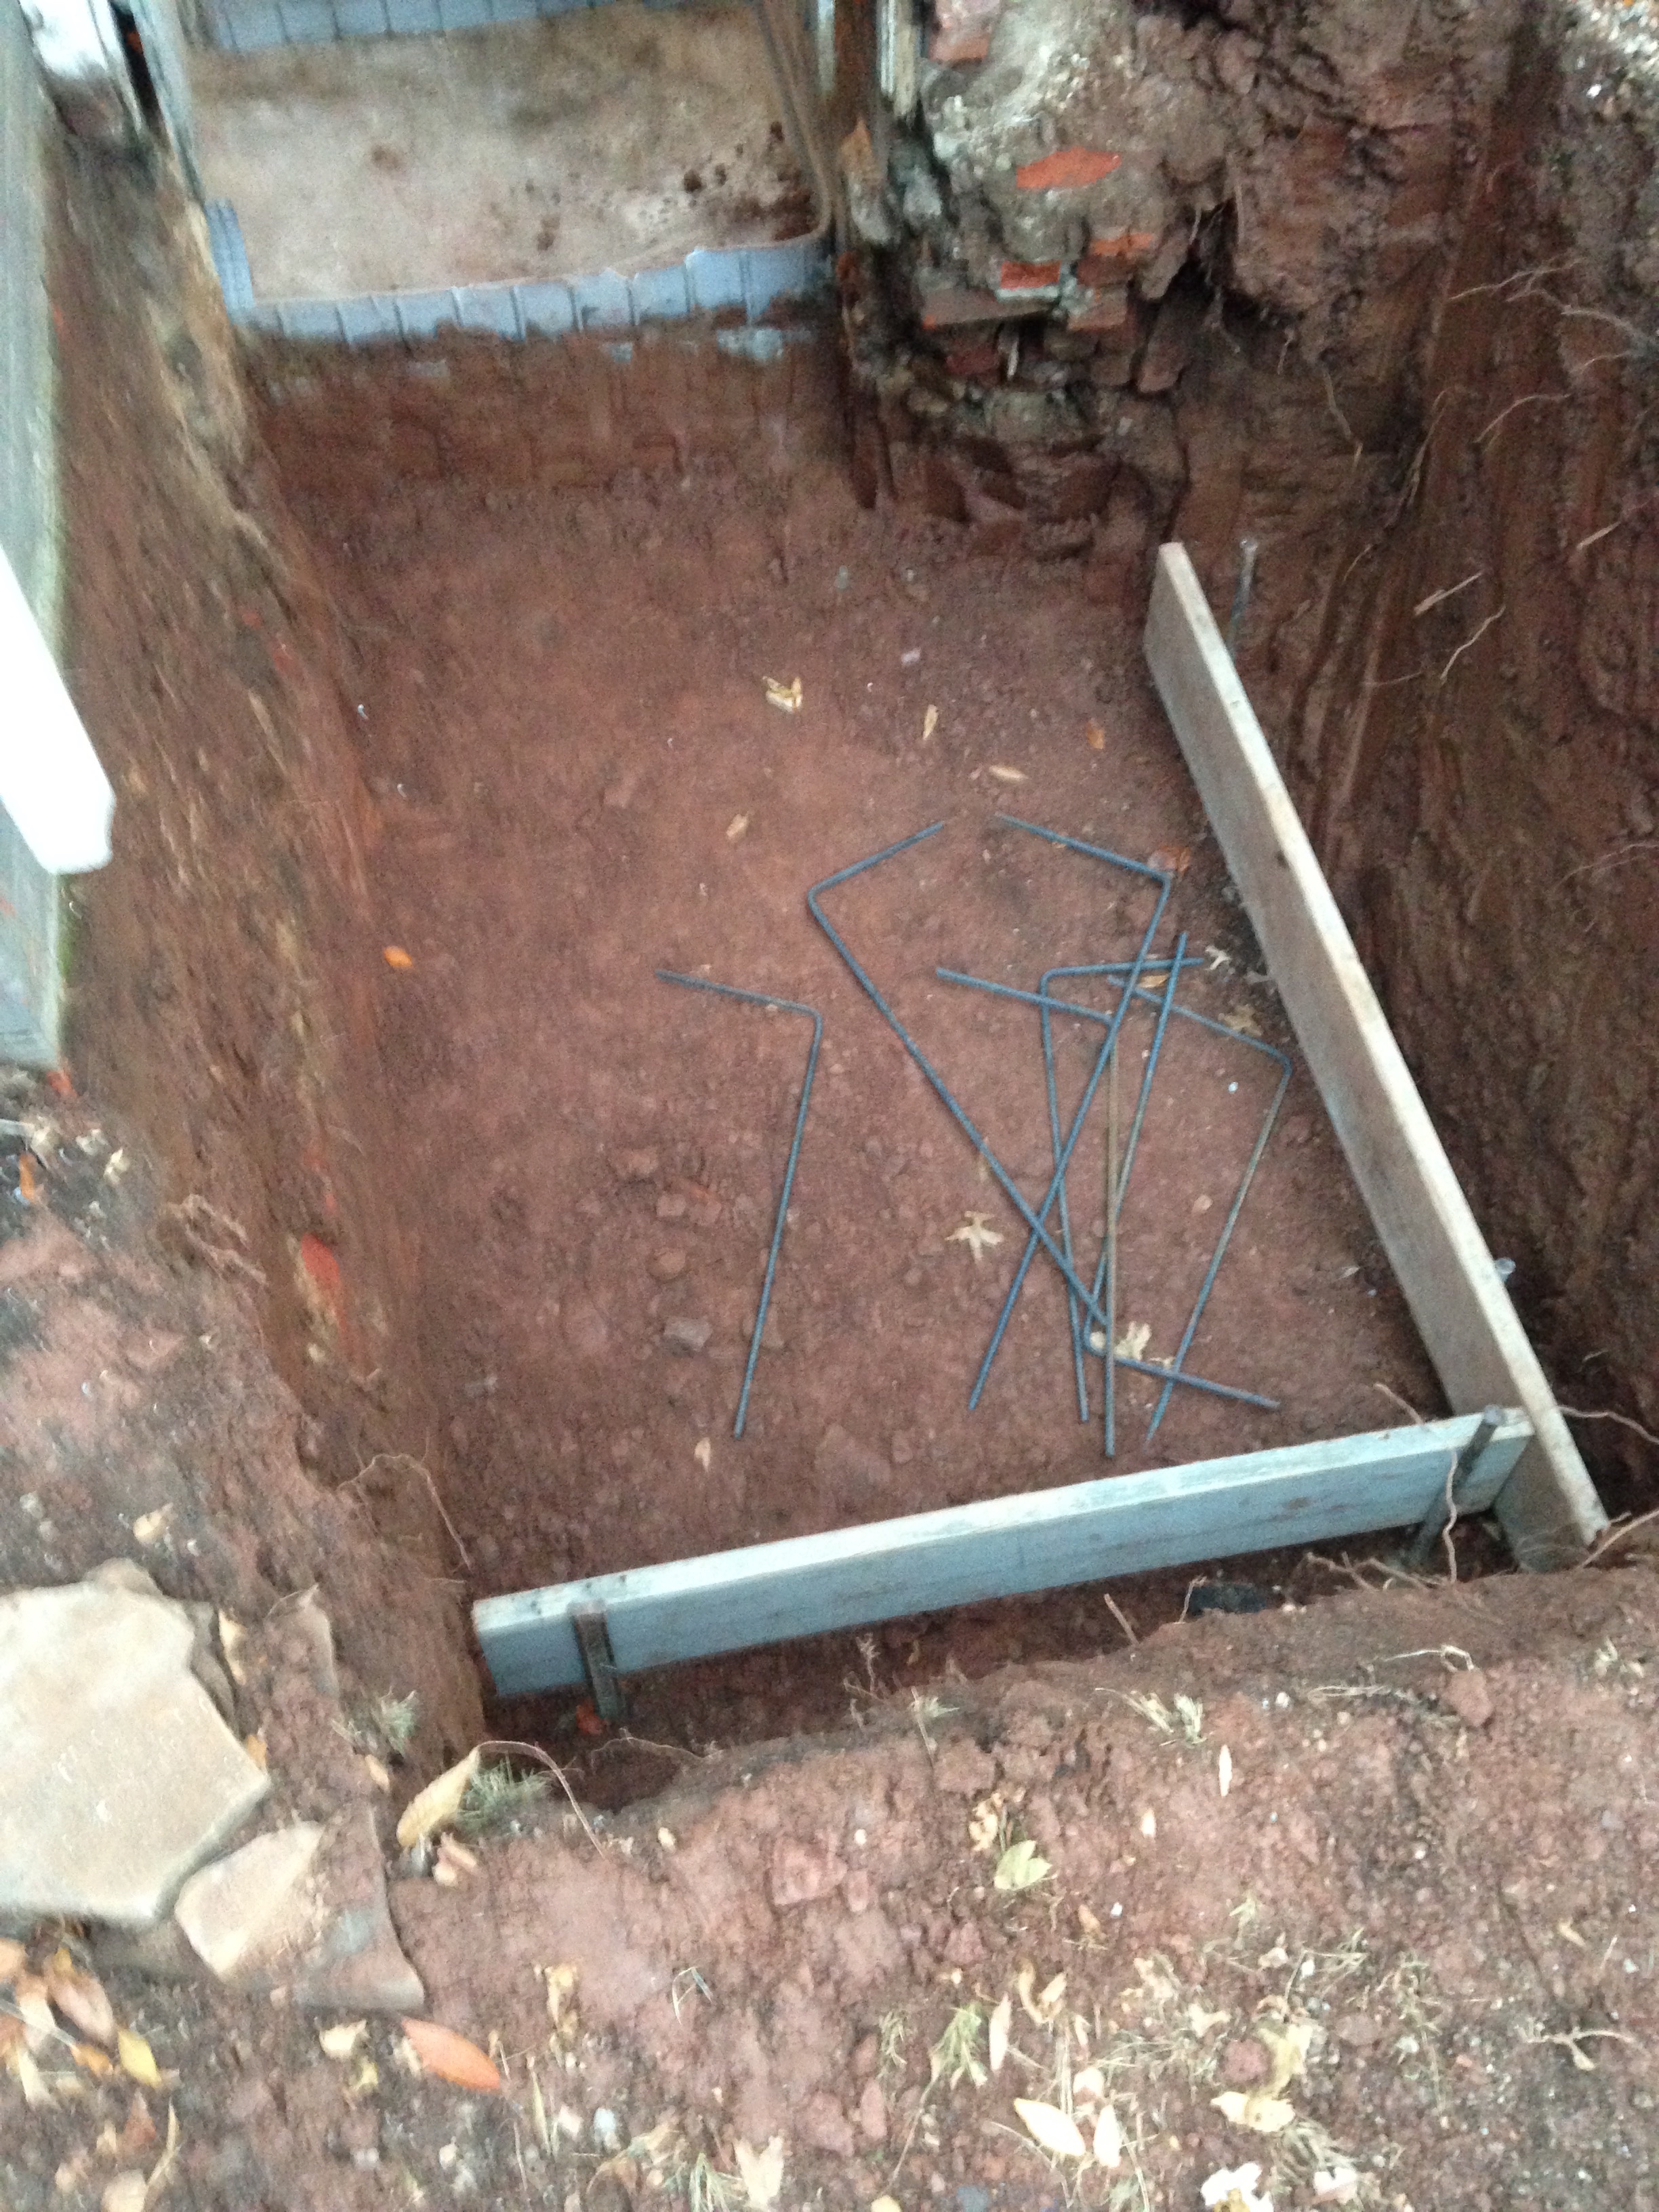
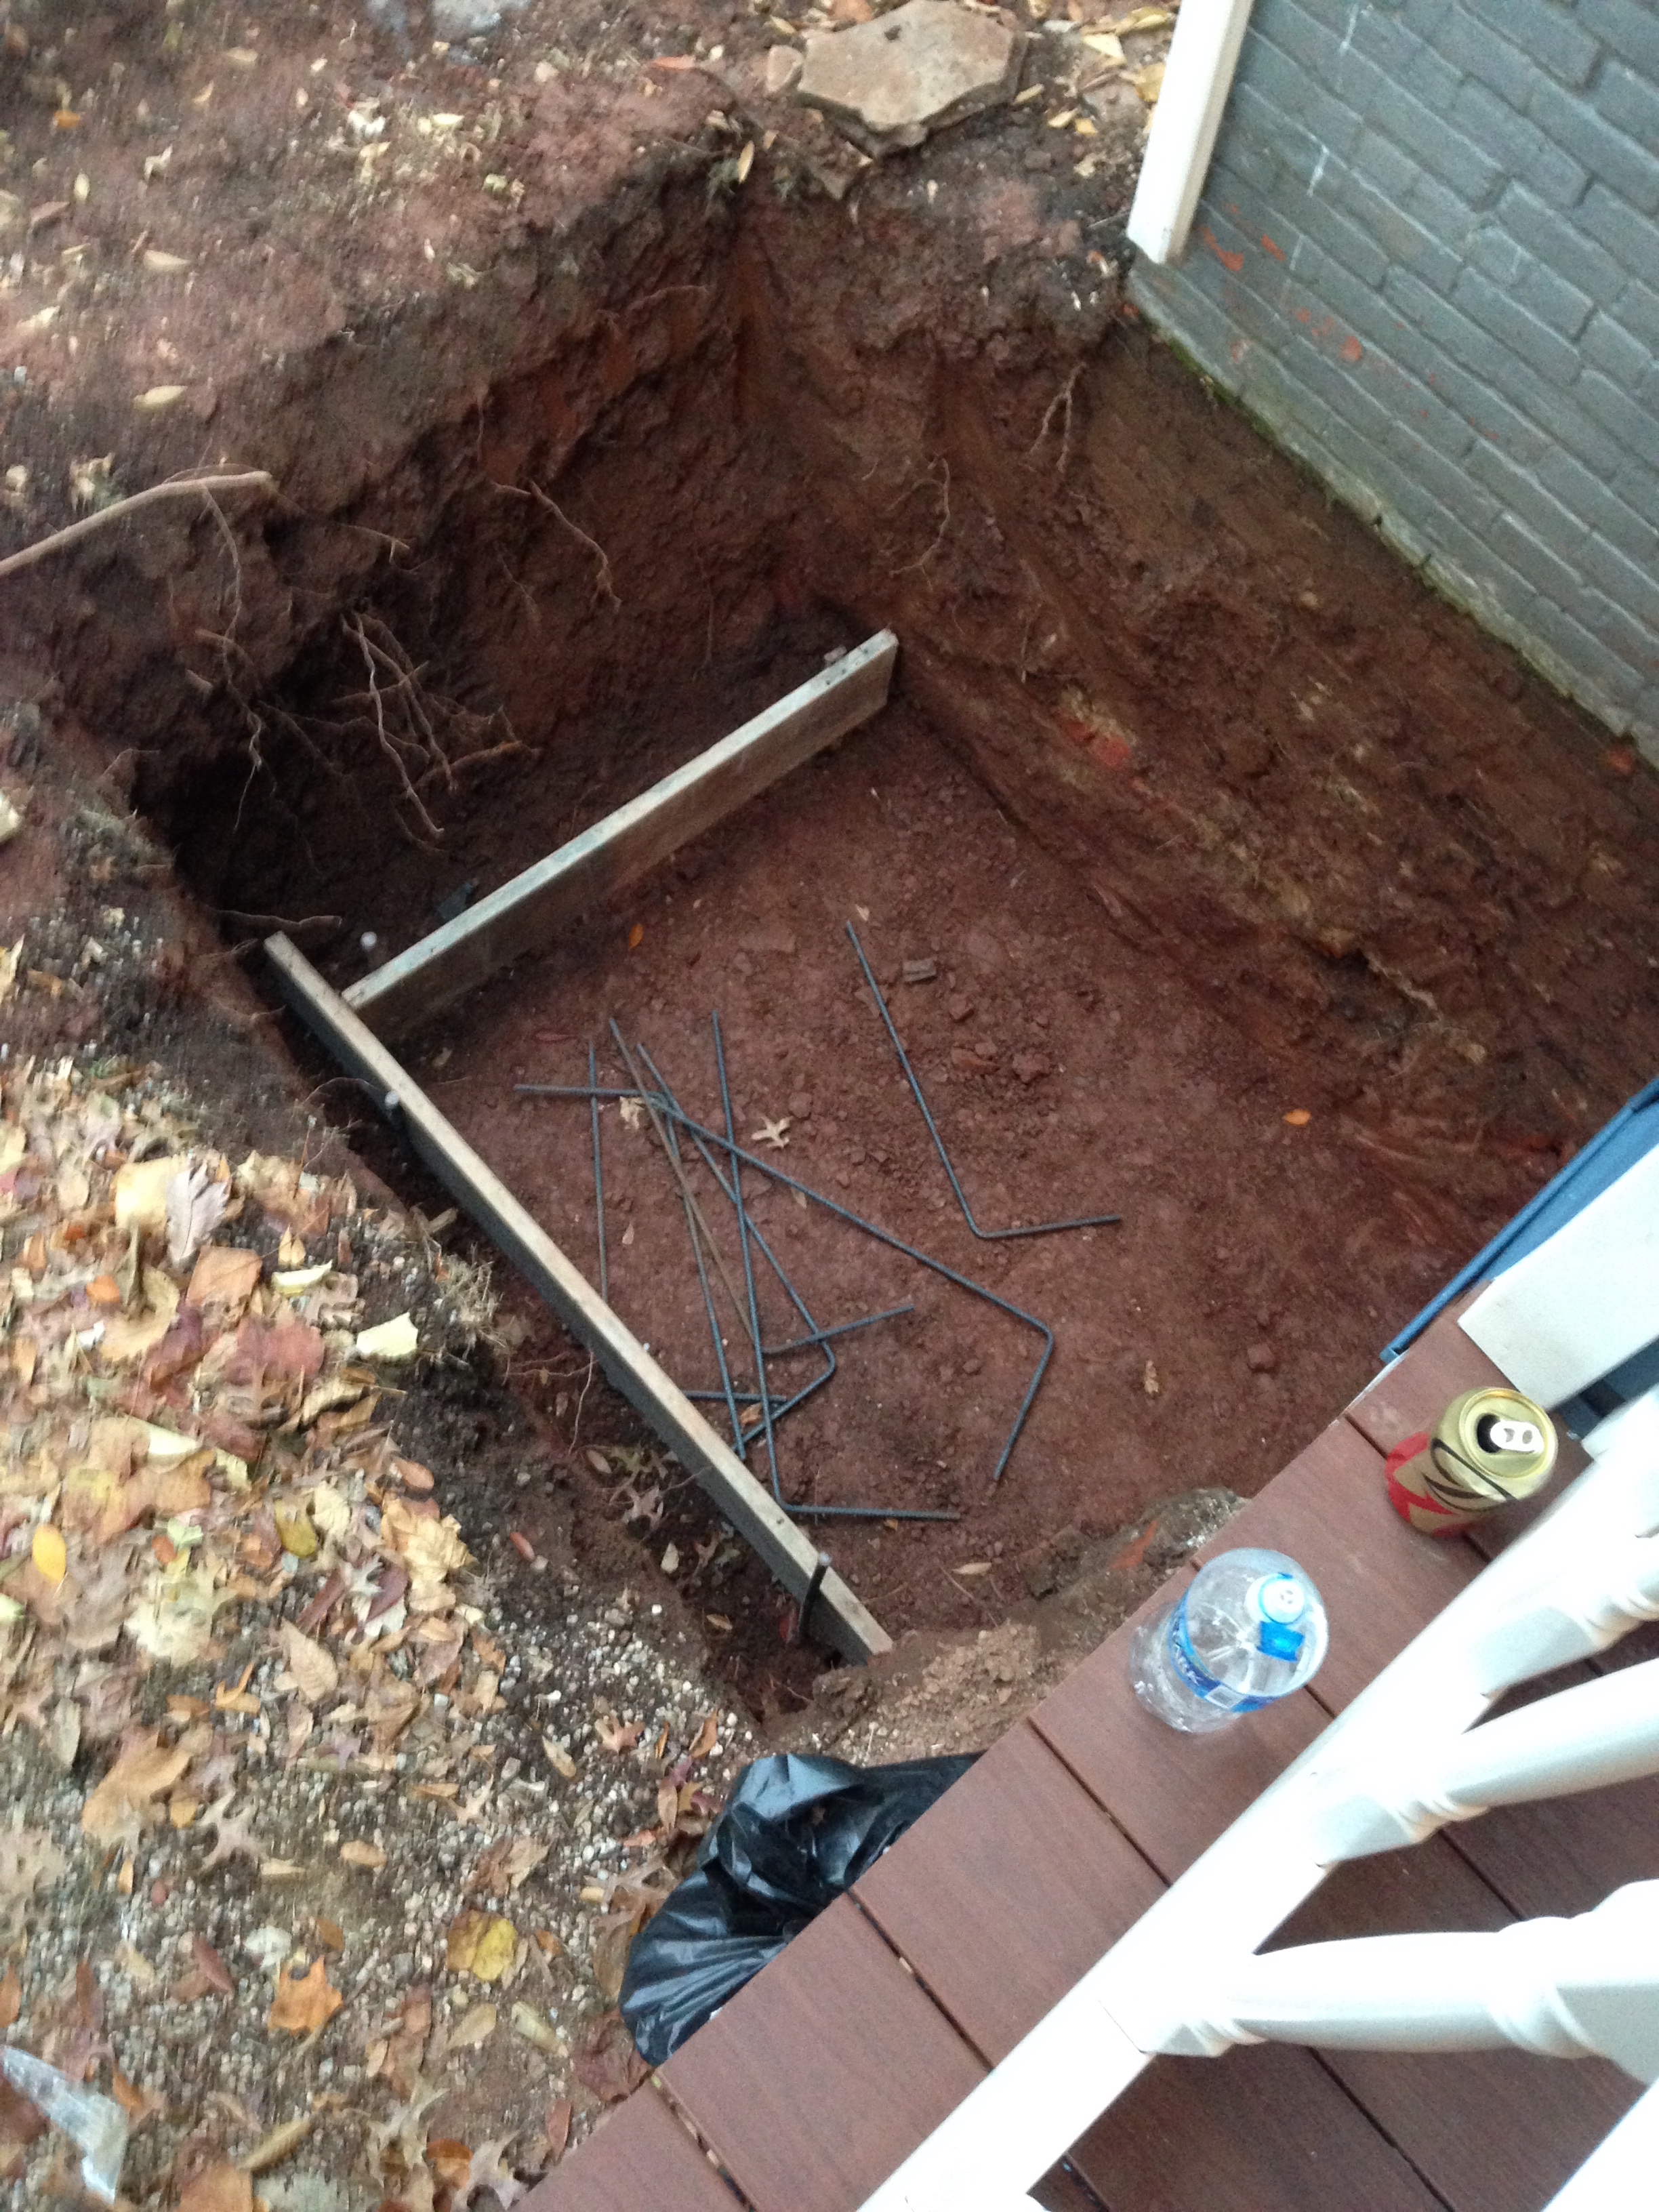

You’re just supposed to lay them on the ground, right?
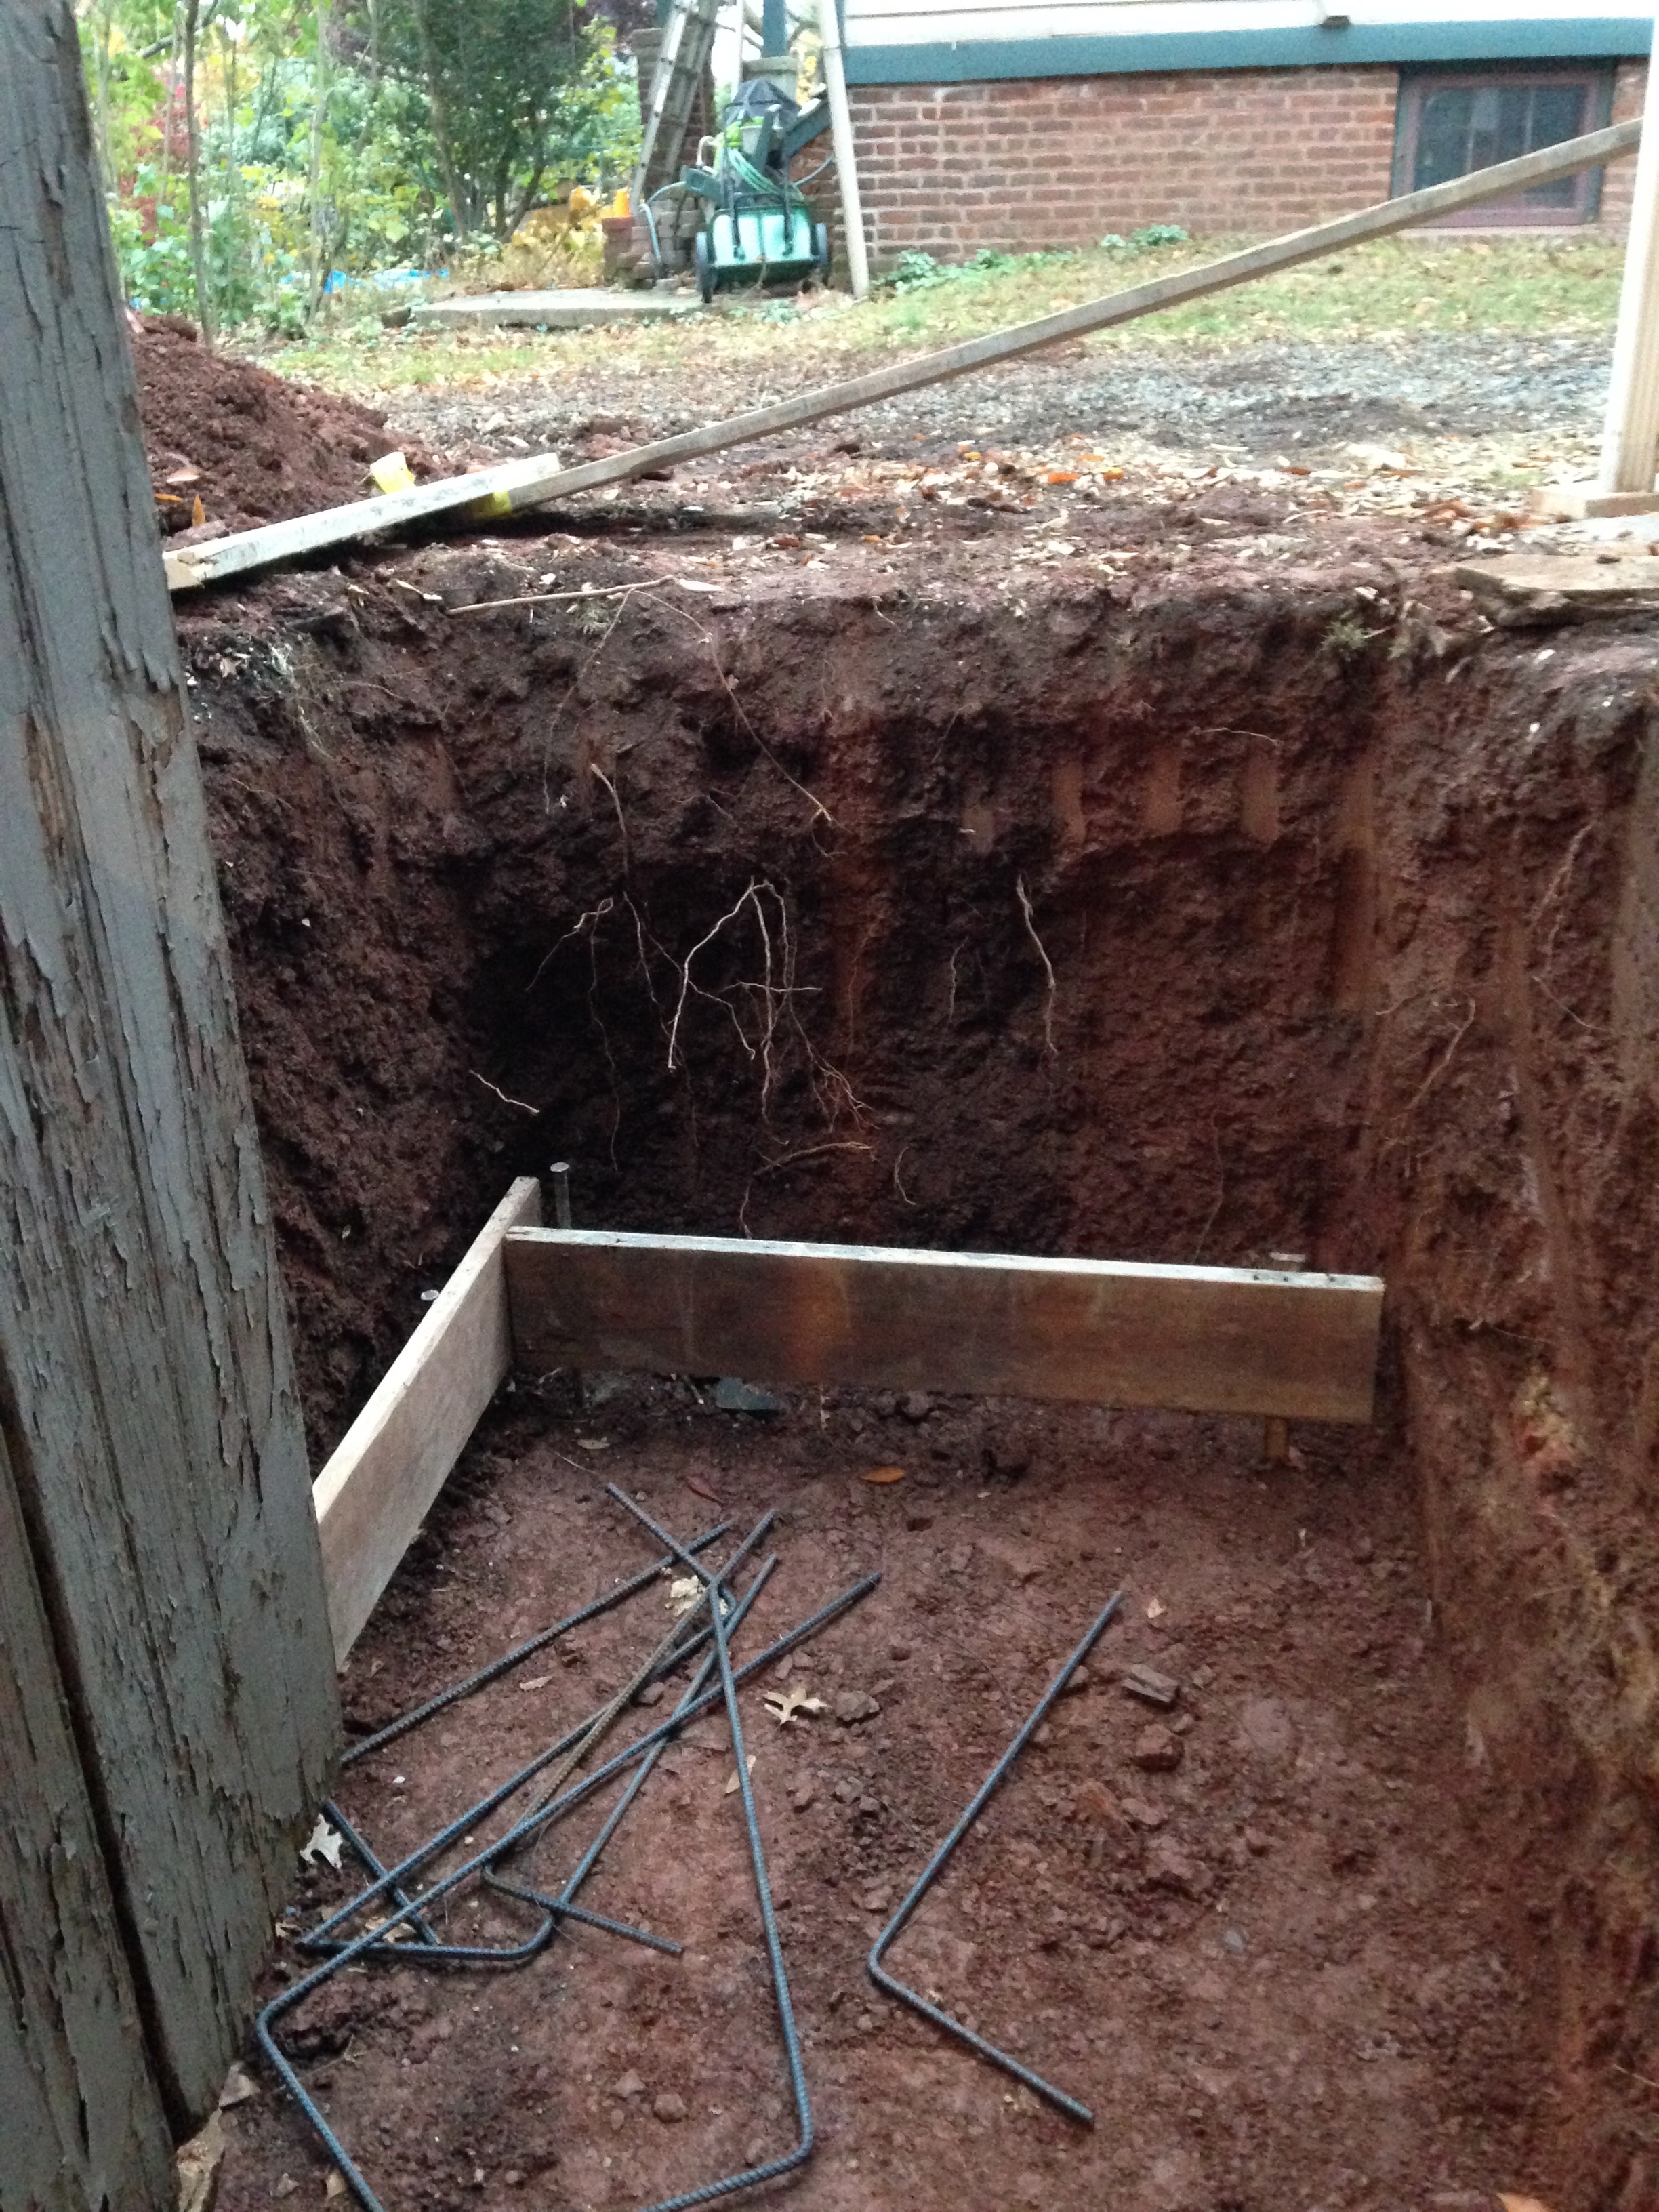
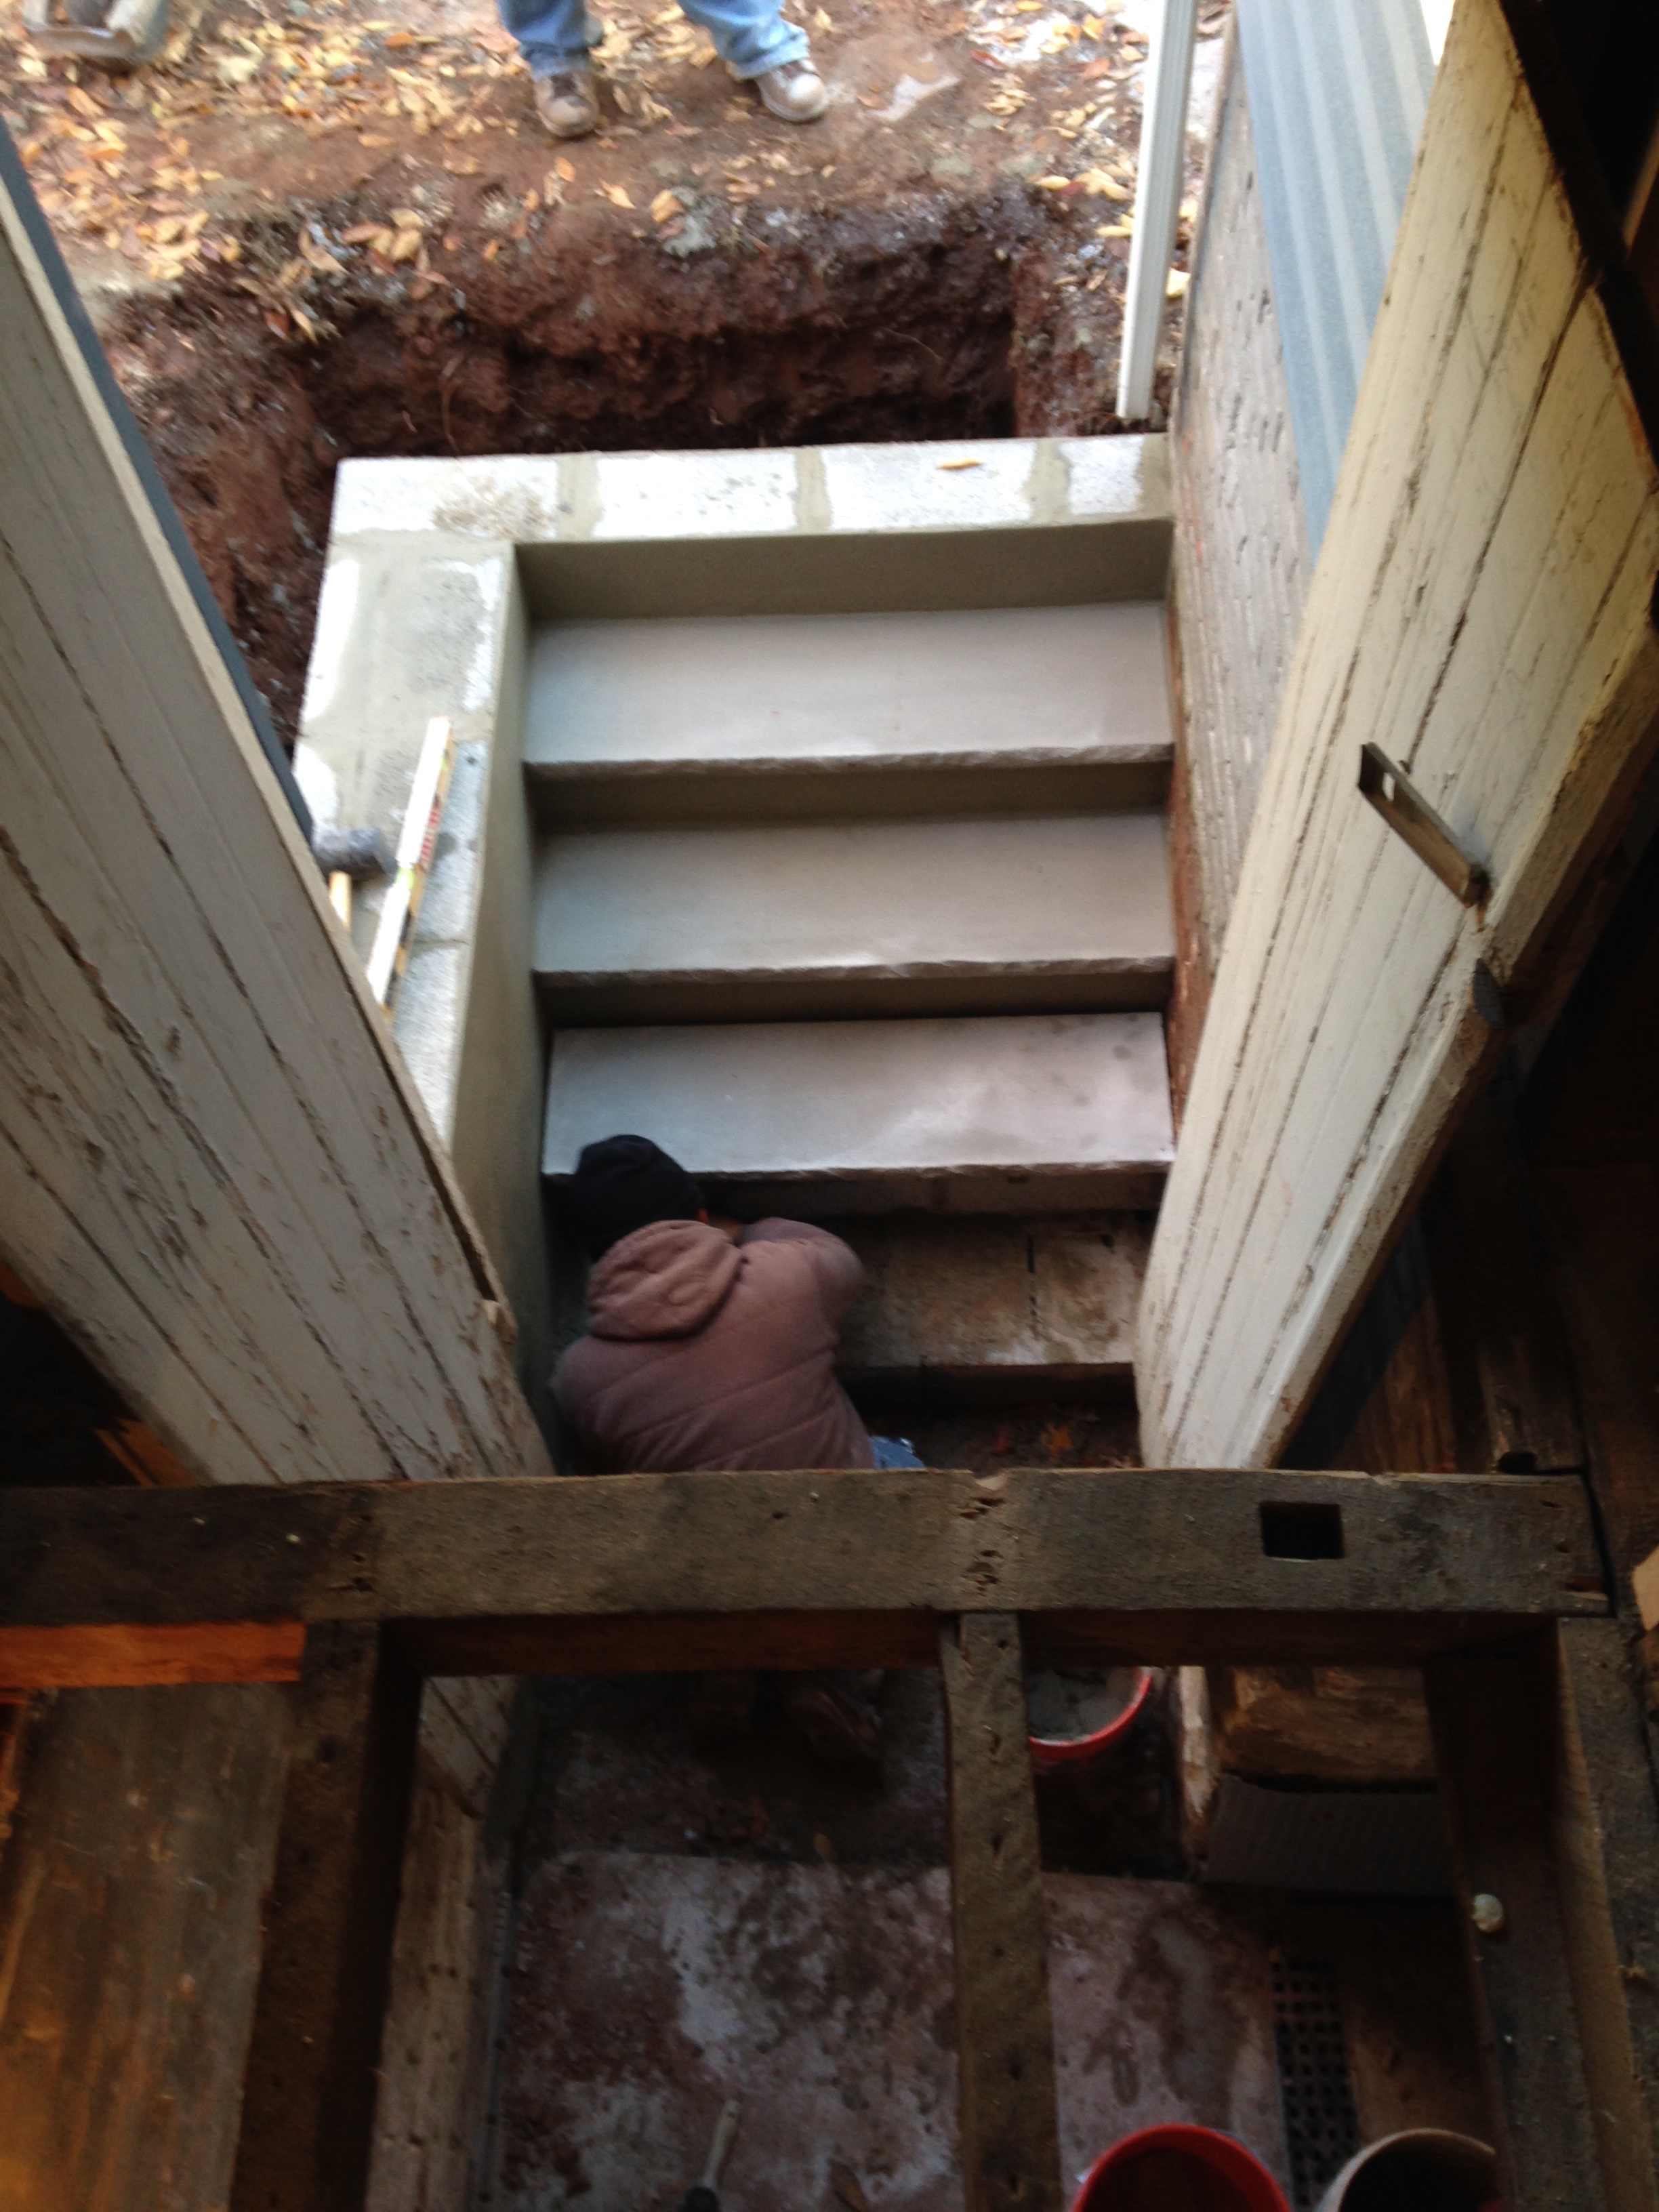
There we go.

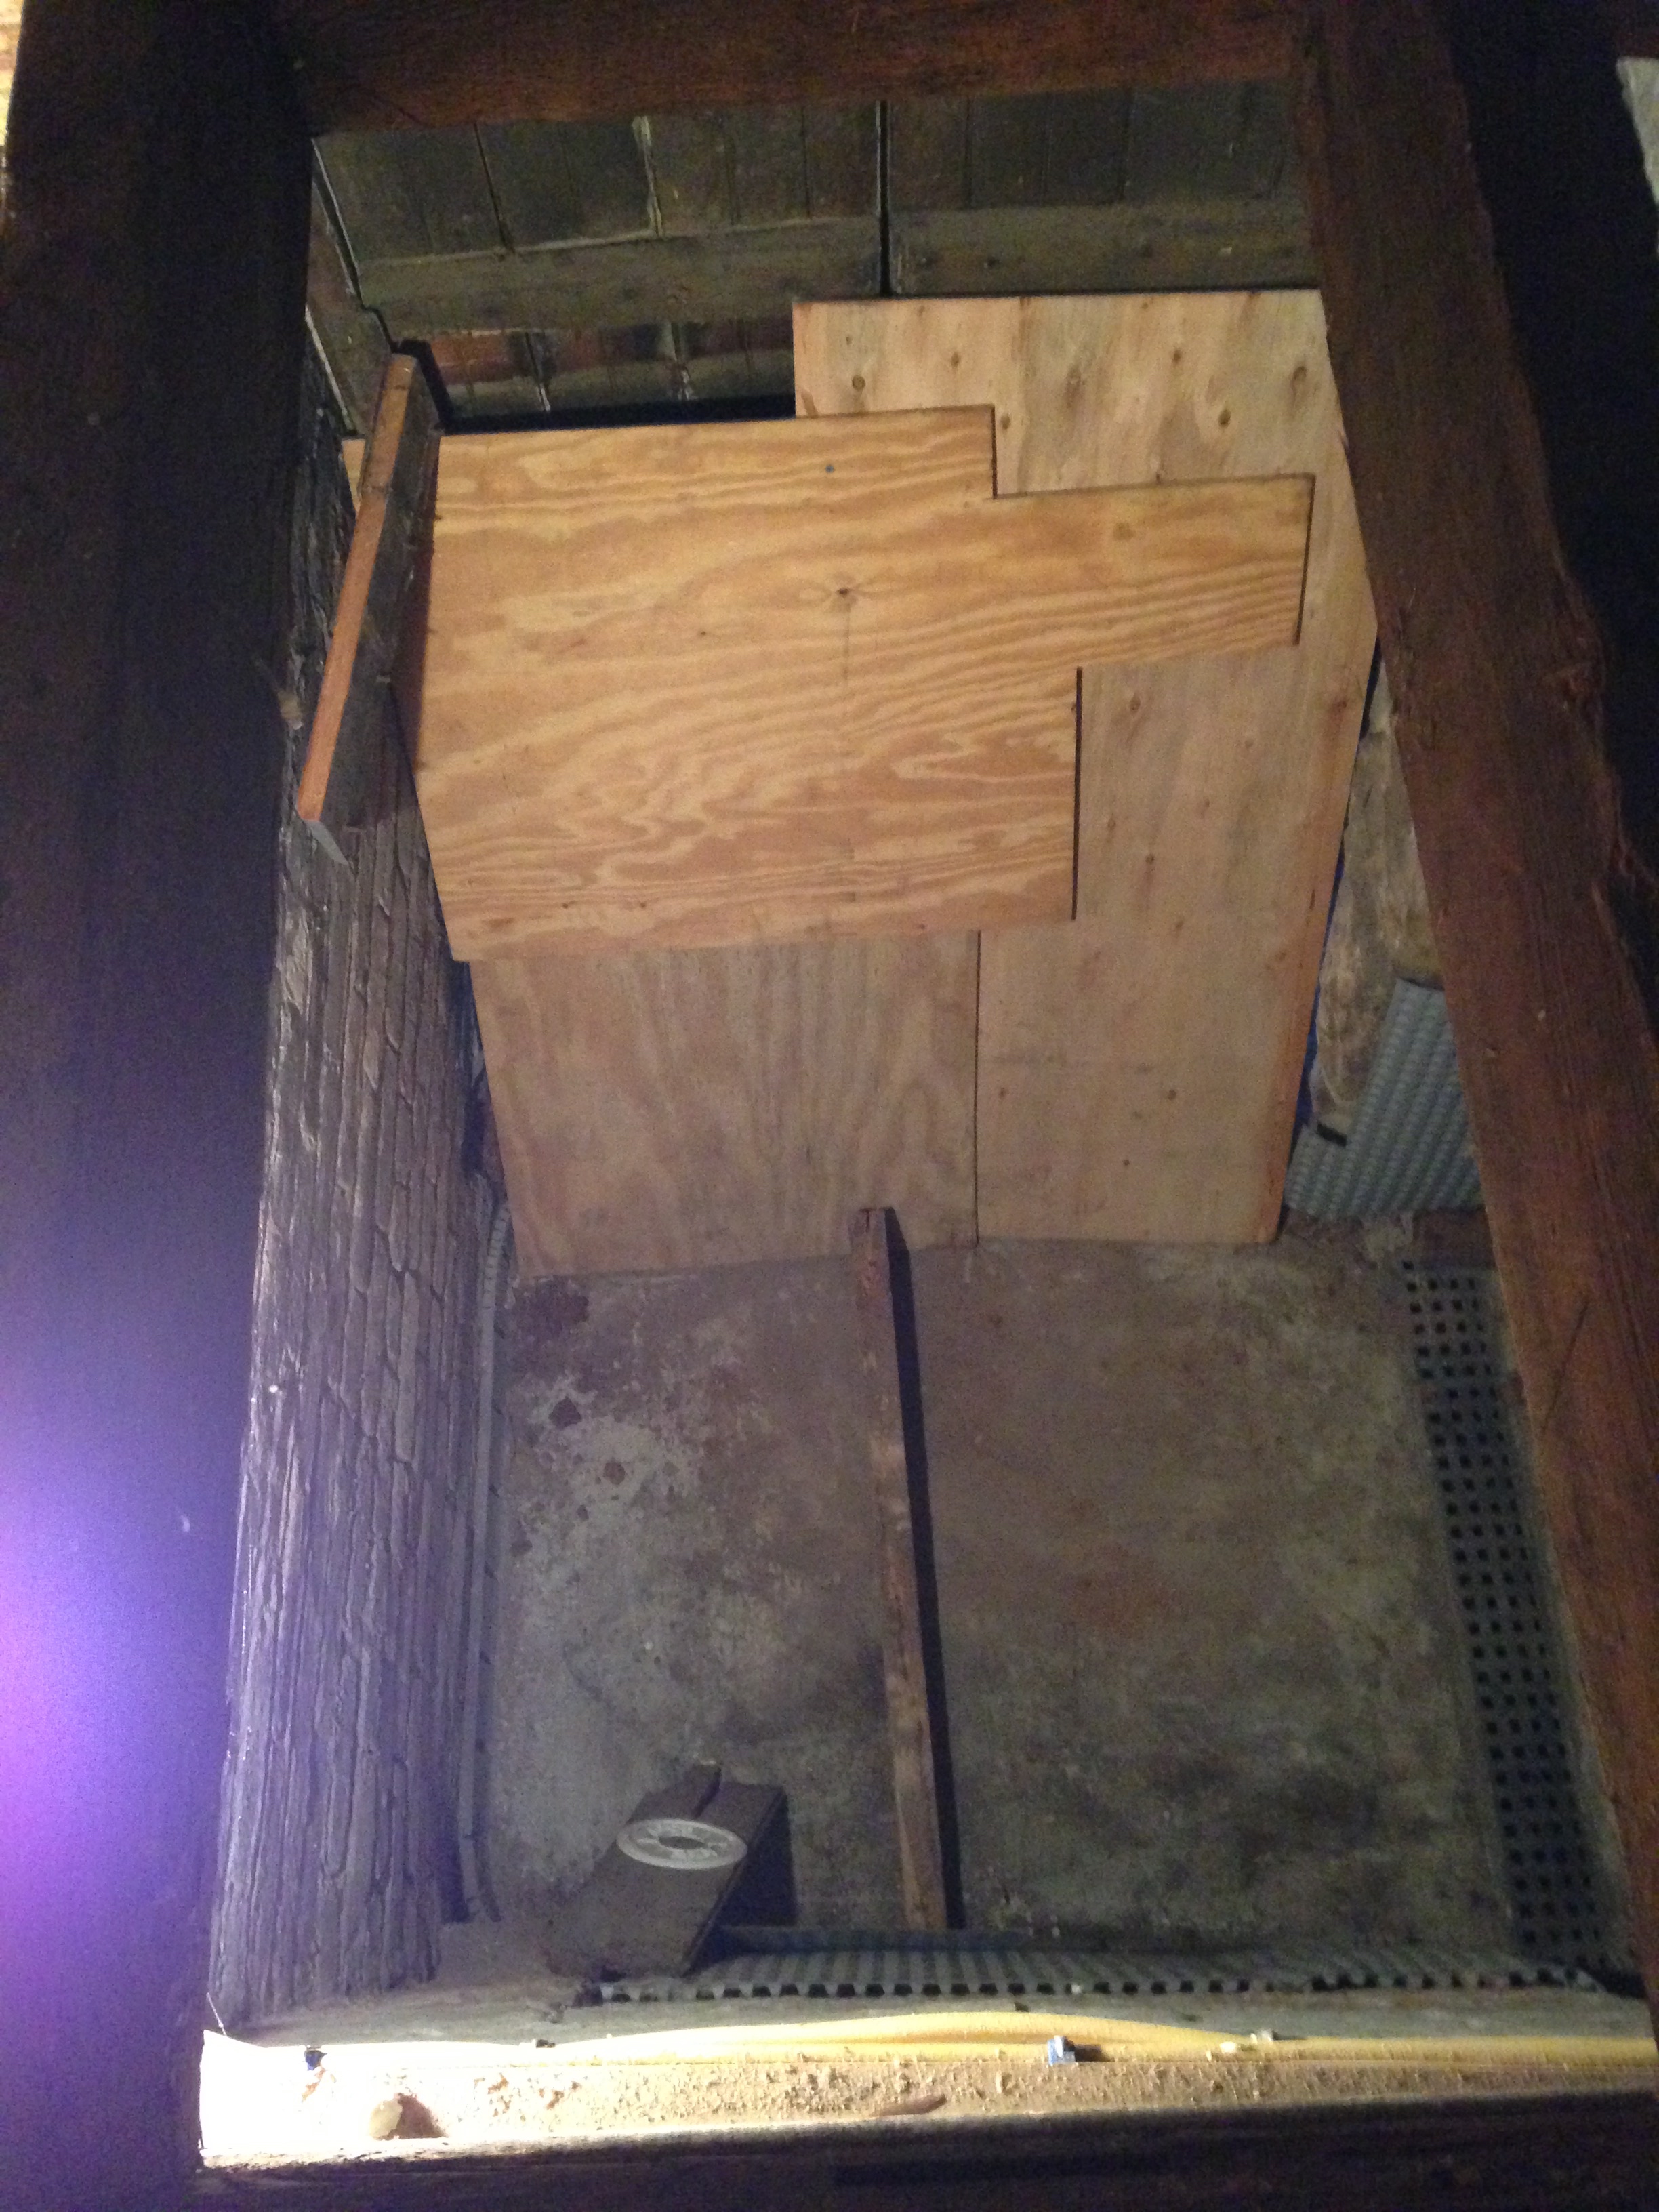
And with that it was the end of the day. I made a makeshift door out of scrap wood that any self-respecting zombie would laugh at and headed home.
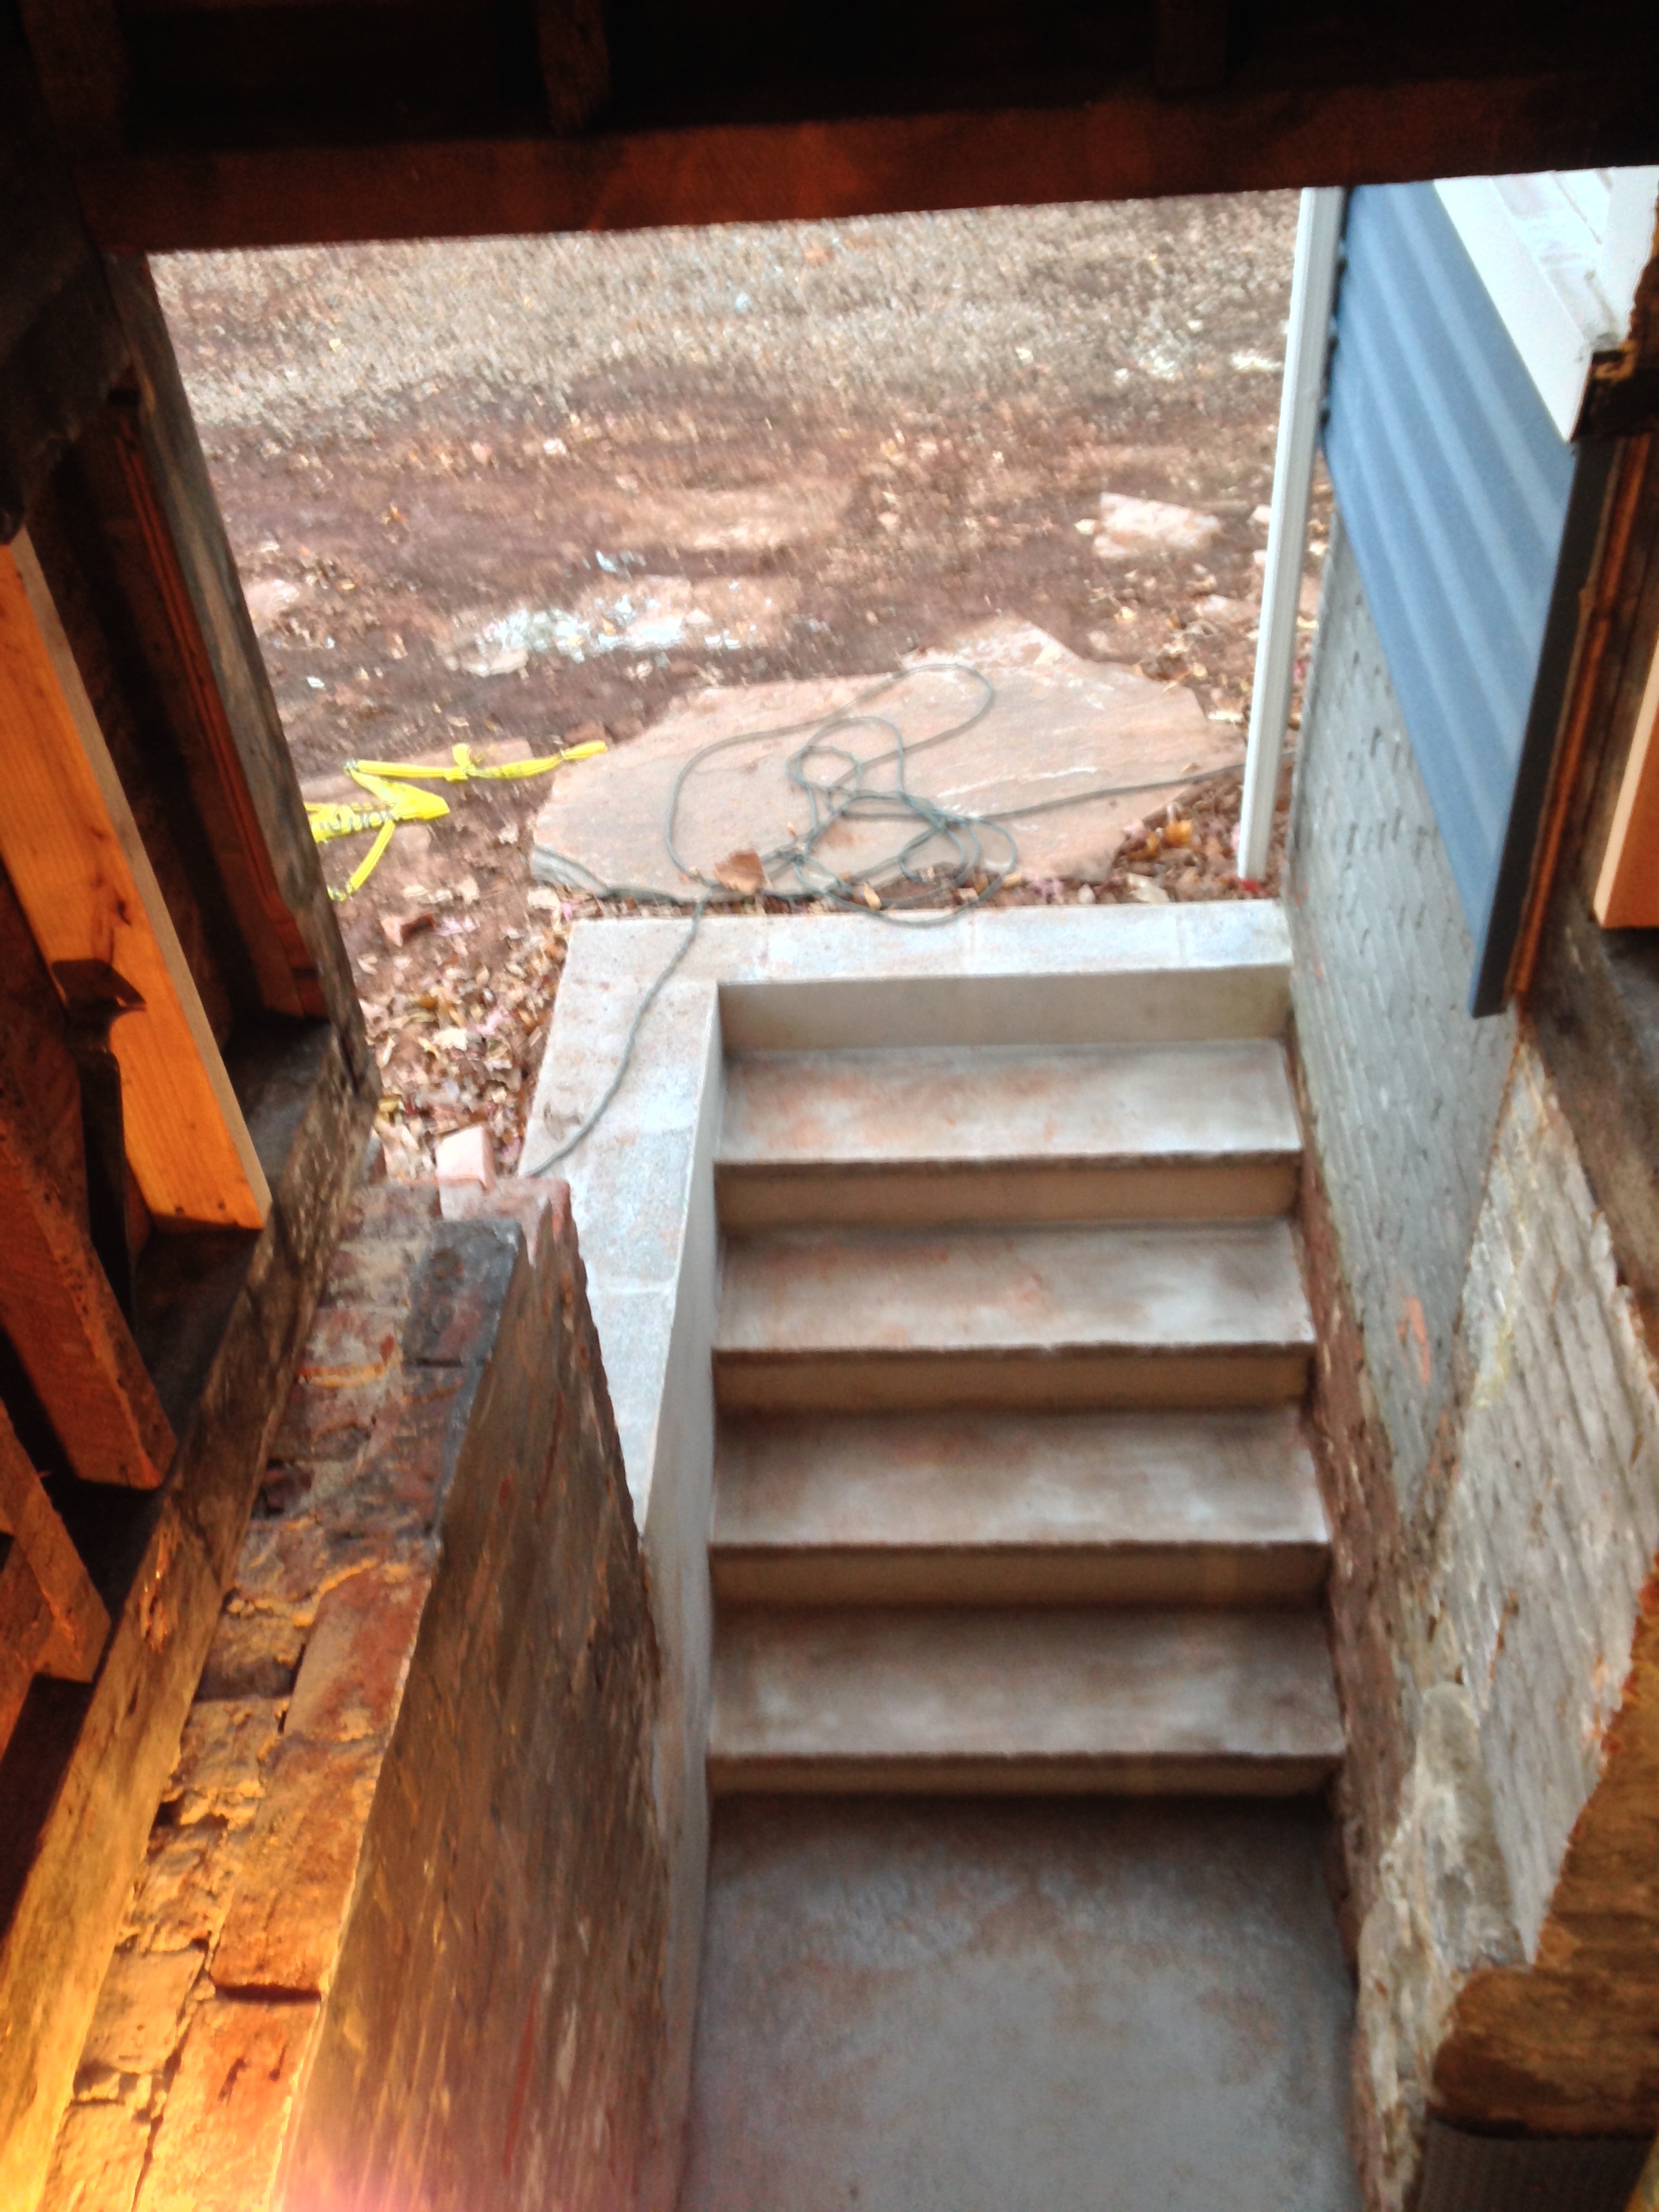
The next day I had work so I just popped by to see massive amount of progress happening in the morning, at lunch, then after work. I wish that kind of progress was made every day. Before I knew it, they were done.
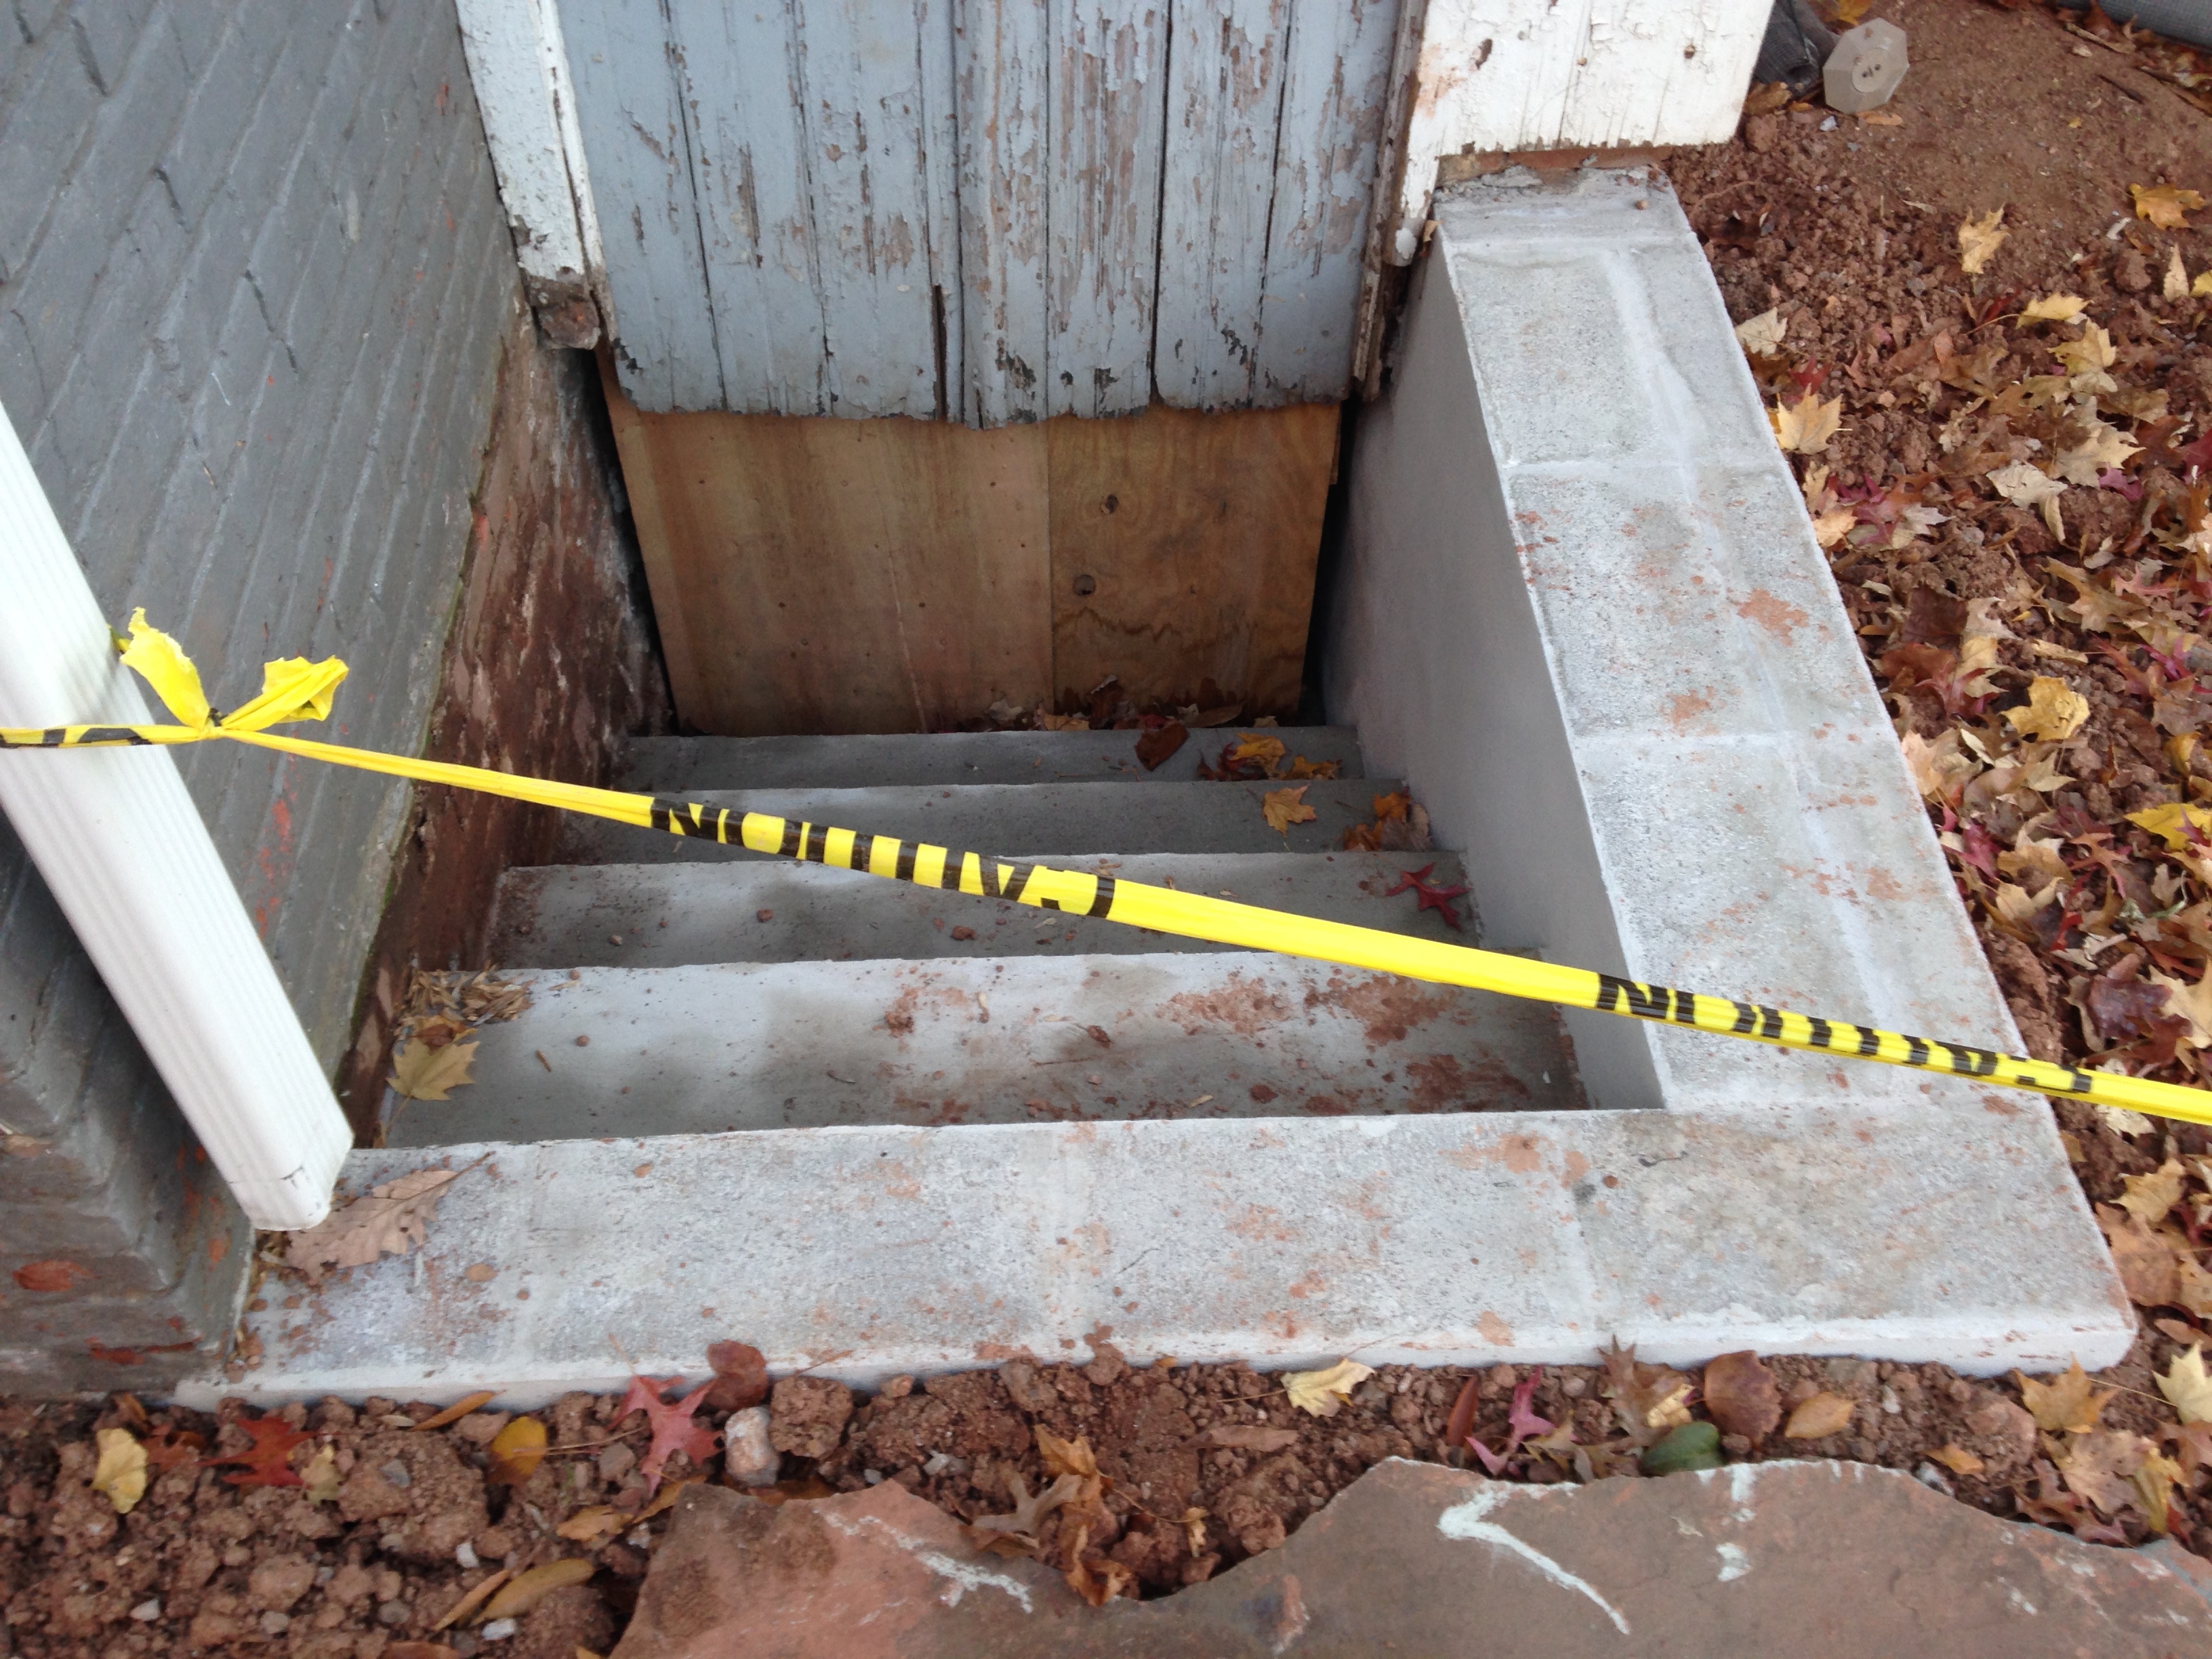
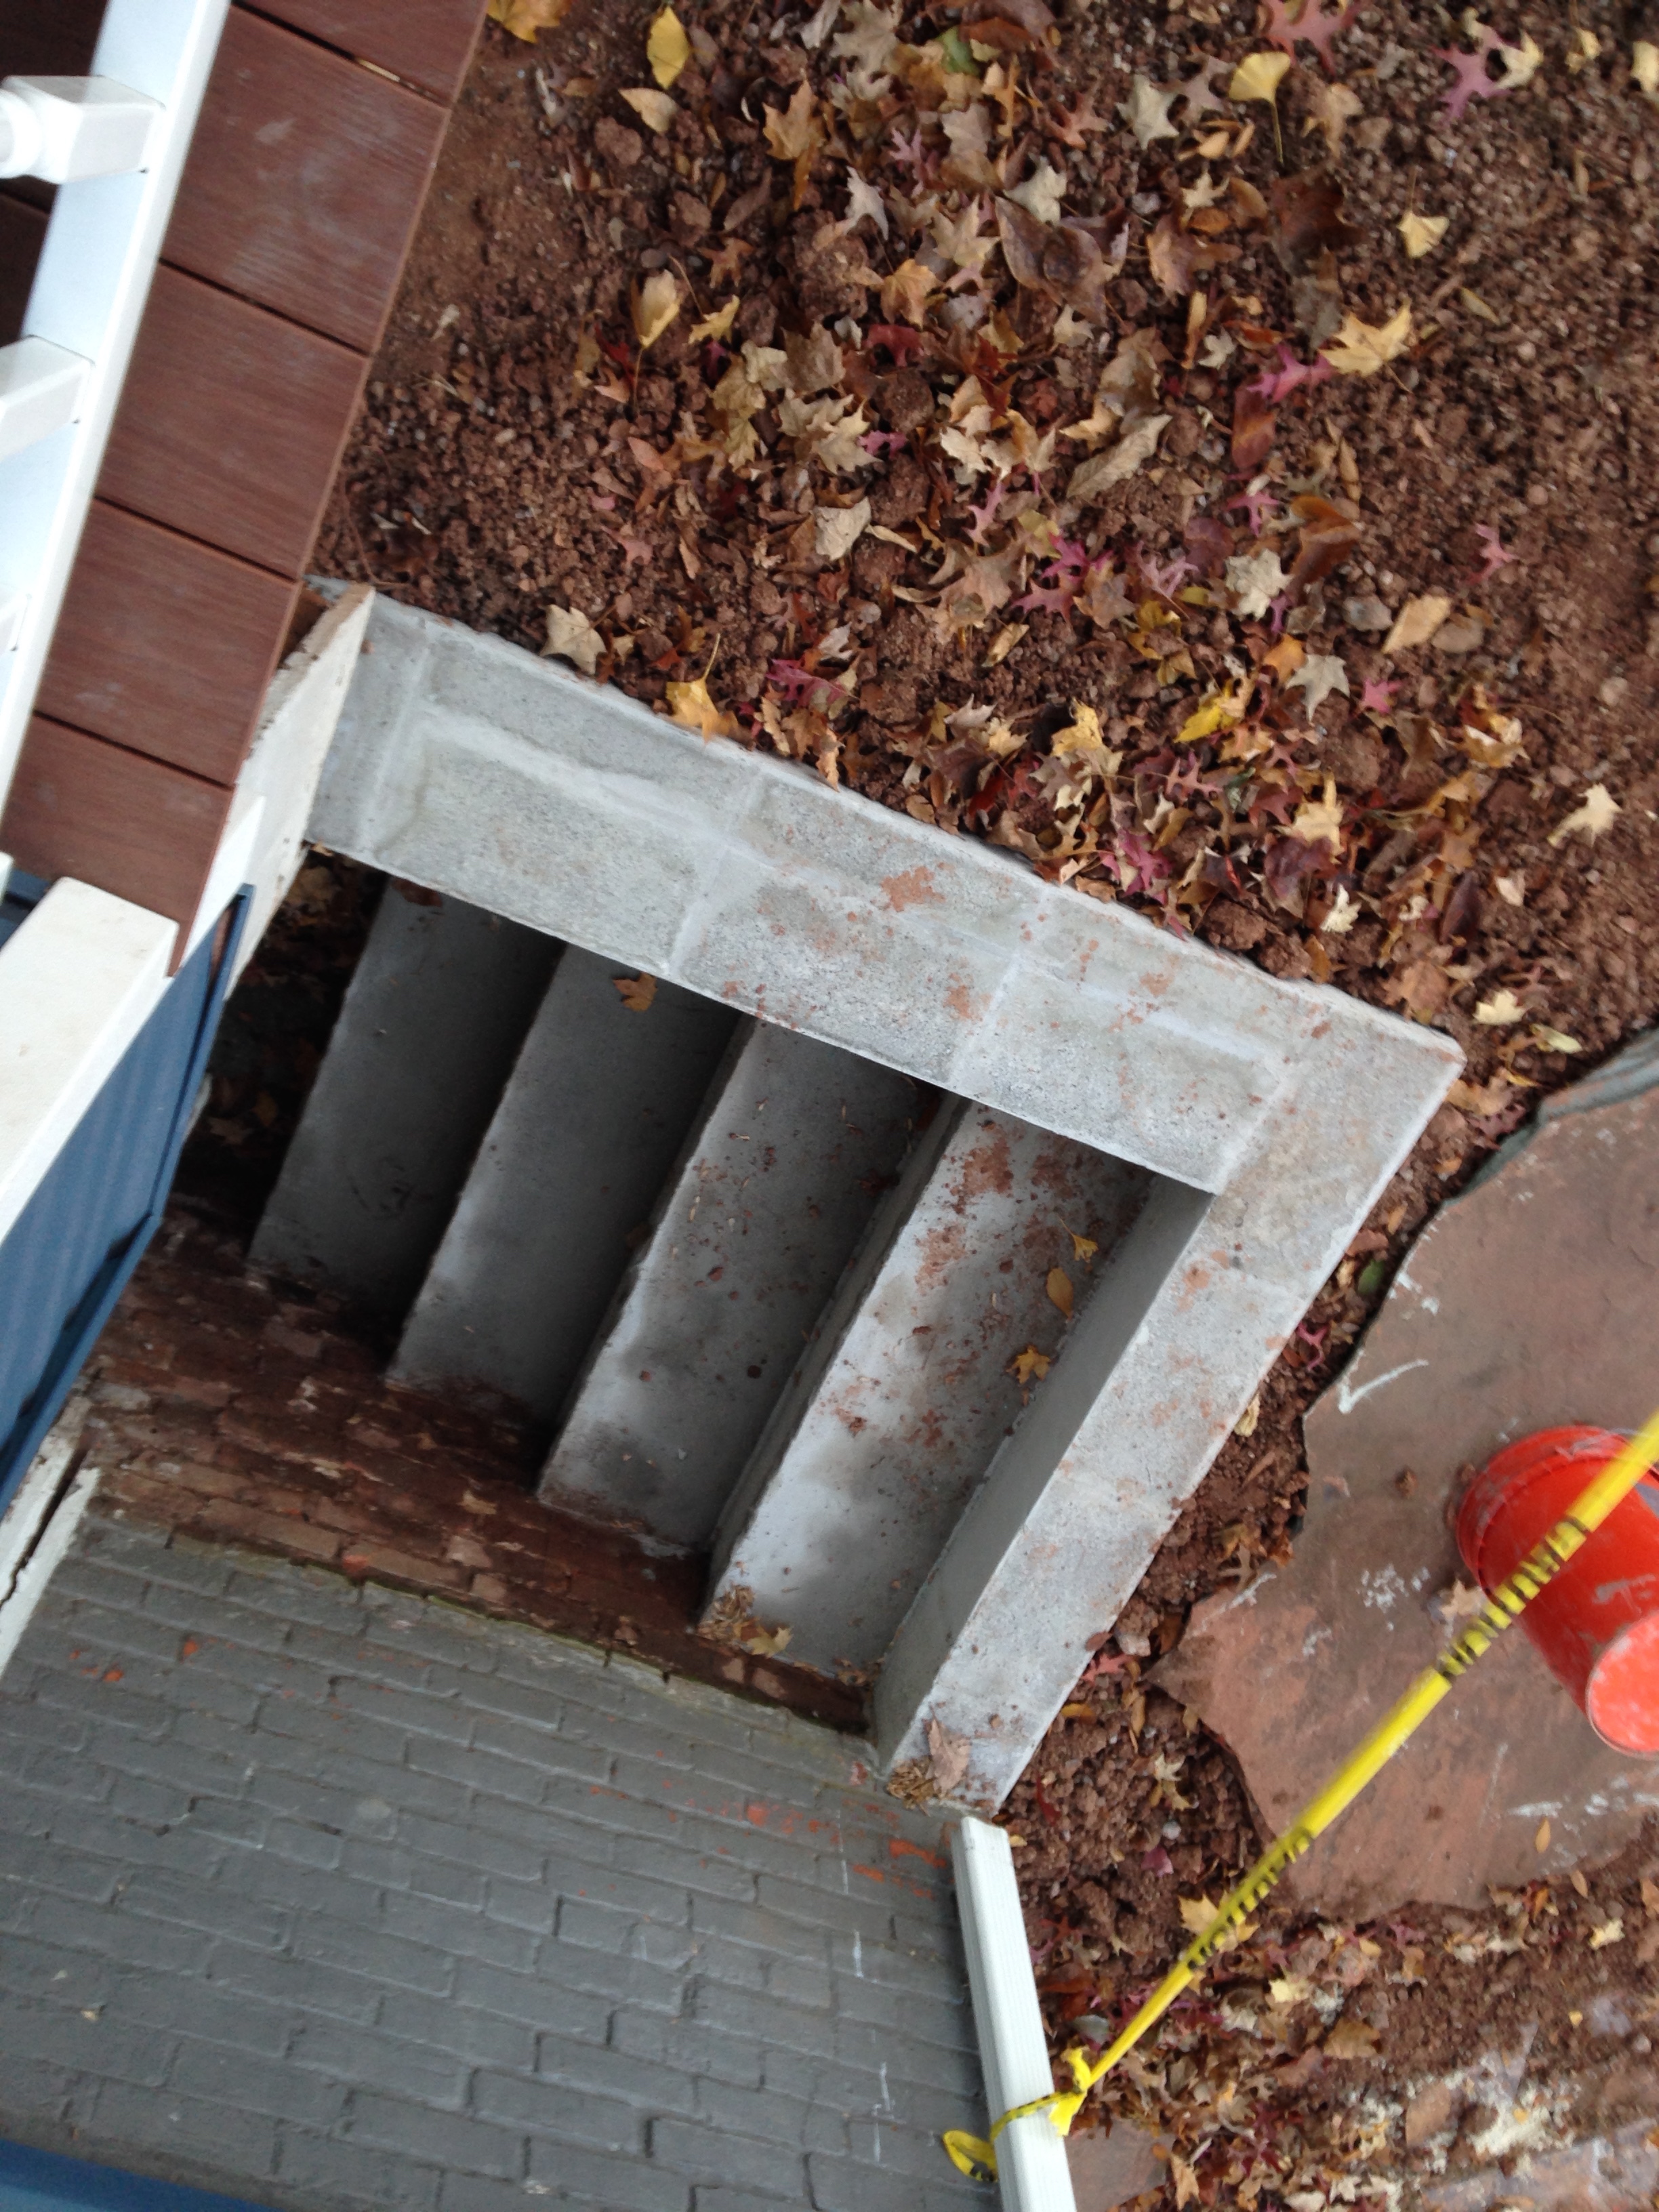
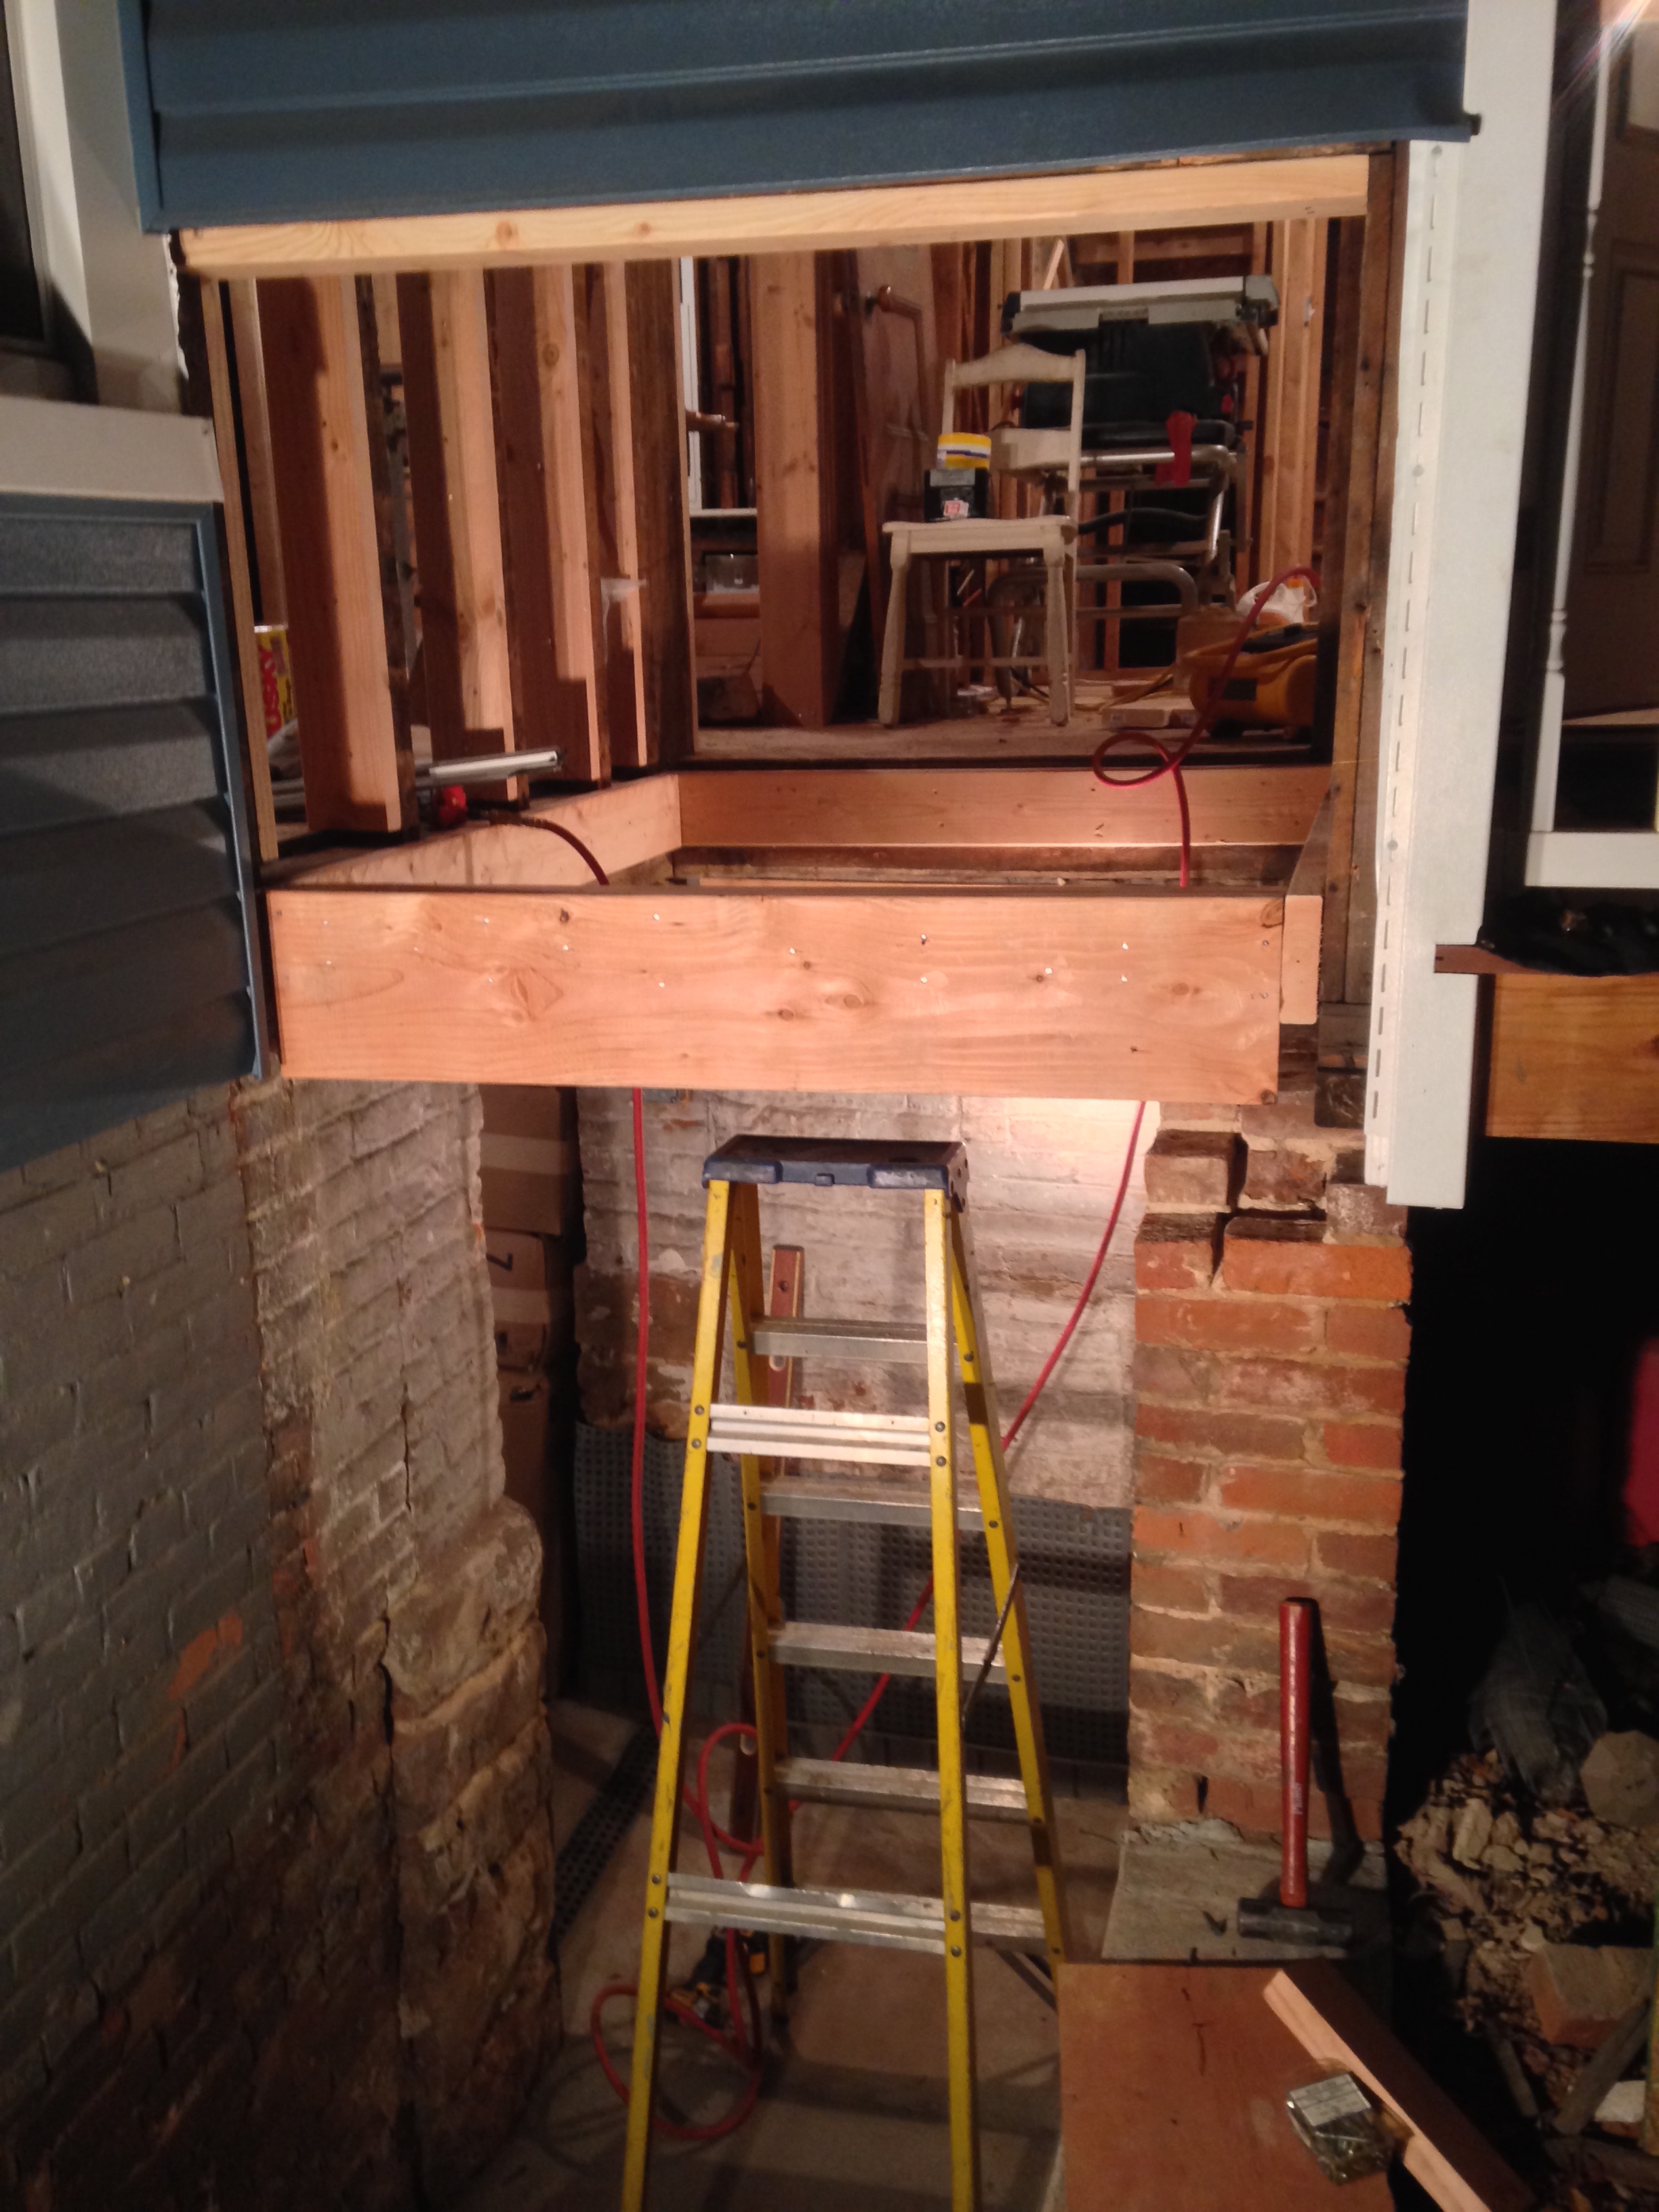
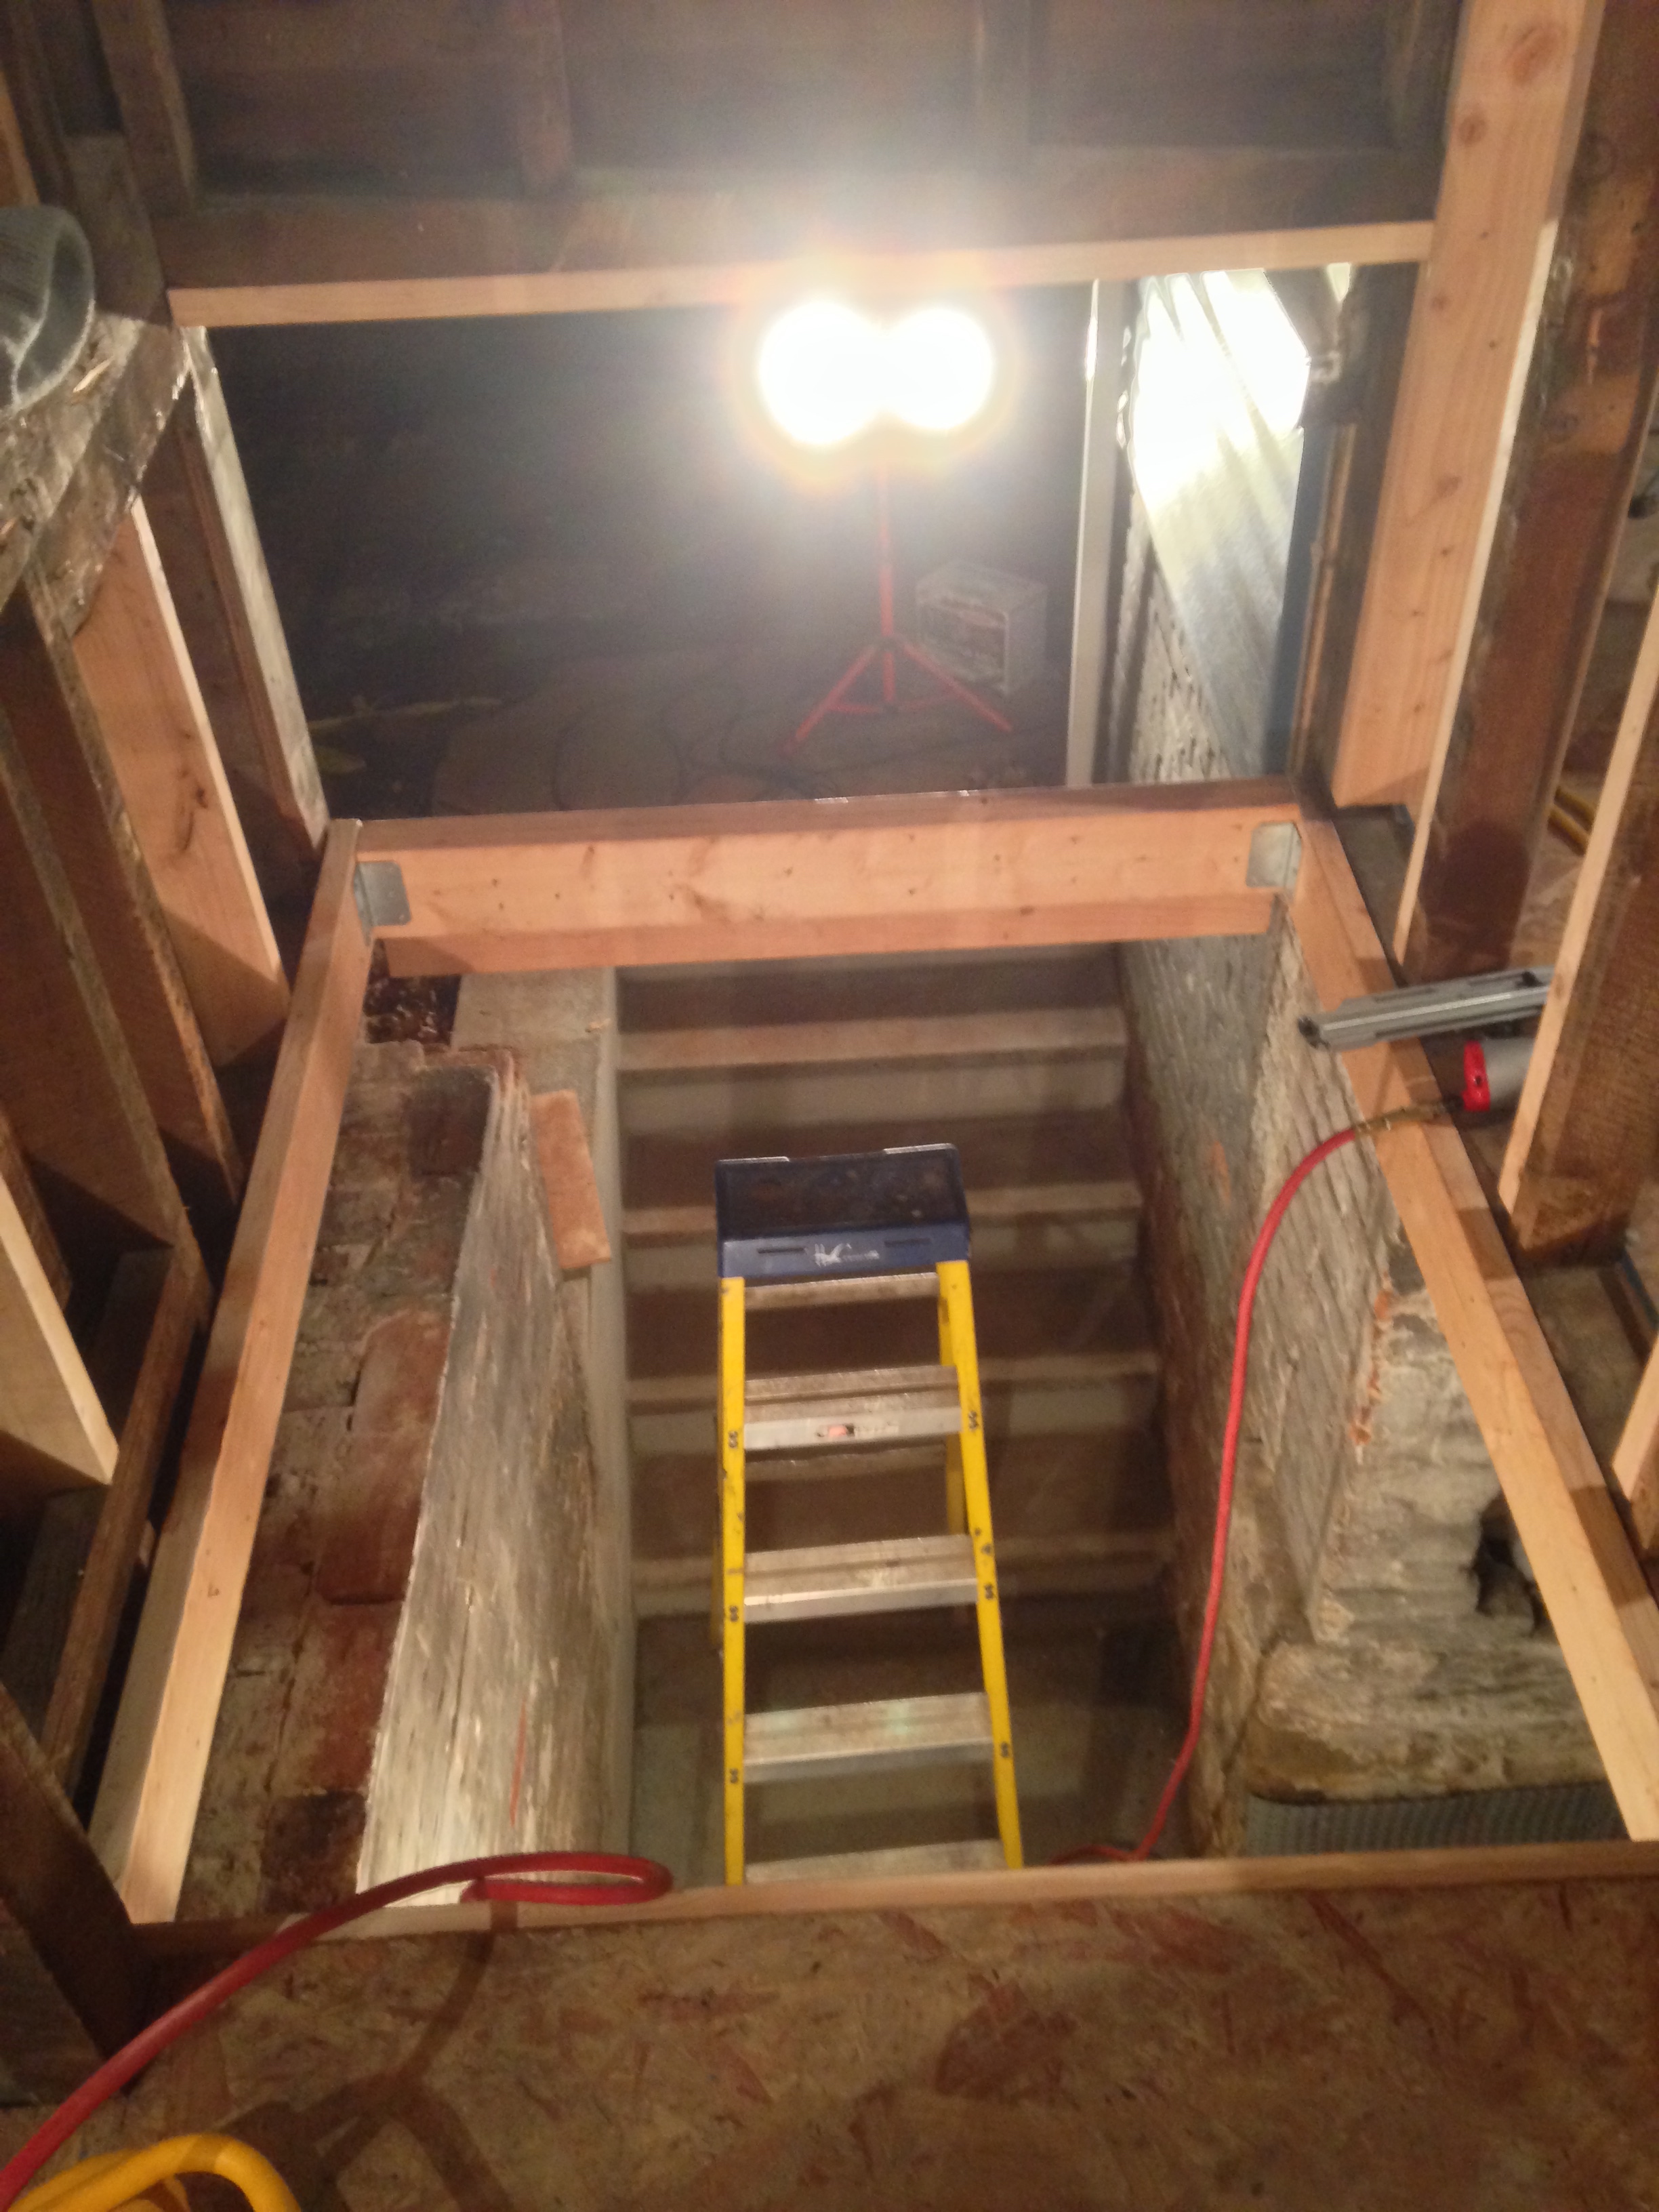
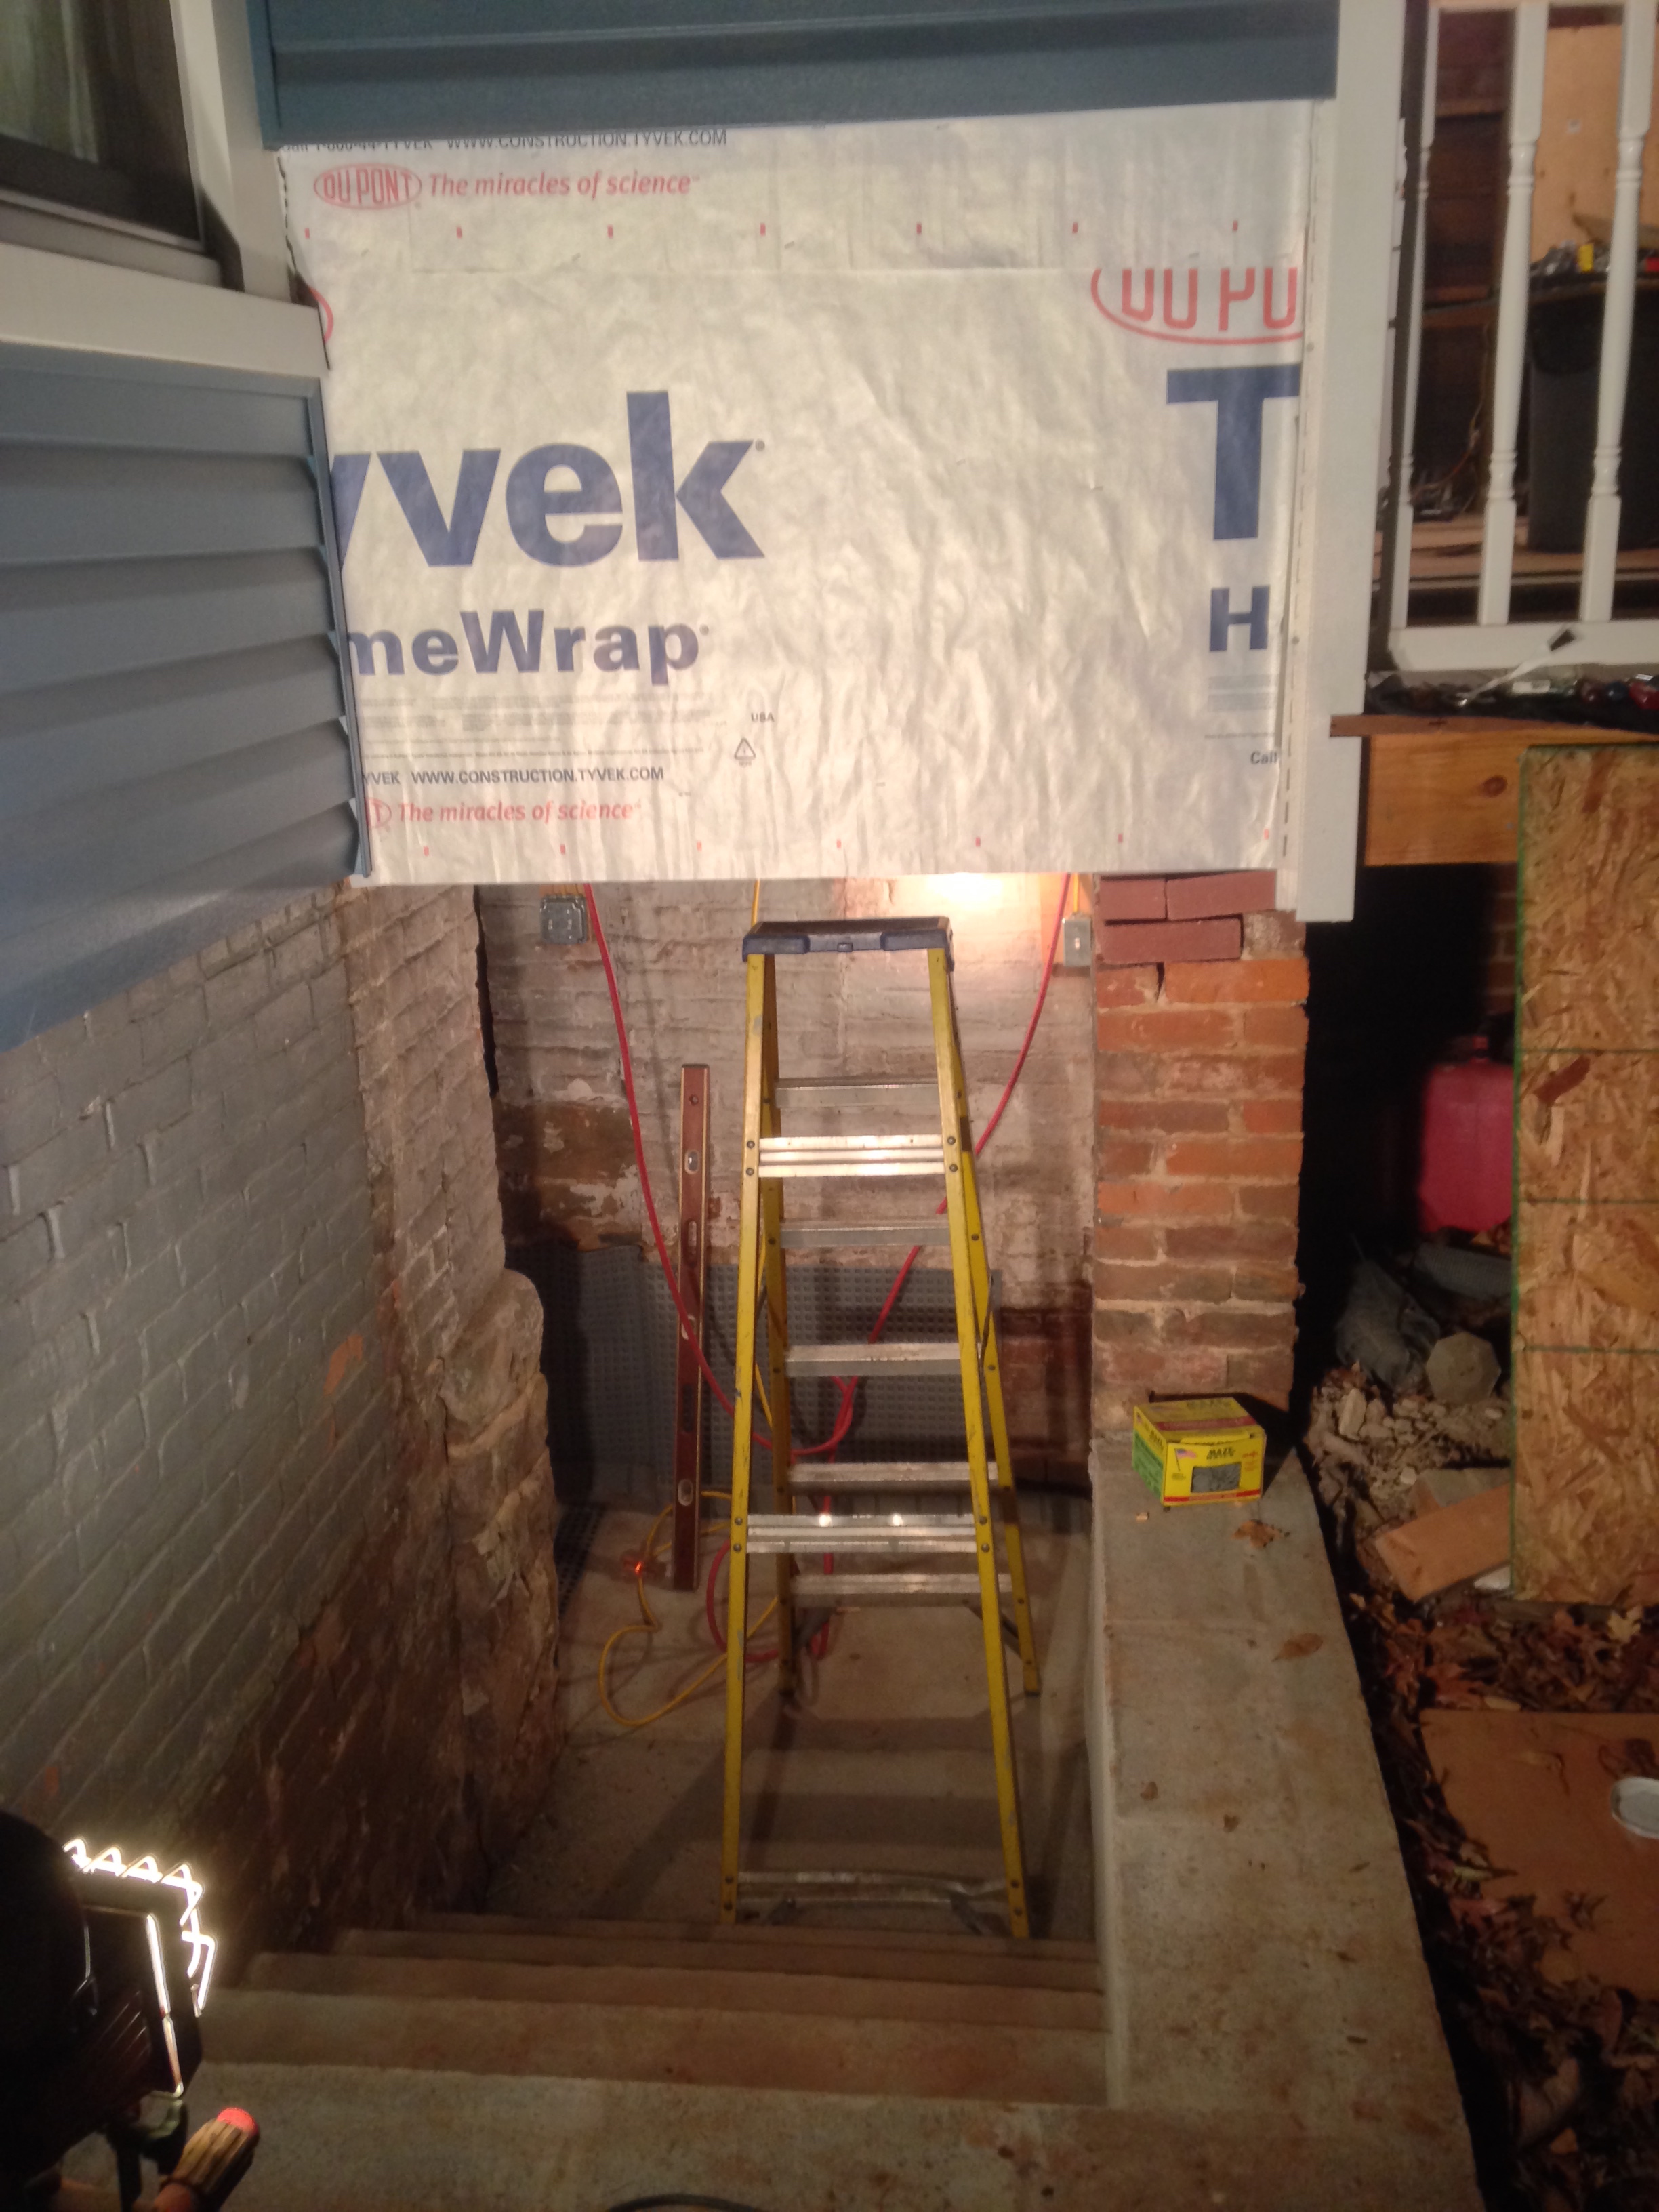
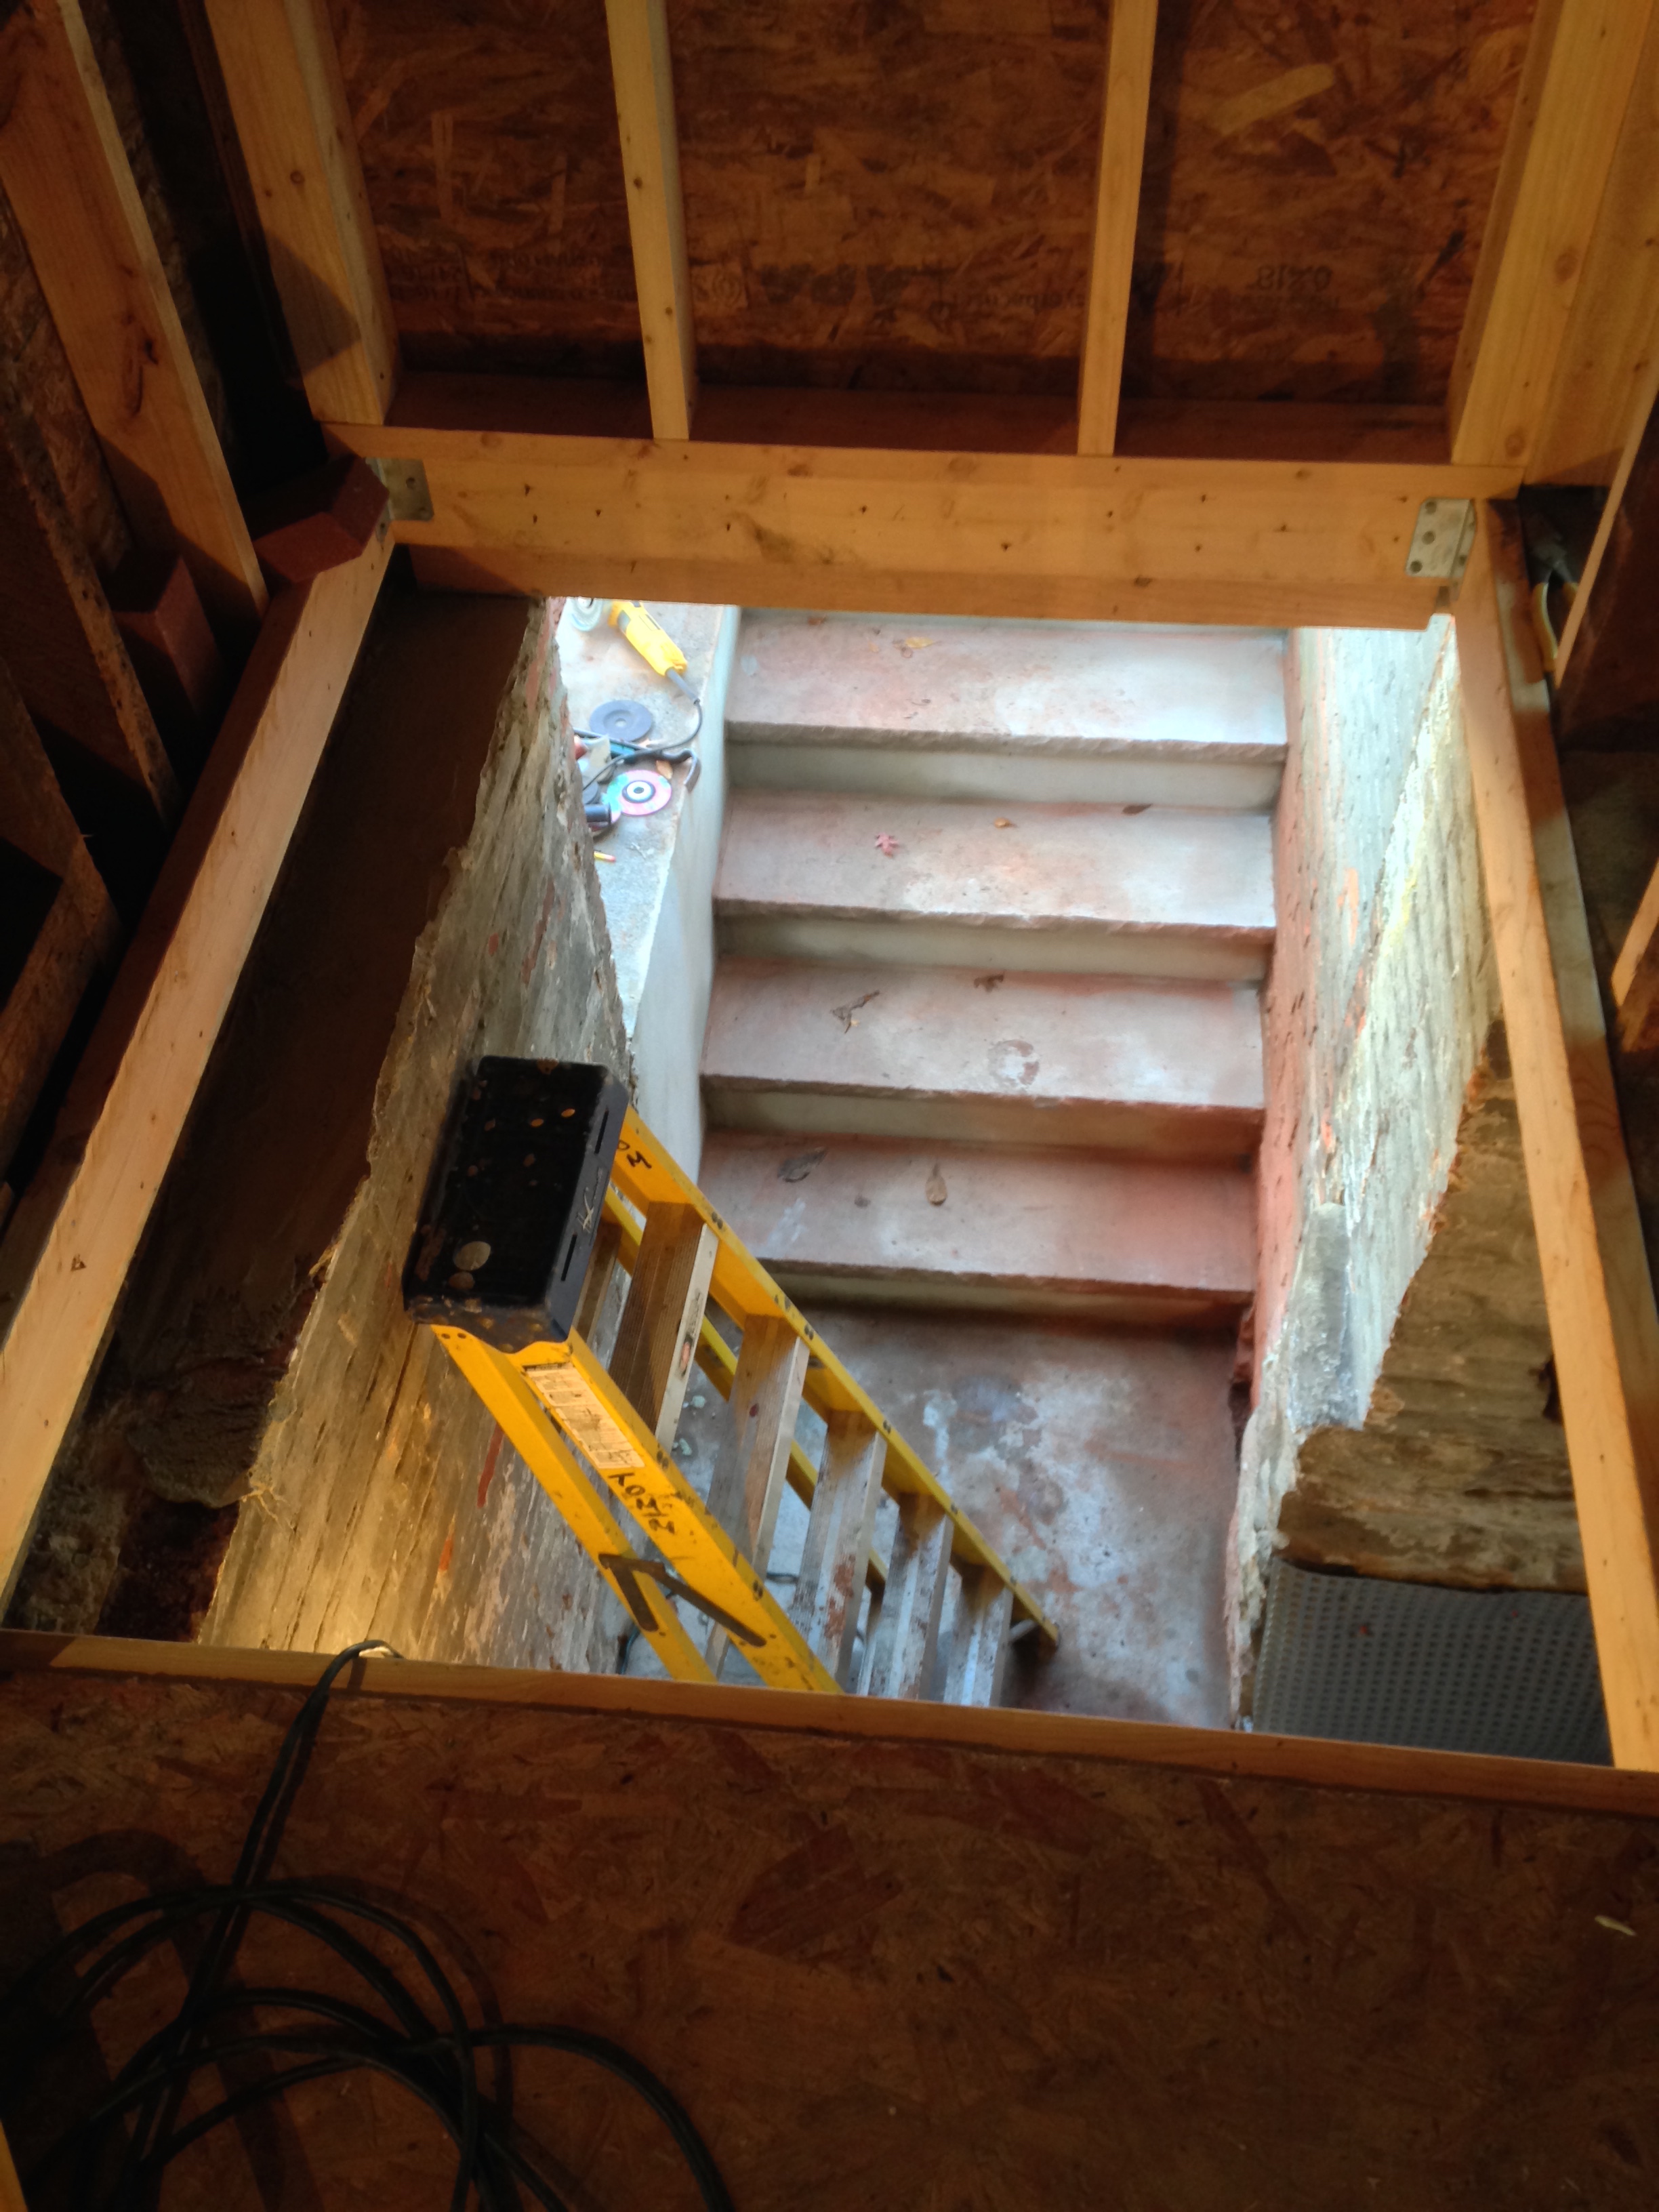
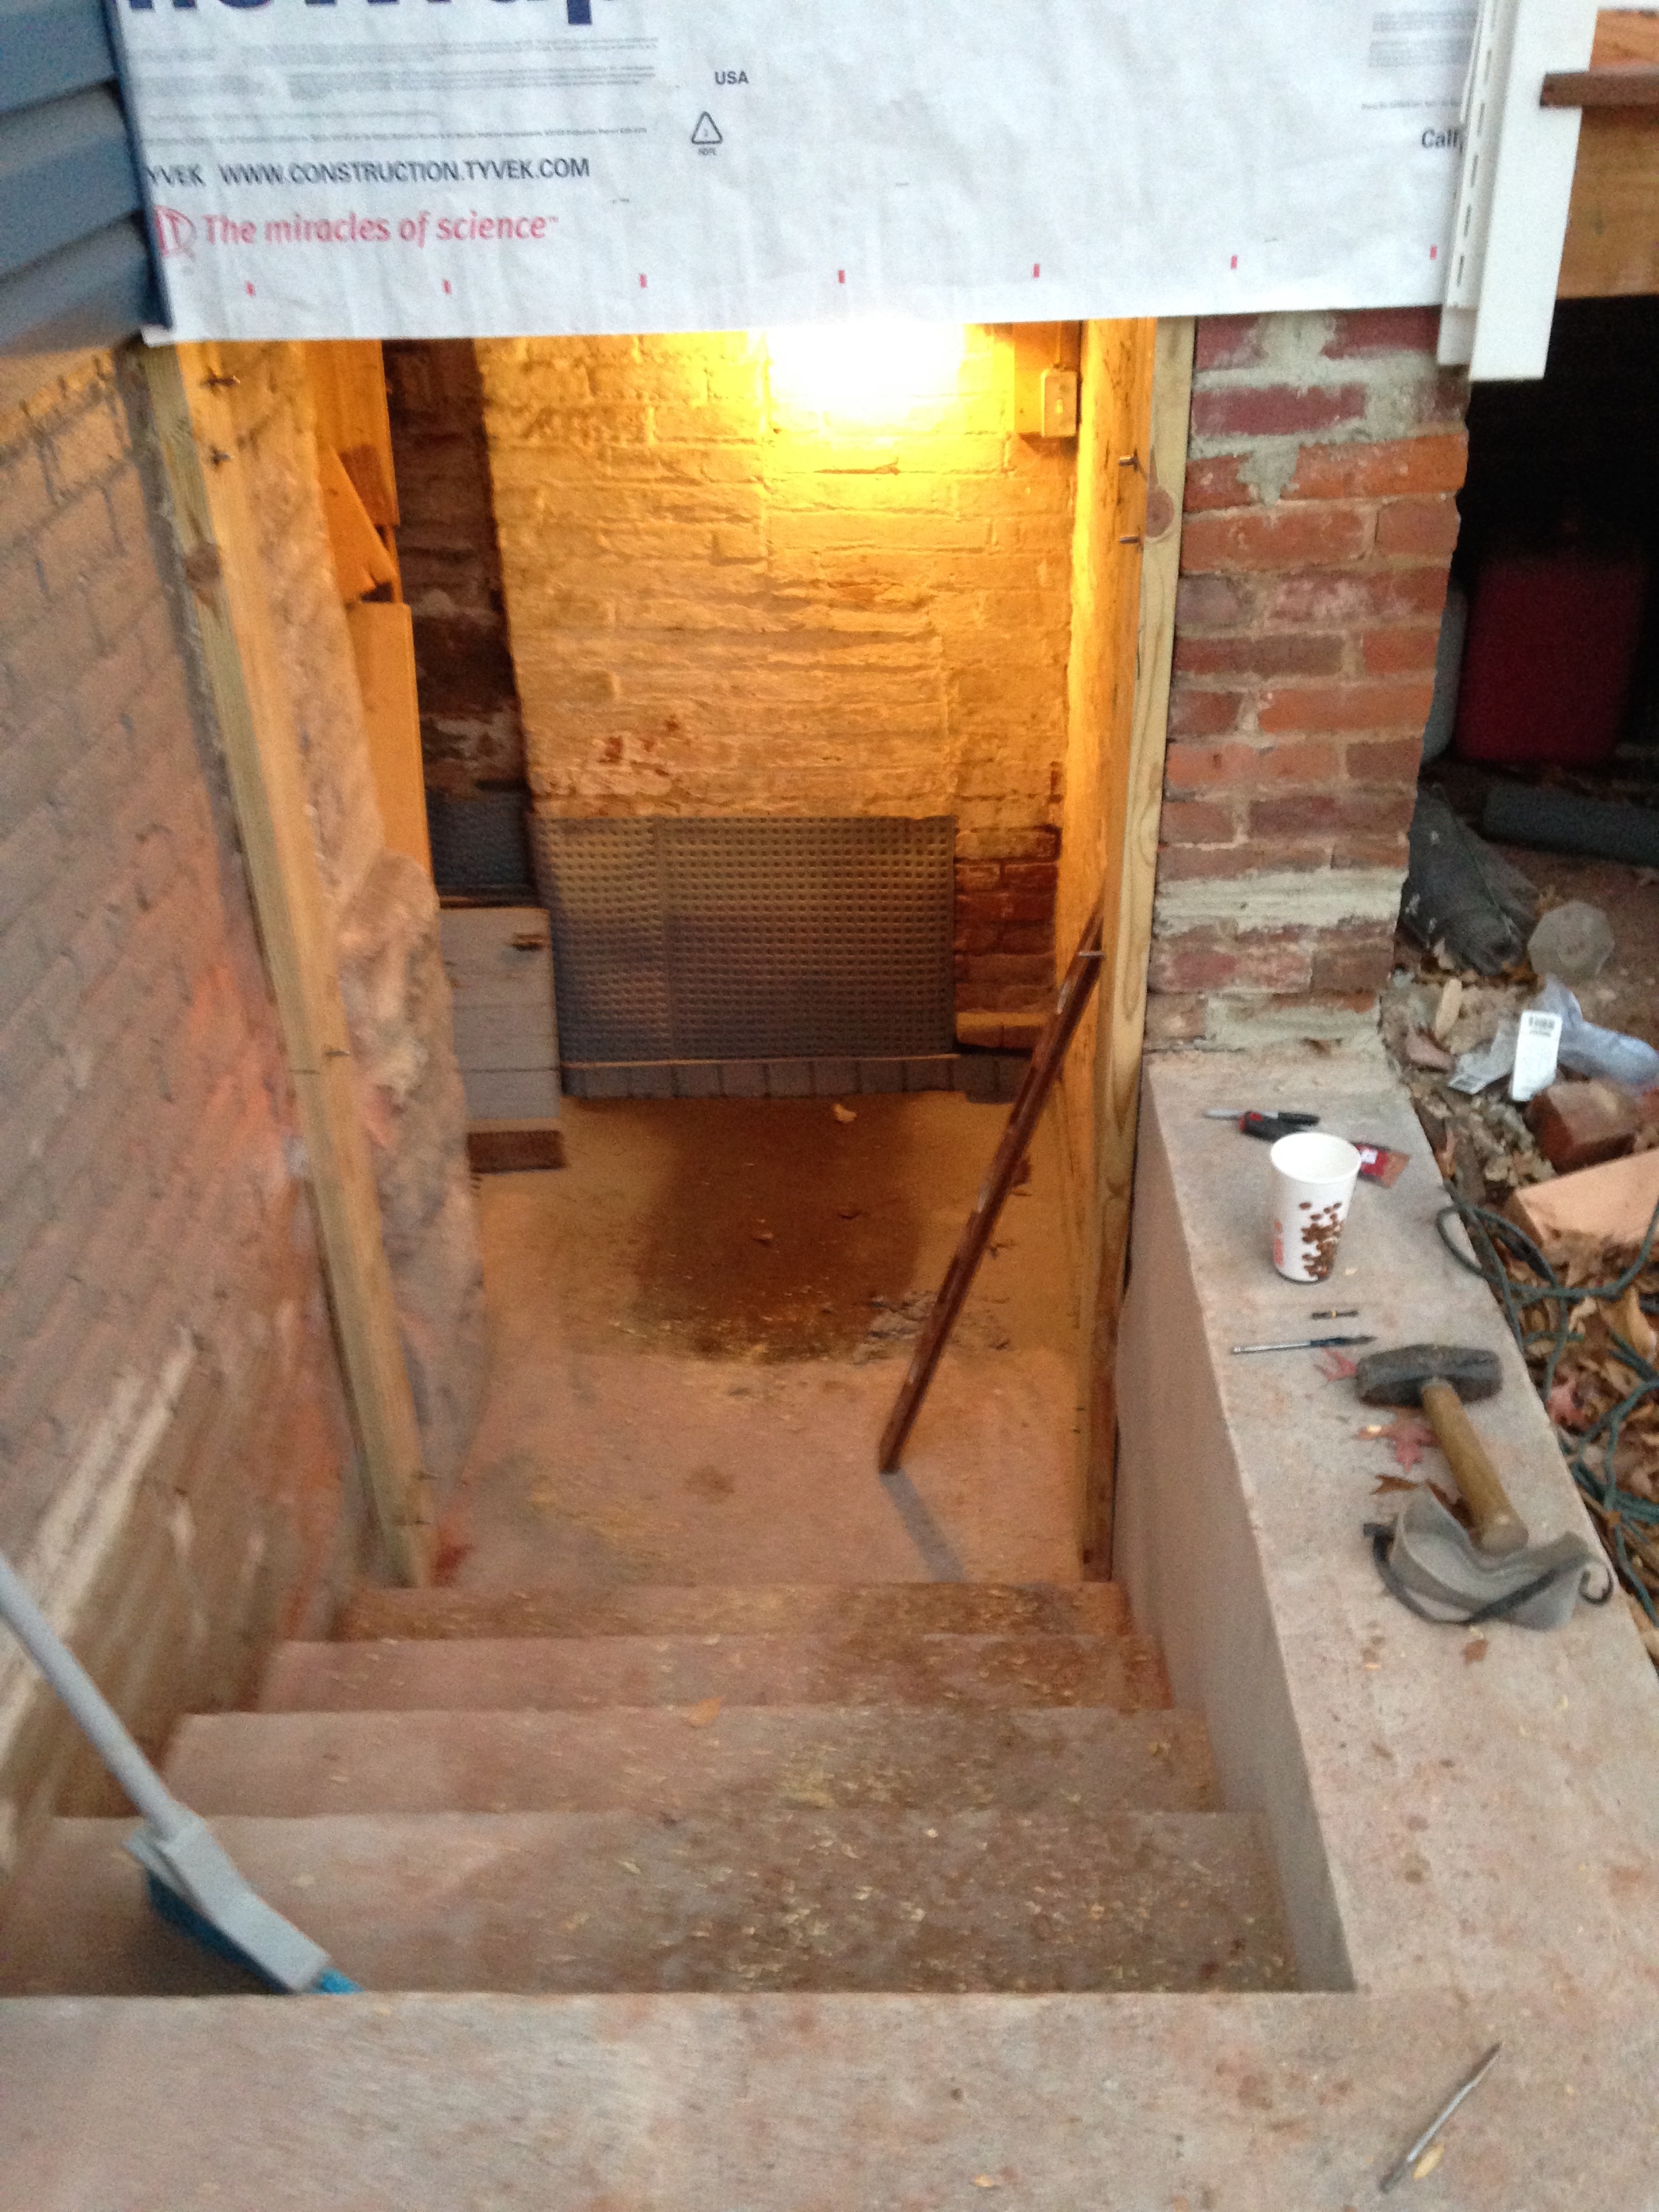
So I was now the proud owner of a downright lovely set of steps and a door floating in the air. Well… crap. I boarded it all up for another night and we came back the next day and tried to make something of it all. Naturally the first step was breaking it.

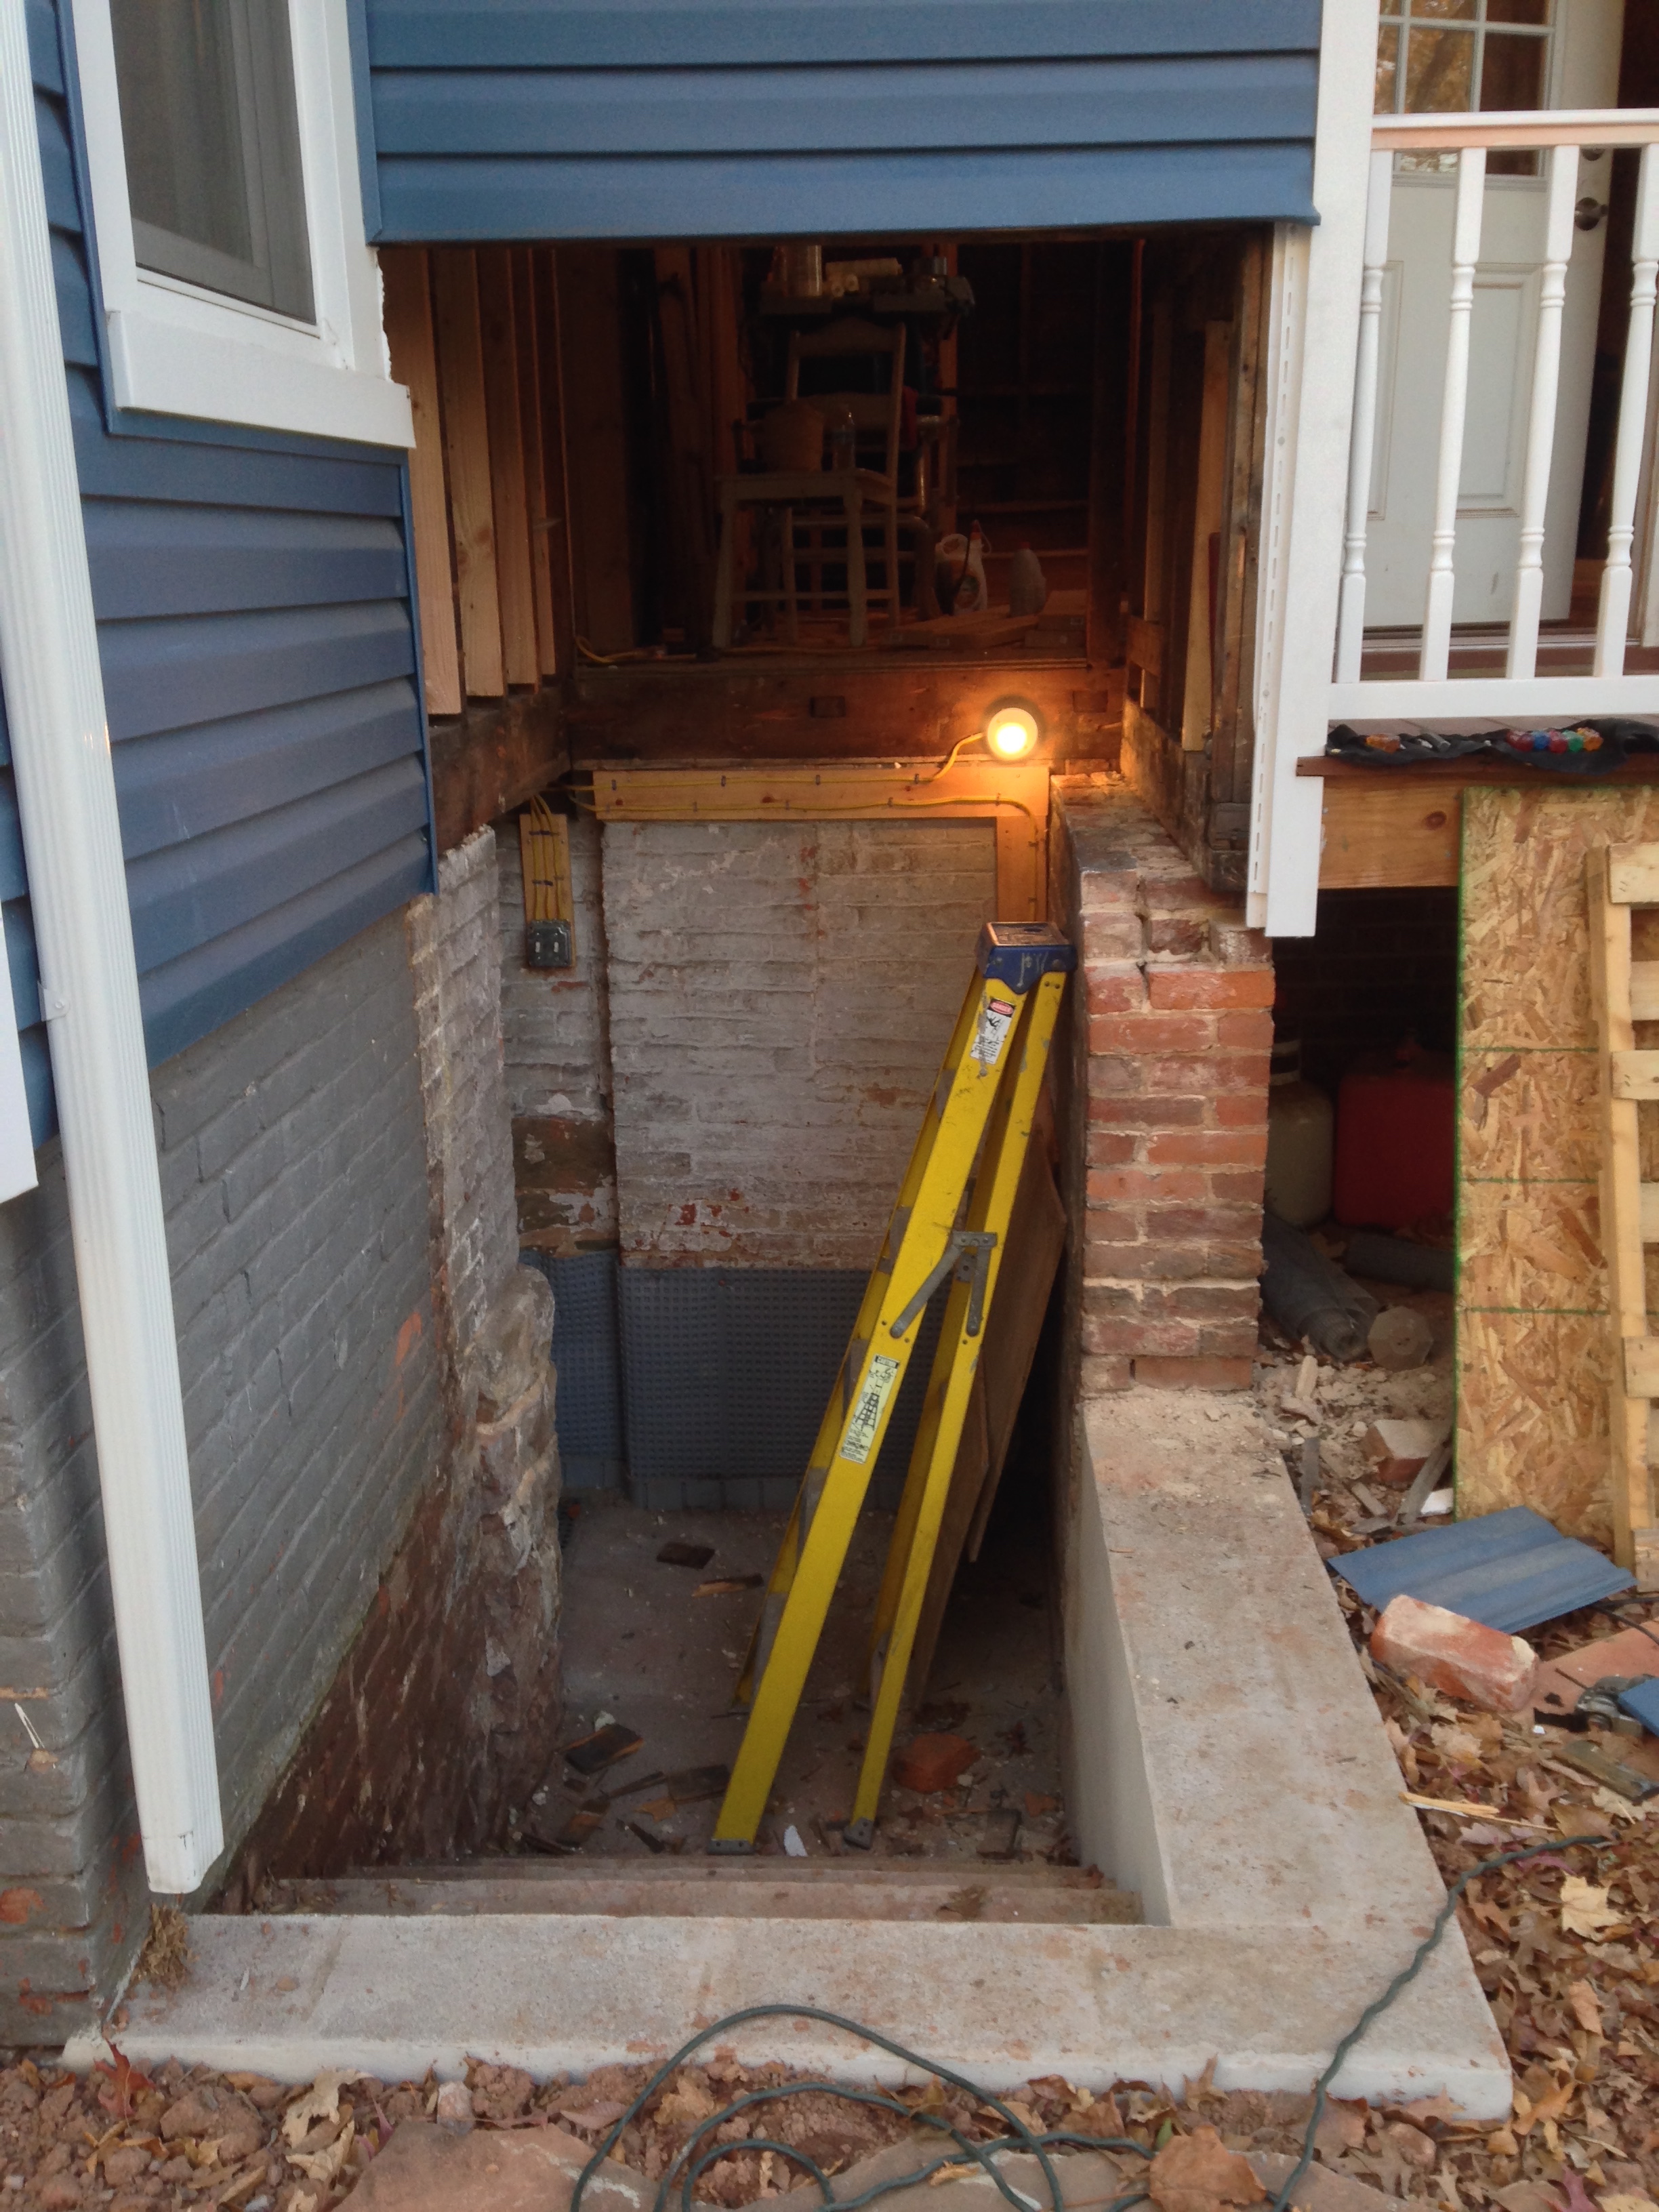

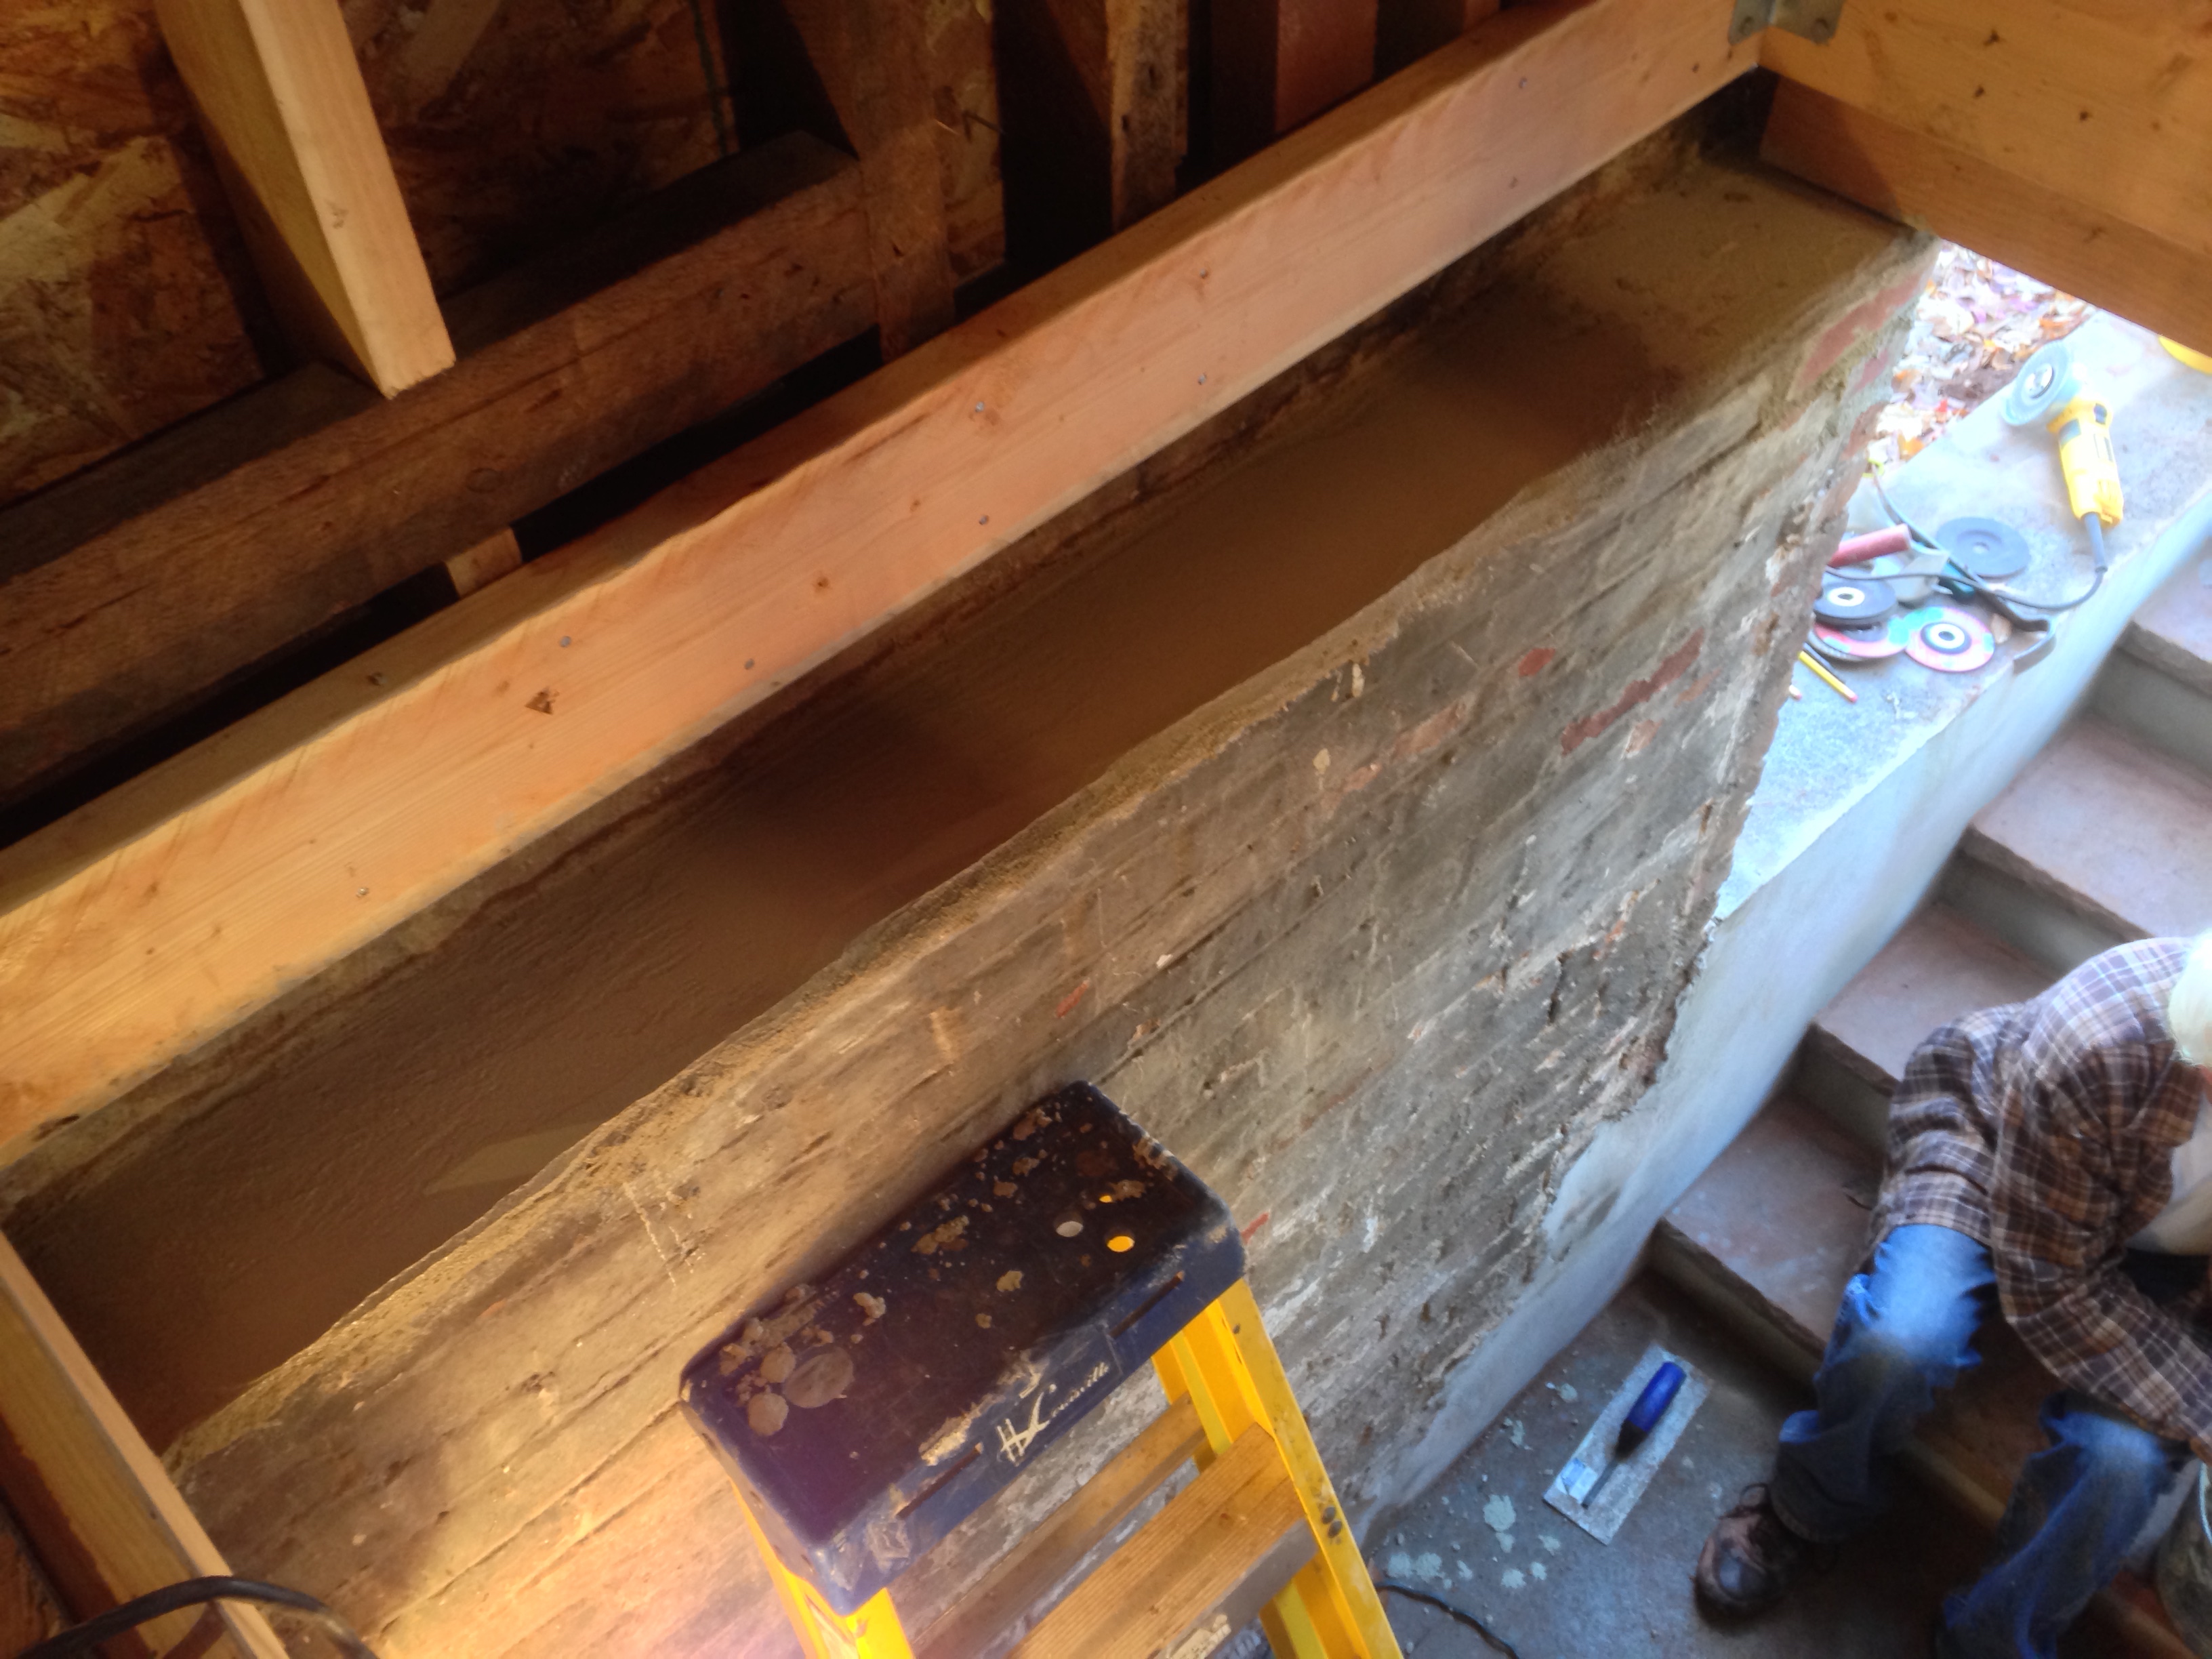
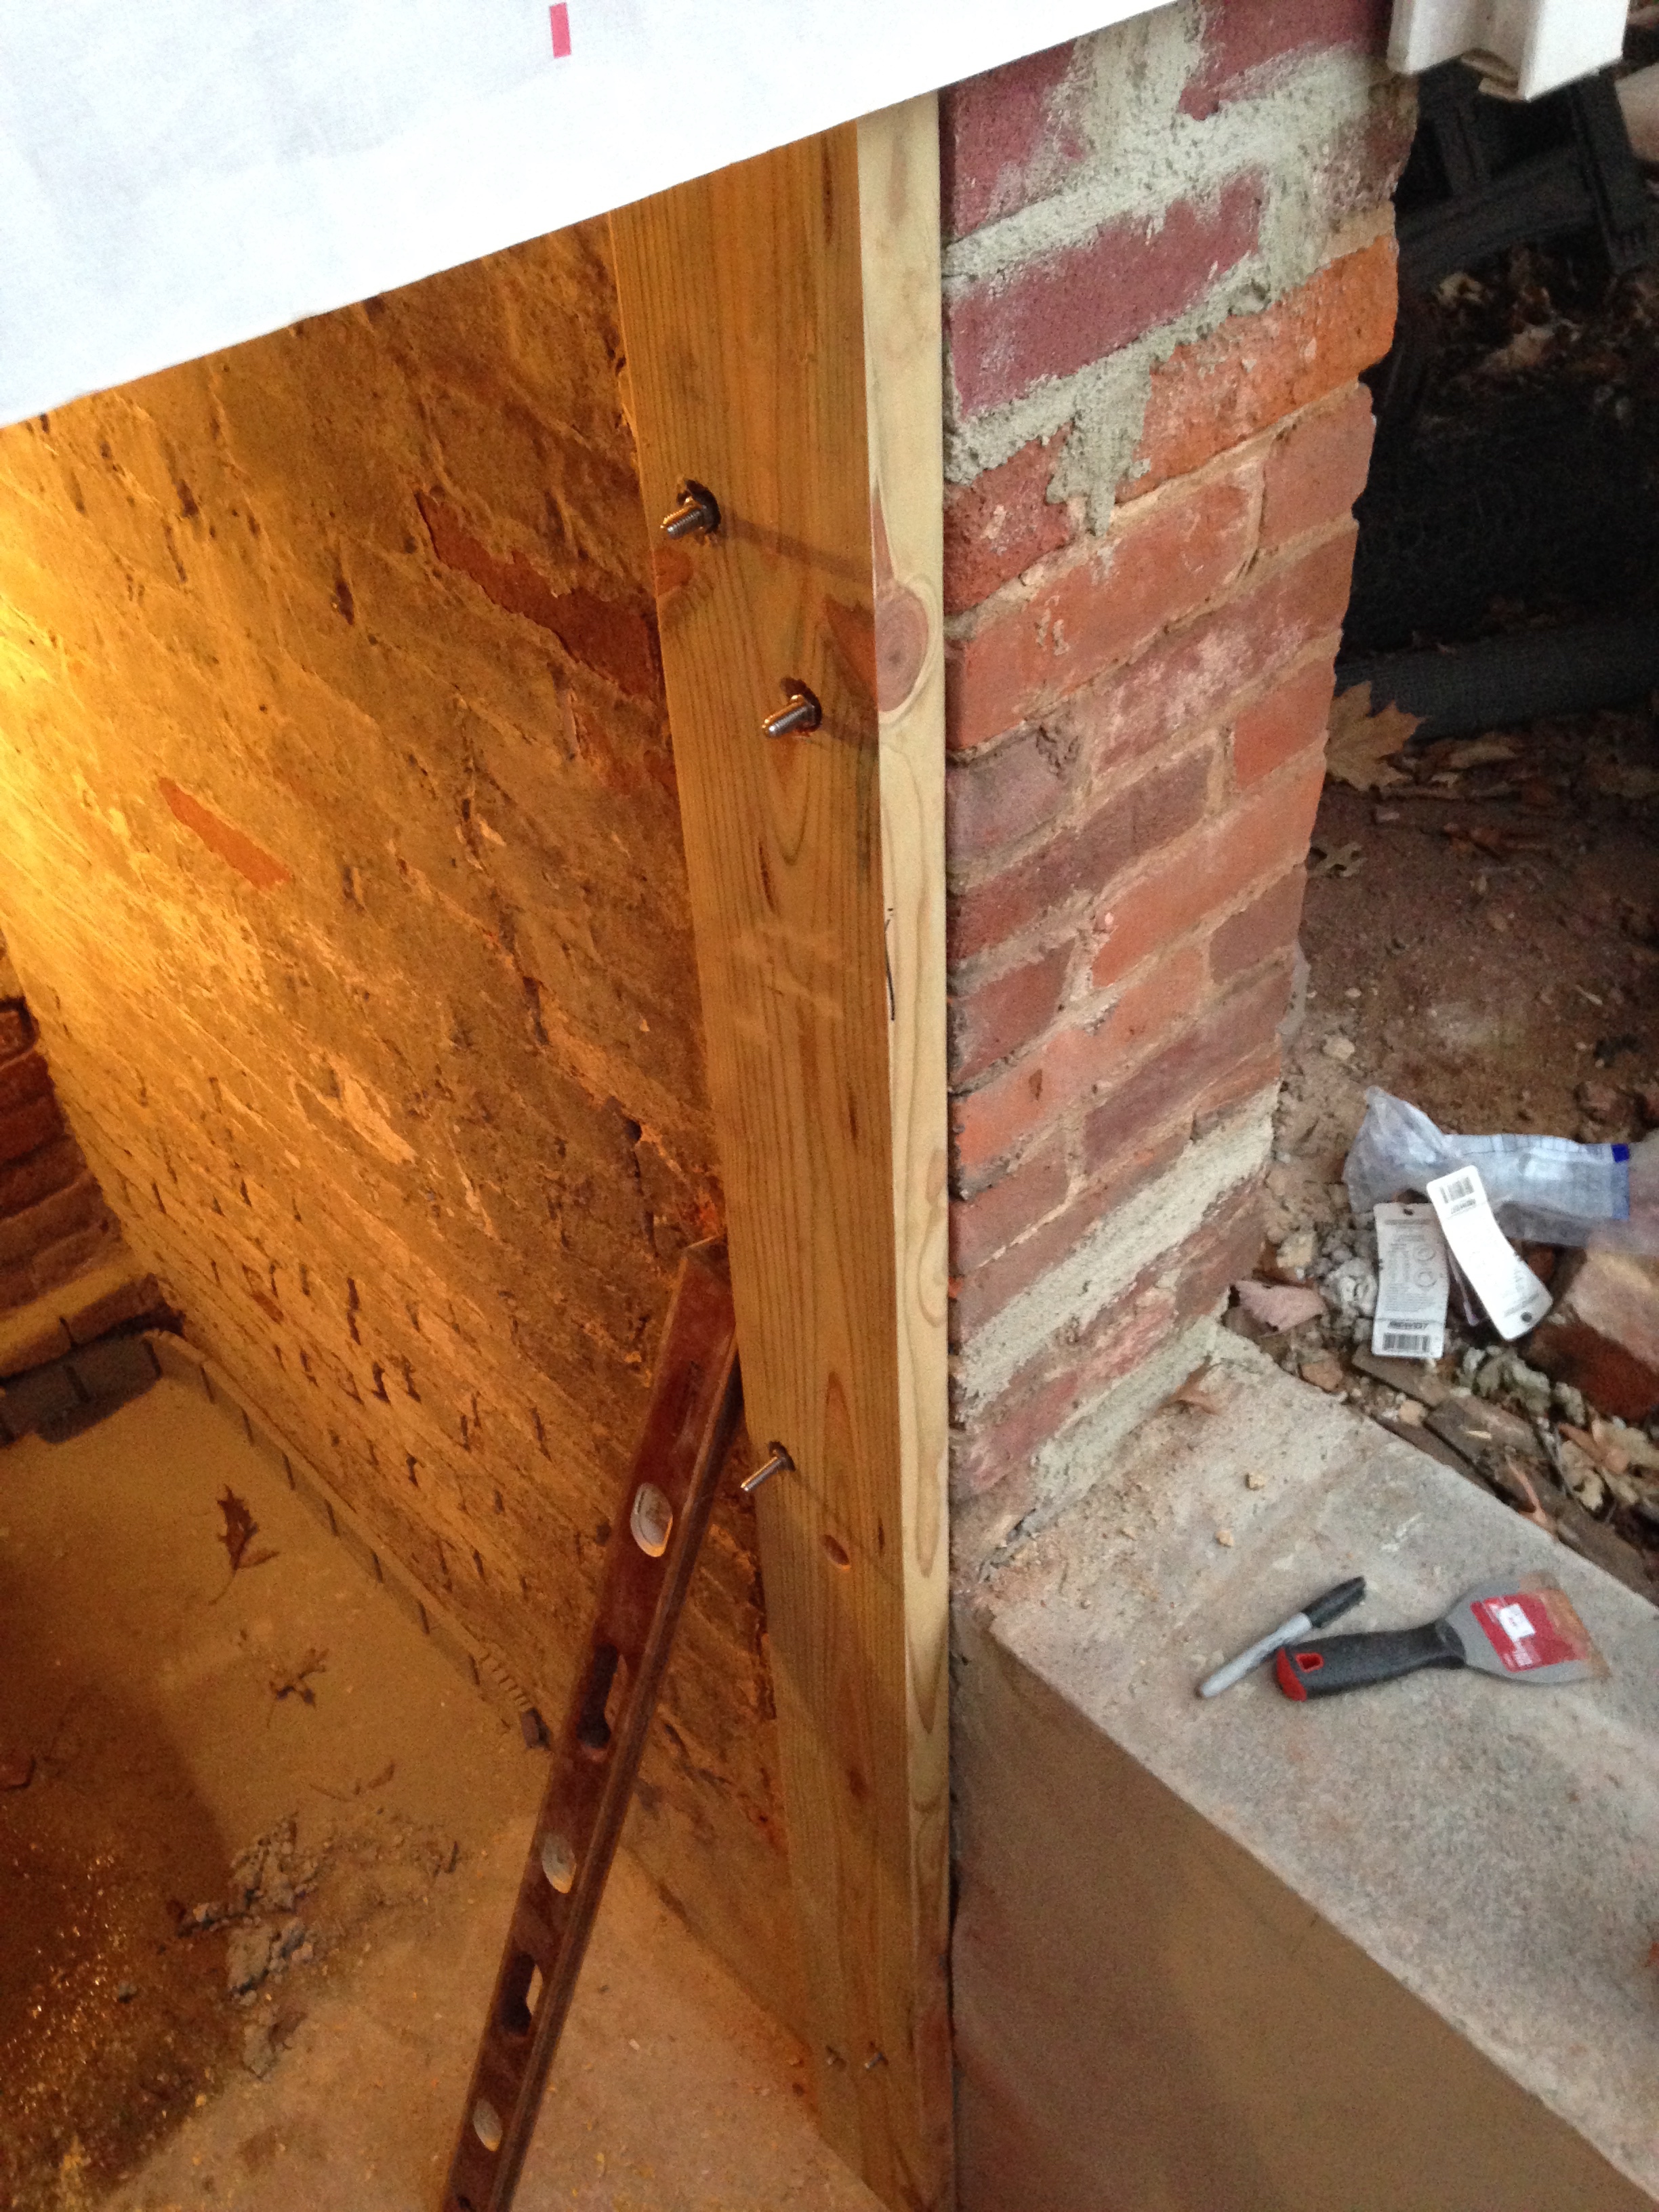
As you can see in this one the supporting wall was a little worse for wear at the top. We’d fix that eventually but first we had to frame everything out so we can close it up for the night.
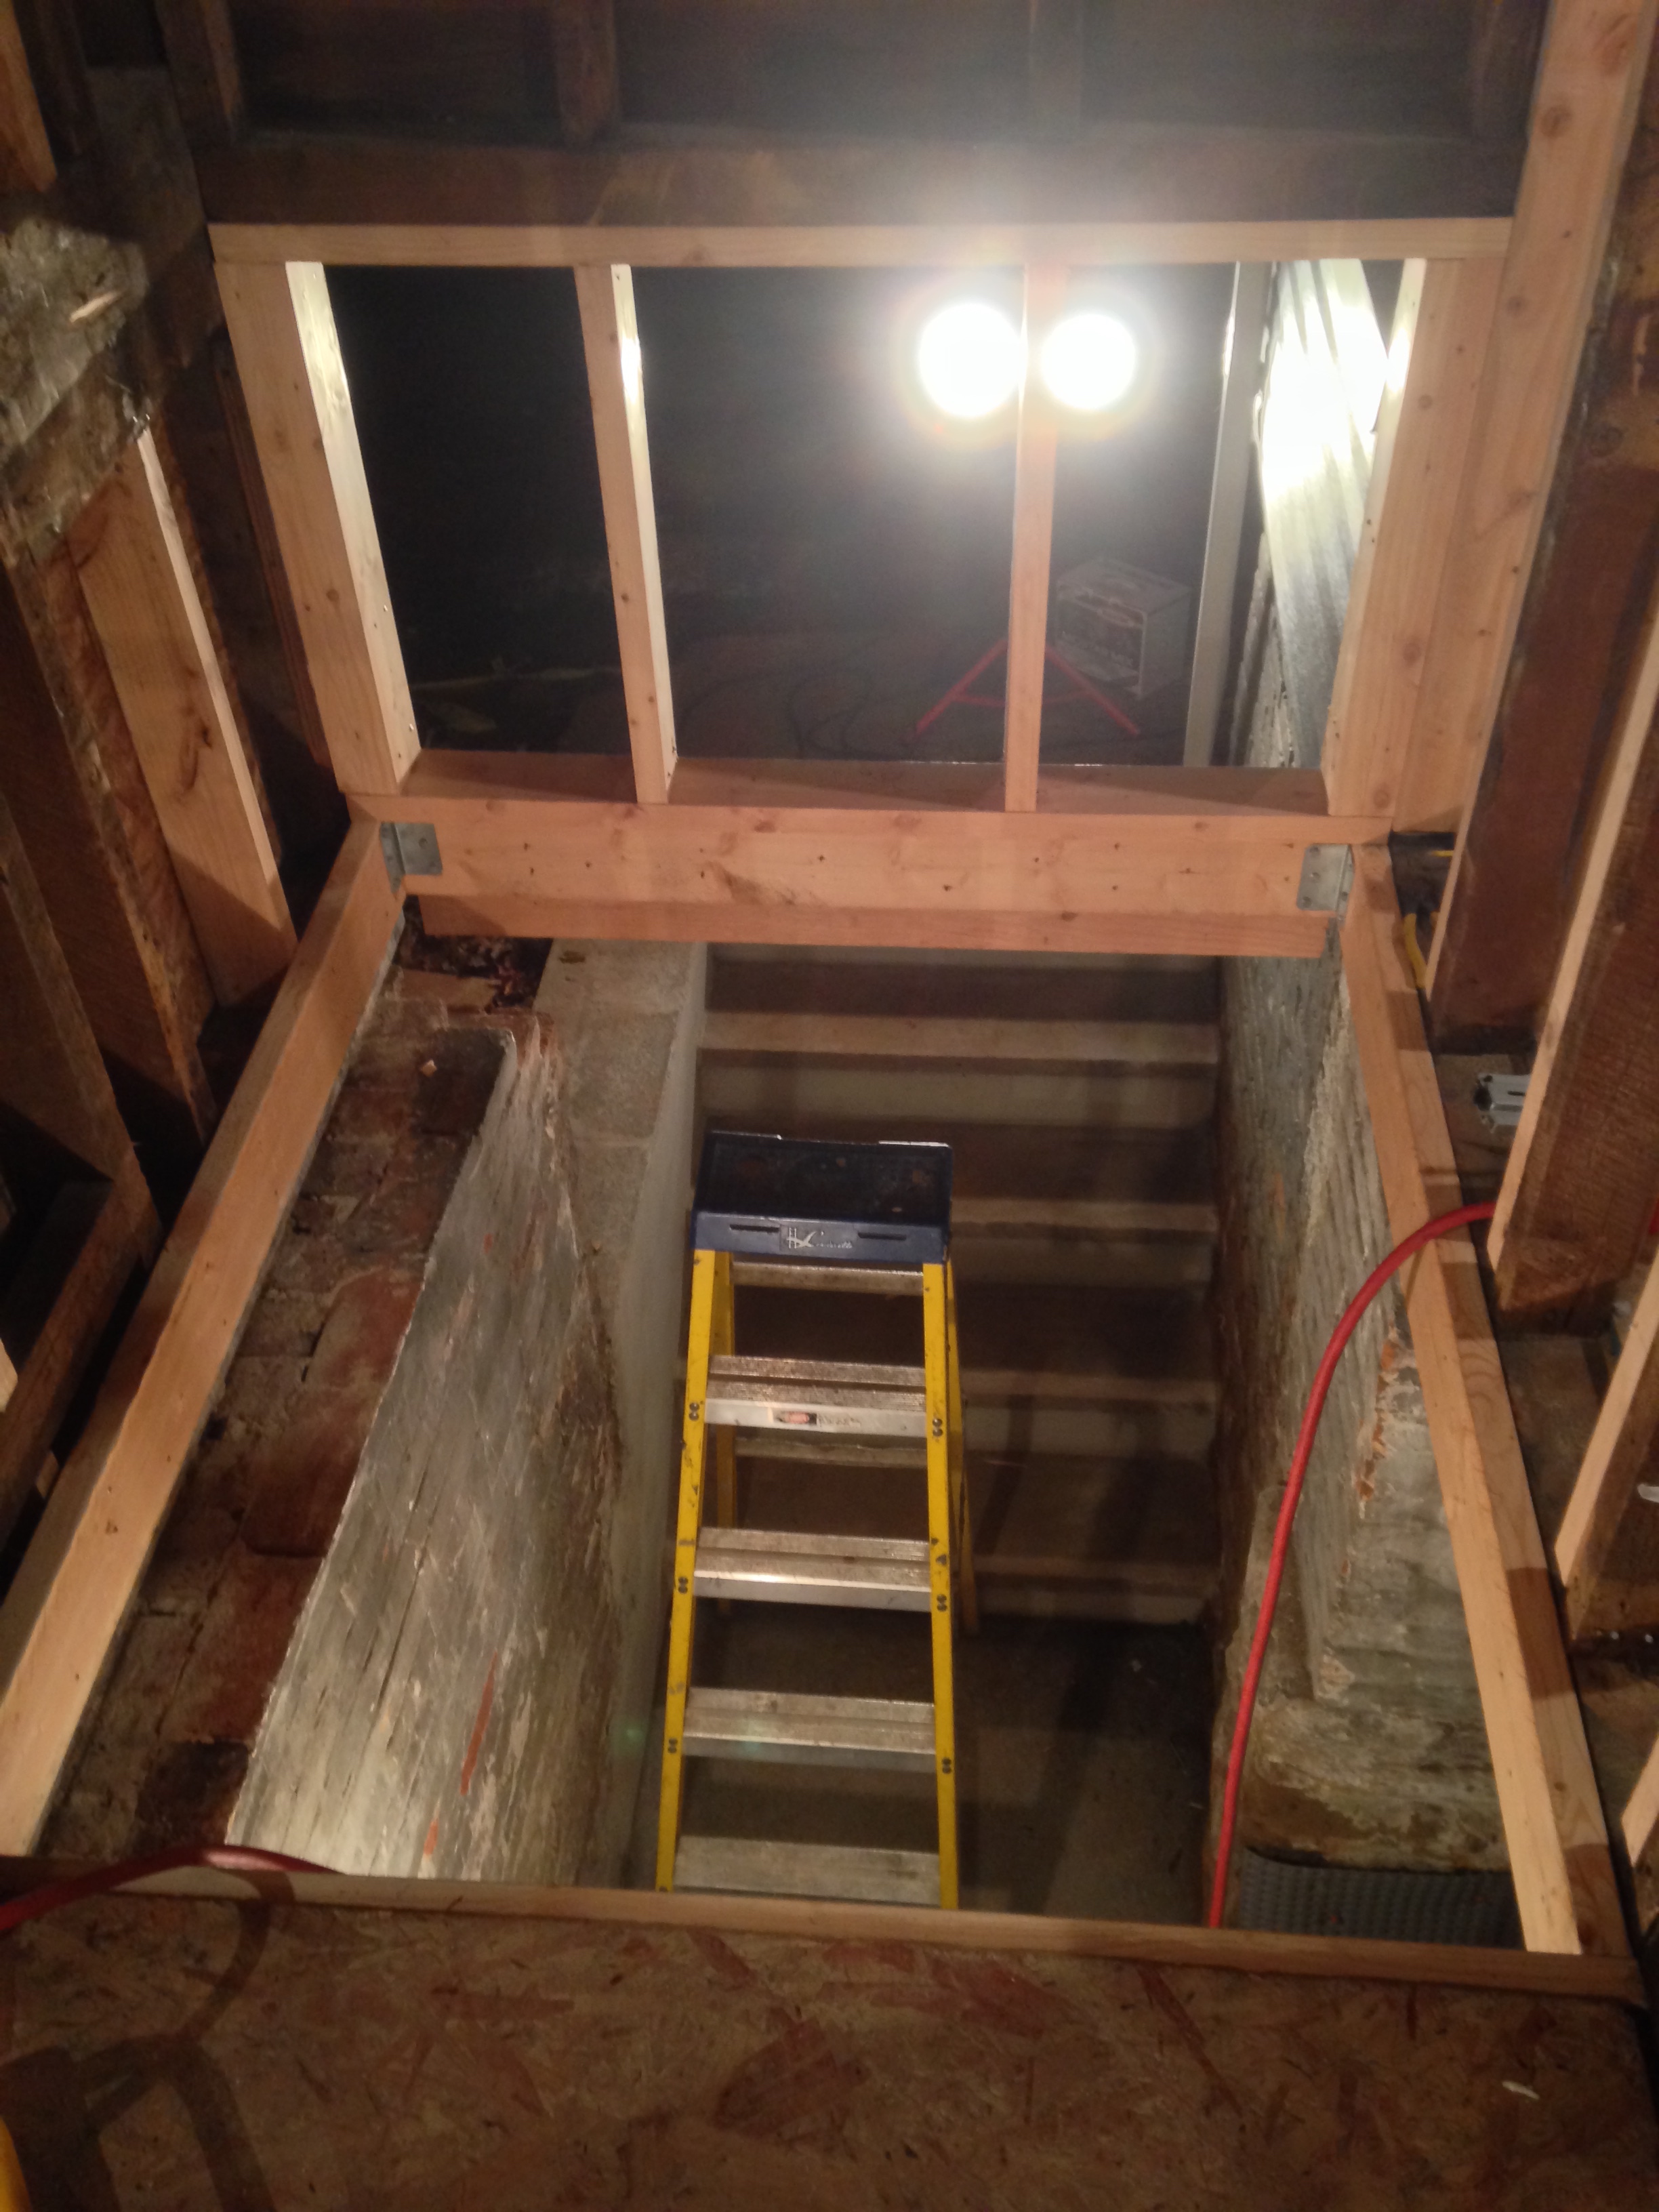
Told you we’d fix it.
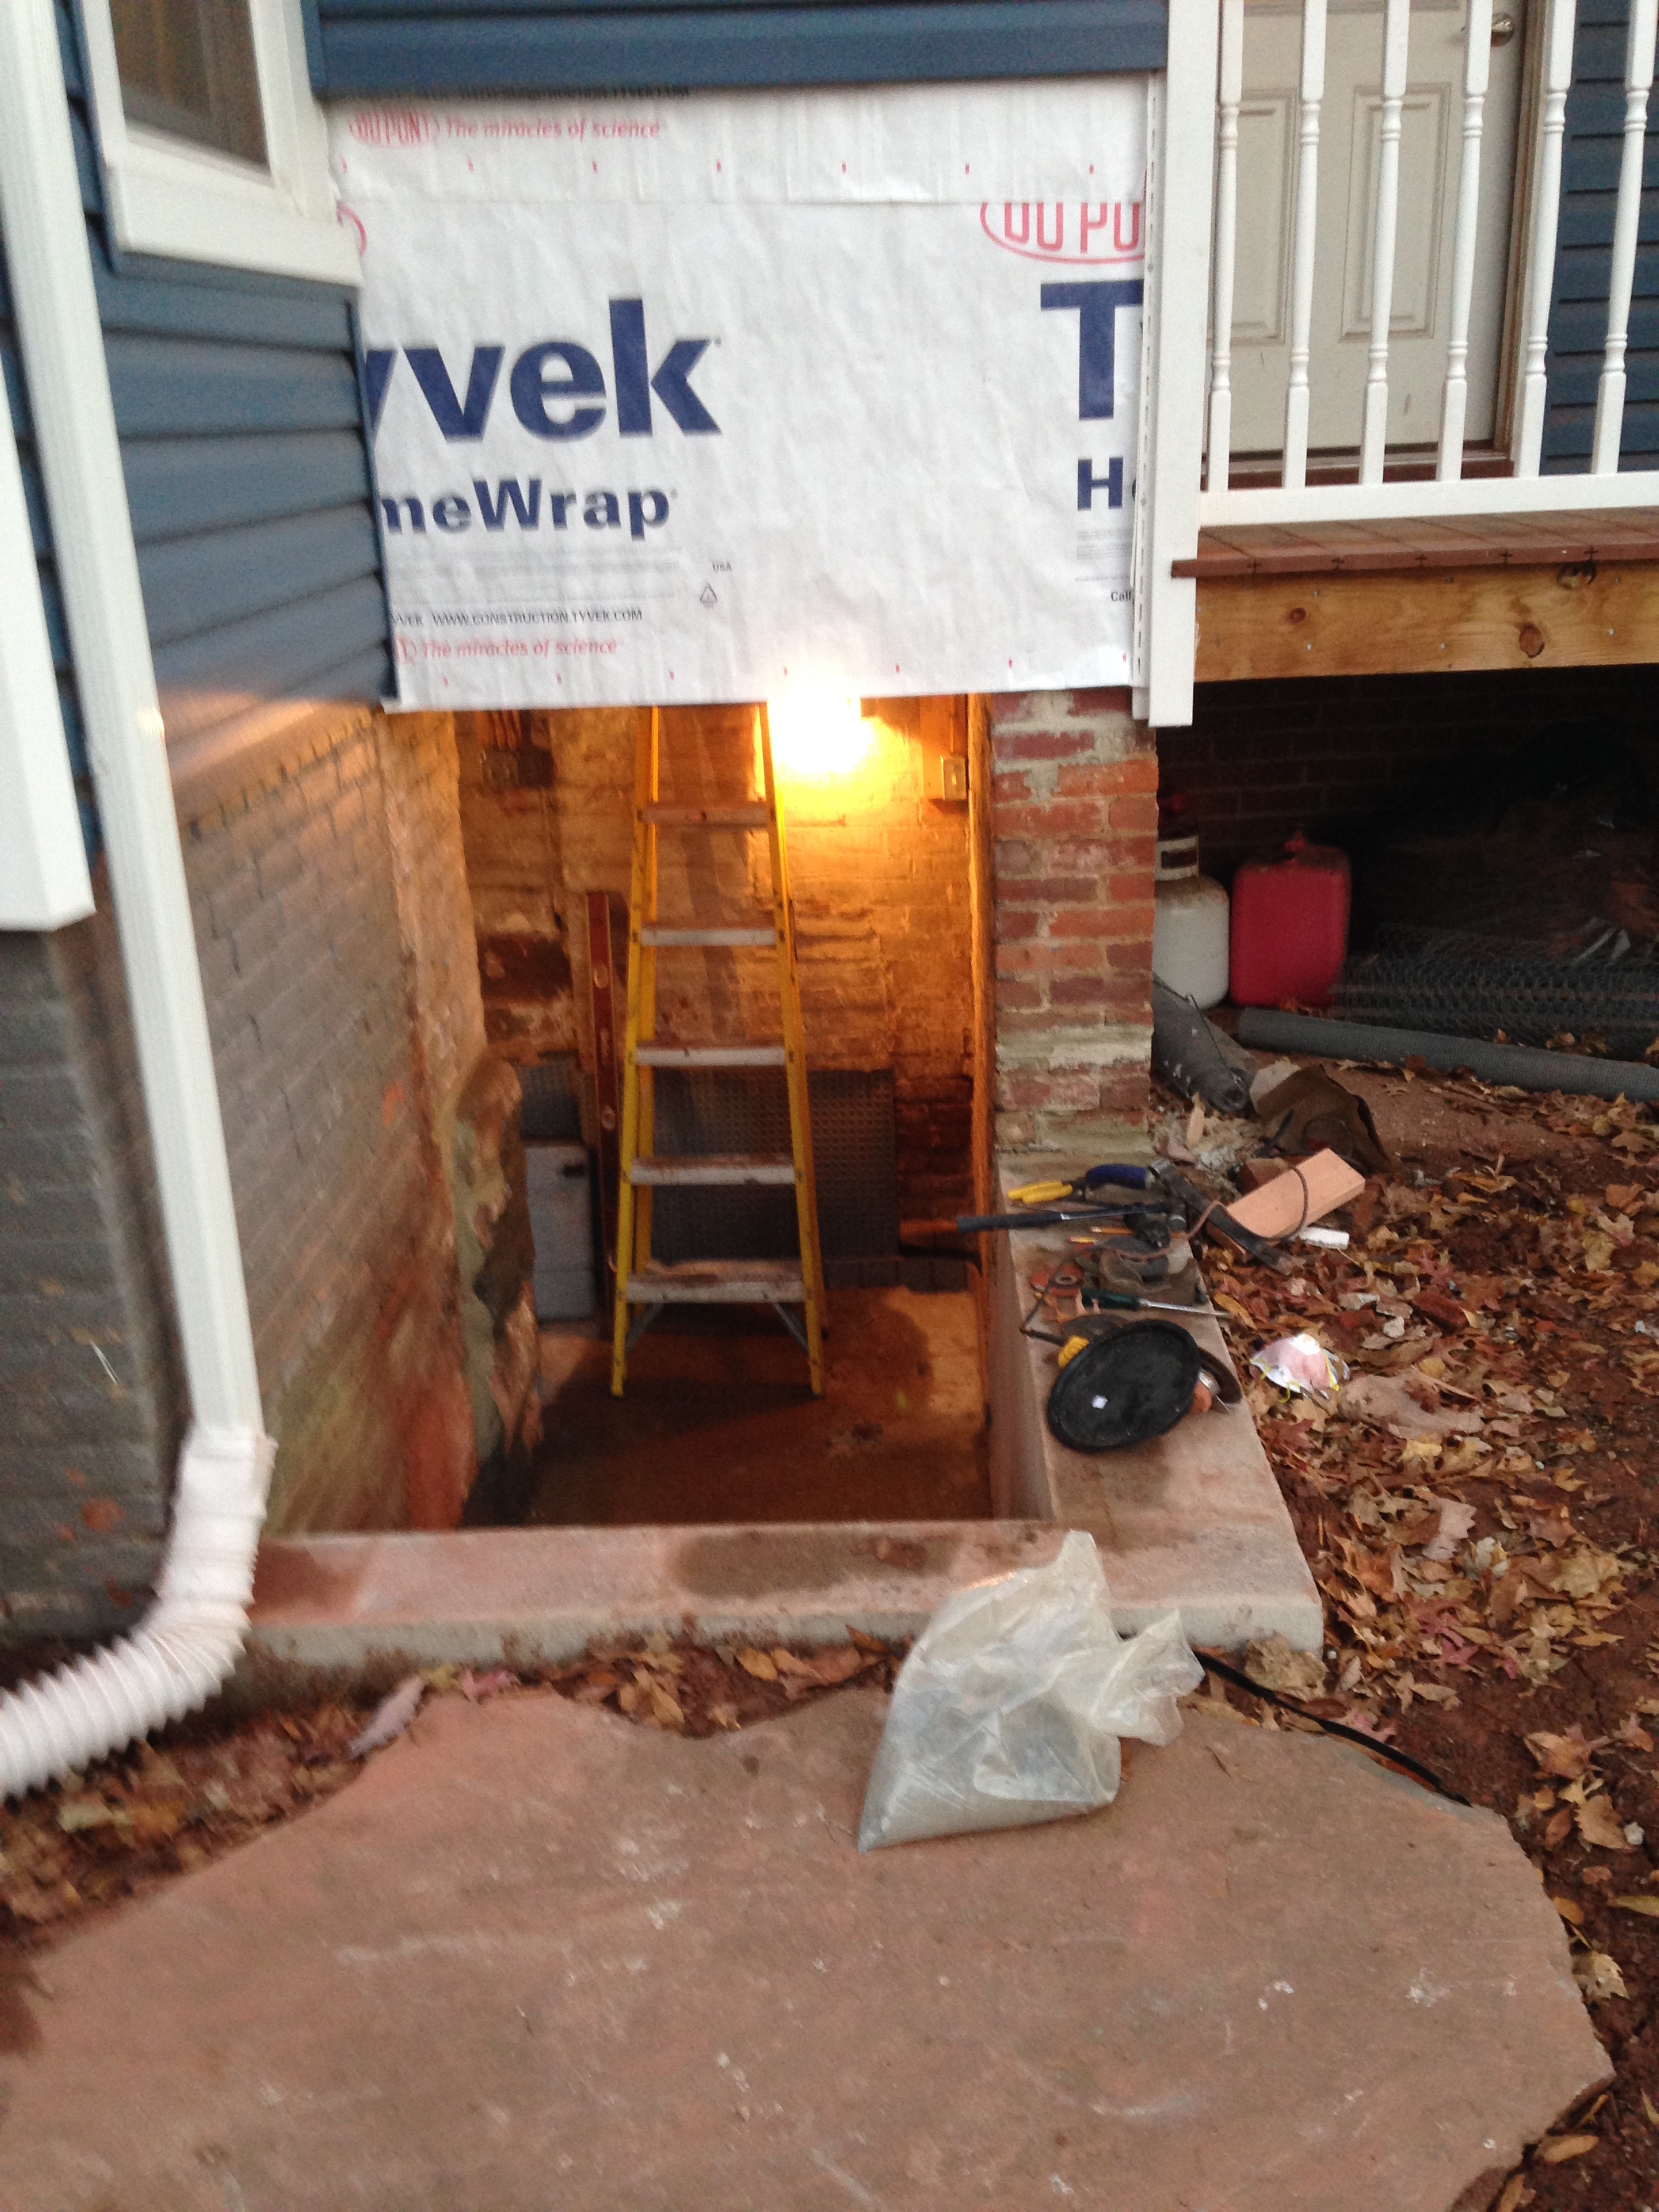
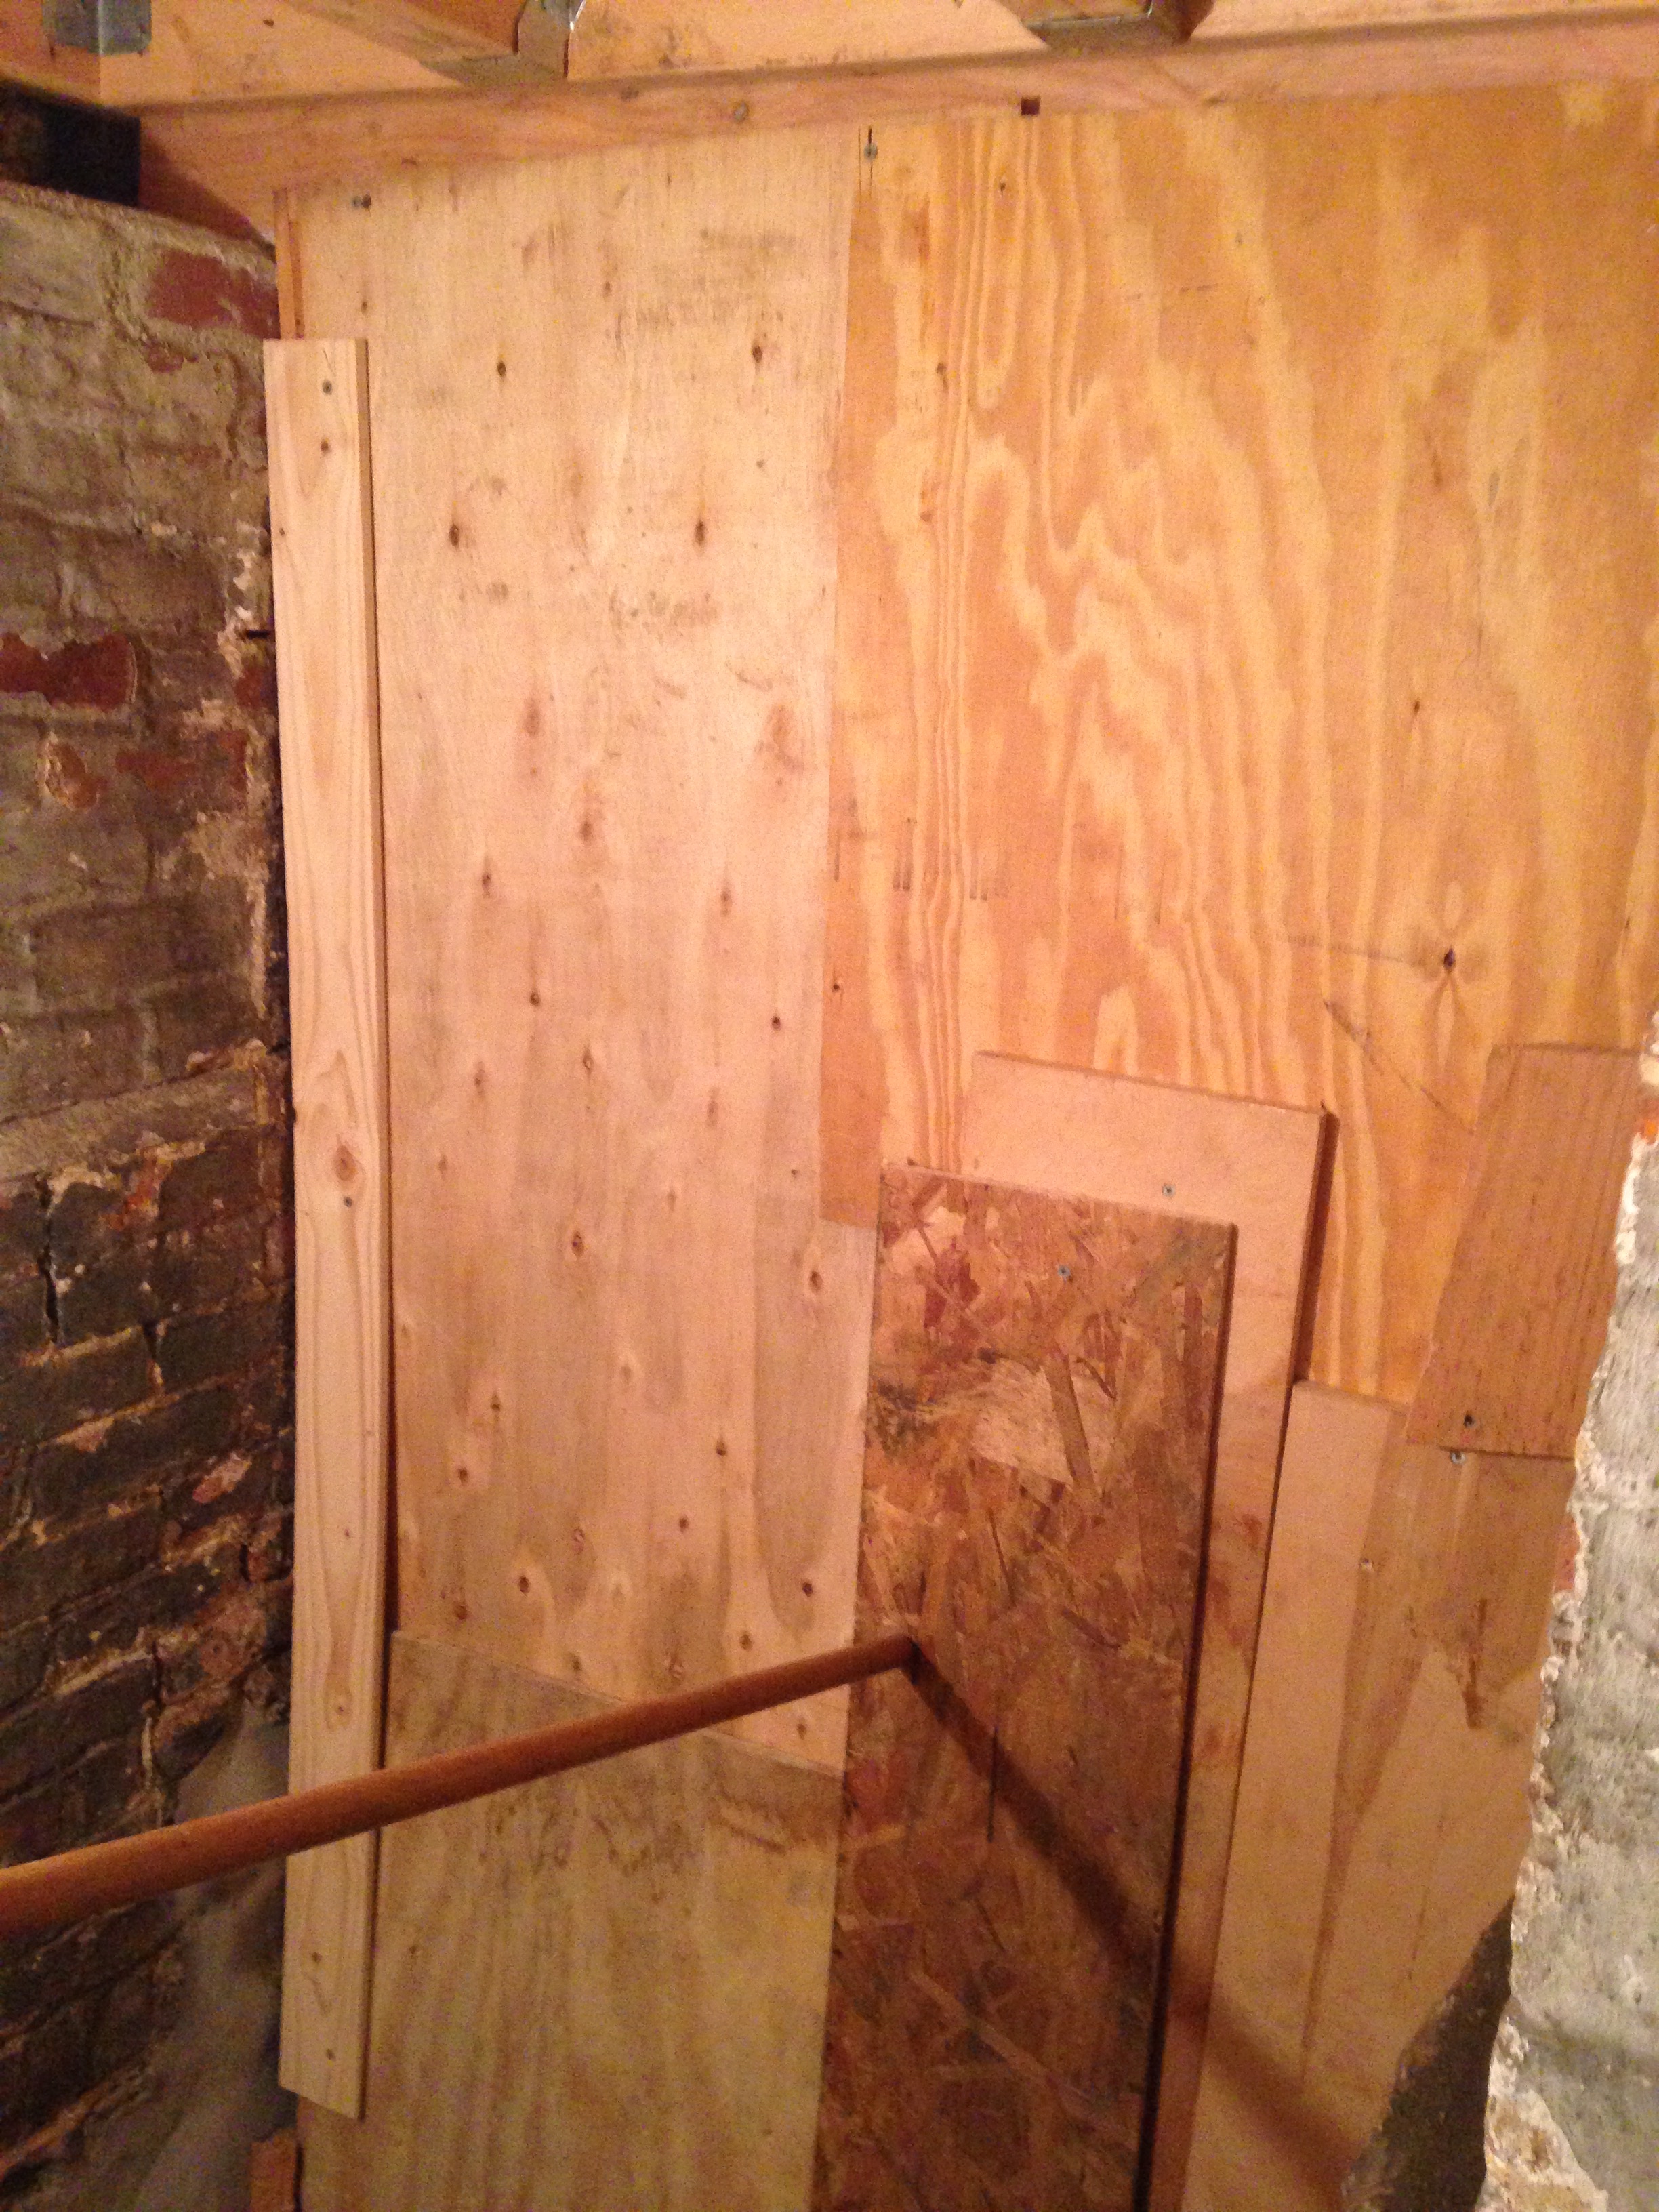
Then we put up the plywood, tyveked it, and waited for spring.
My makeshift door also improved slightly. A broom handle! I’m a genius.
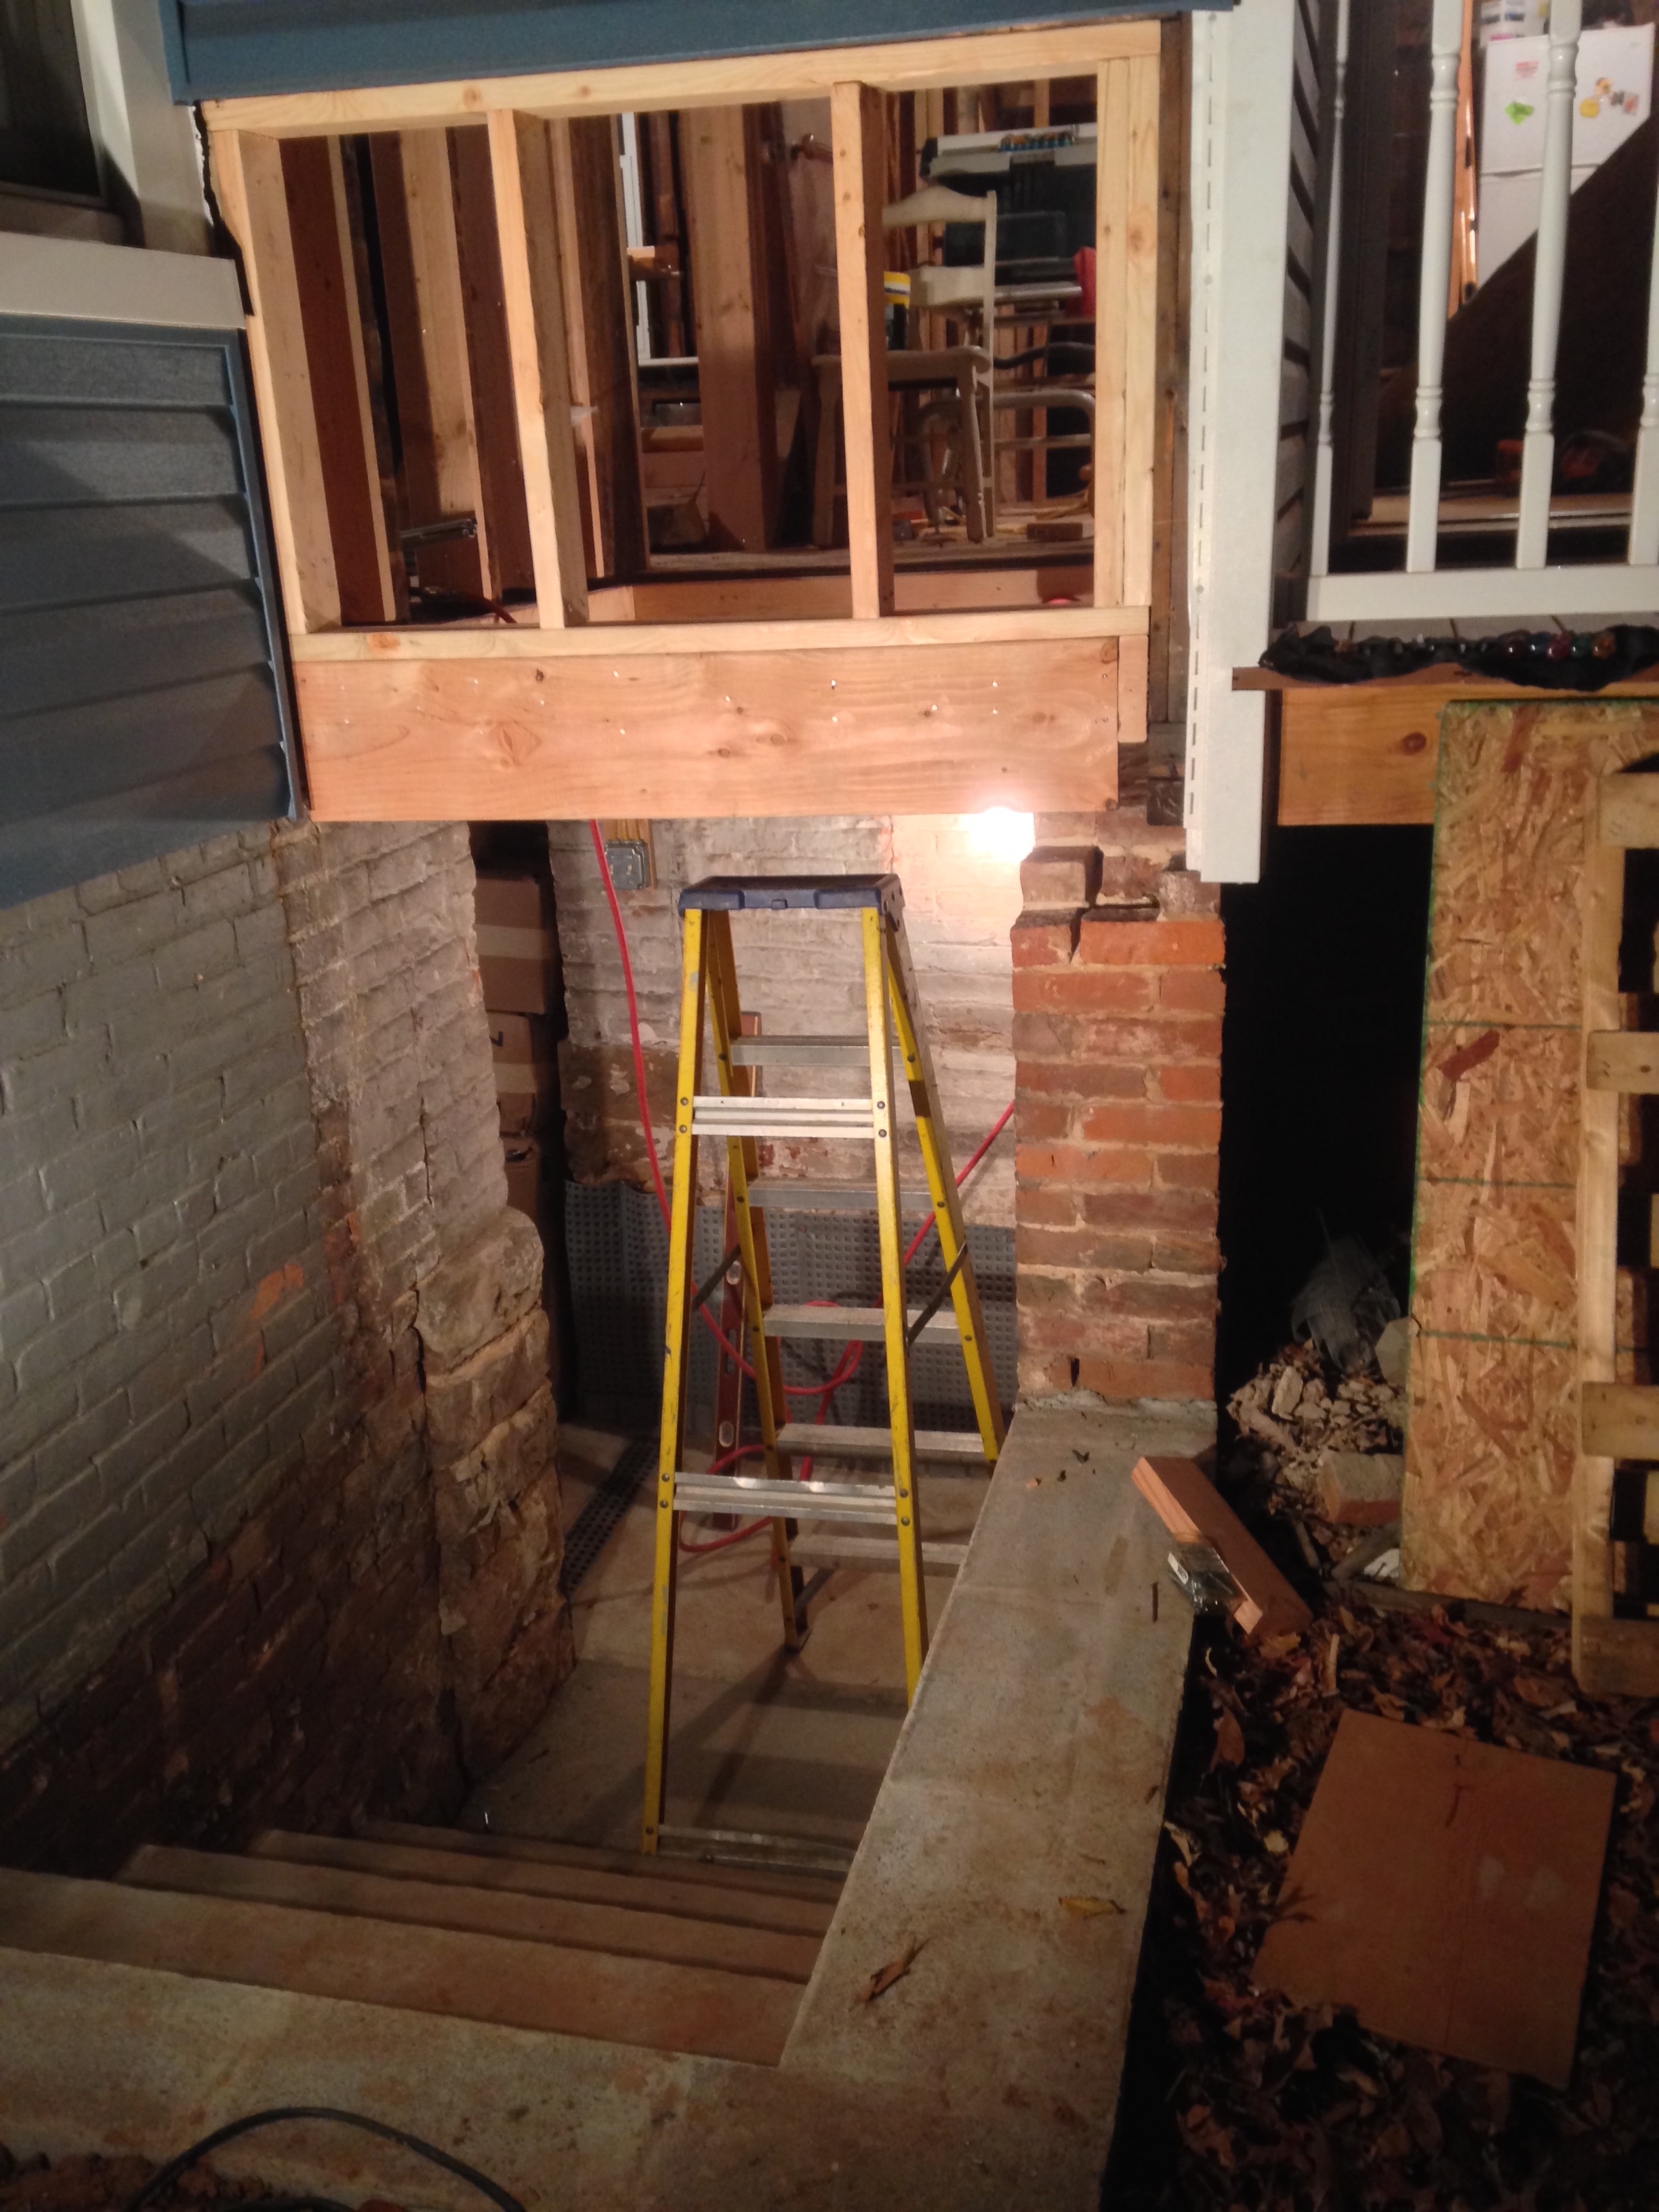
We also framed out the door and the support for the bilco door. I’ll provide an update once those are actually in, haha. As it stands, it’s a lot more utilitarian and looks nice to boot.

Update: 2/15/15
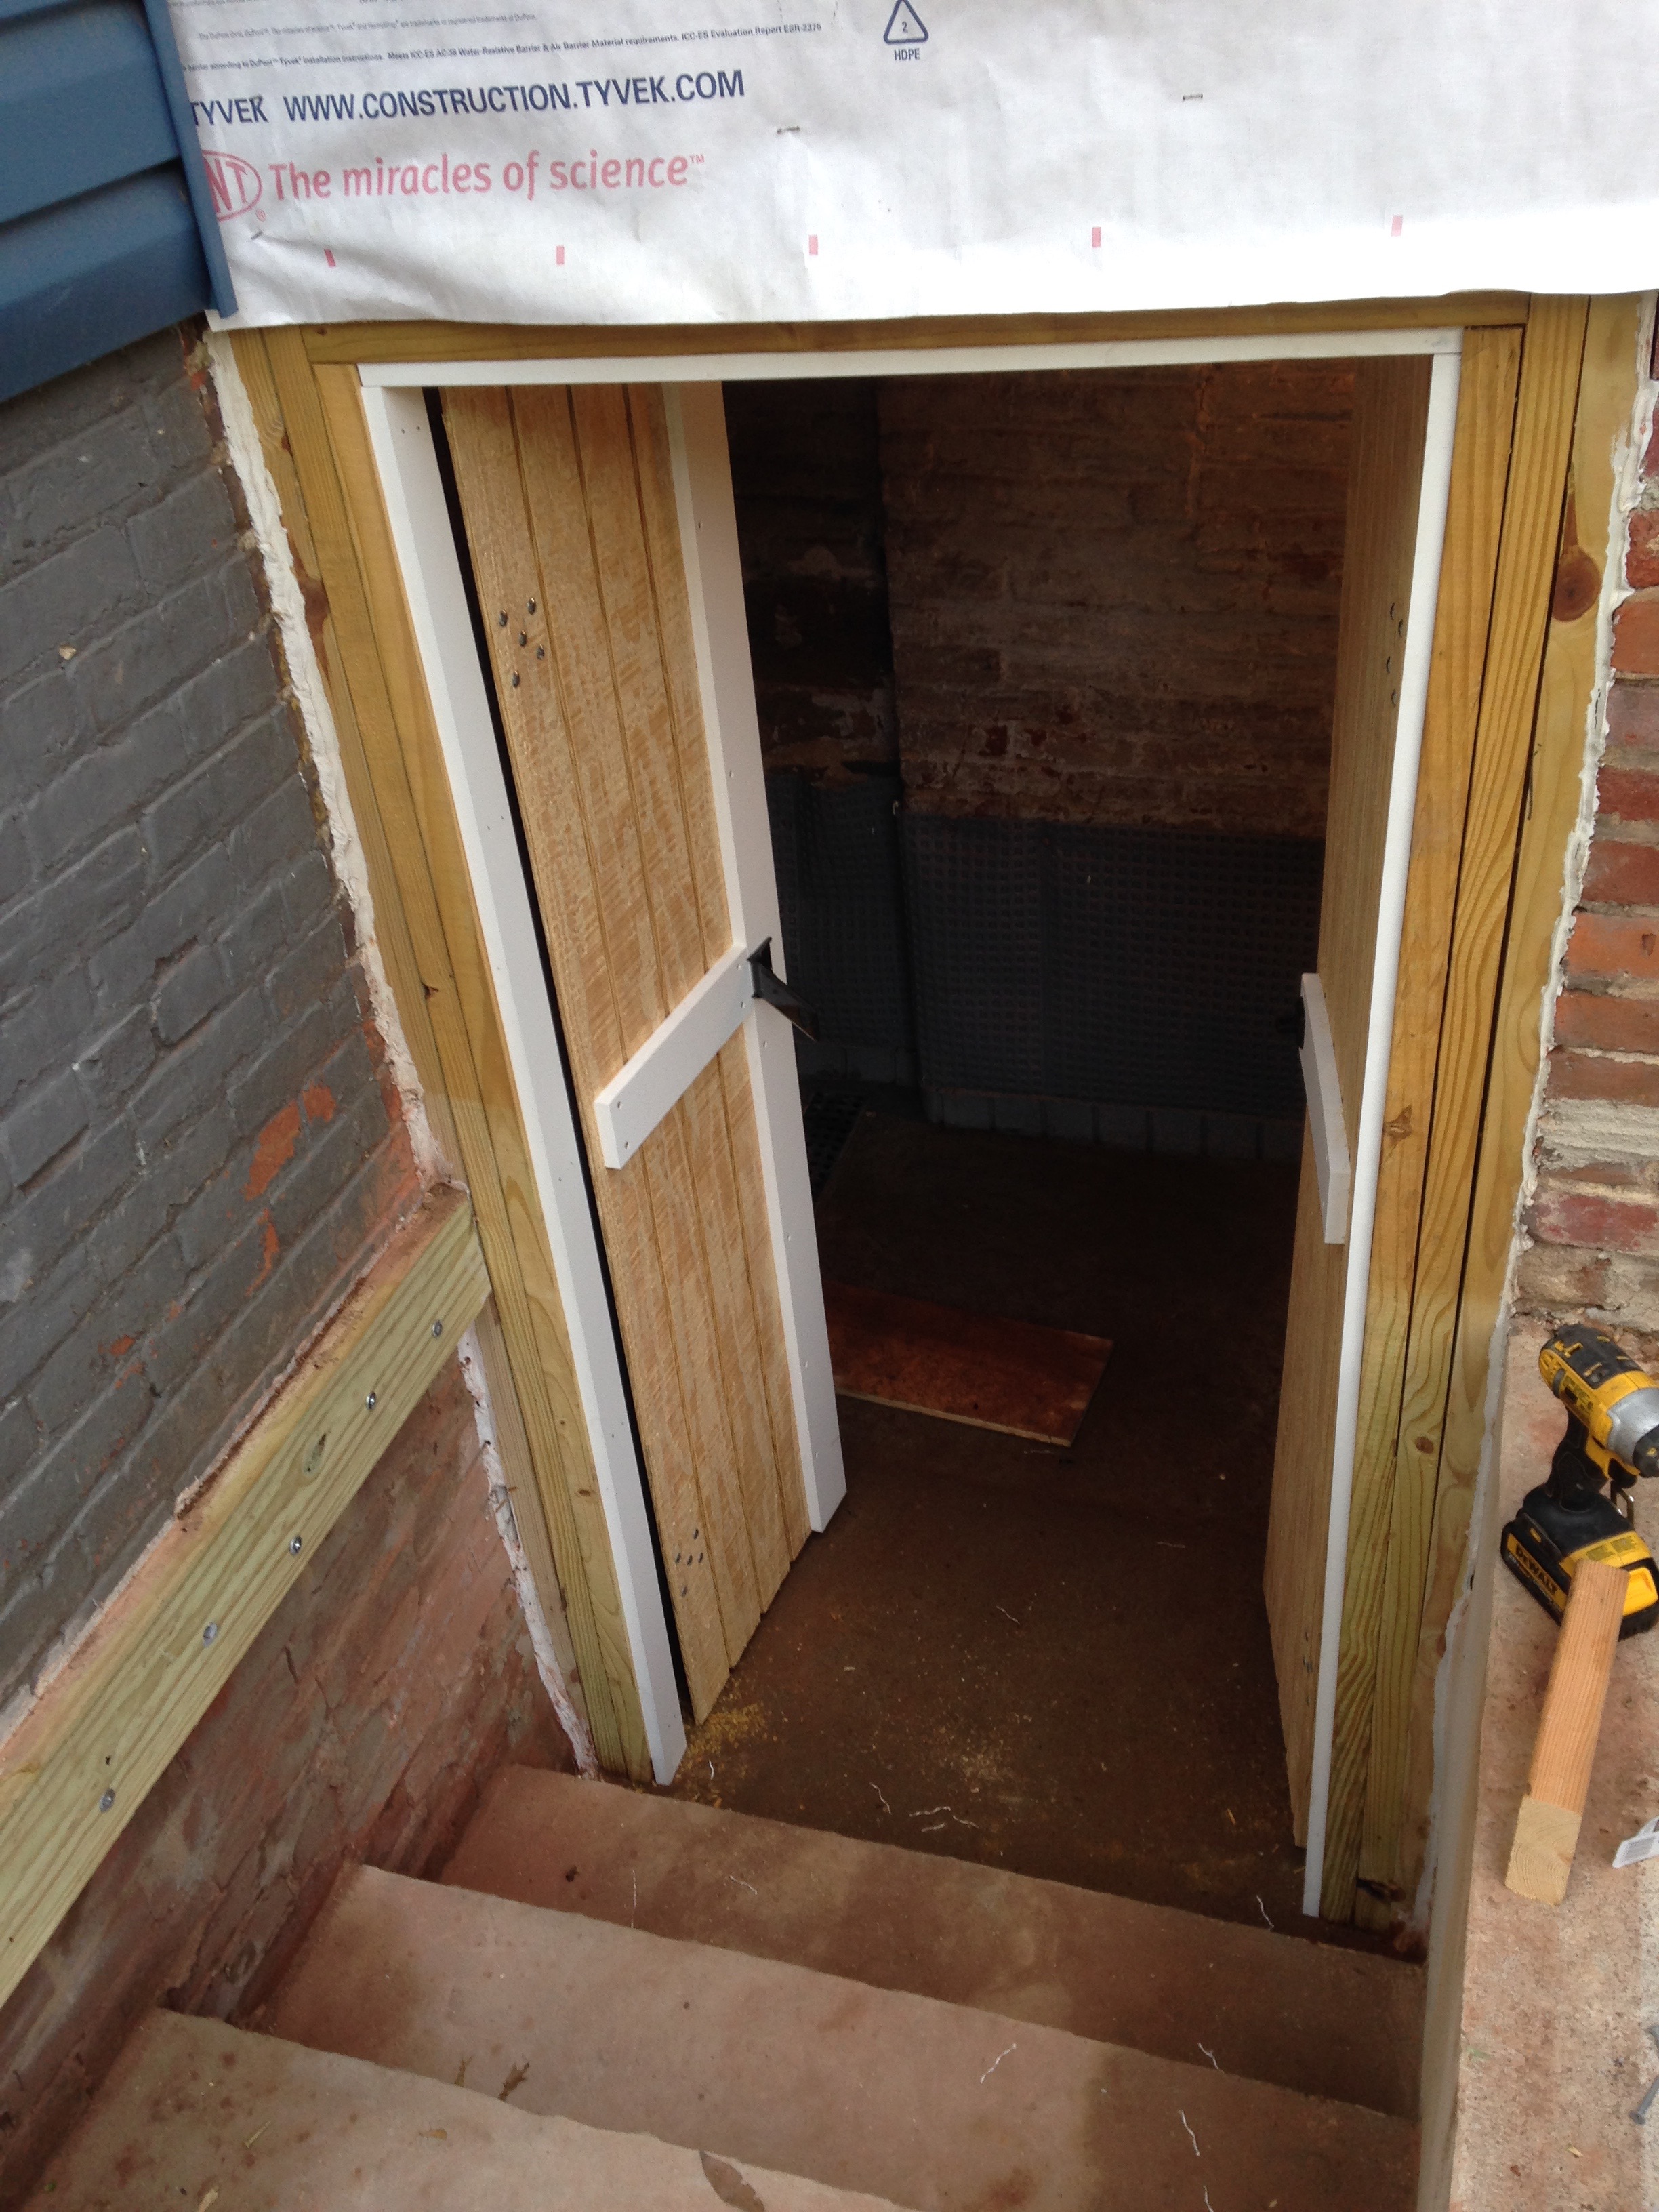
We then built a door that closes in the middle, similar to the original (since a full size swinging door is impossible). Still need to get the bilco door.

1 thought on “New Basement Walkout”