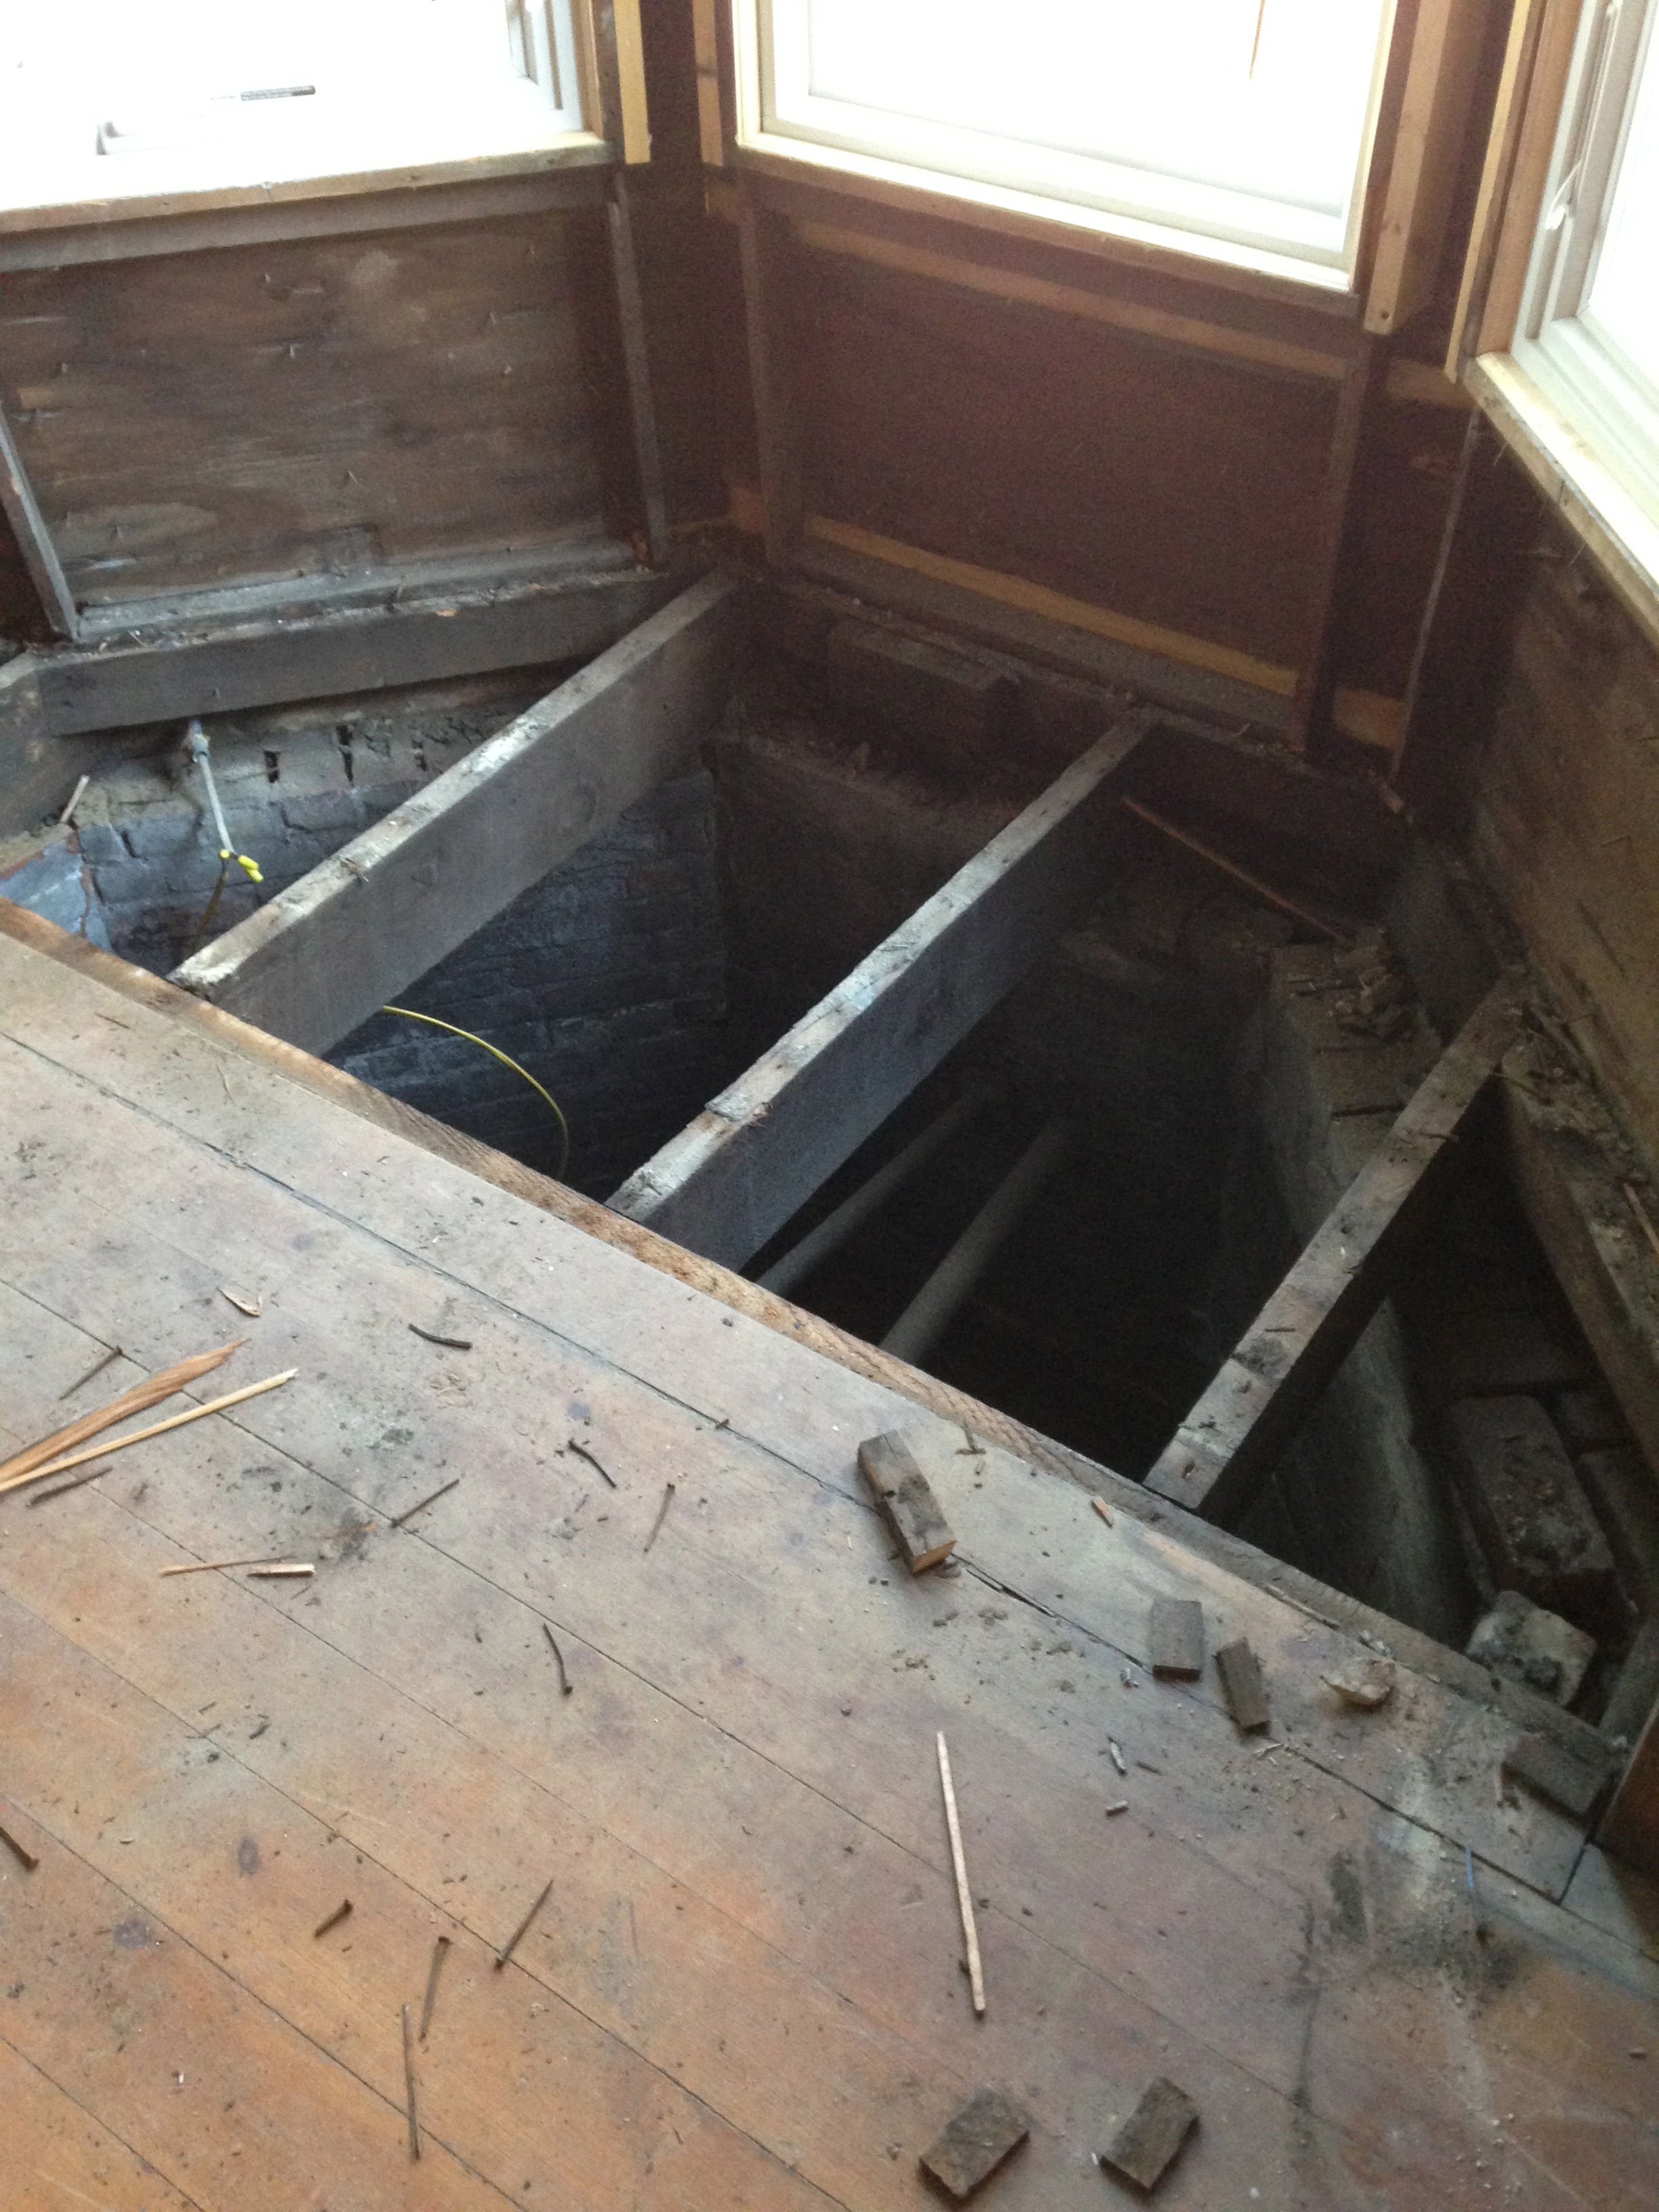
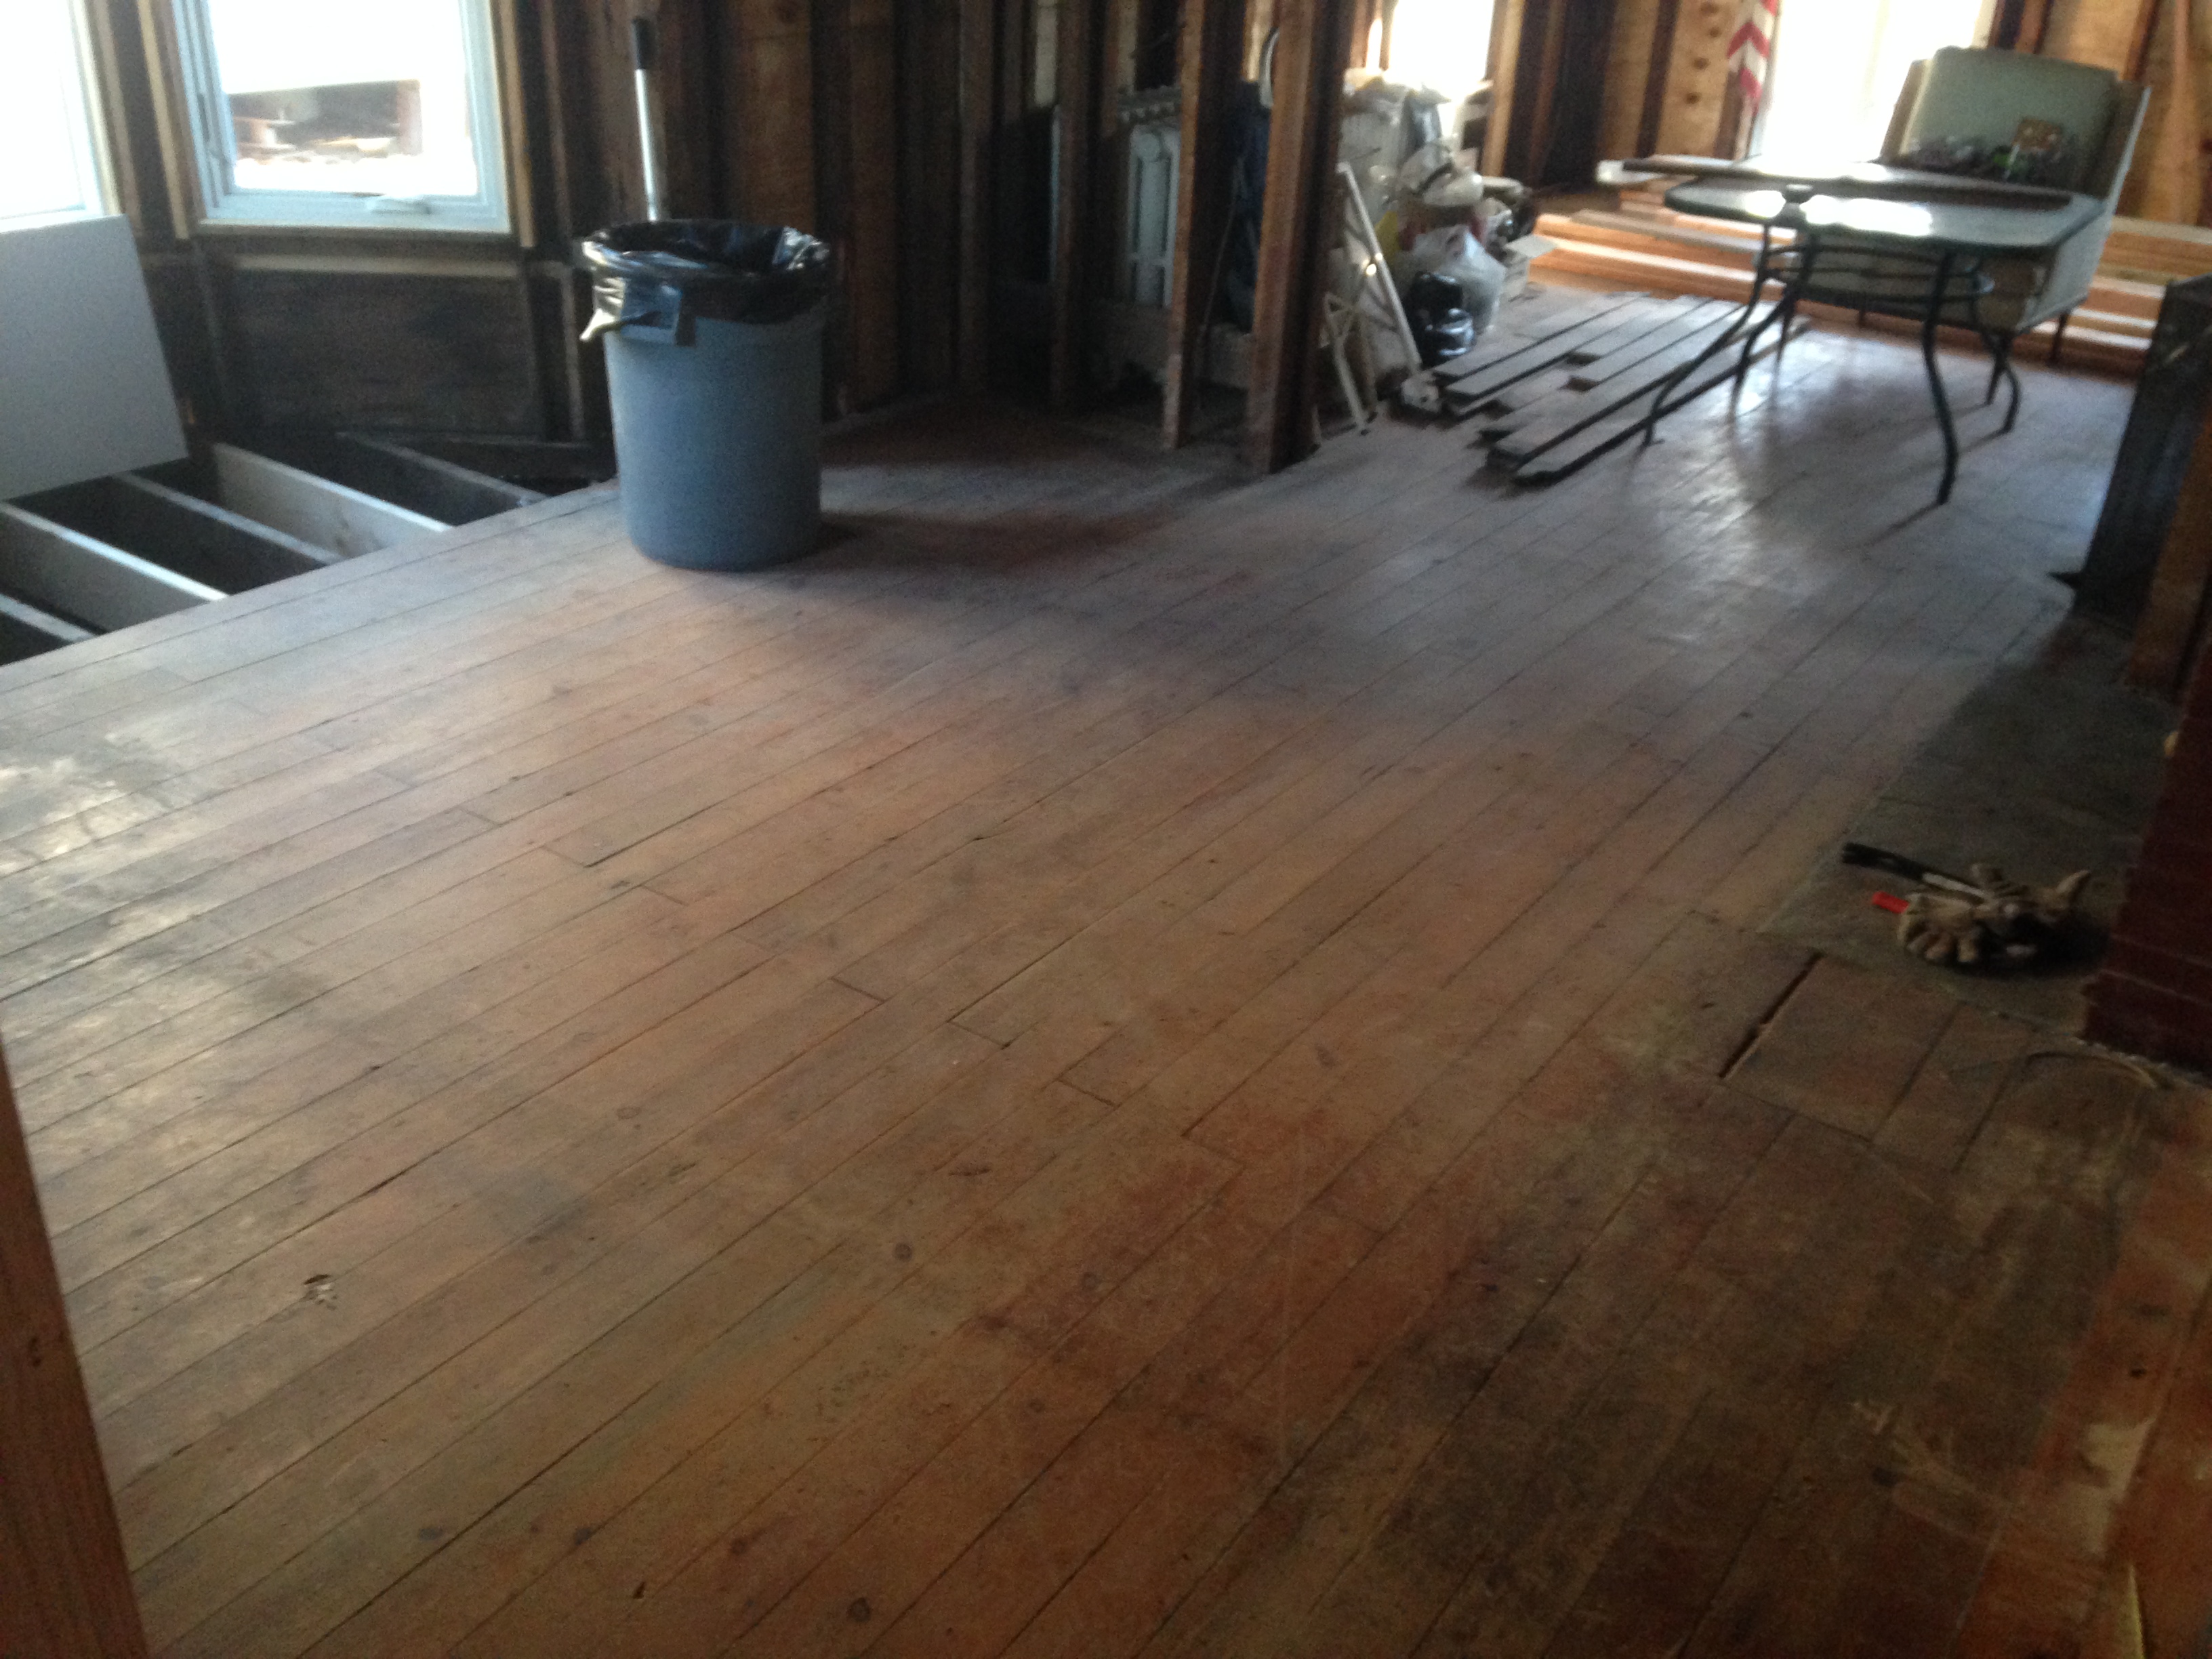
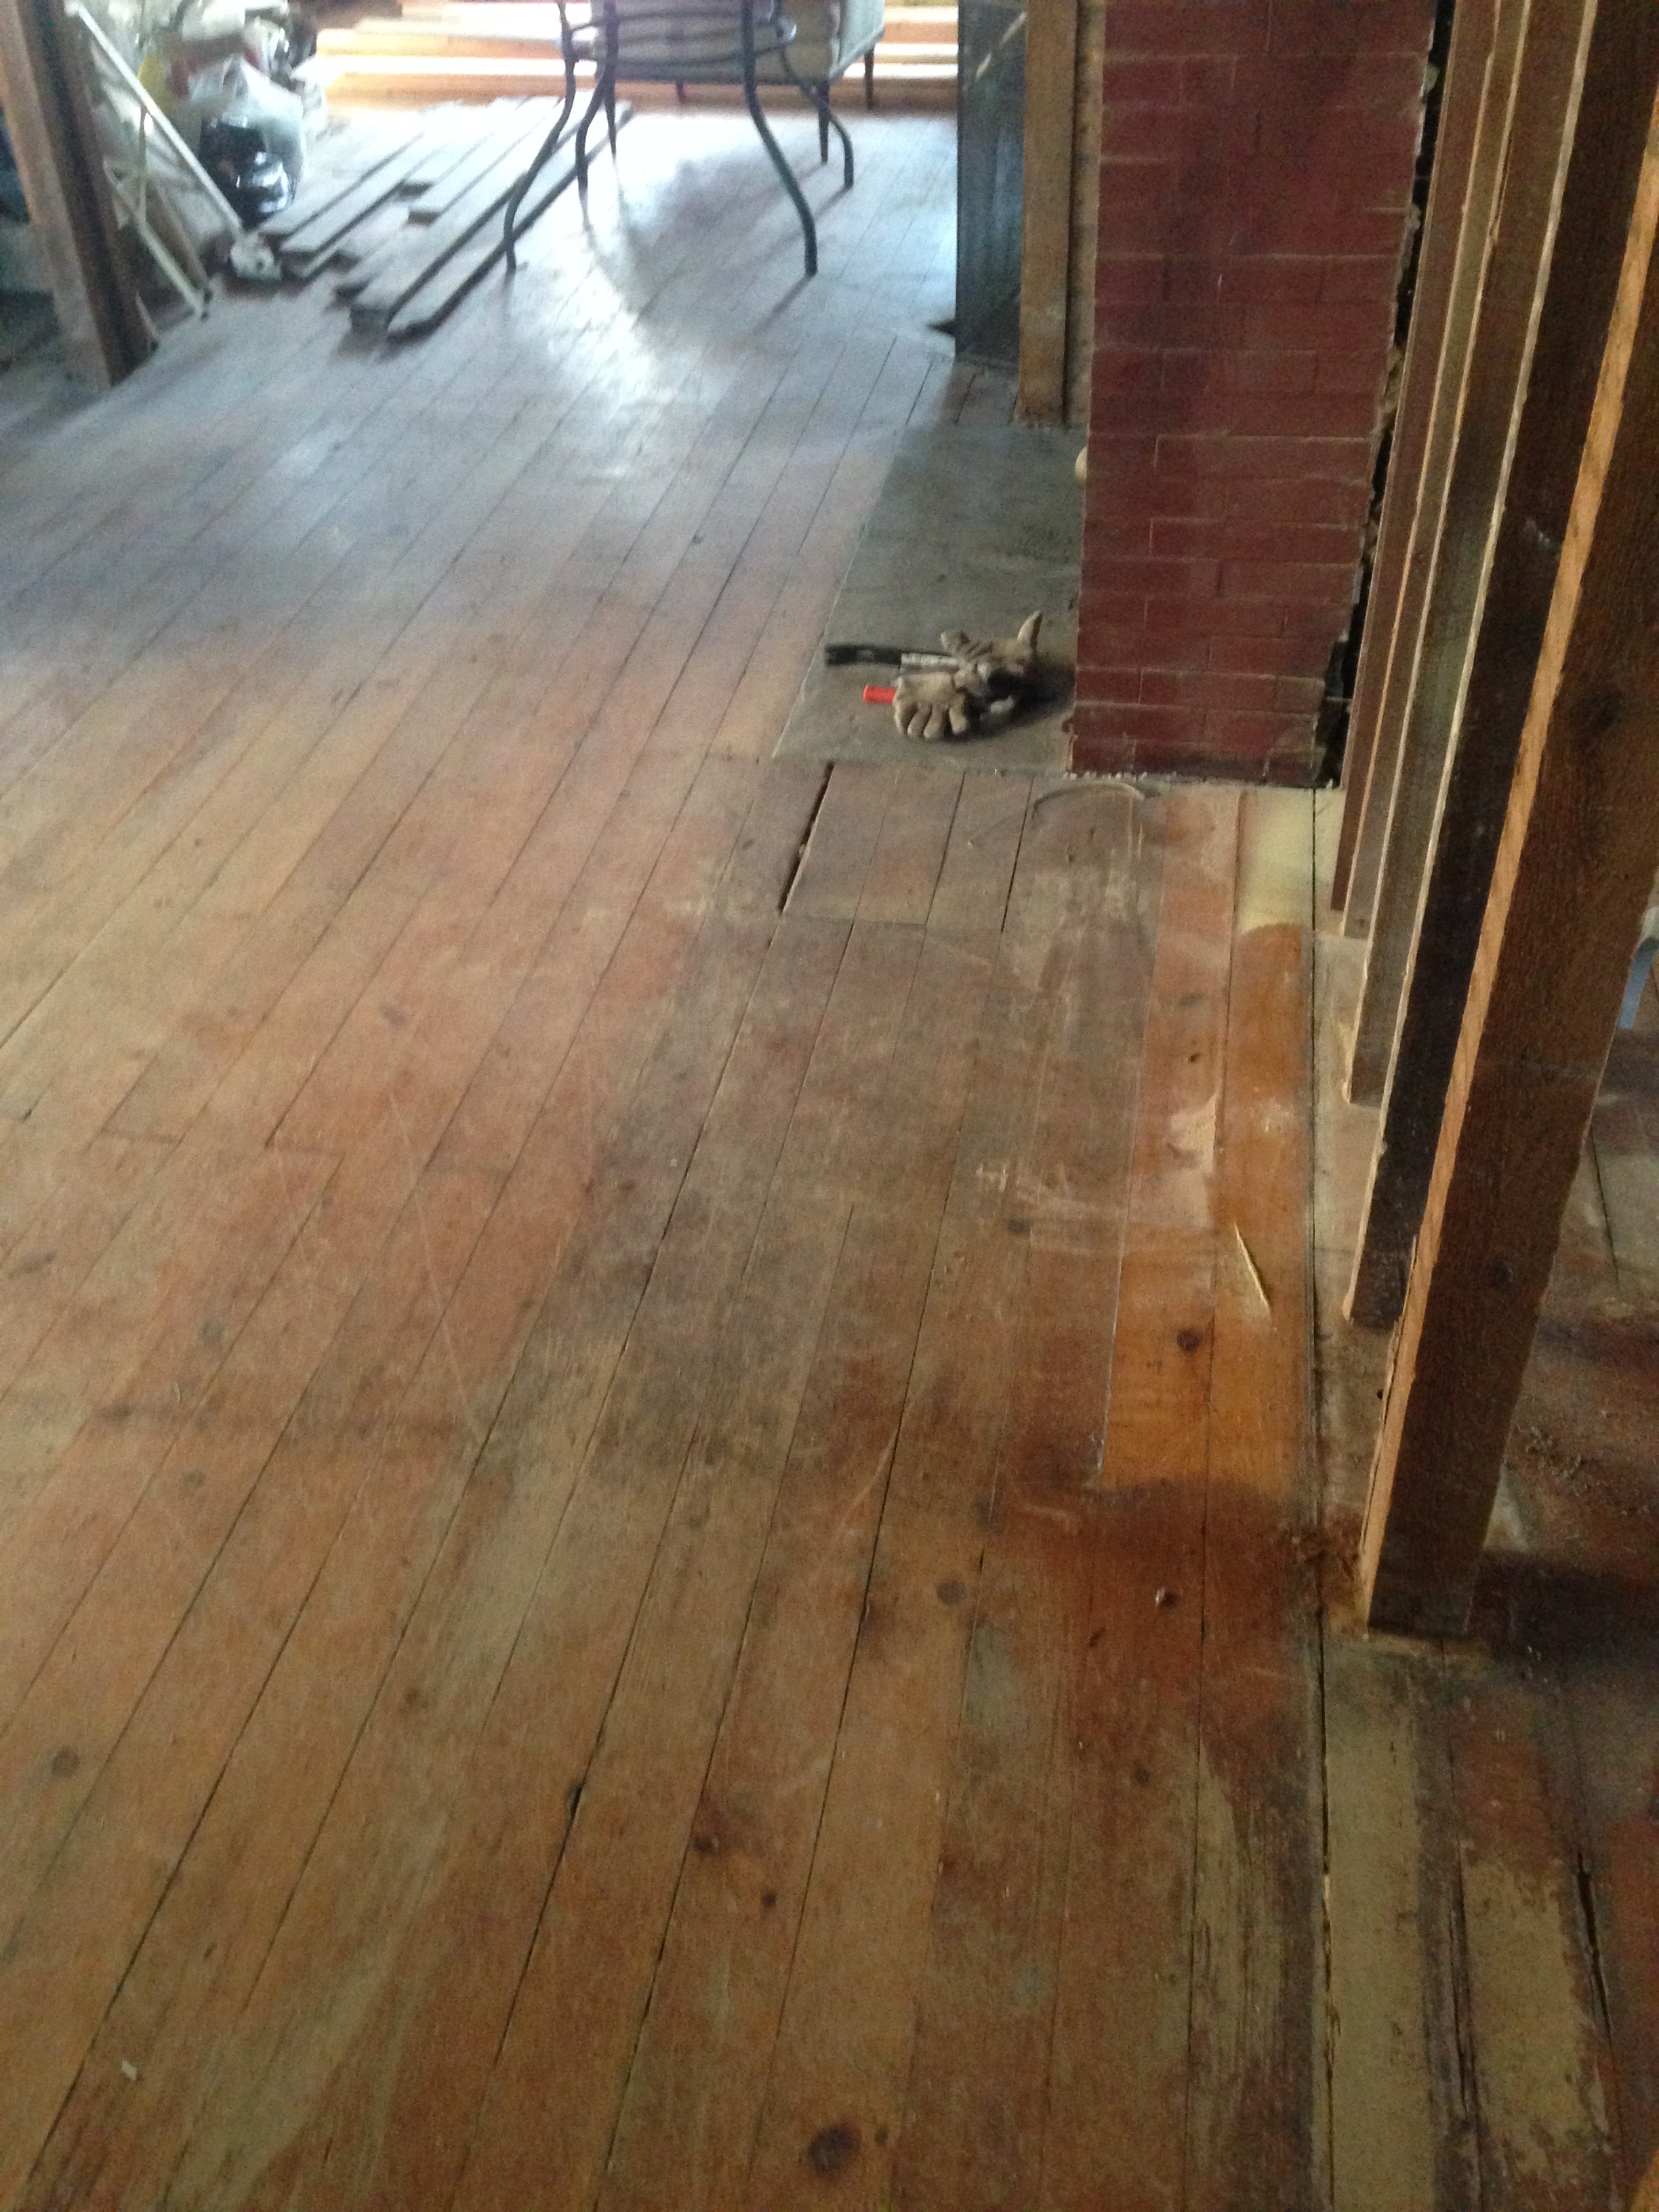
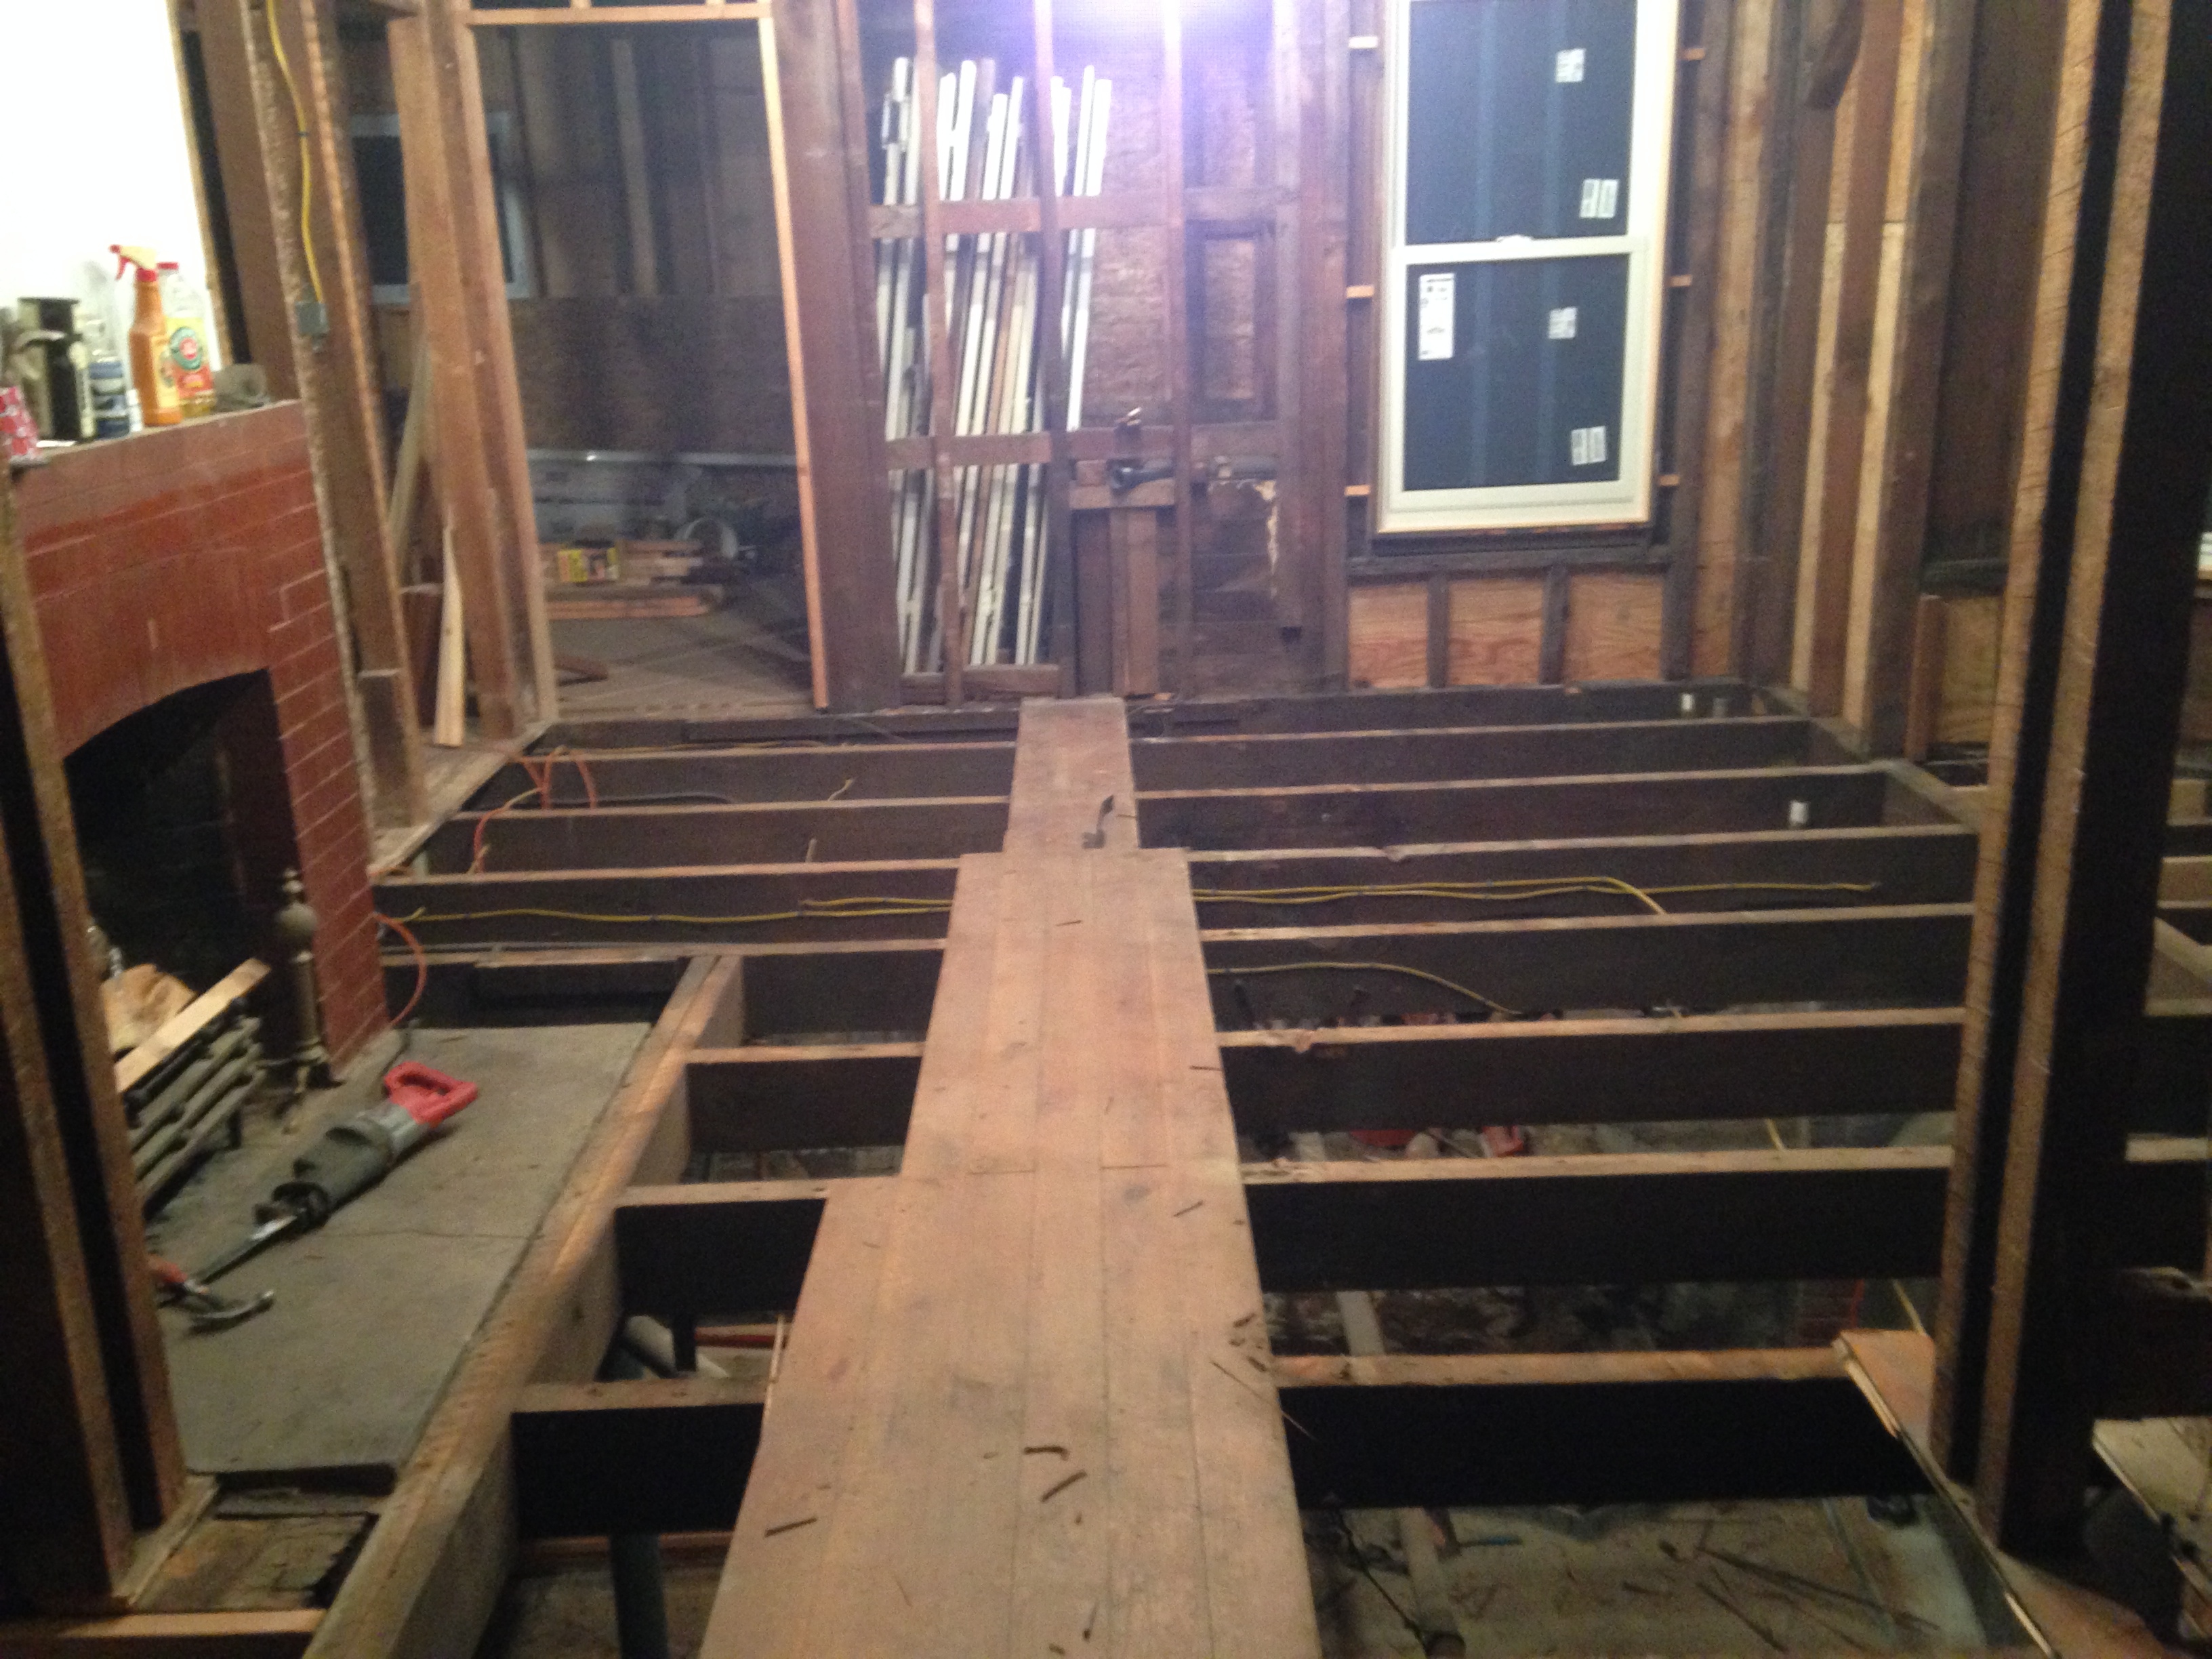
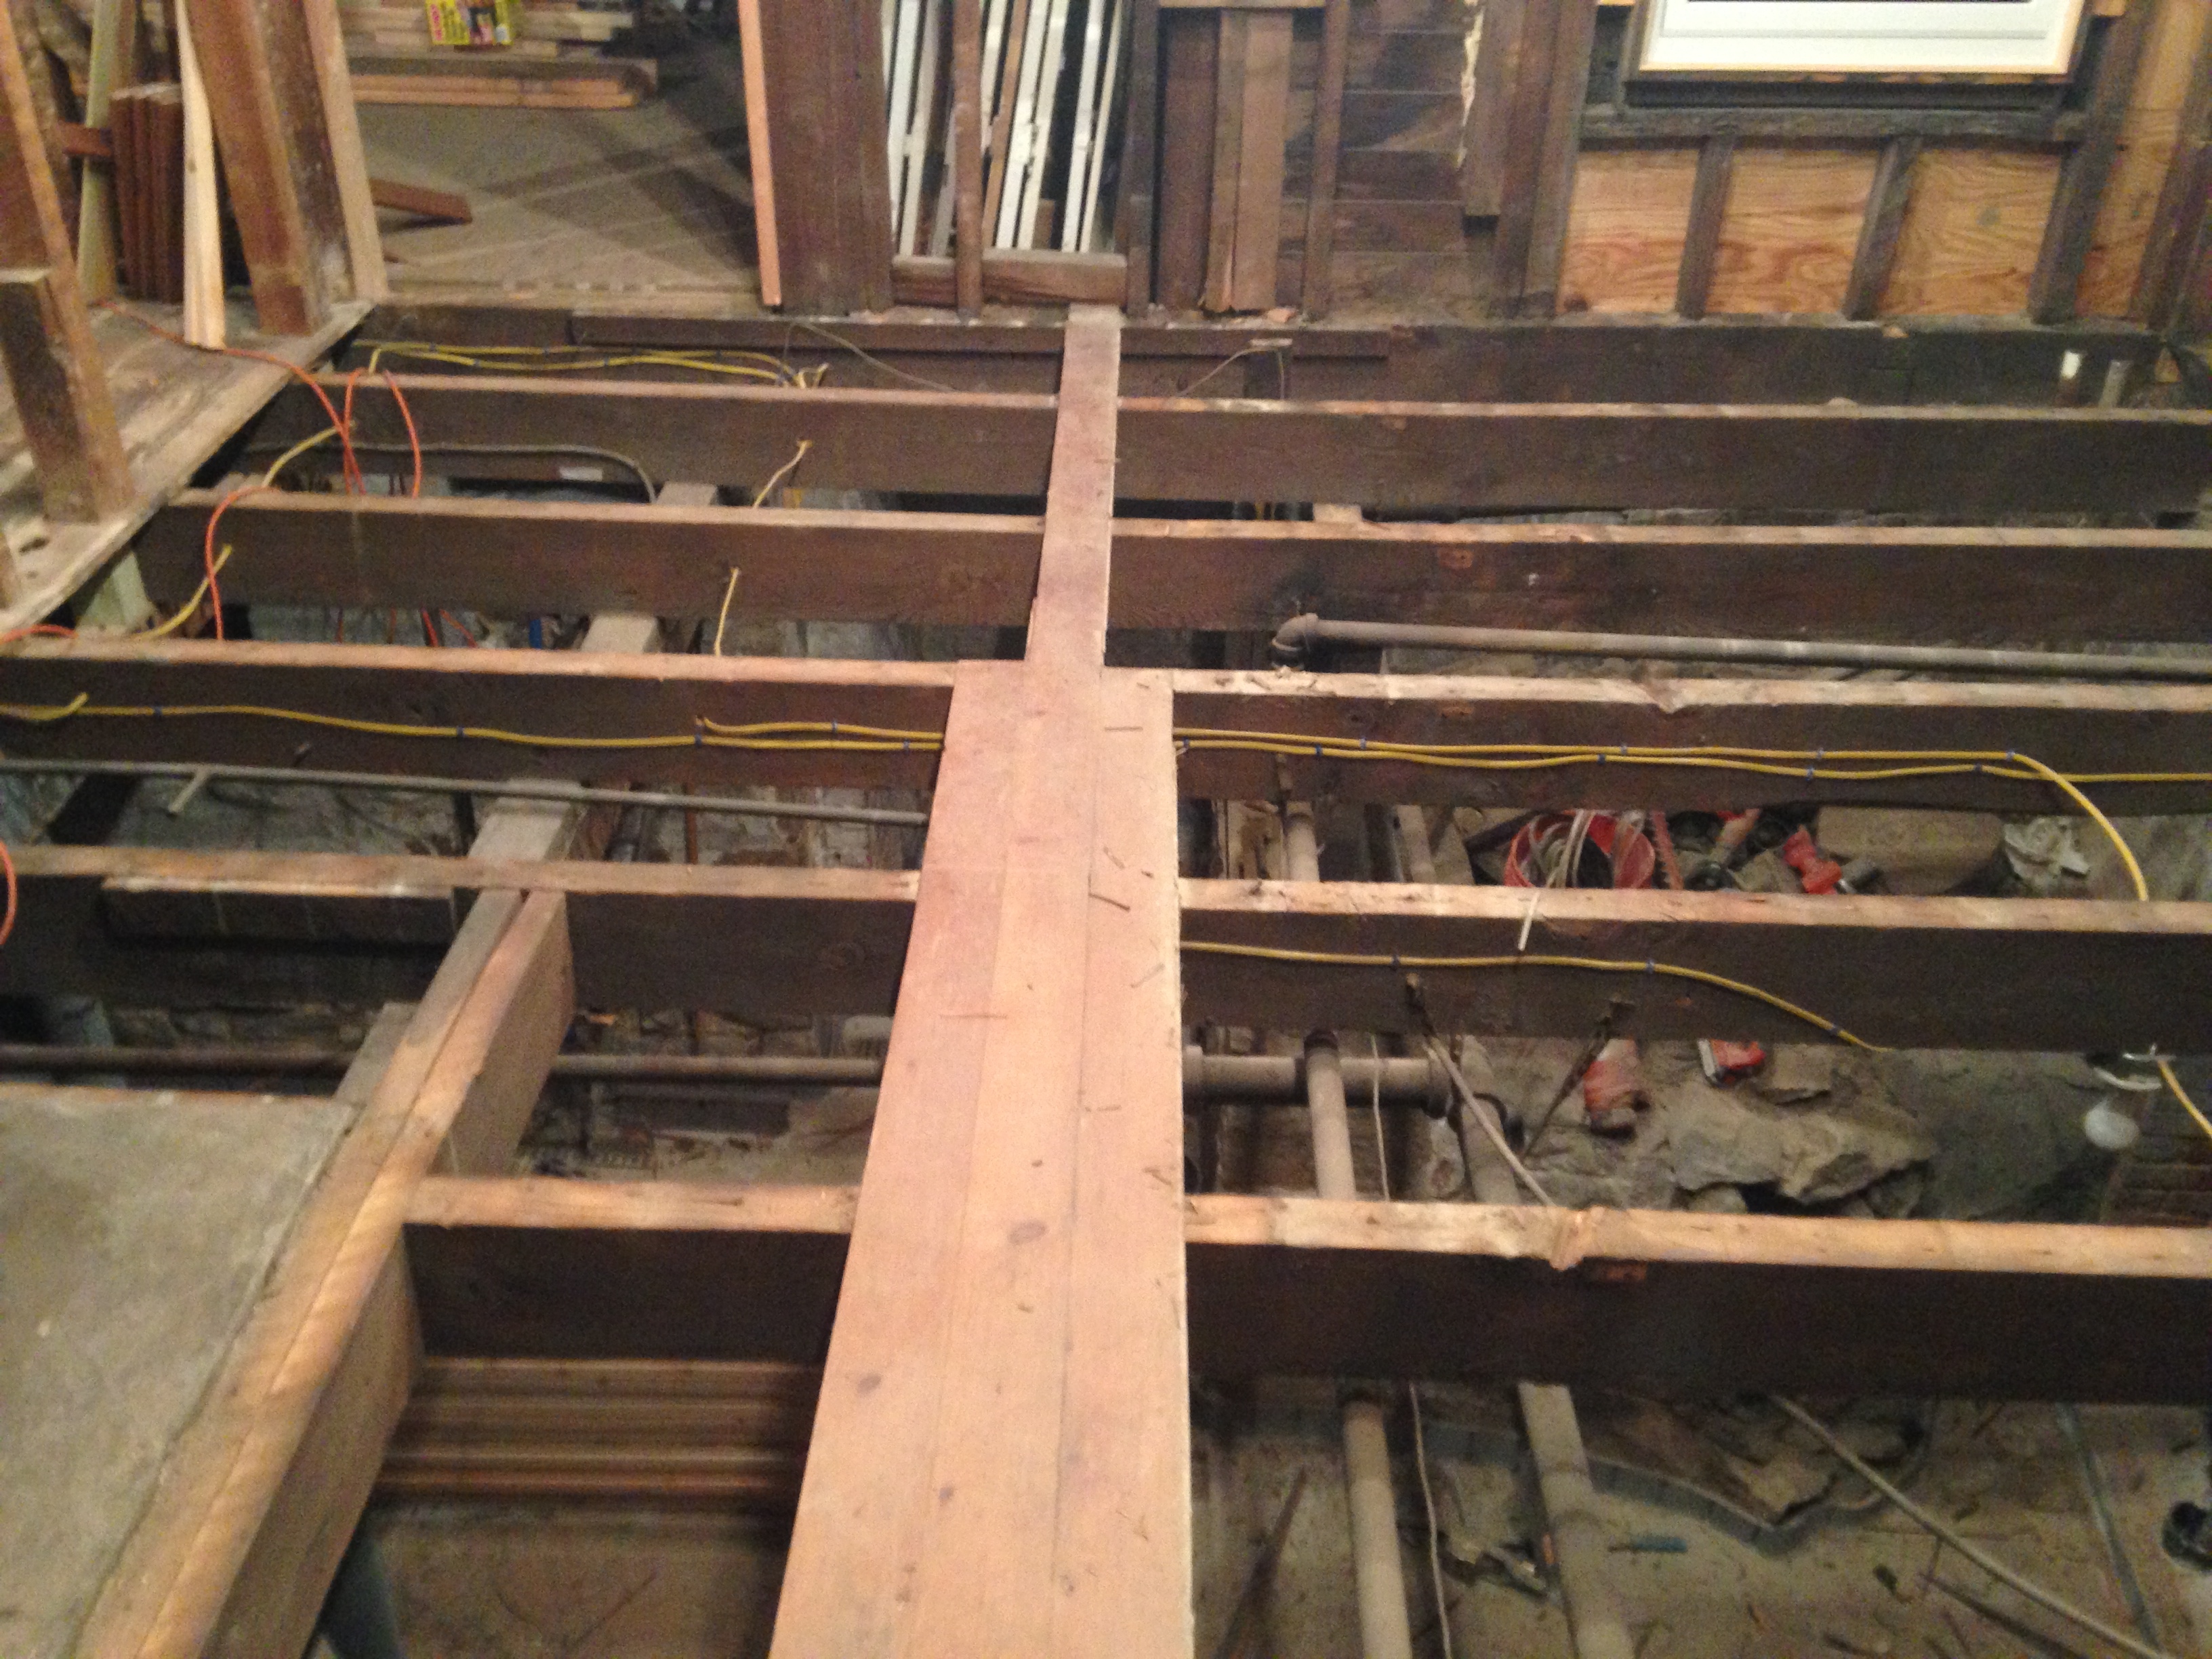
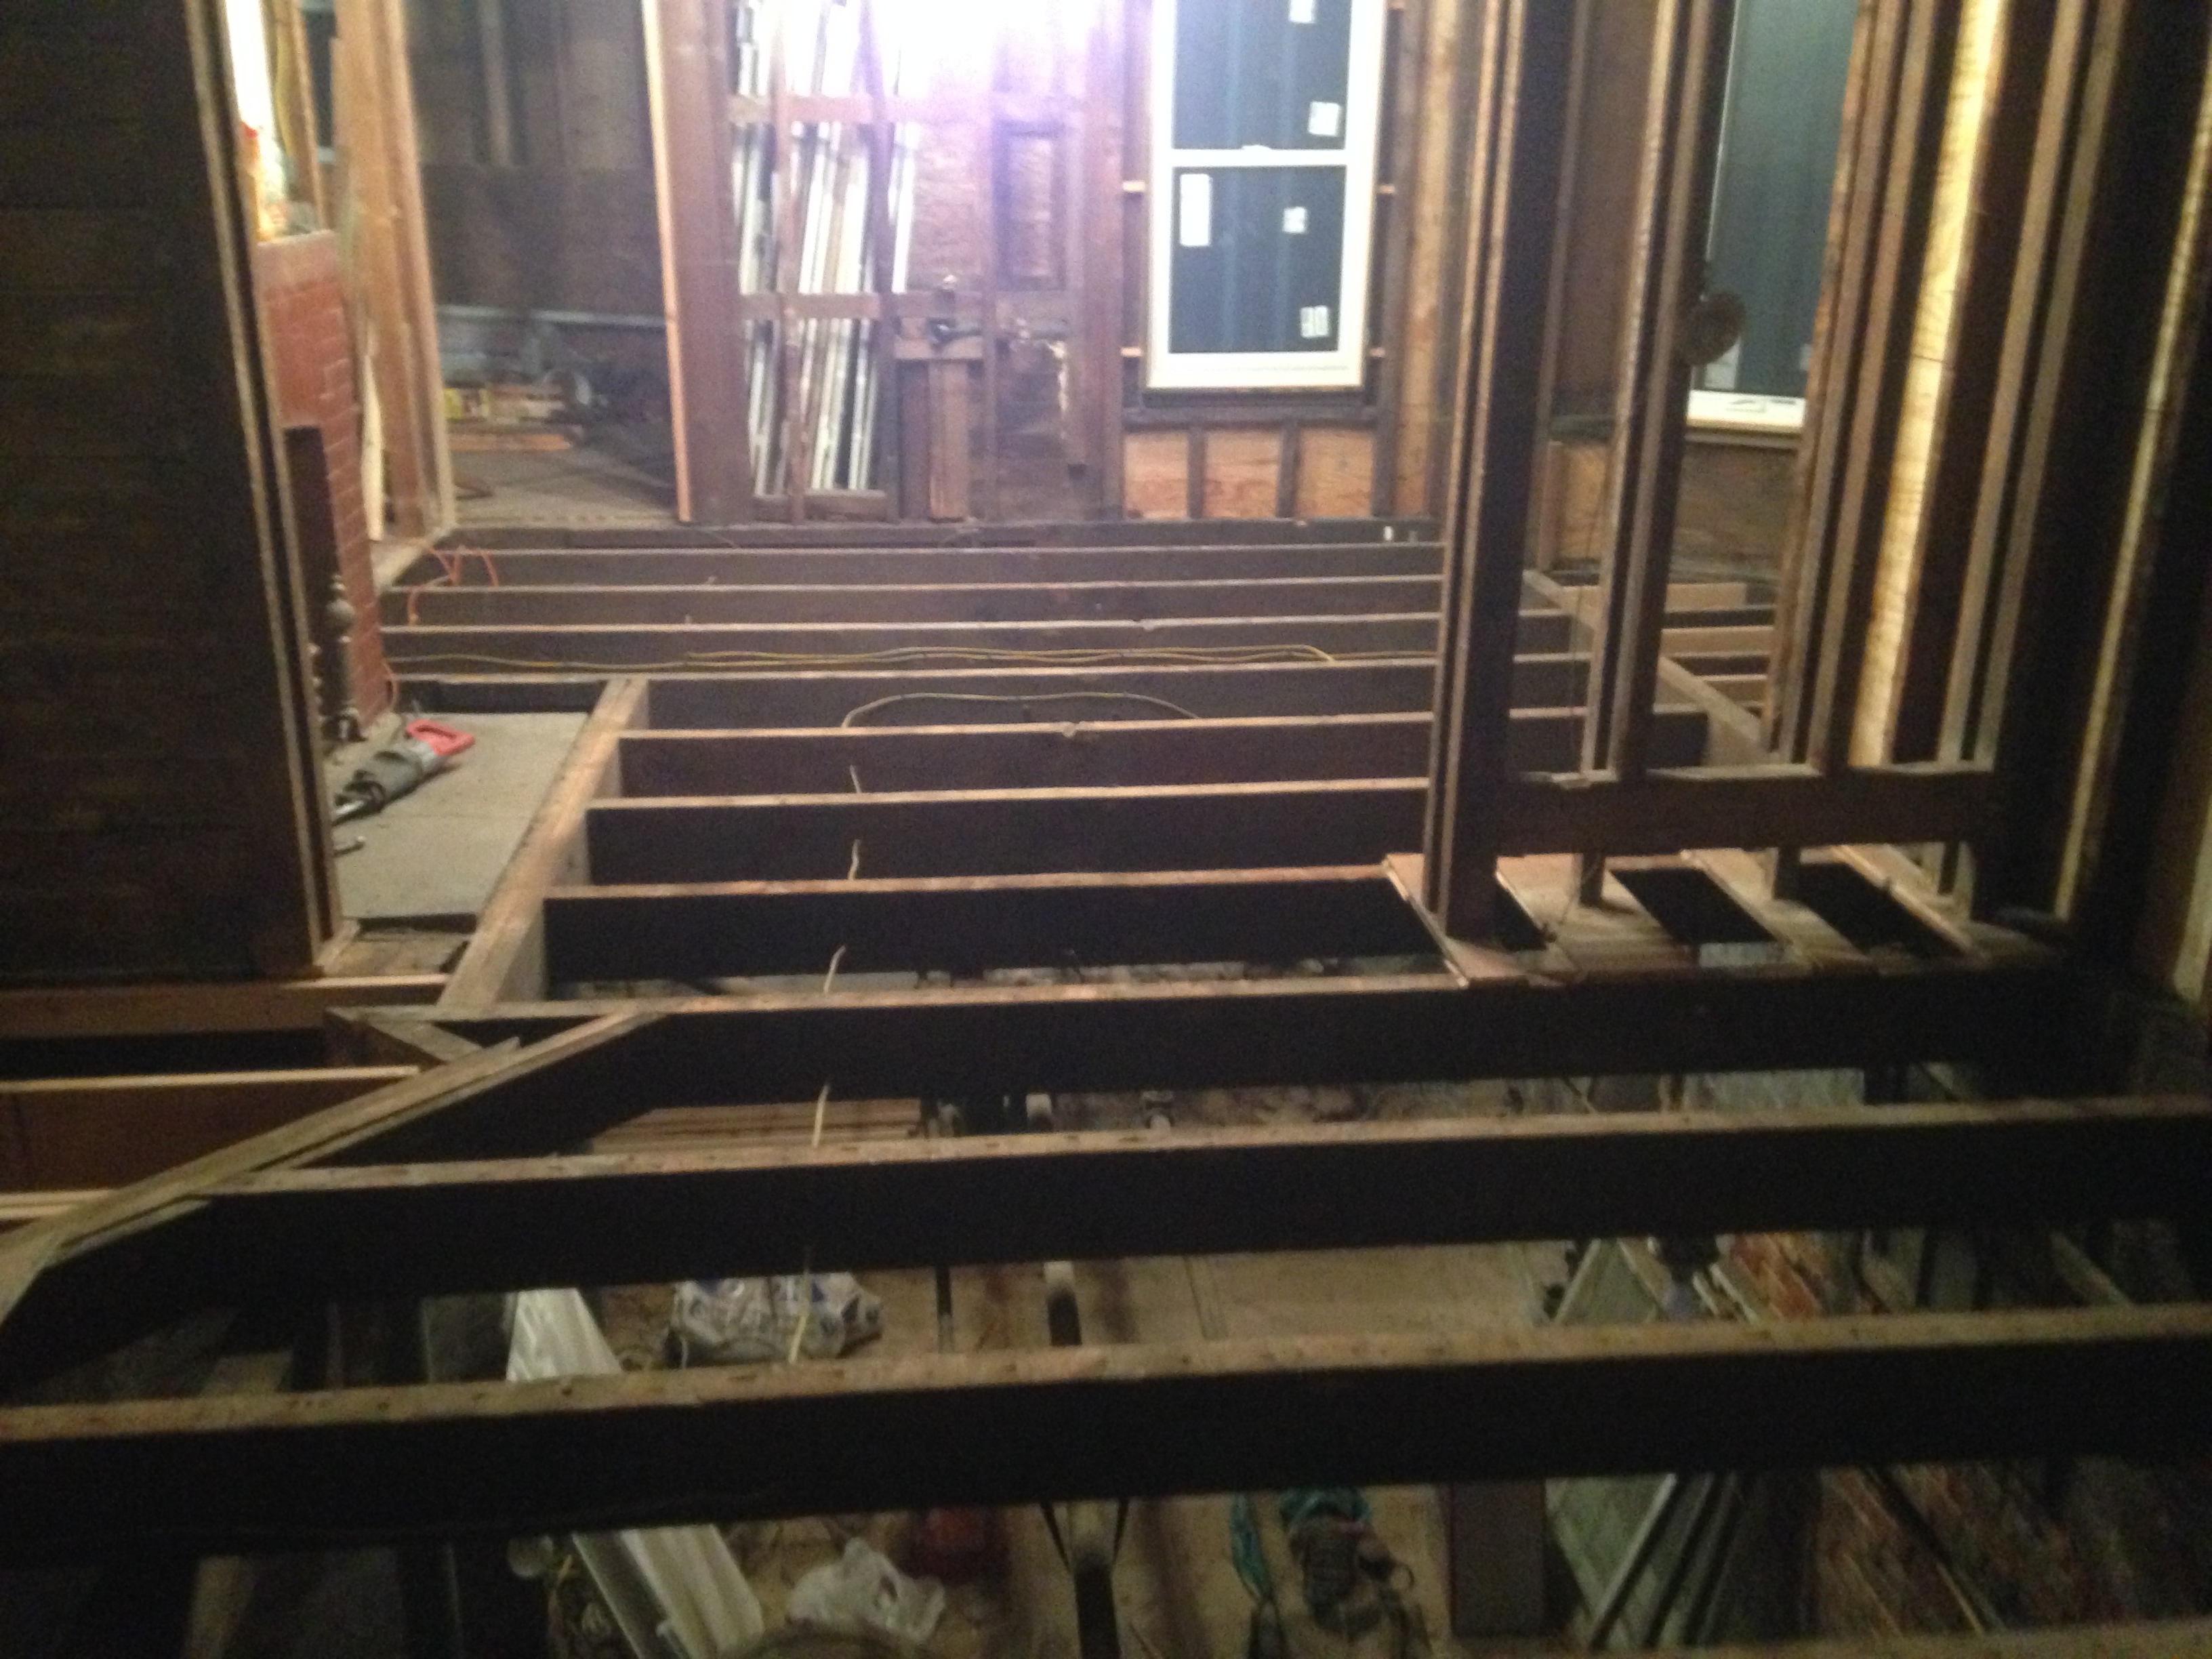
The next step of the process was to remove the floor from the first floor in order to add in more joists and subfloor. The floor removal process took me about a week simply because I wanted to save it all in case I wanted to do something with it. Or sell it. They put the floor in with spikes so it was more annoying than anything. It was all so old and dry that it splintered apart quite easily.
Step 1: Remove floor.
Step 2: Arrange nicely in pile.
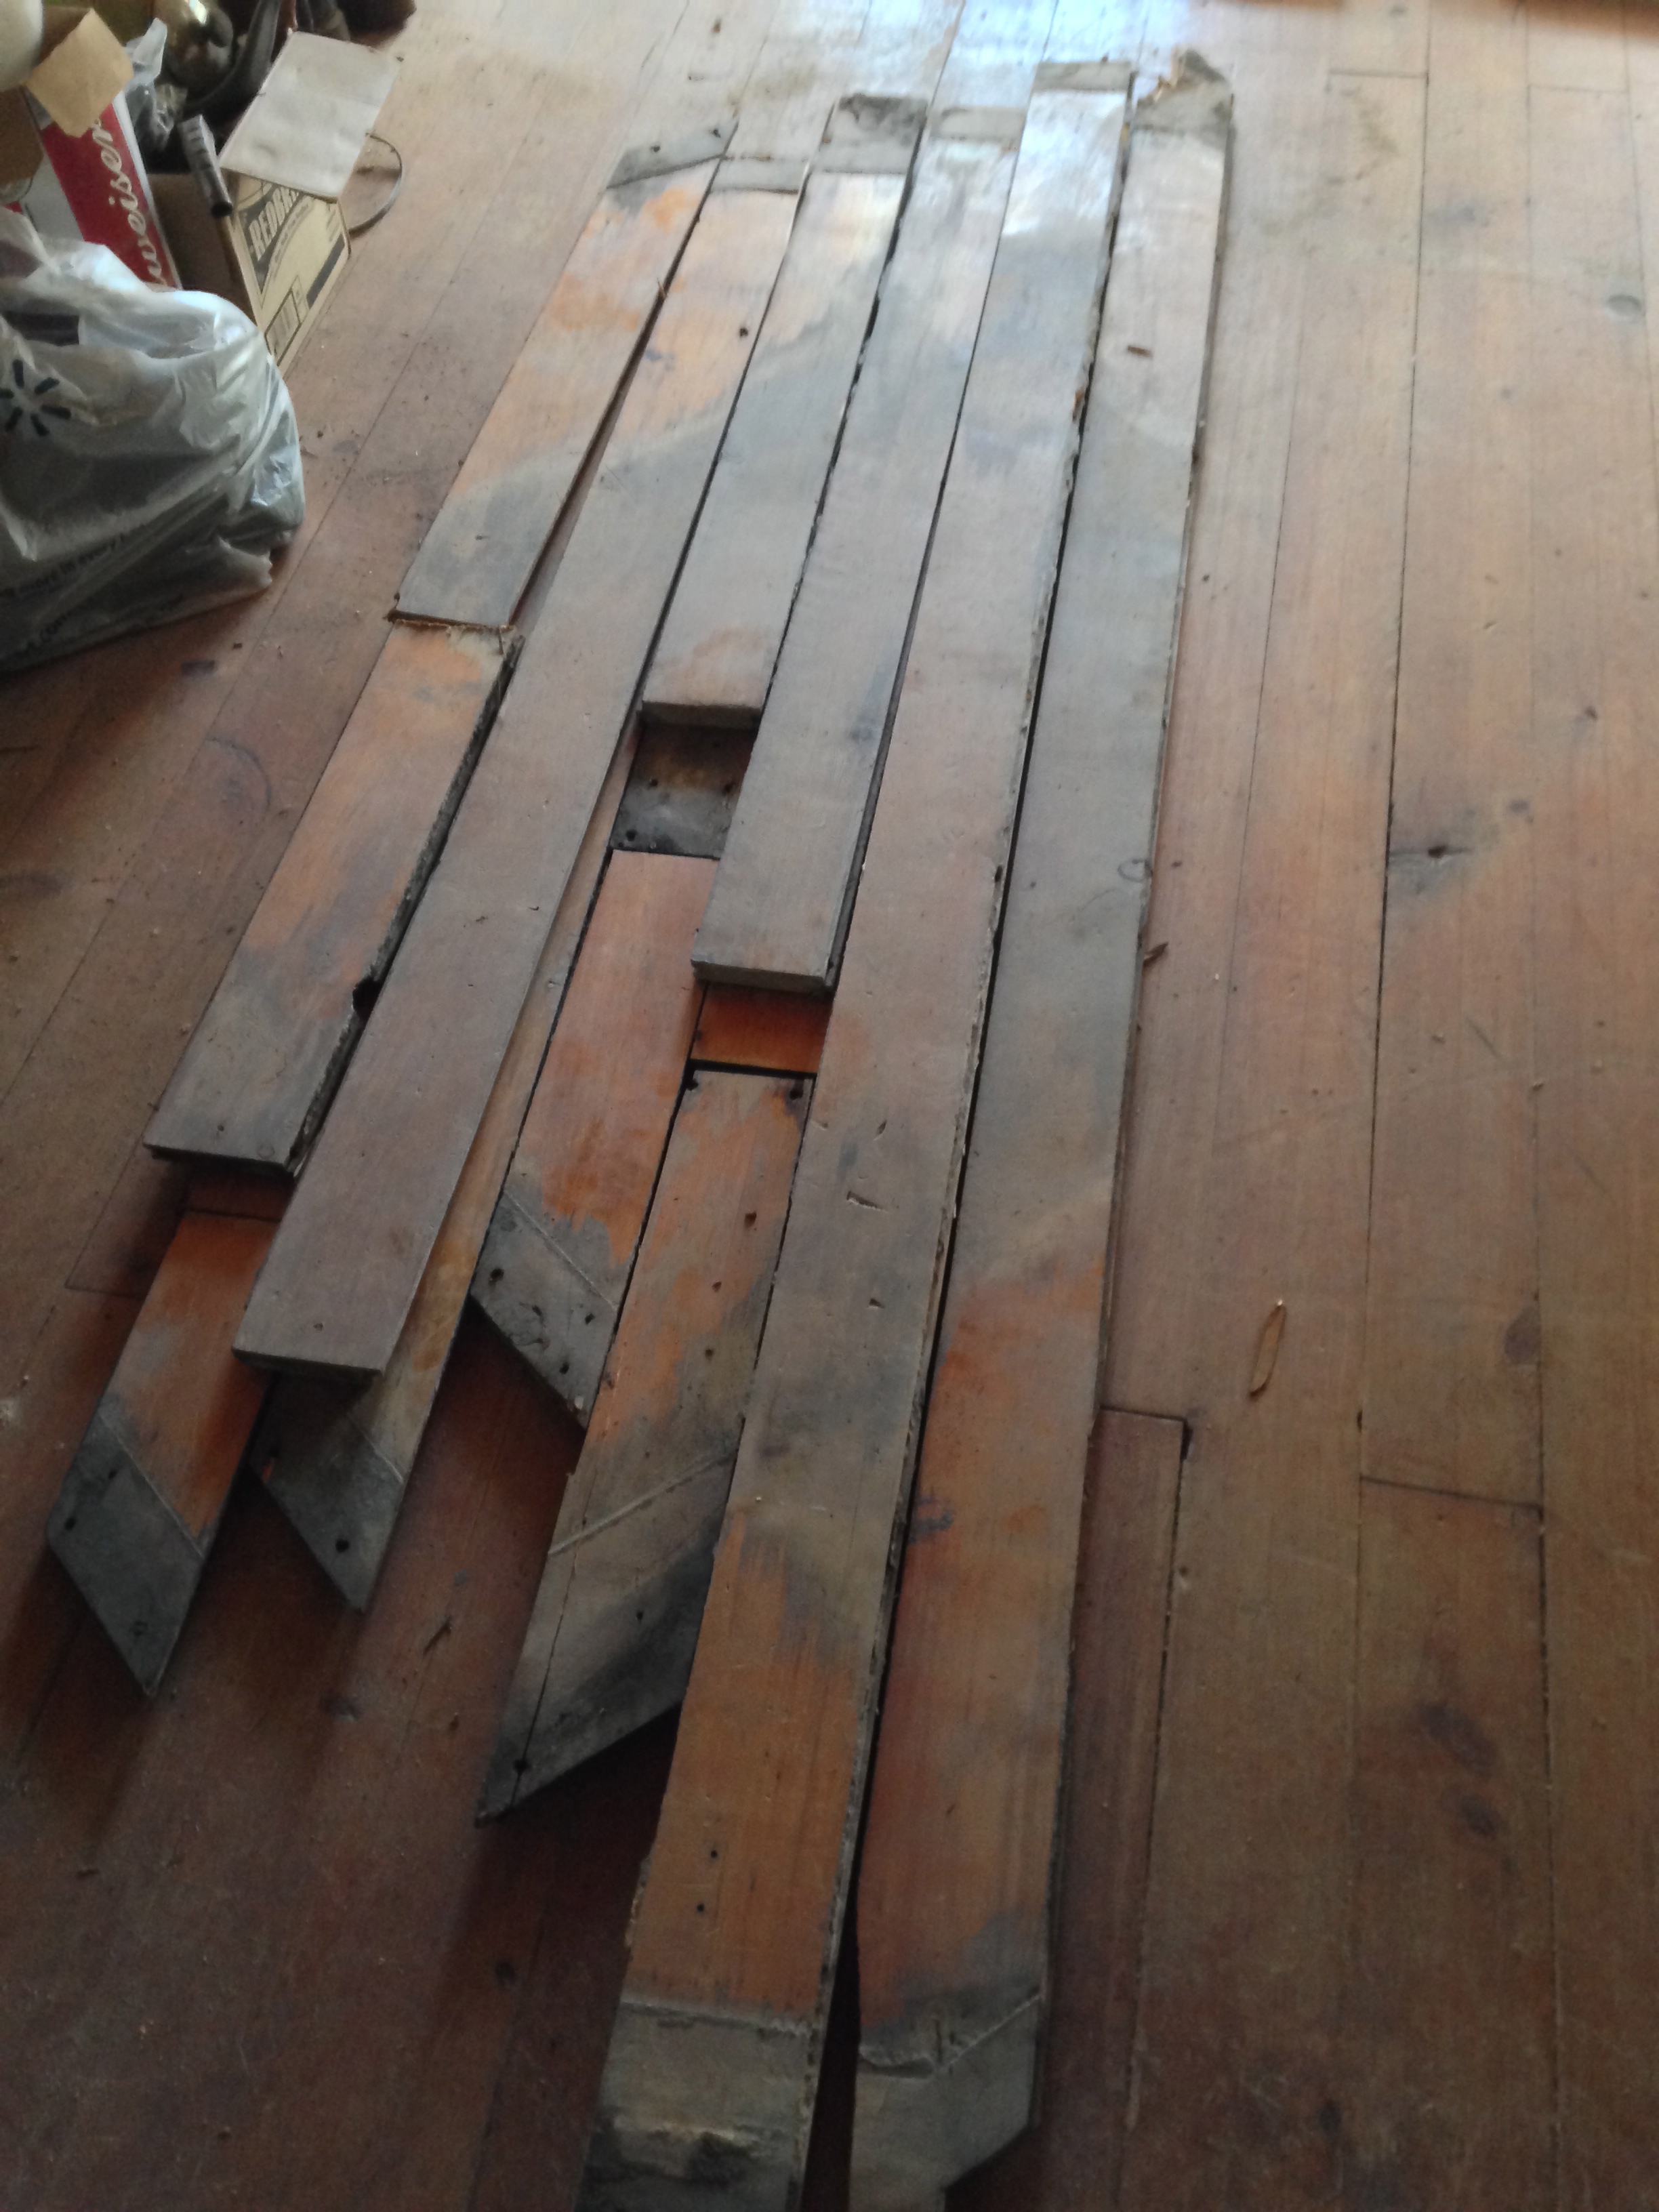
Step 3: Repeat. Forever.
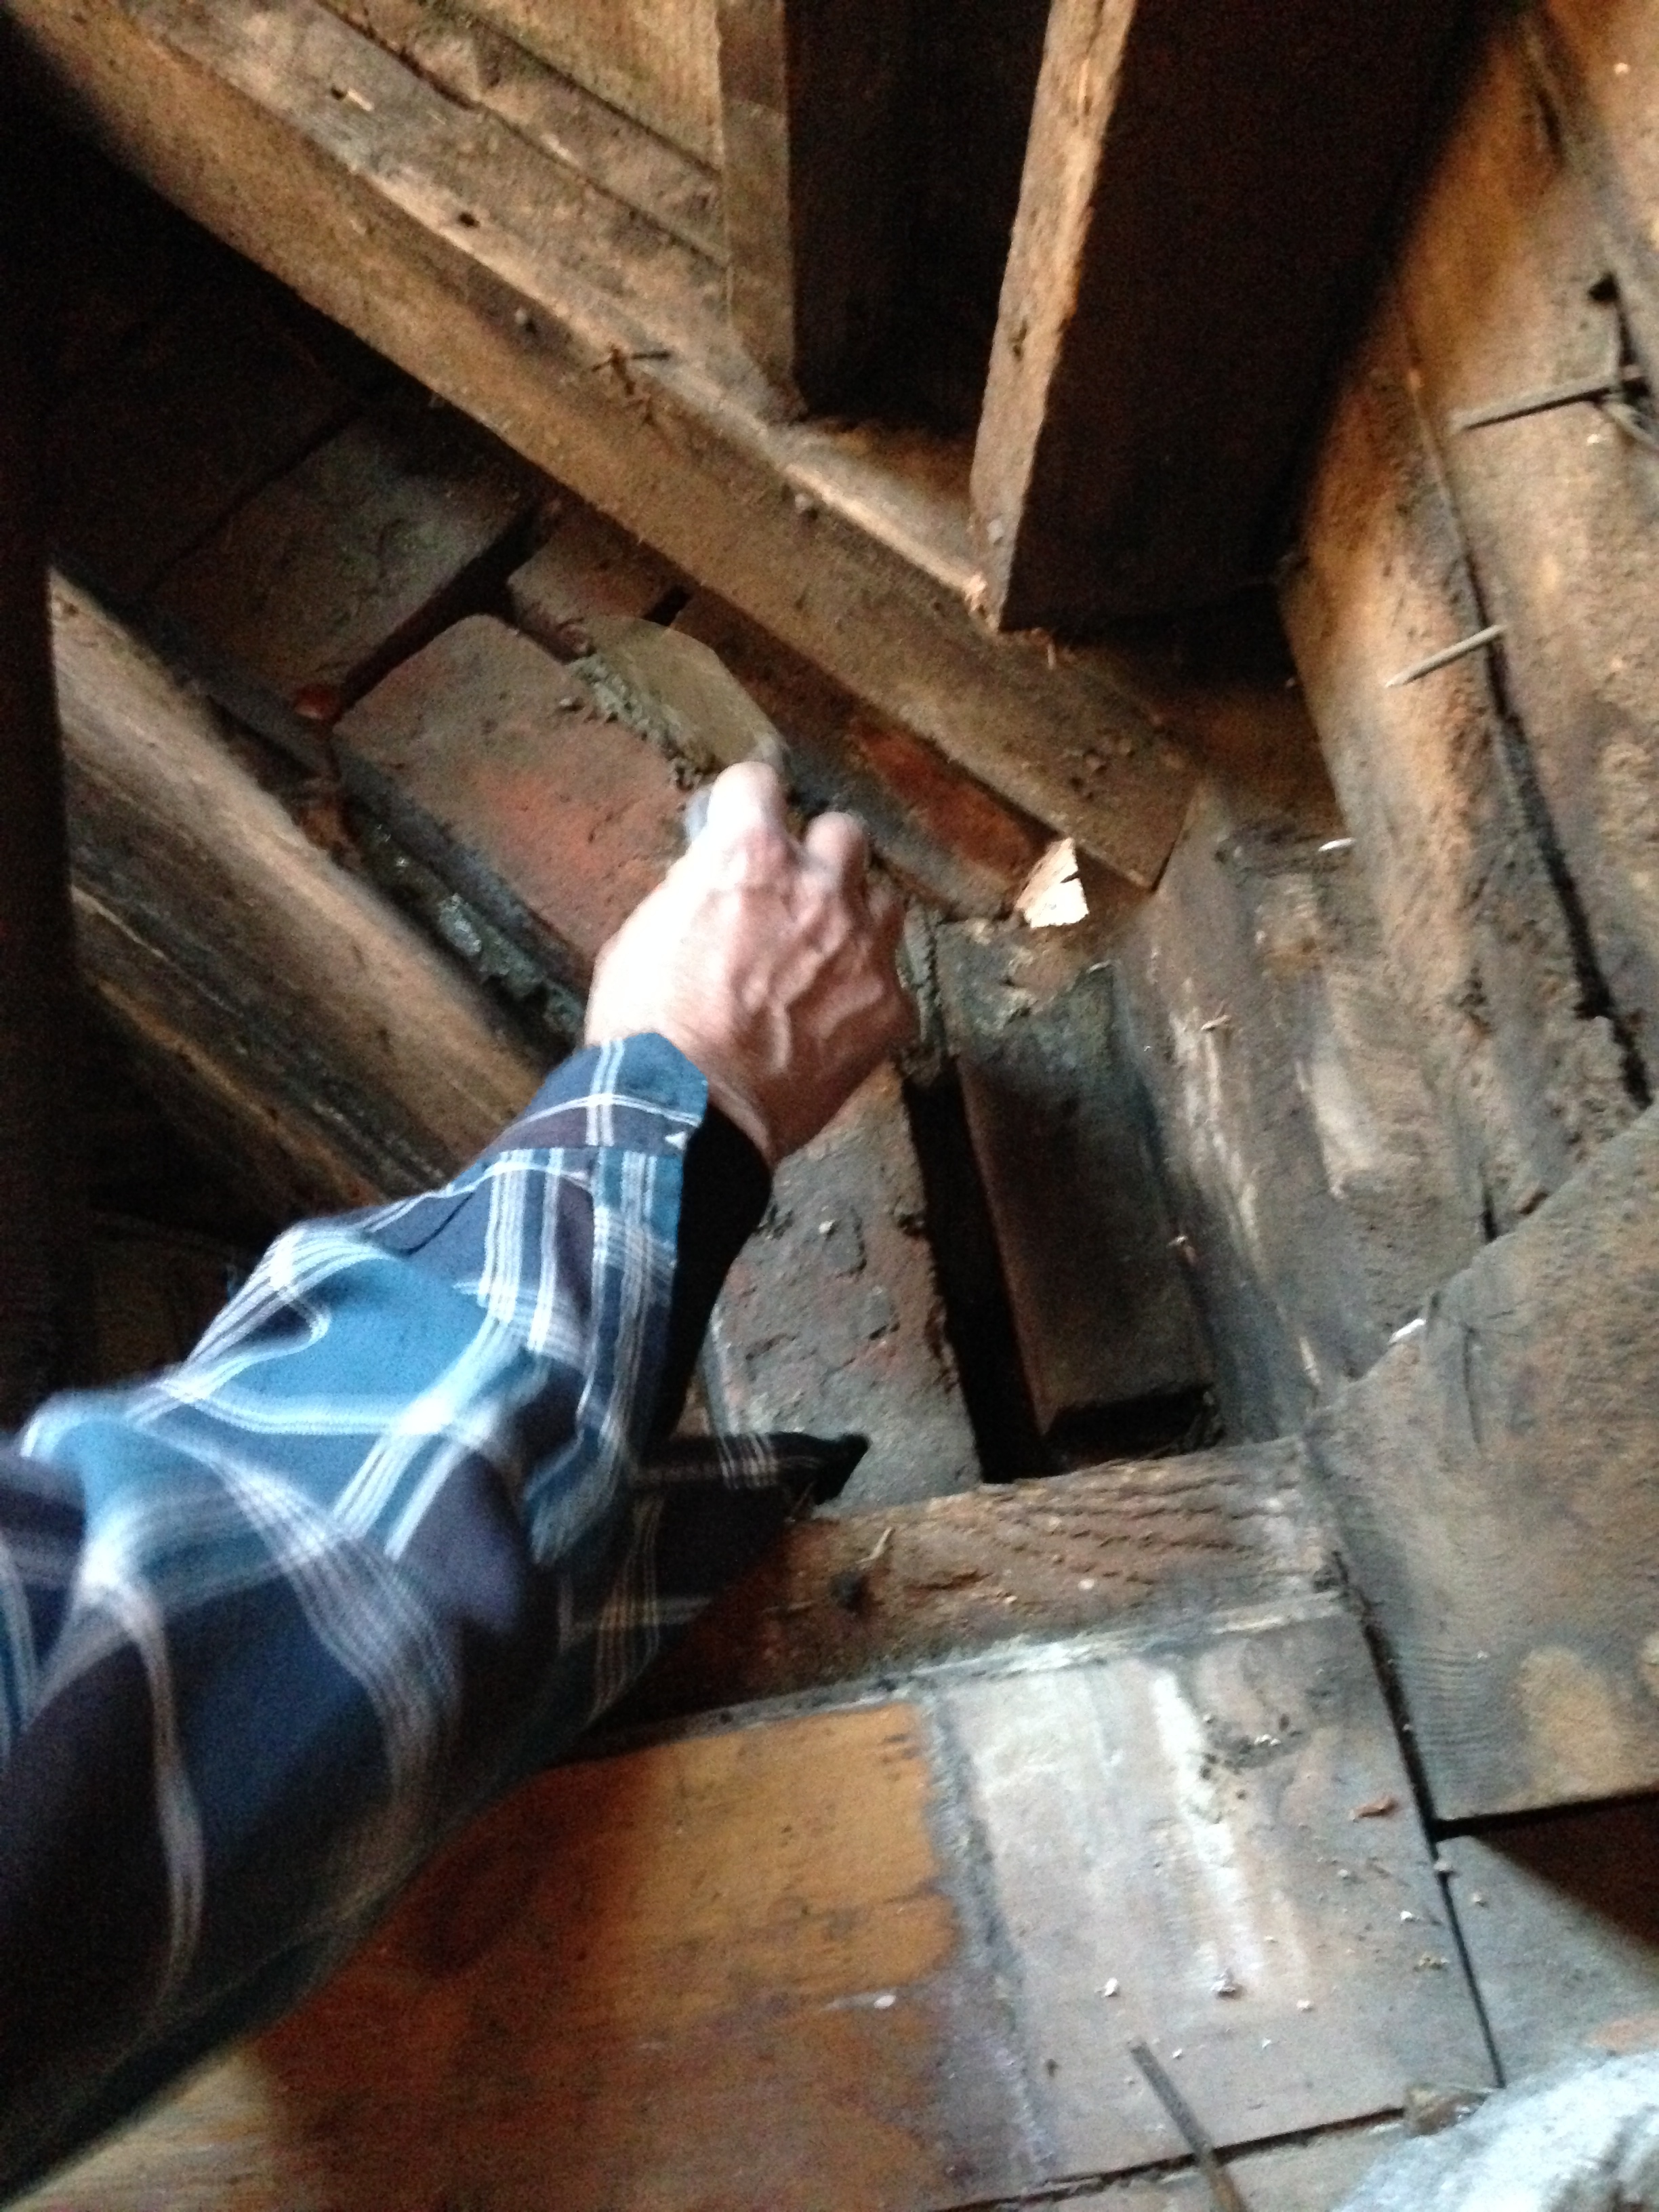
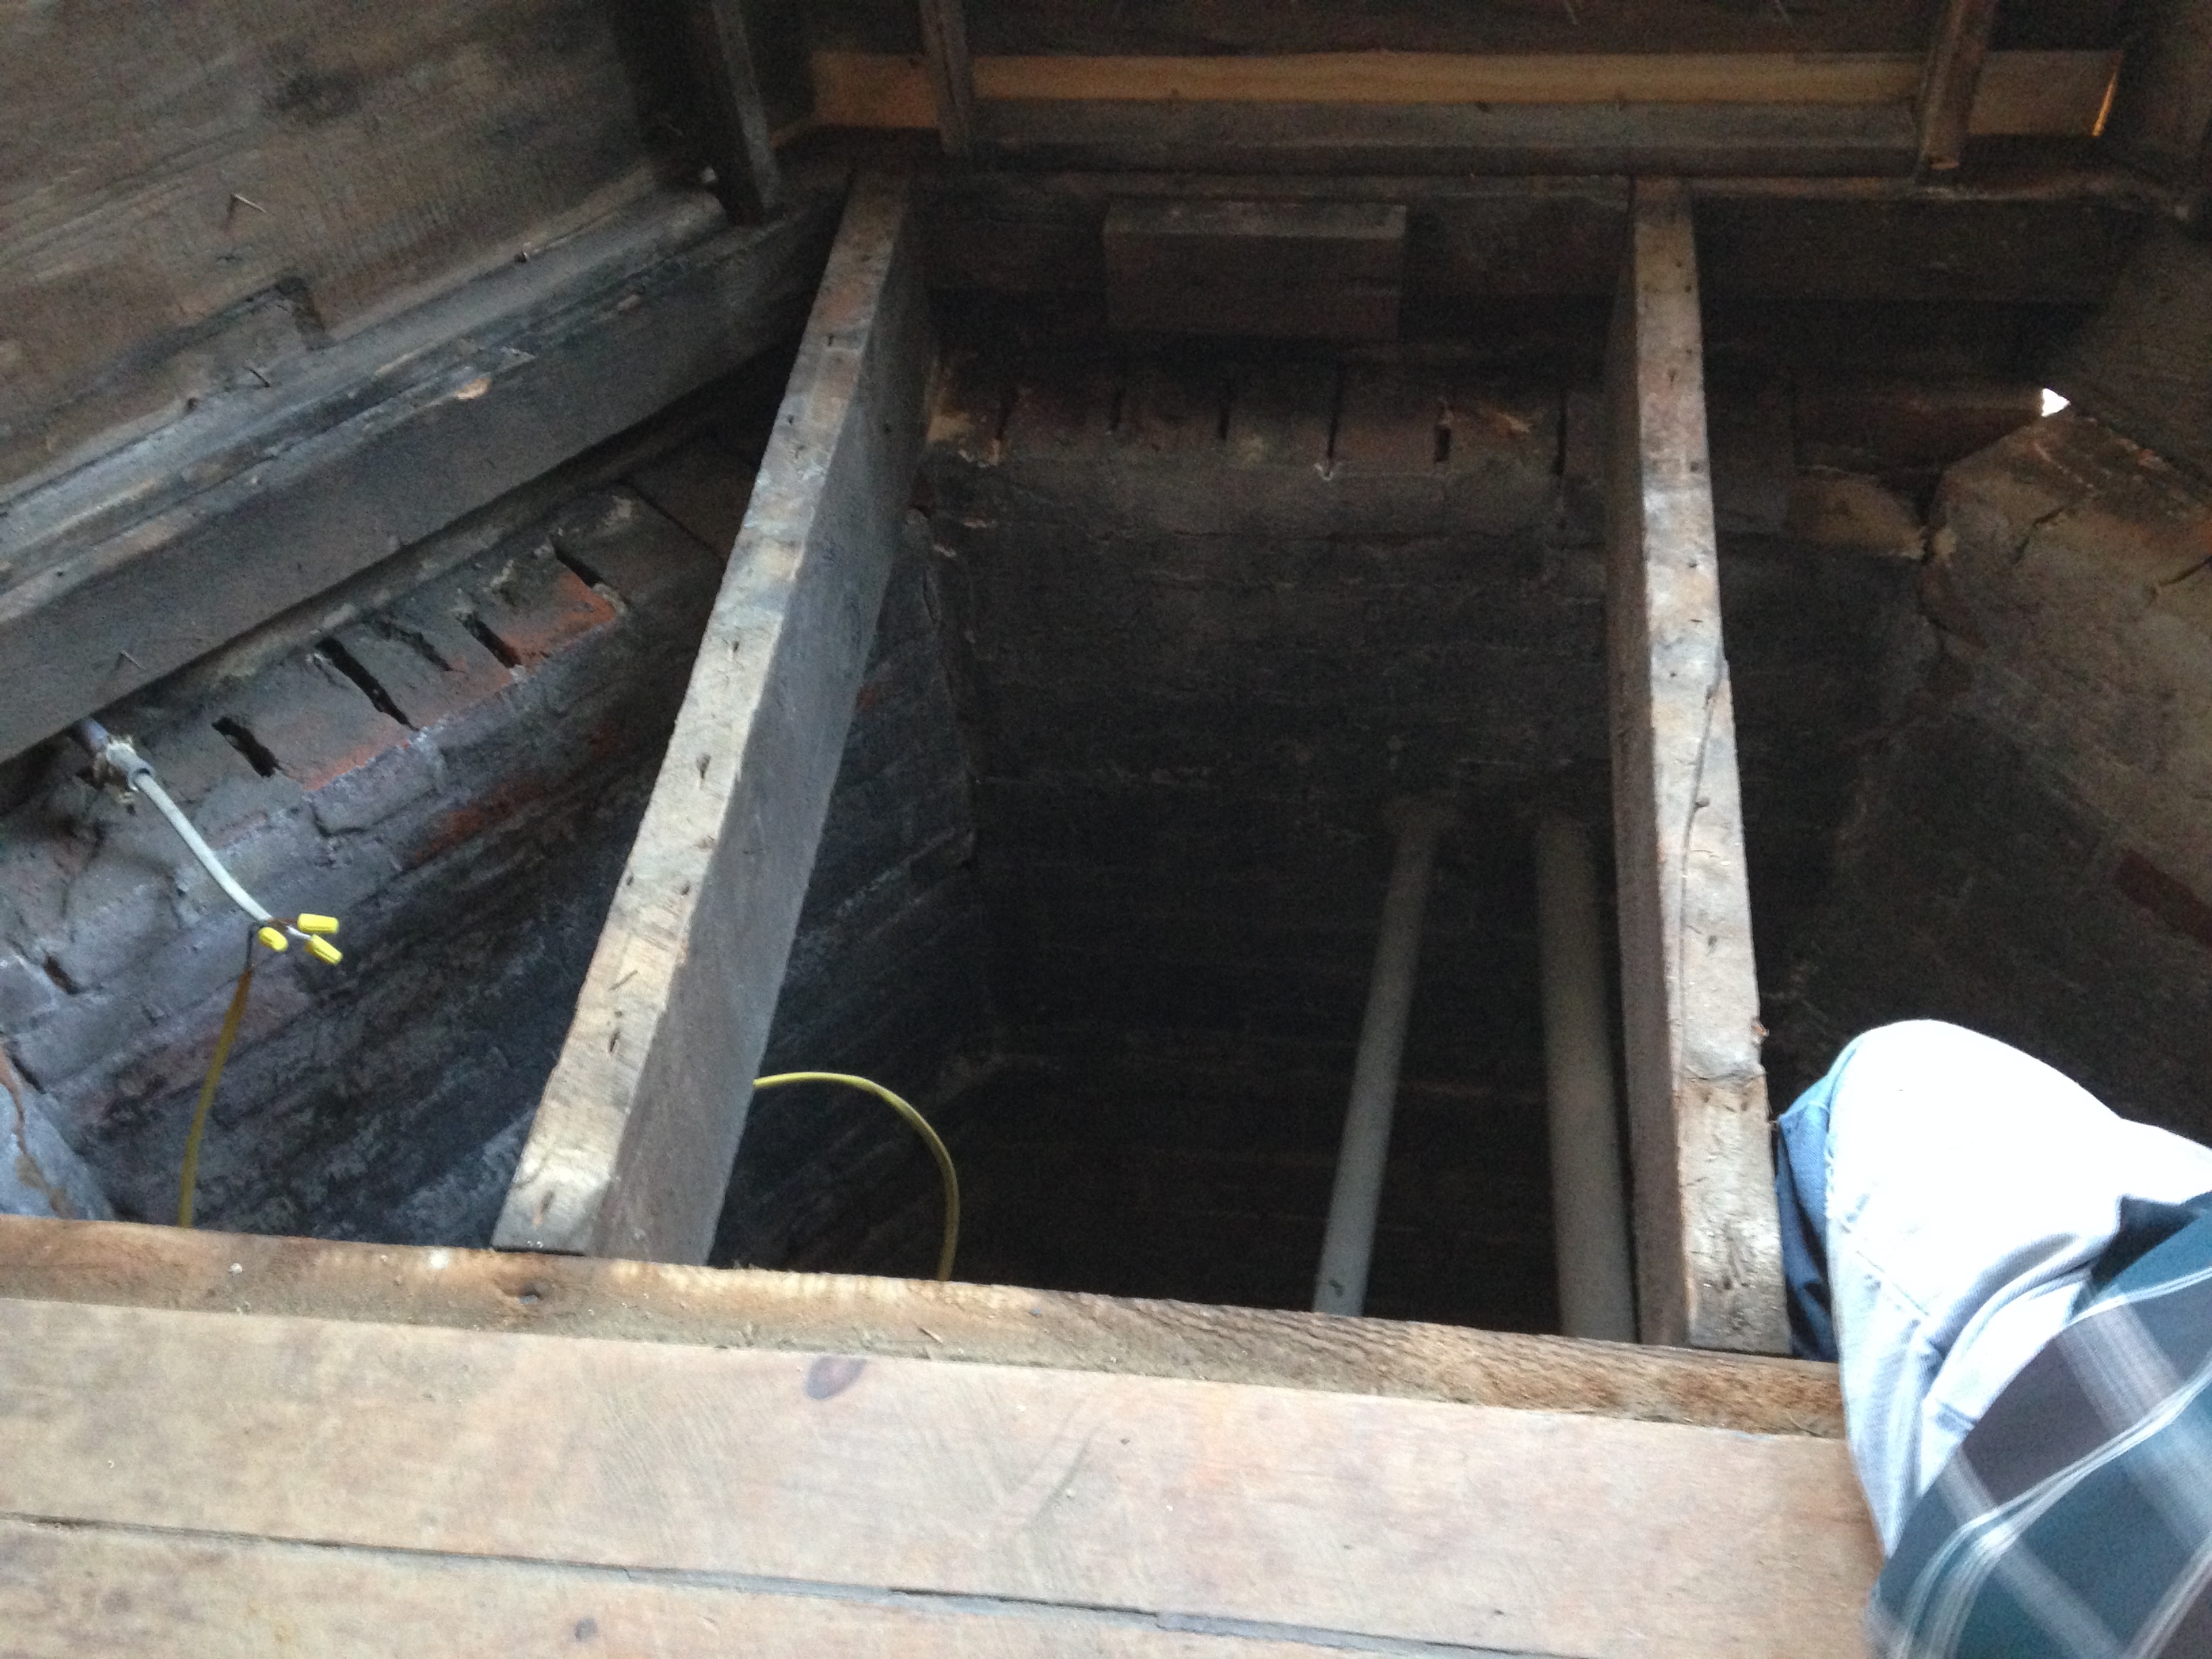
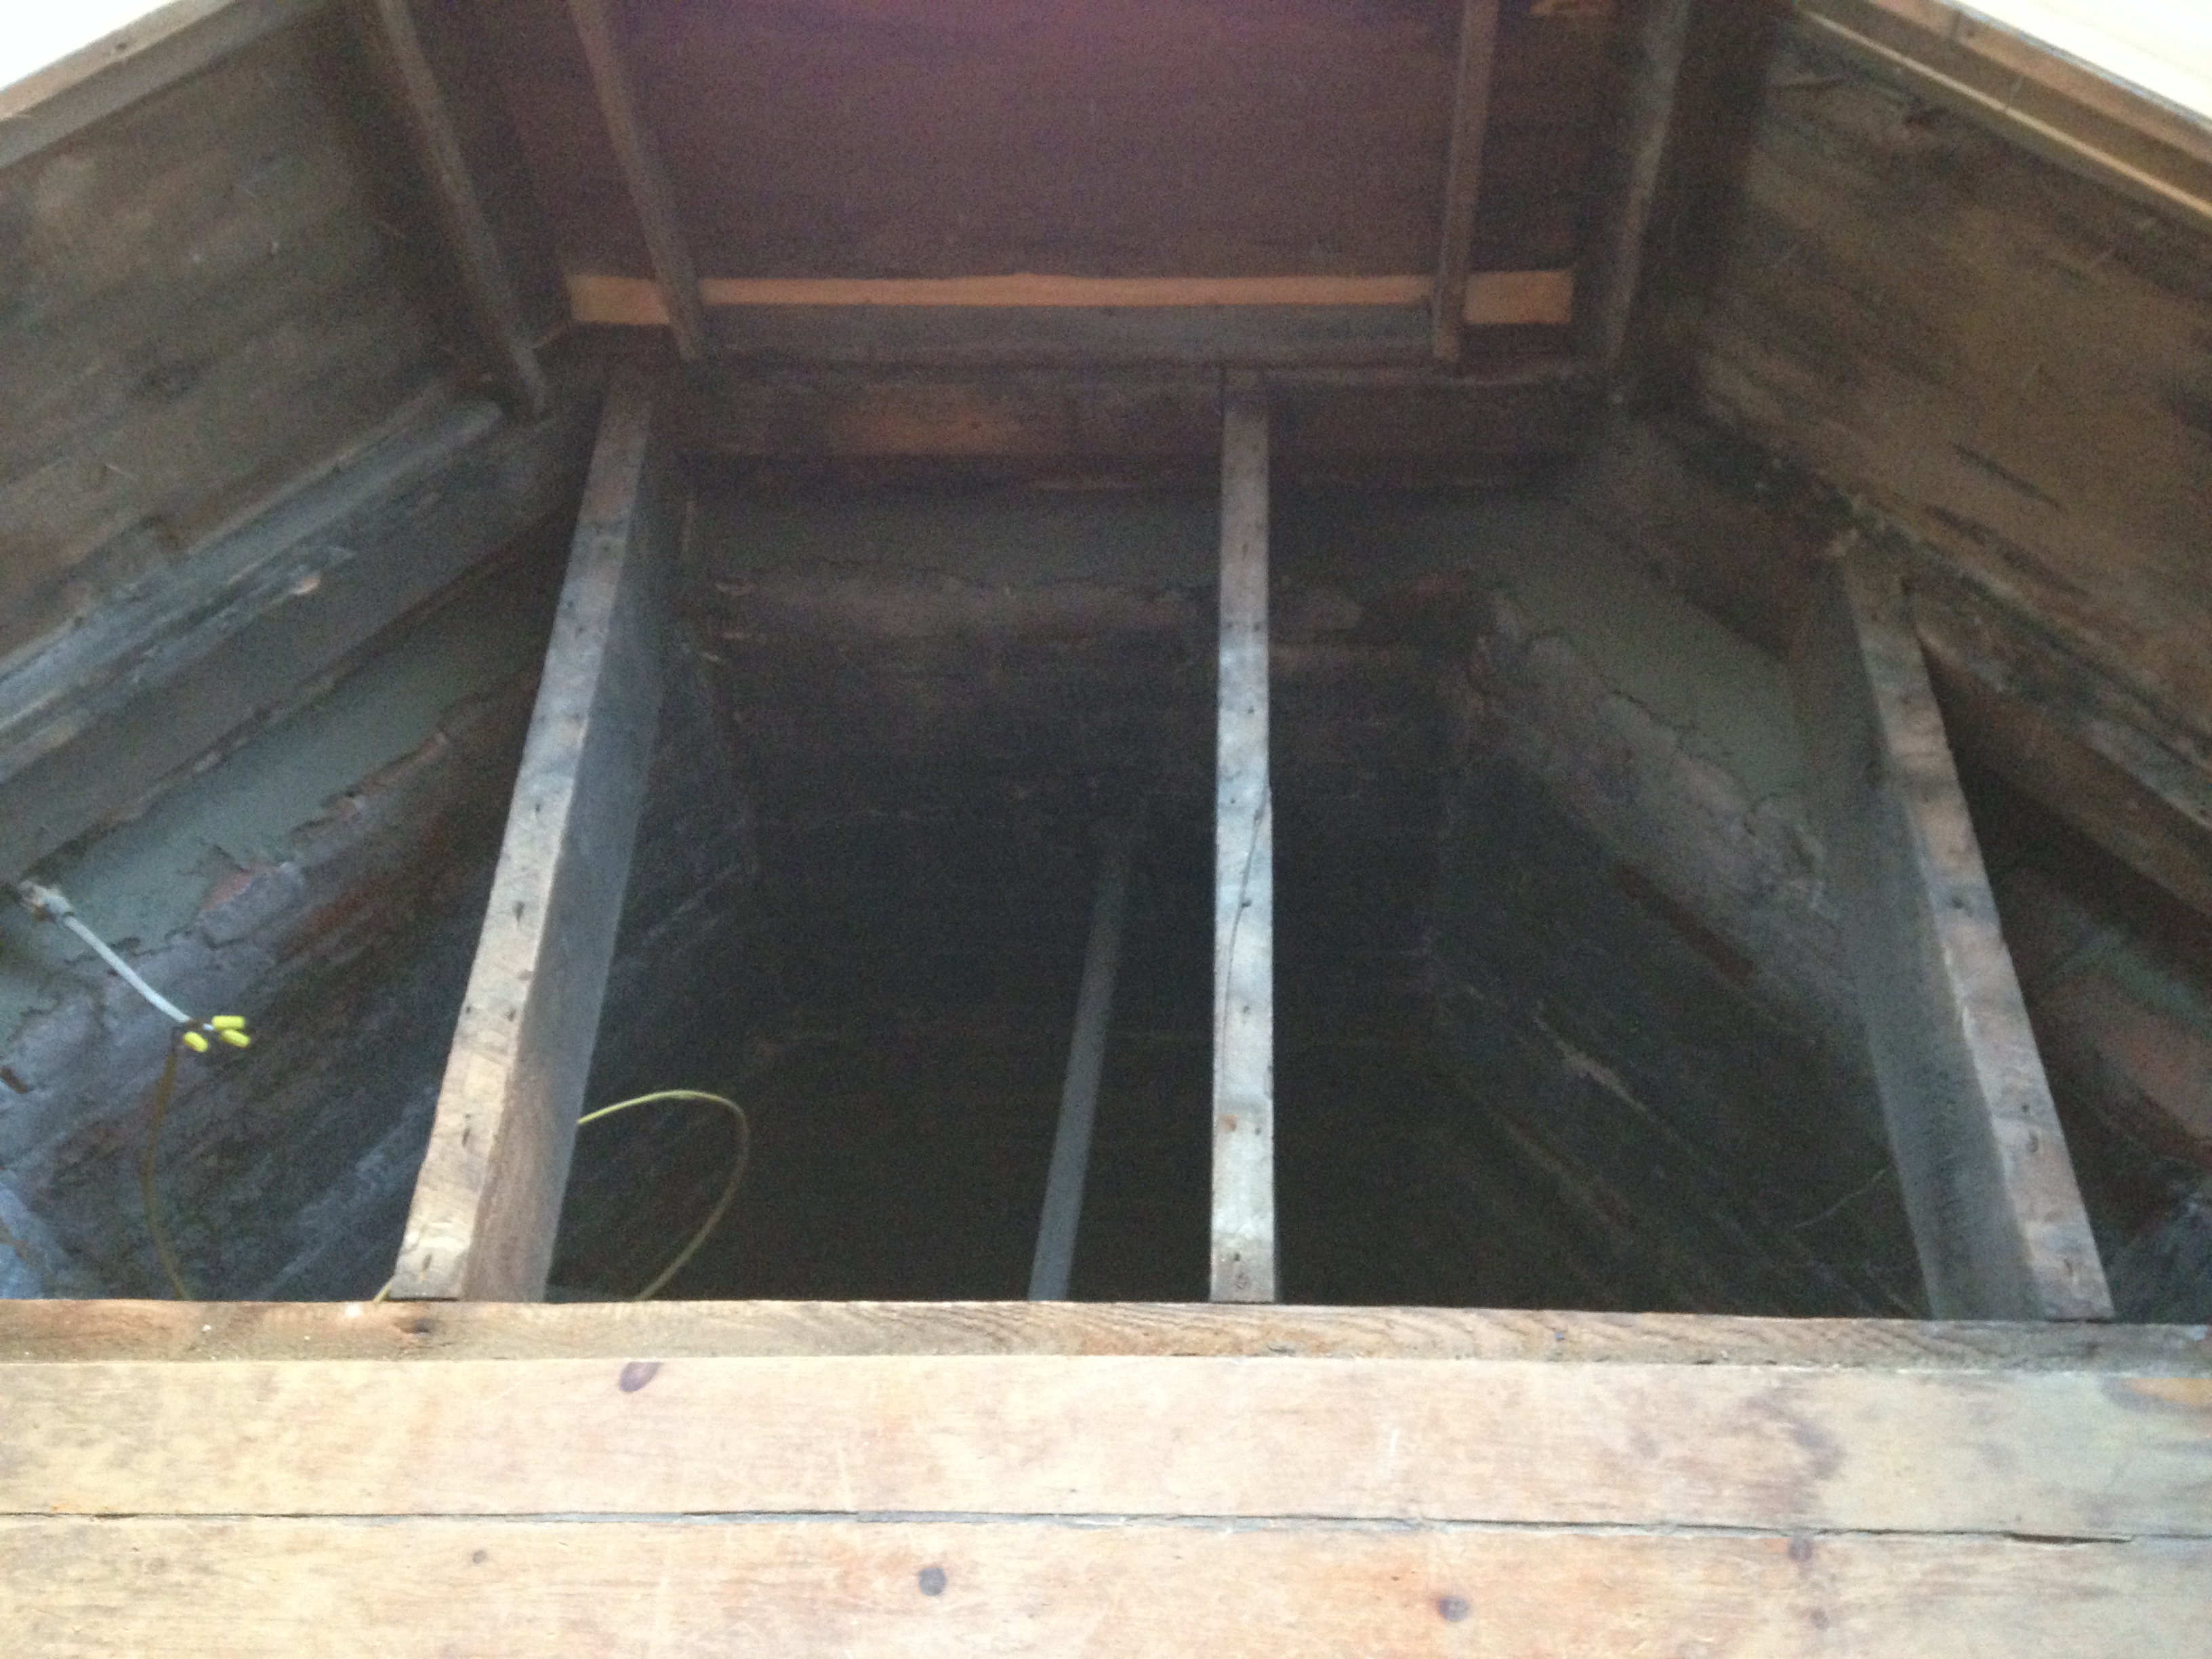

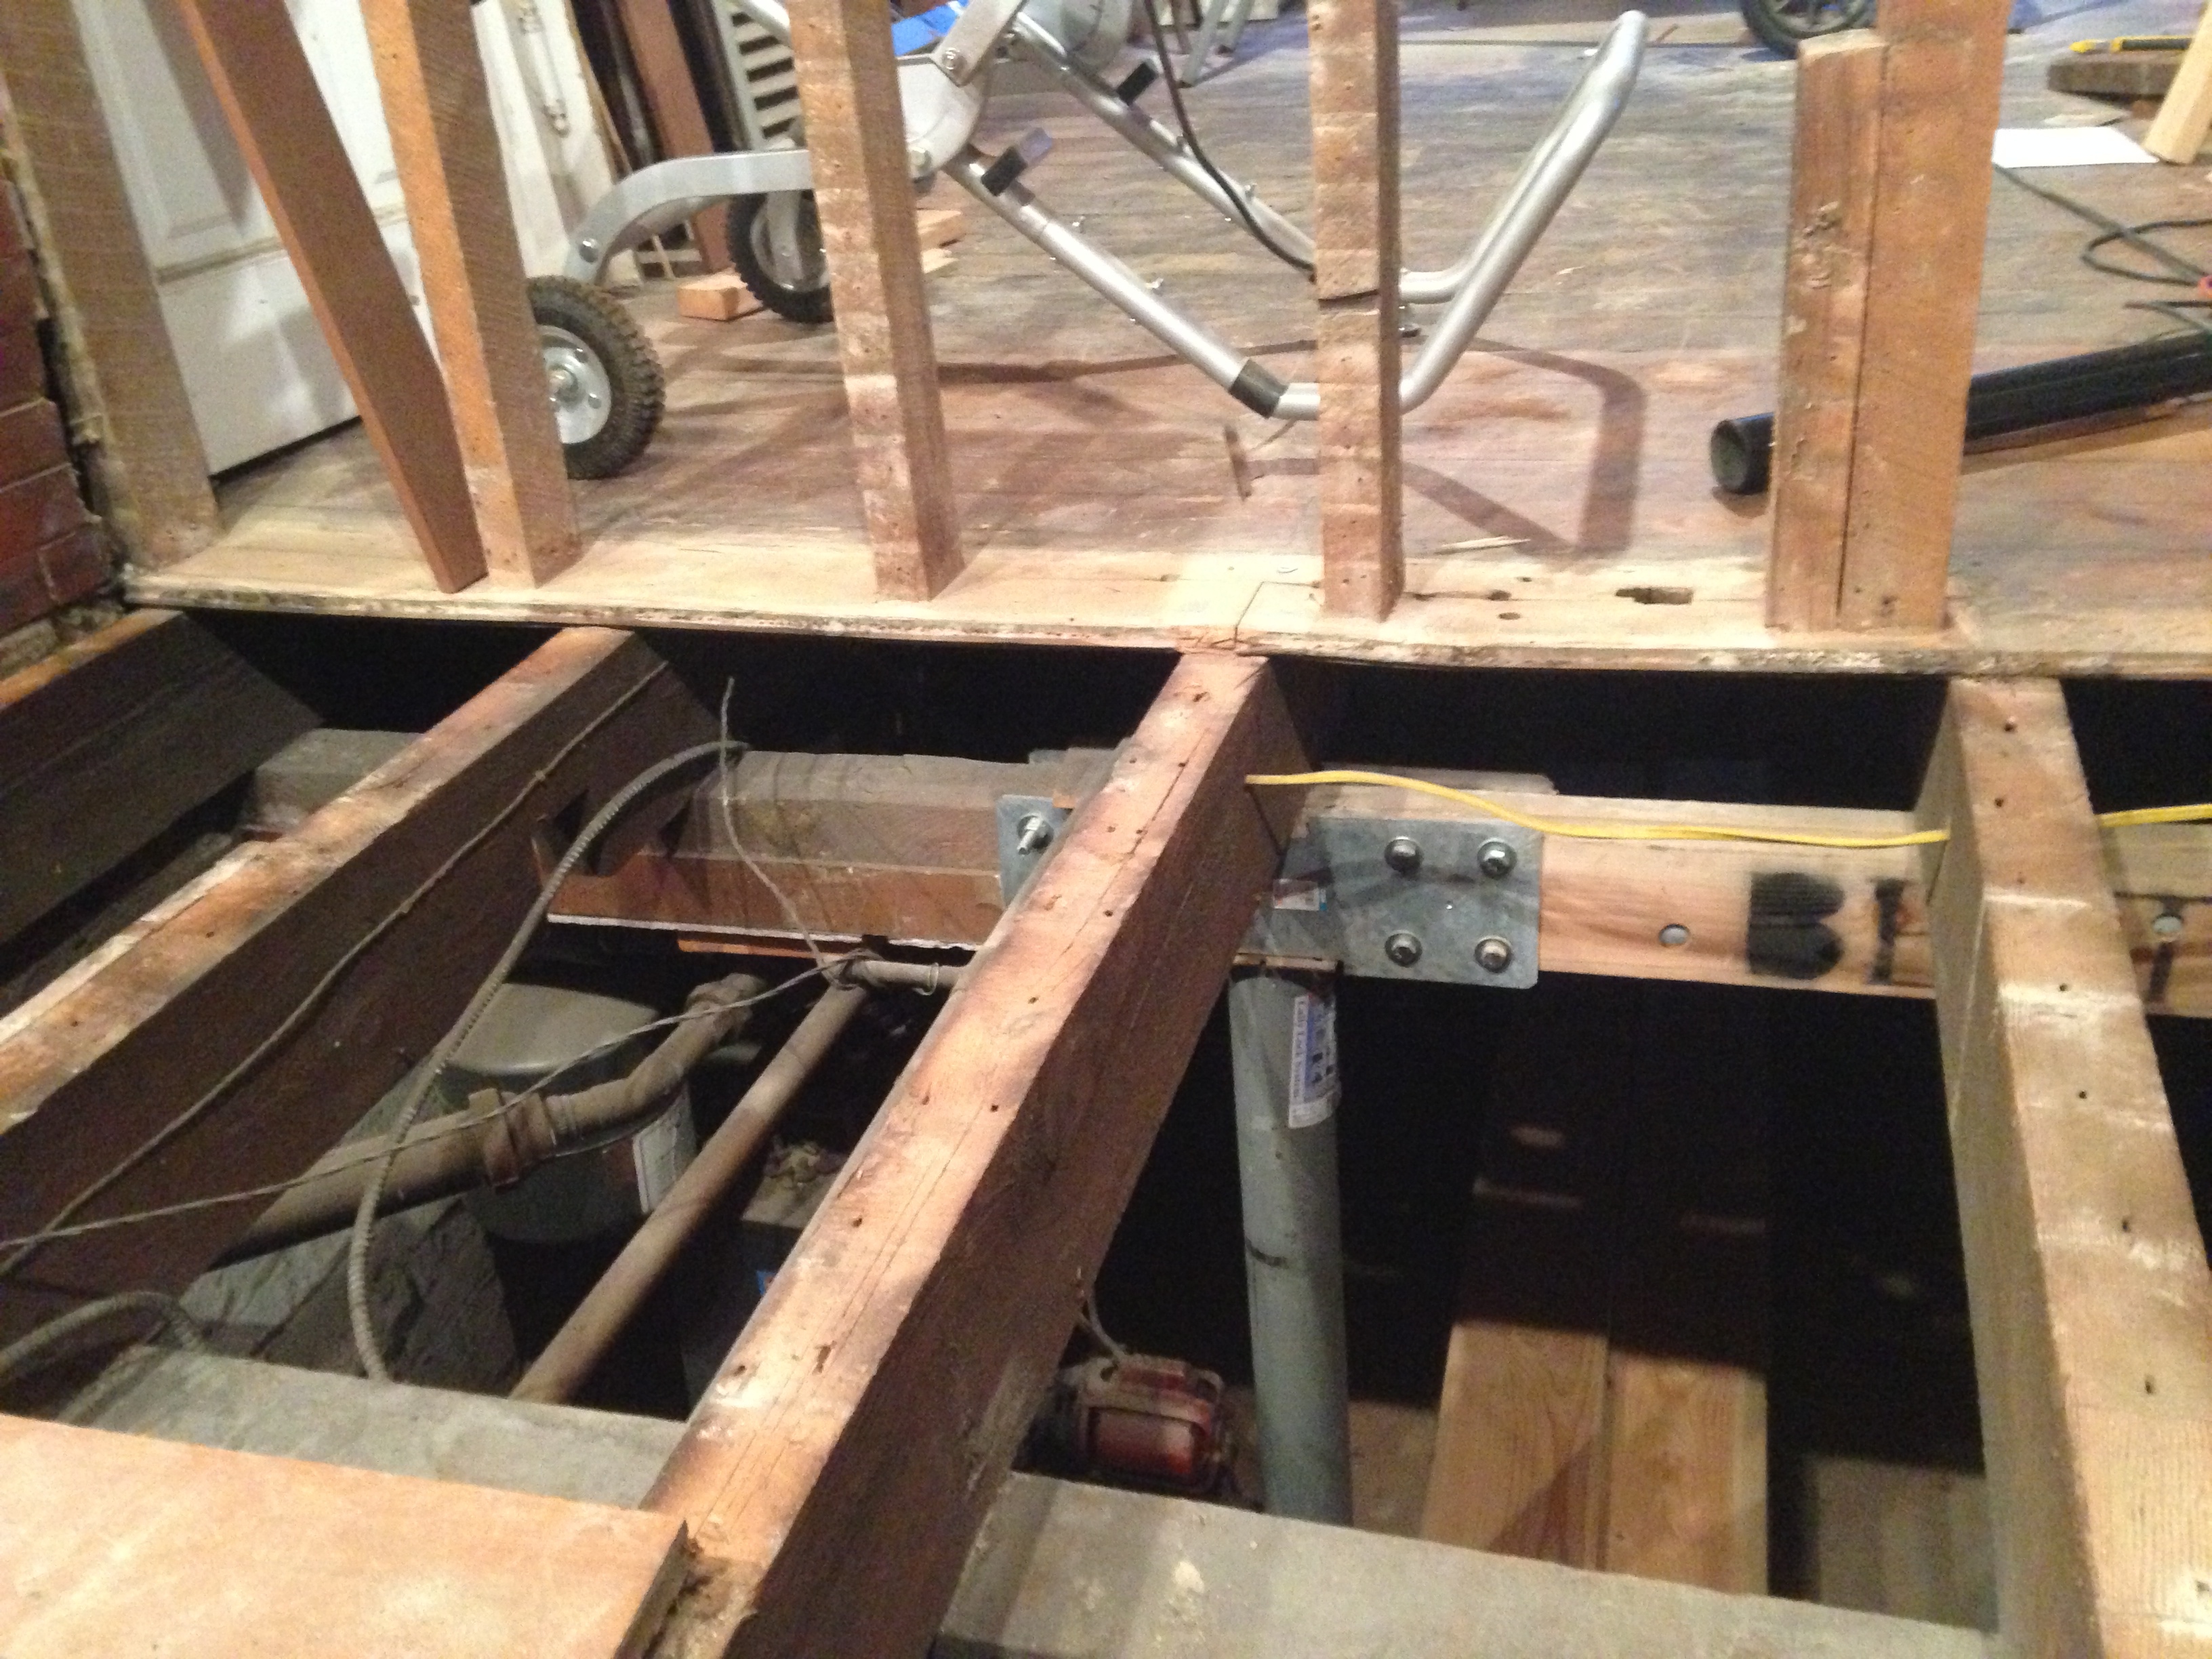
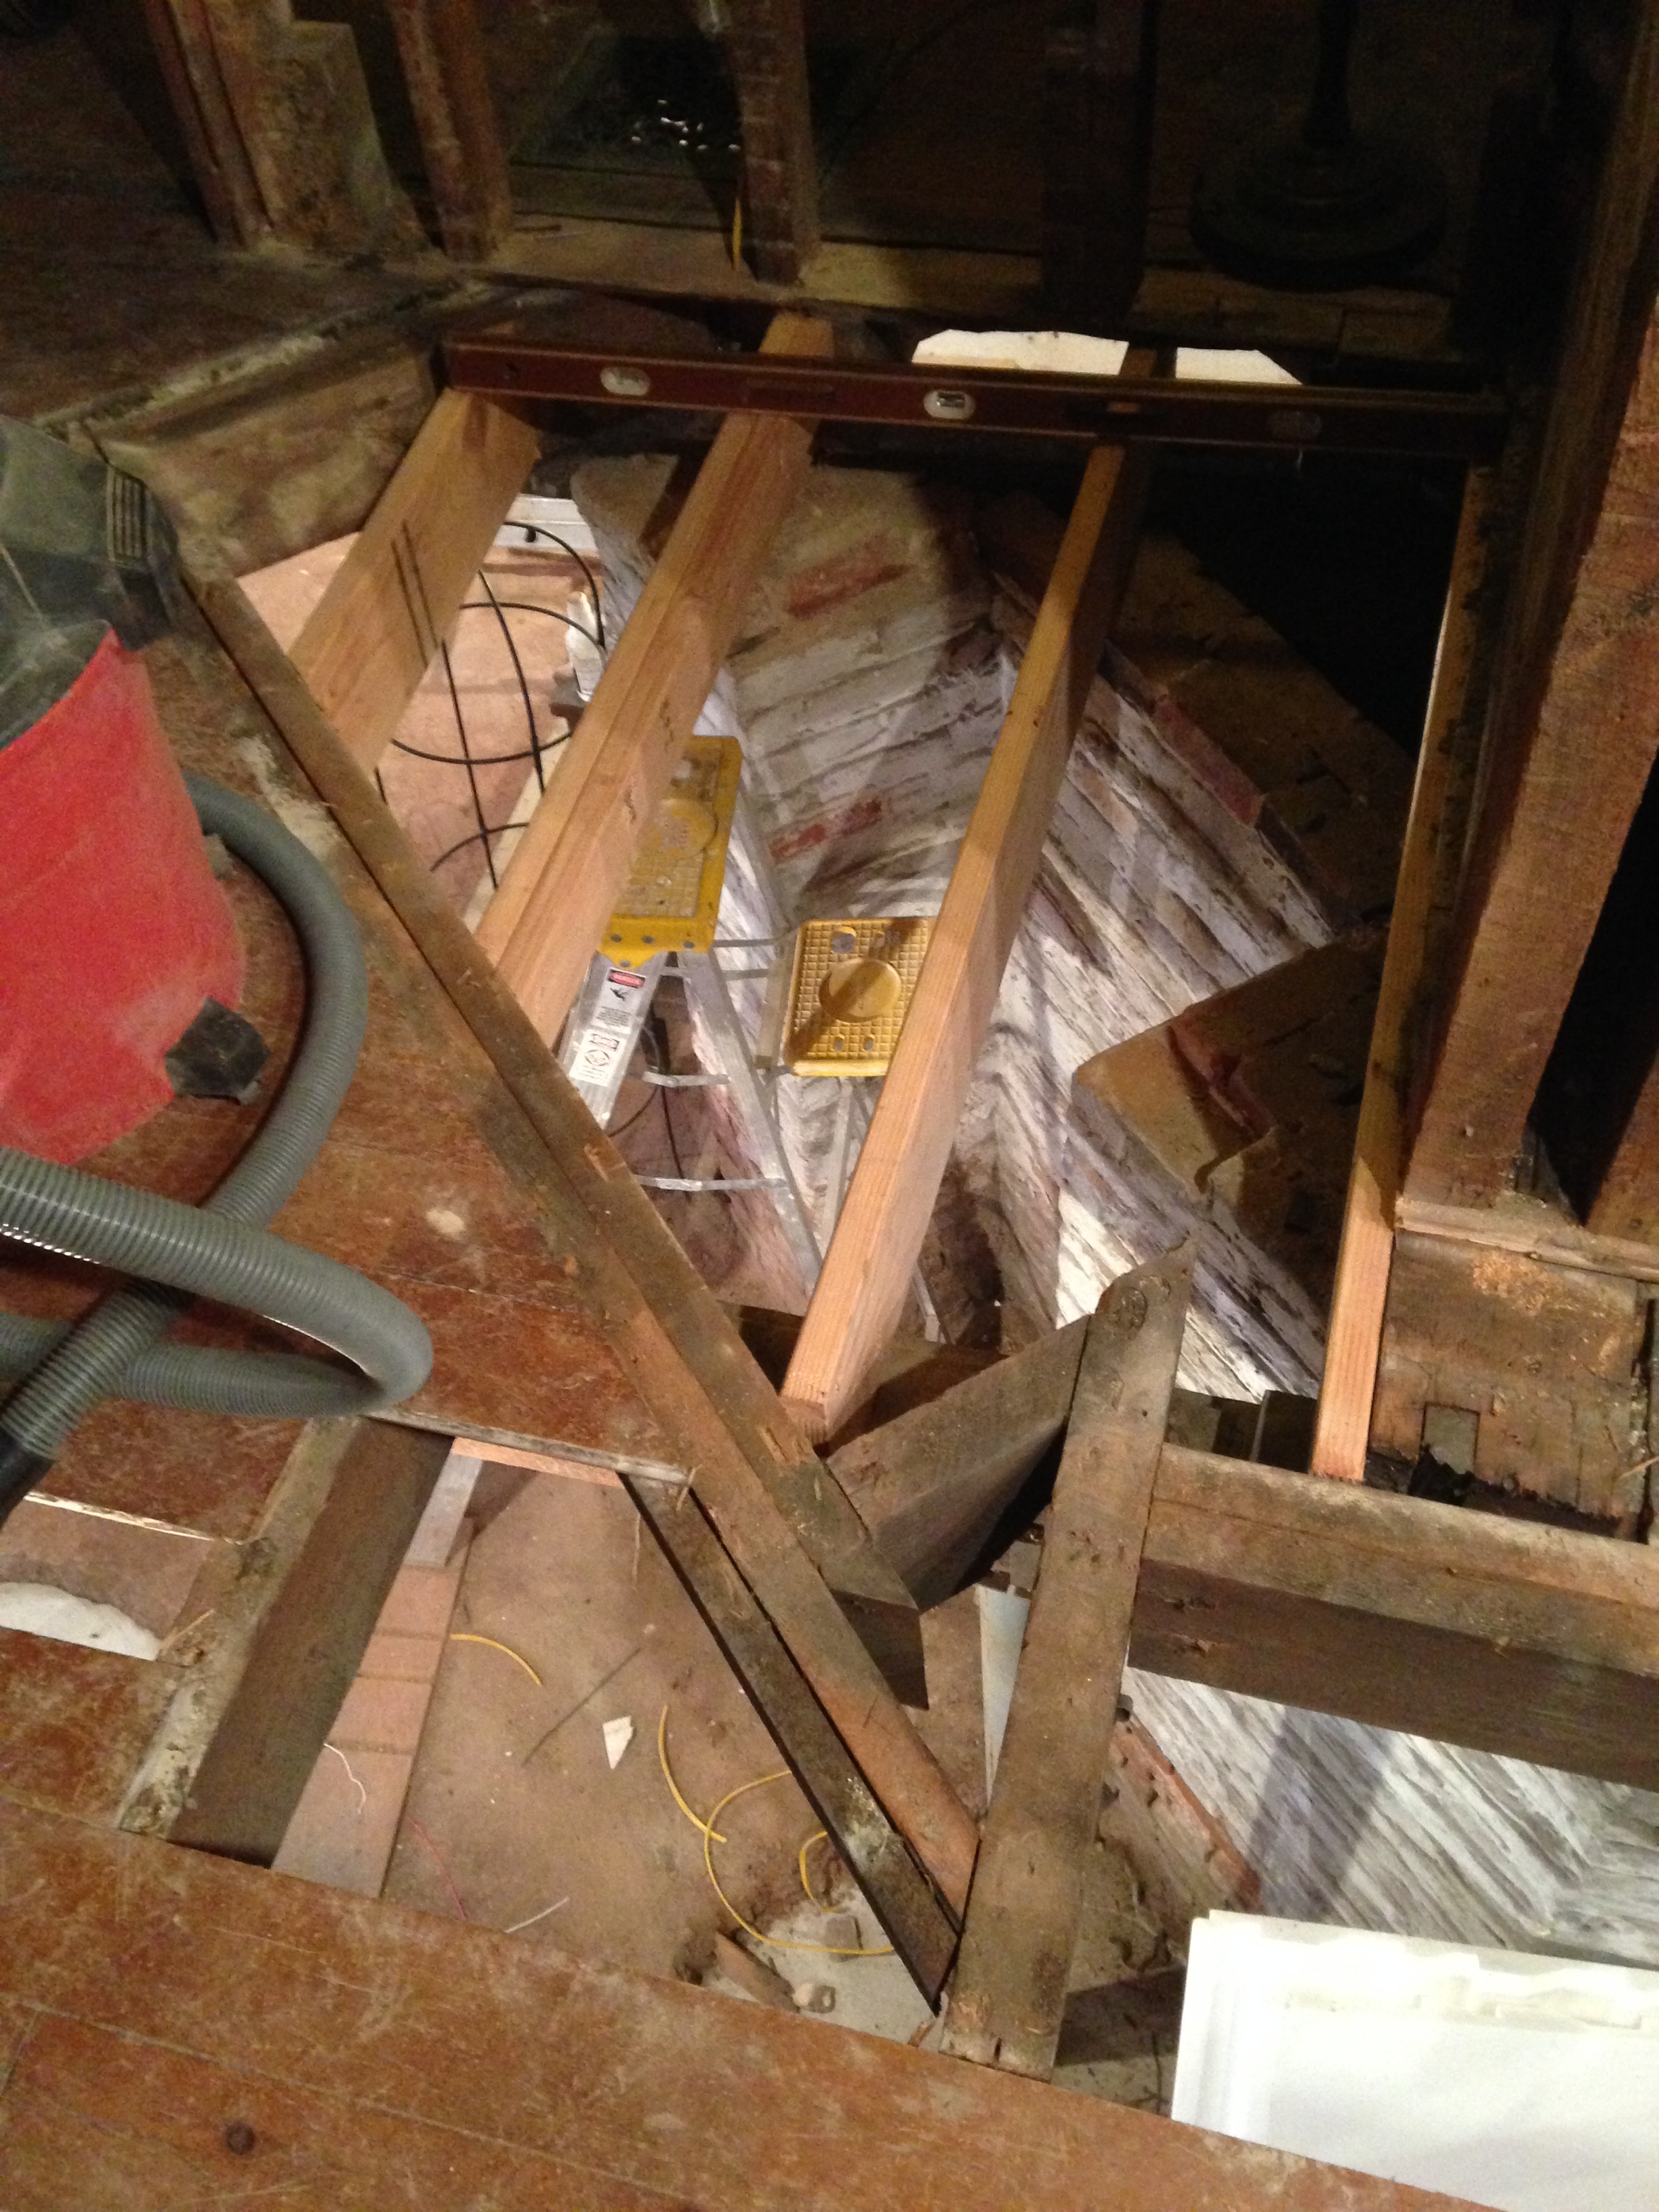


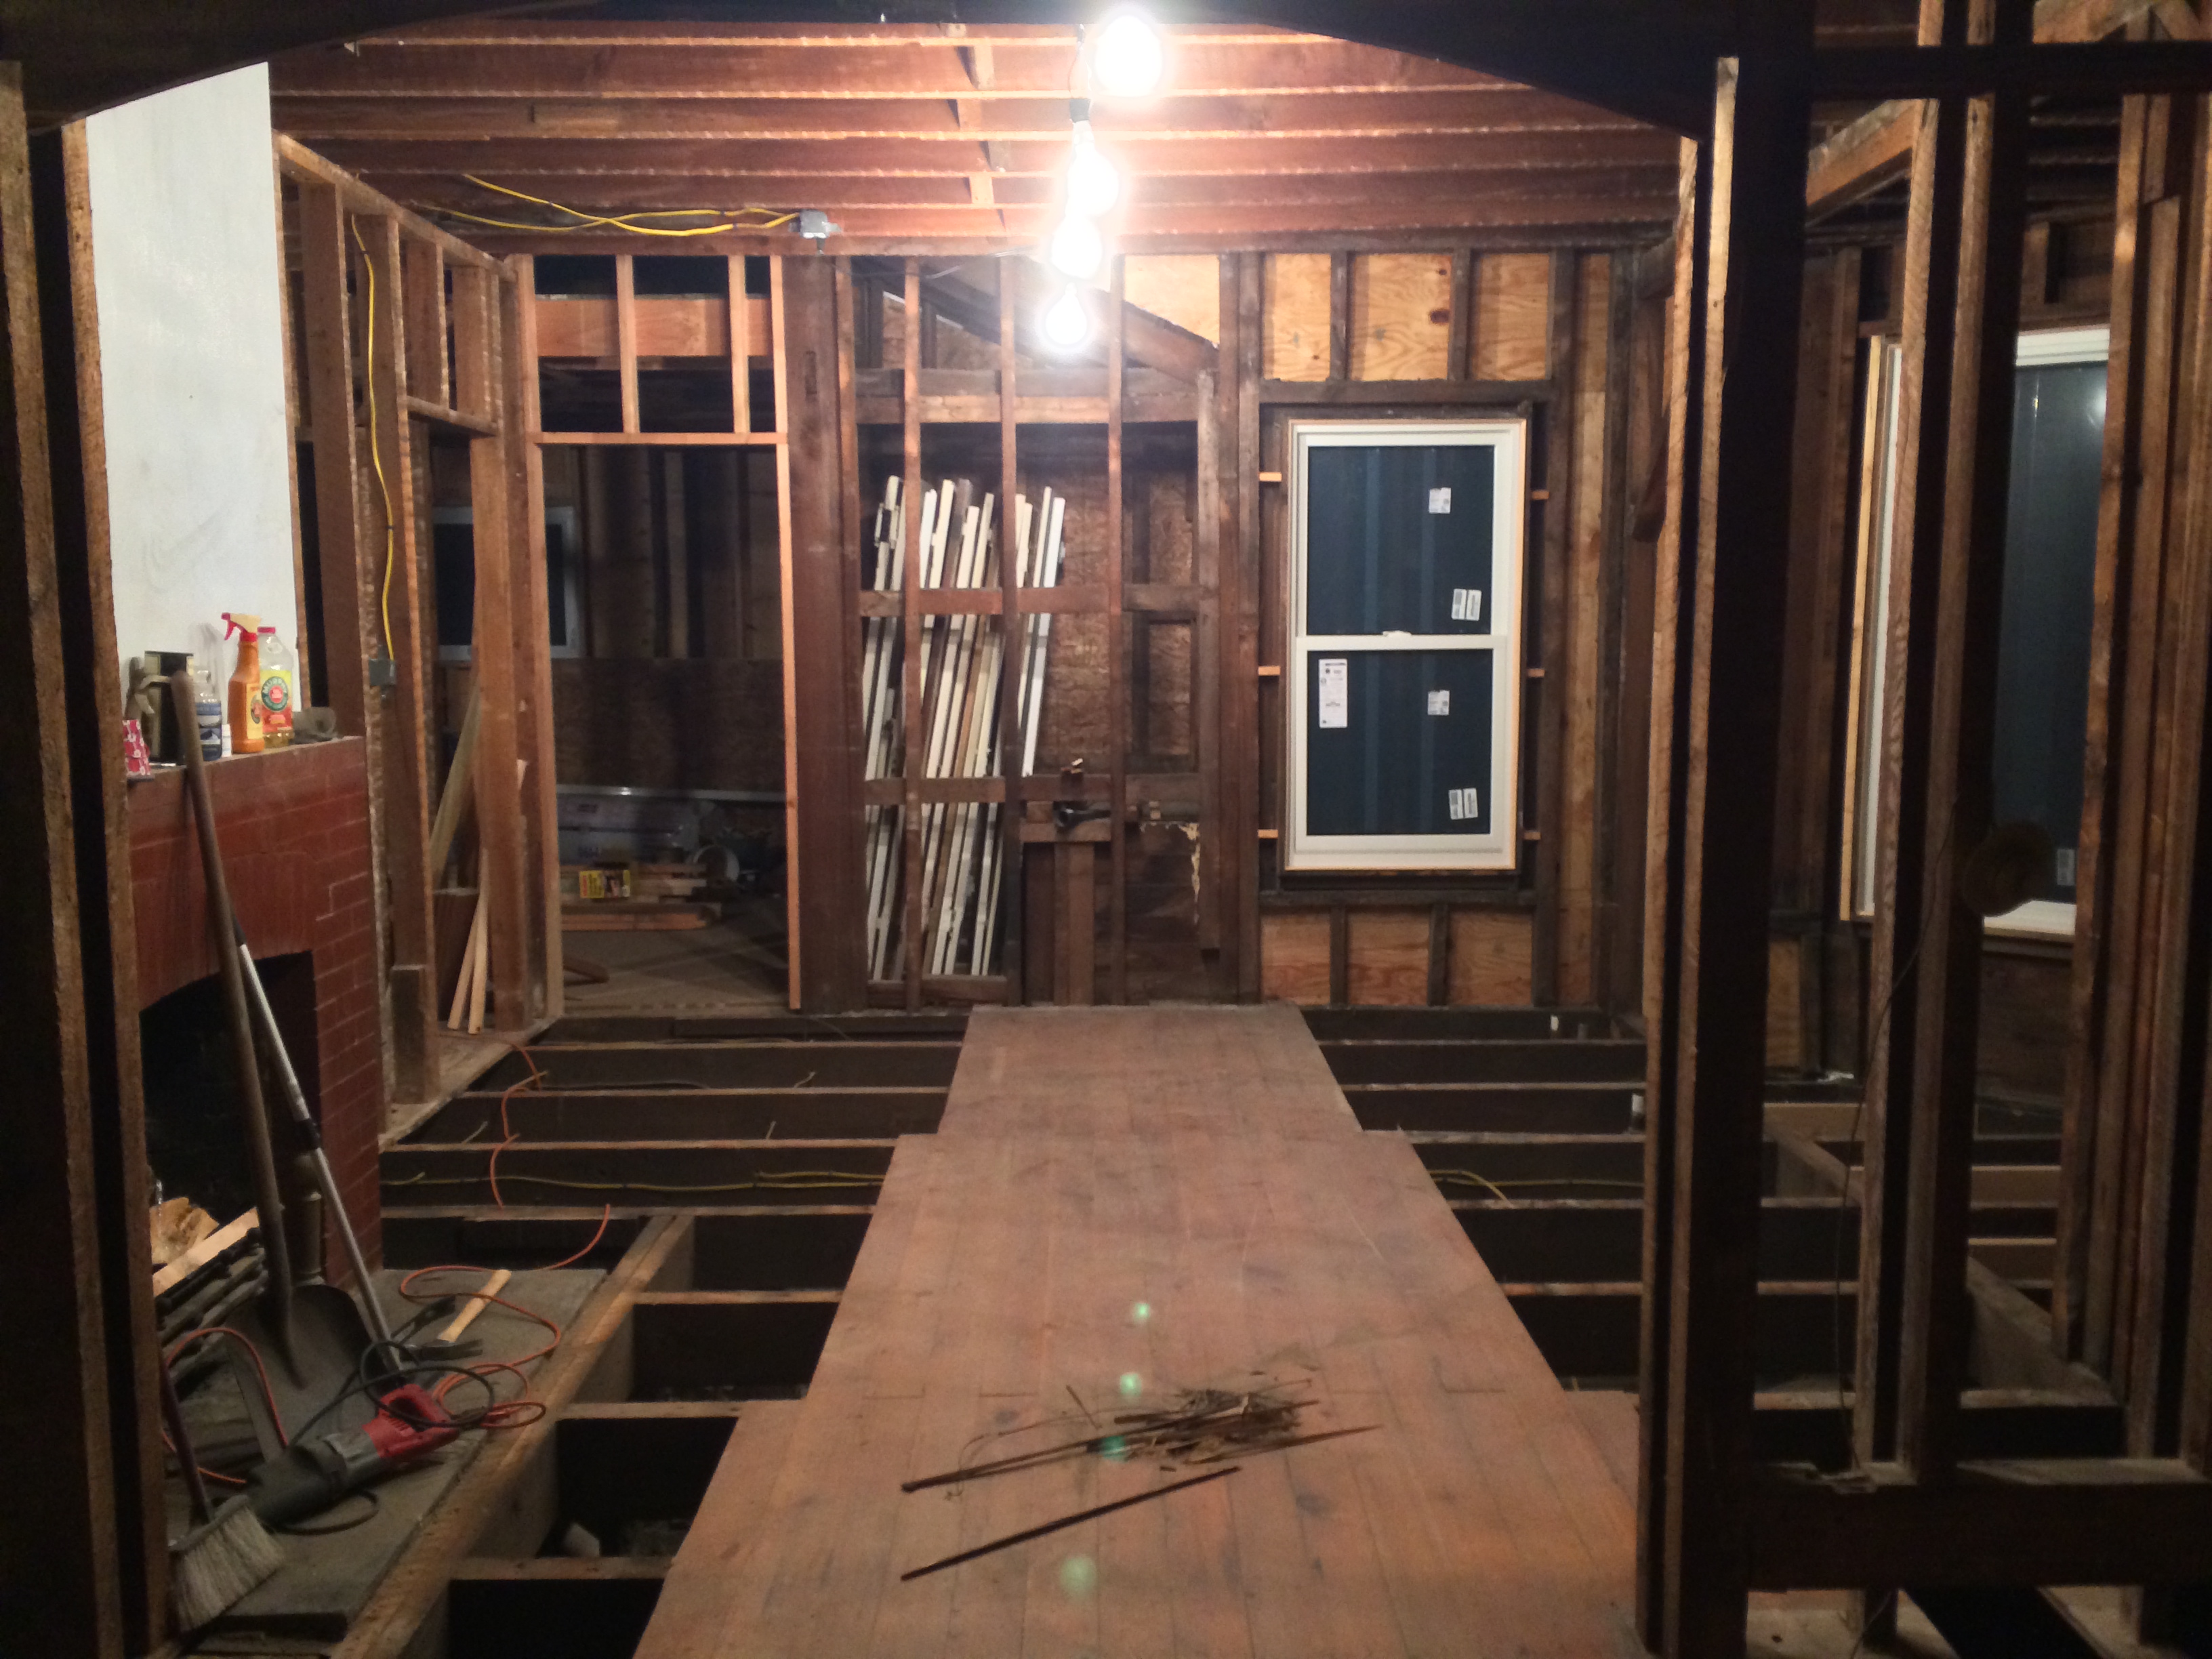


By the time all was said and done I became very good at what I called “The Joist Dance” – which was walking across everything without being a spaz. The trick was to move fast, if you went slow you were more likely to lose your balance.
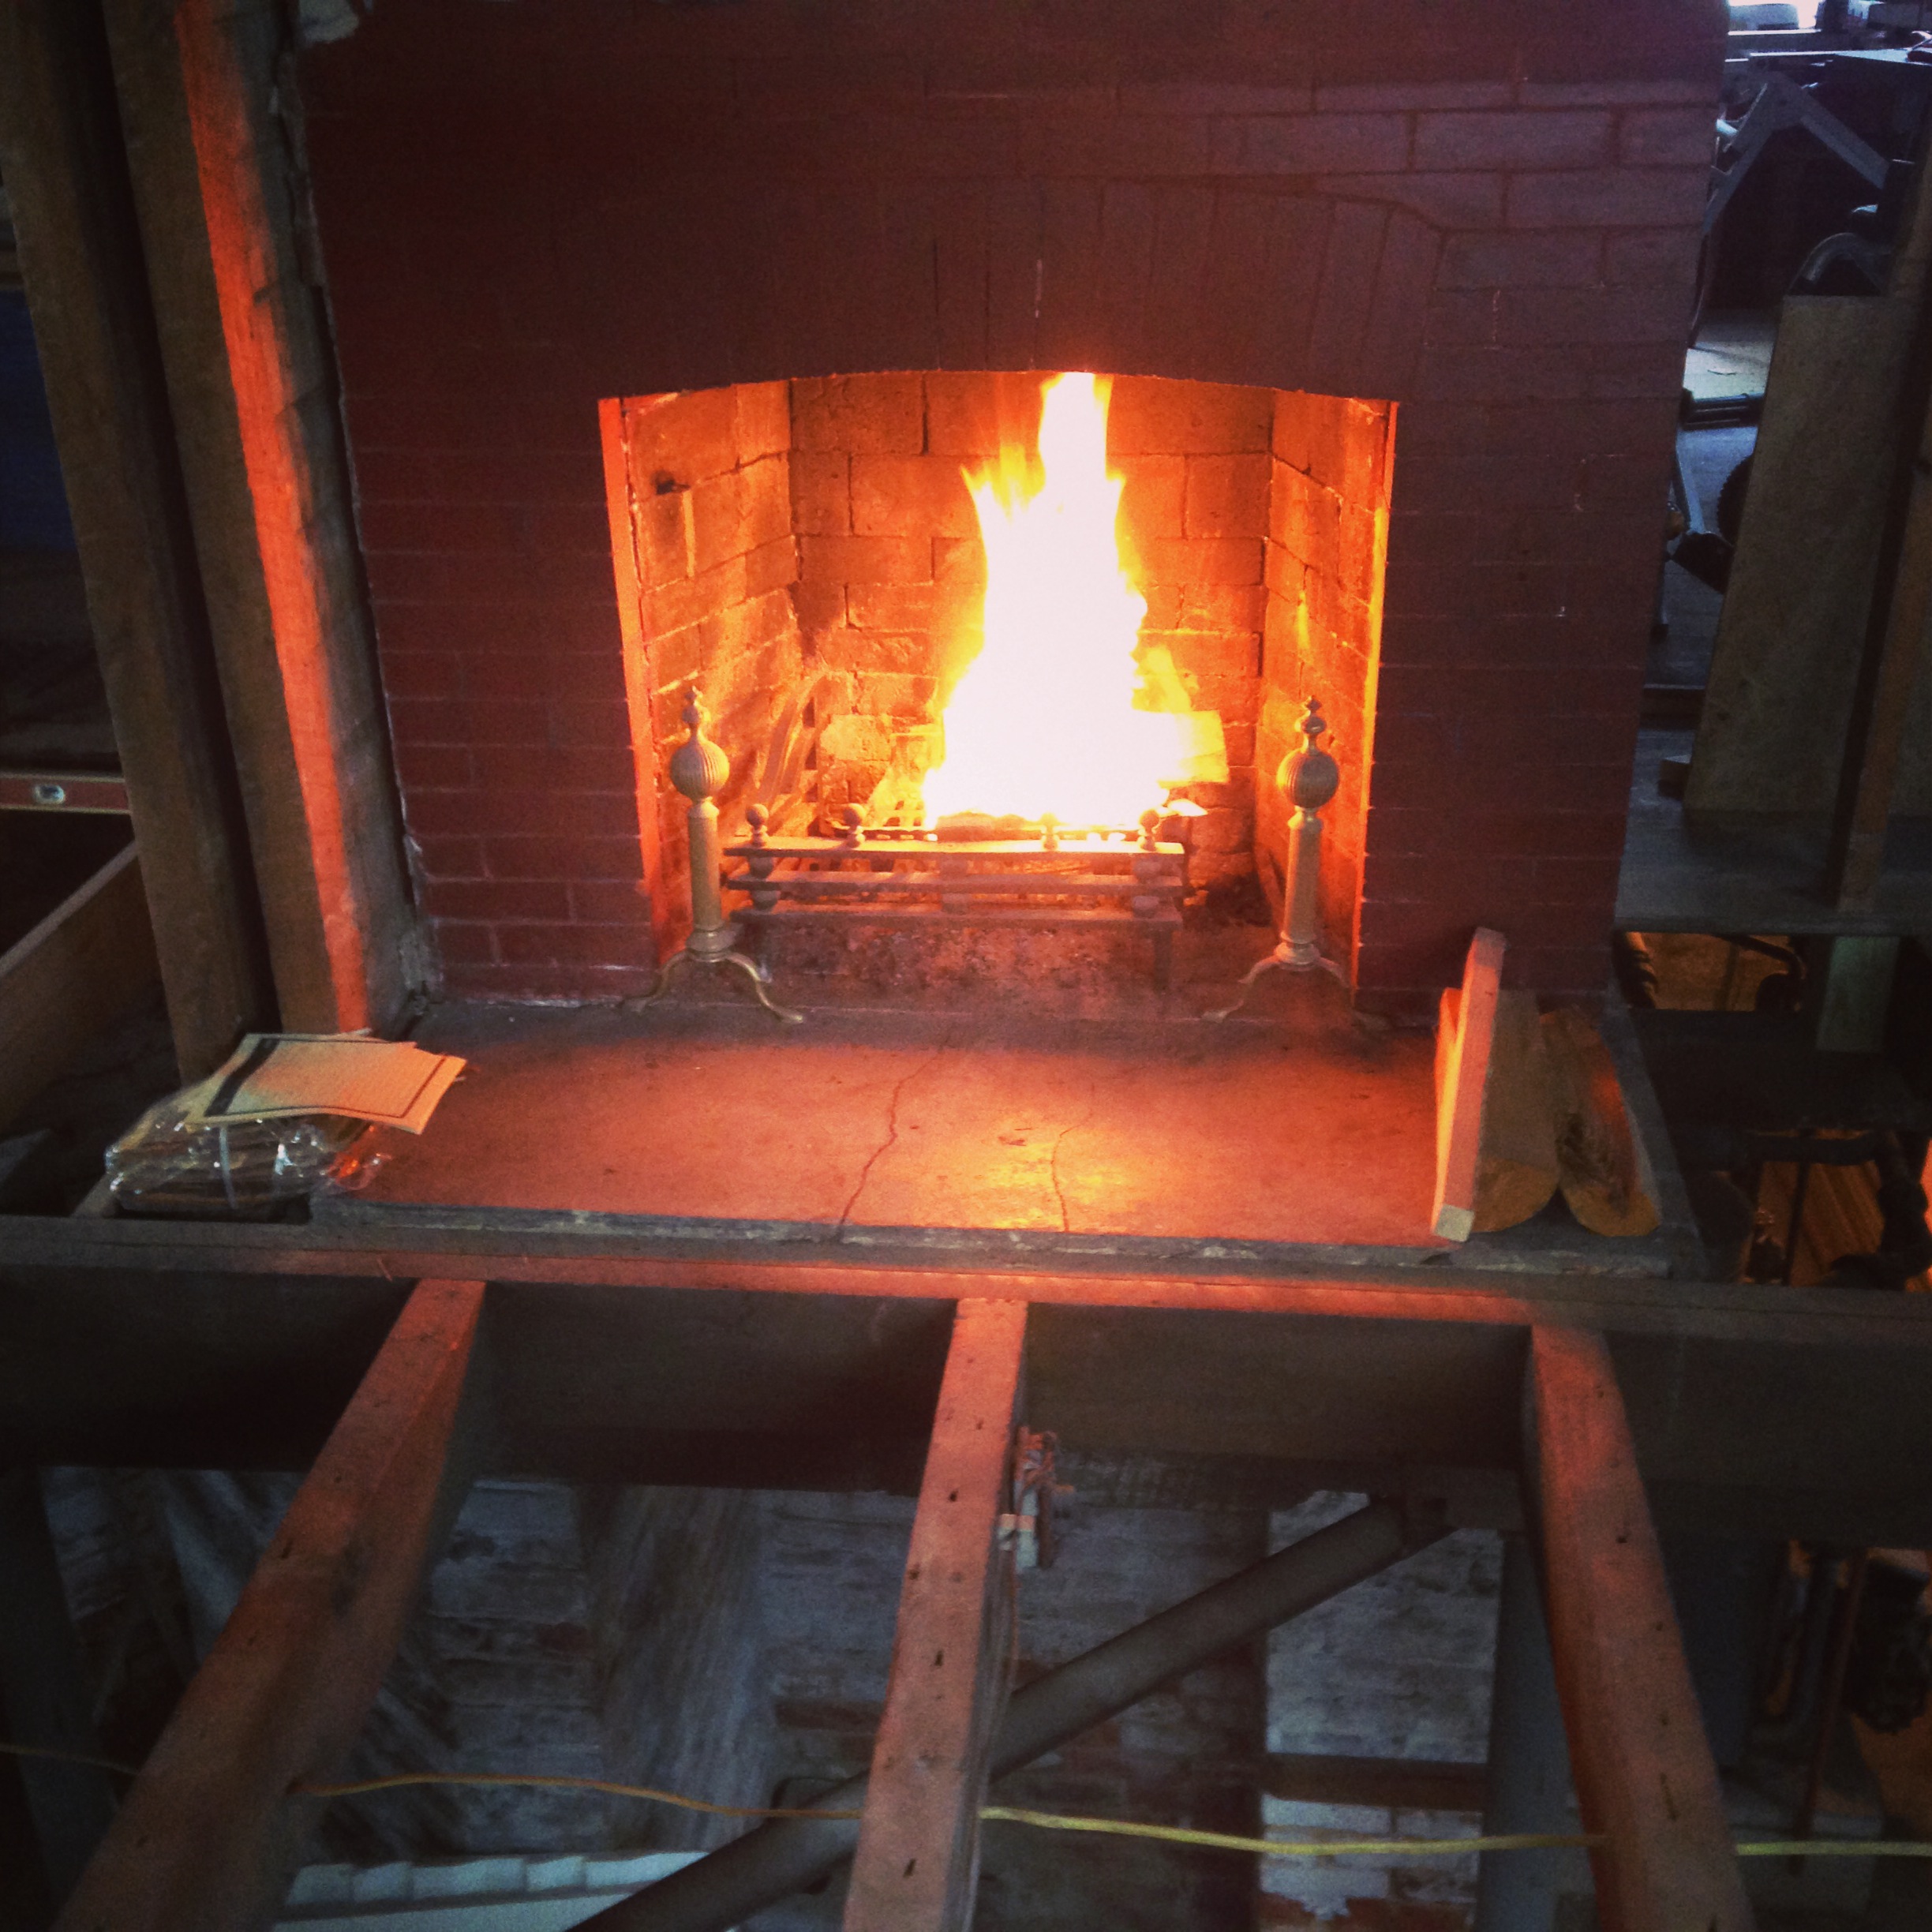
It was starting to get cool in the evenings, lighting up the fireplace was nice. Plus it was an easy way to get rid of excess wood scraps!

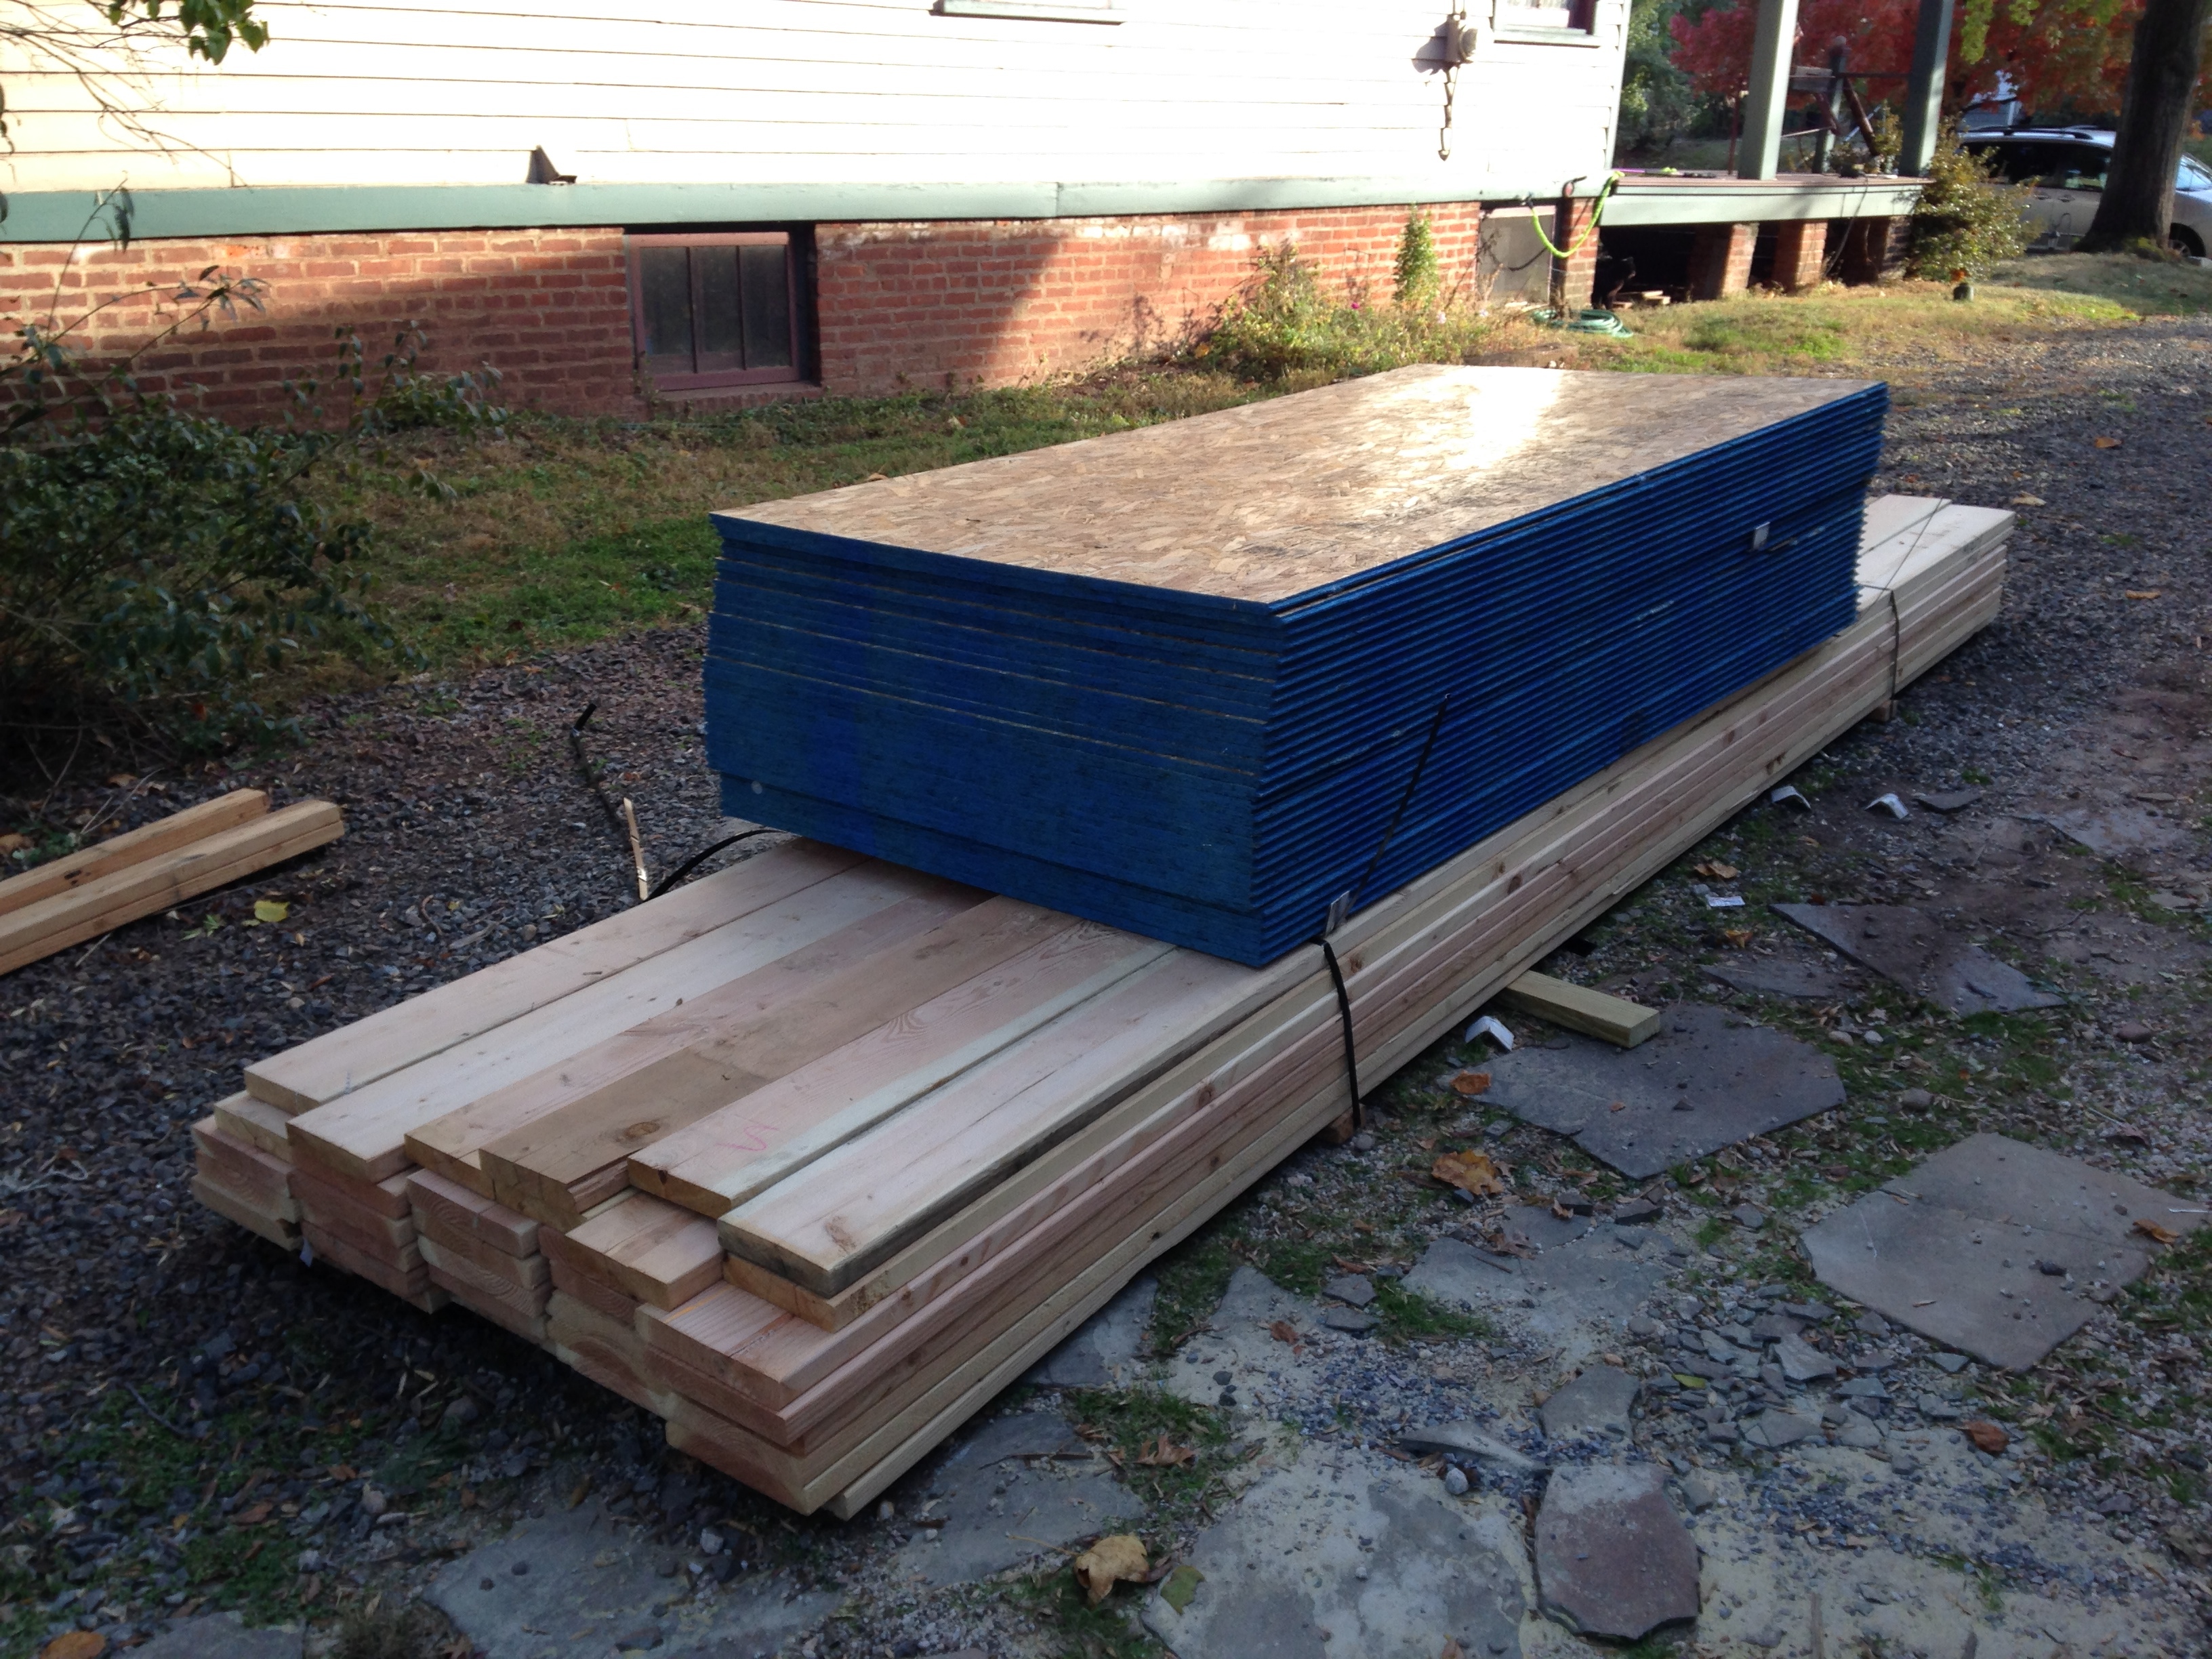
When I finished the supplies for the next part of the project came in!