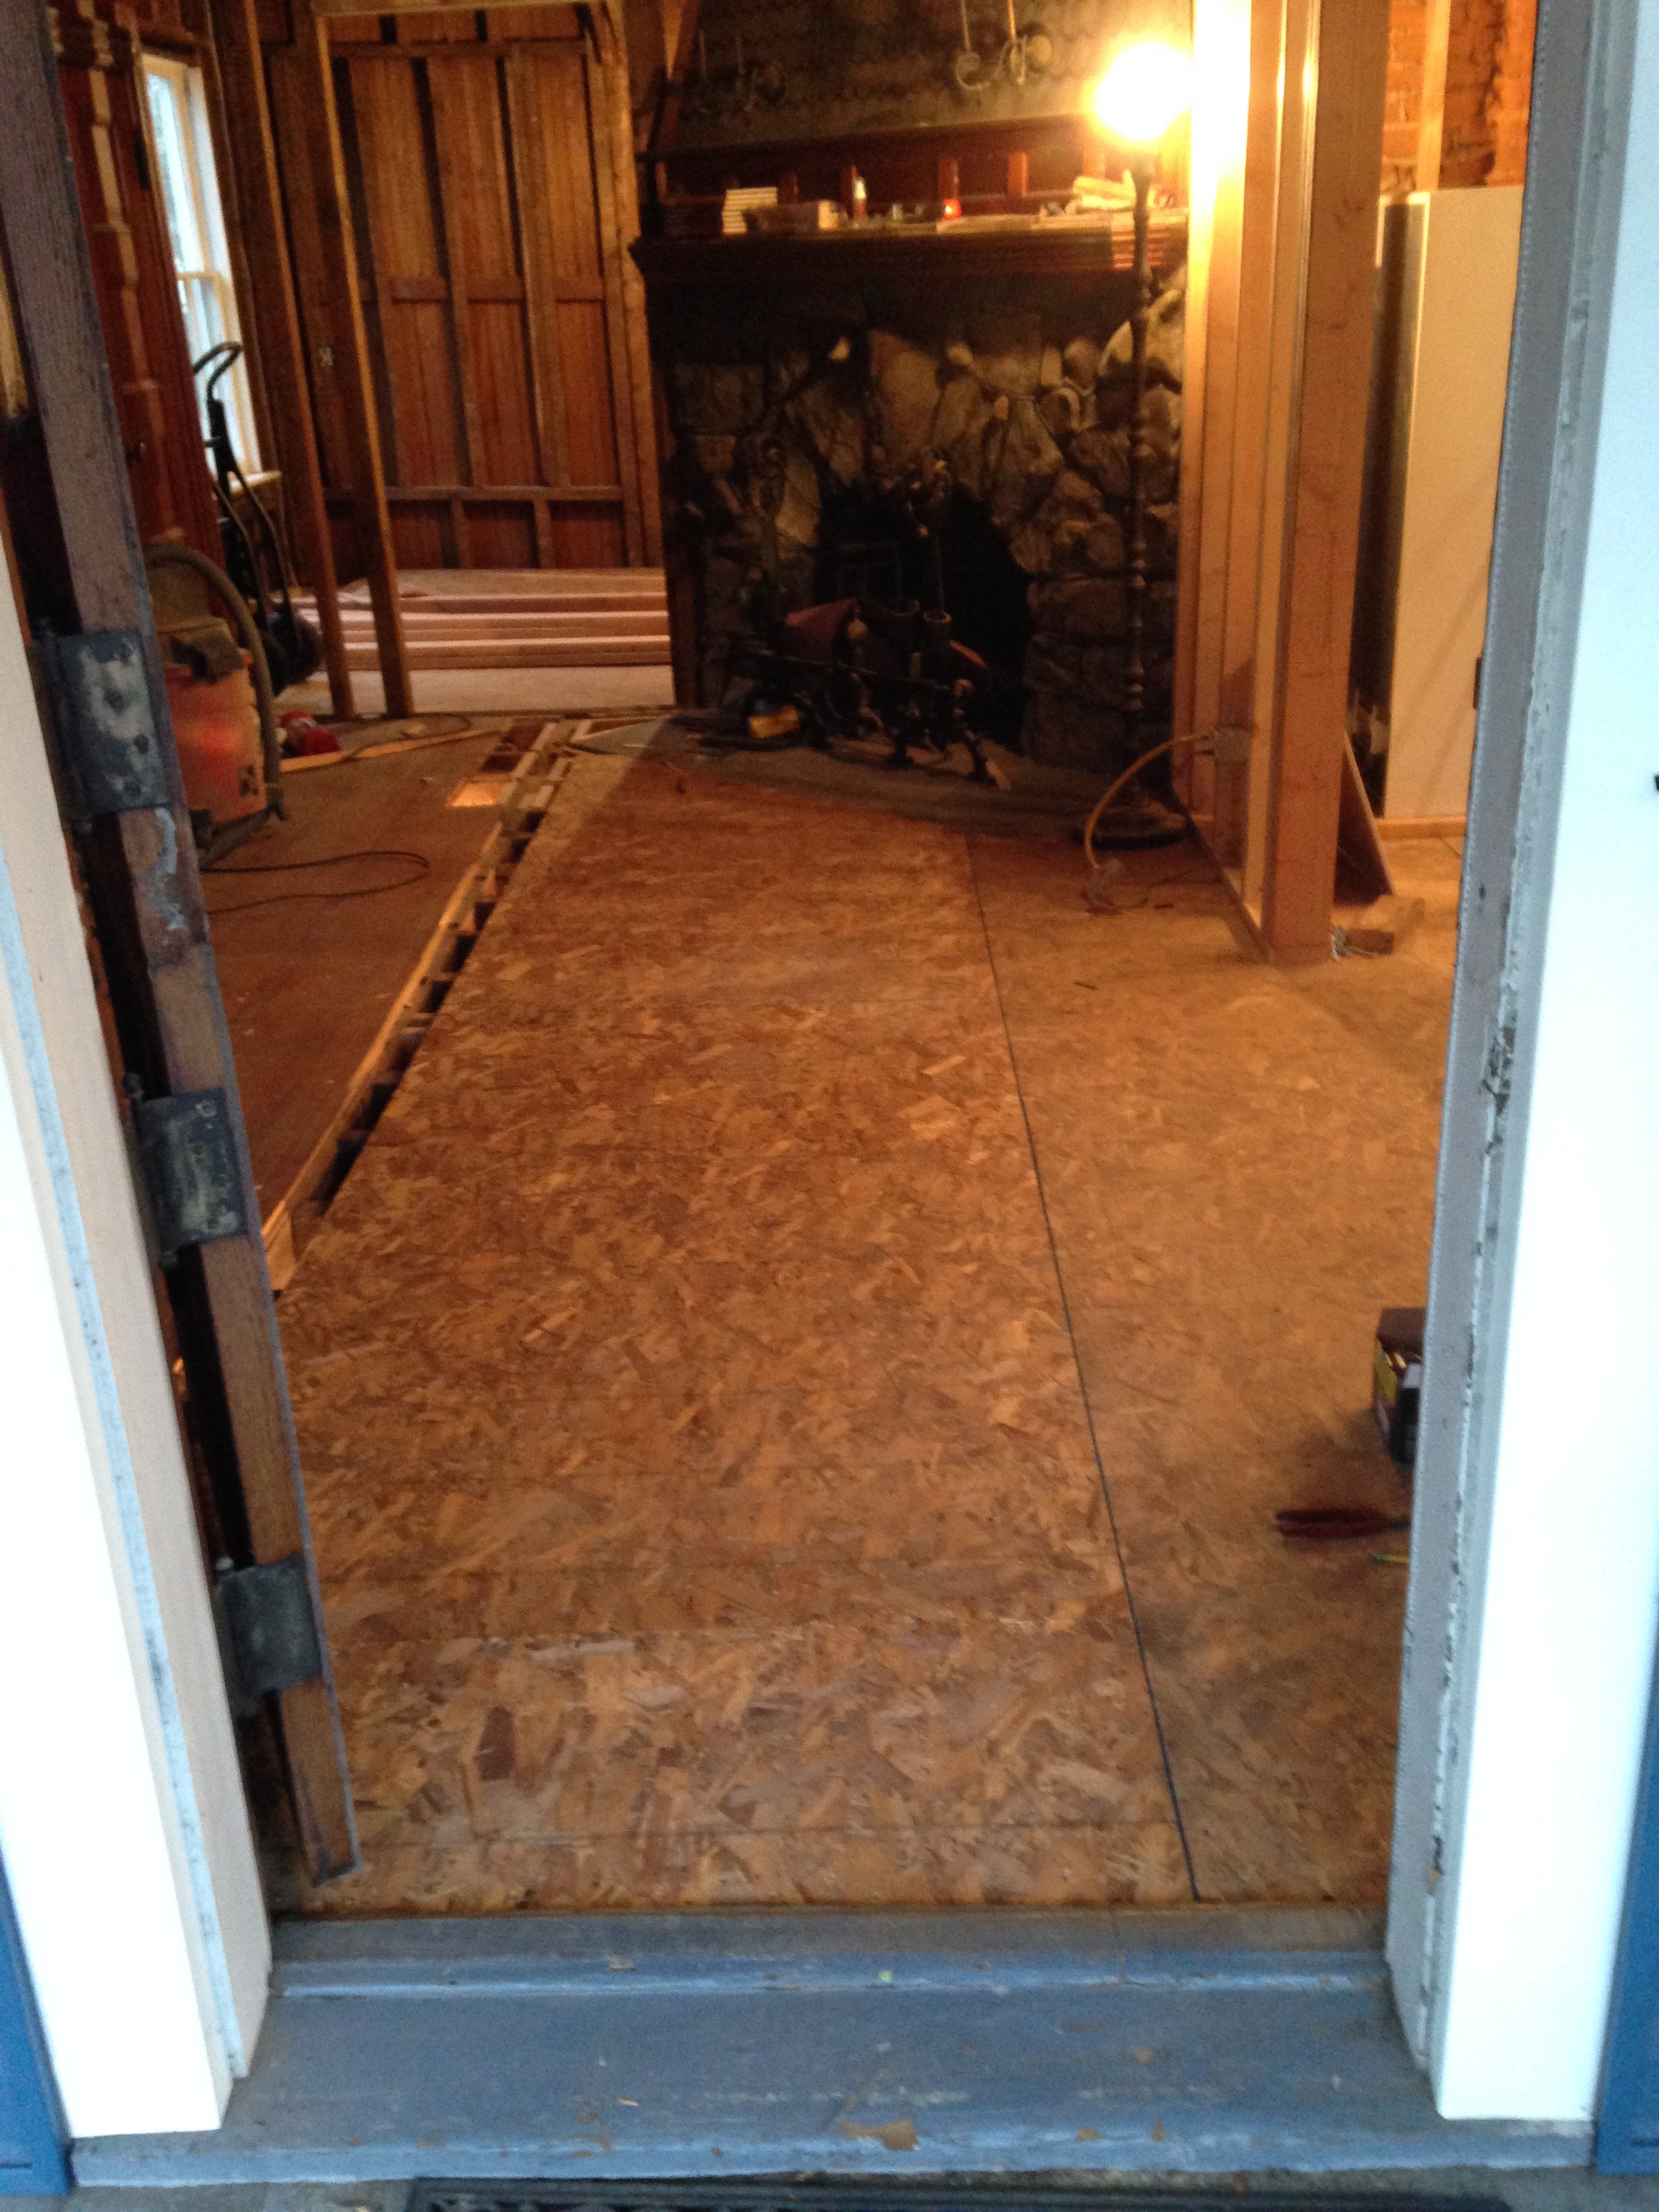
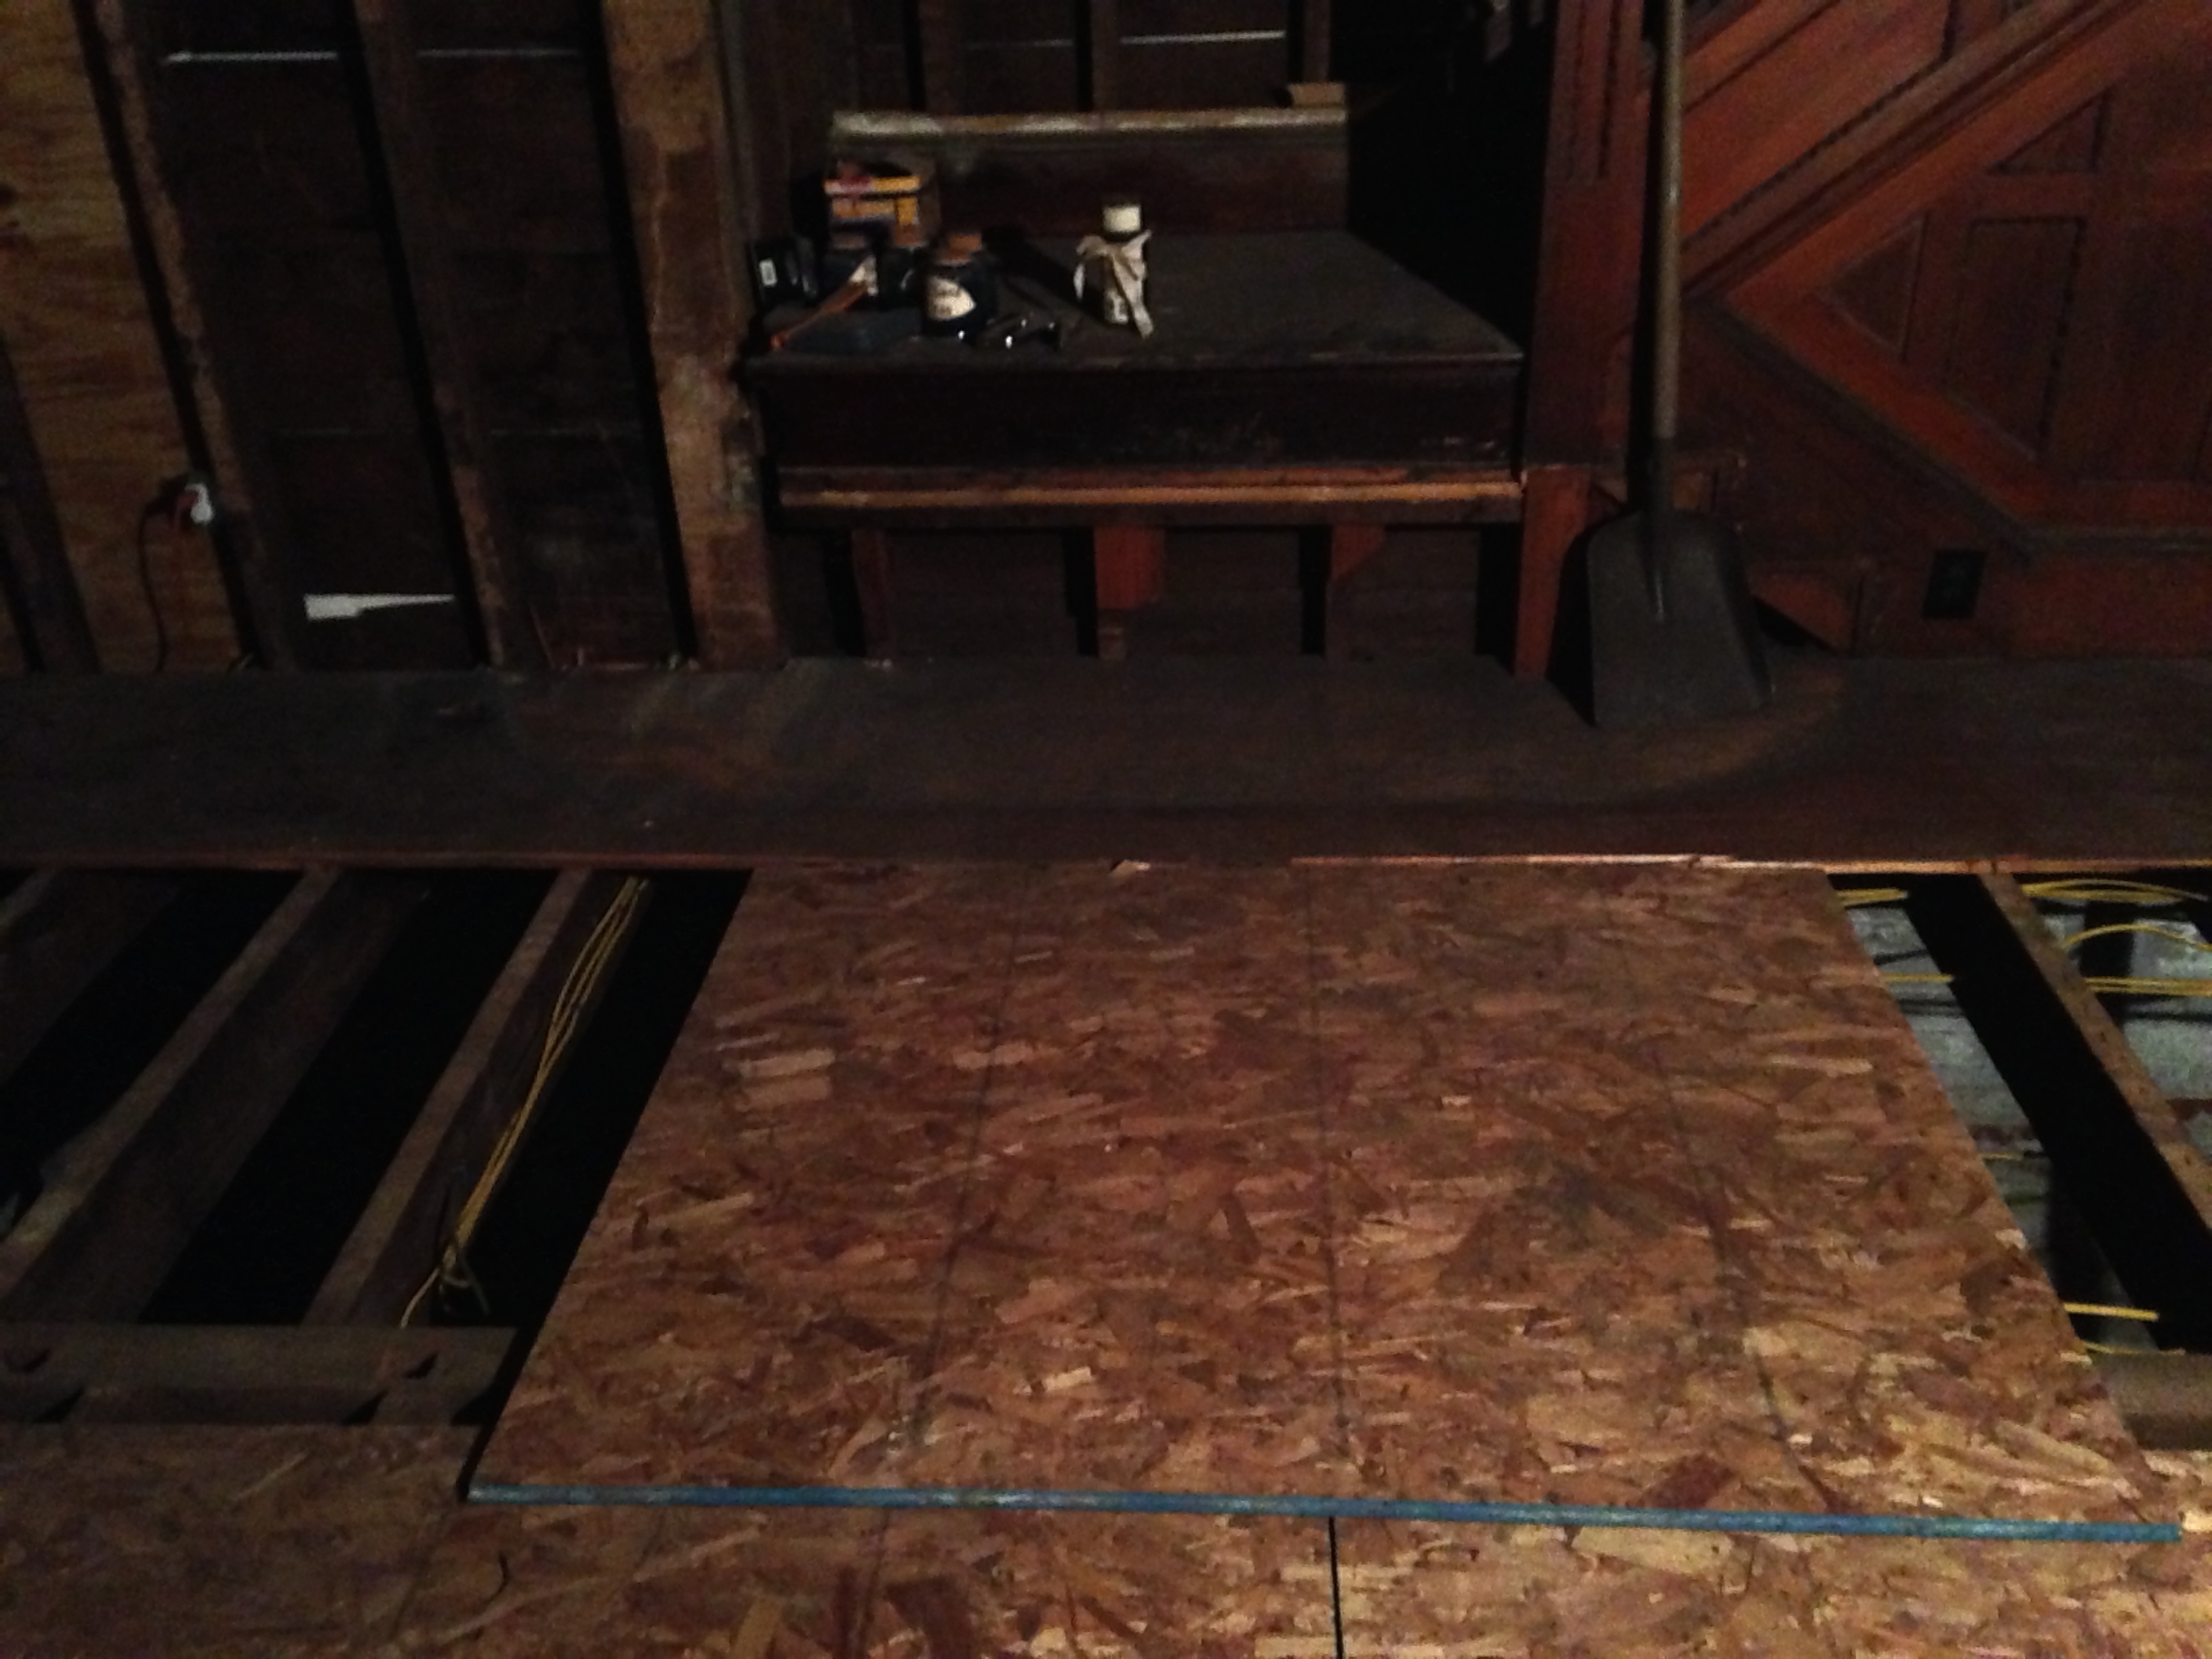
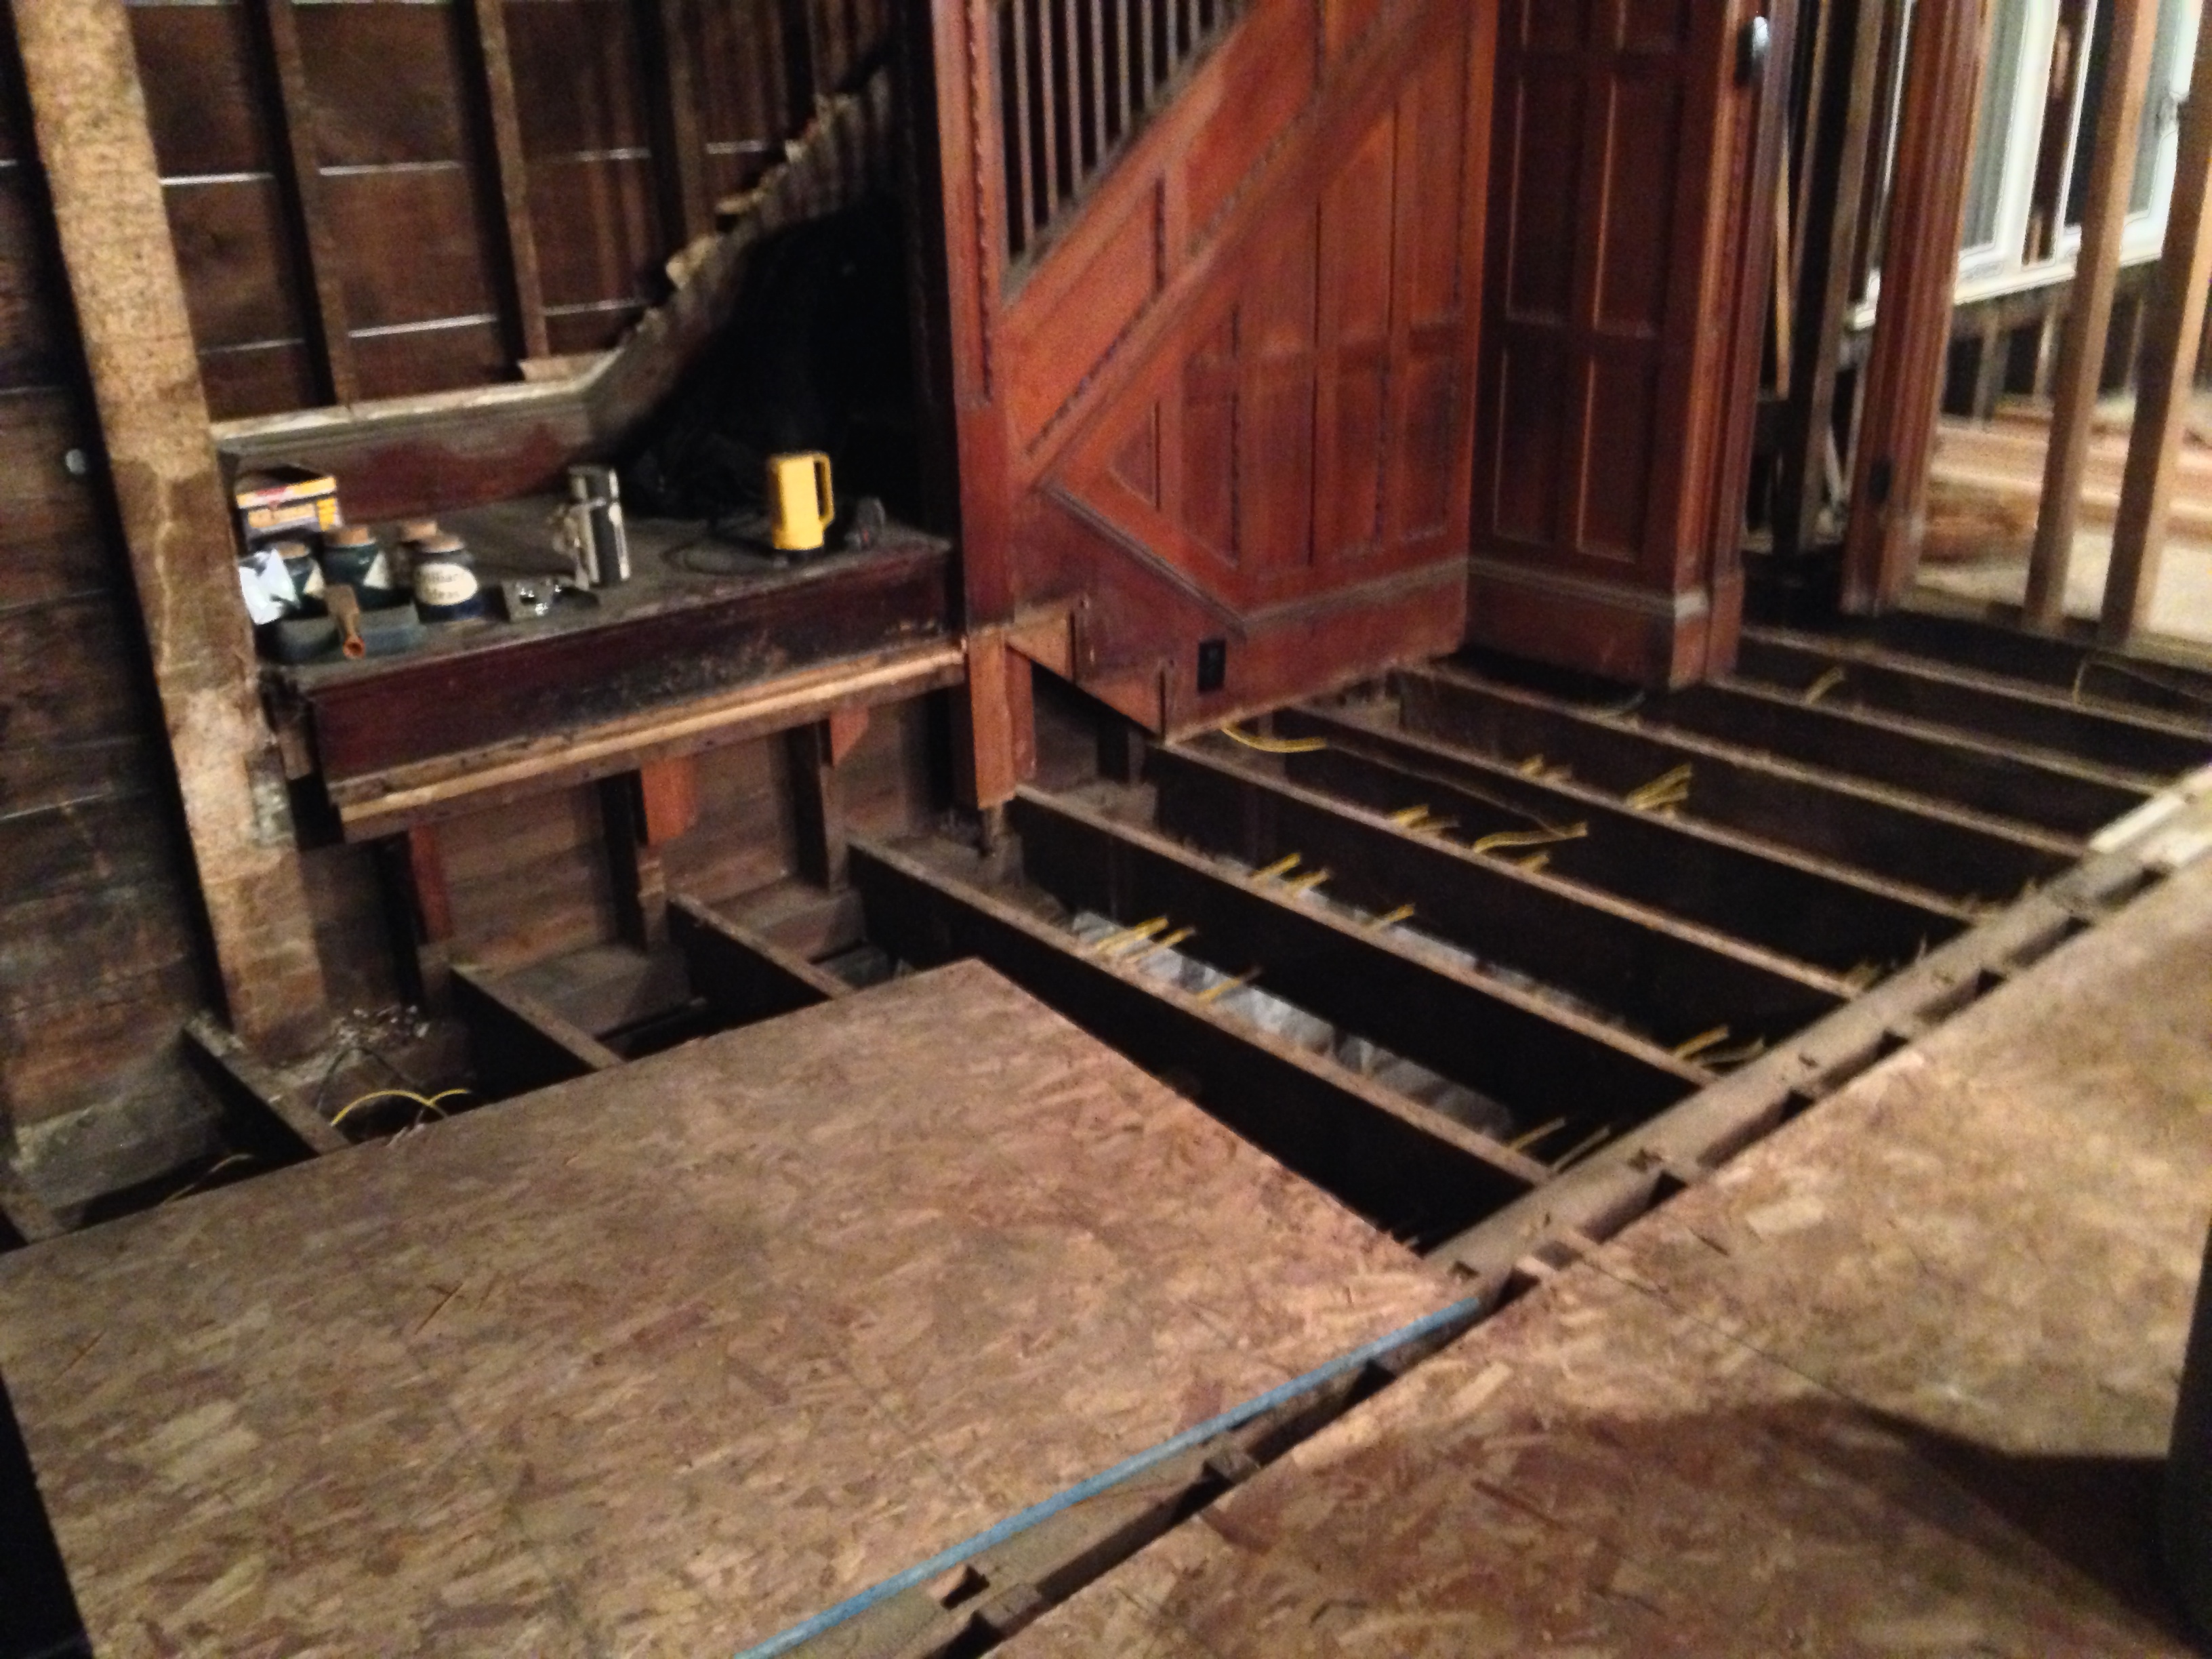
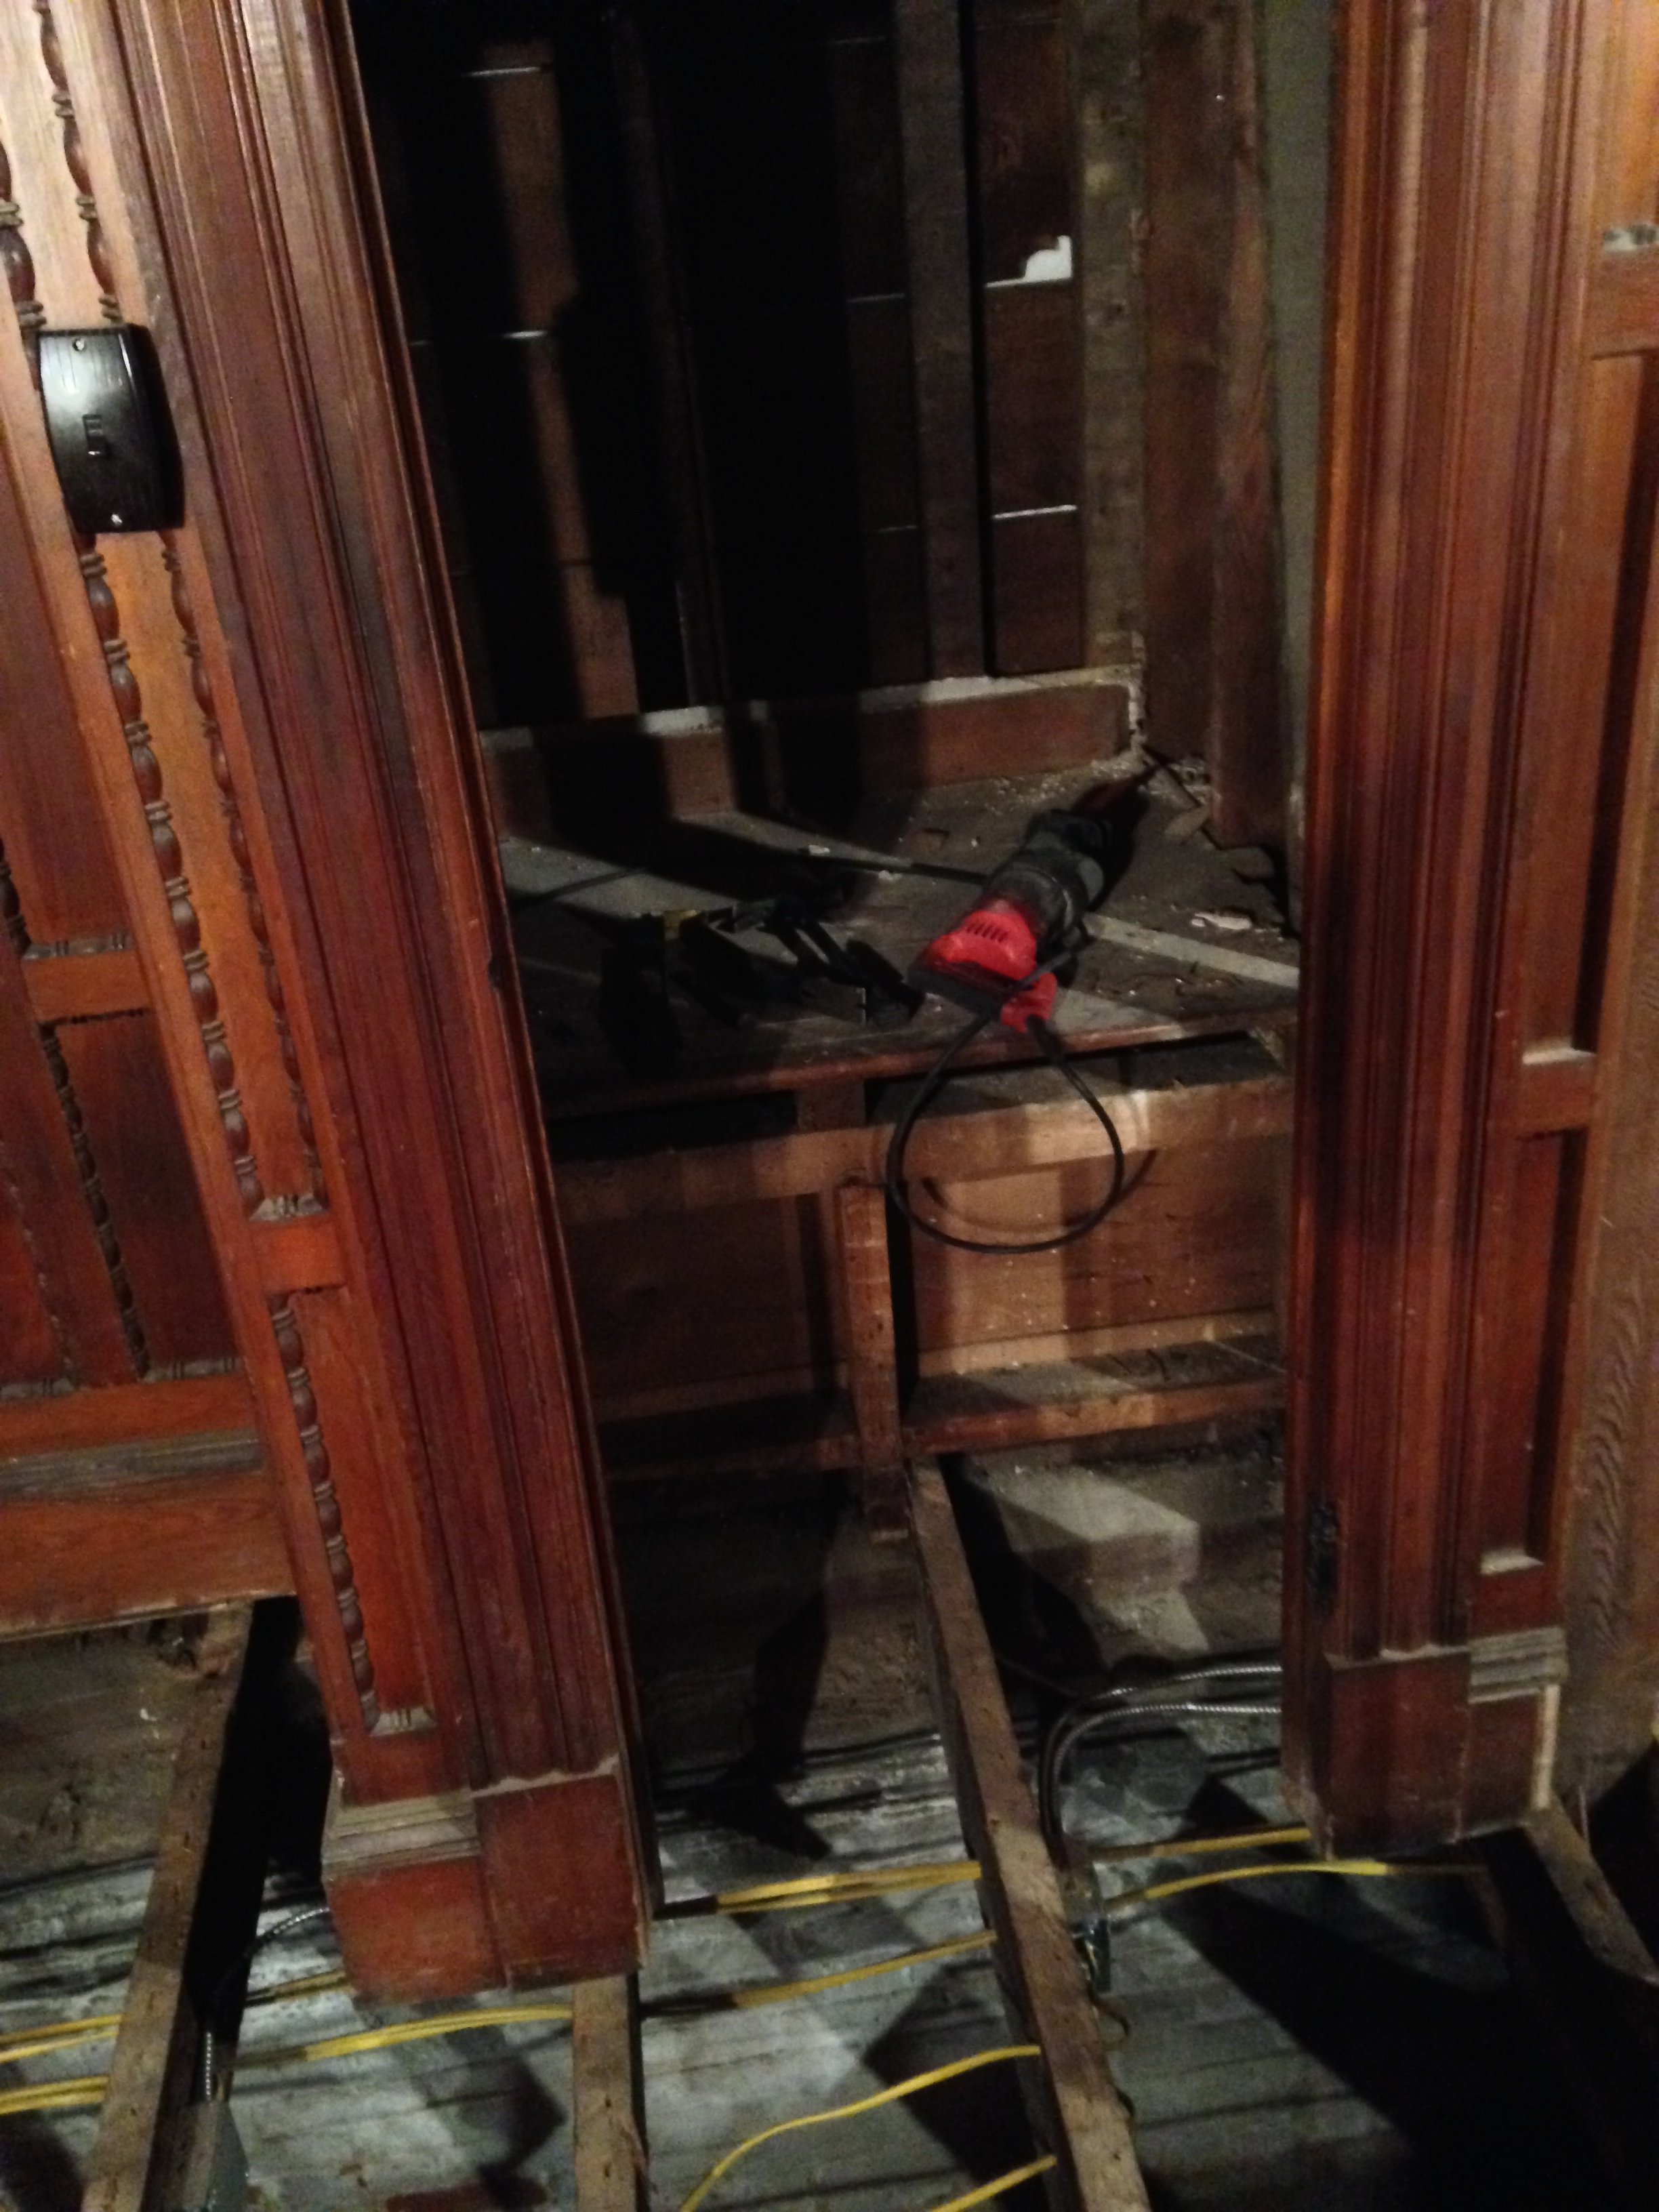
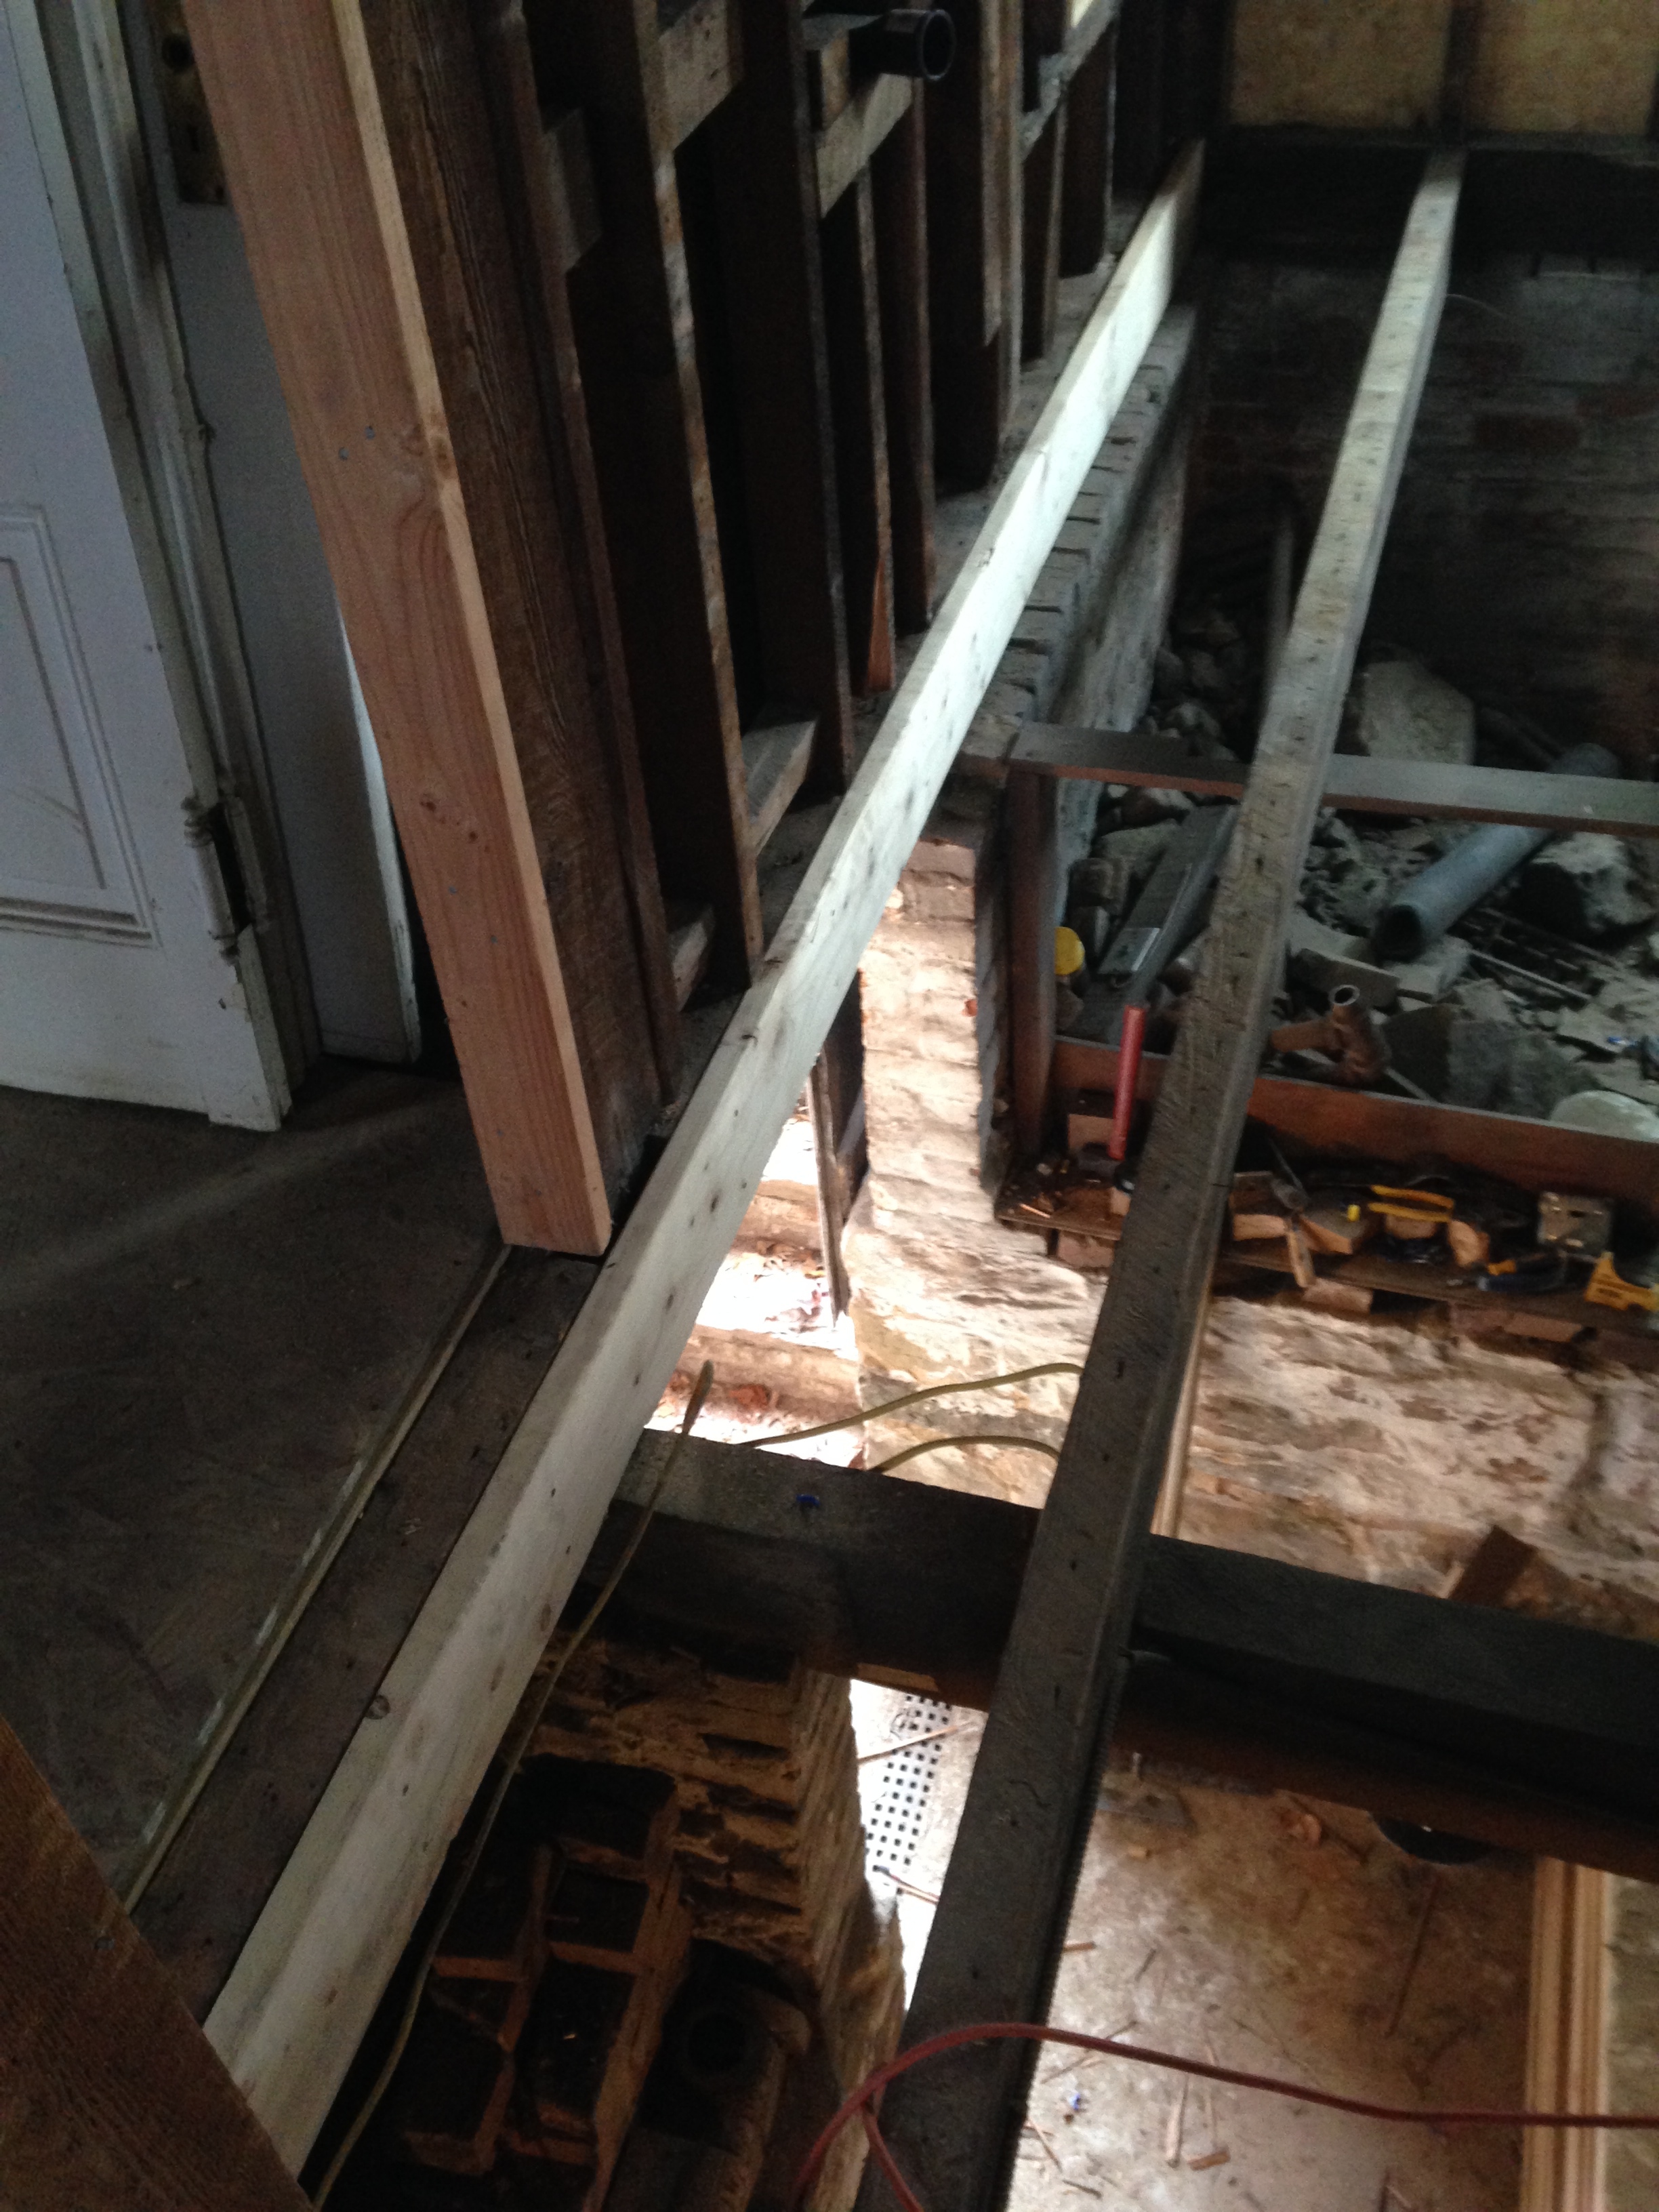
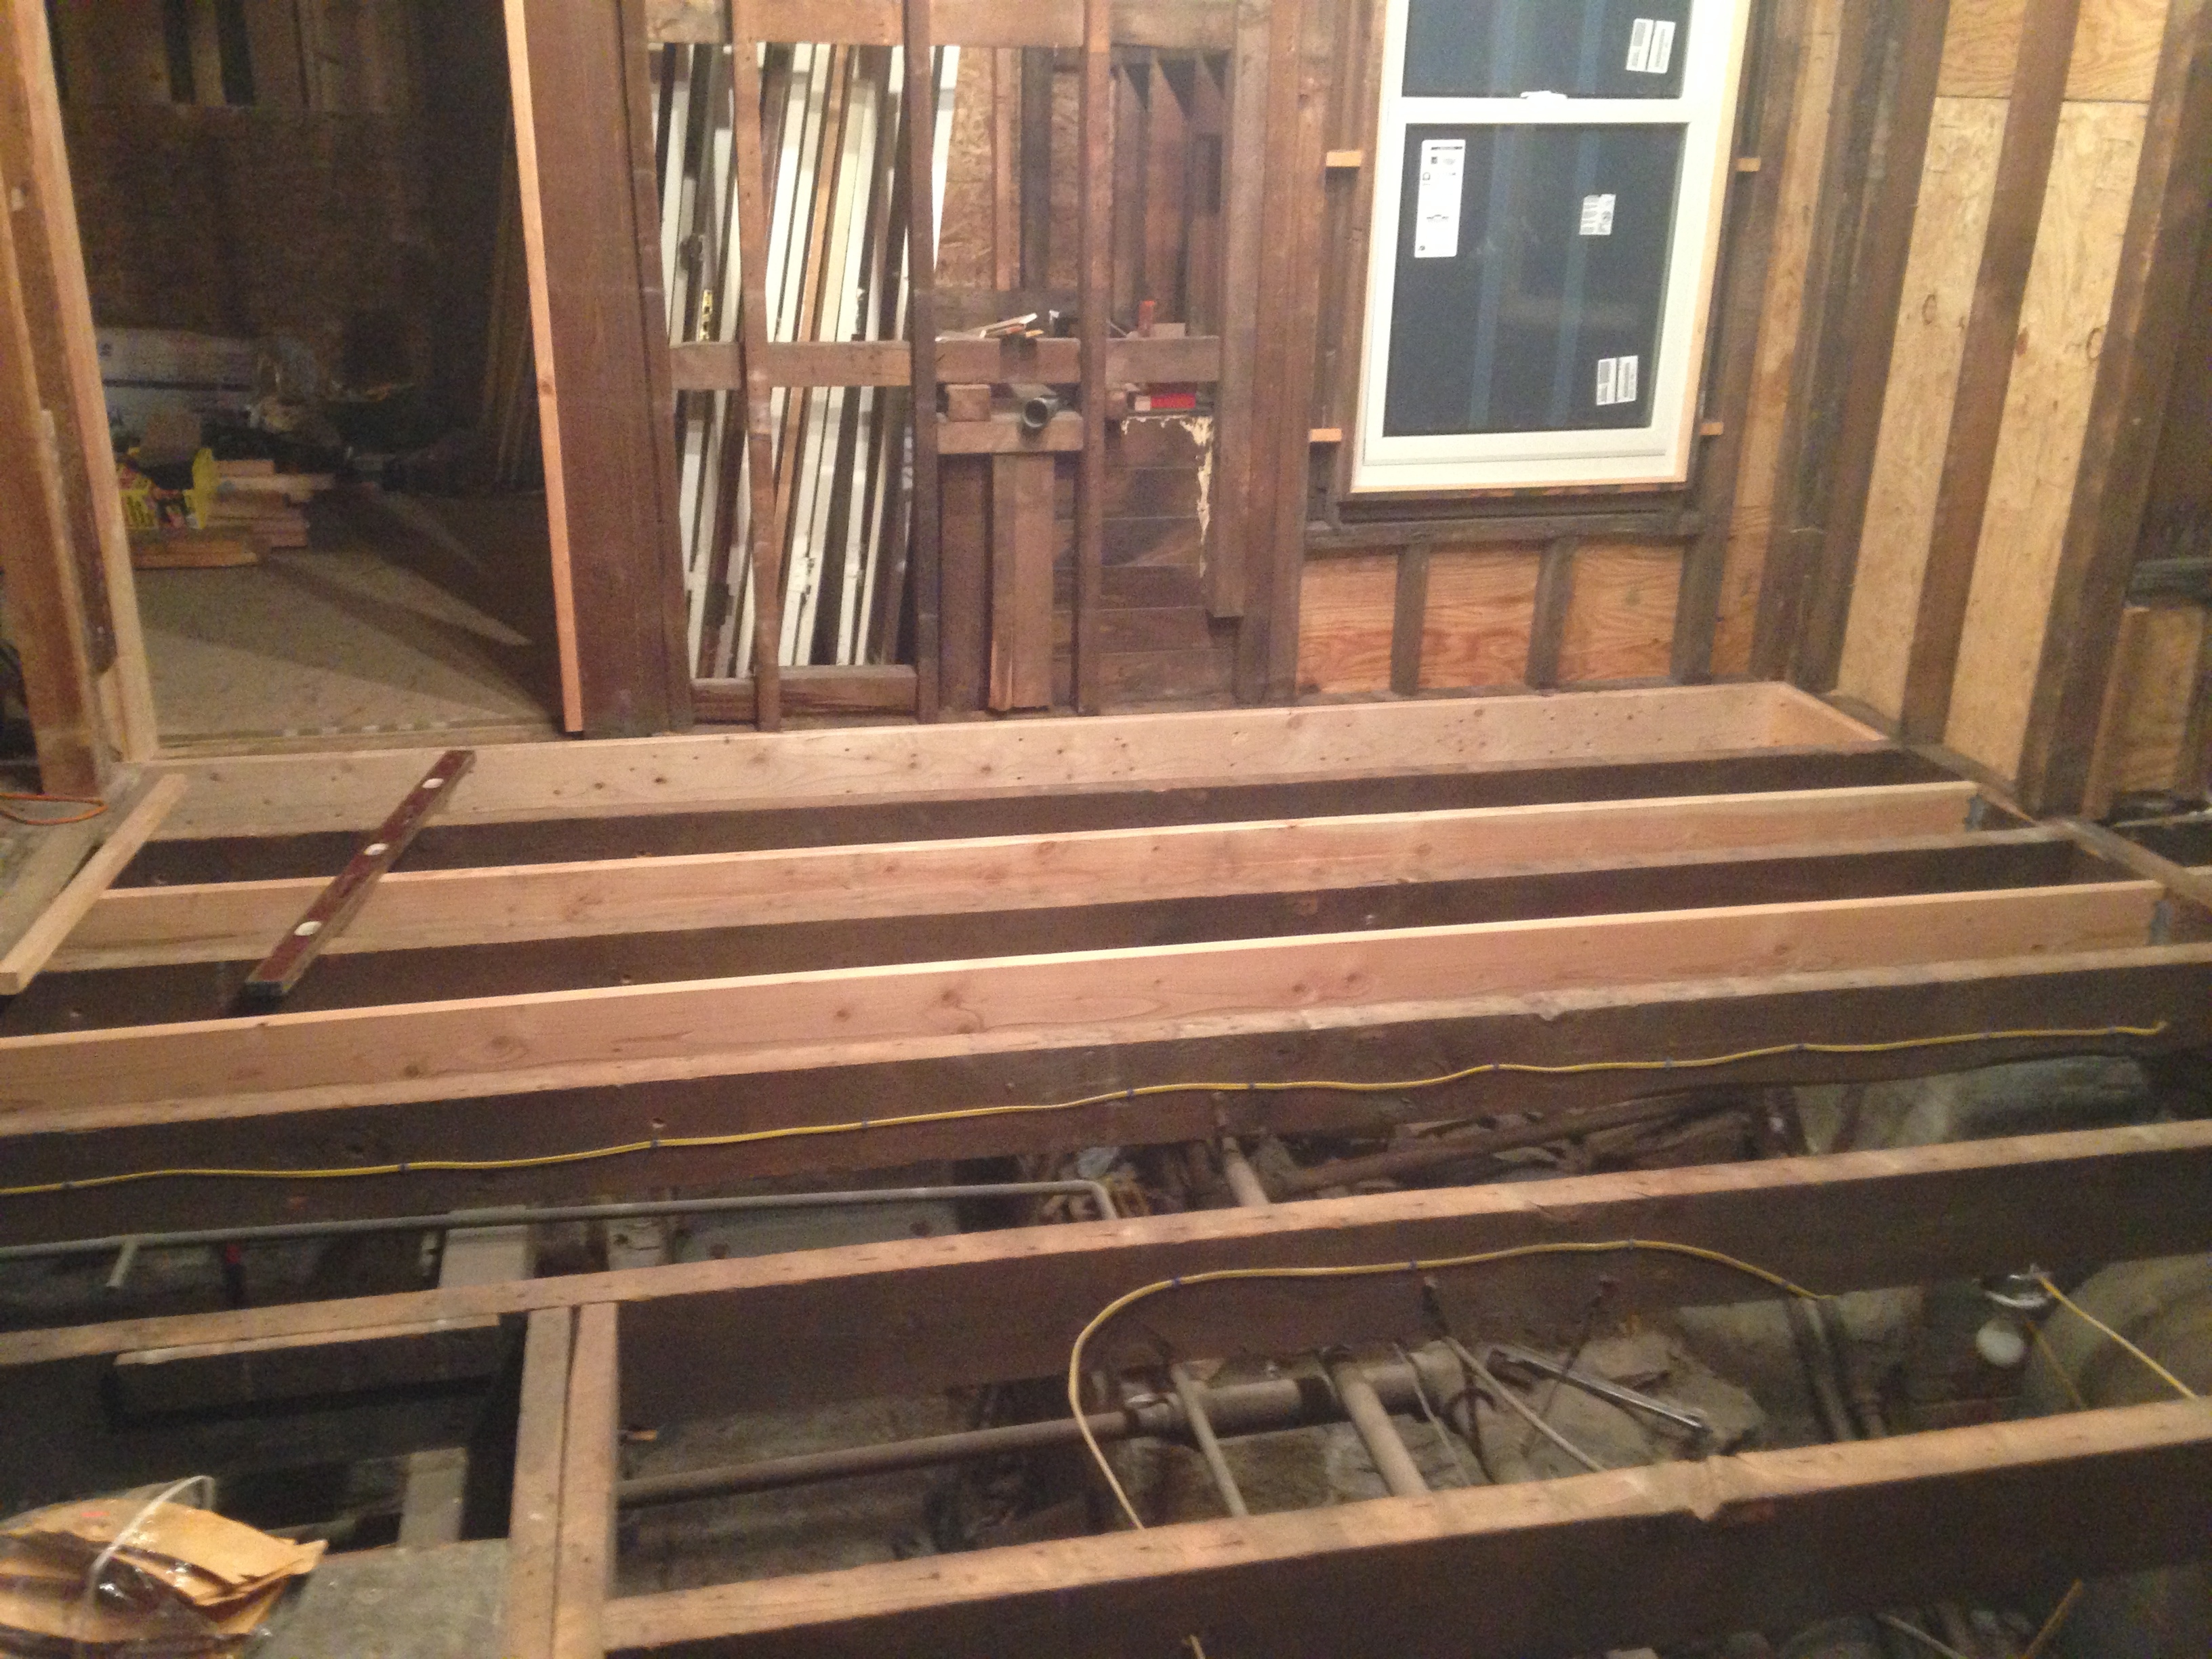
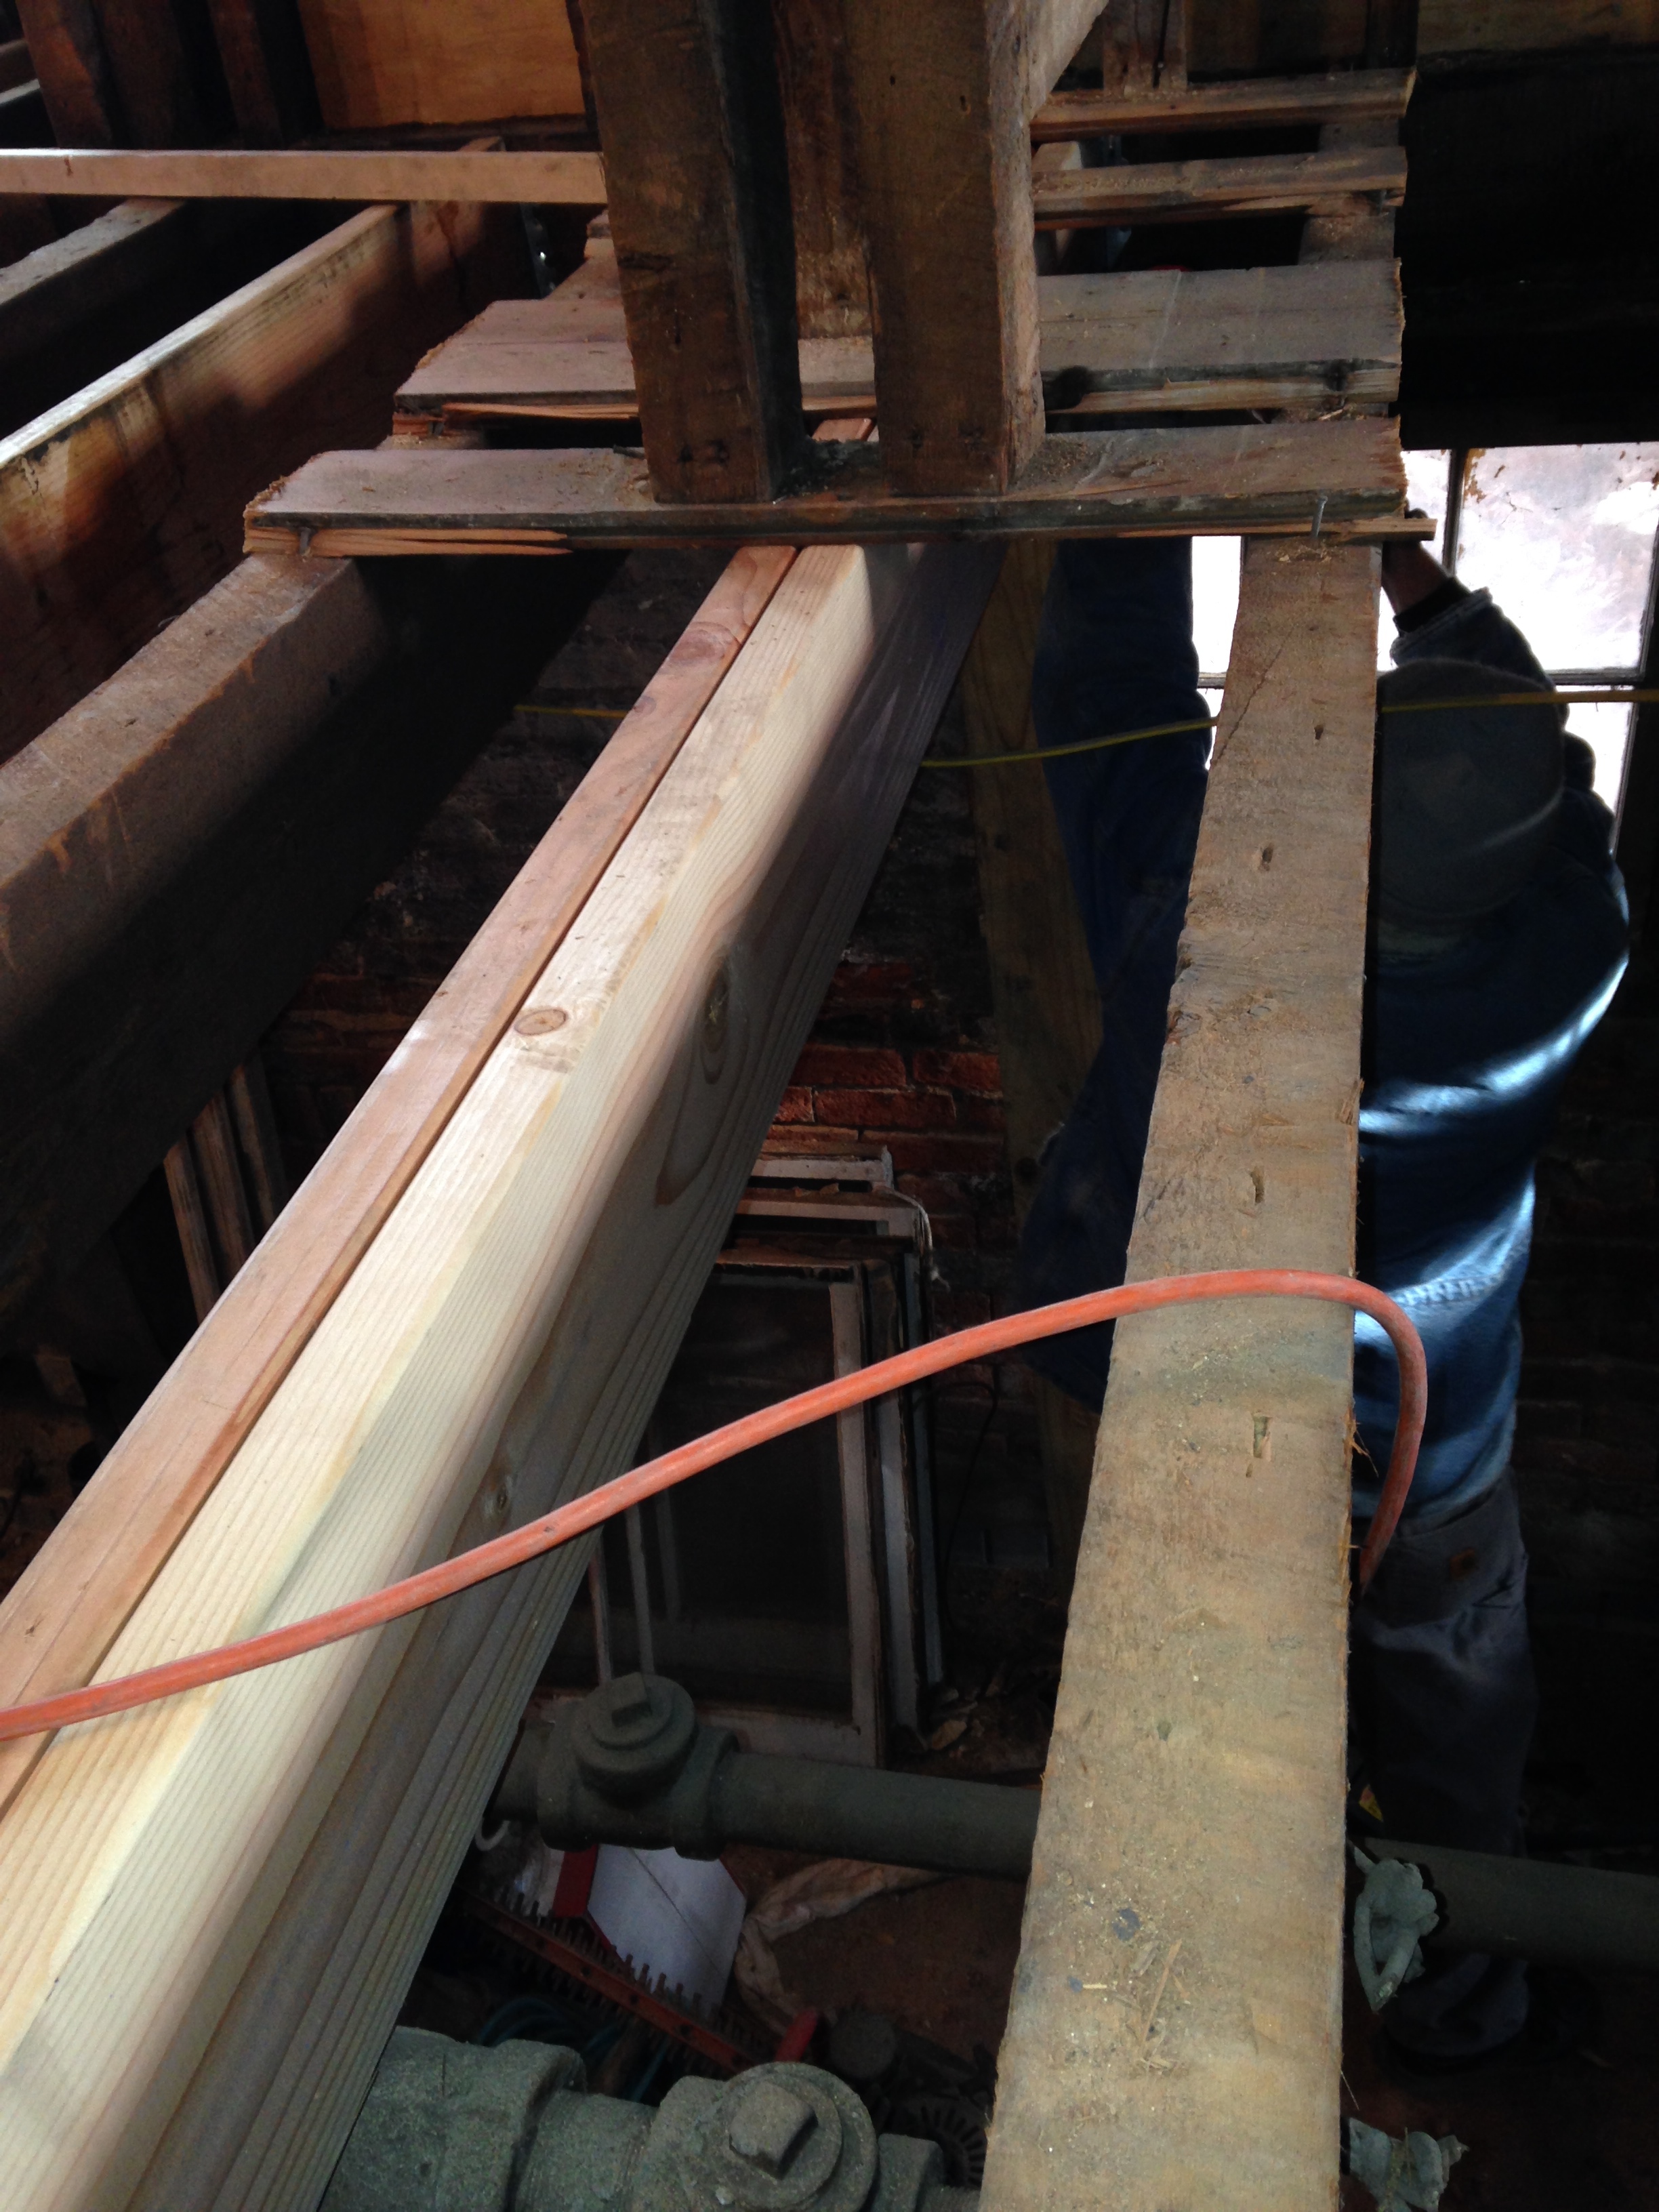
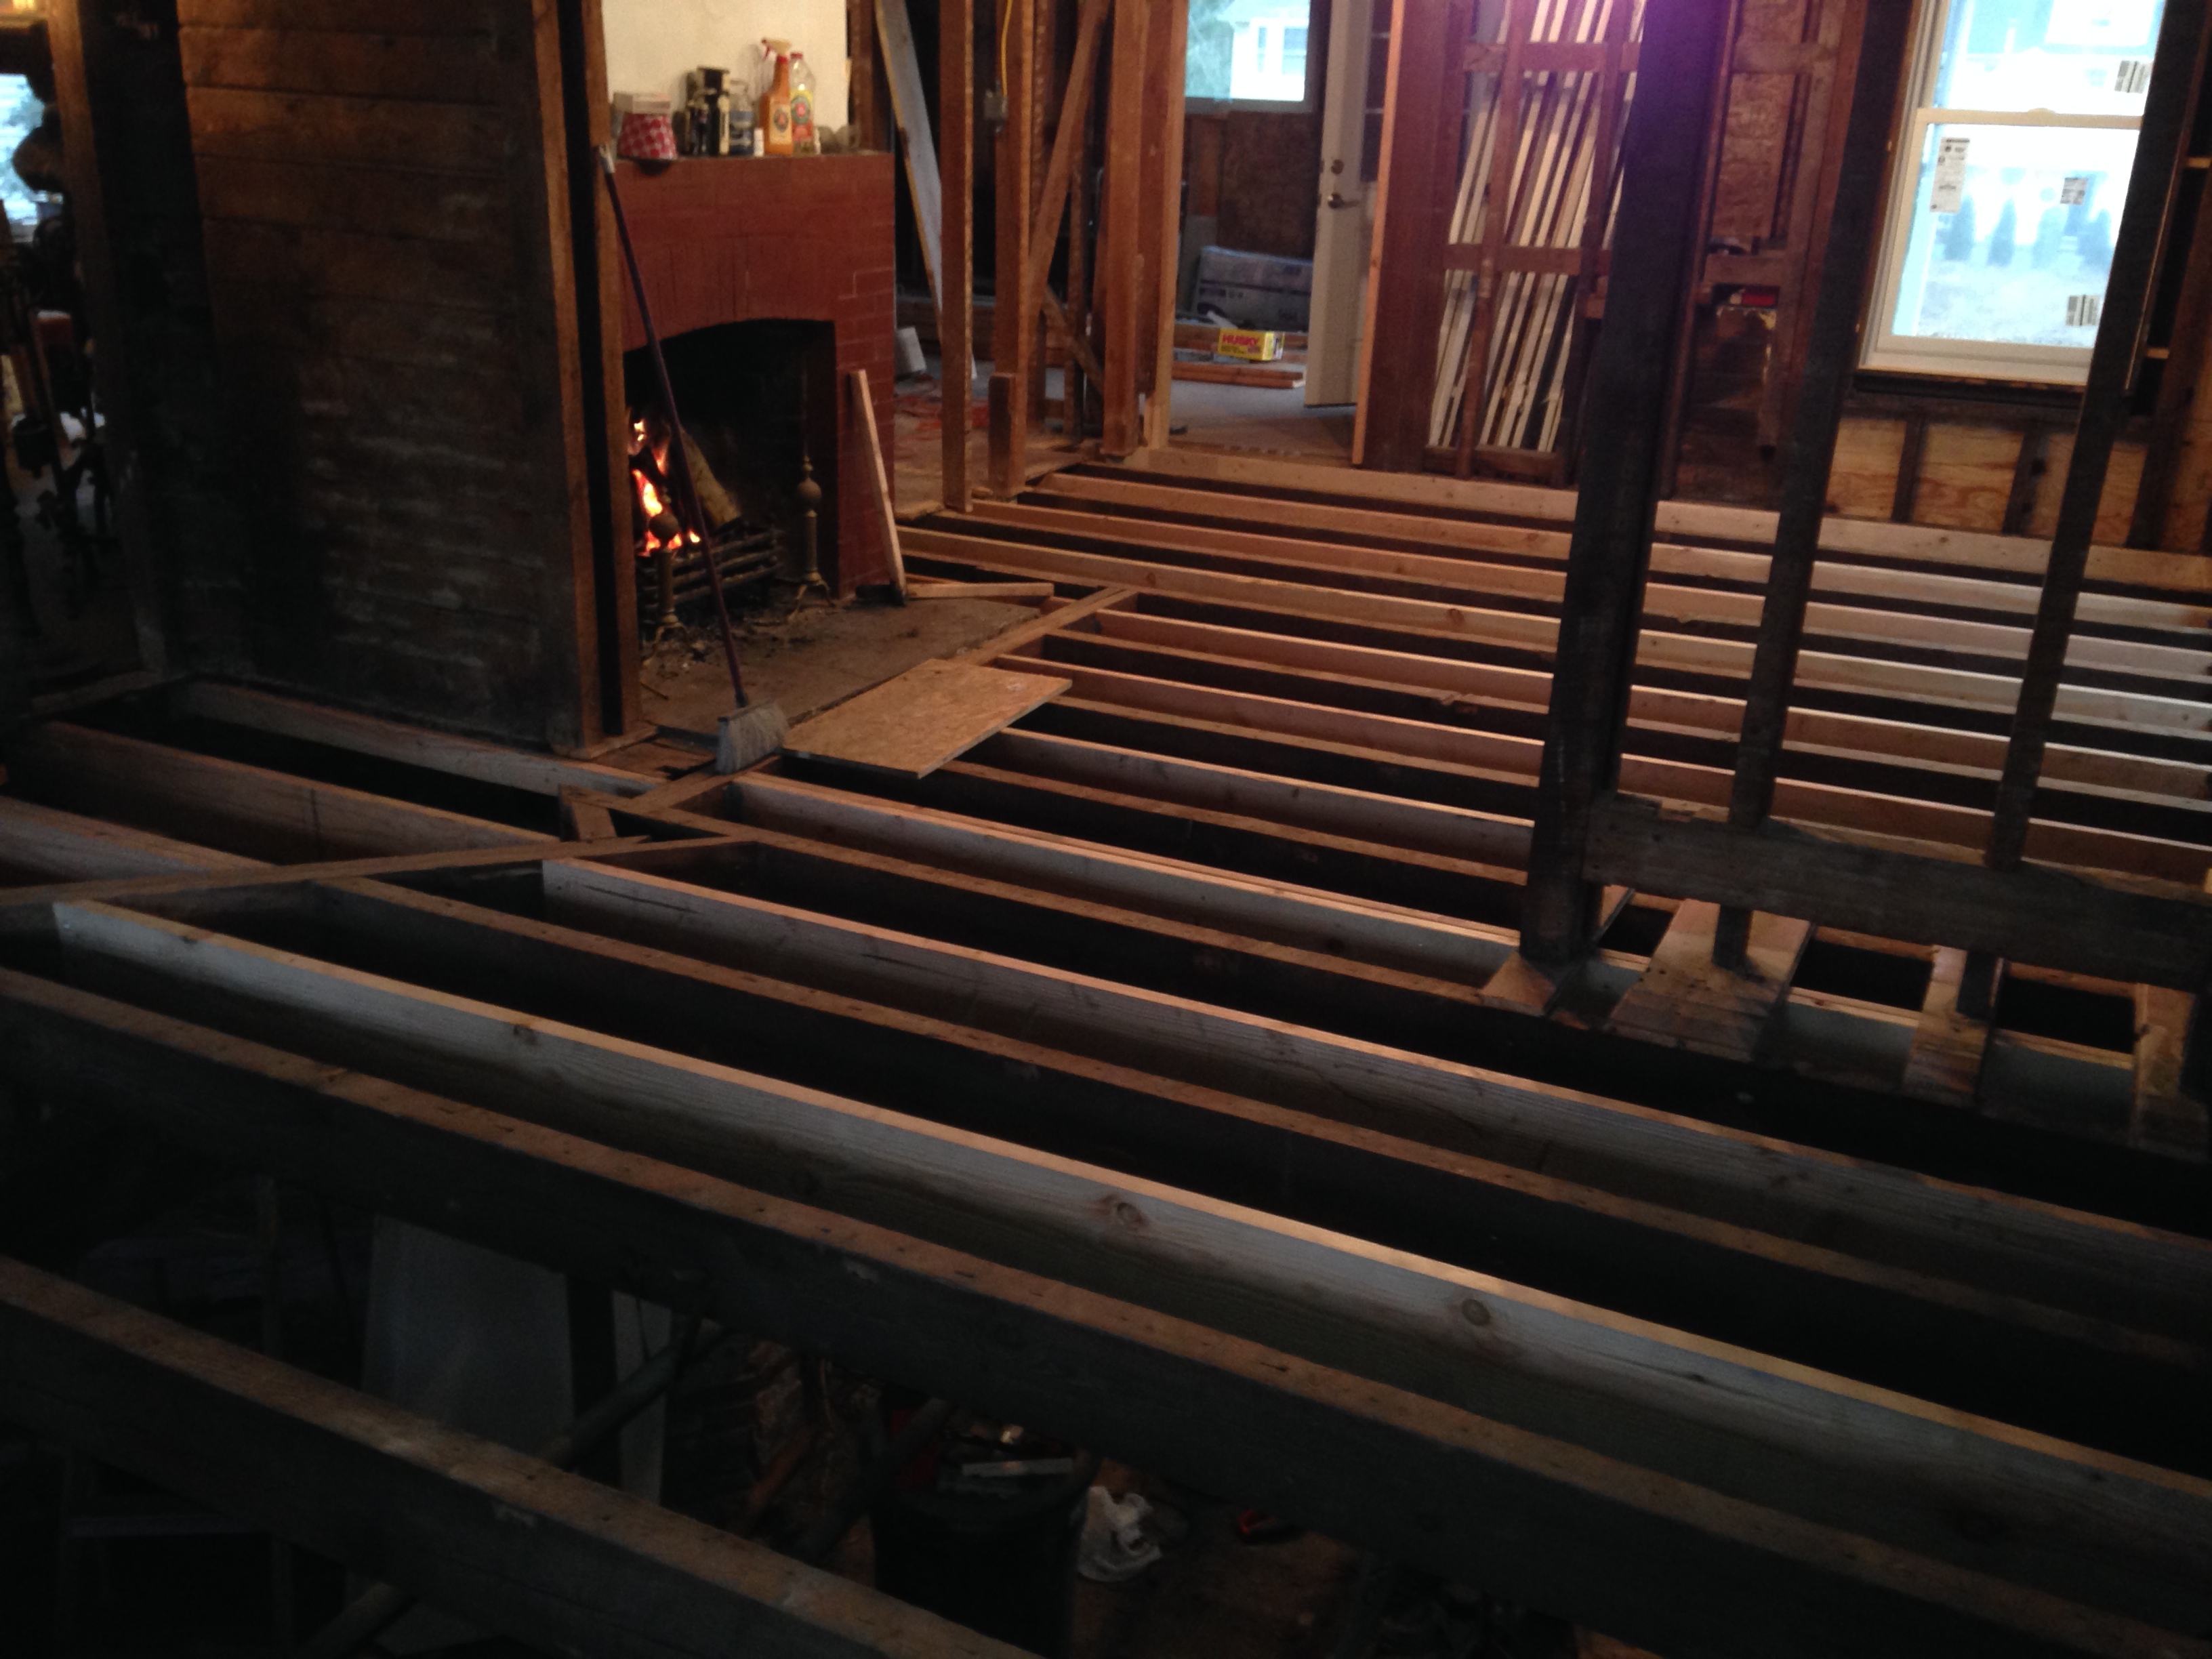
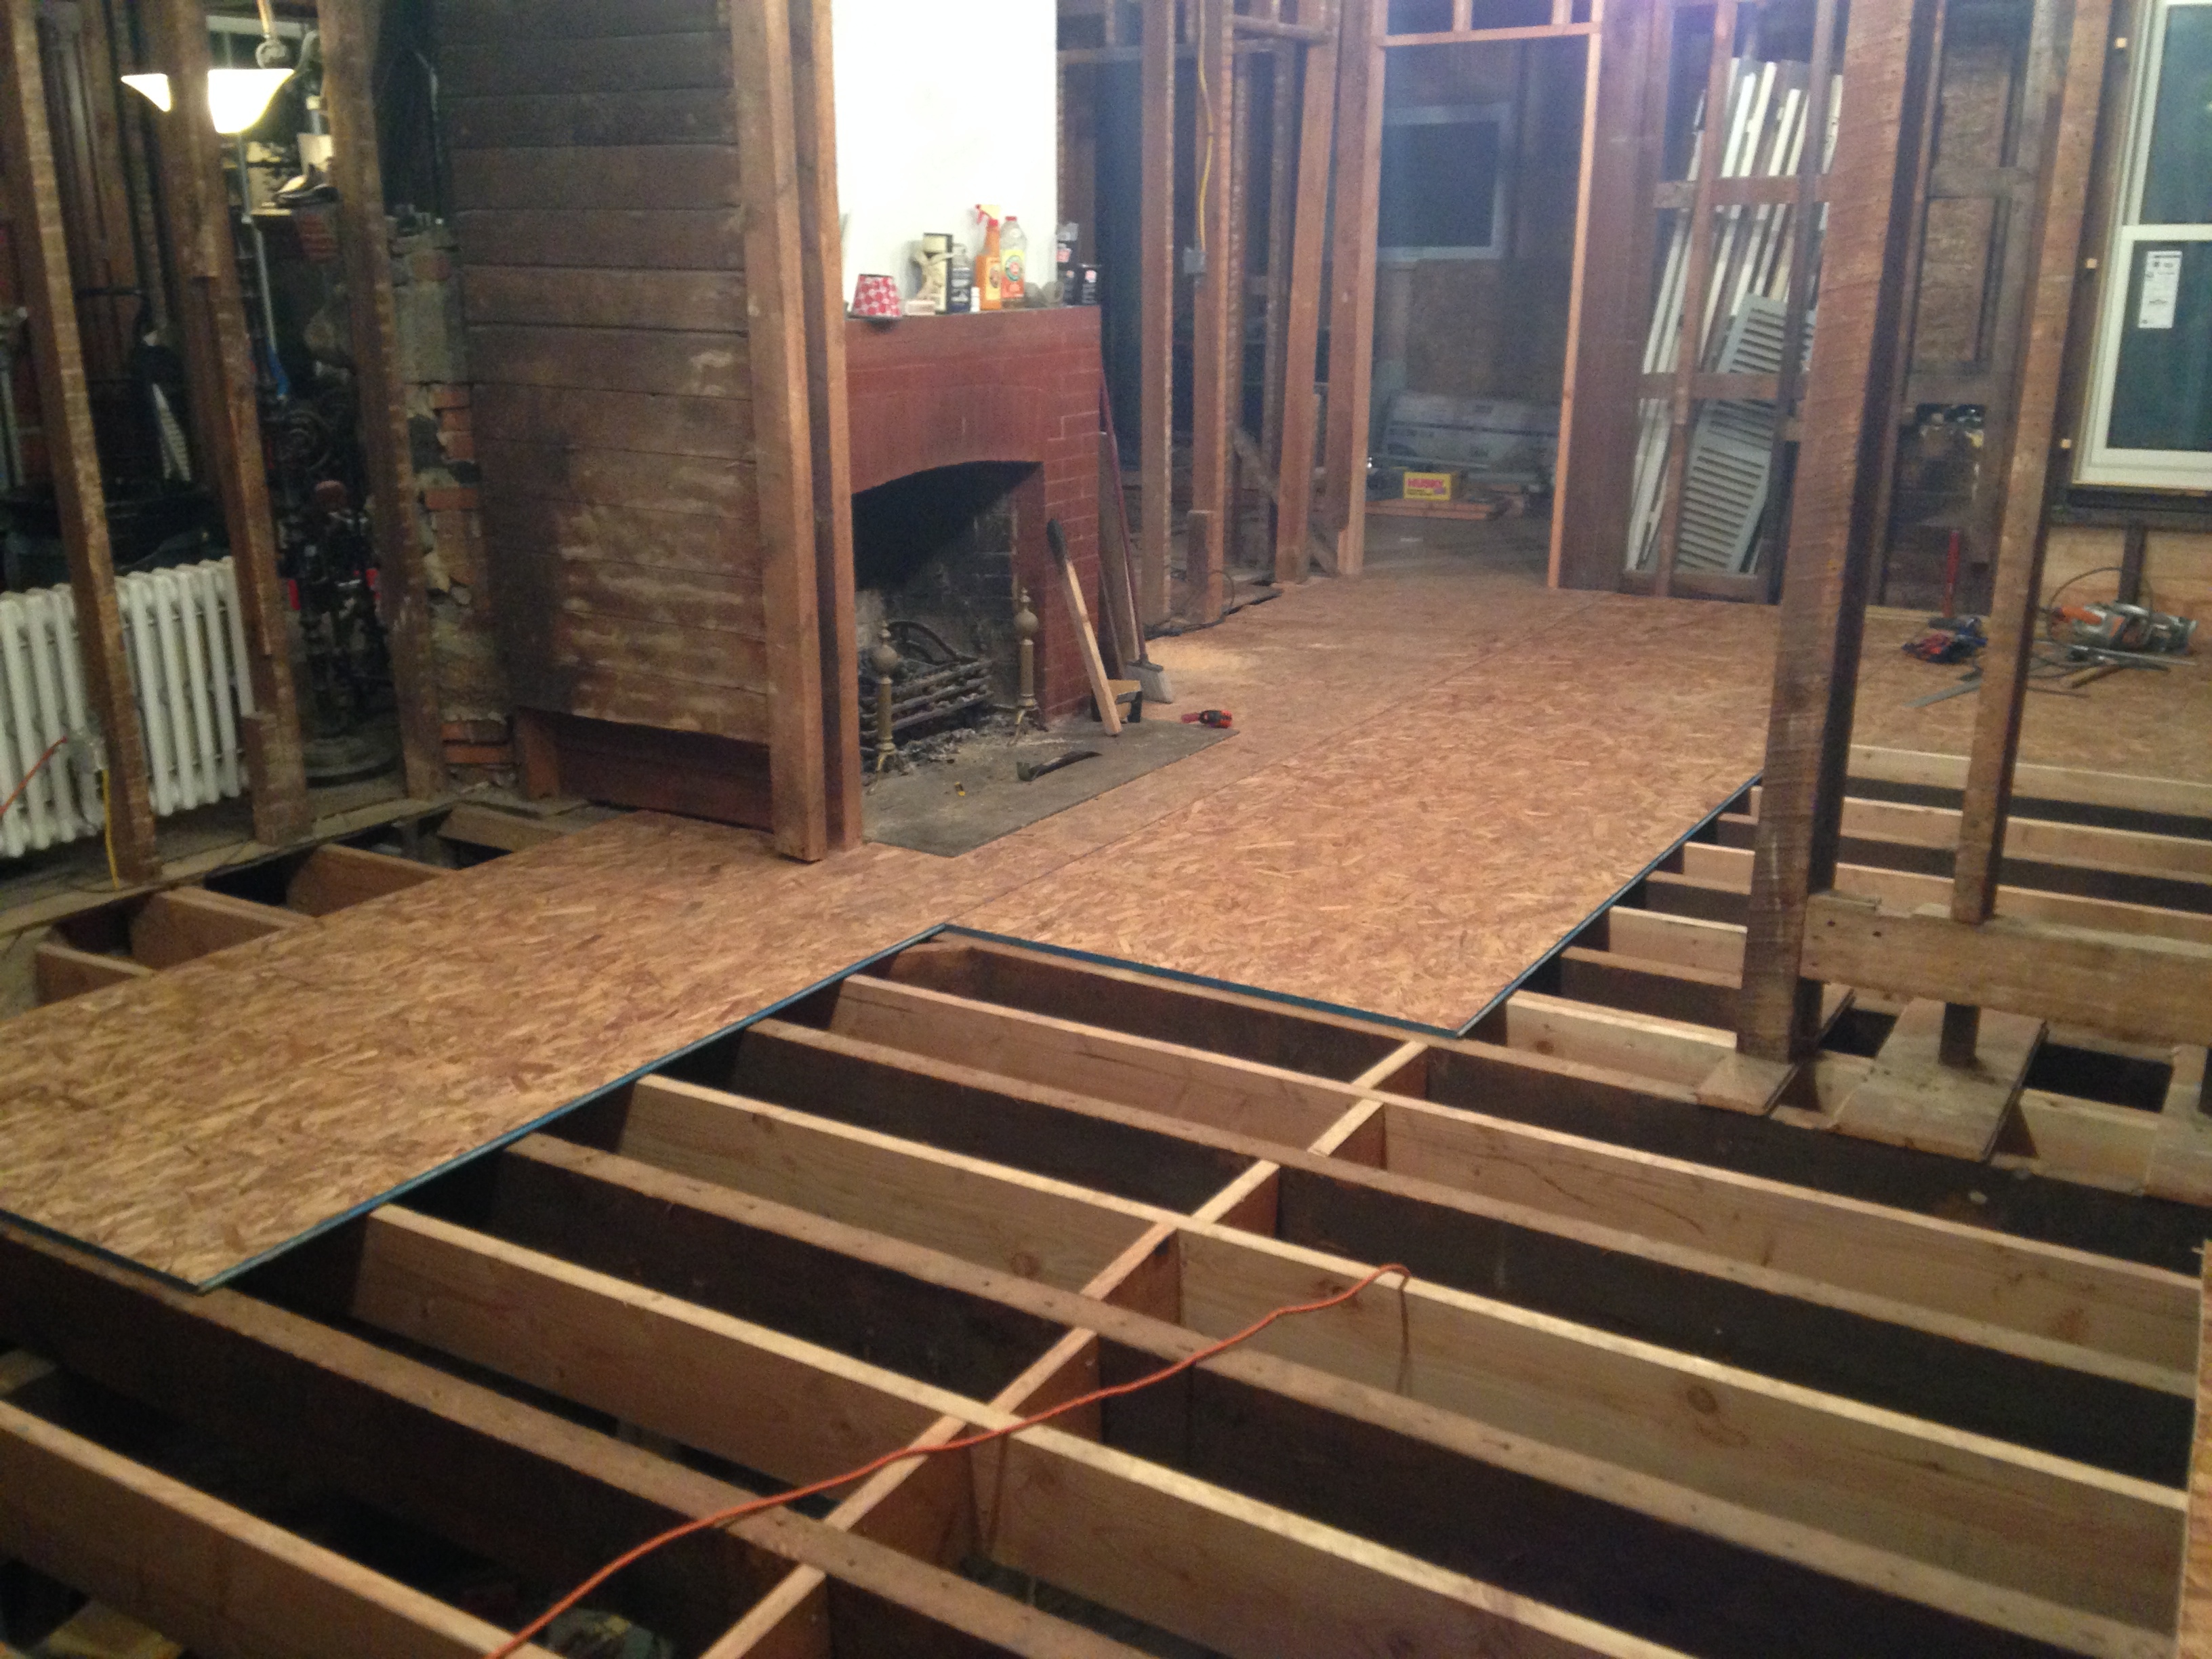
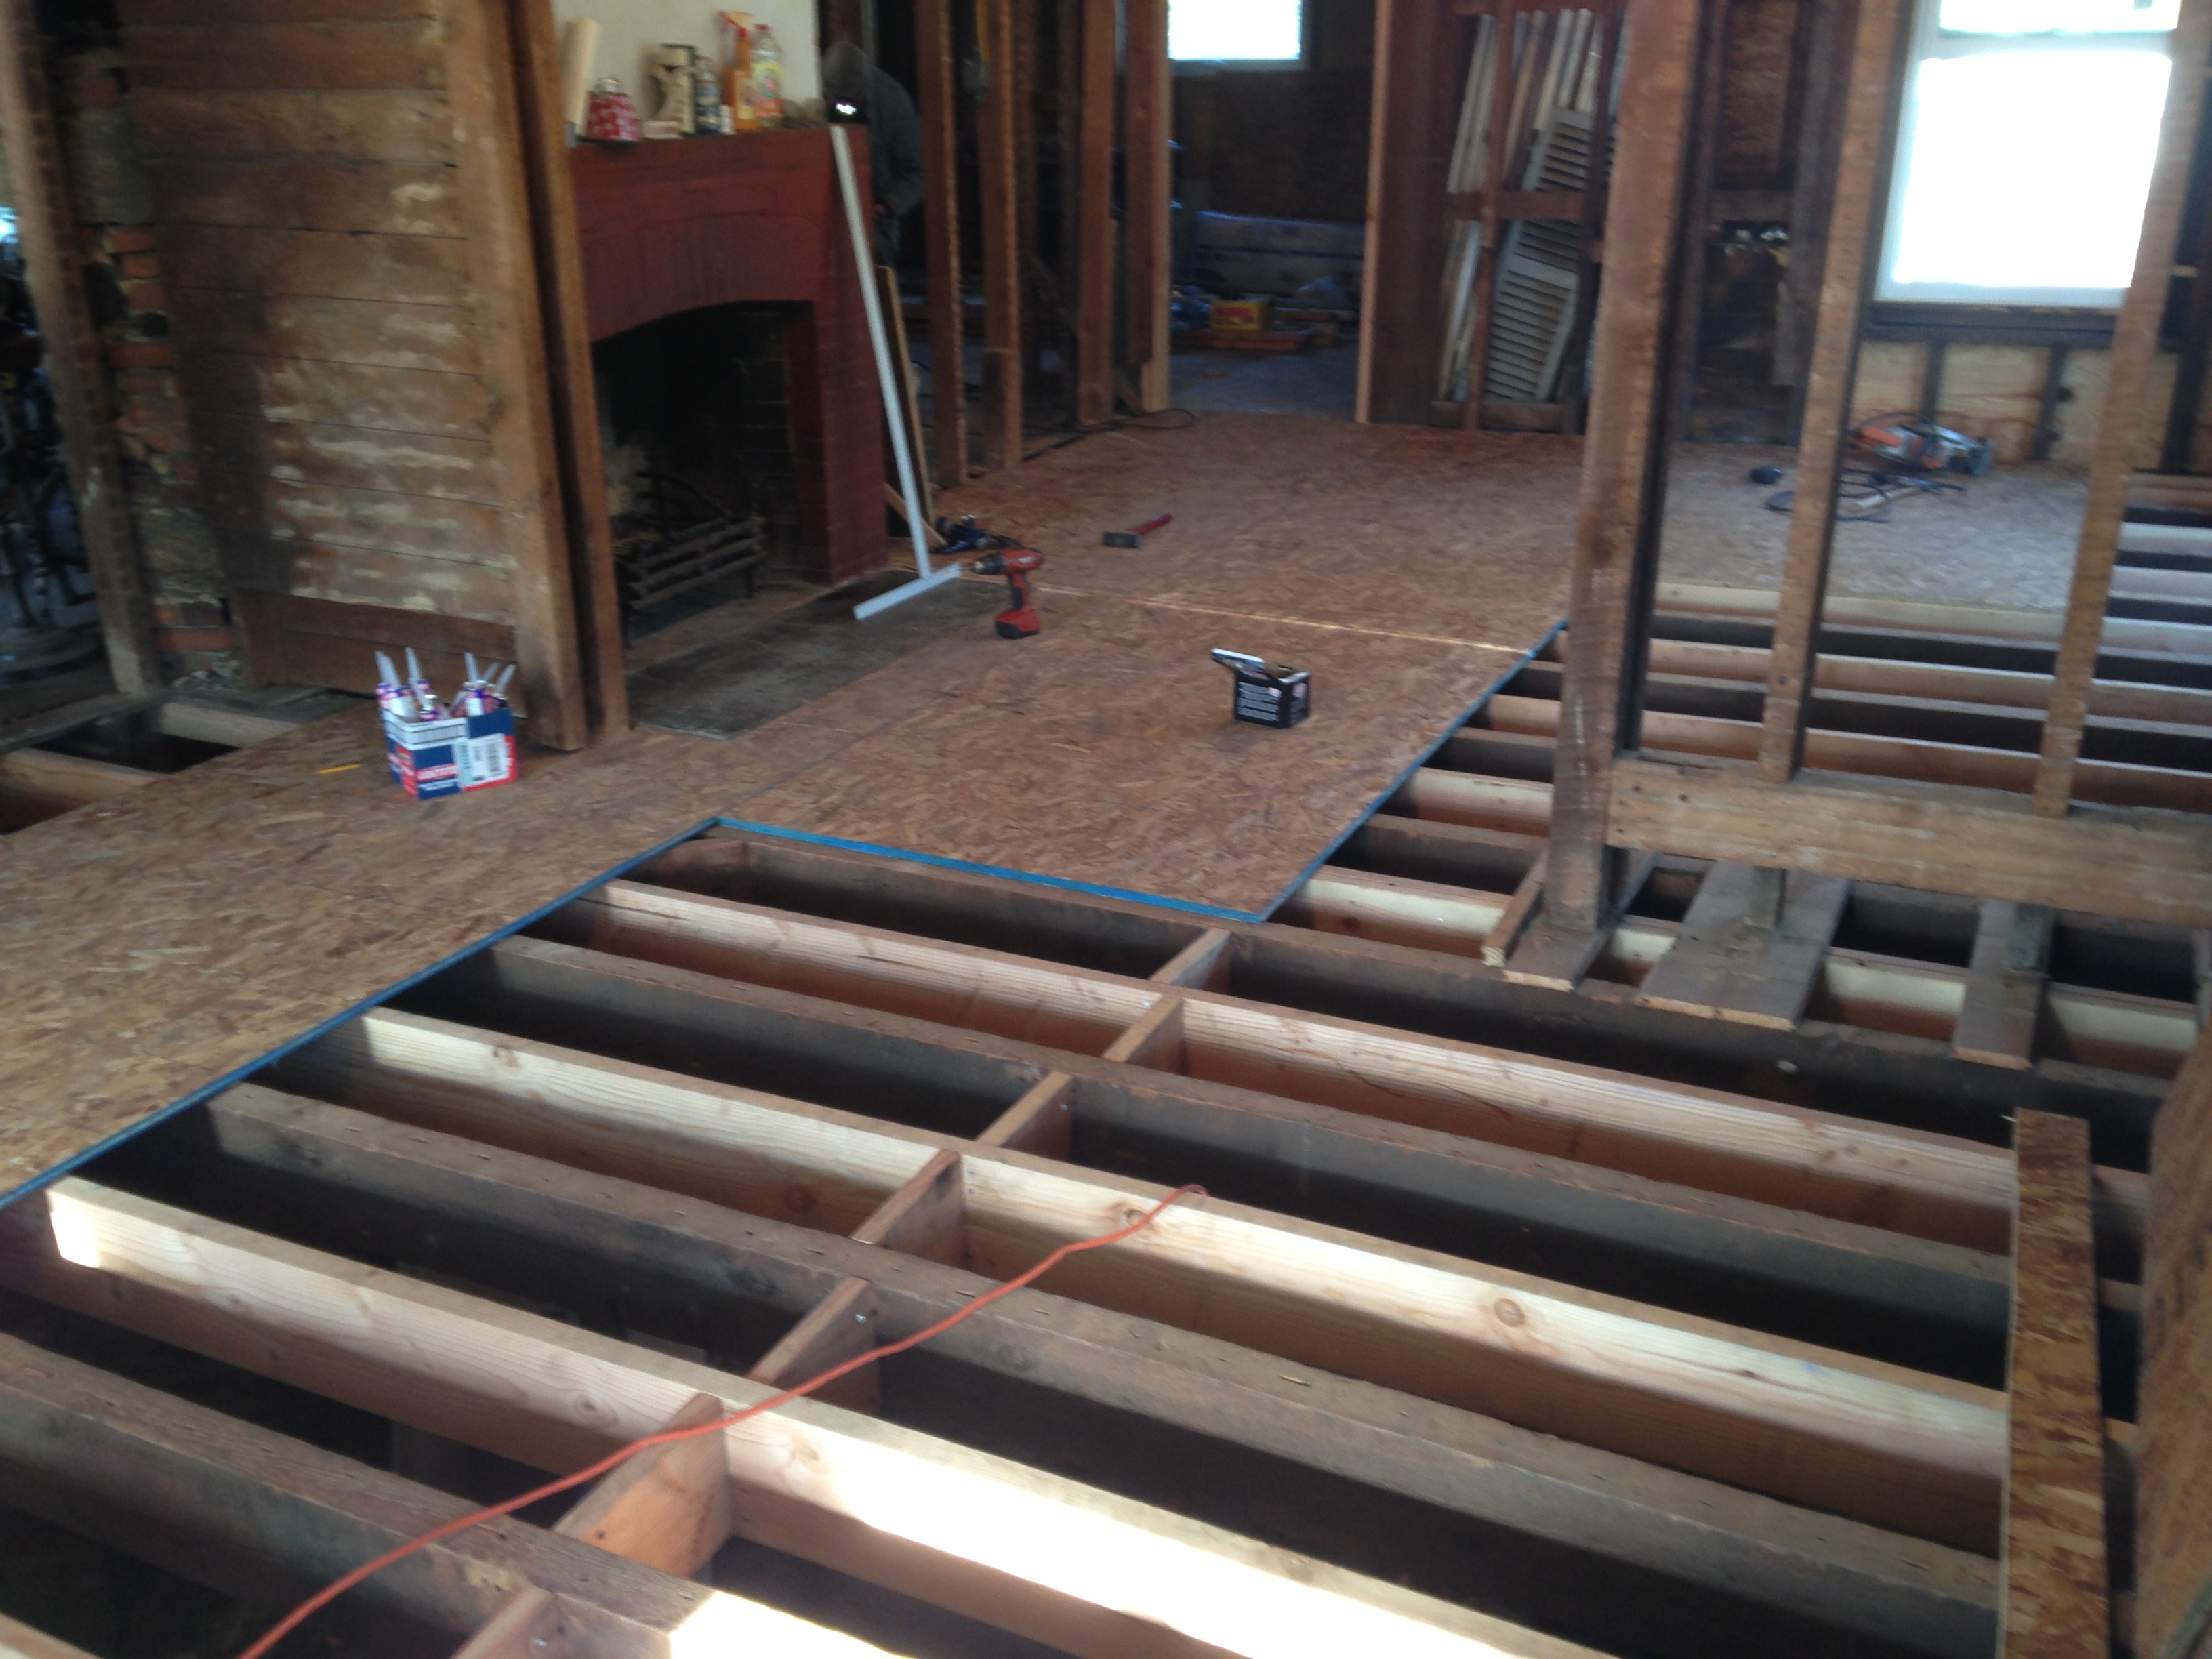
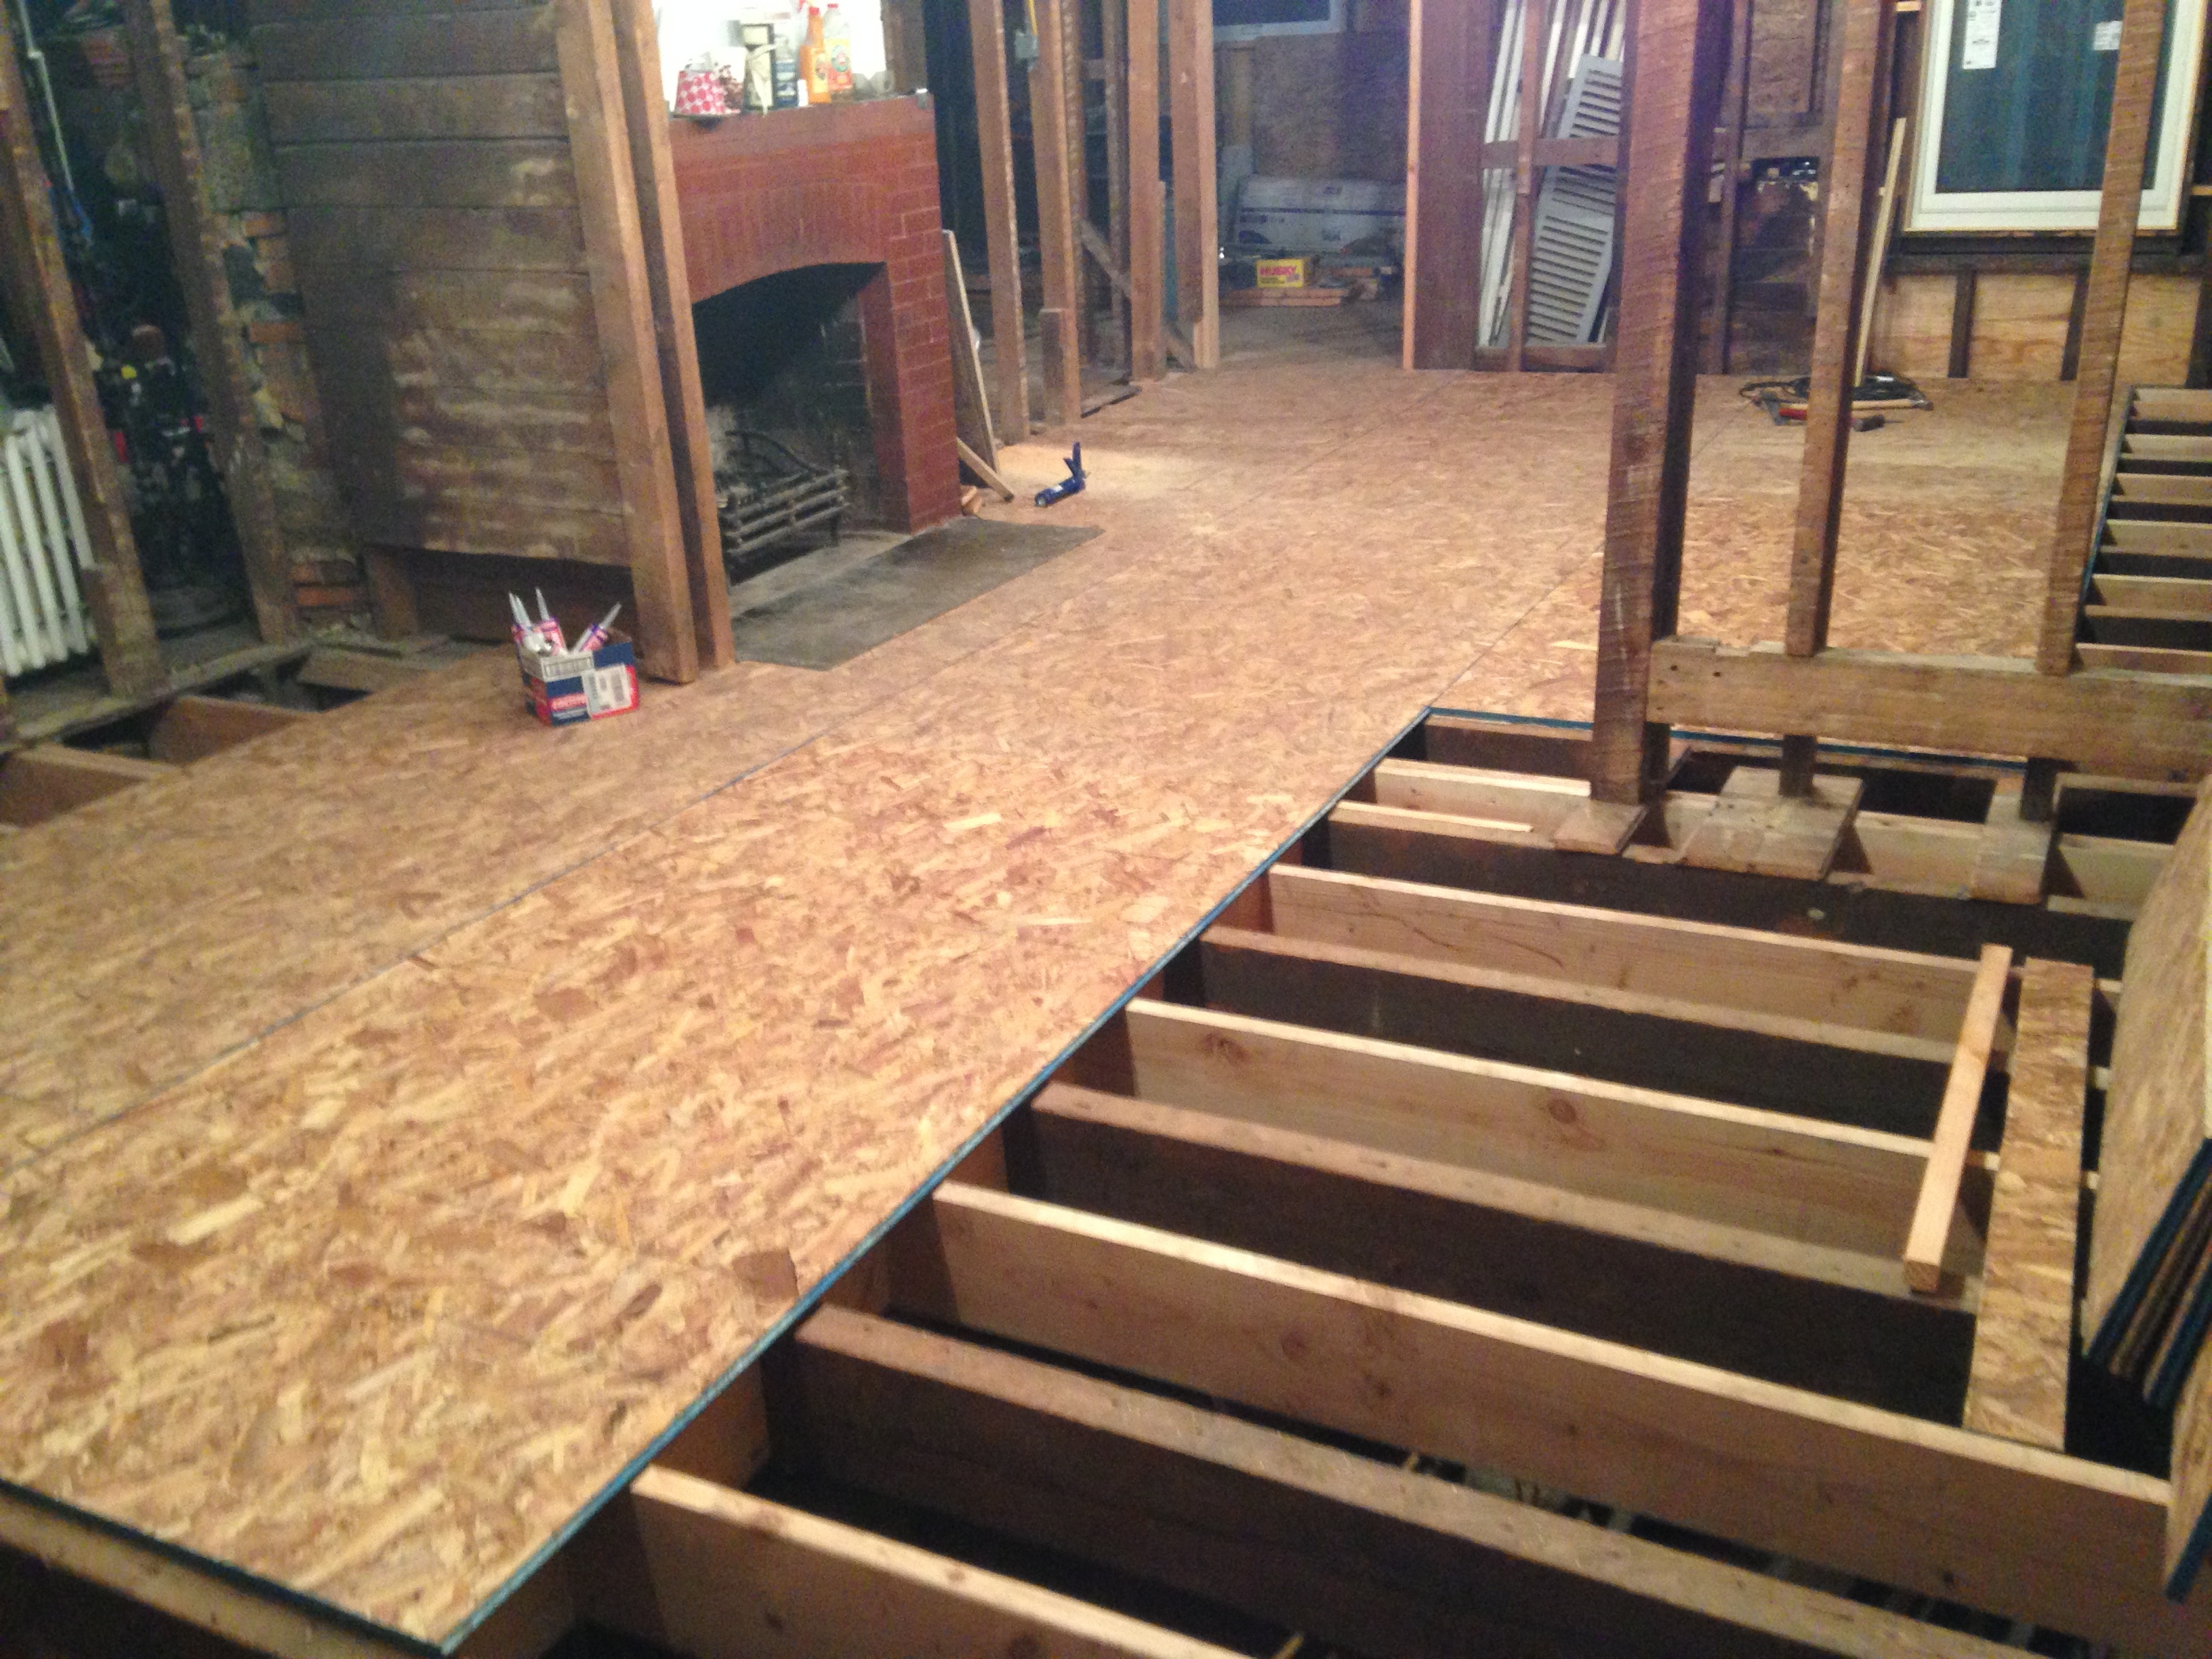
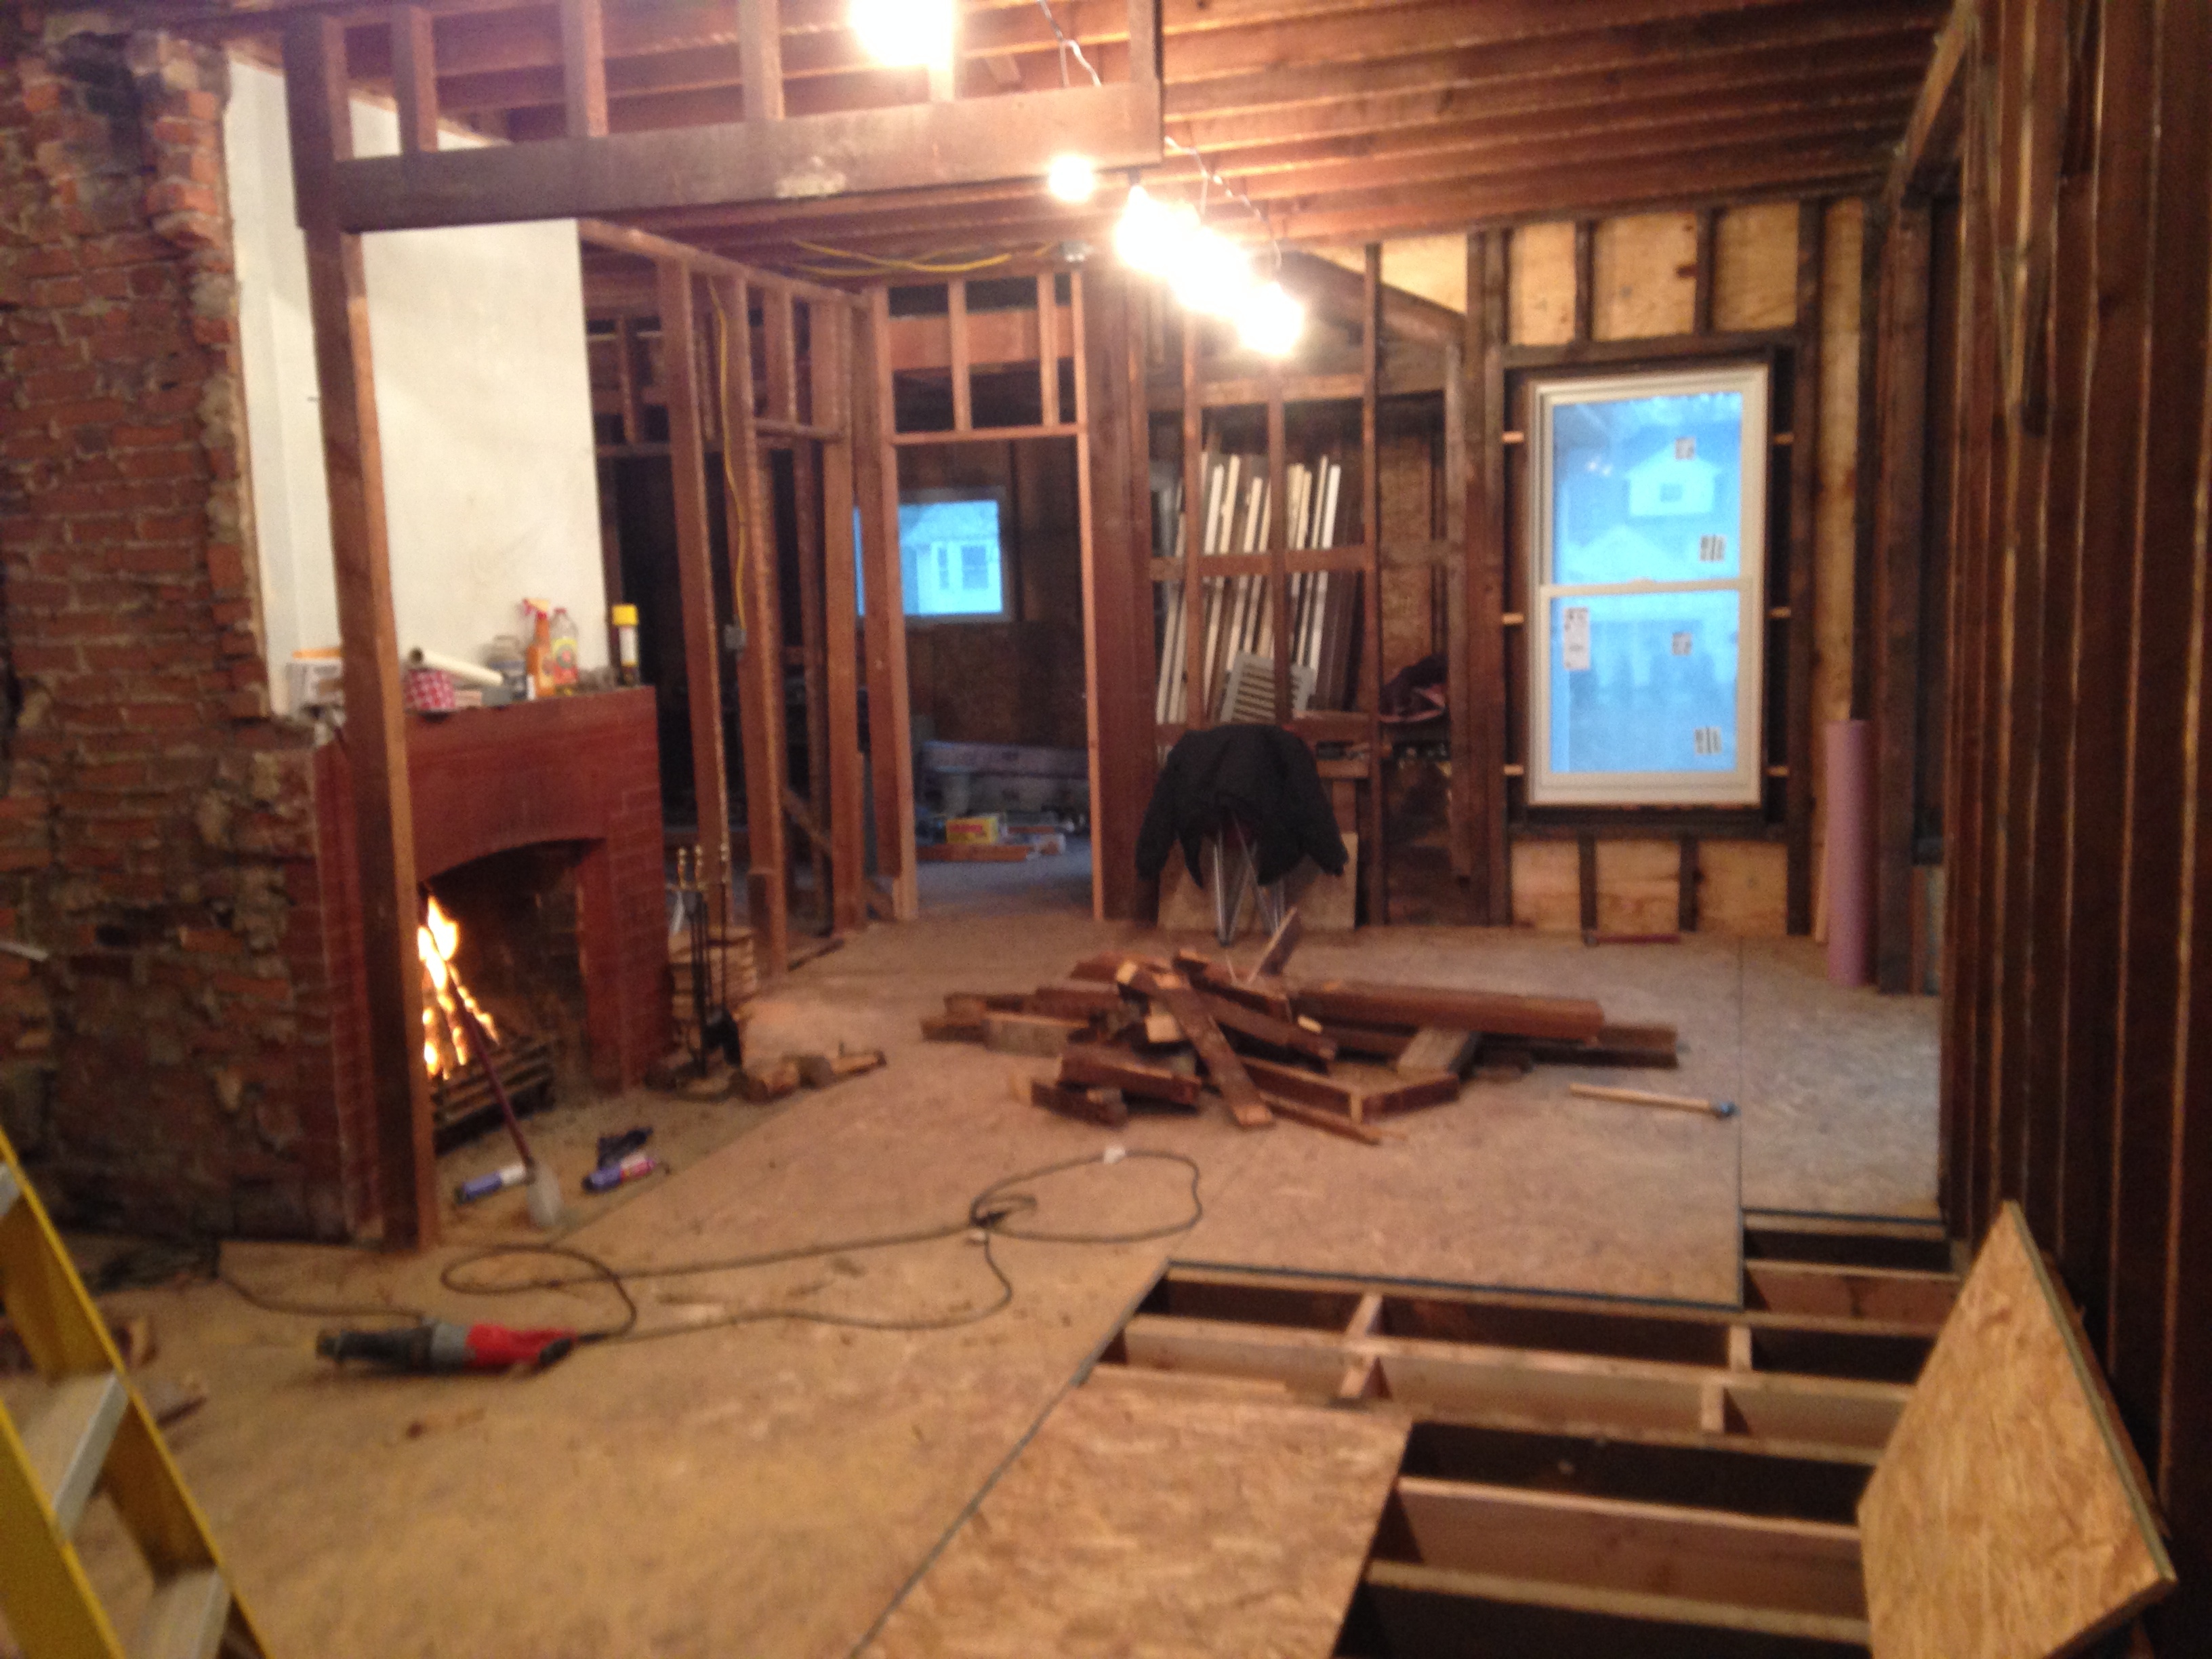
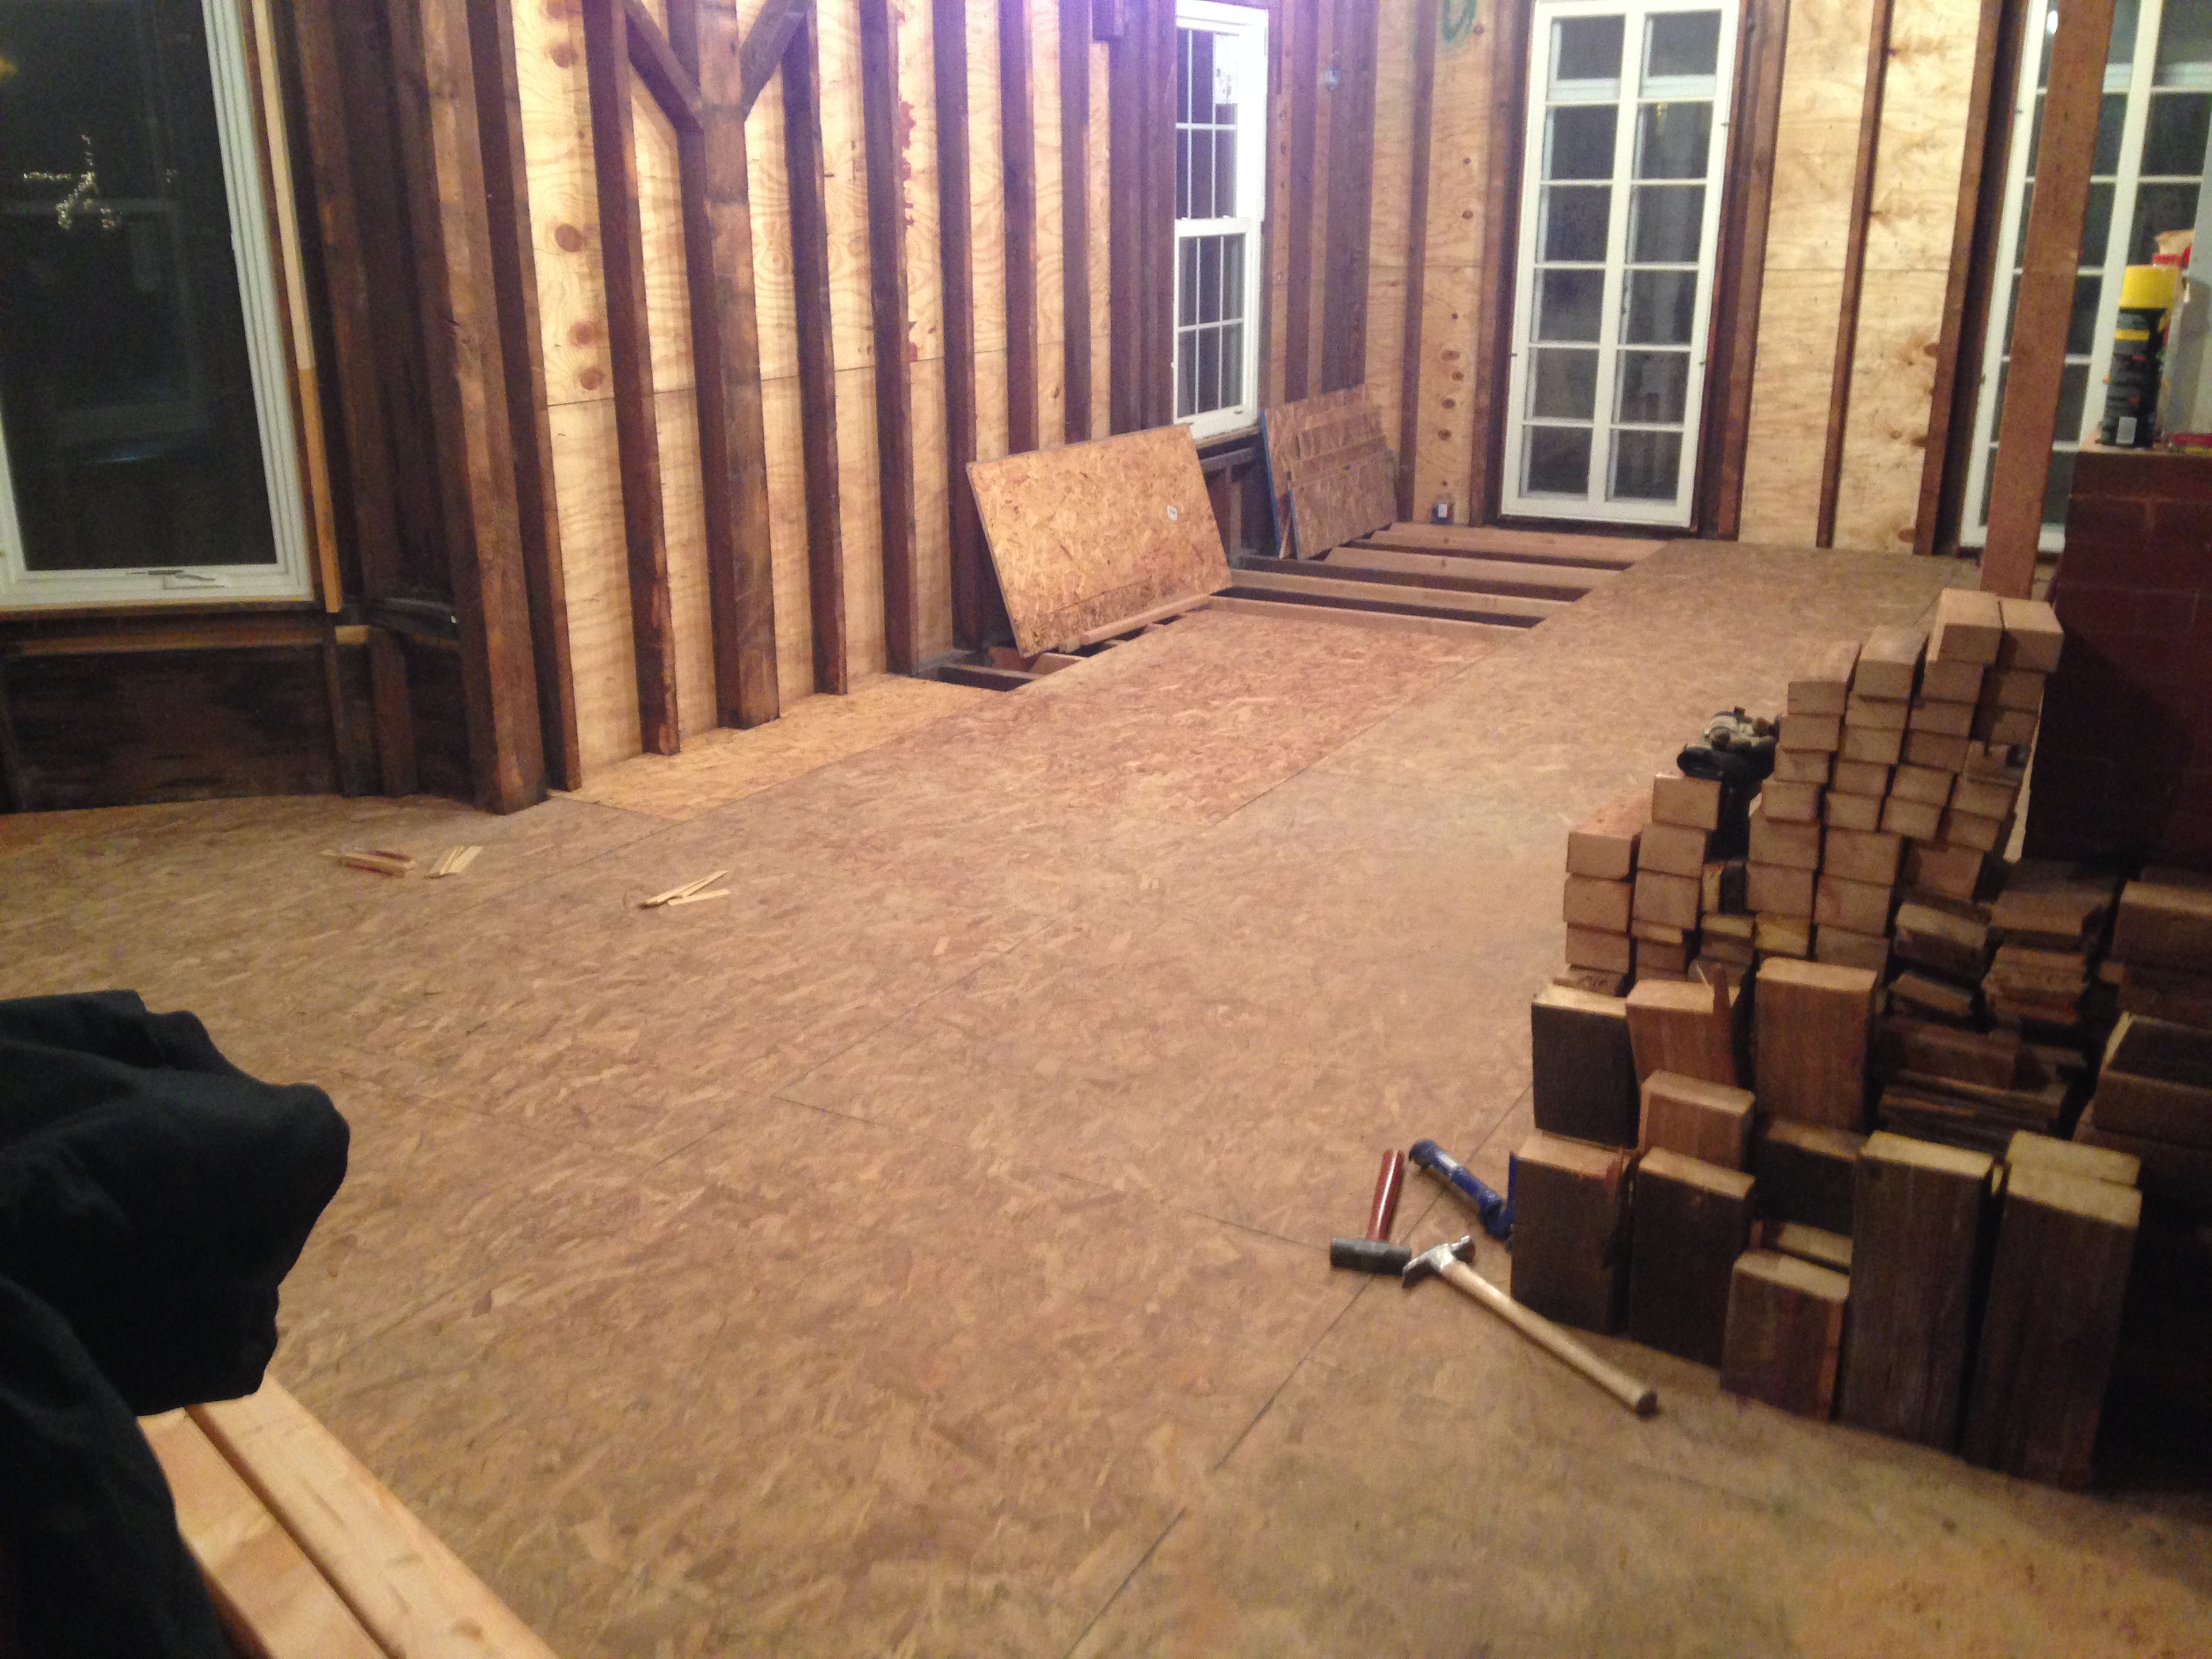
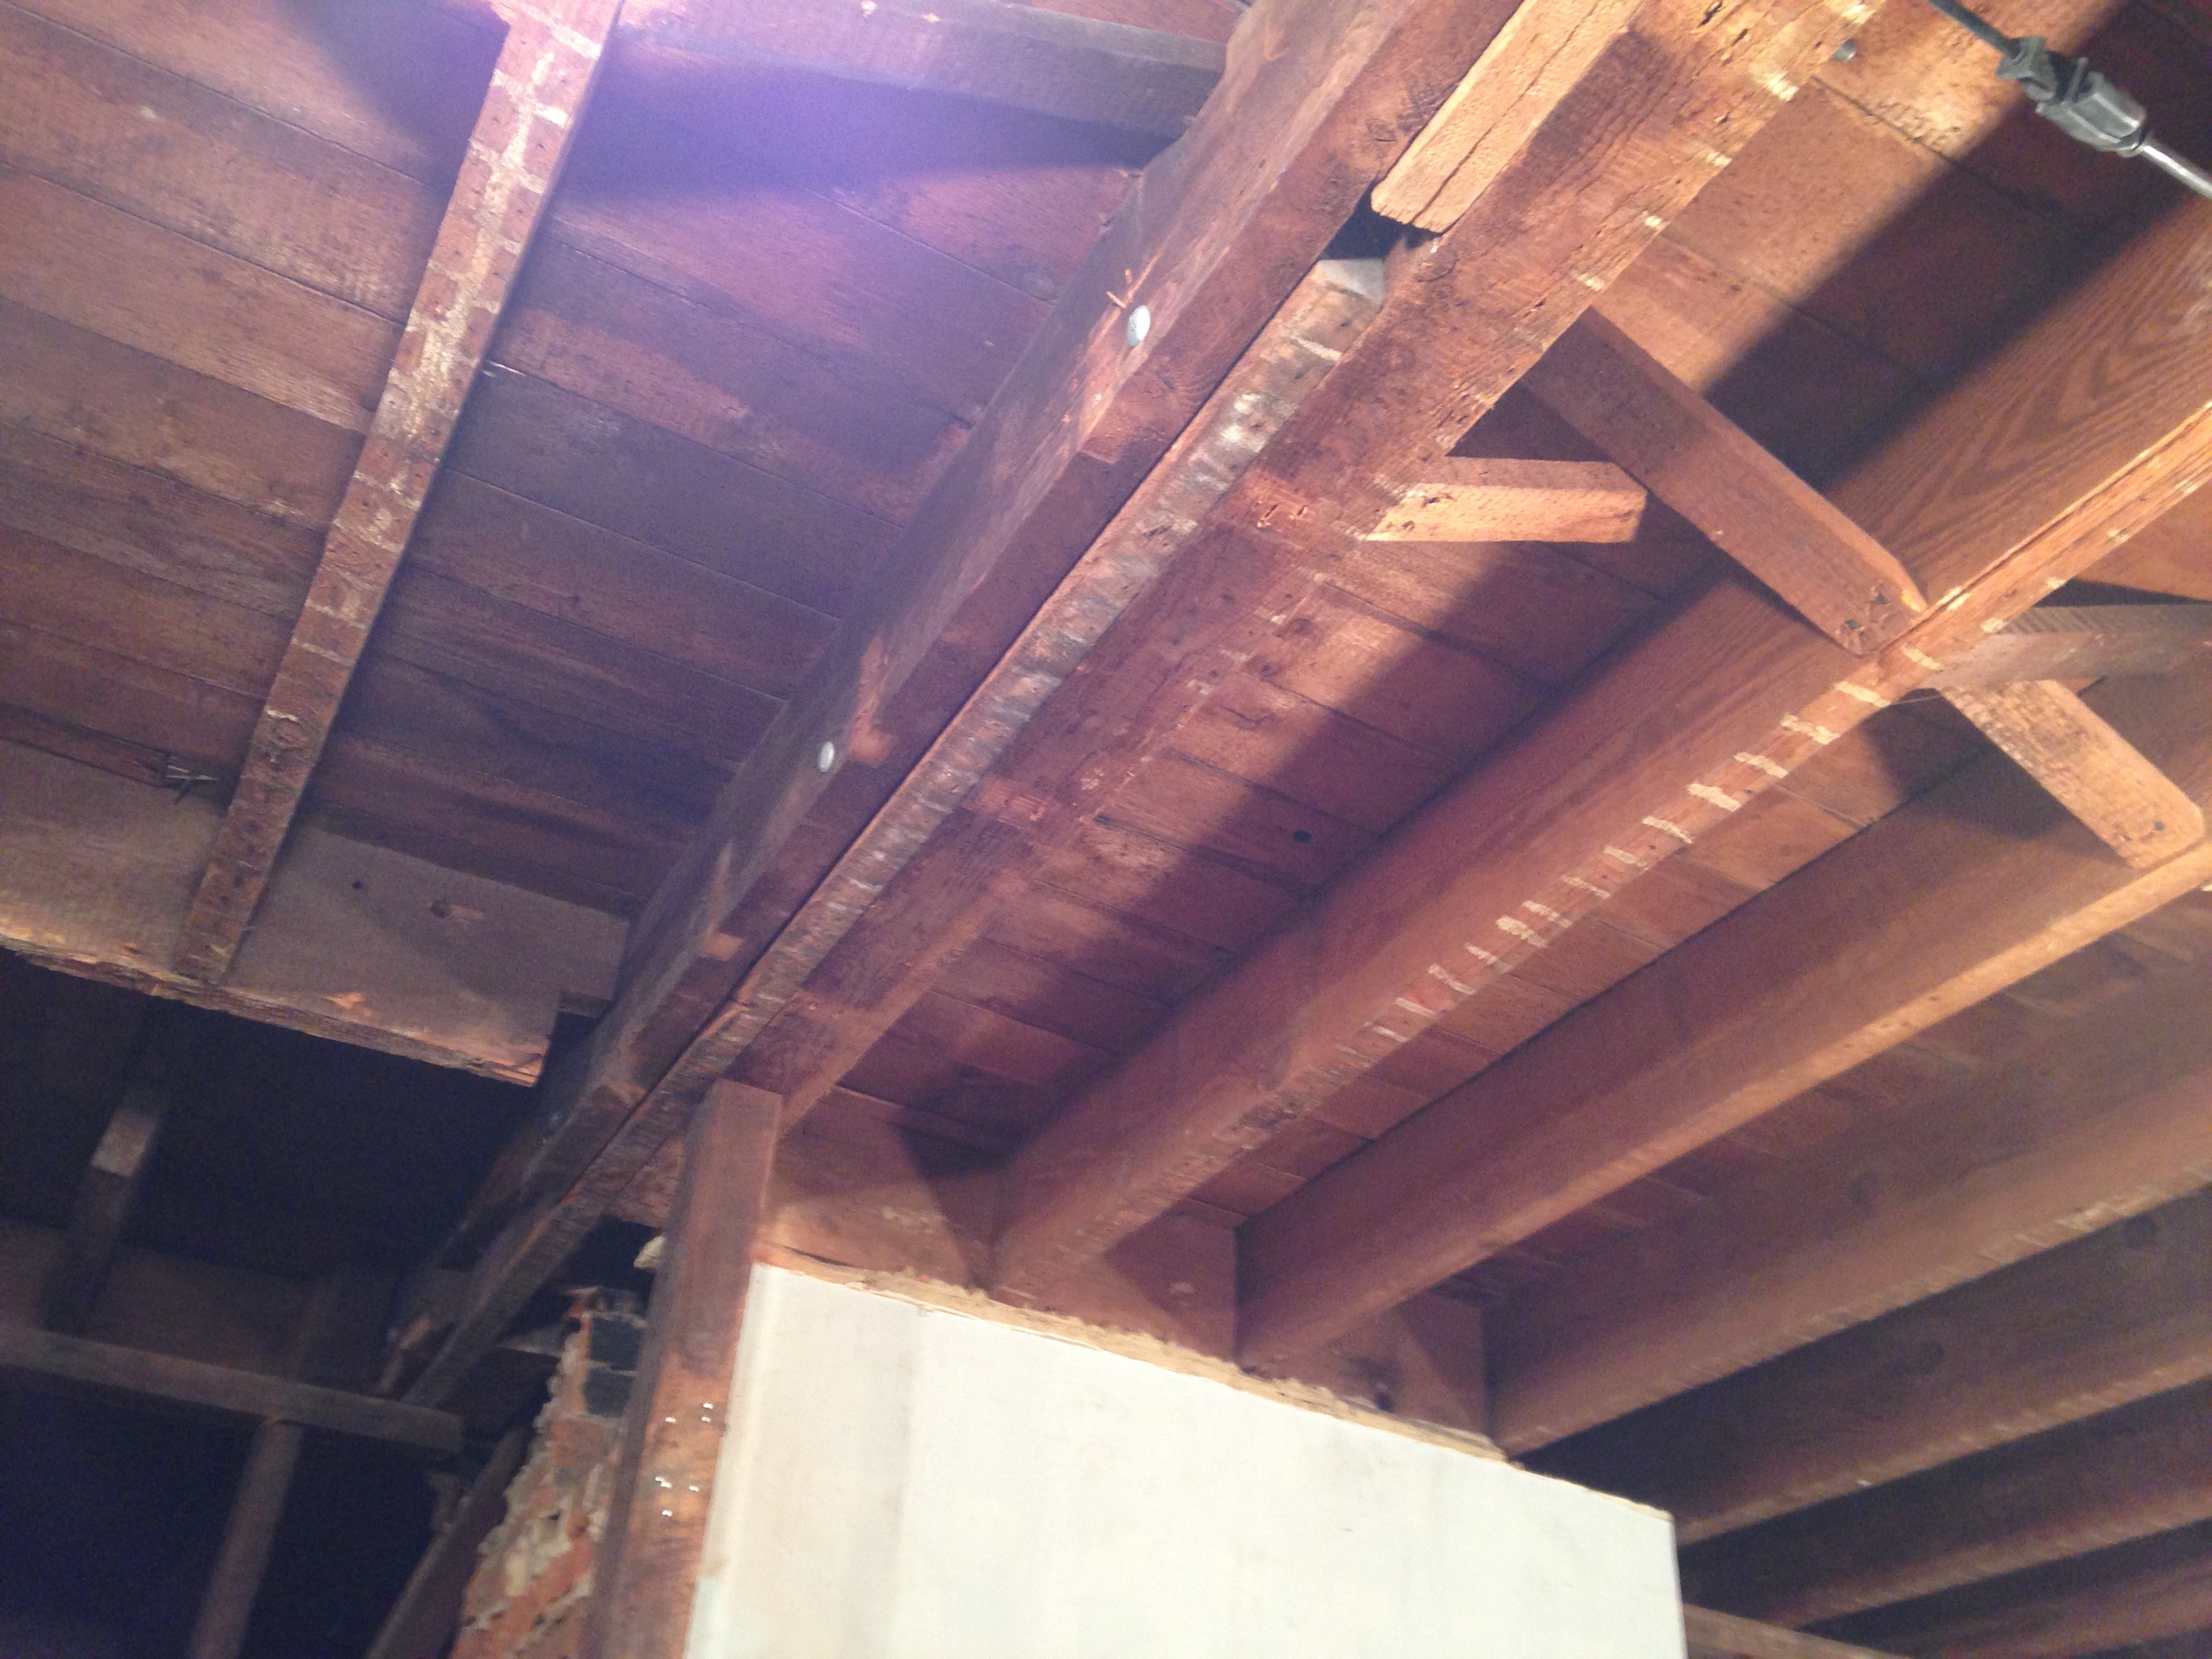
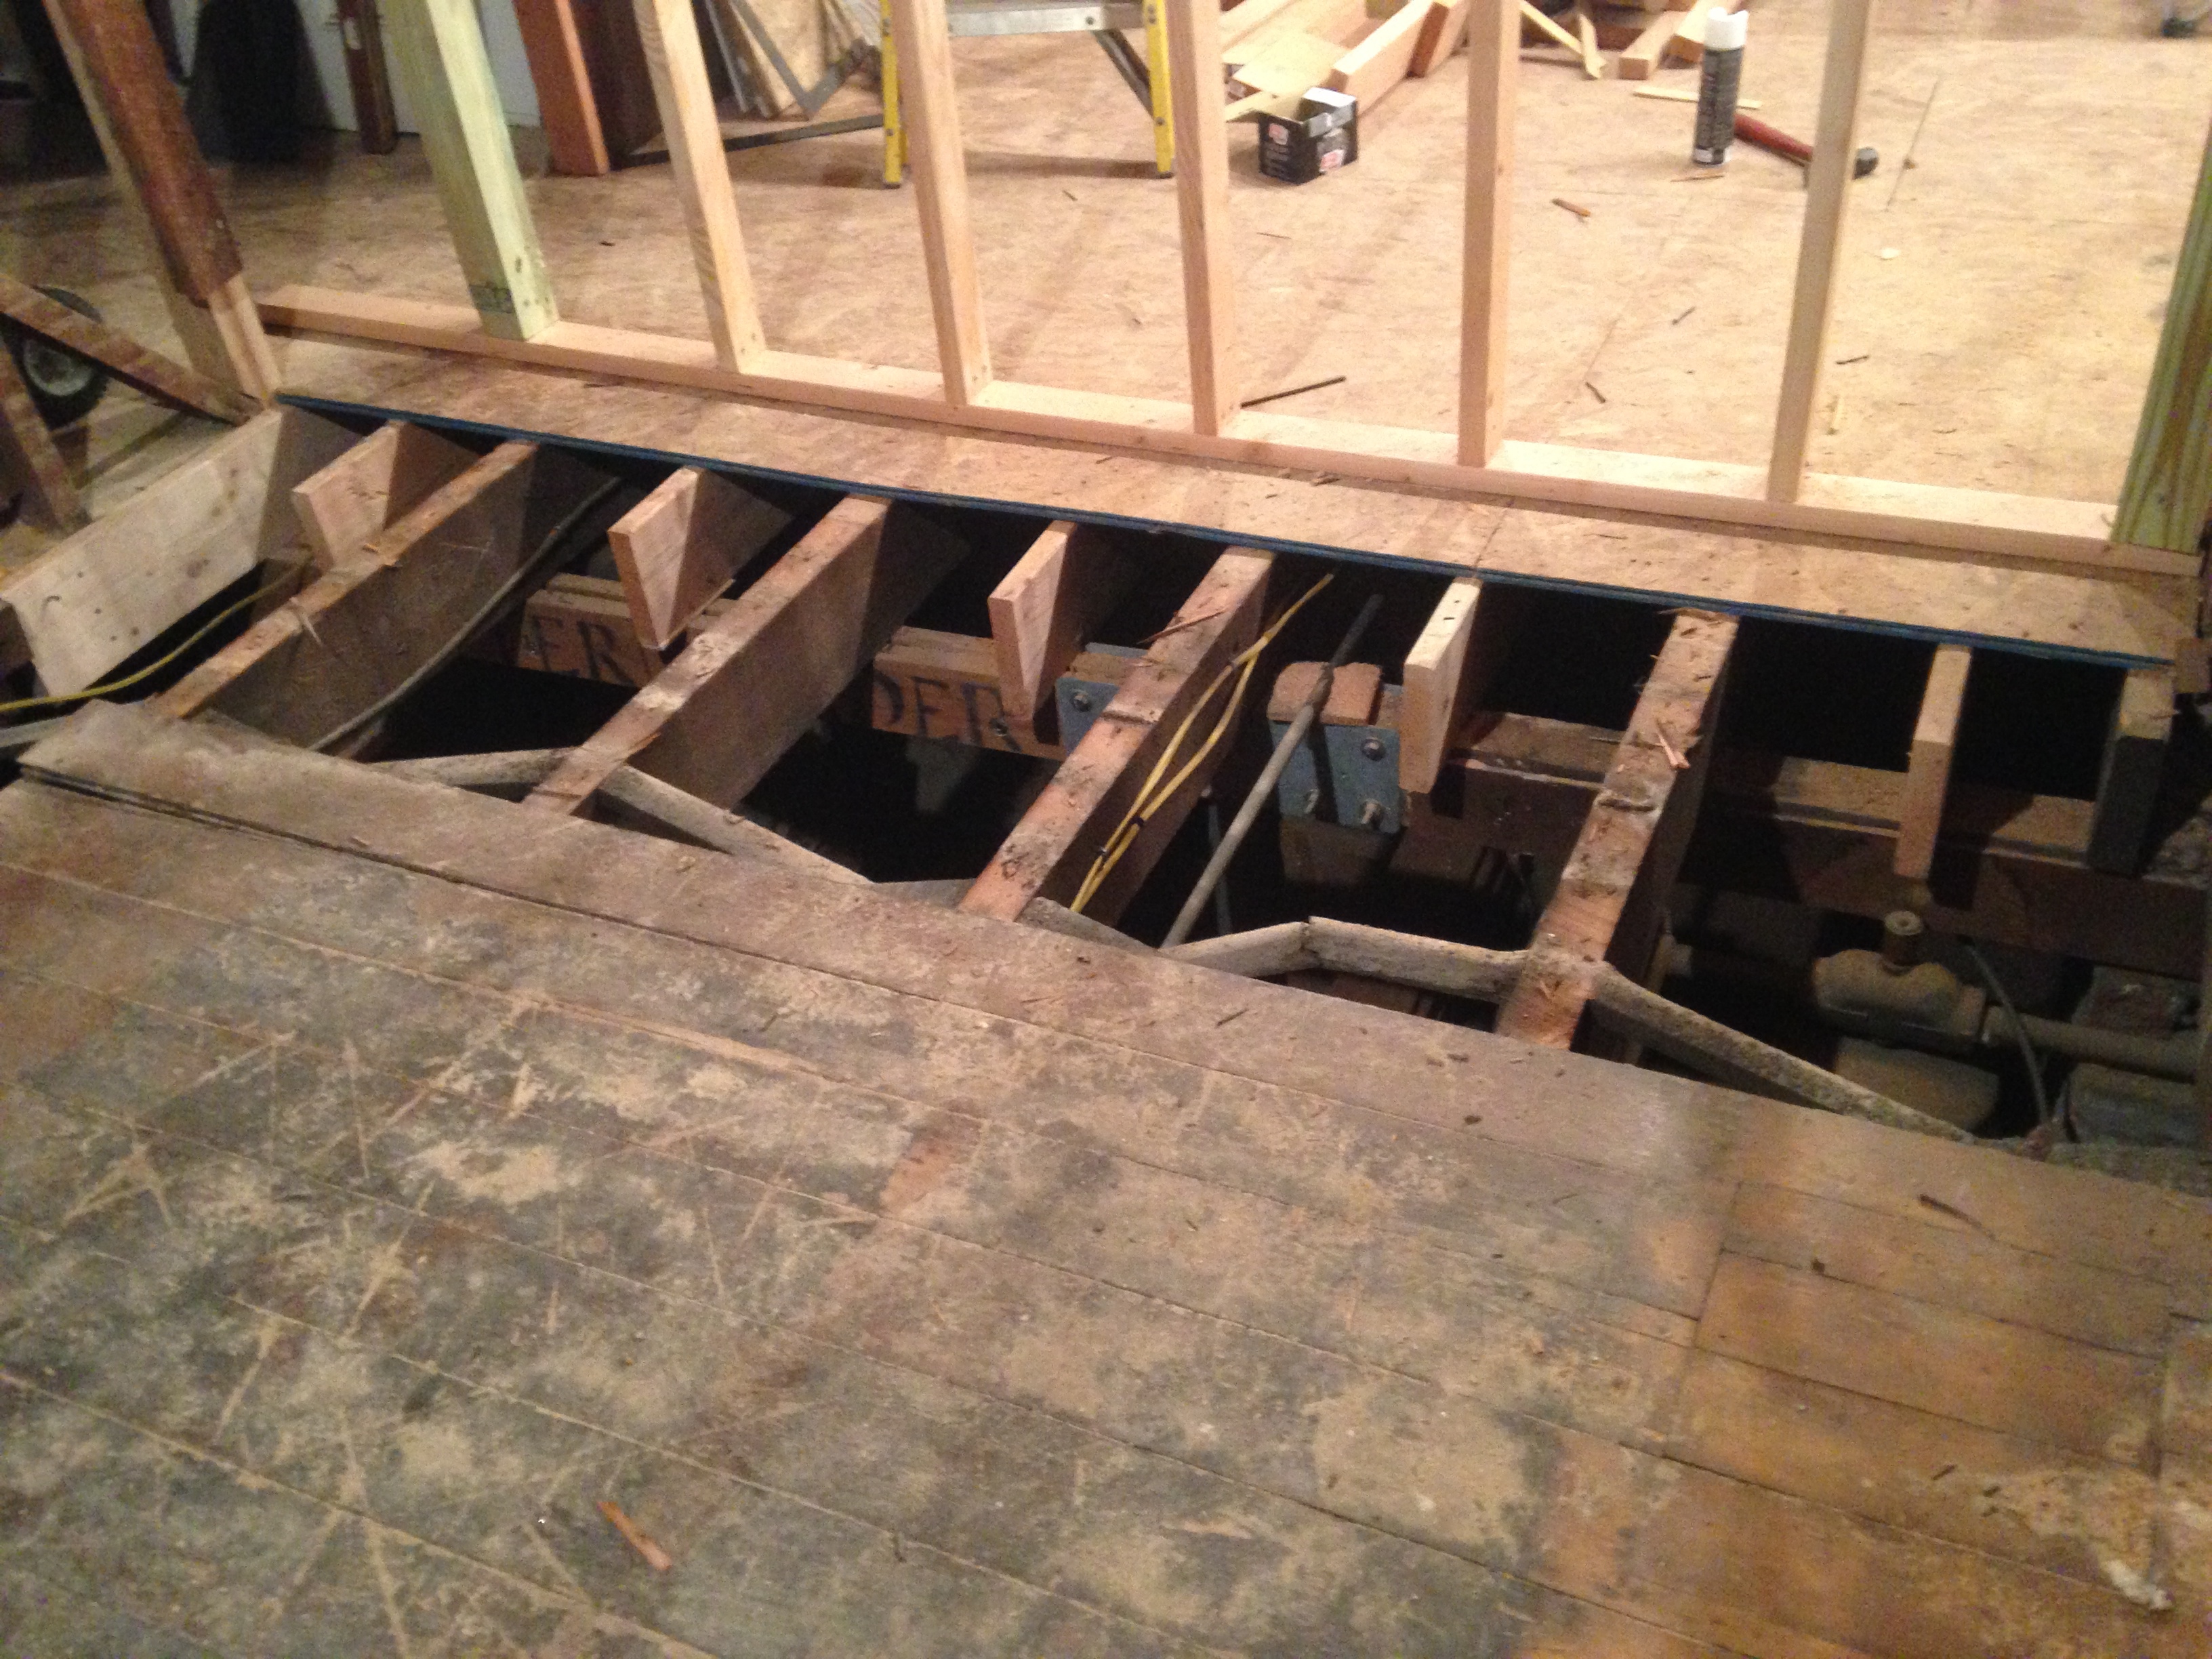
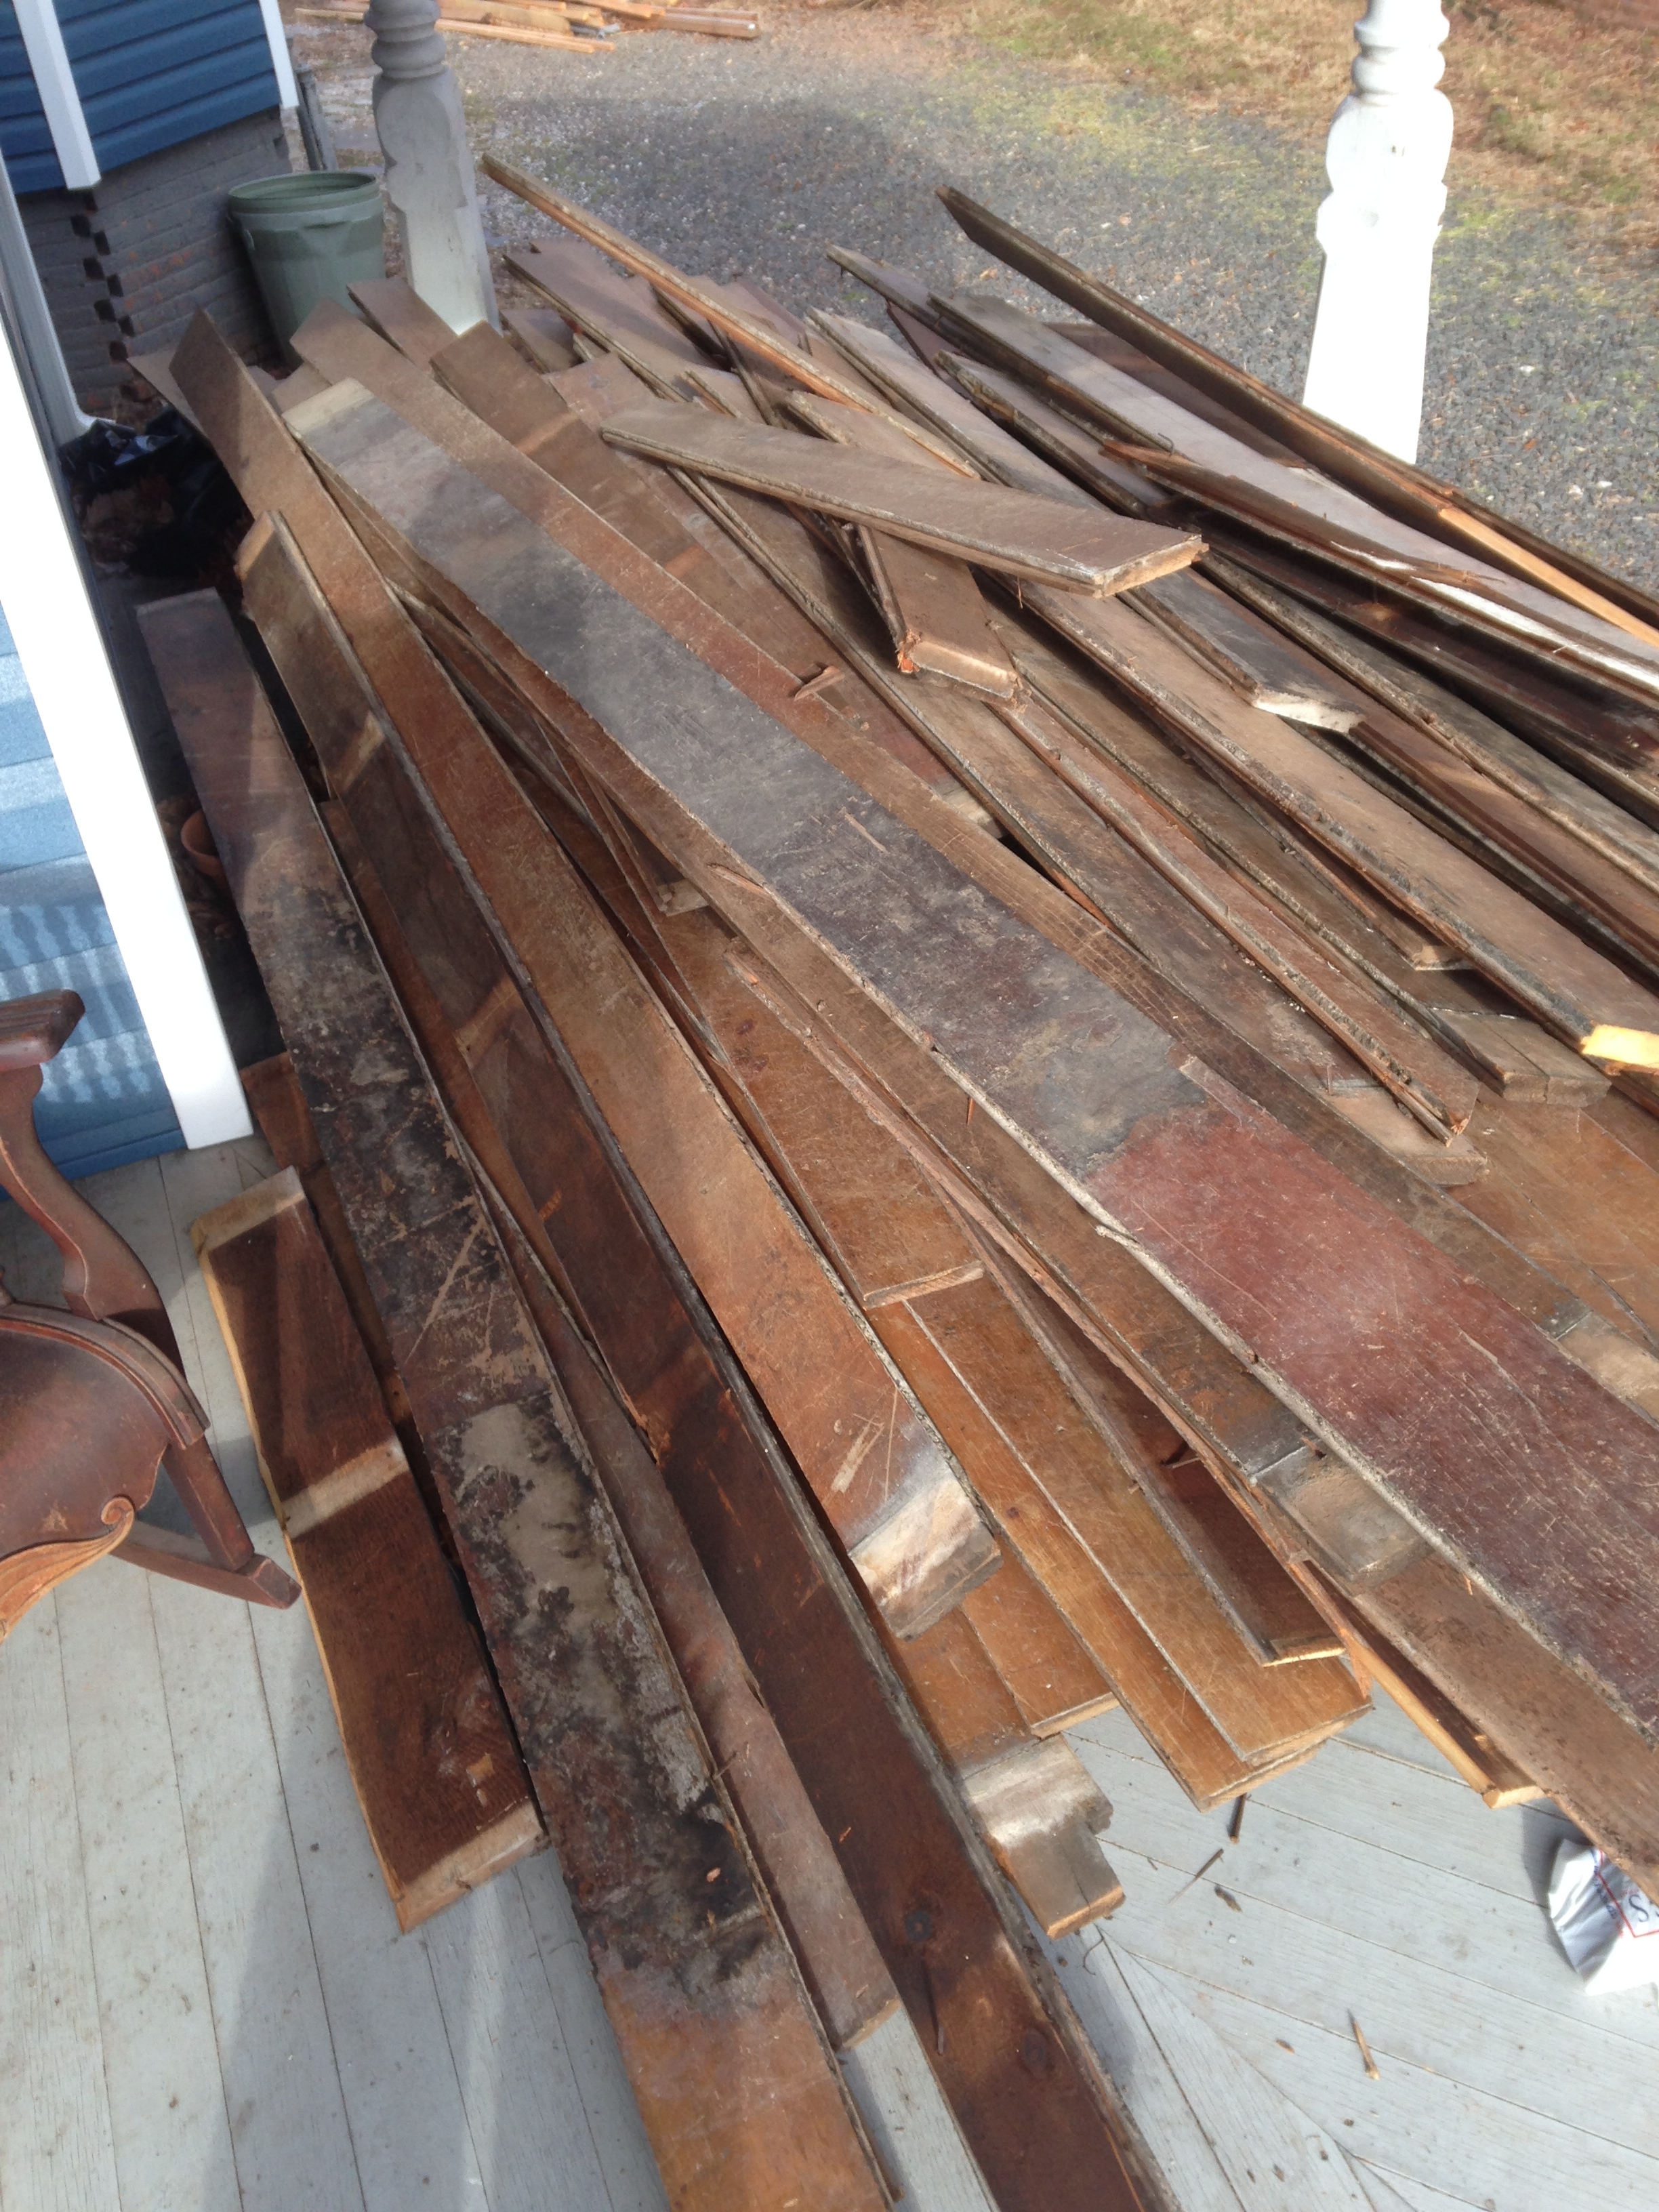
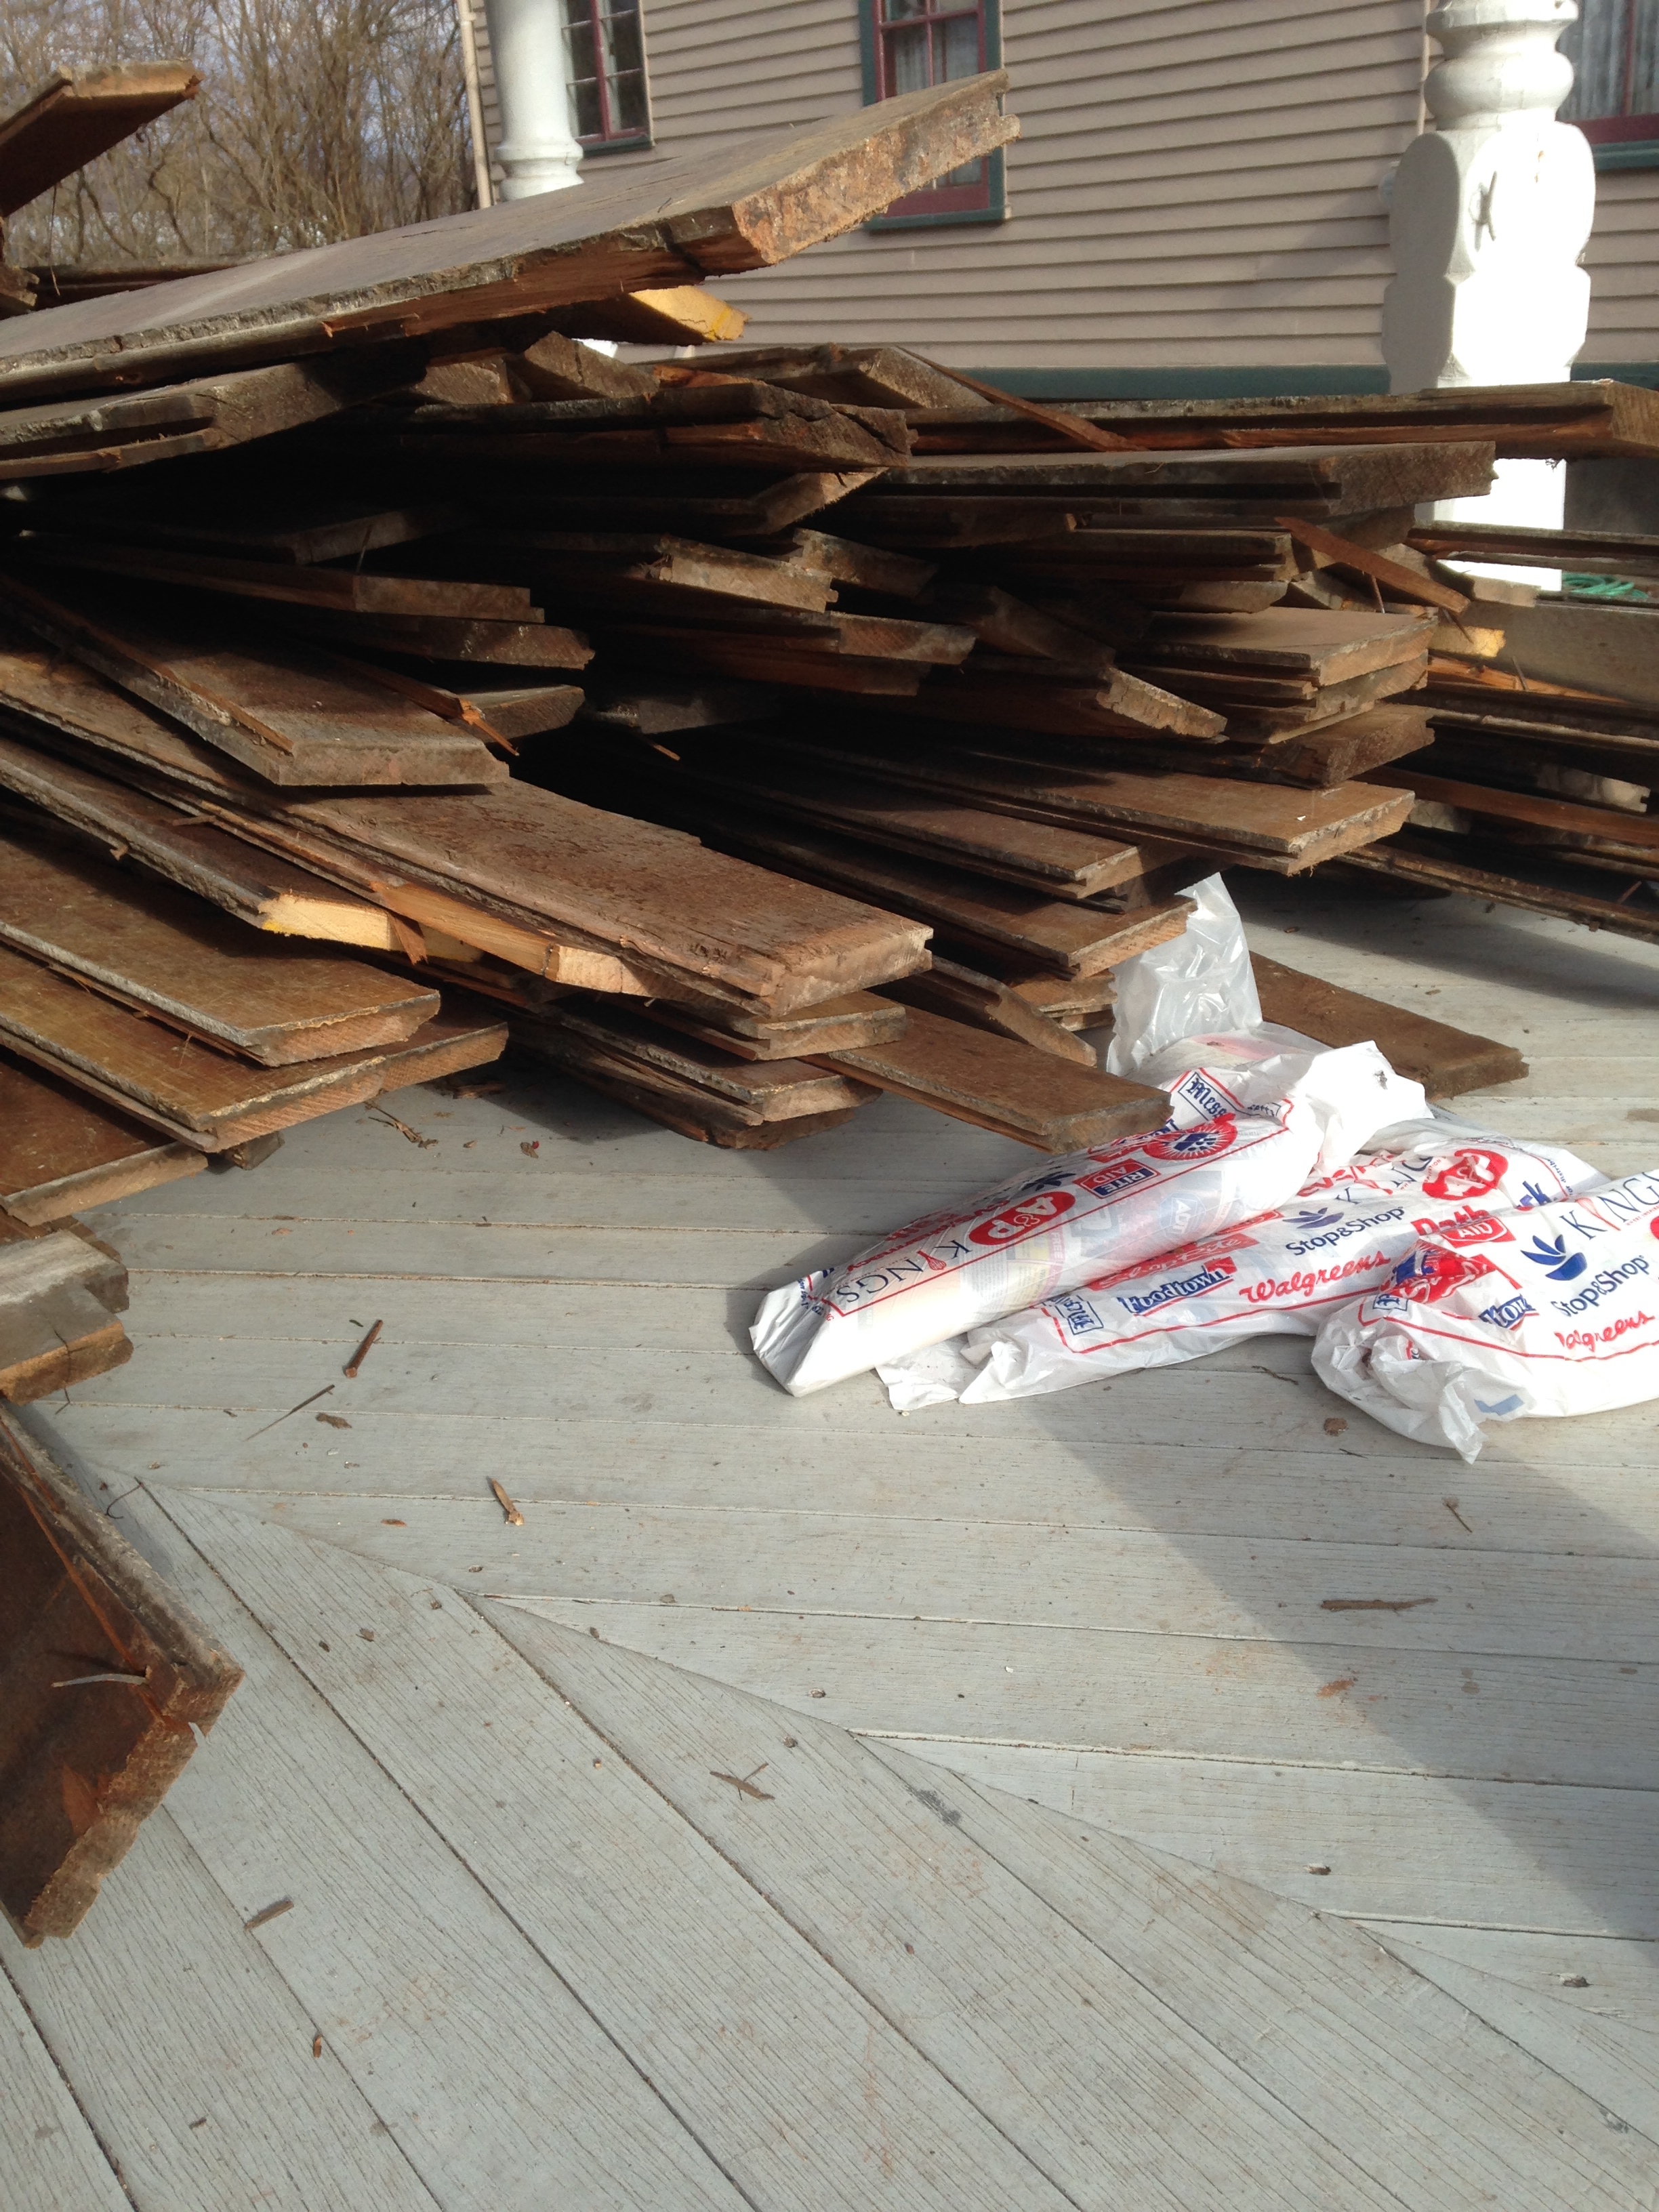
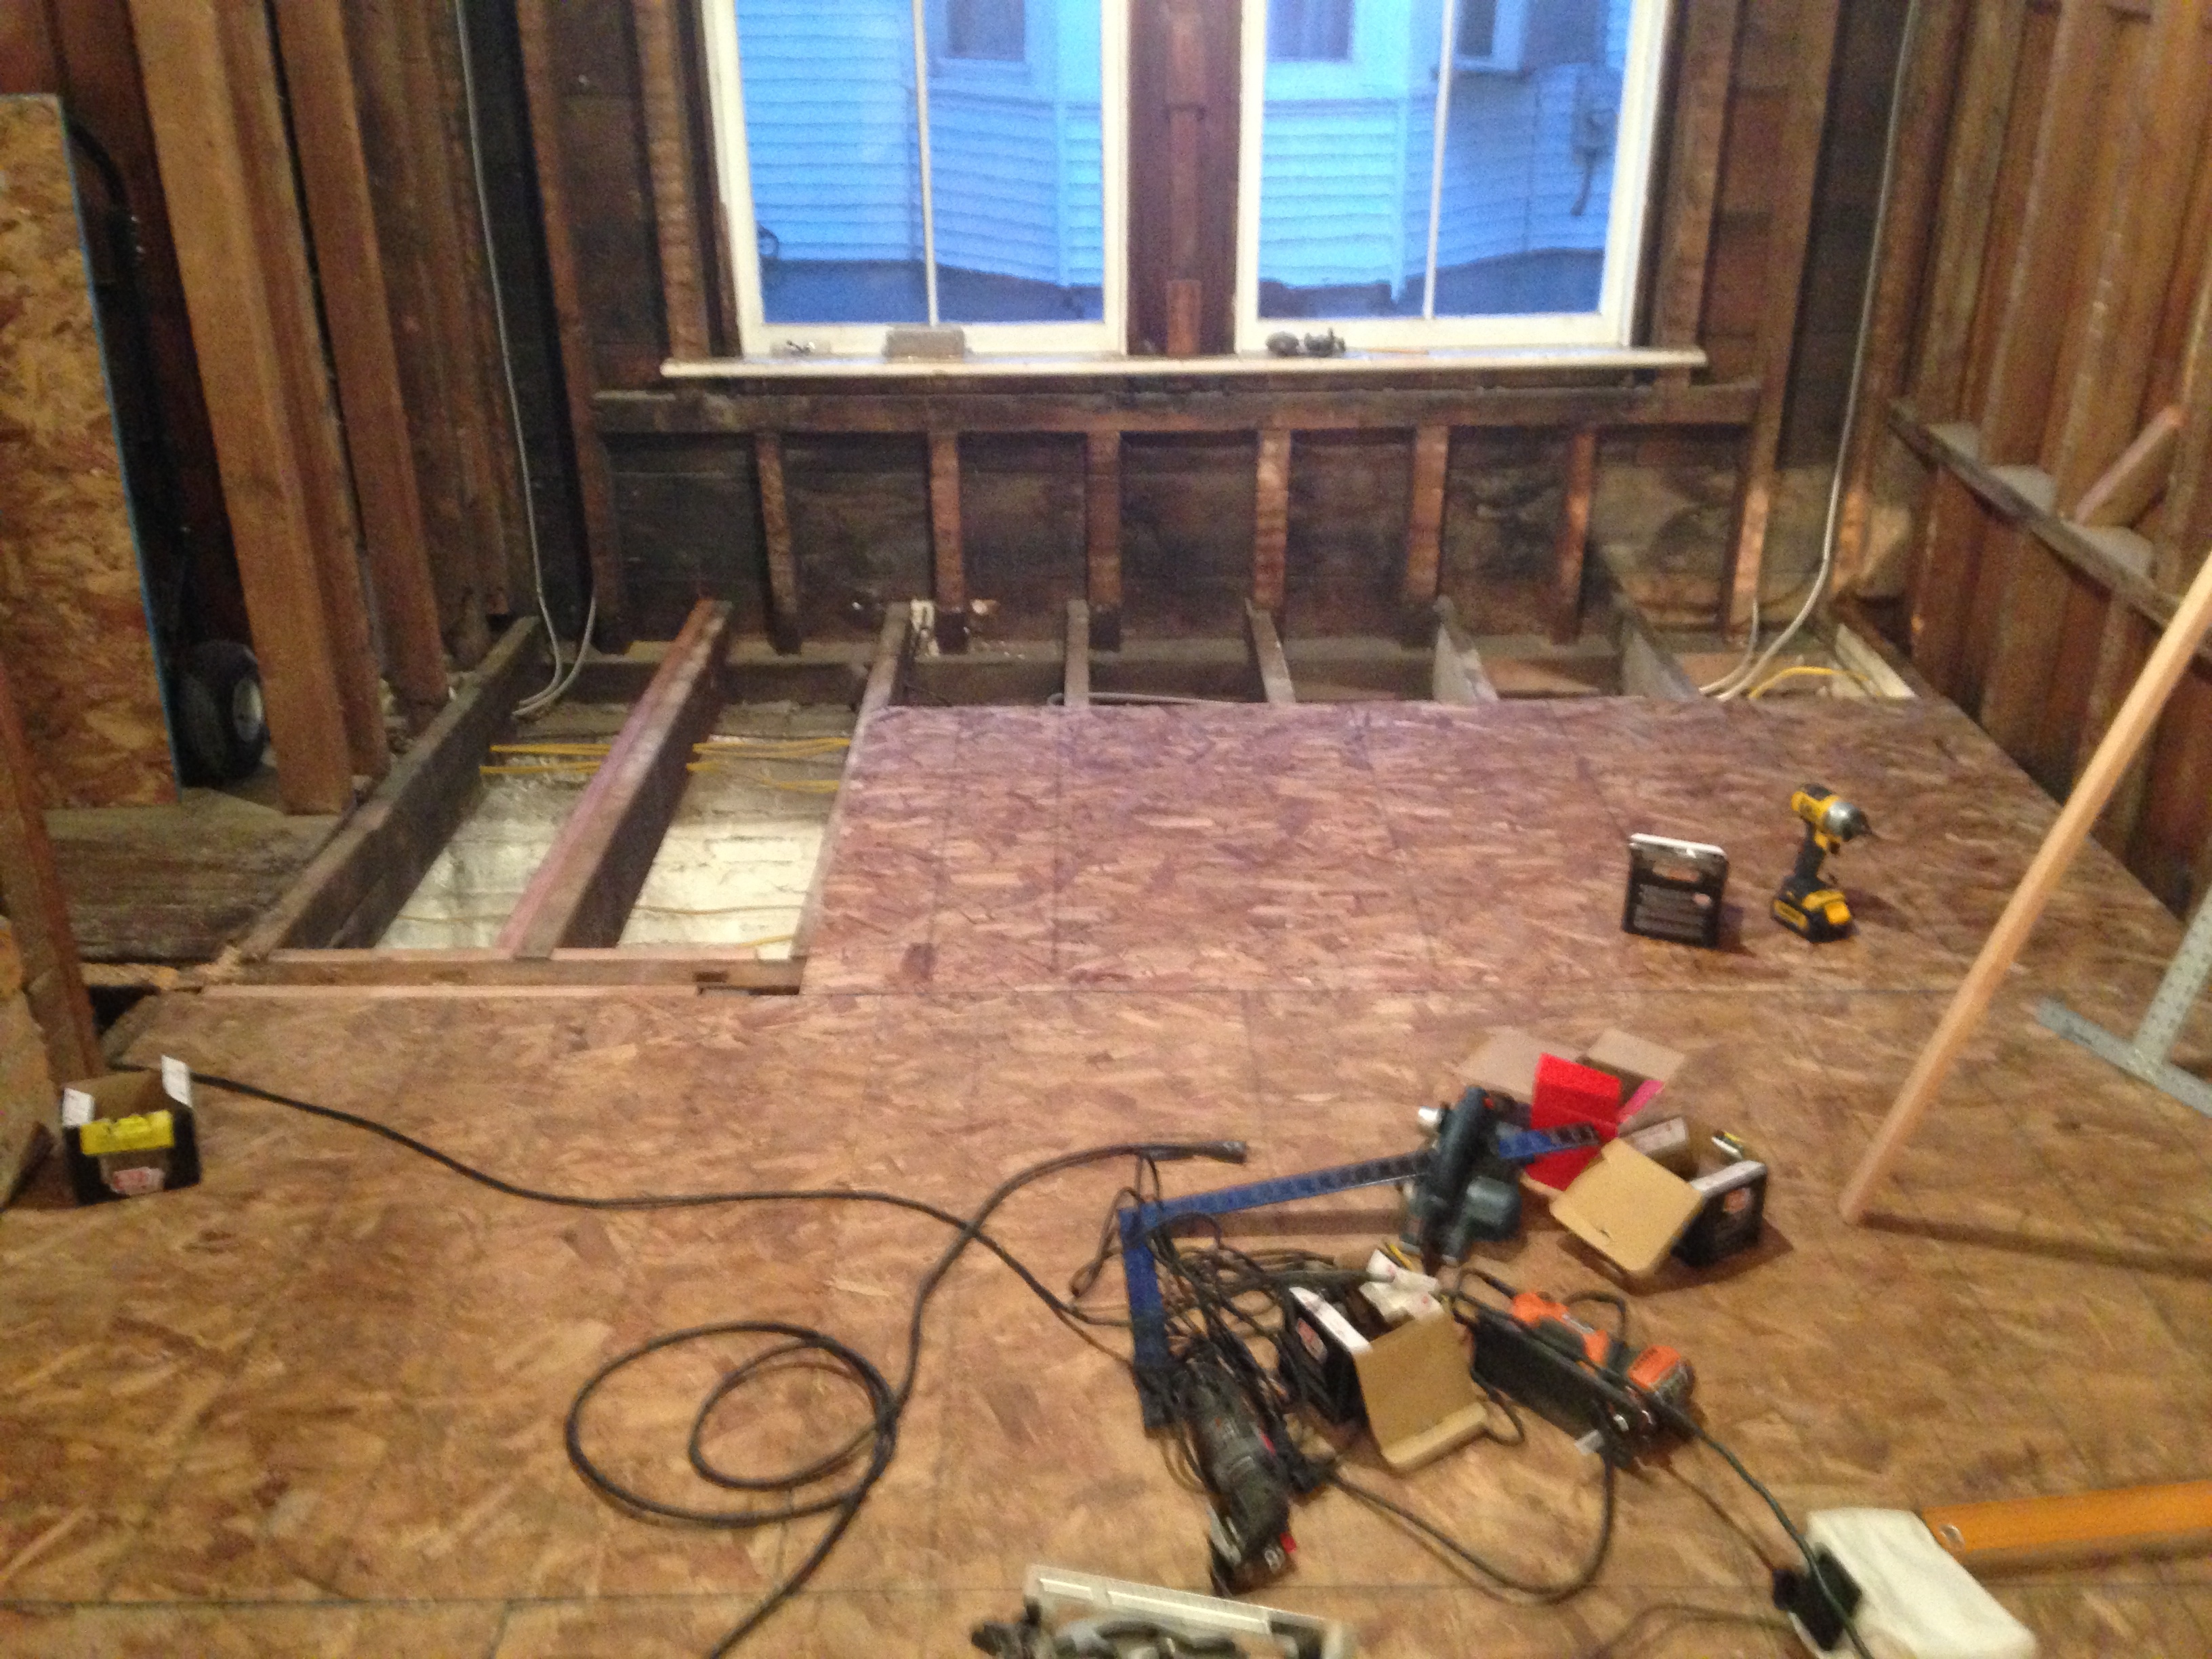
This post represents about 4 months of work. It was tedious, it was cold, and it was unforgiving – easily the most unpleasant so far seeing as how terribly cold the entire winter was this past year. We had to take 20′ long pieces of lumber and cut them down to match the joists that were already there. Then we had to level them. Then we could put the subfloor down – all the way down the entire length of the house. The spans were entirely too far apart. Here is the removal of the original floor
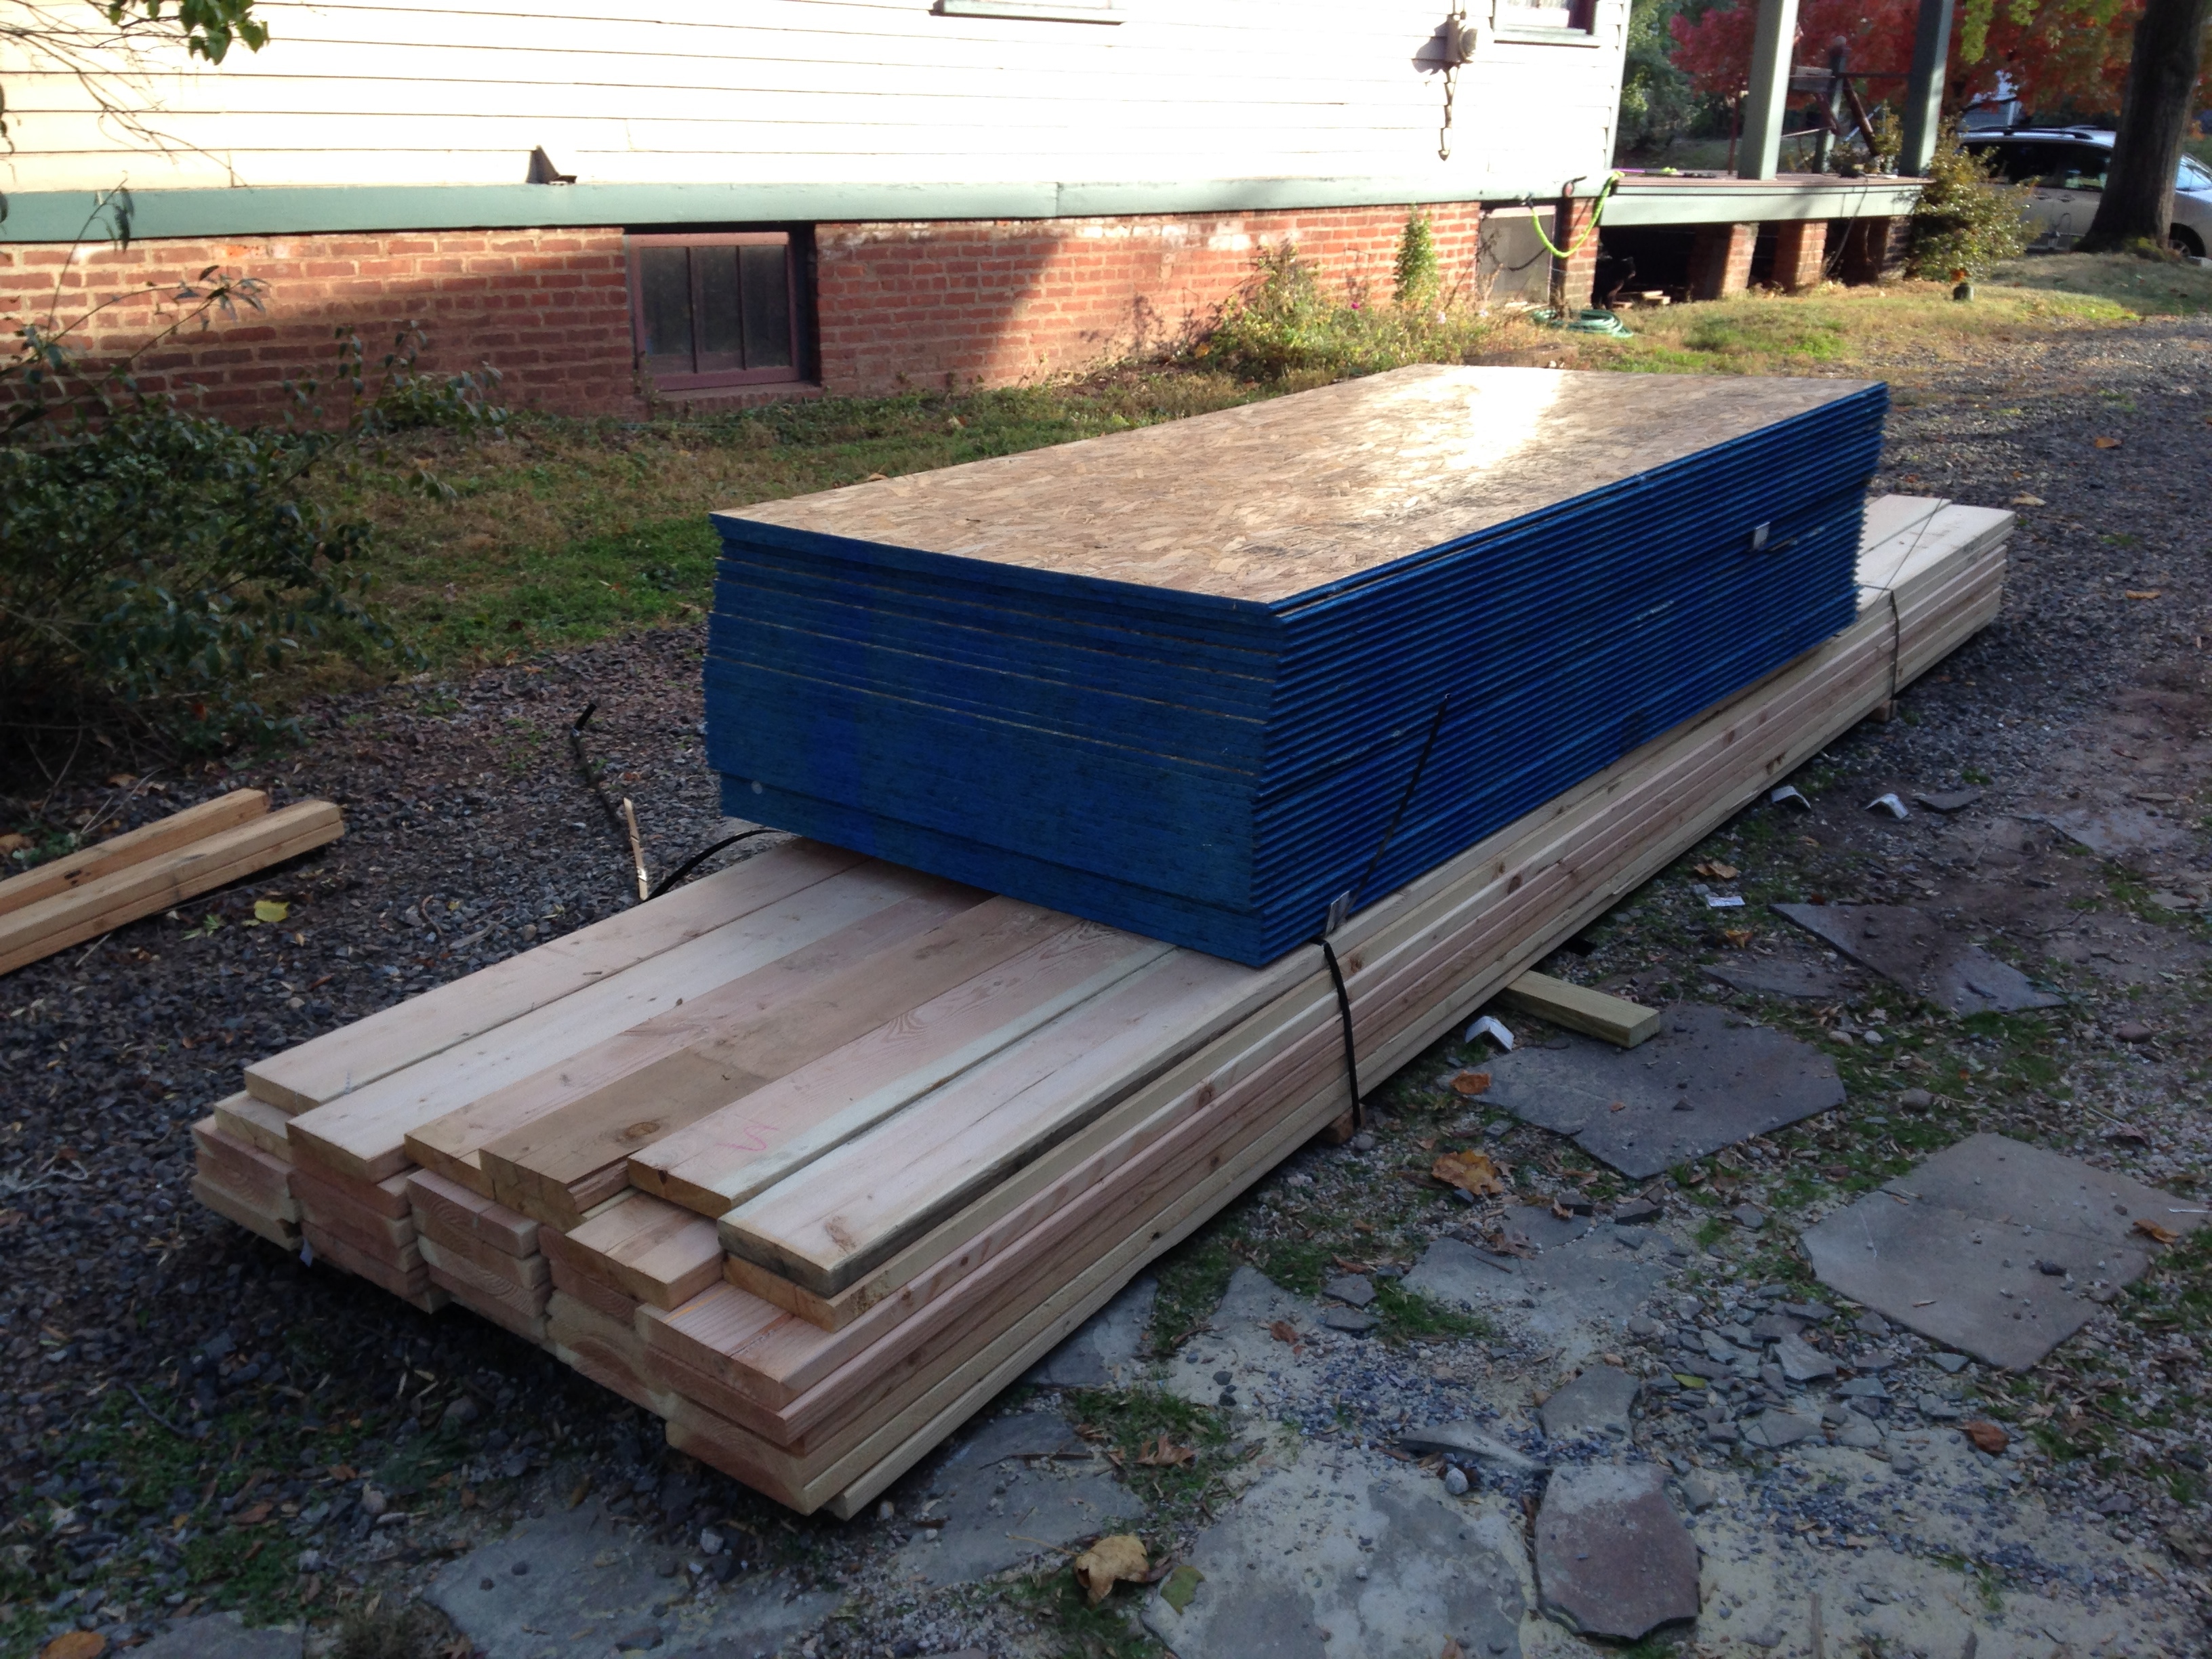
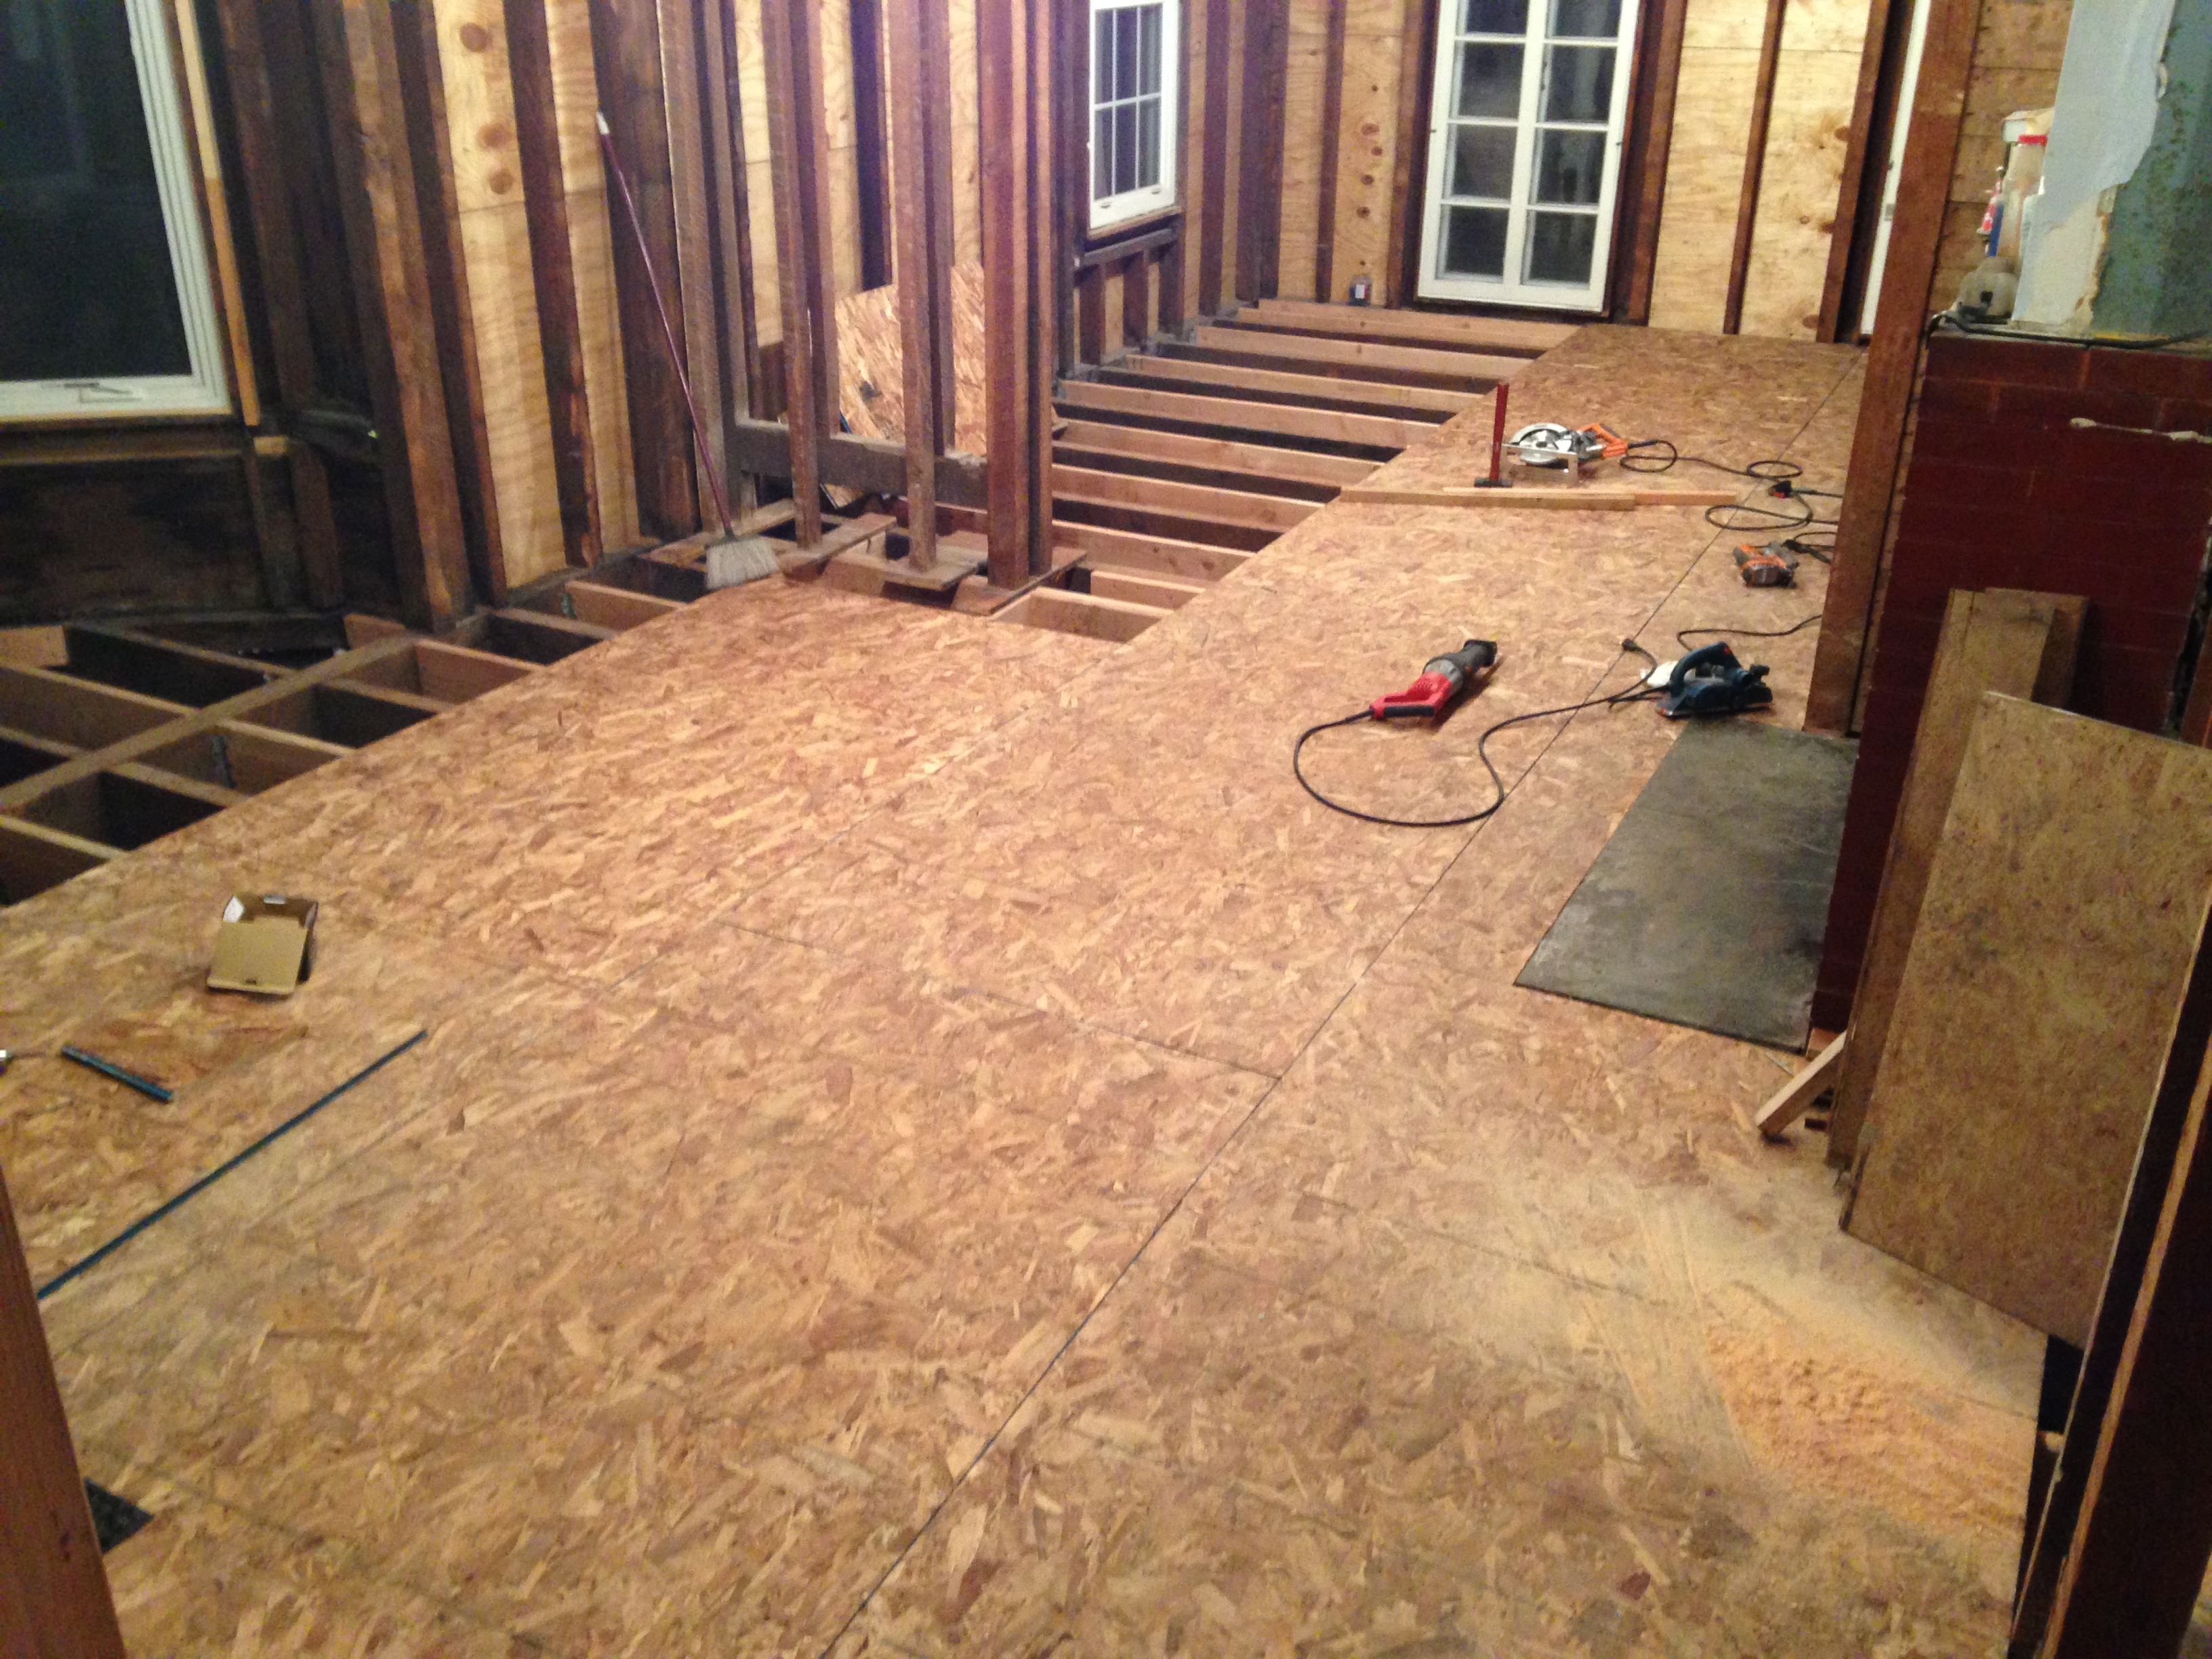
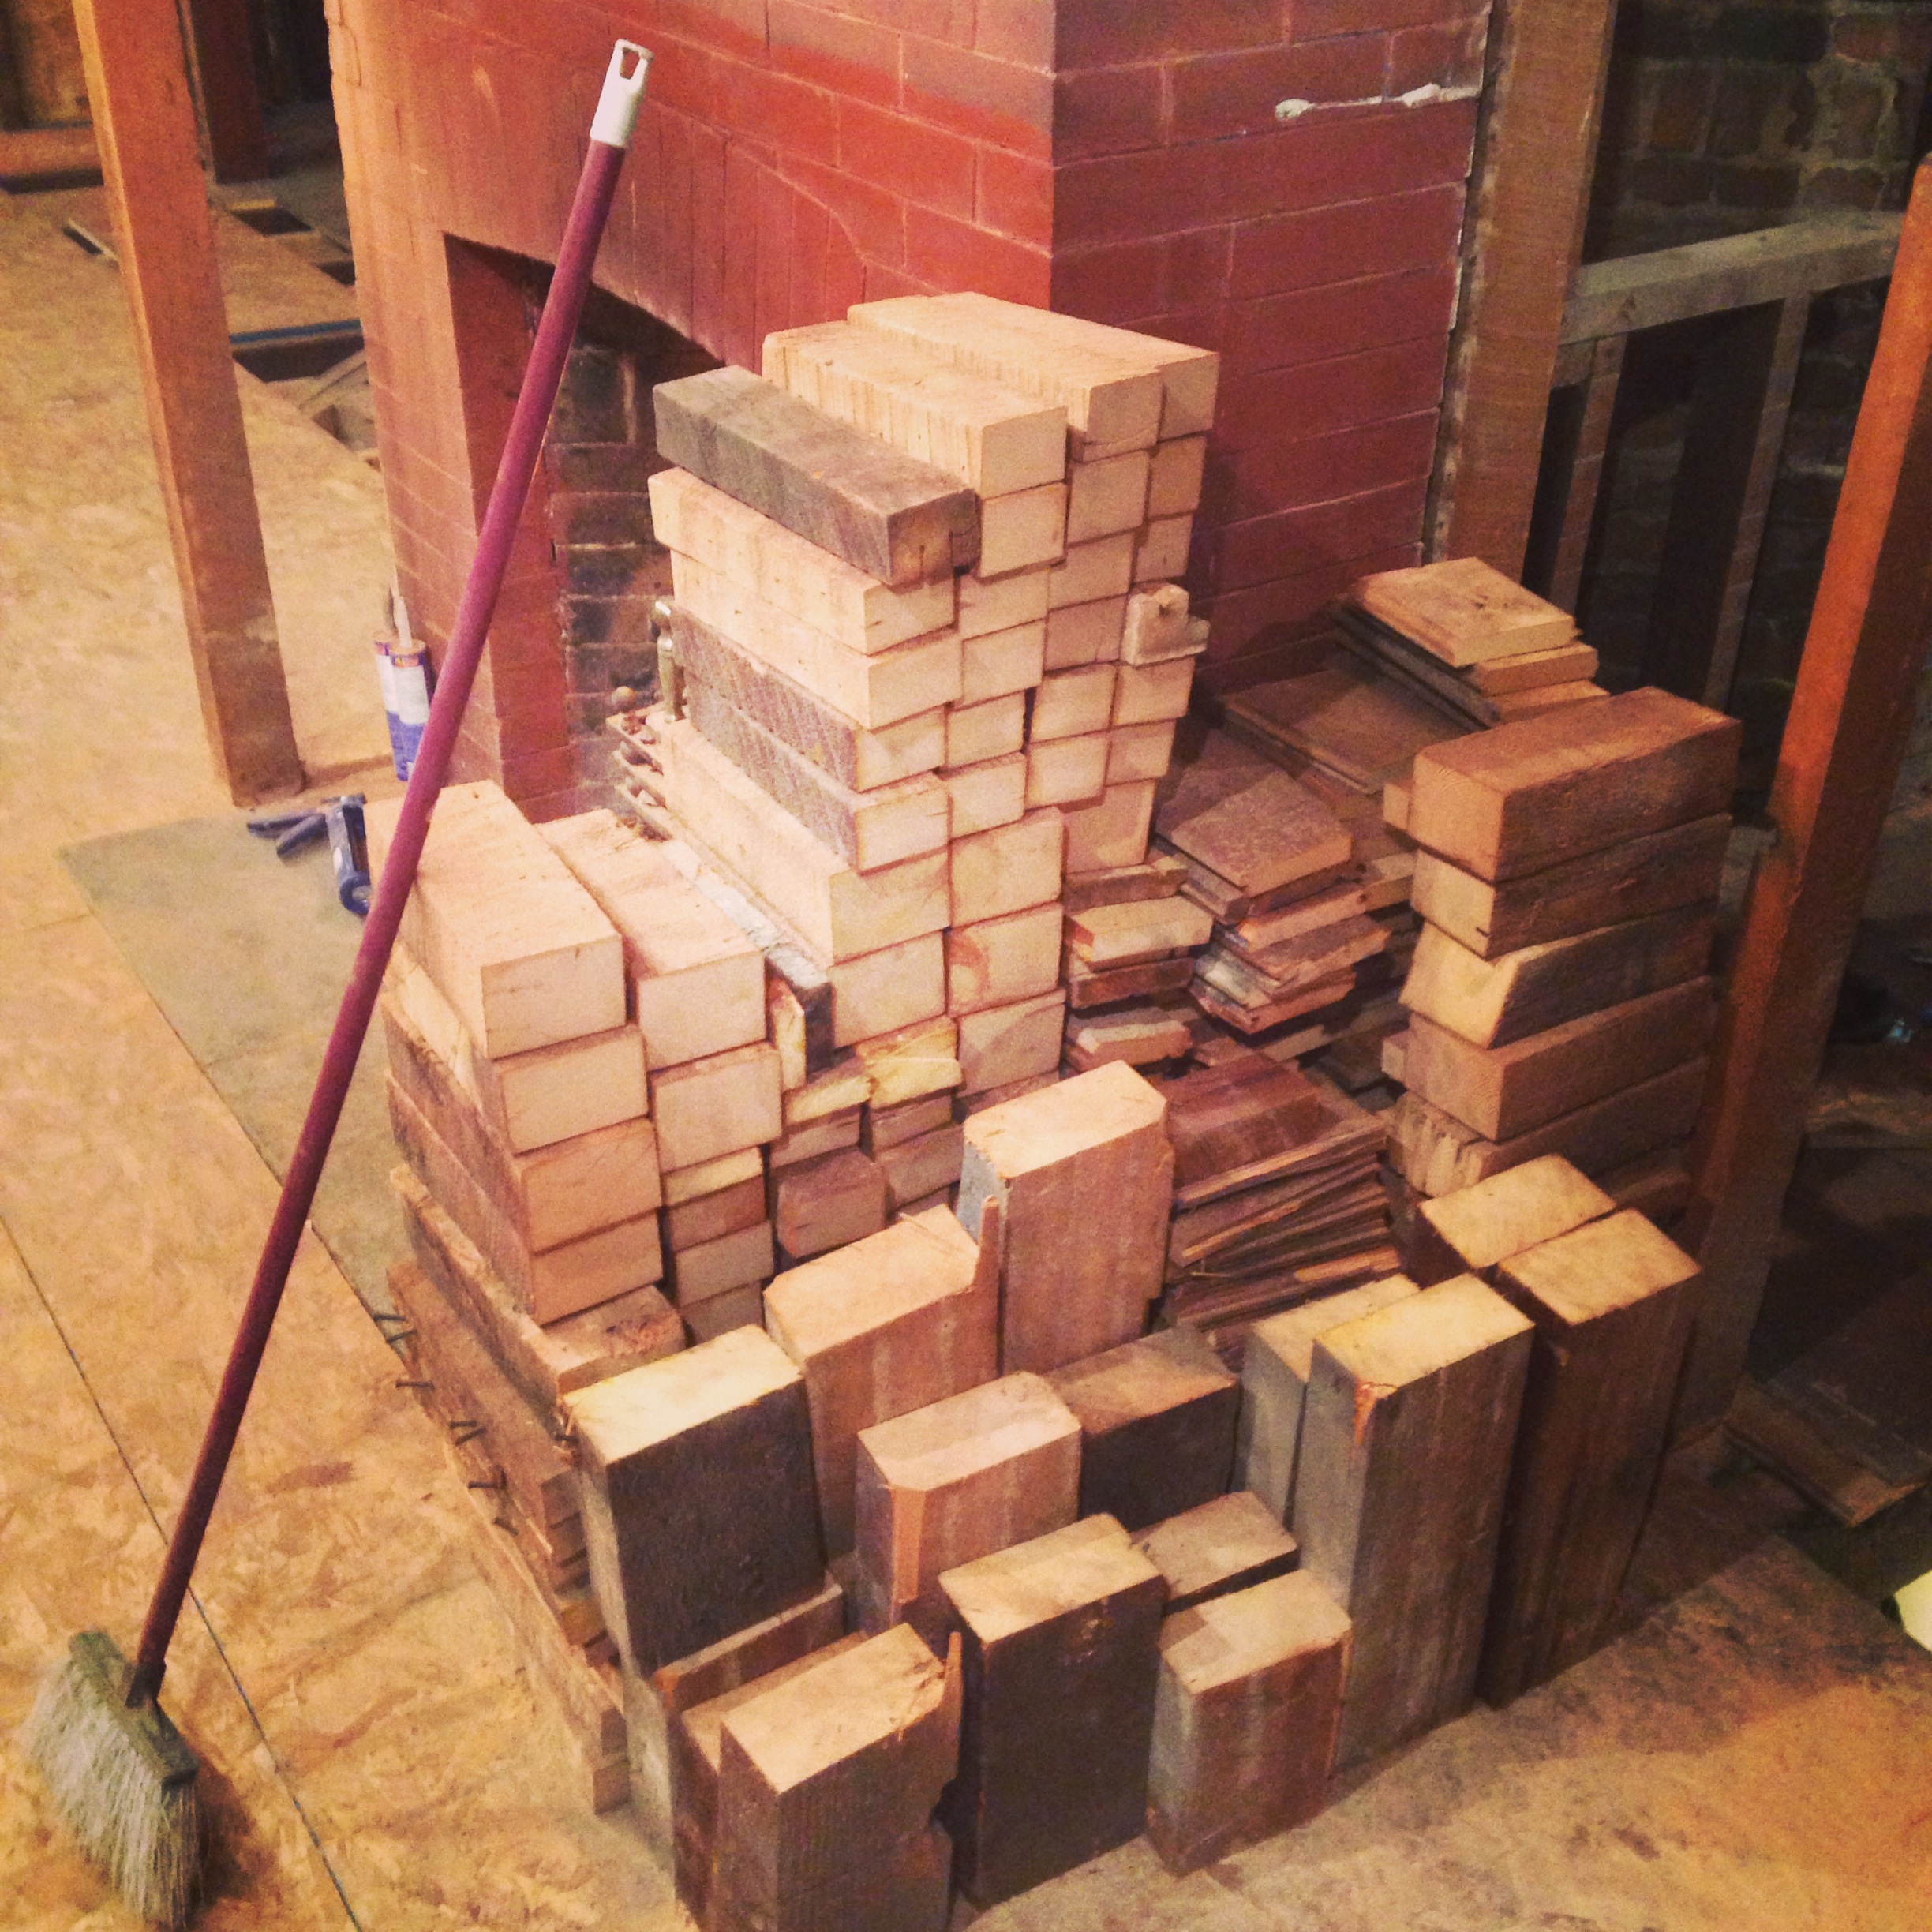
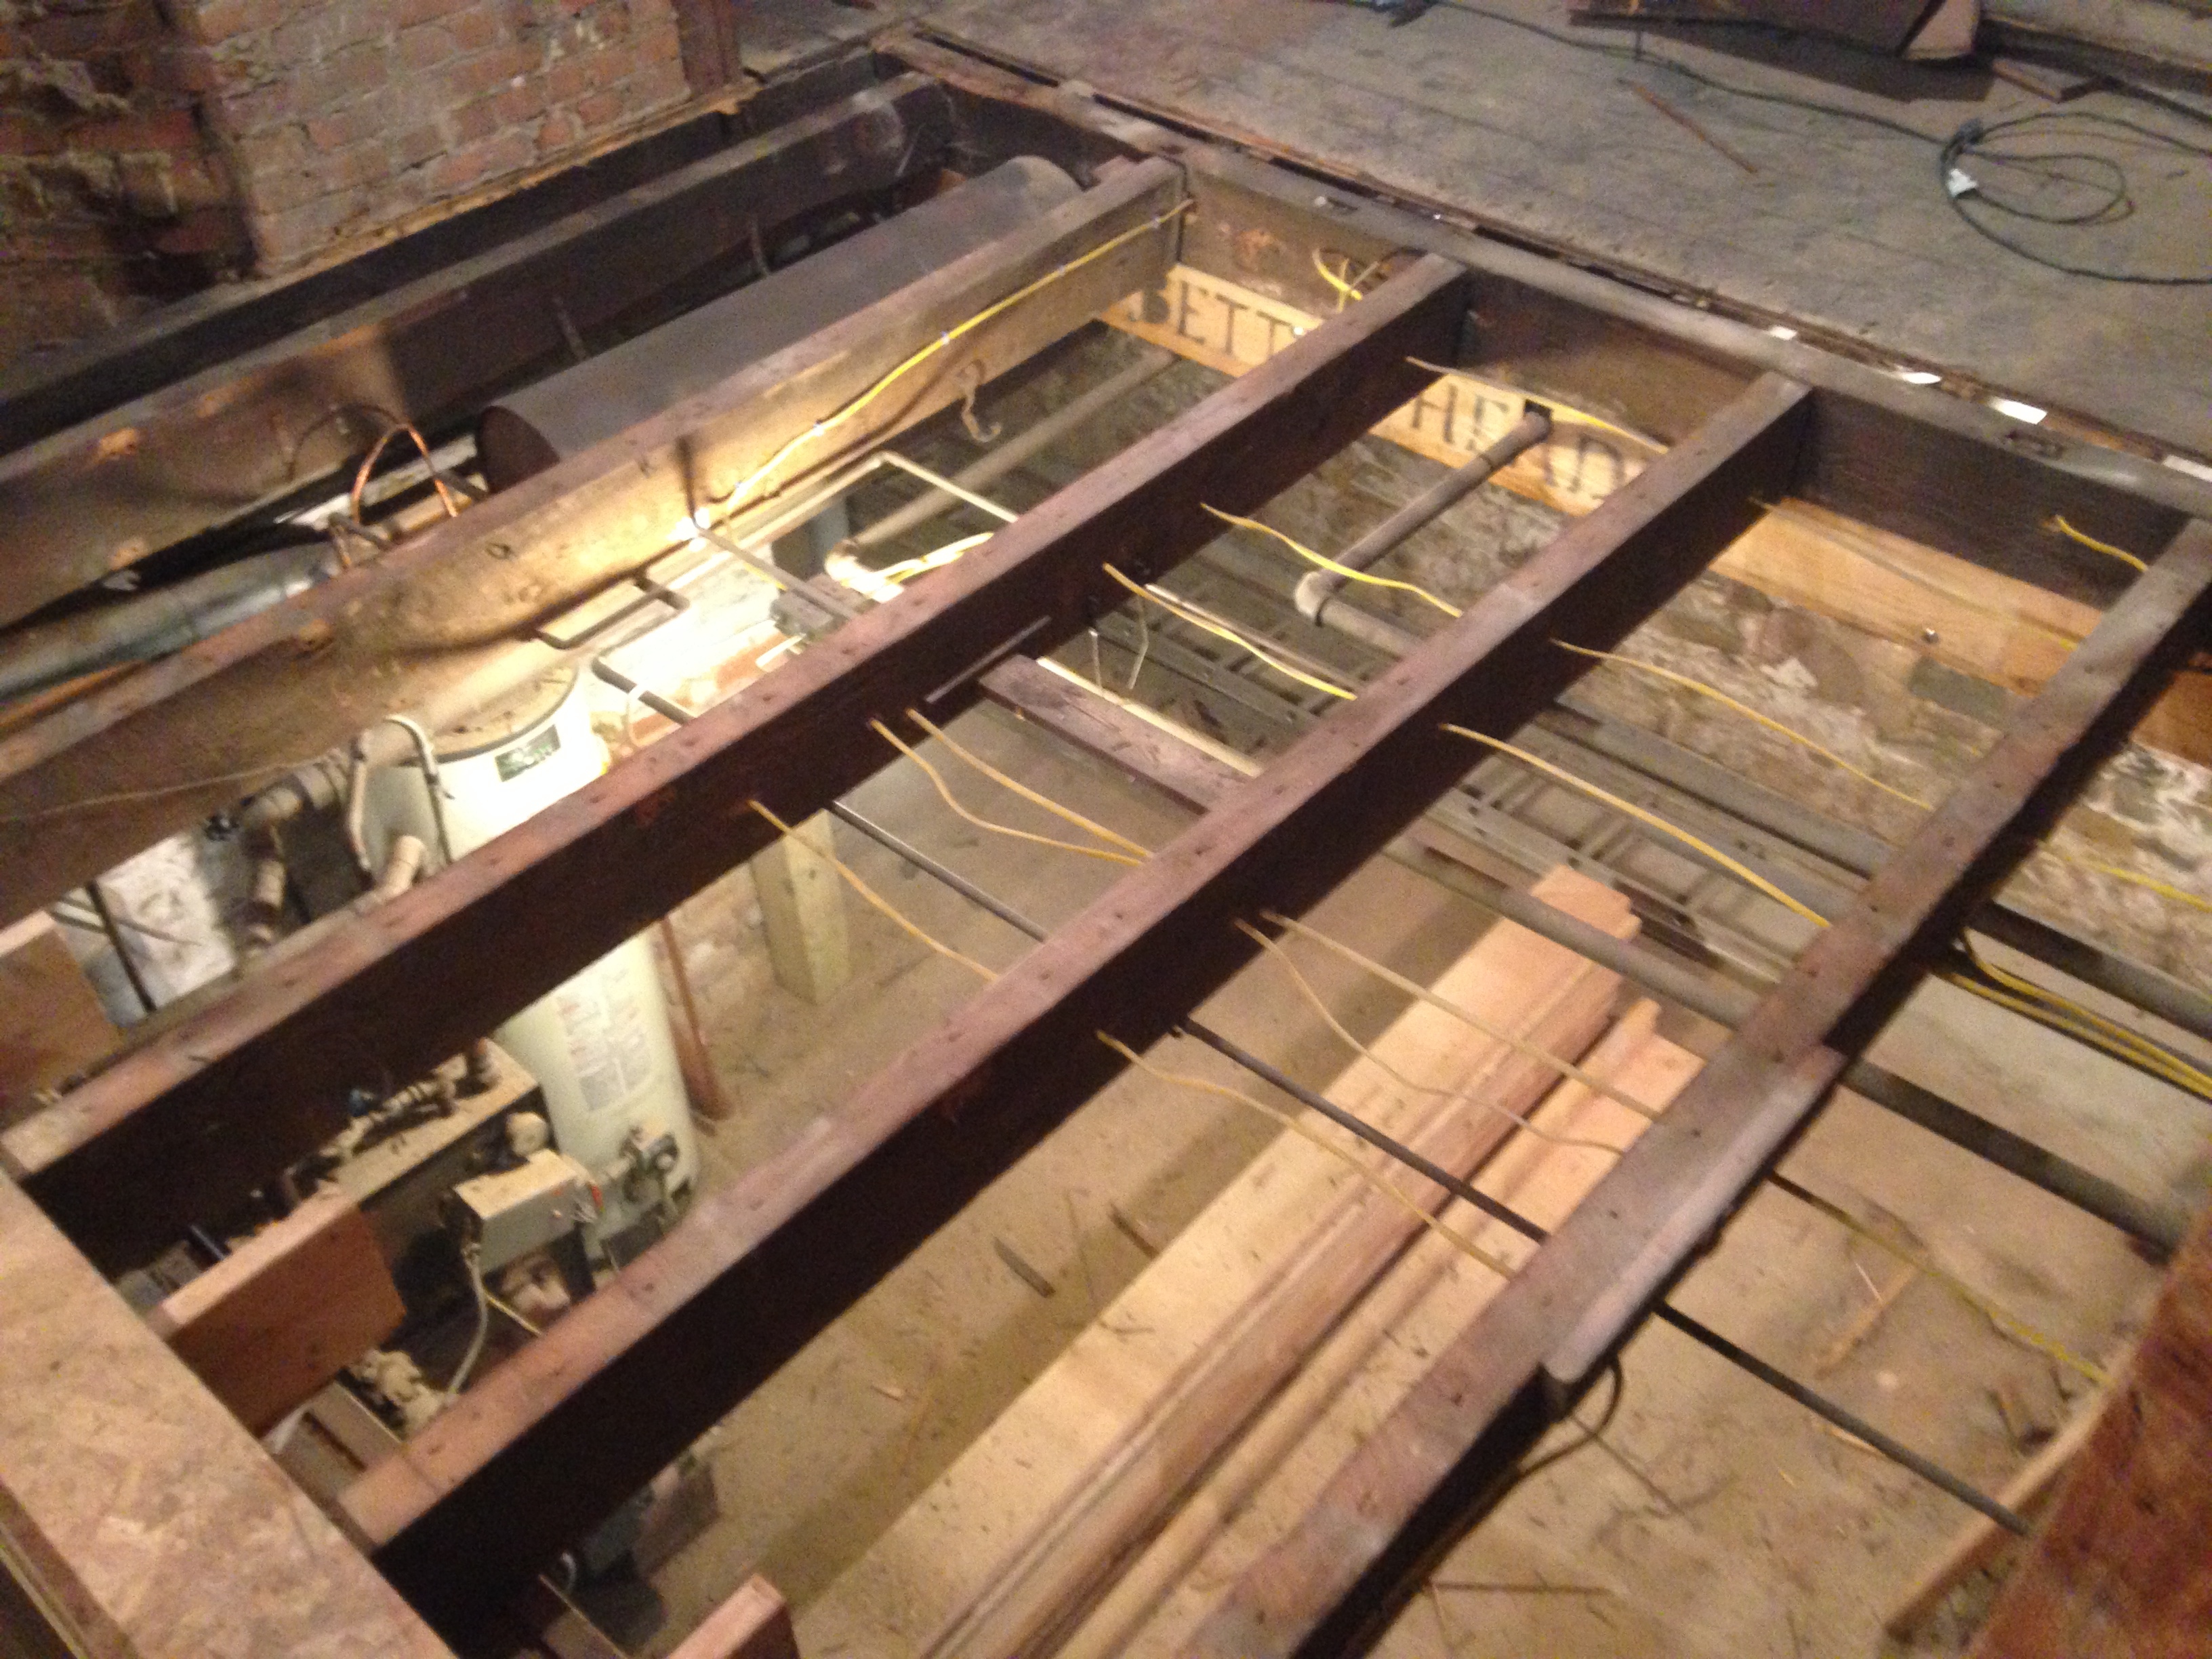
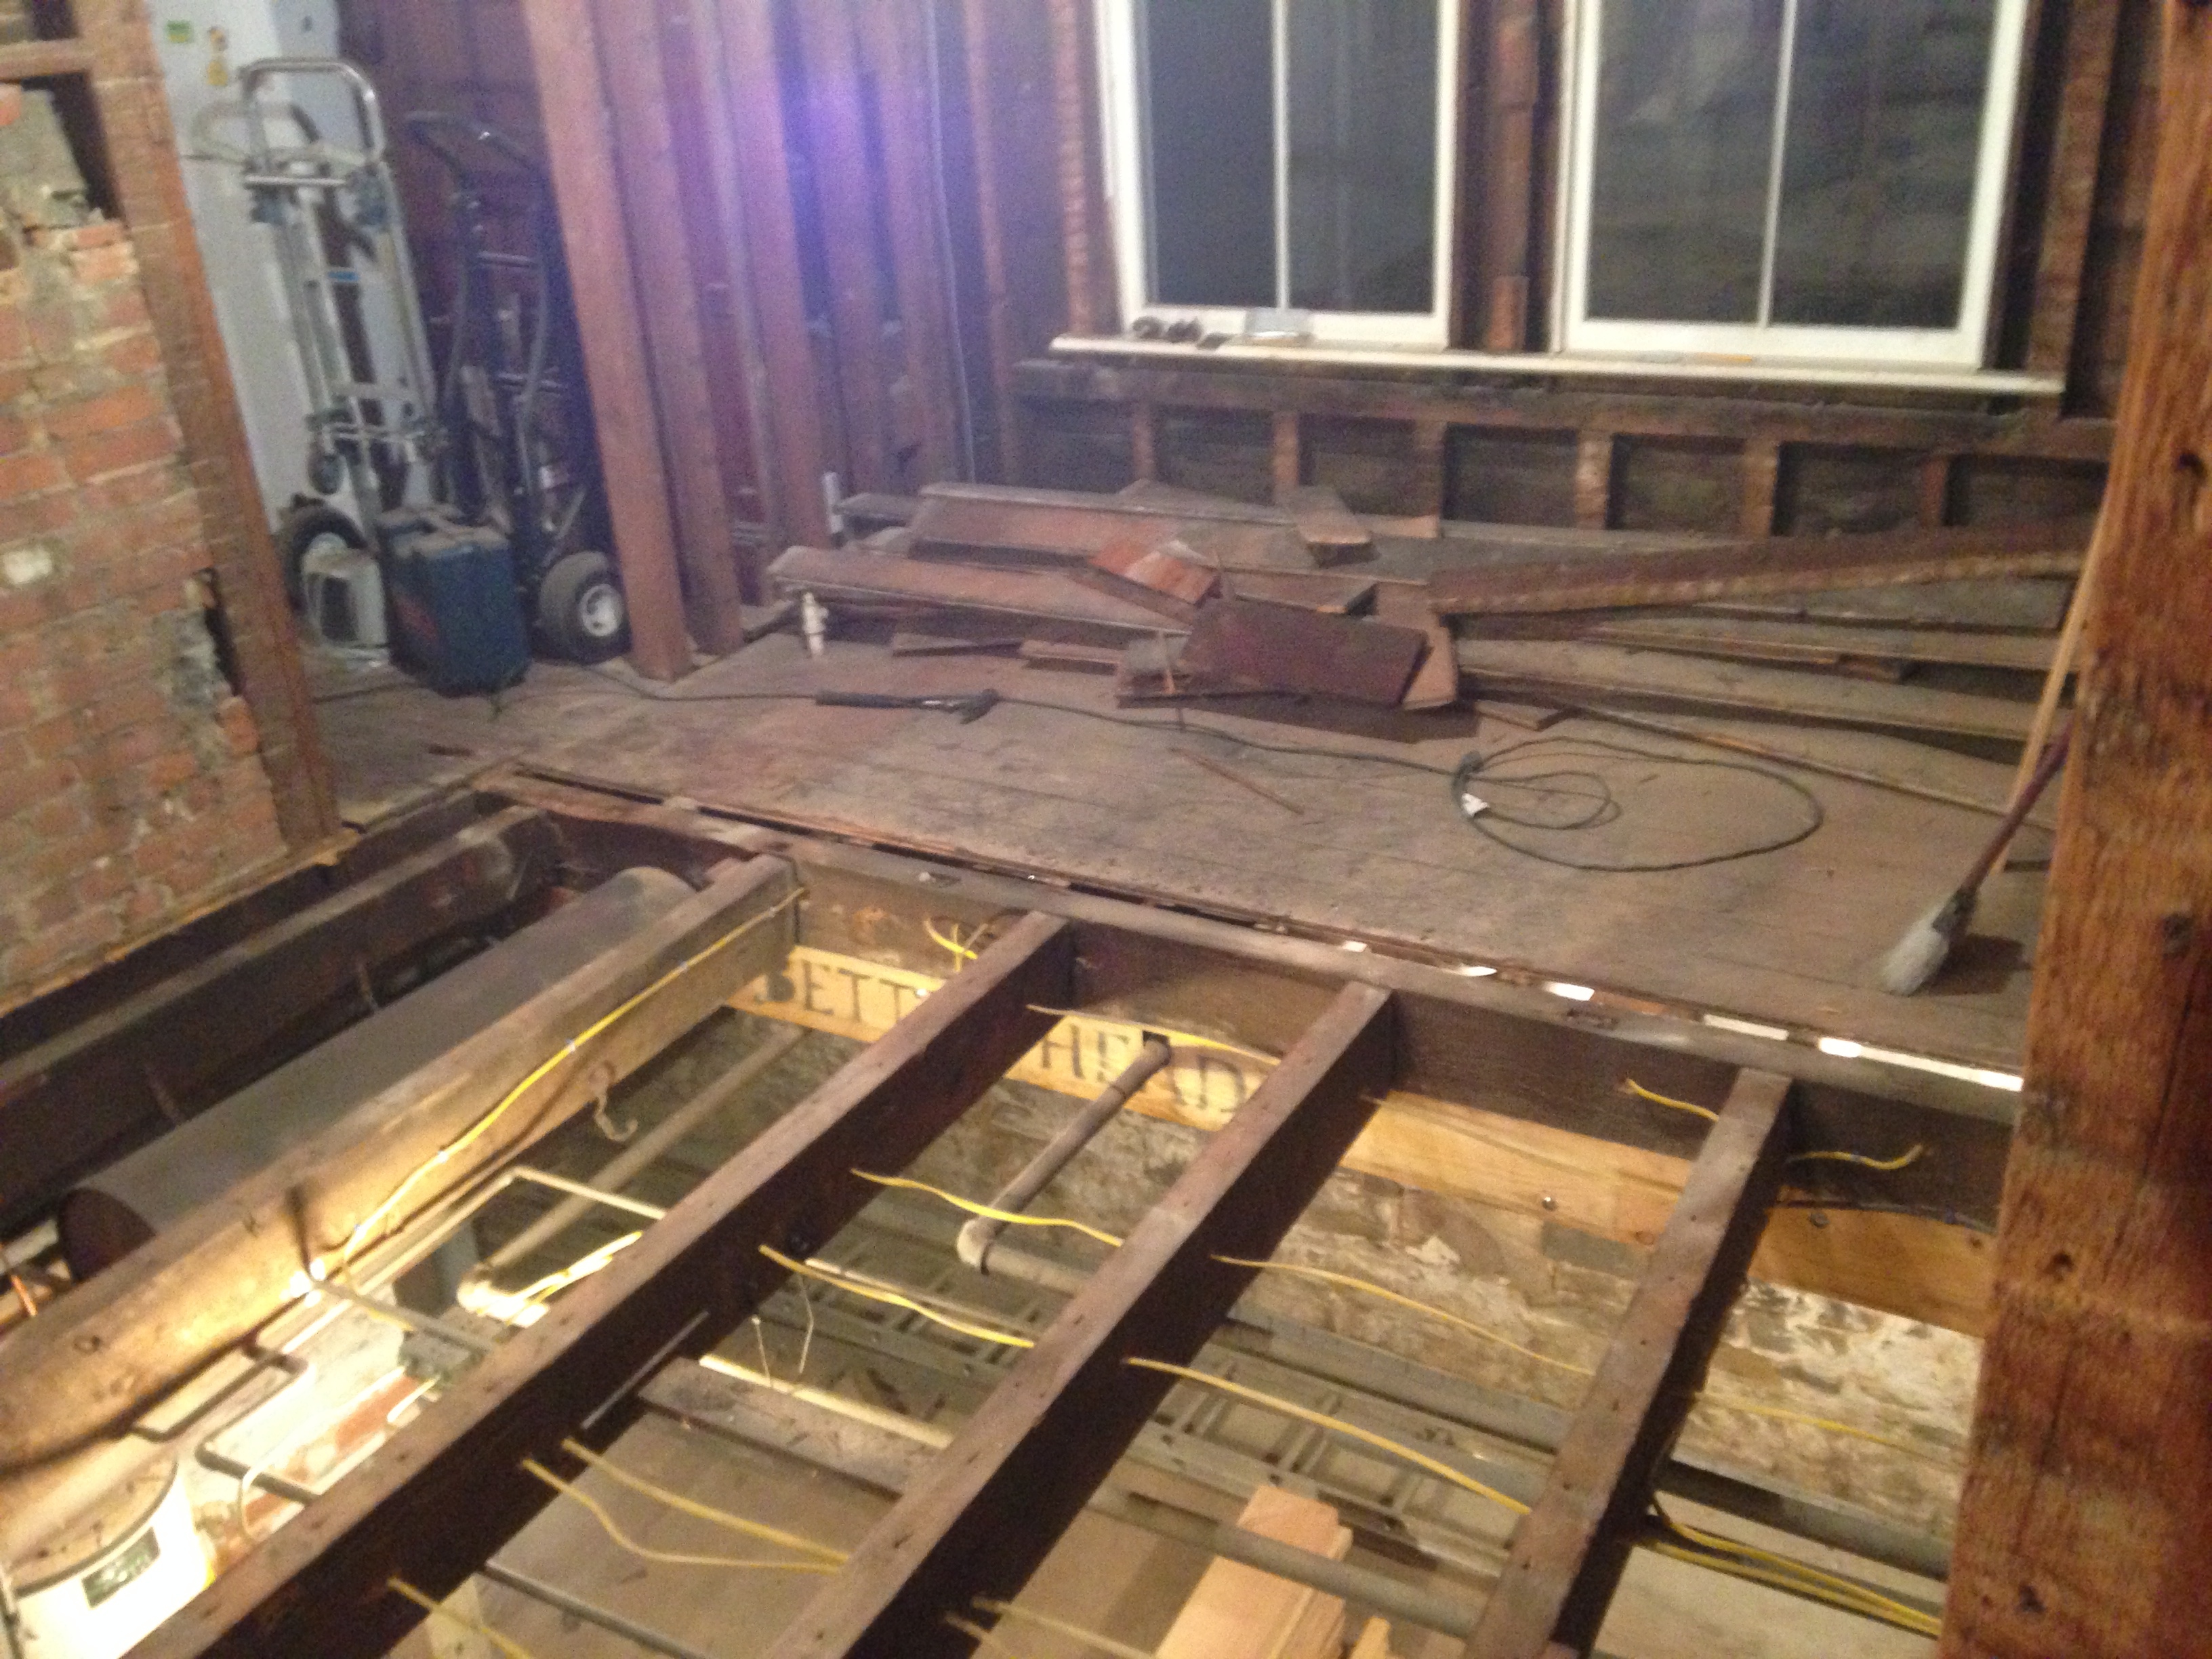
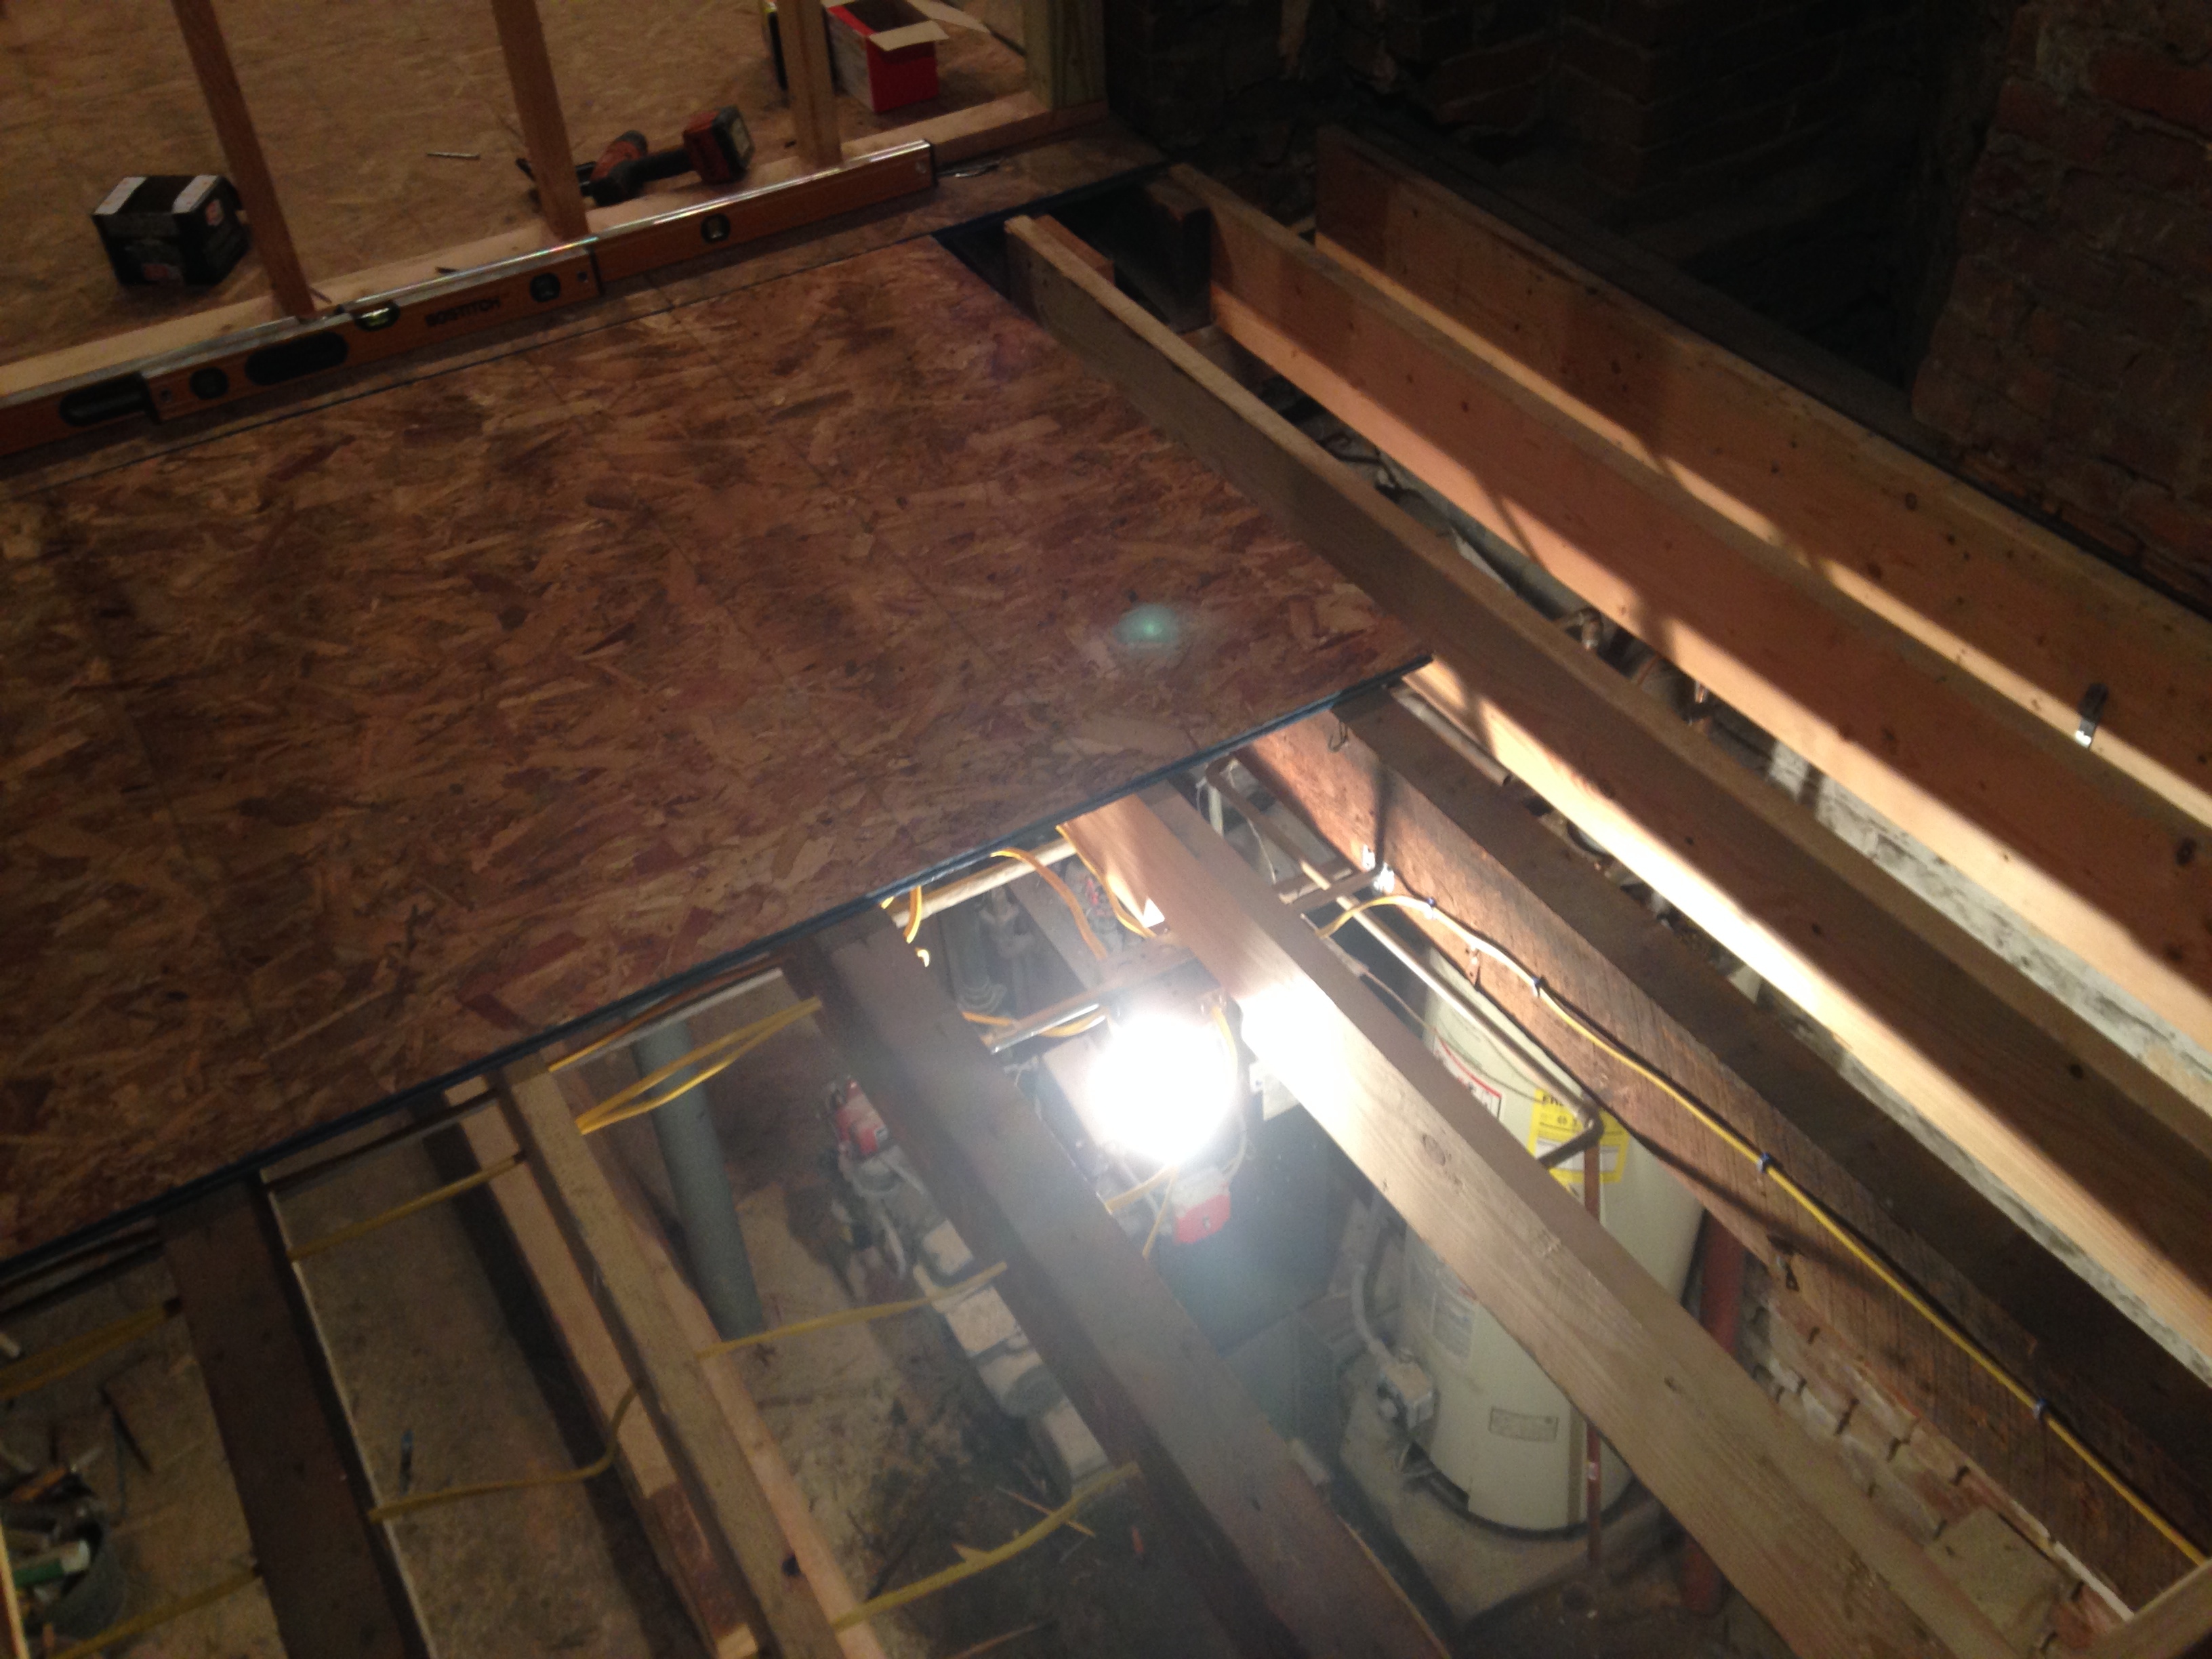
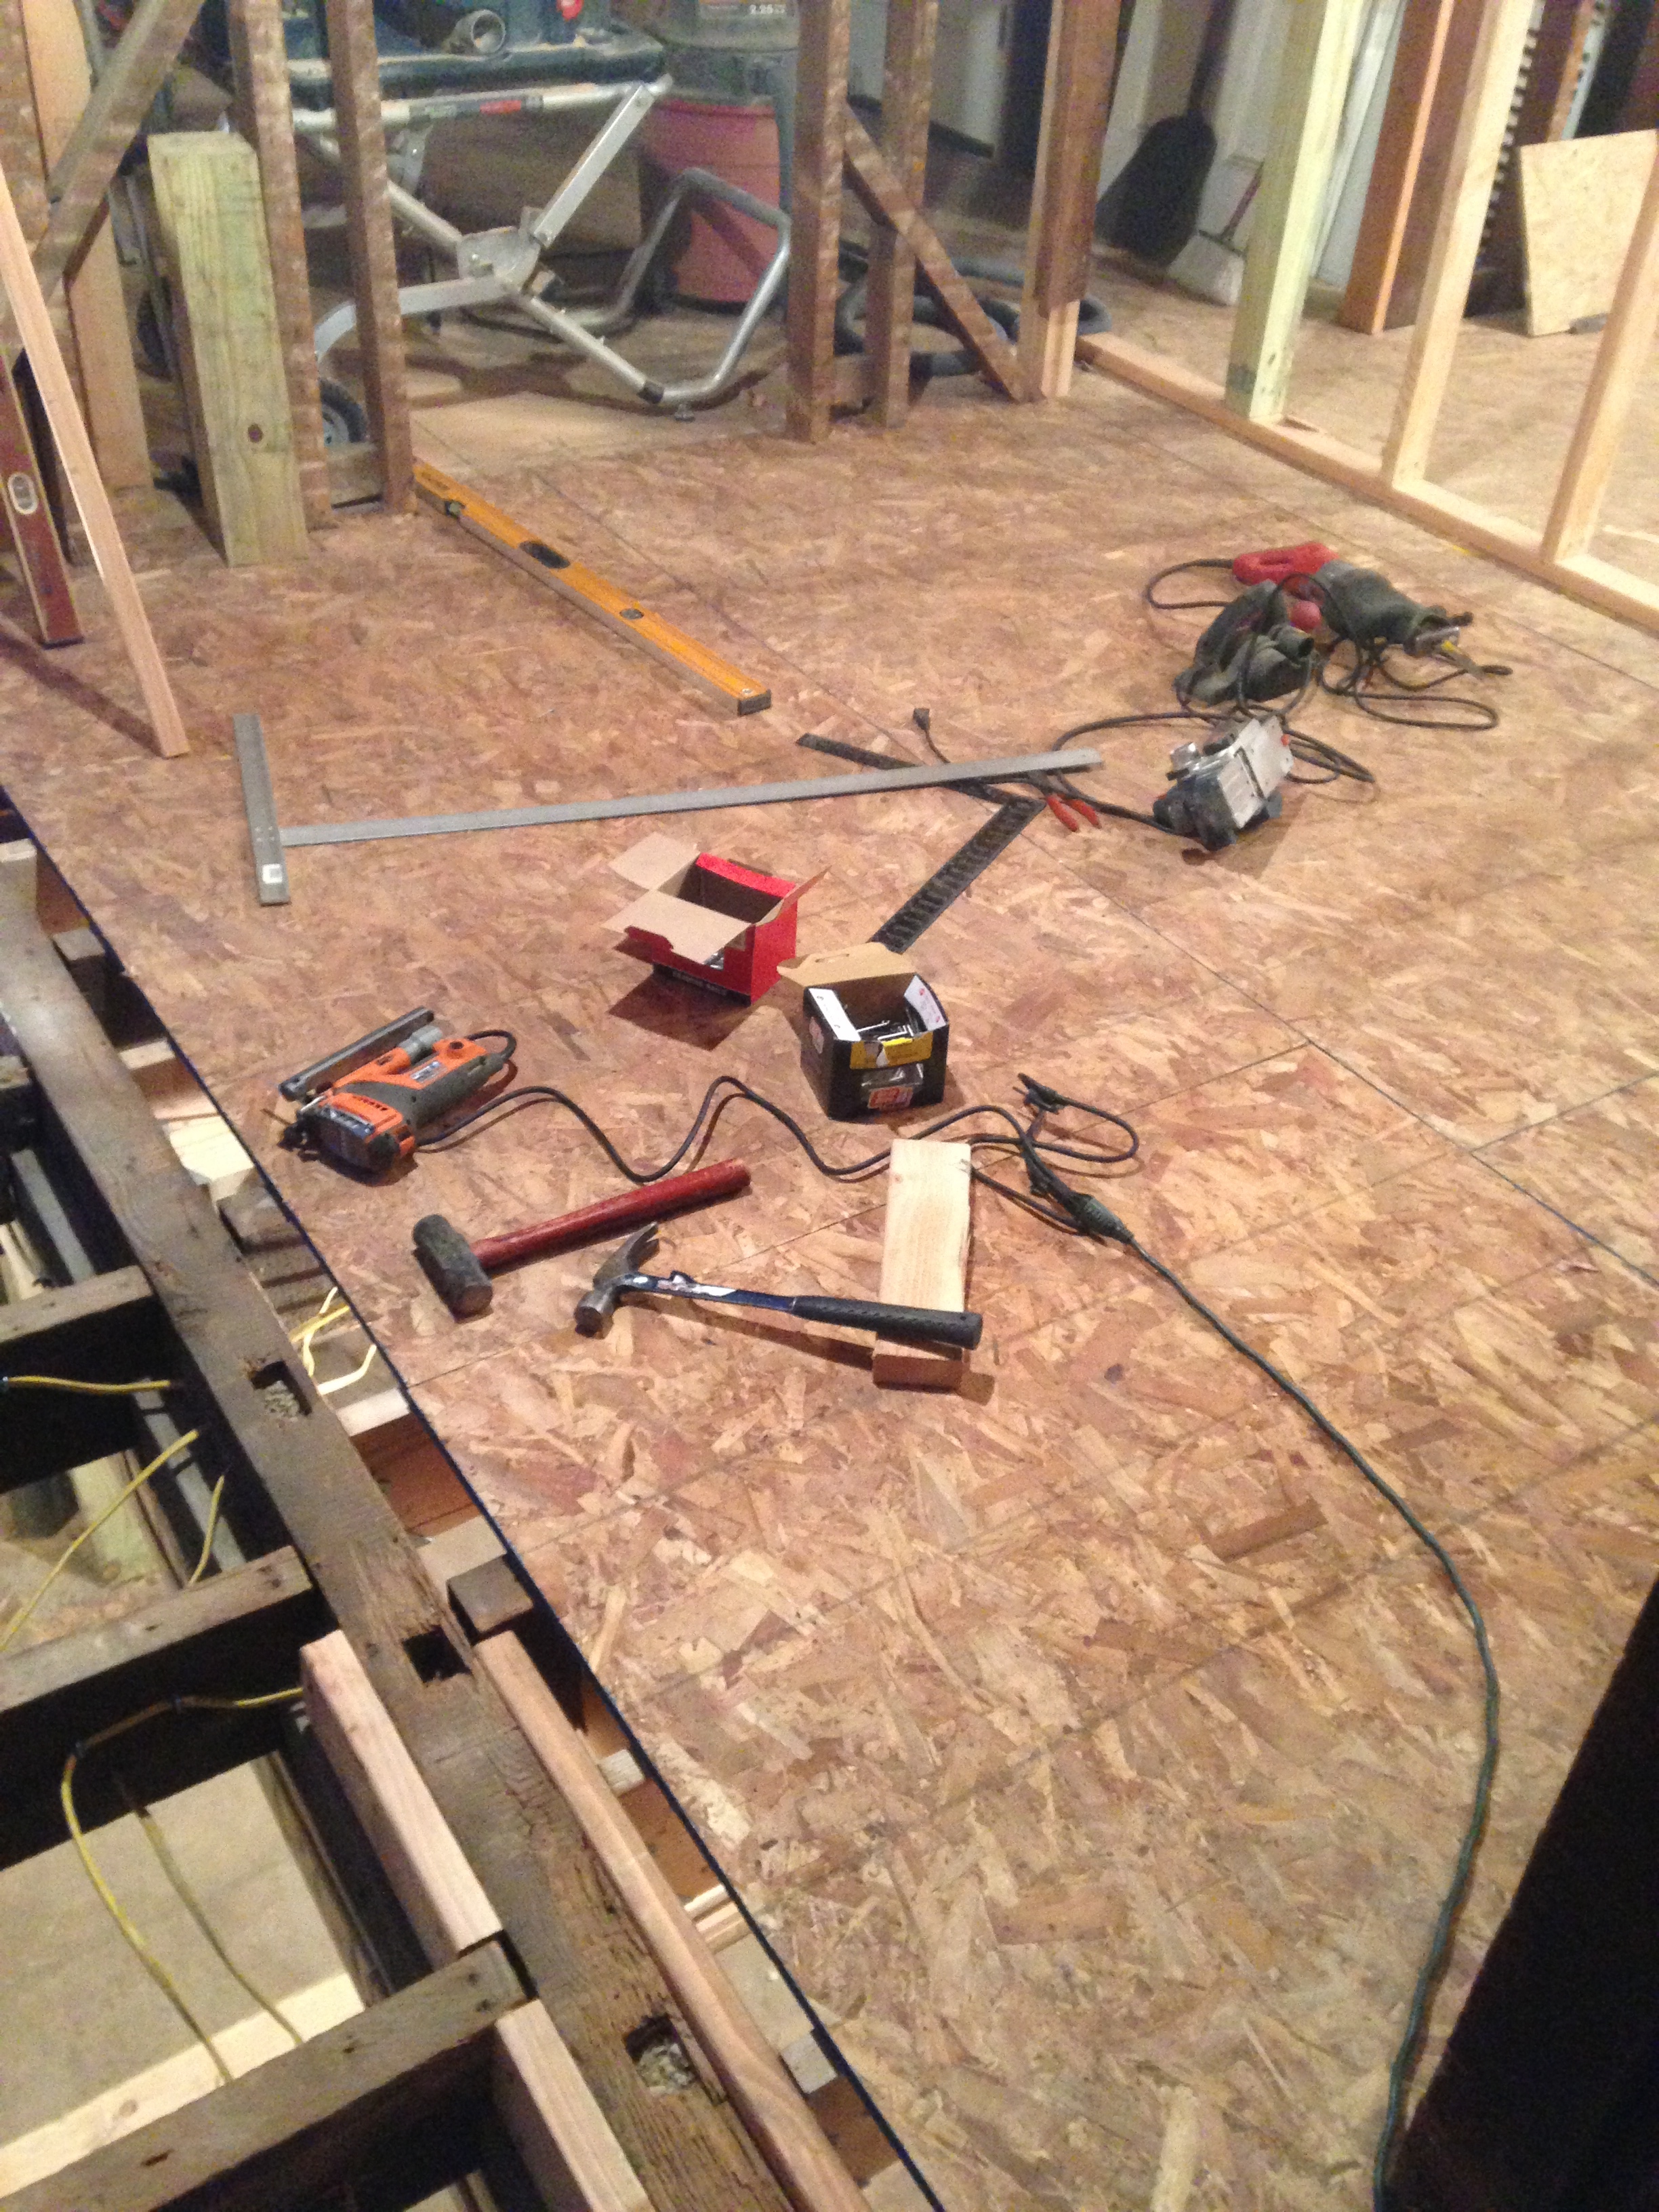
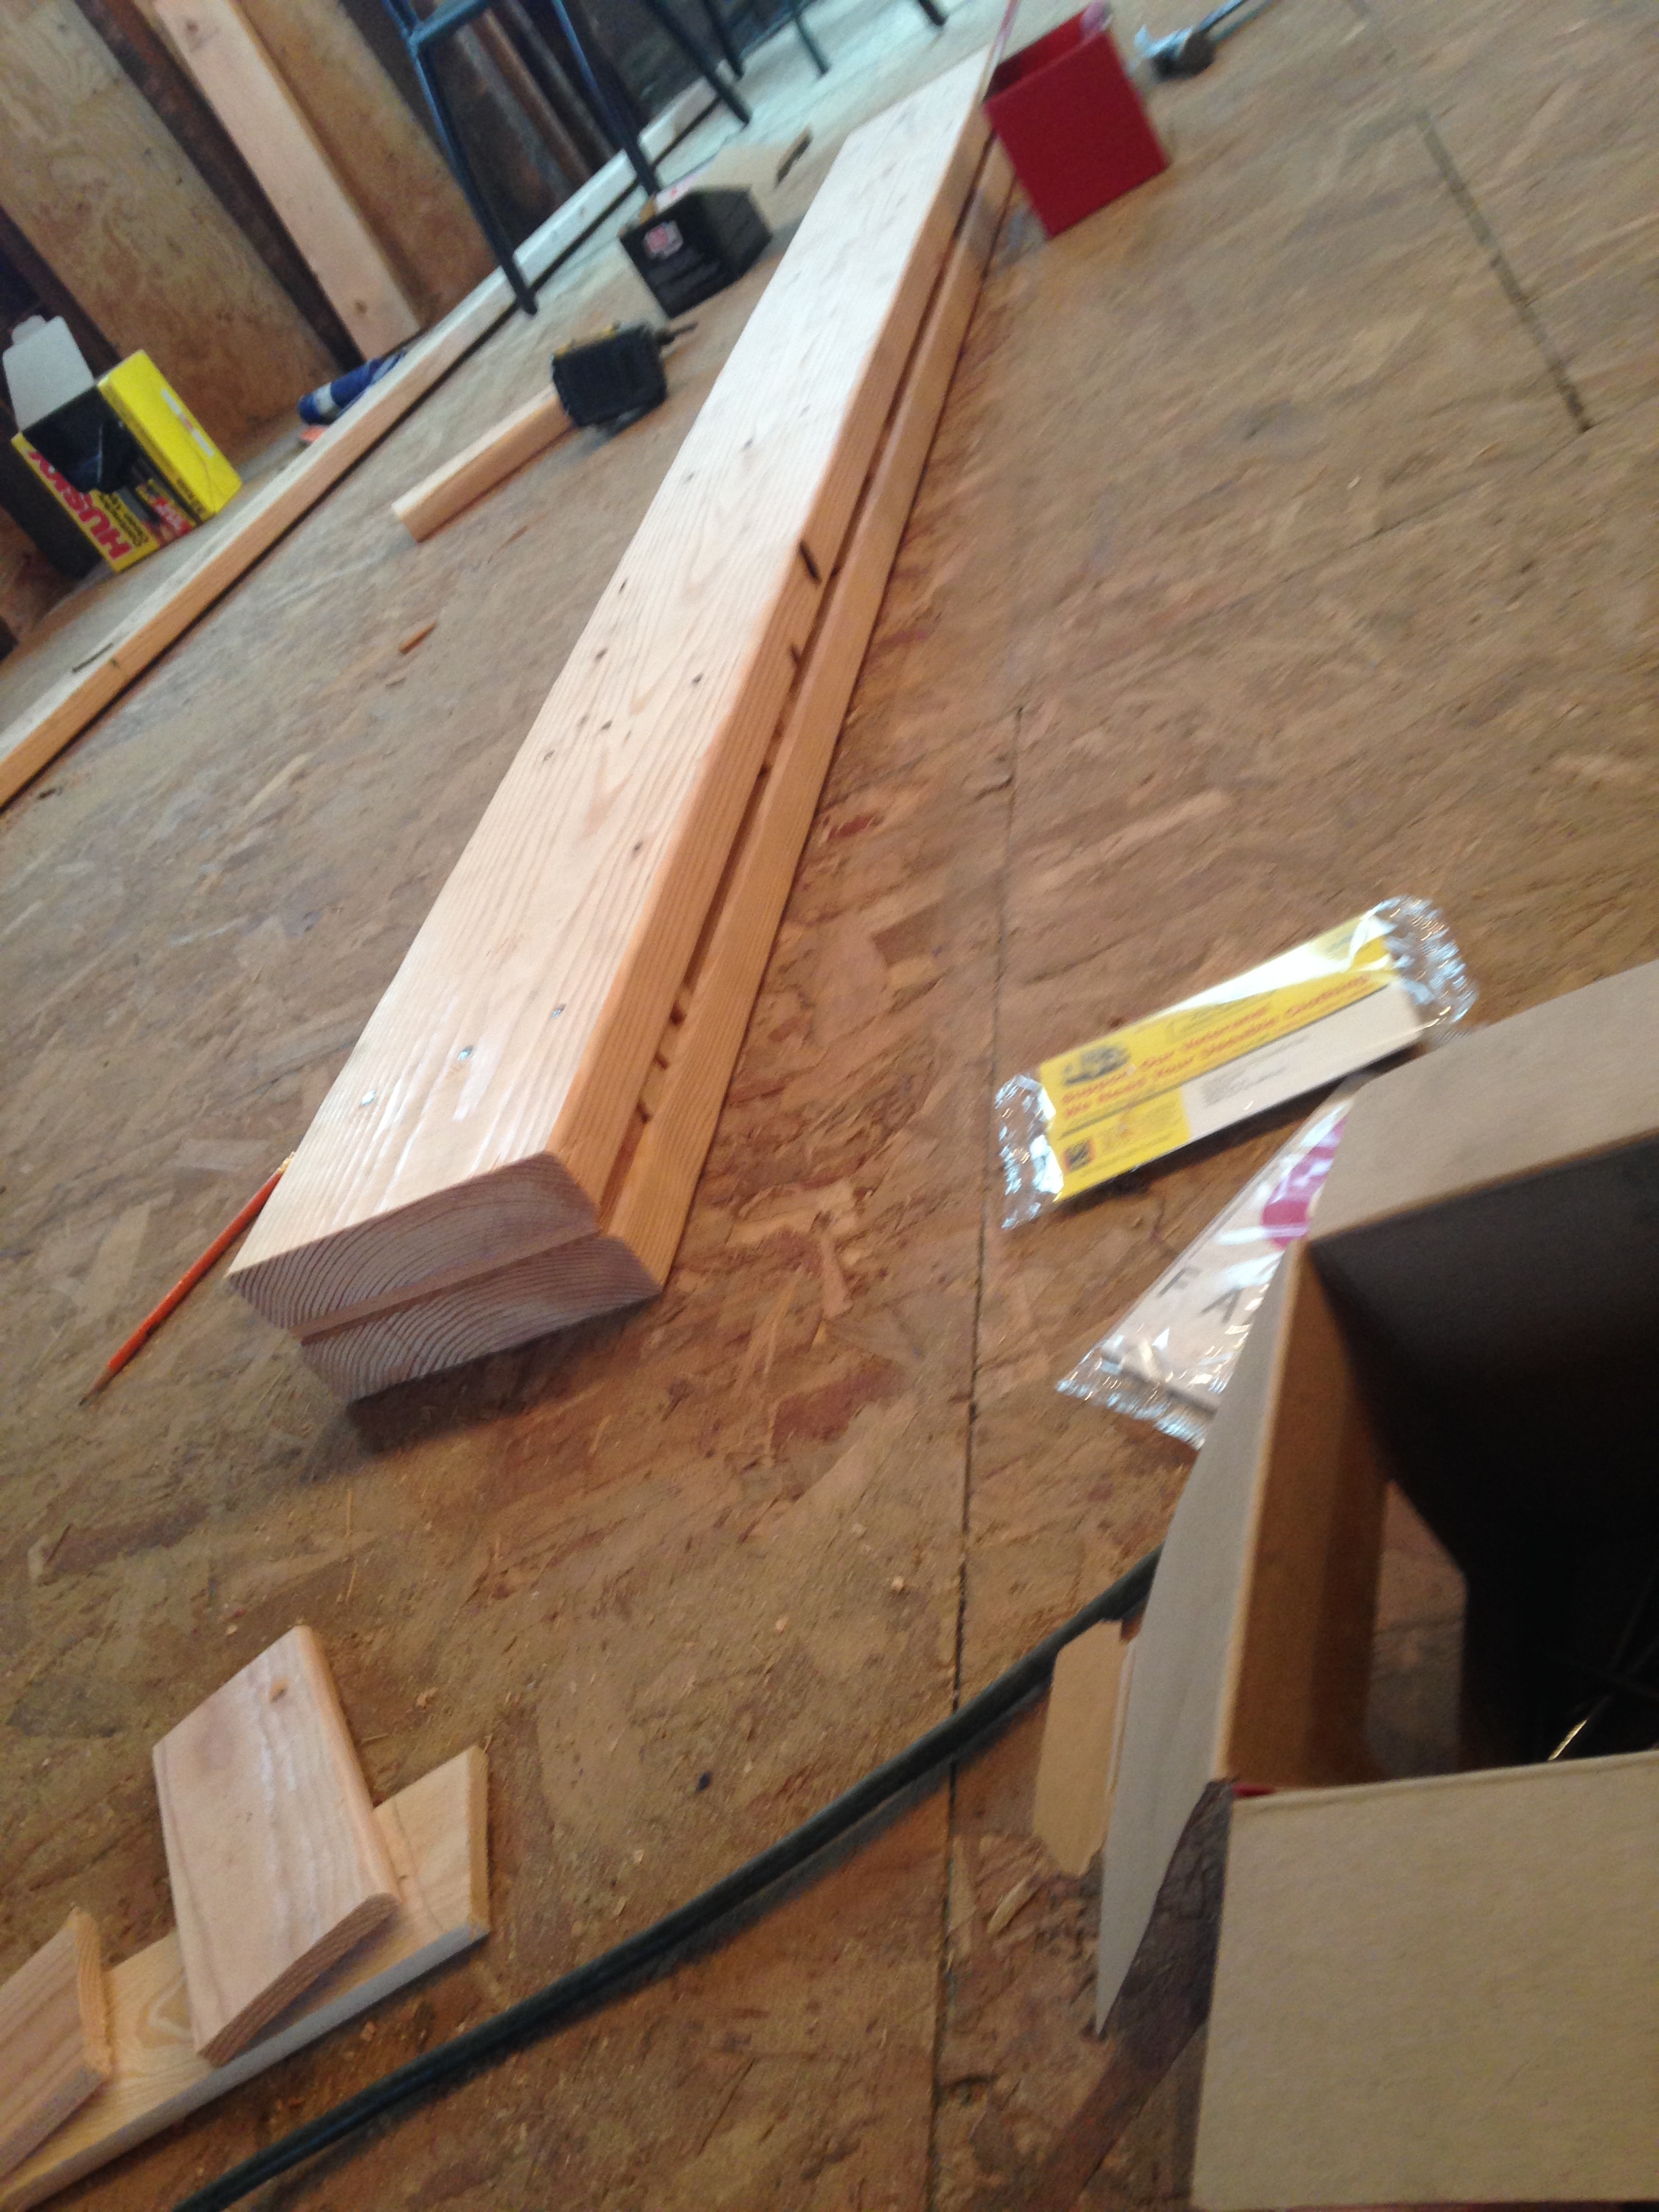
We decided to do all of the joists first, then go back and do the subfloor. This ensured that we had the MOST LEVEL floor we could when all was said and done. I say ‘most level’ because nothing in that house is level or square. Well… it mostly is now. Sort of. This was the pile of supplies we started with.
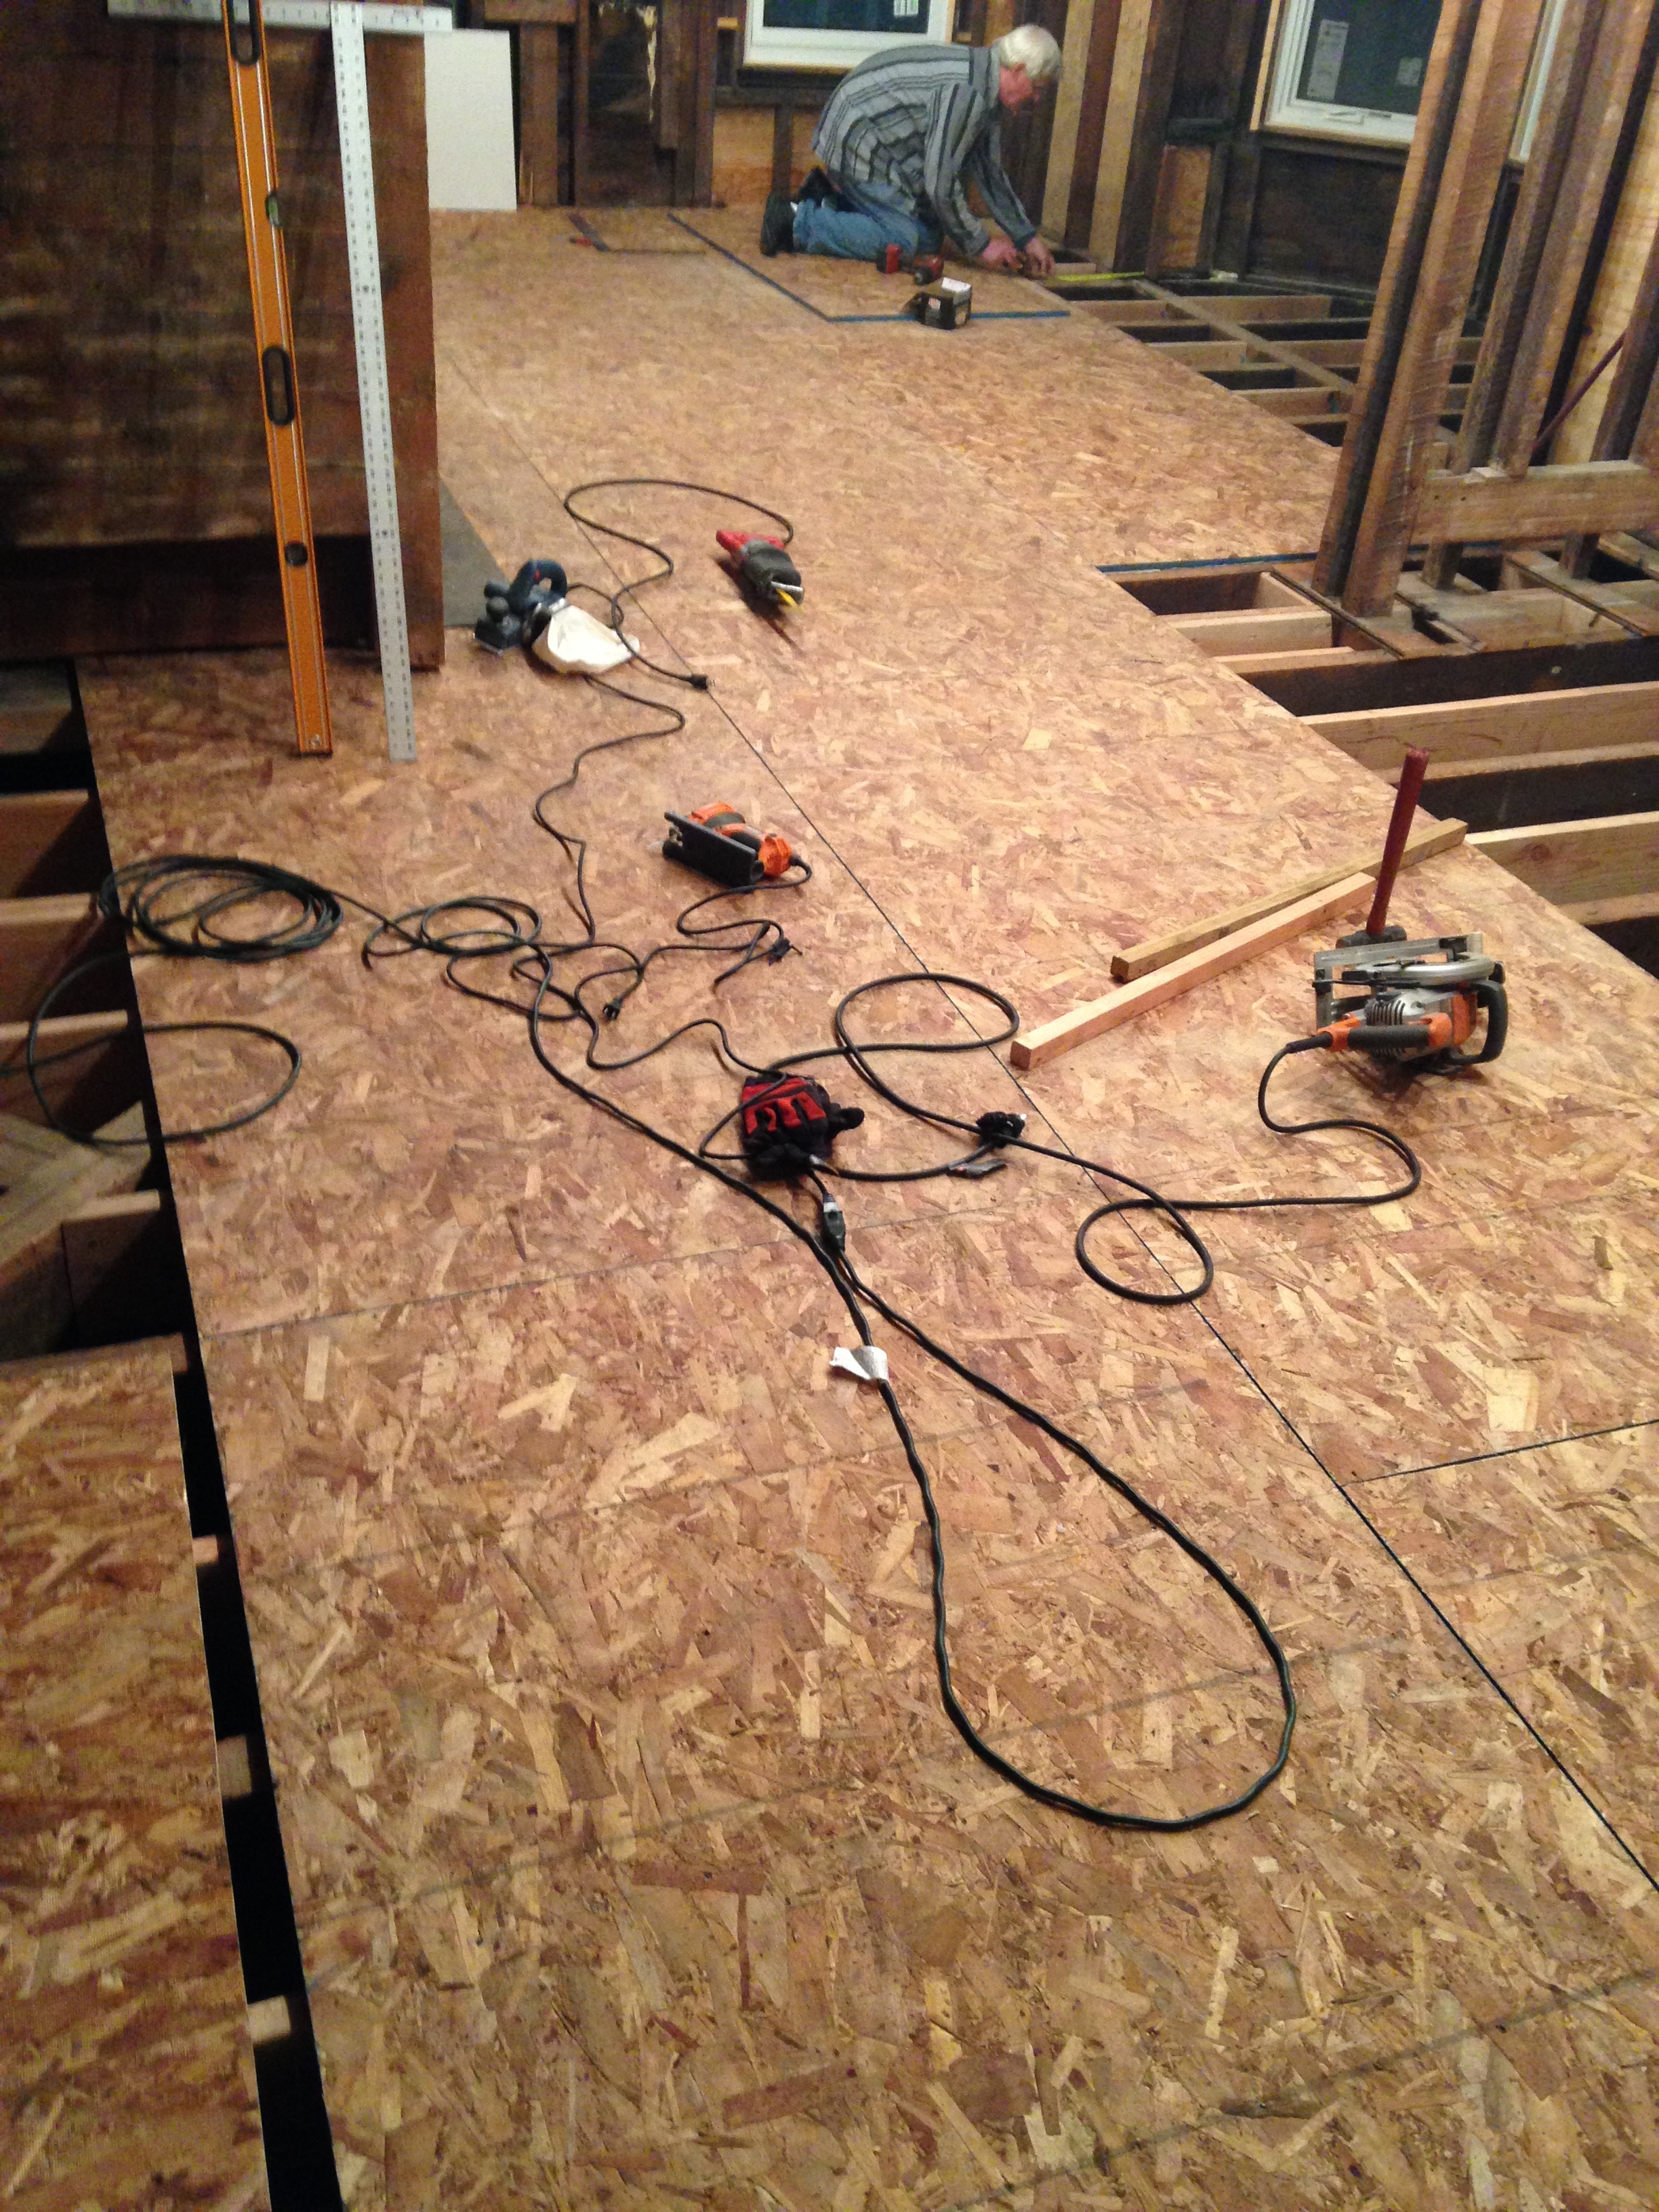
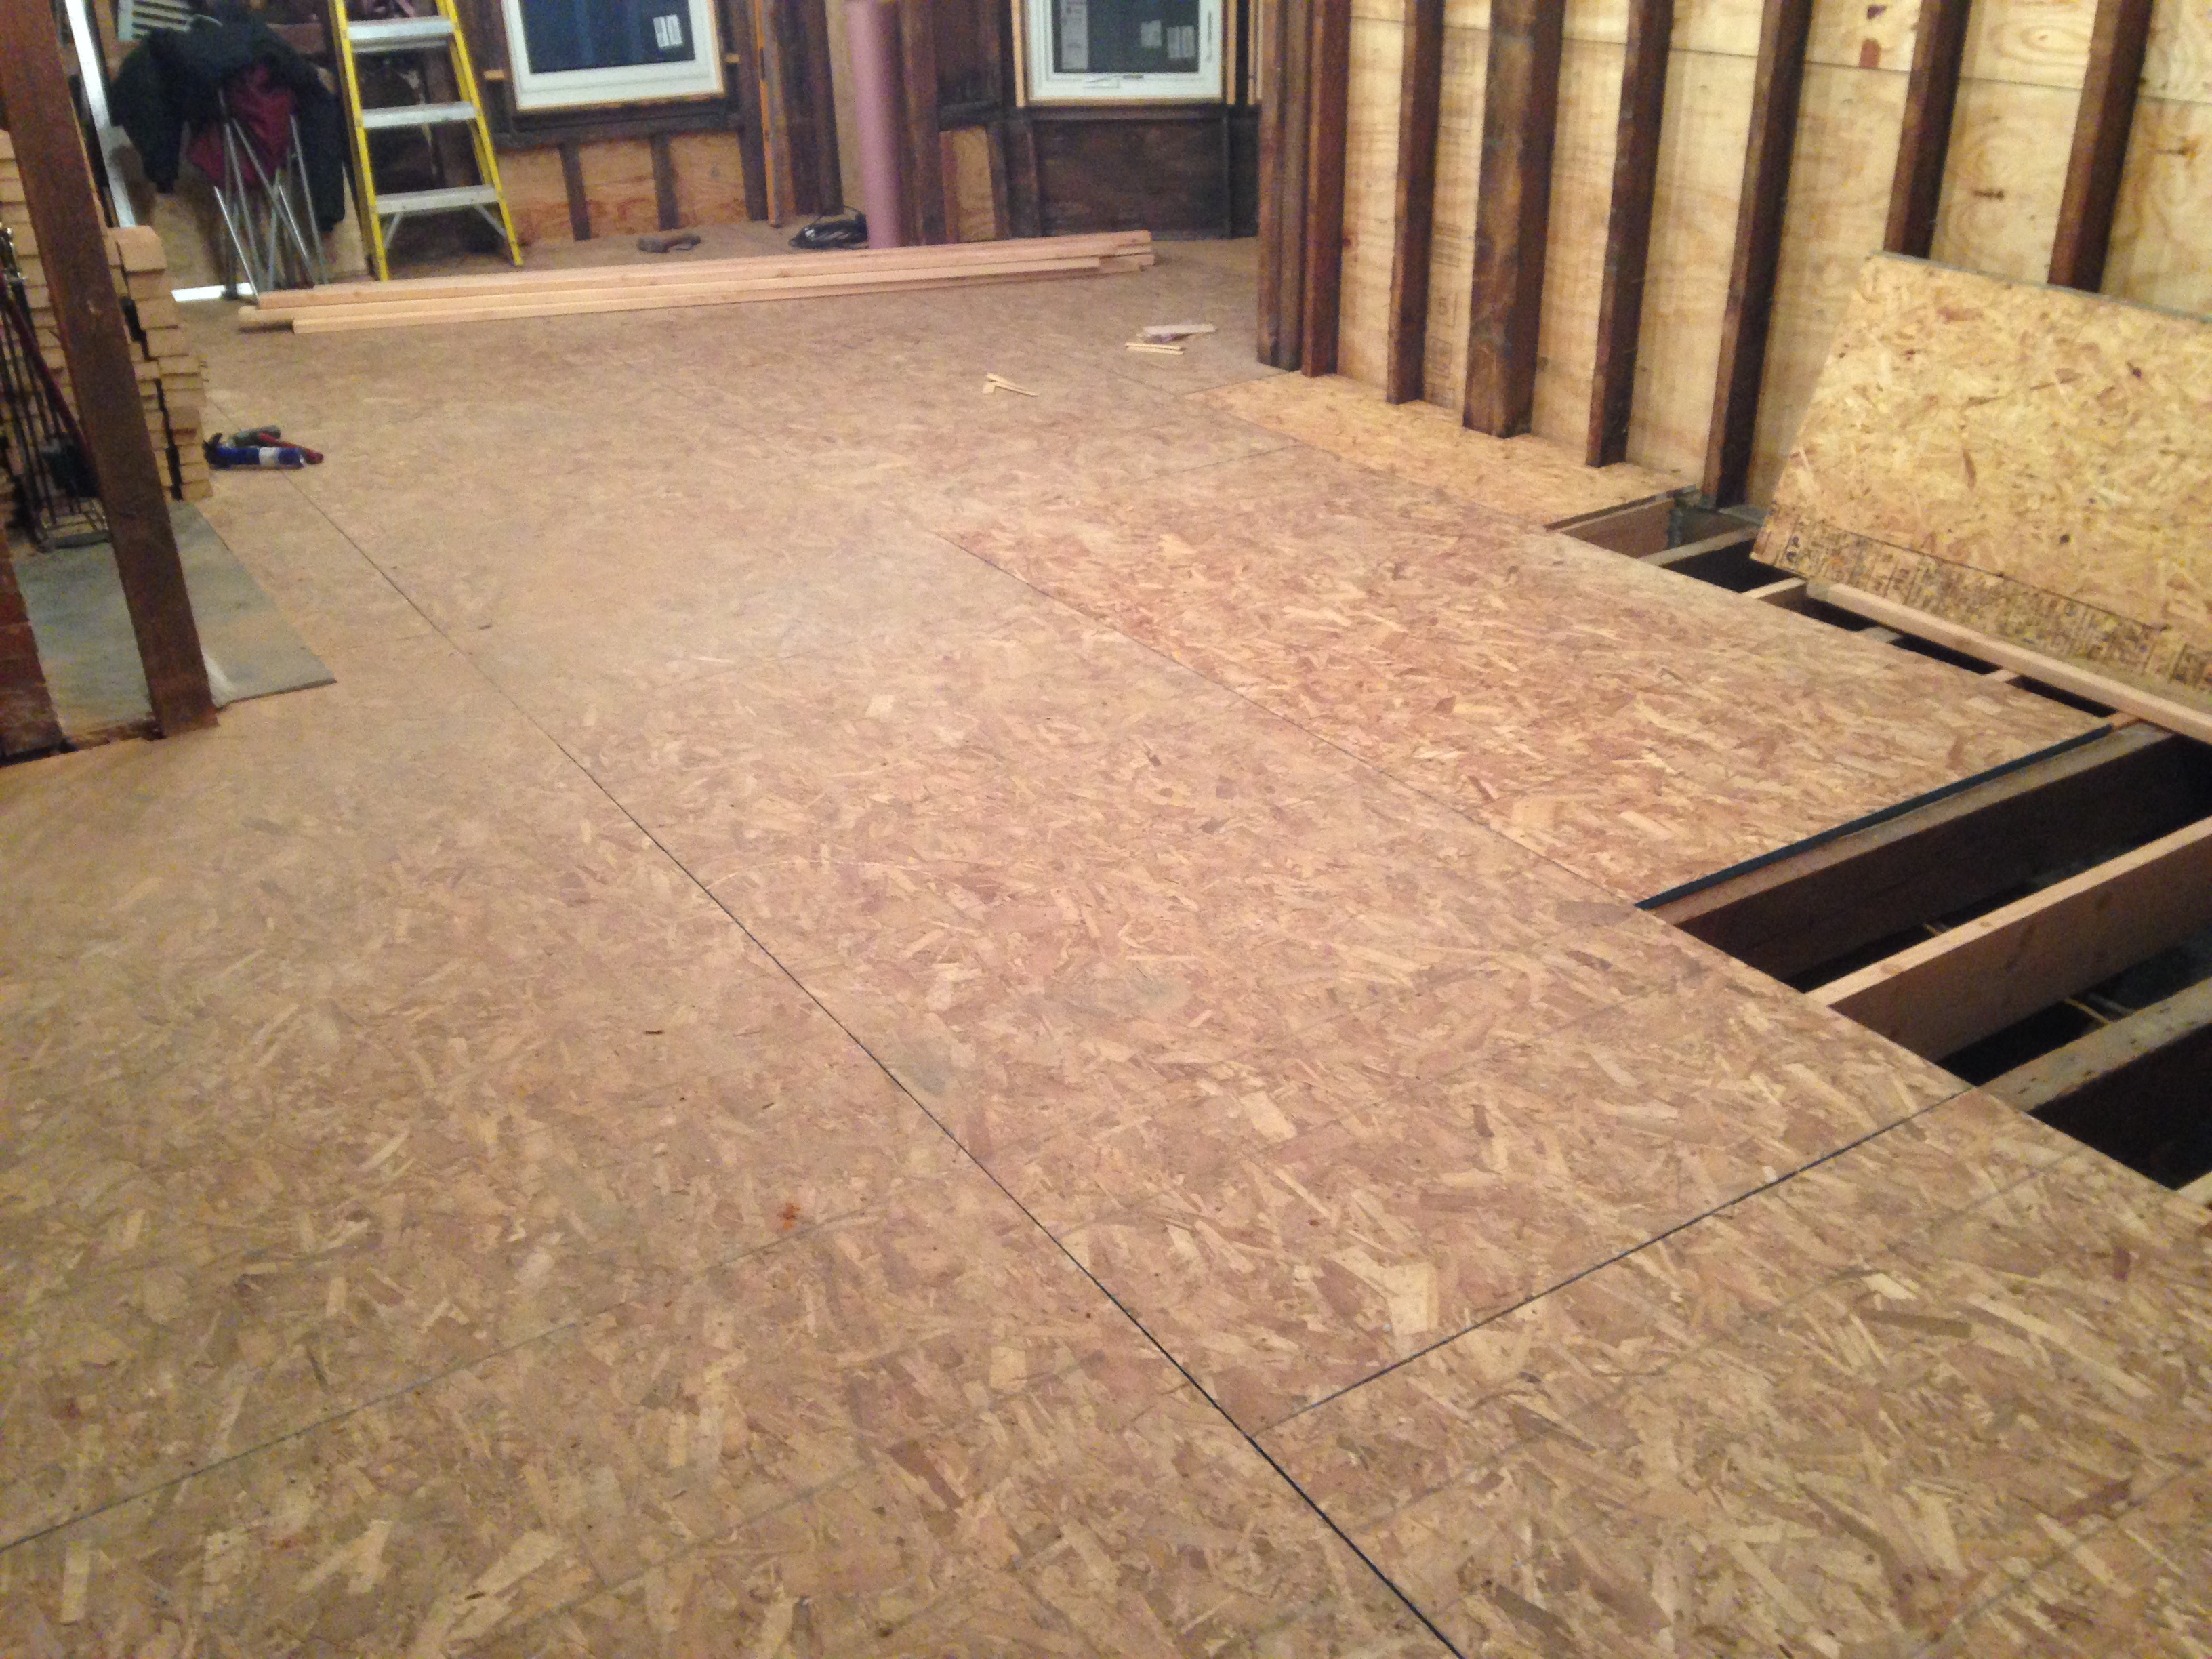
And then we were off!

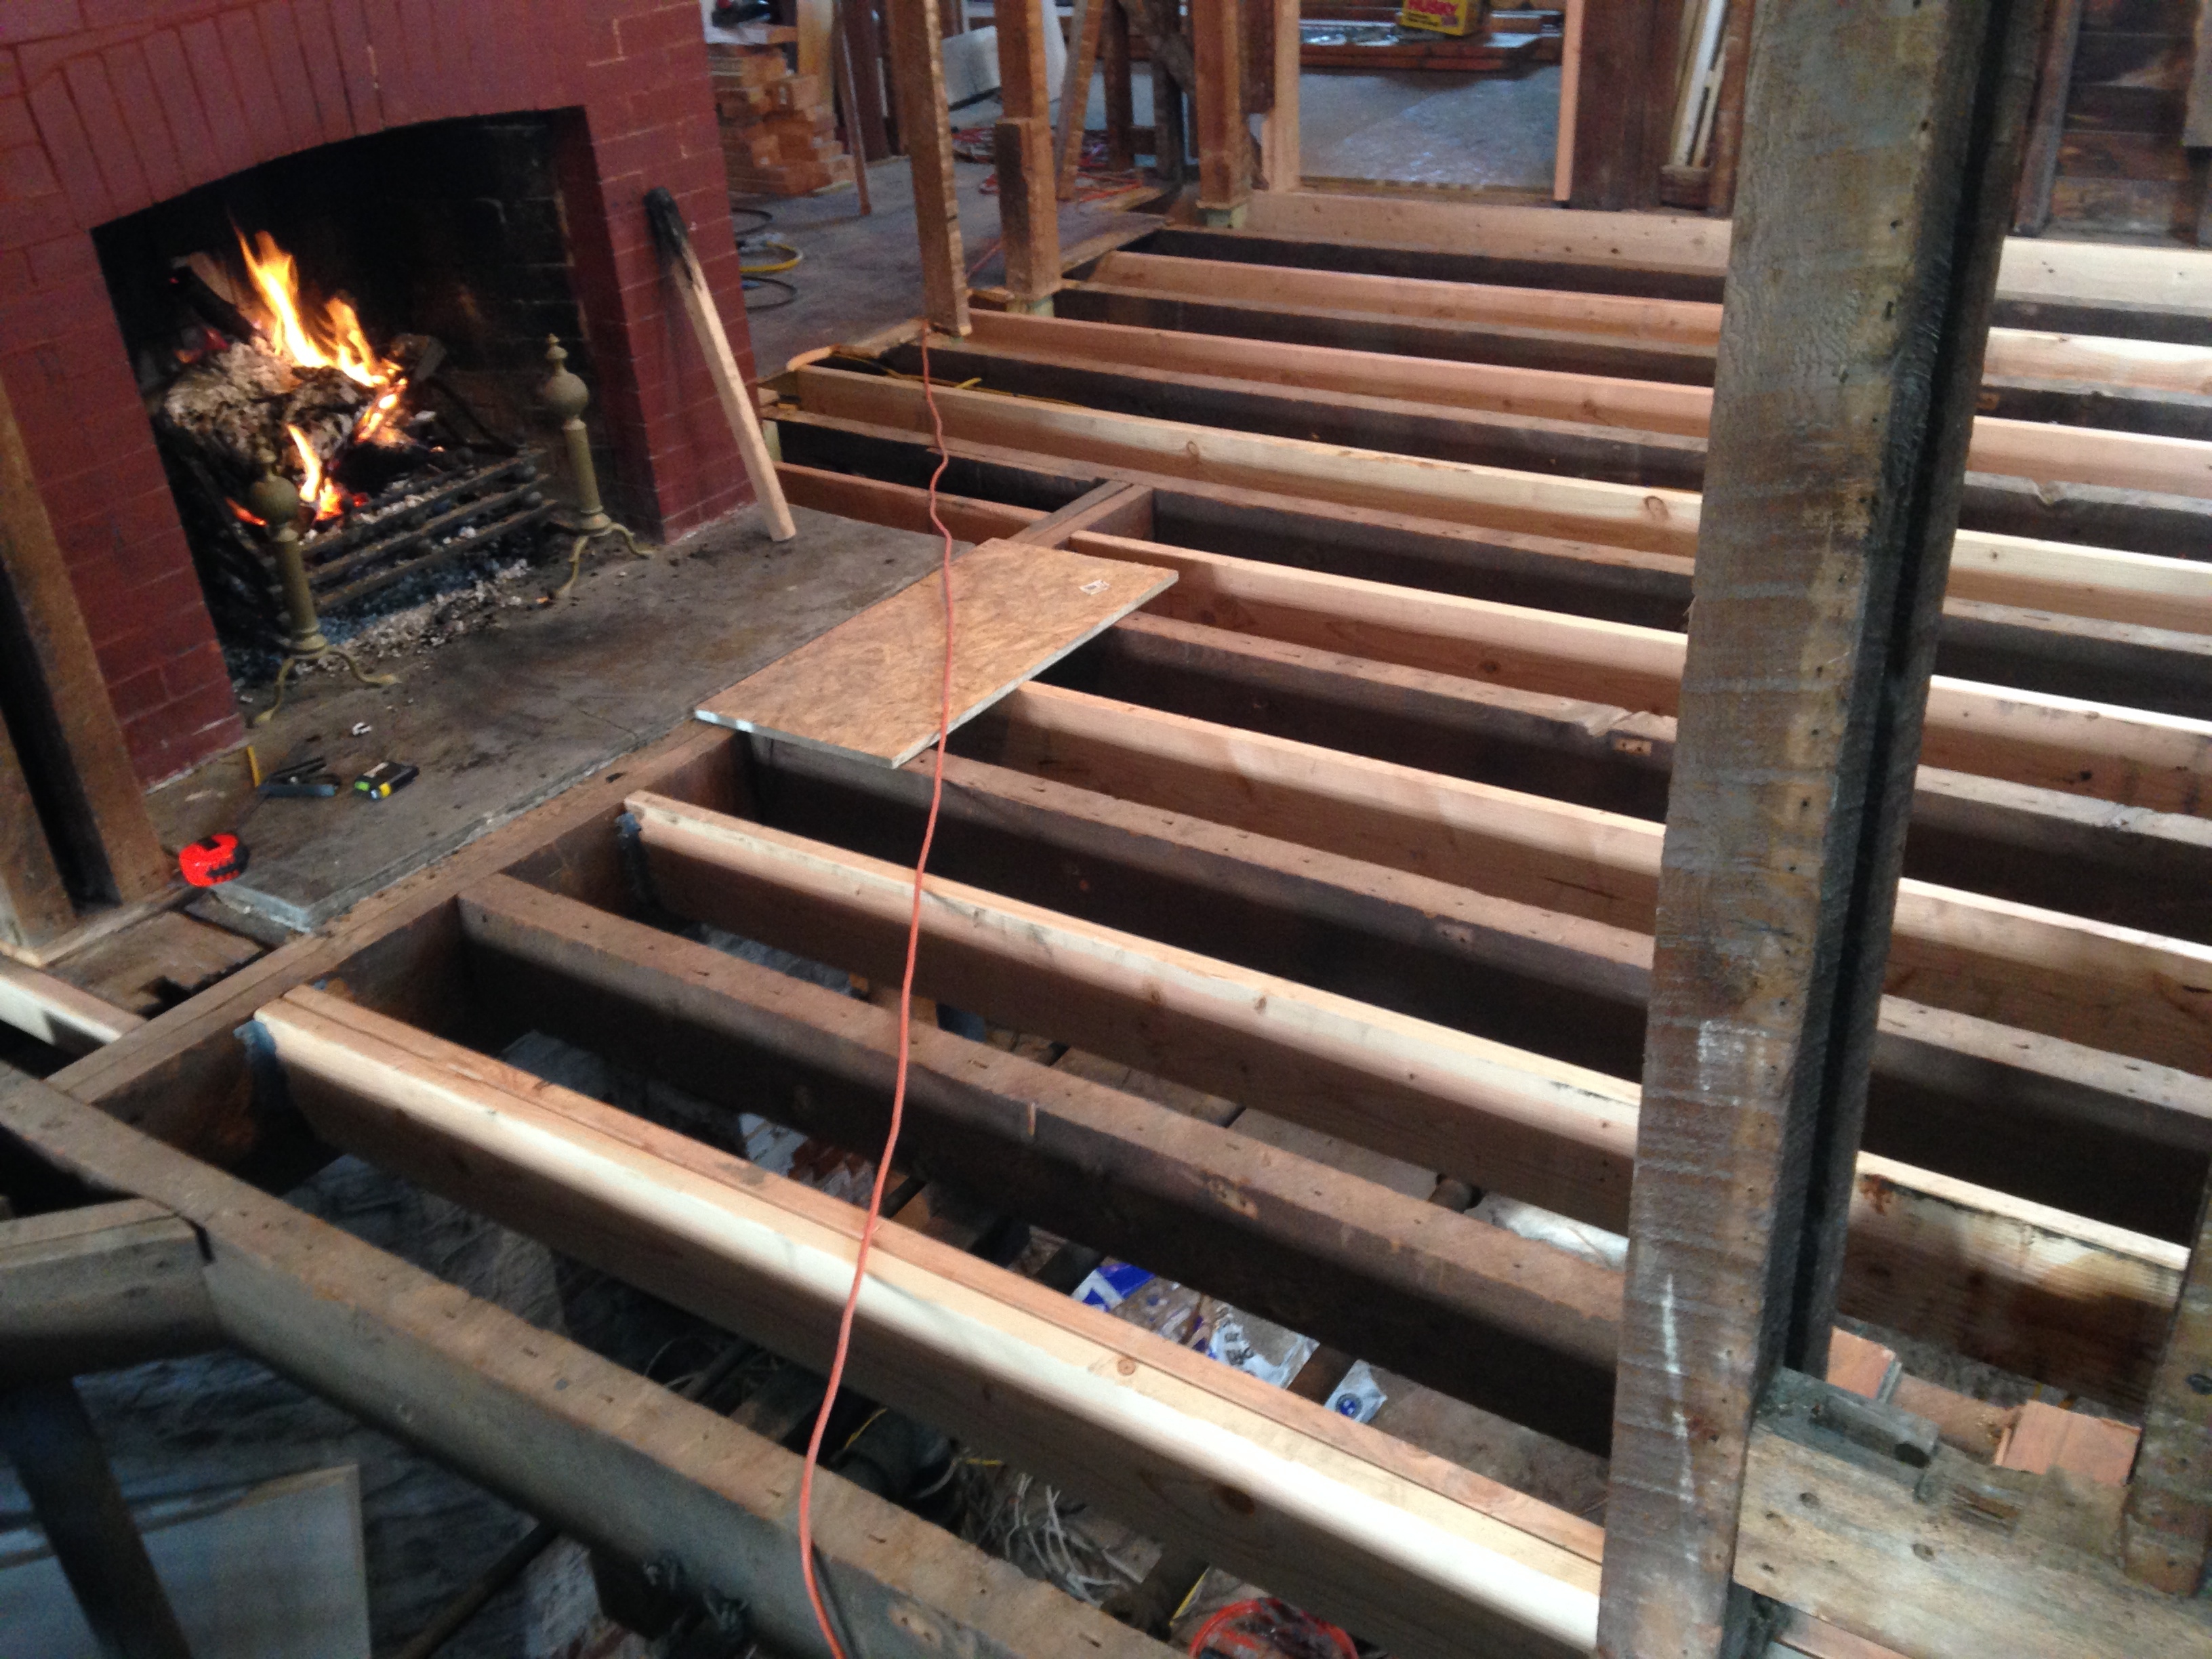


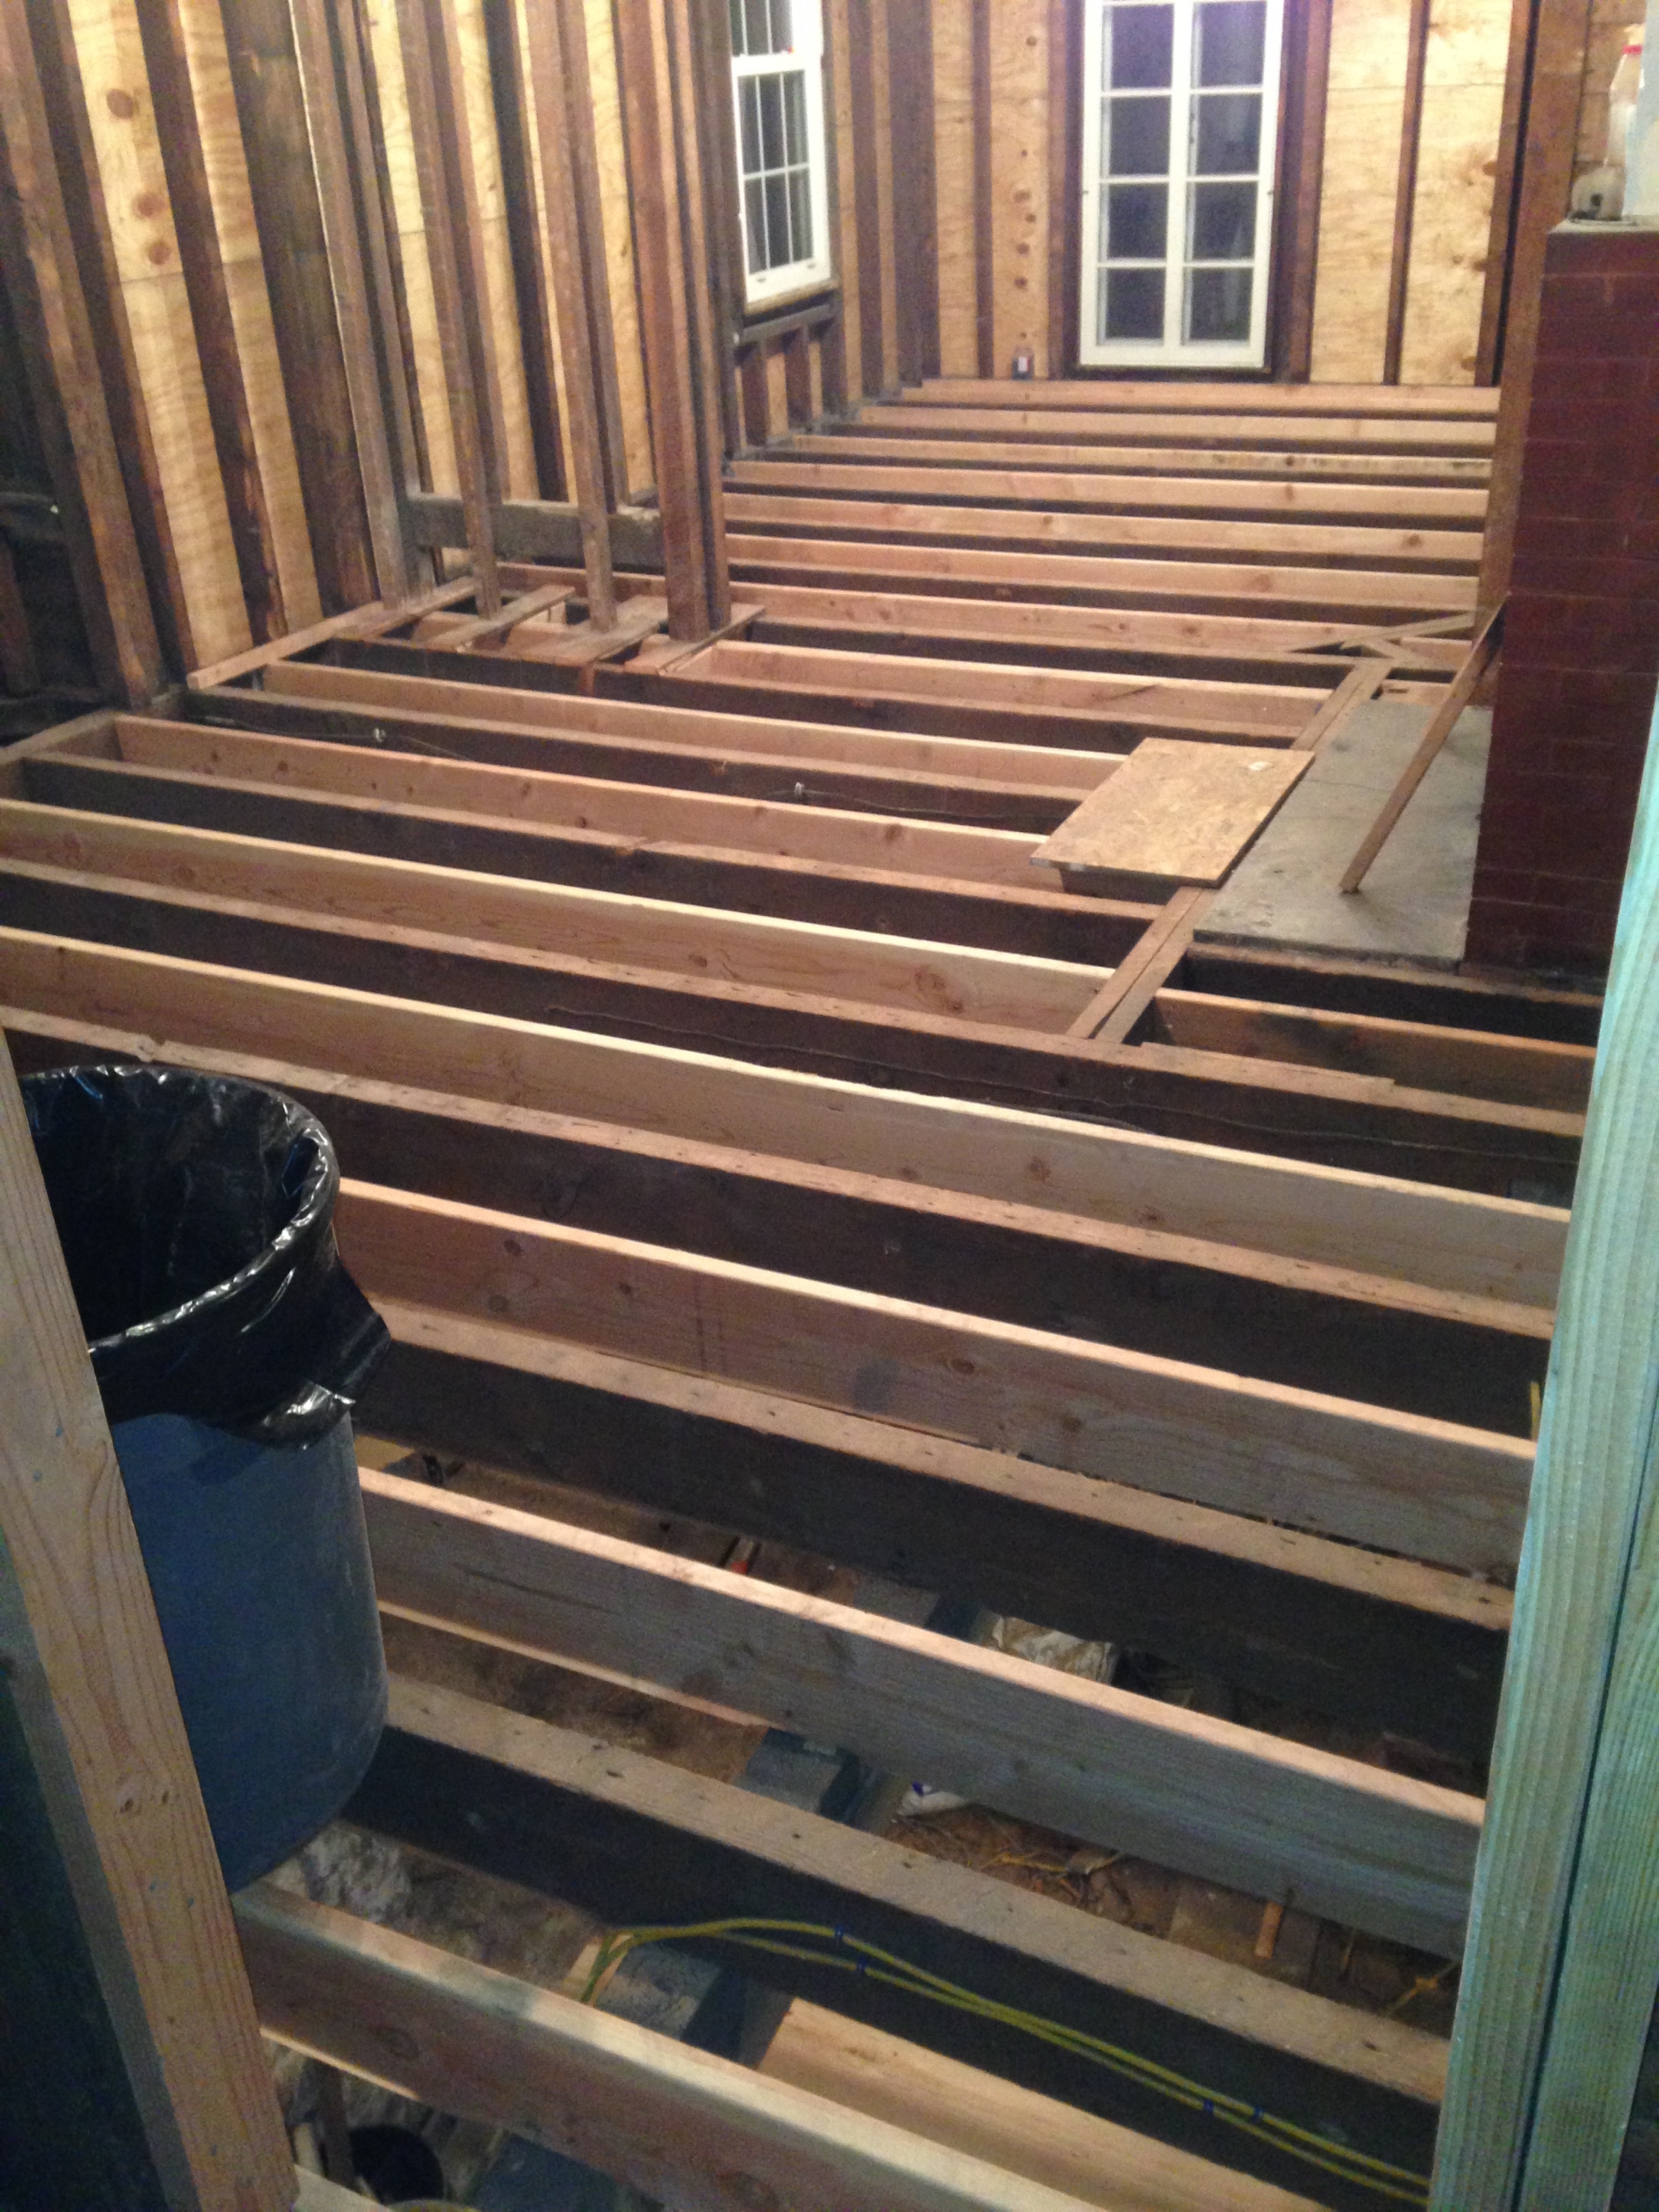


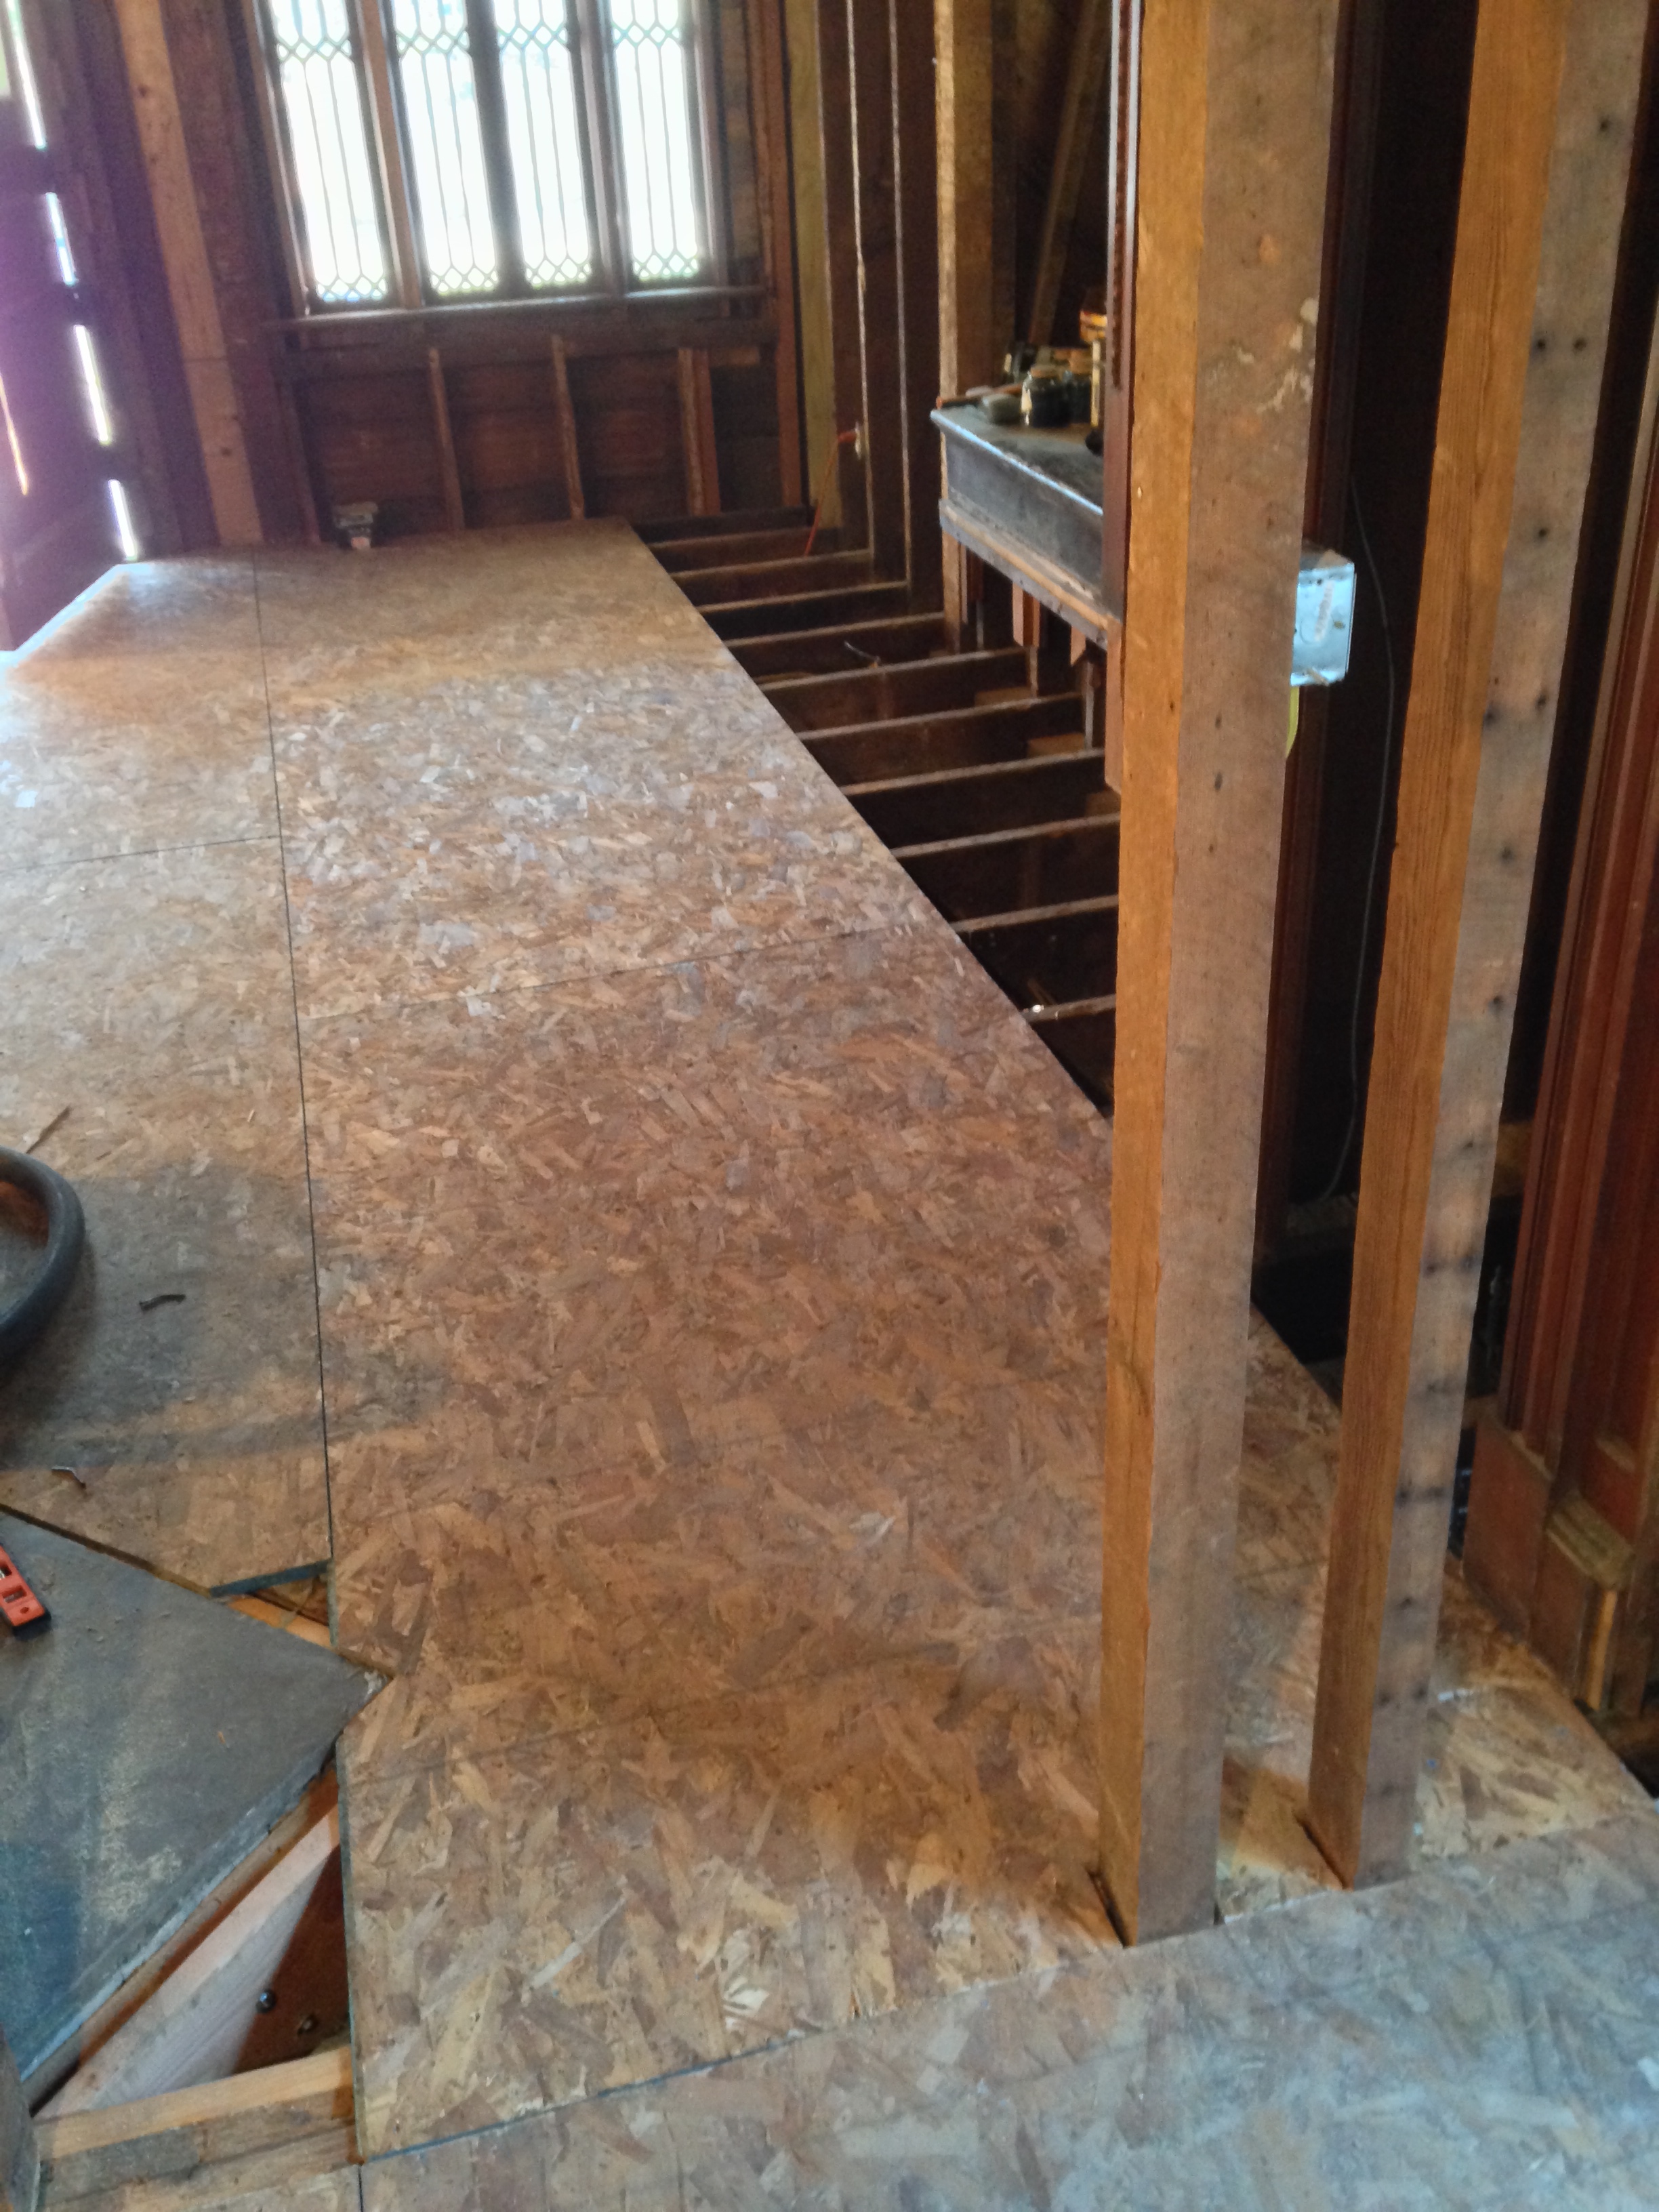
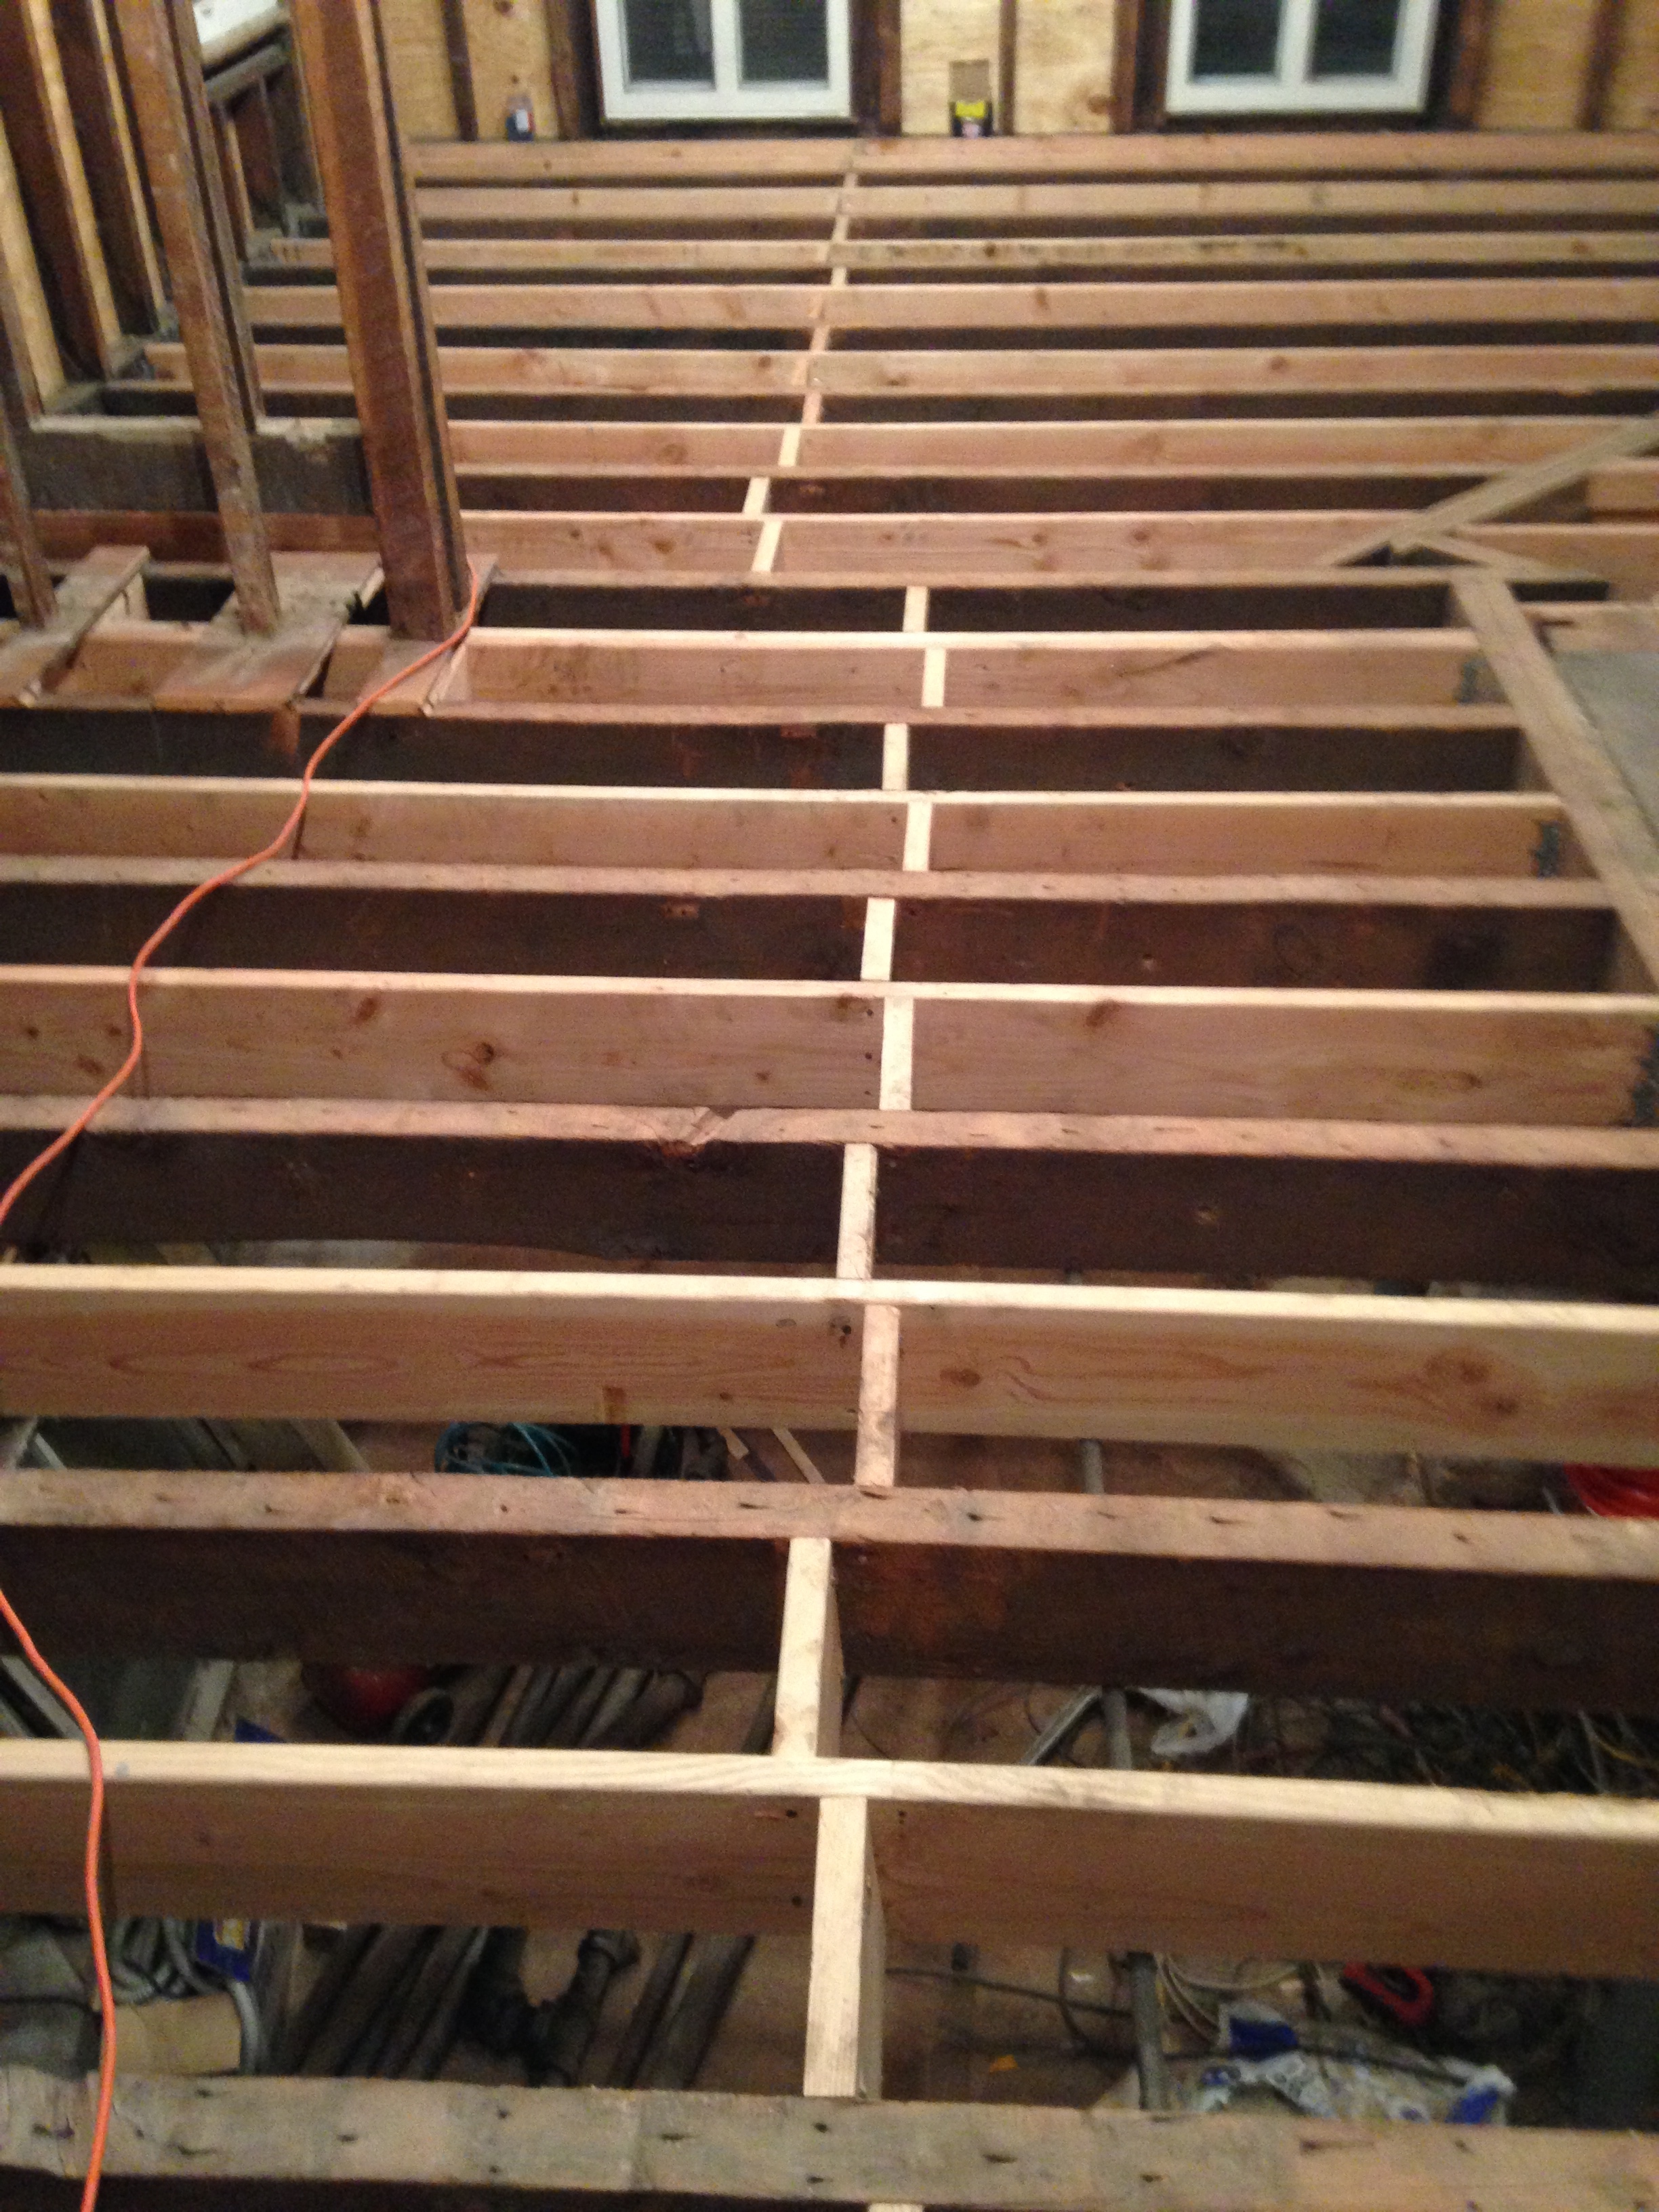
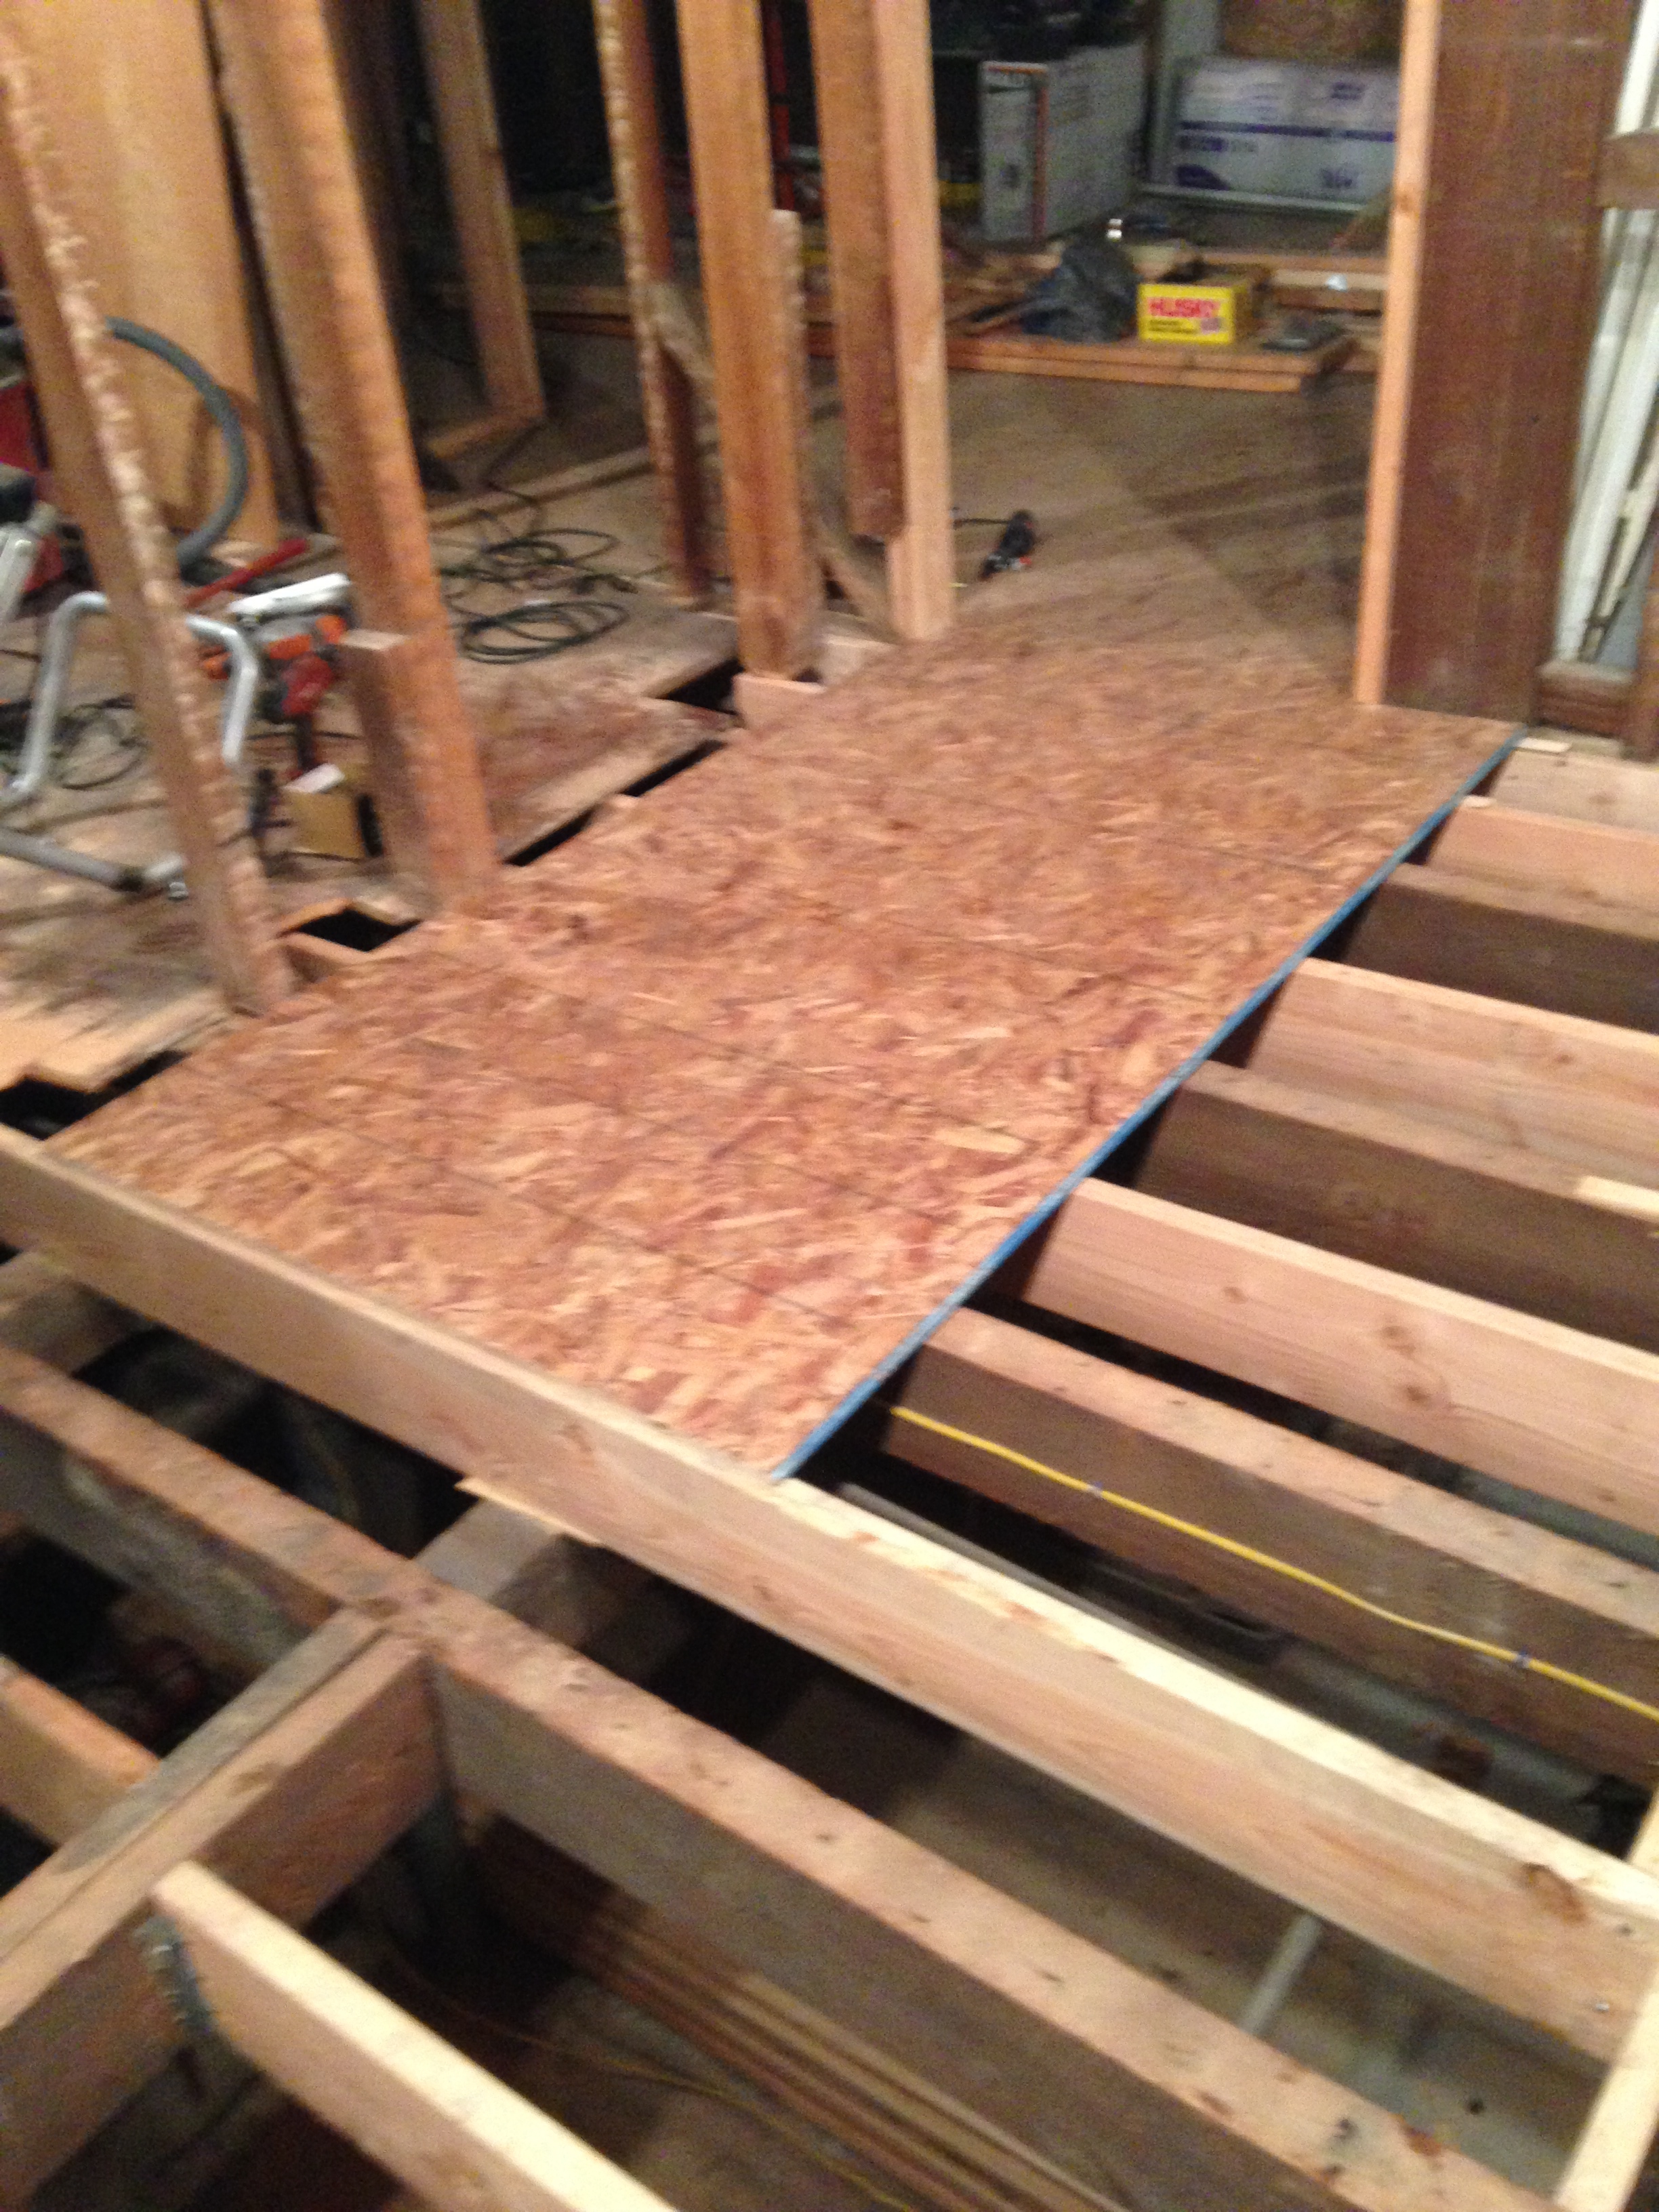
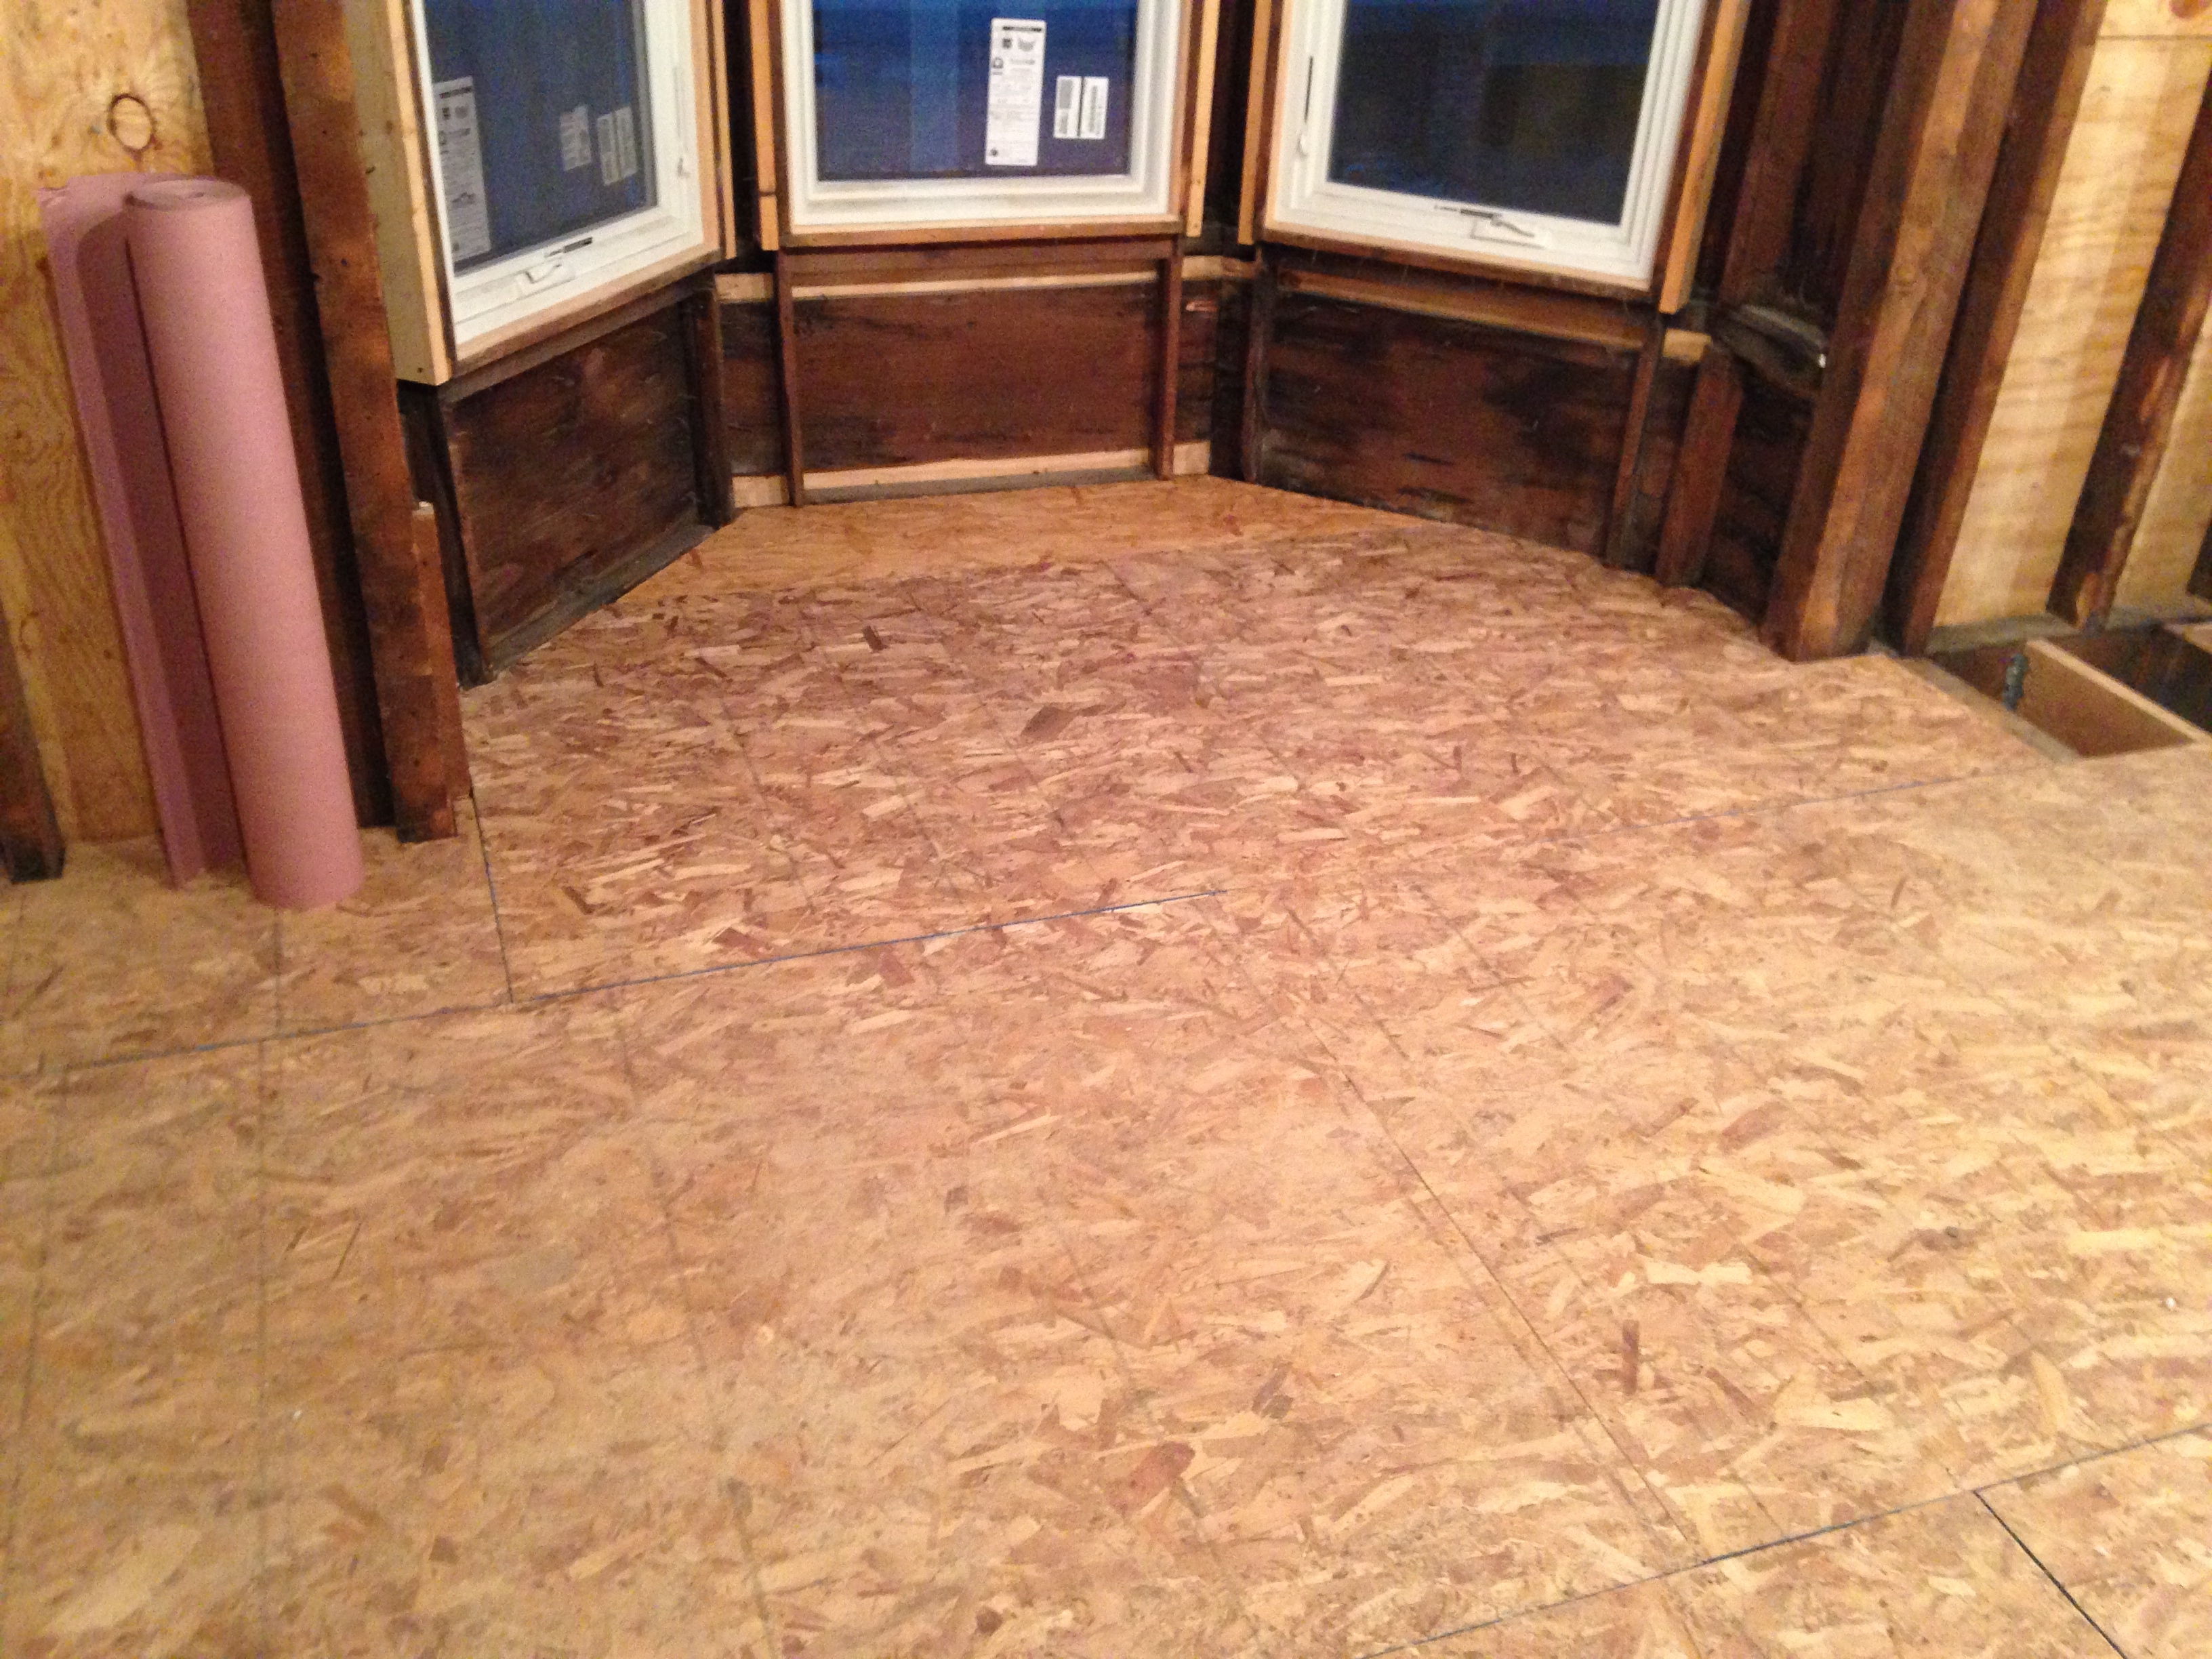
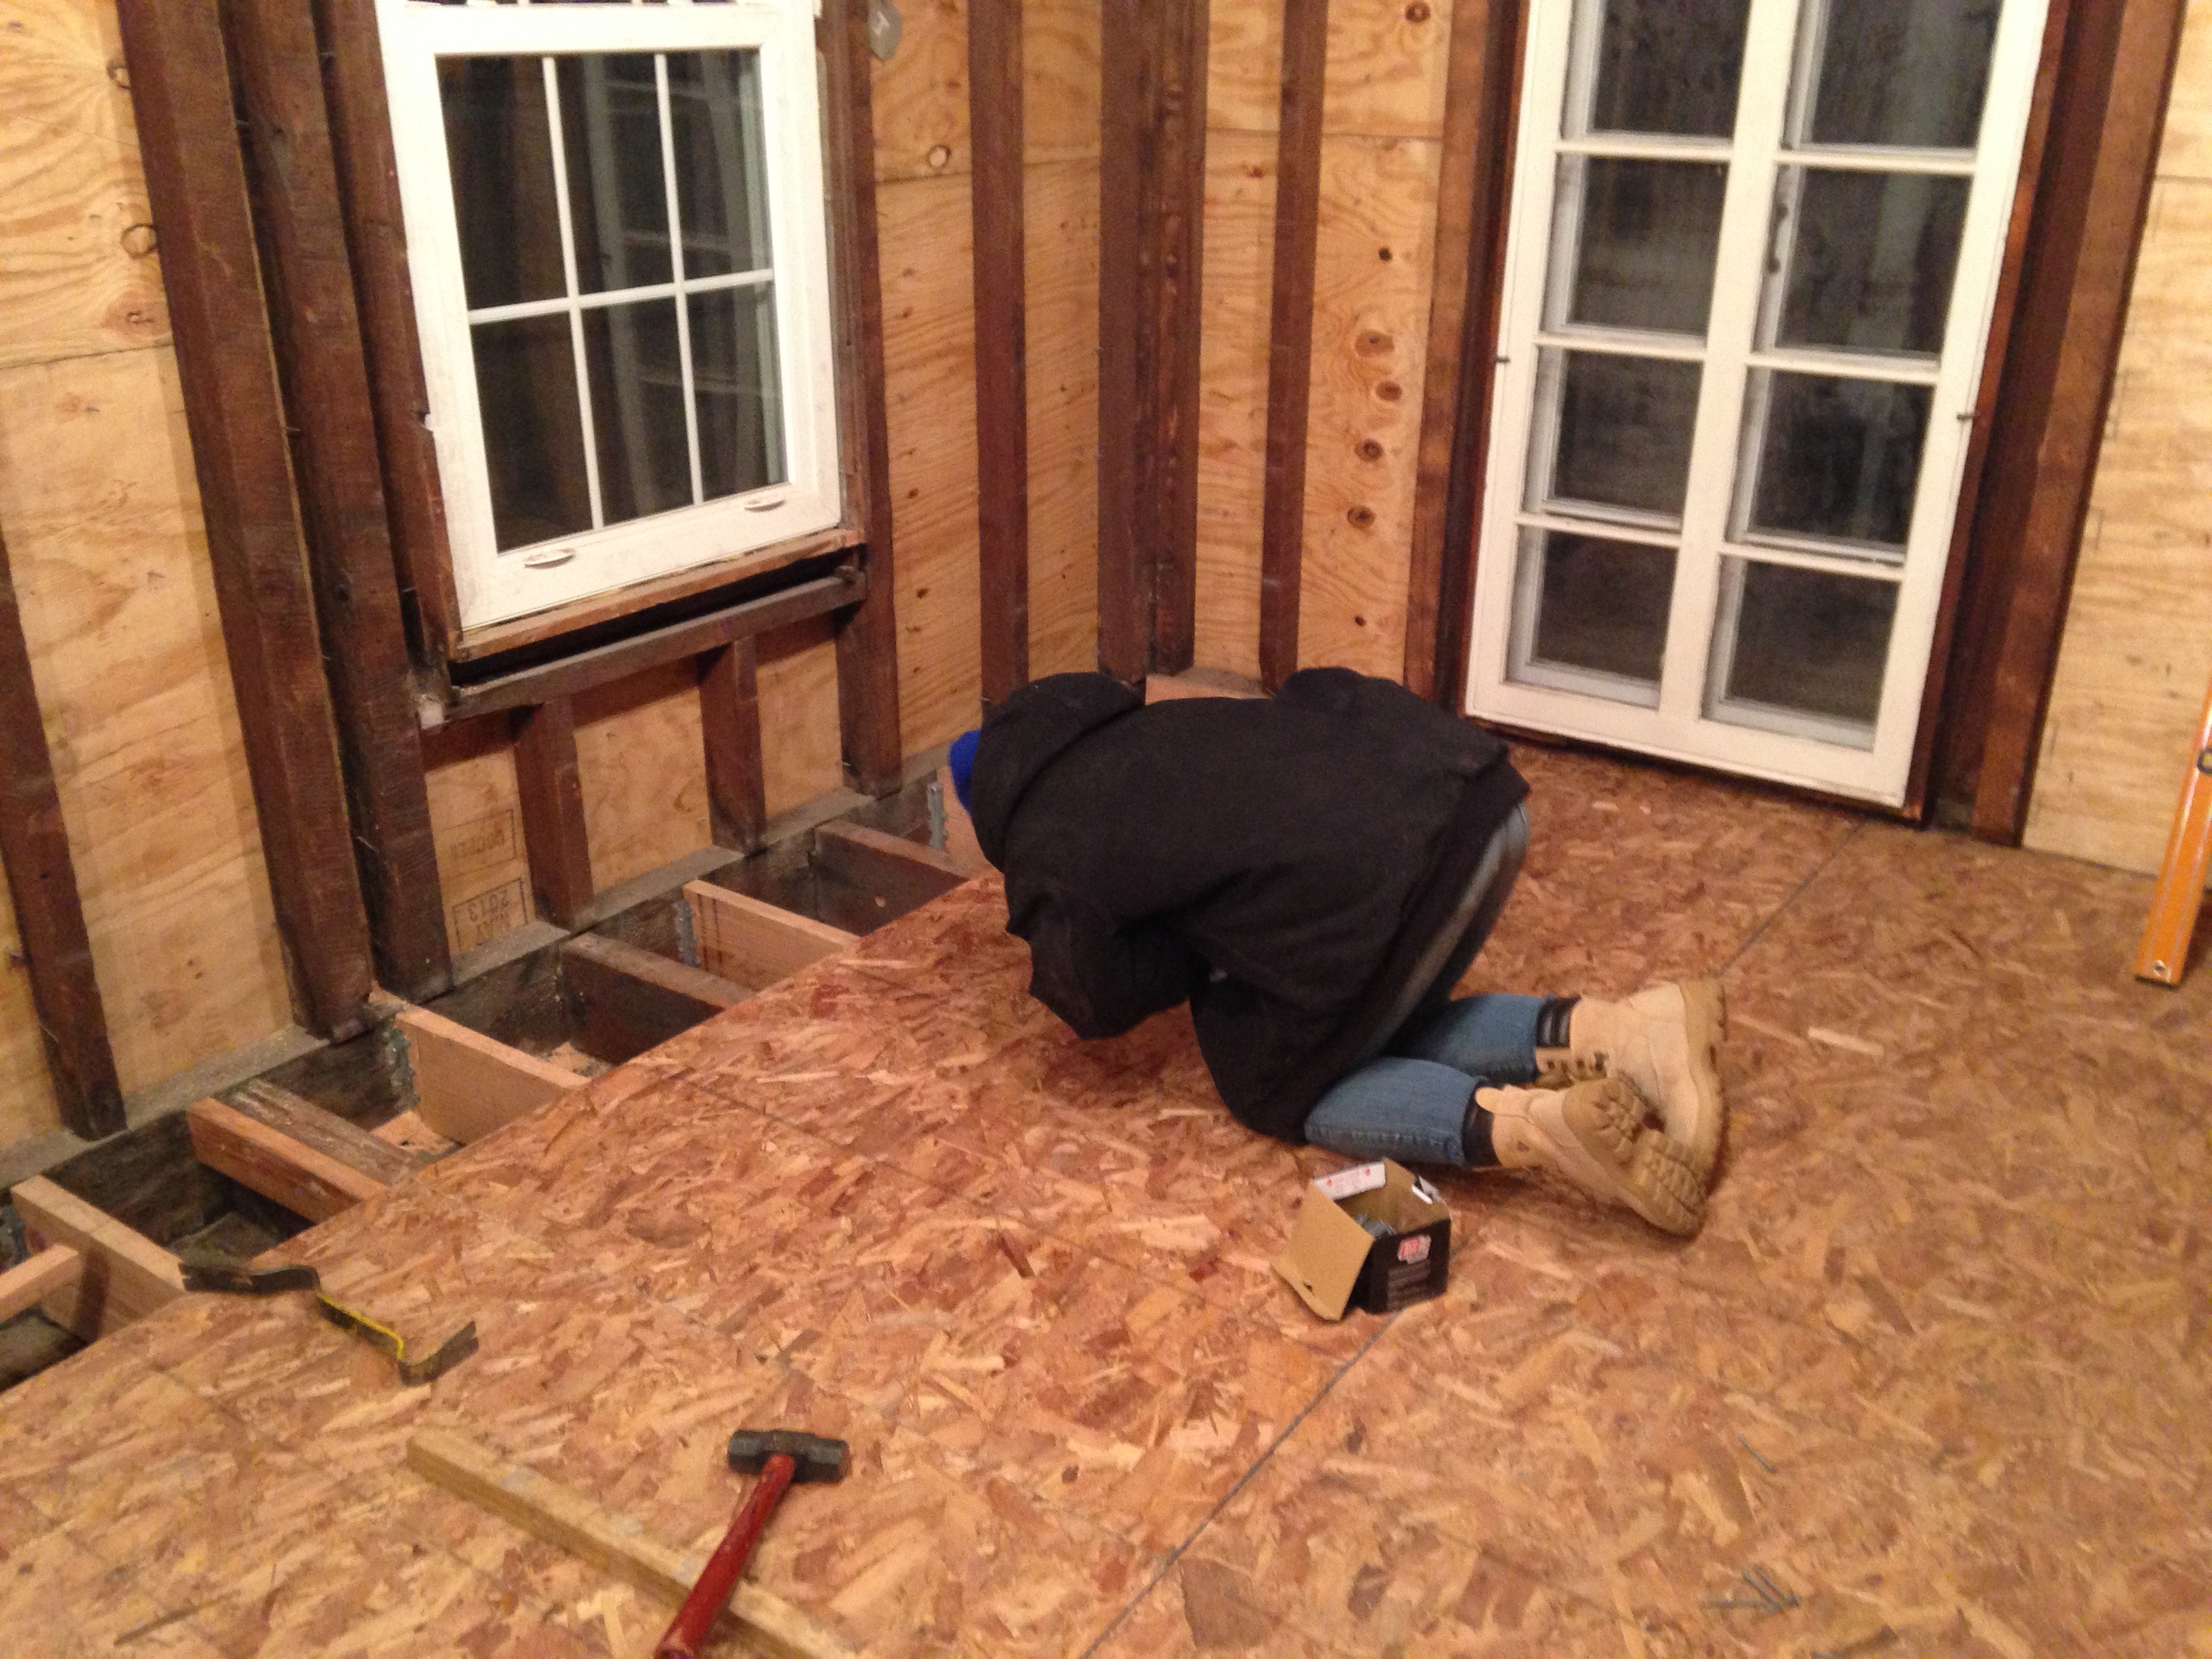
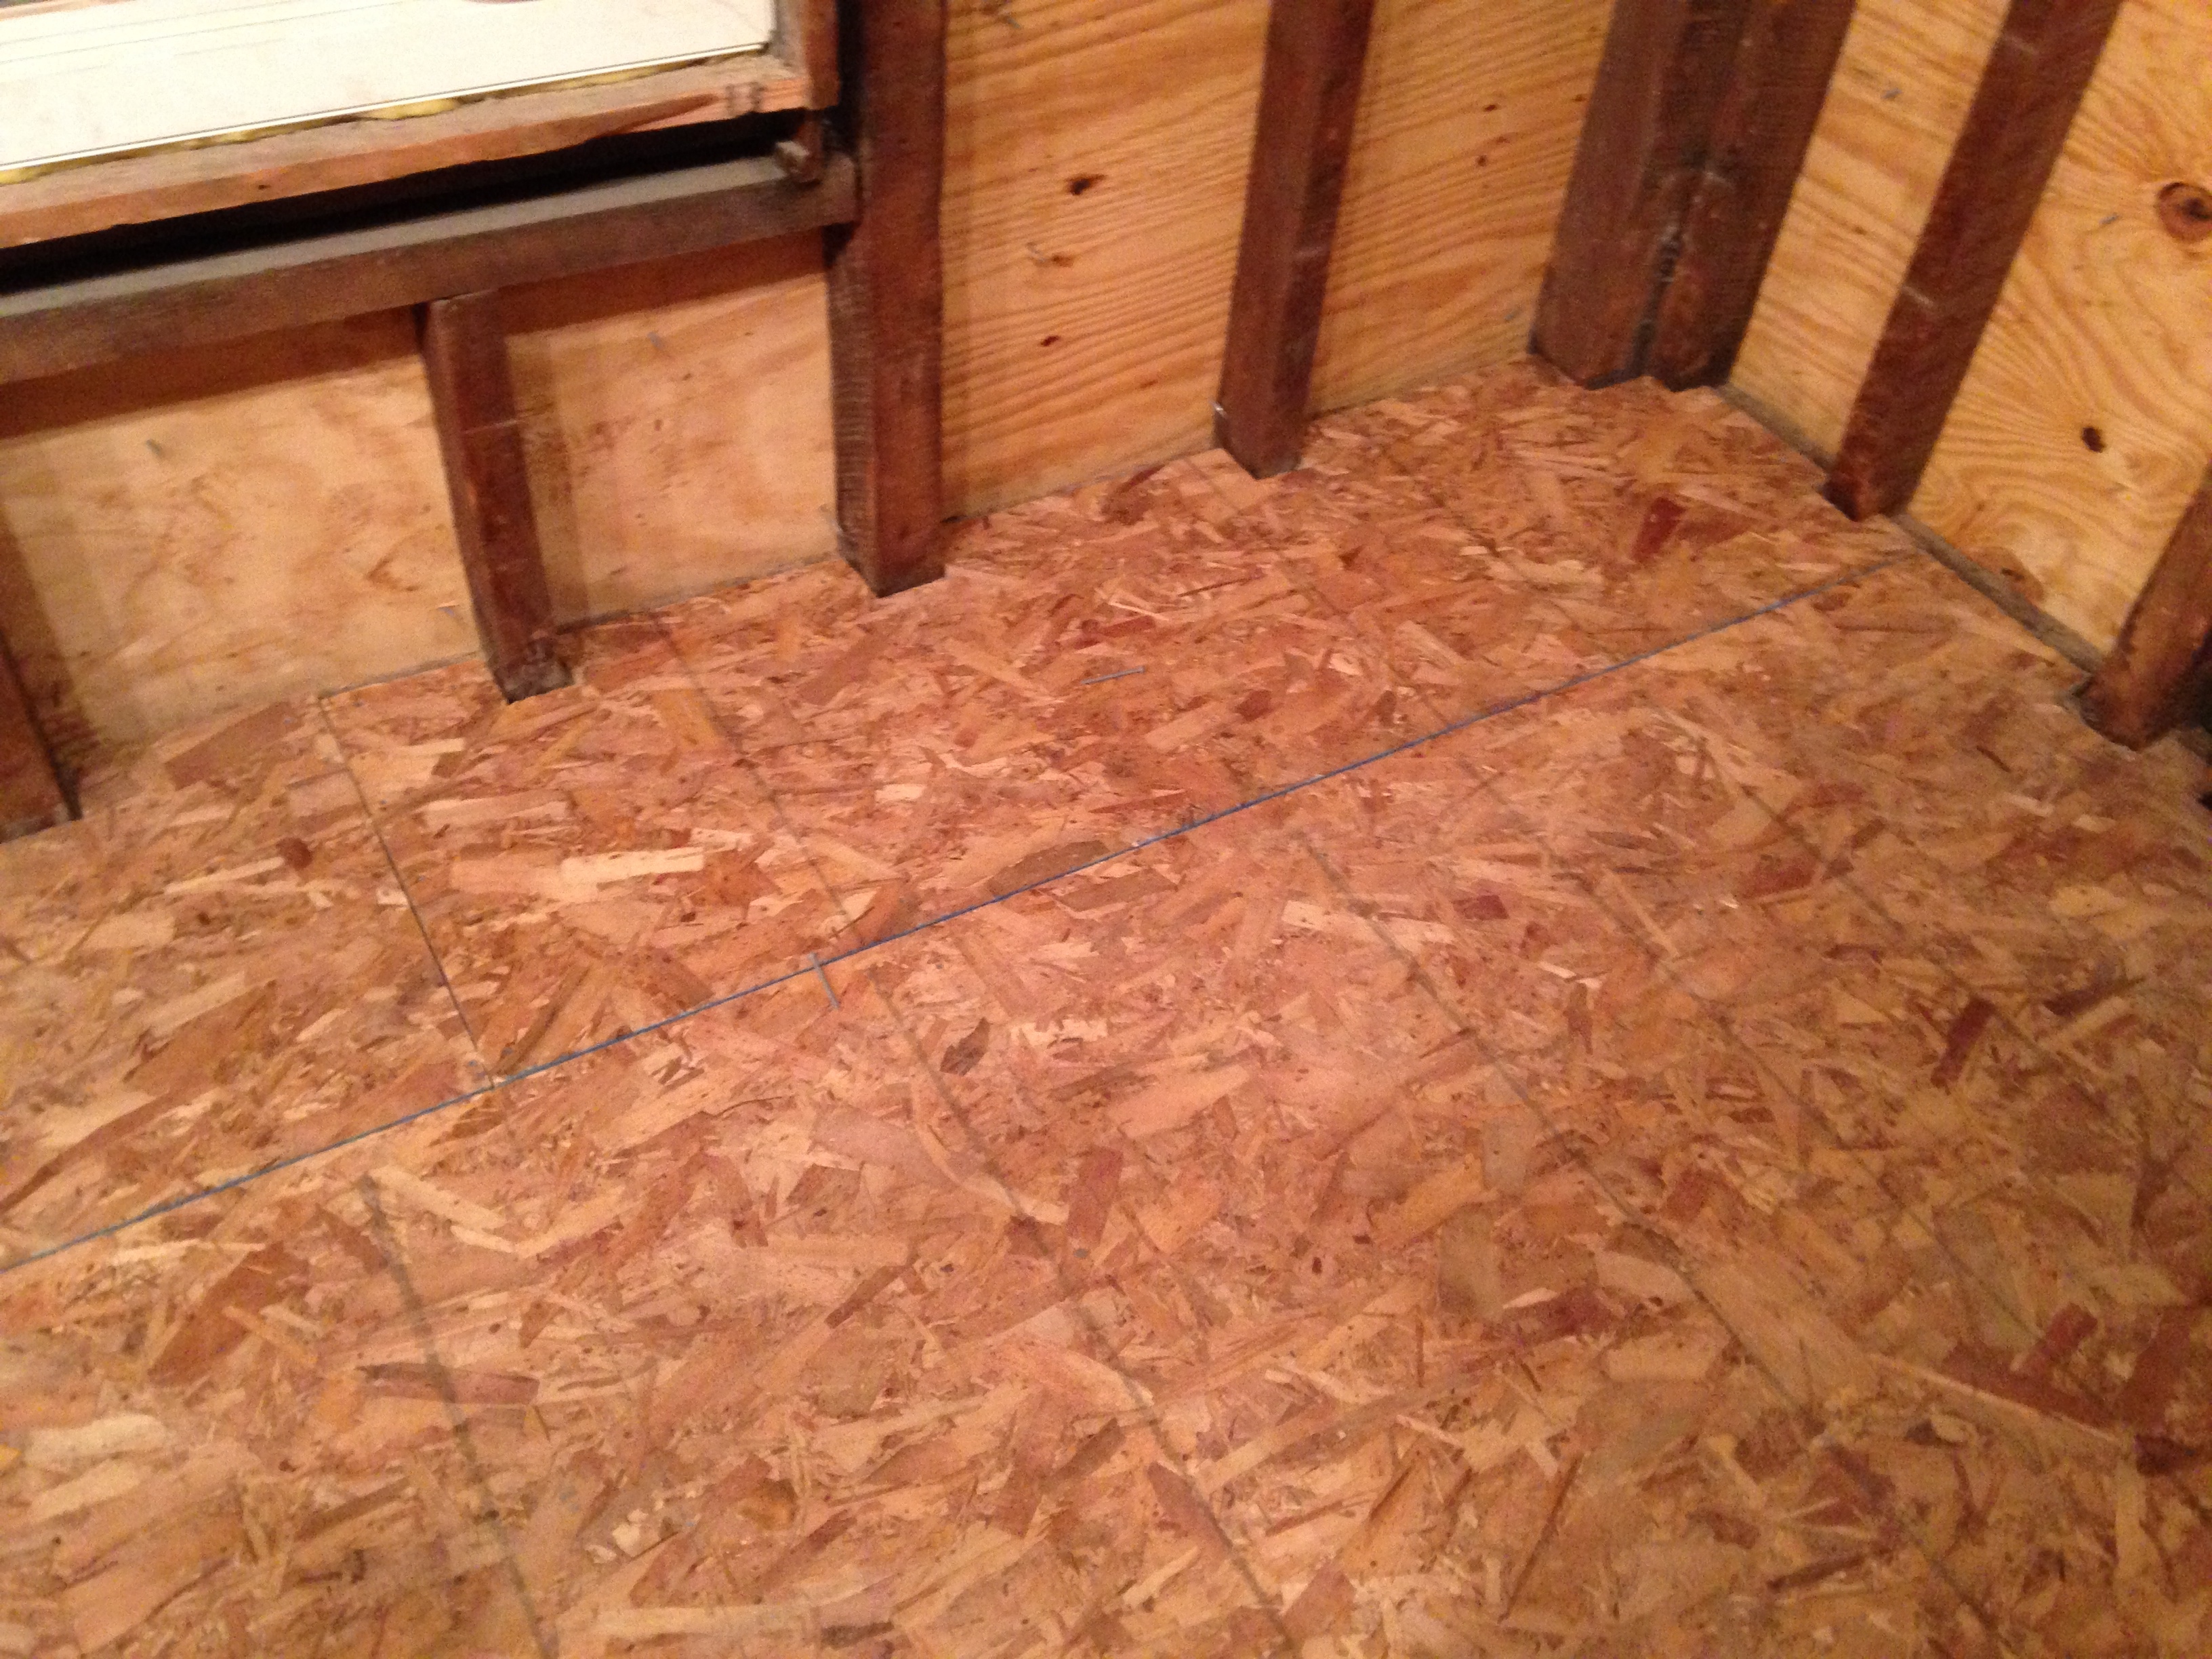
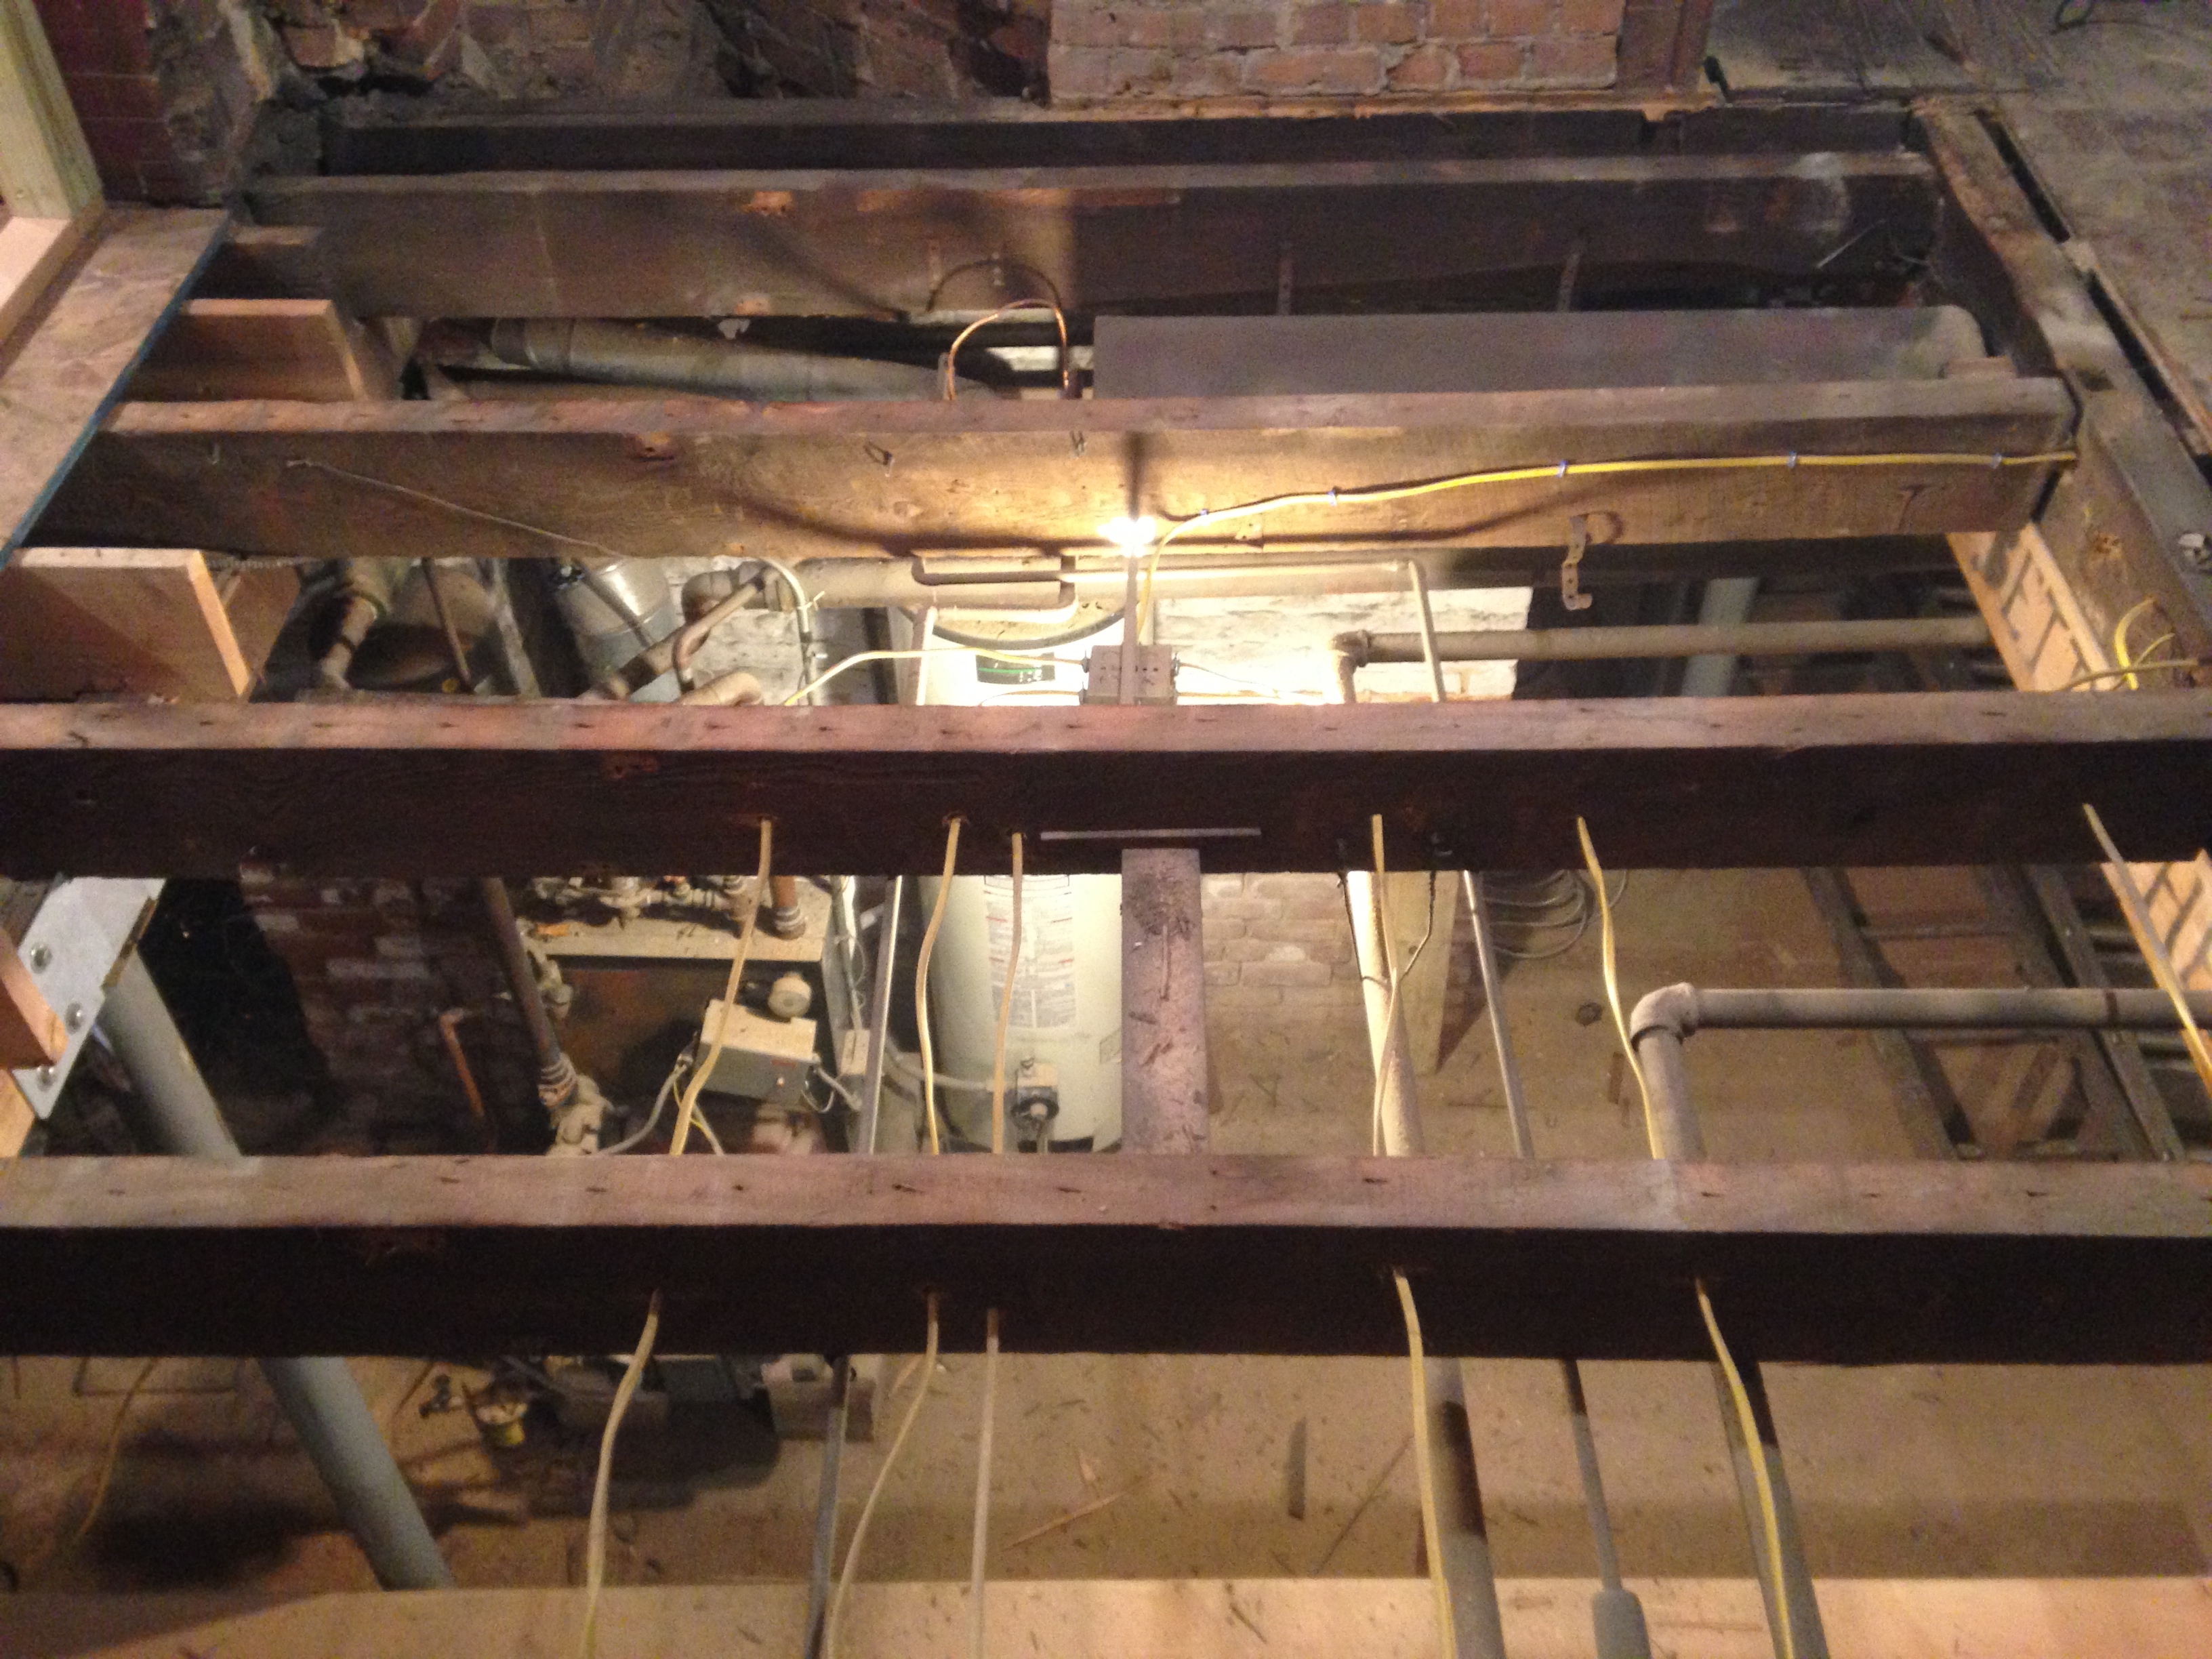
Whew. With that done we added in supports on each joist to ensure nothing could twist. We were then ready to put down the subfloor.


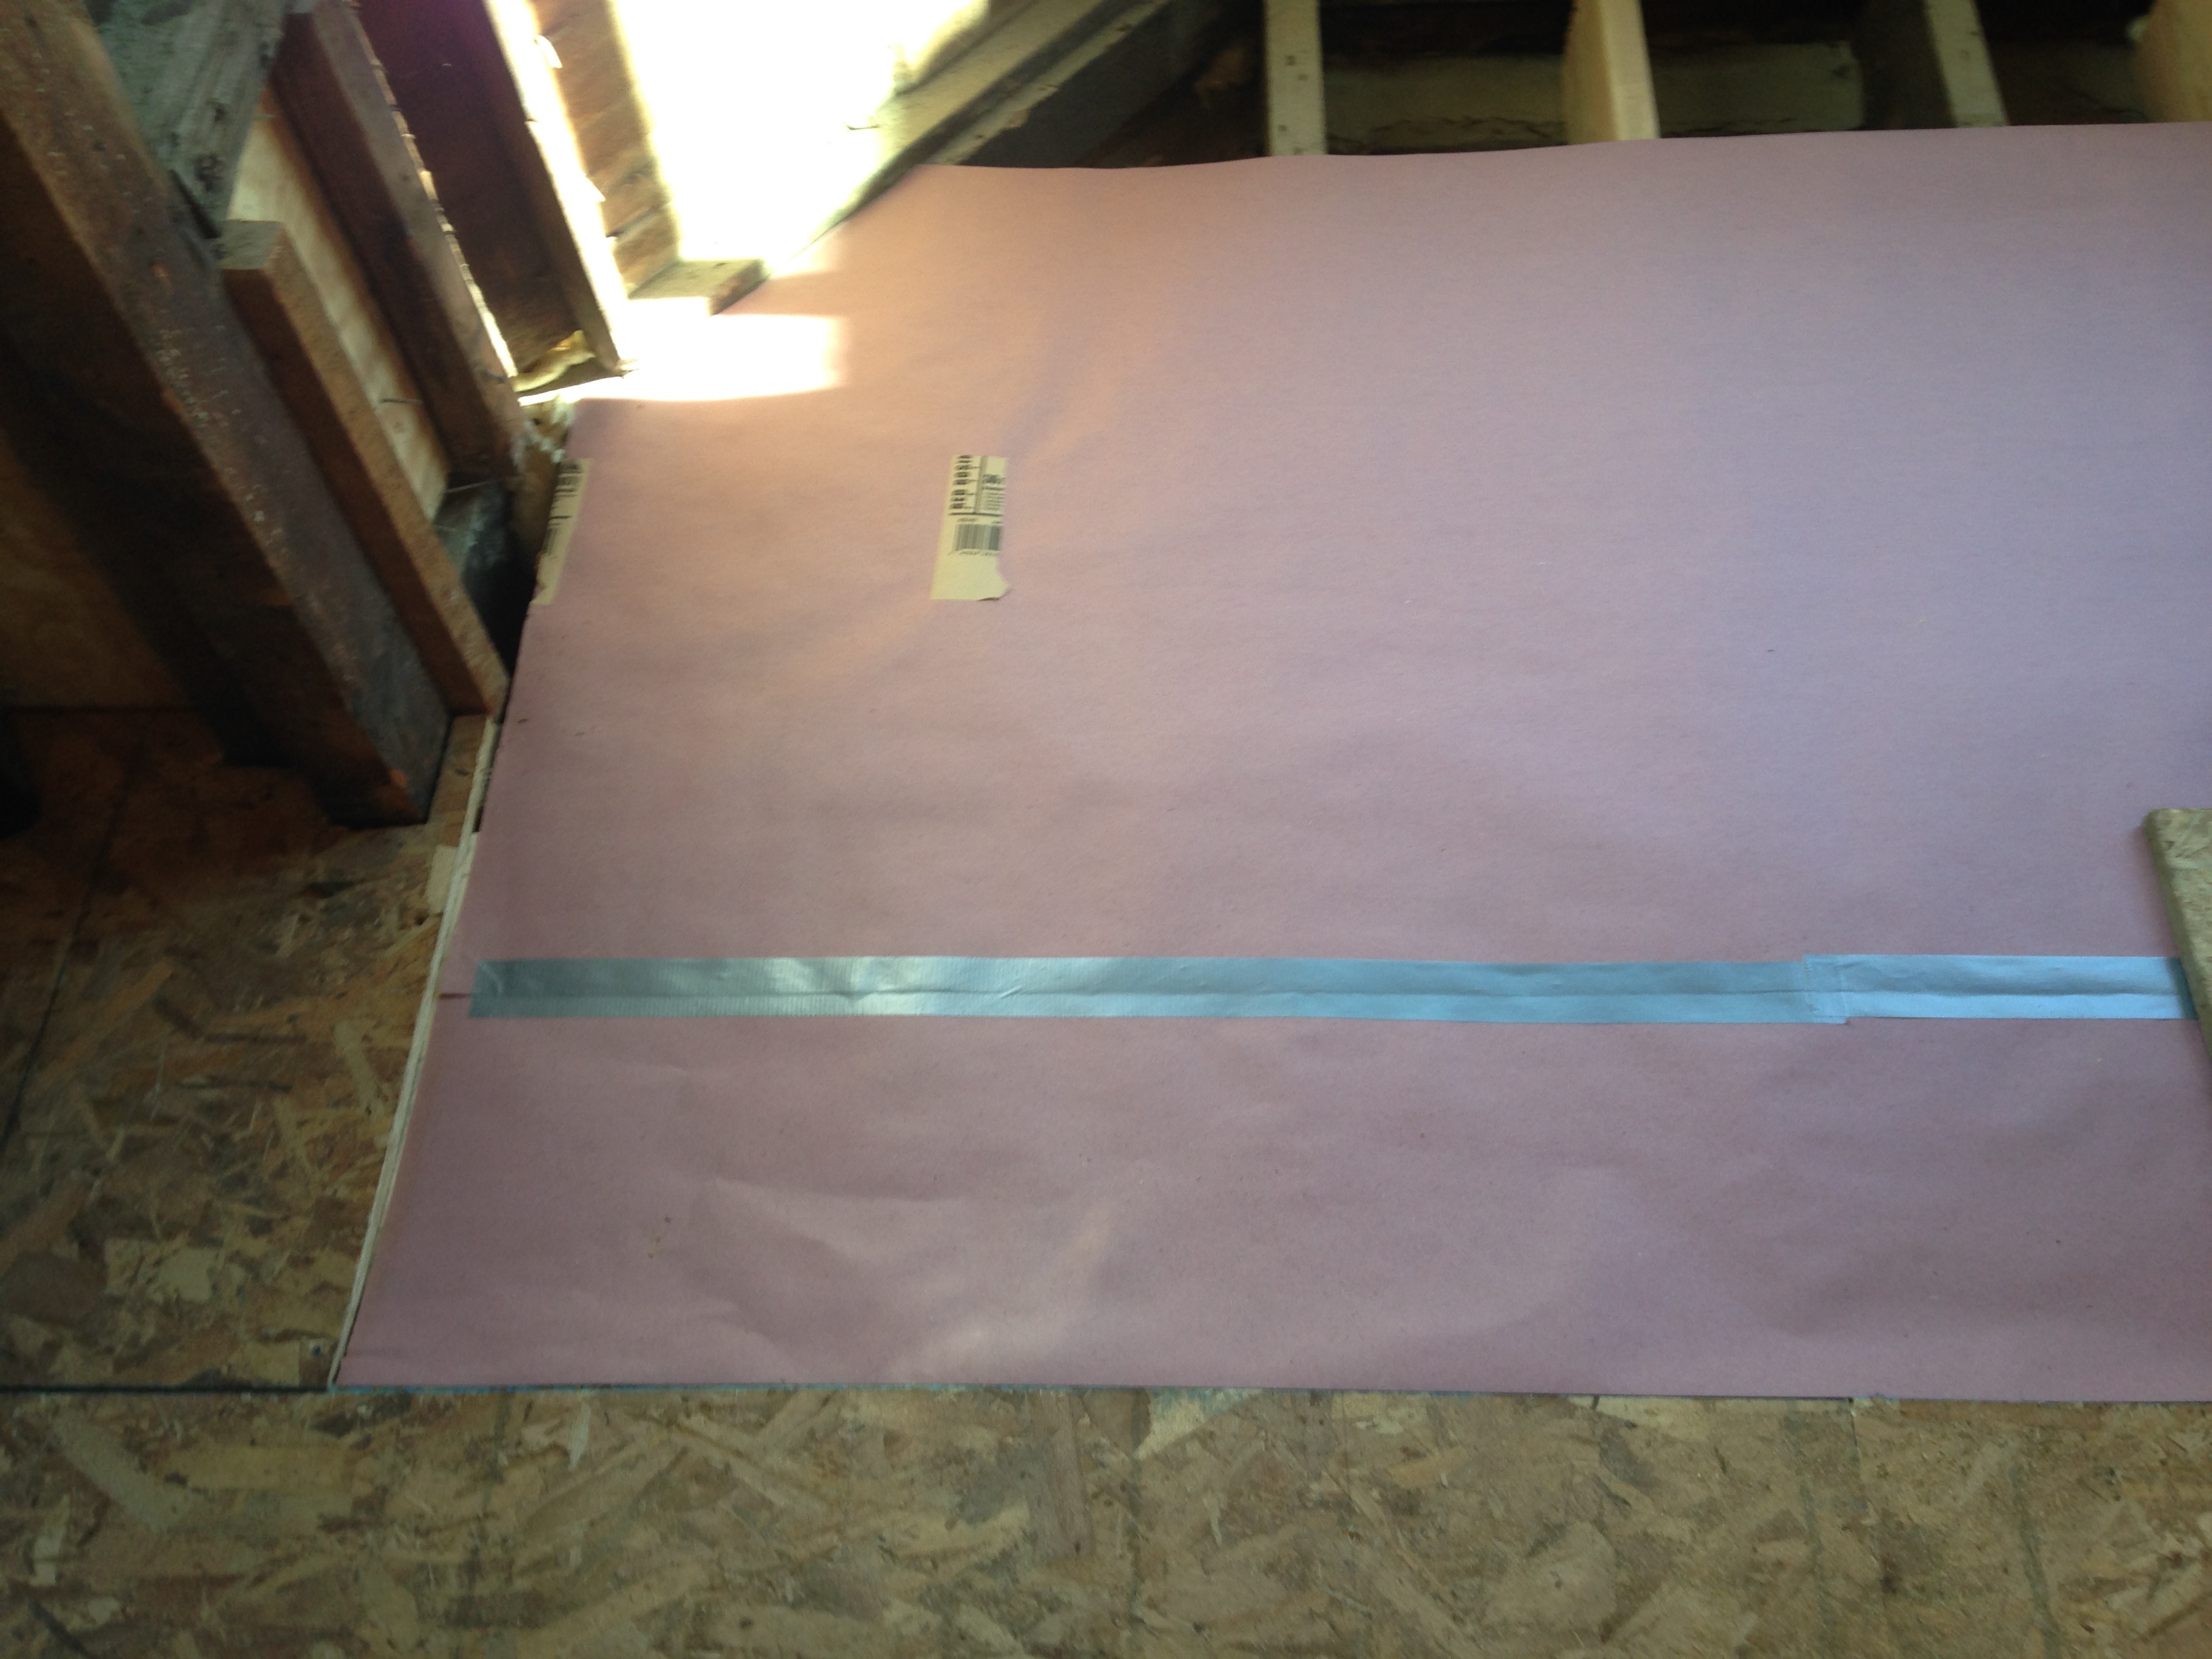
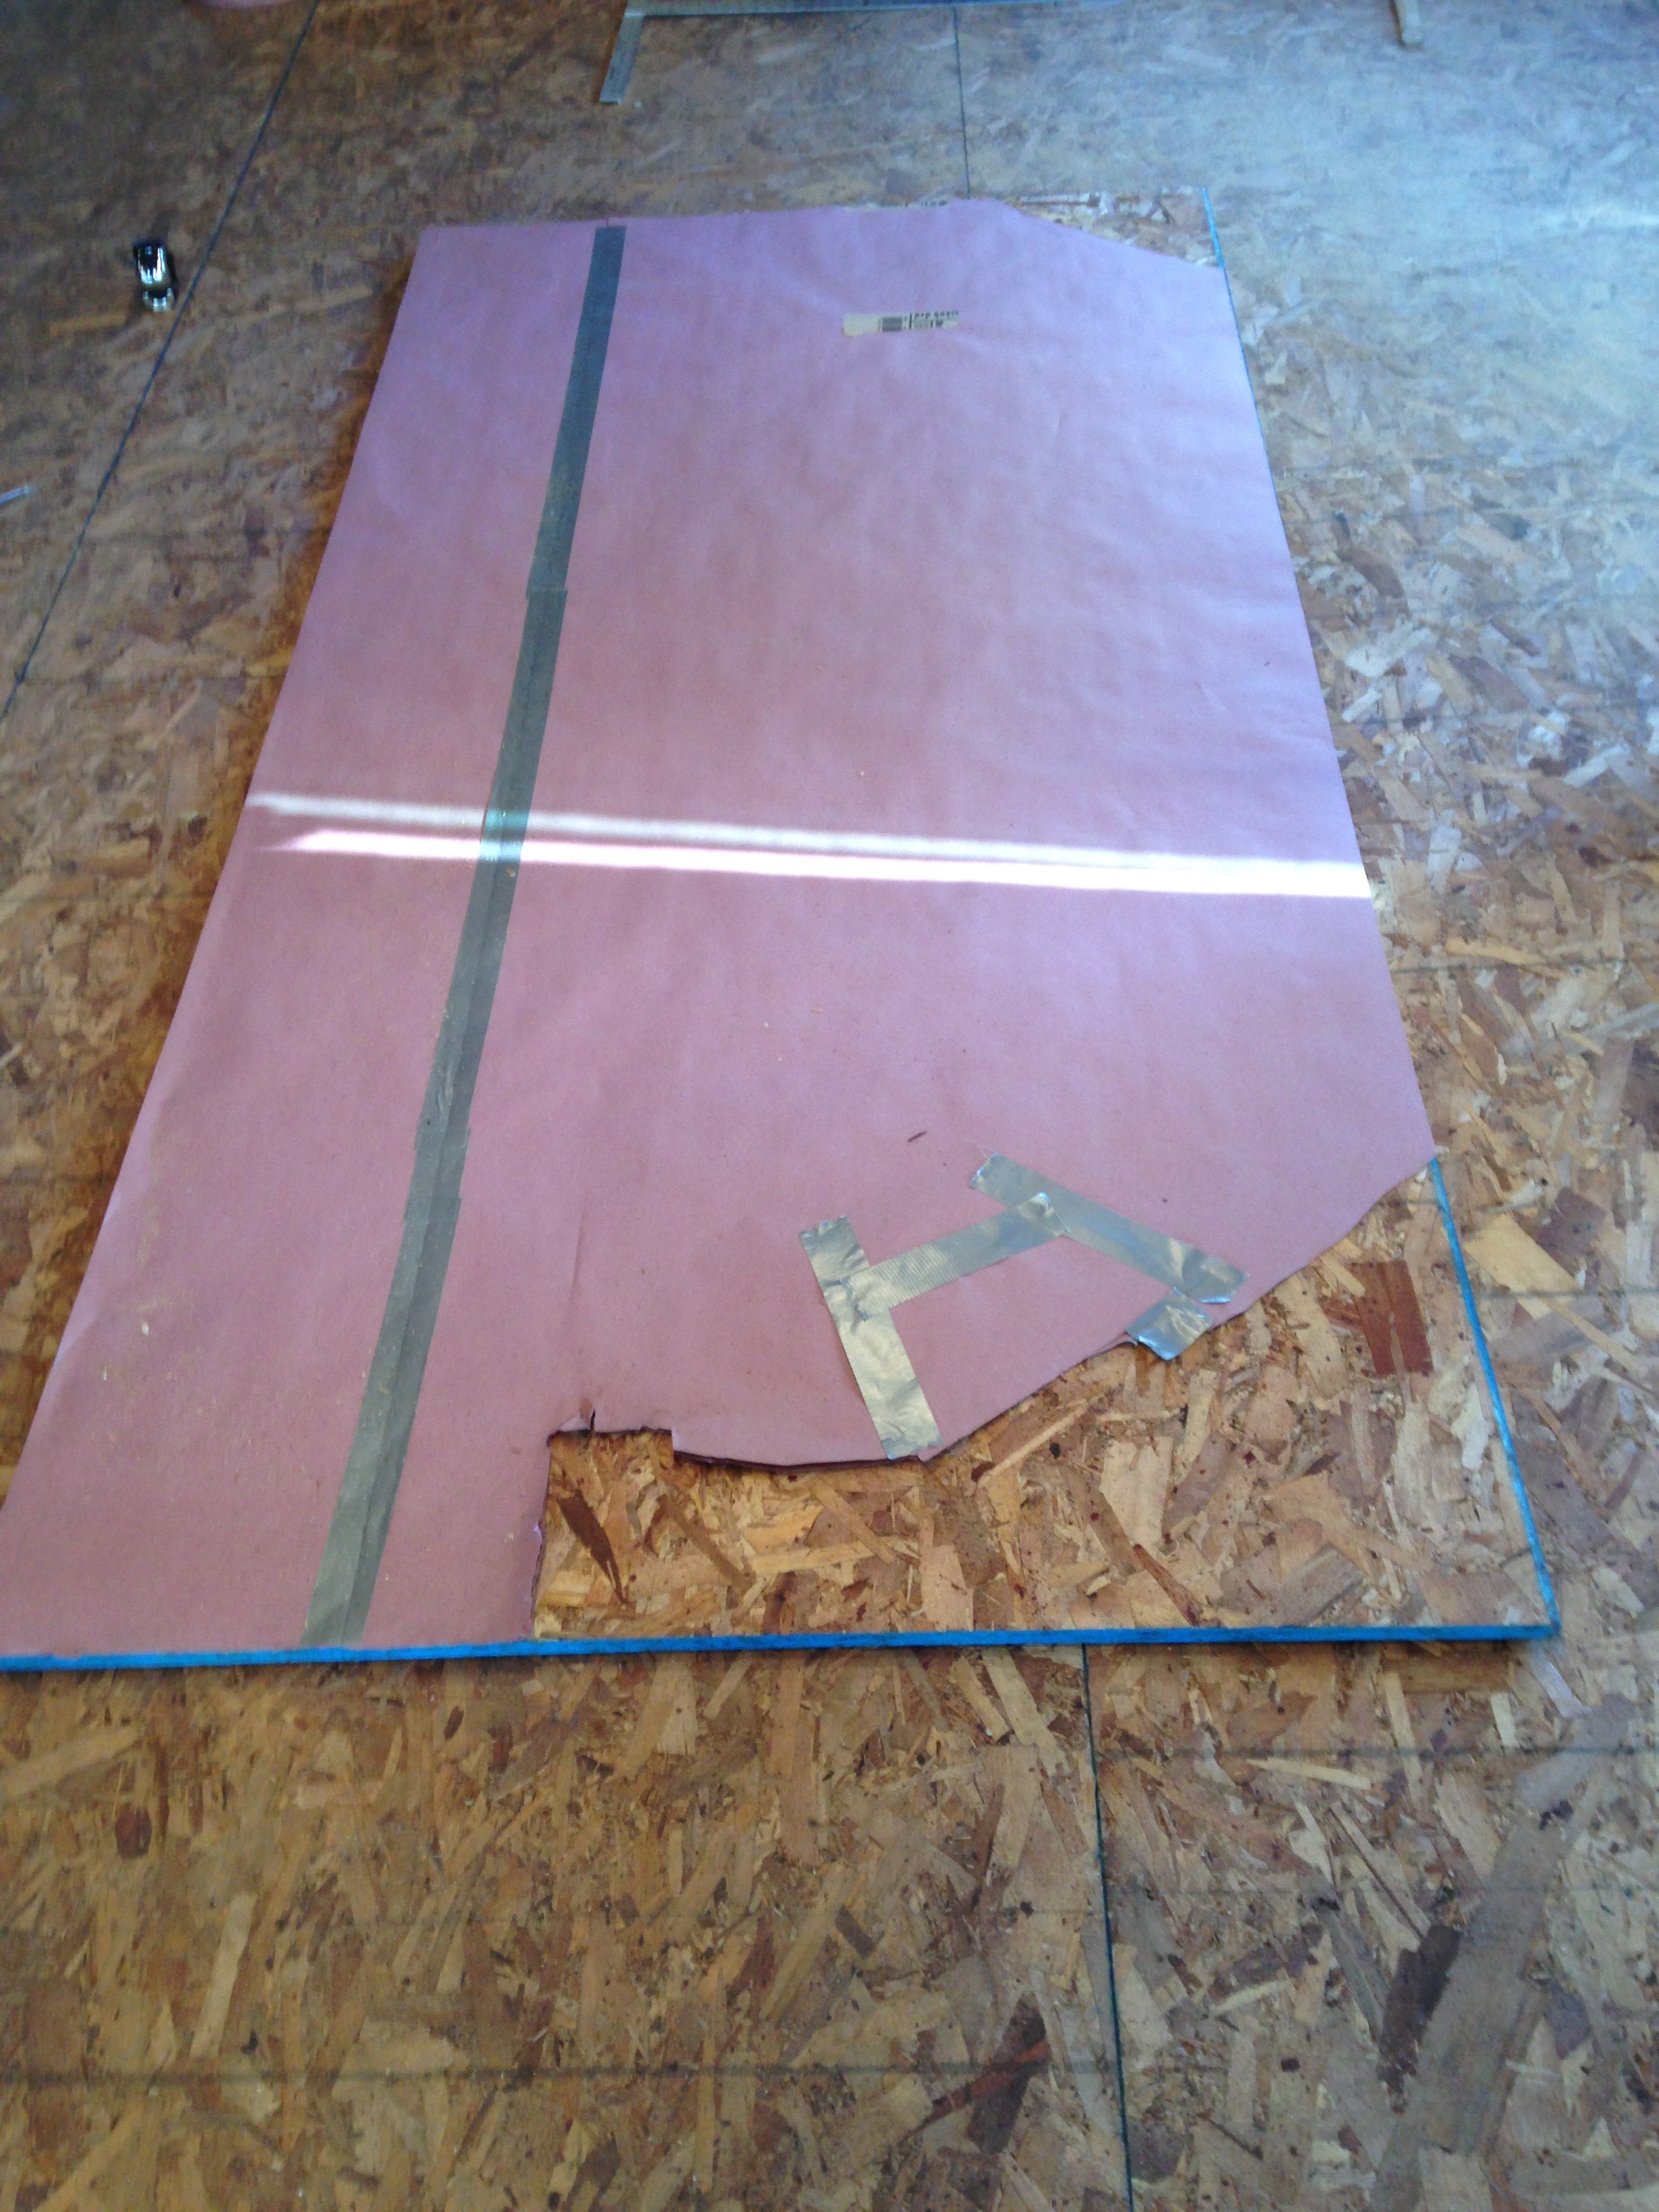
The bay window required some fancy cutting. My dad had the great idea to get some paper to make a template to use. It worked!


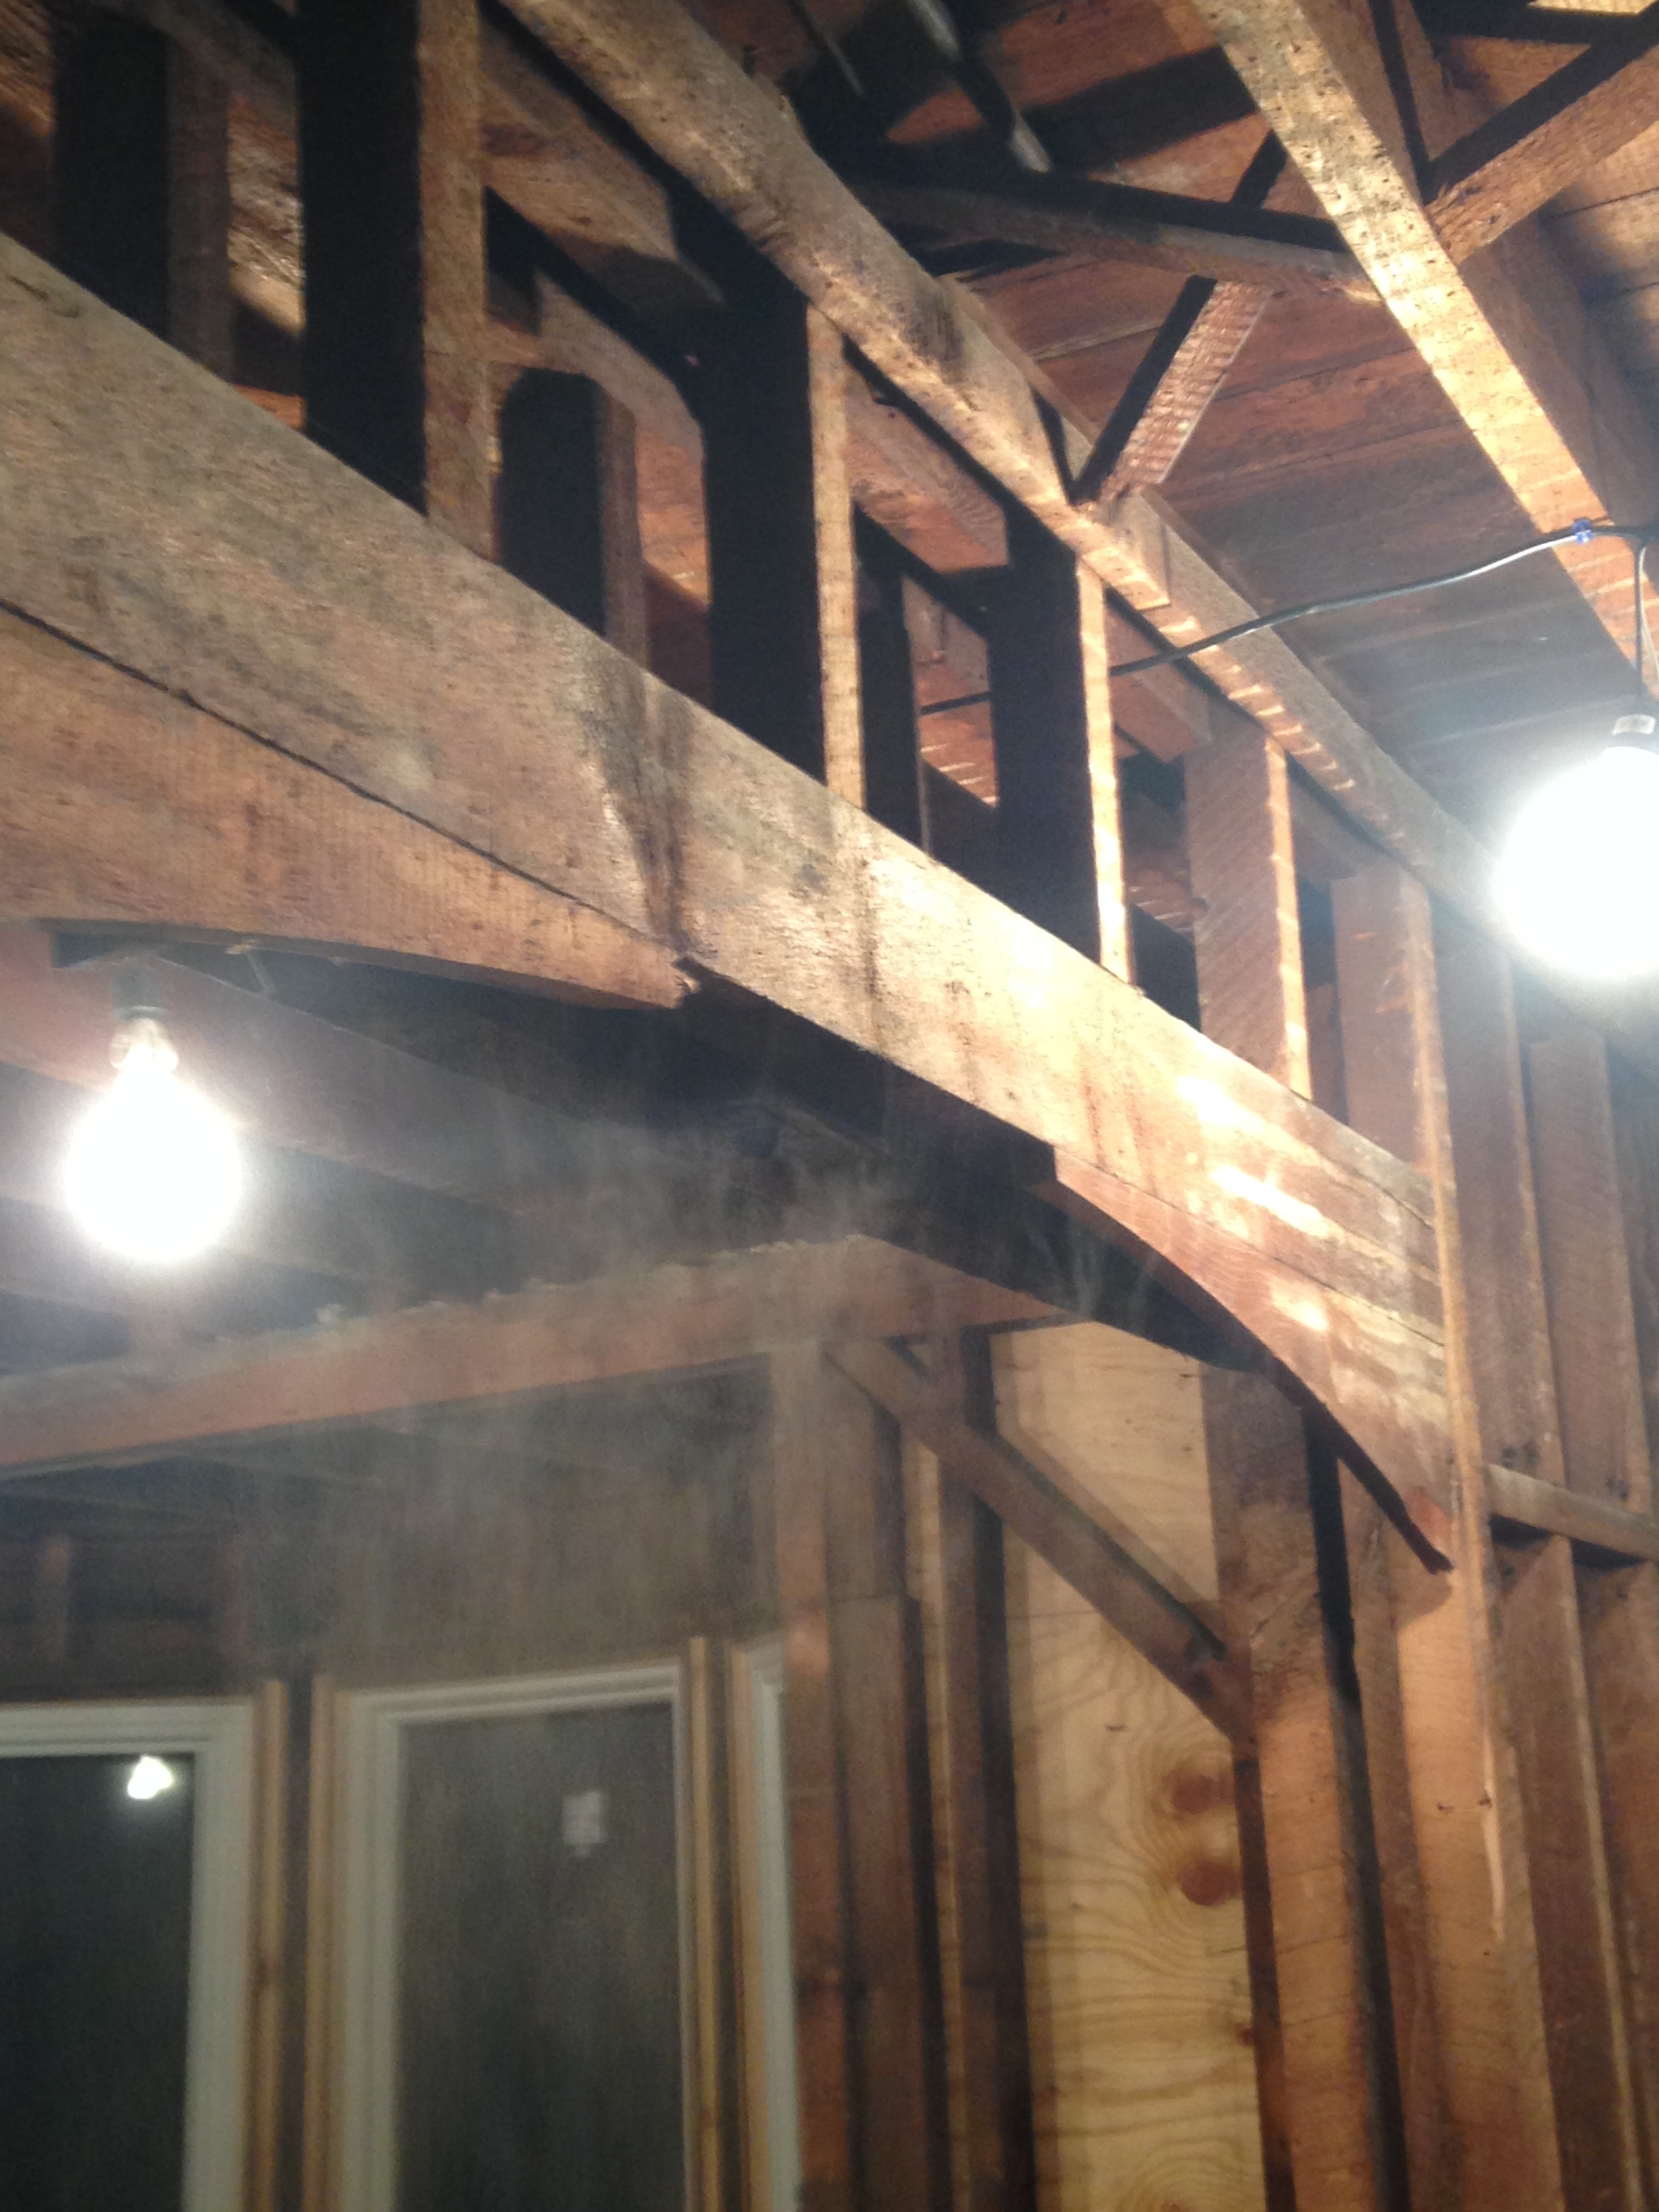
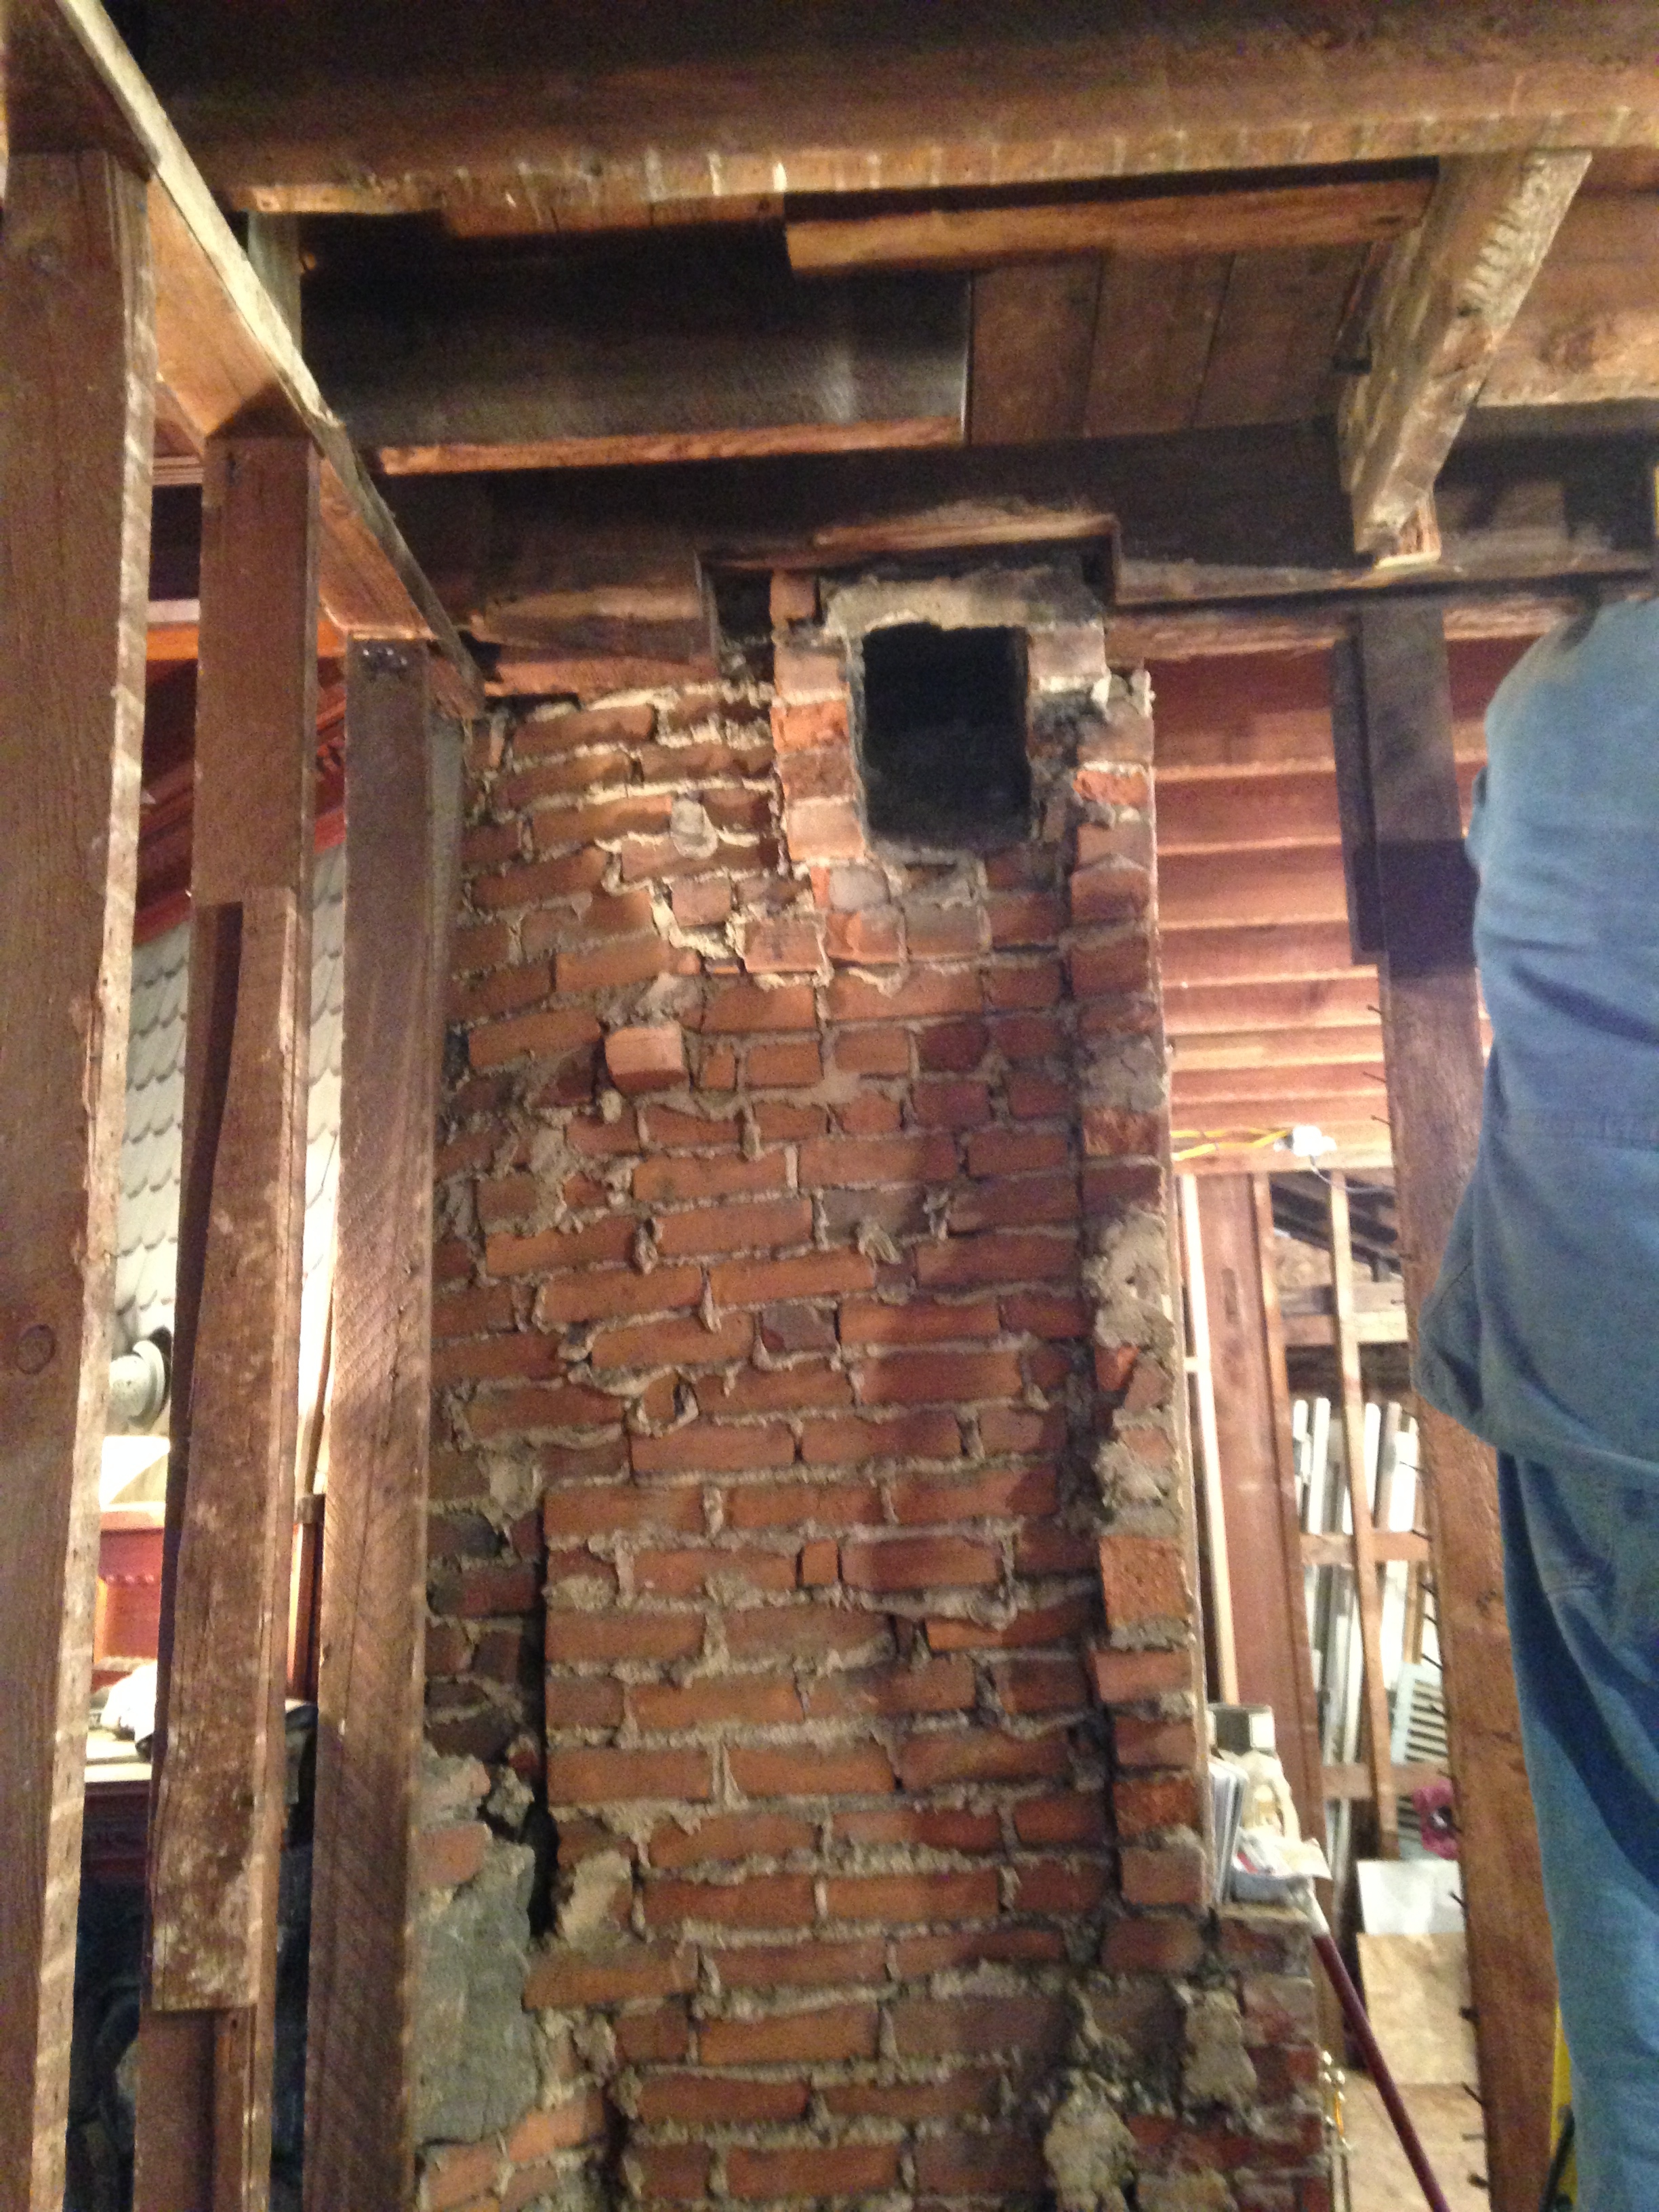
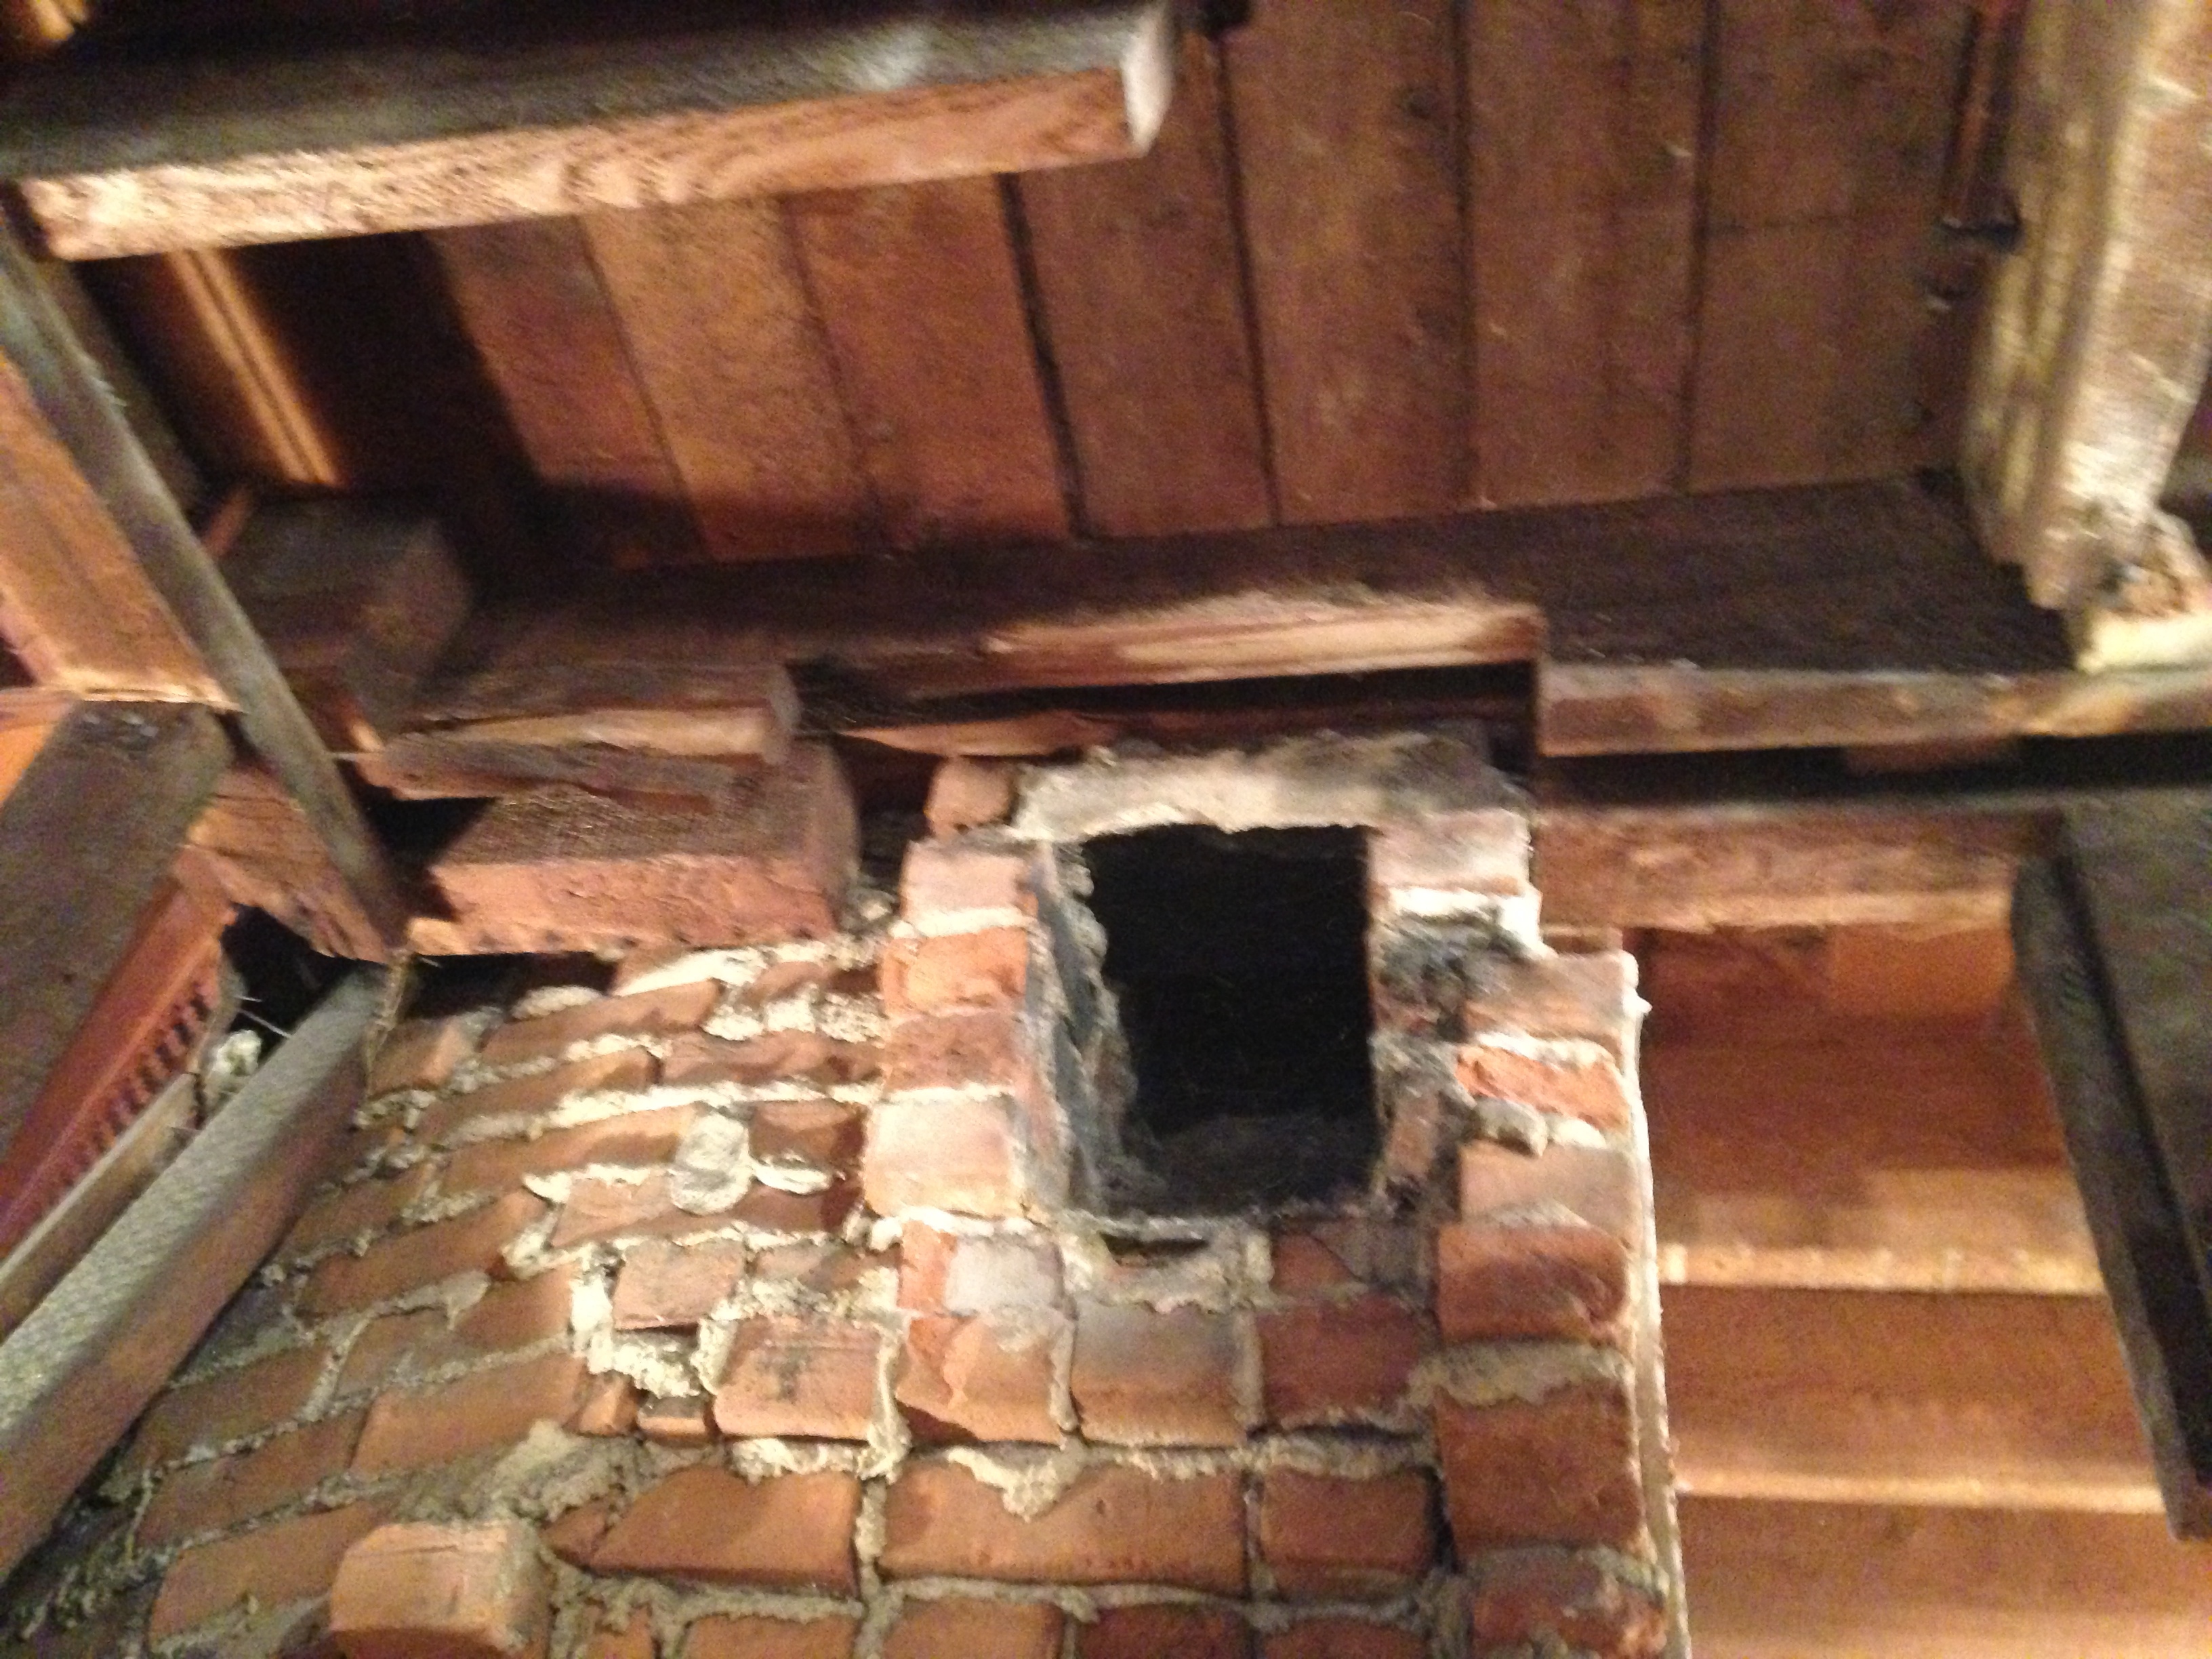
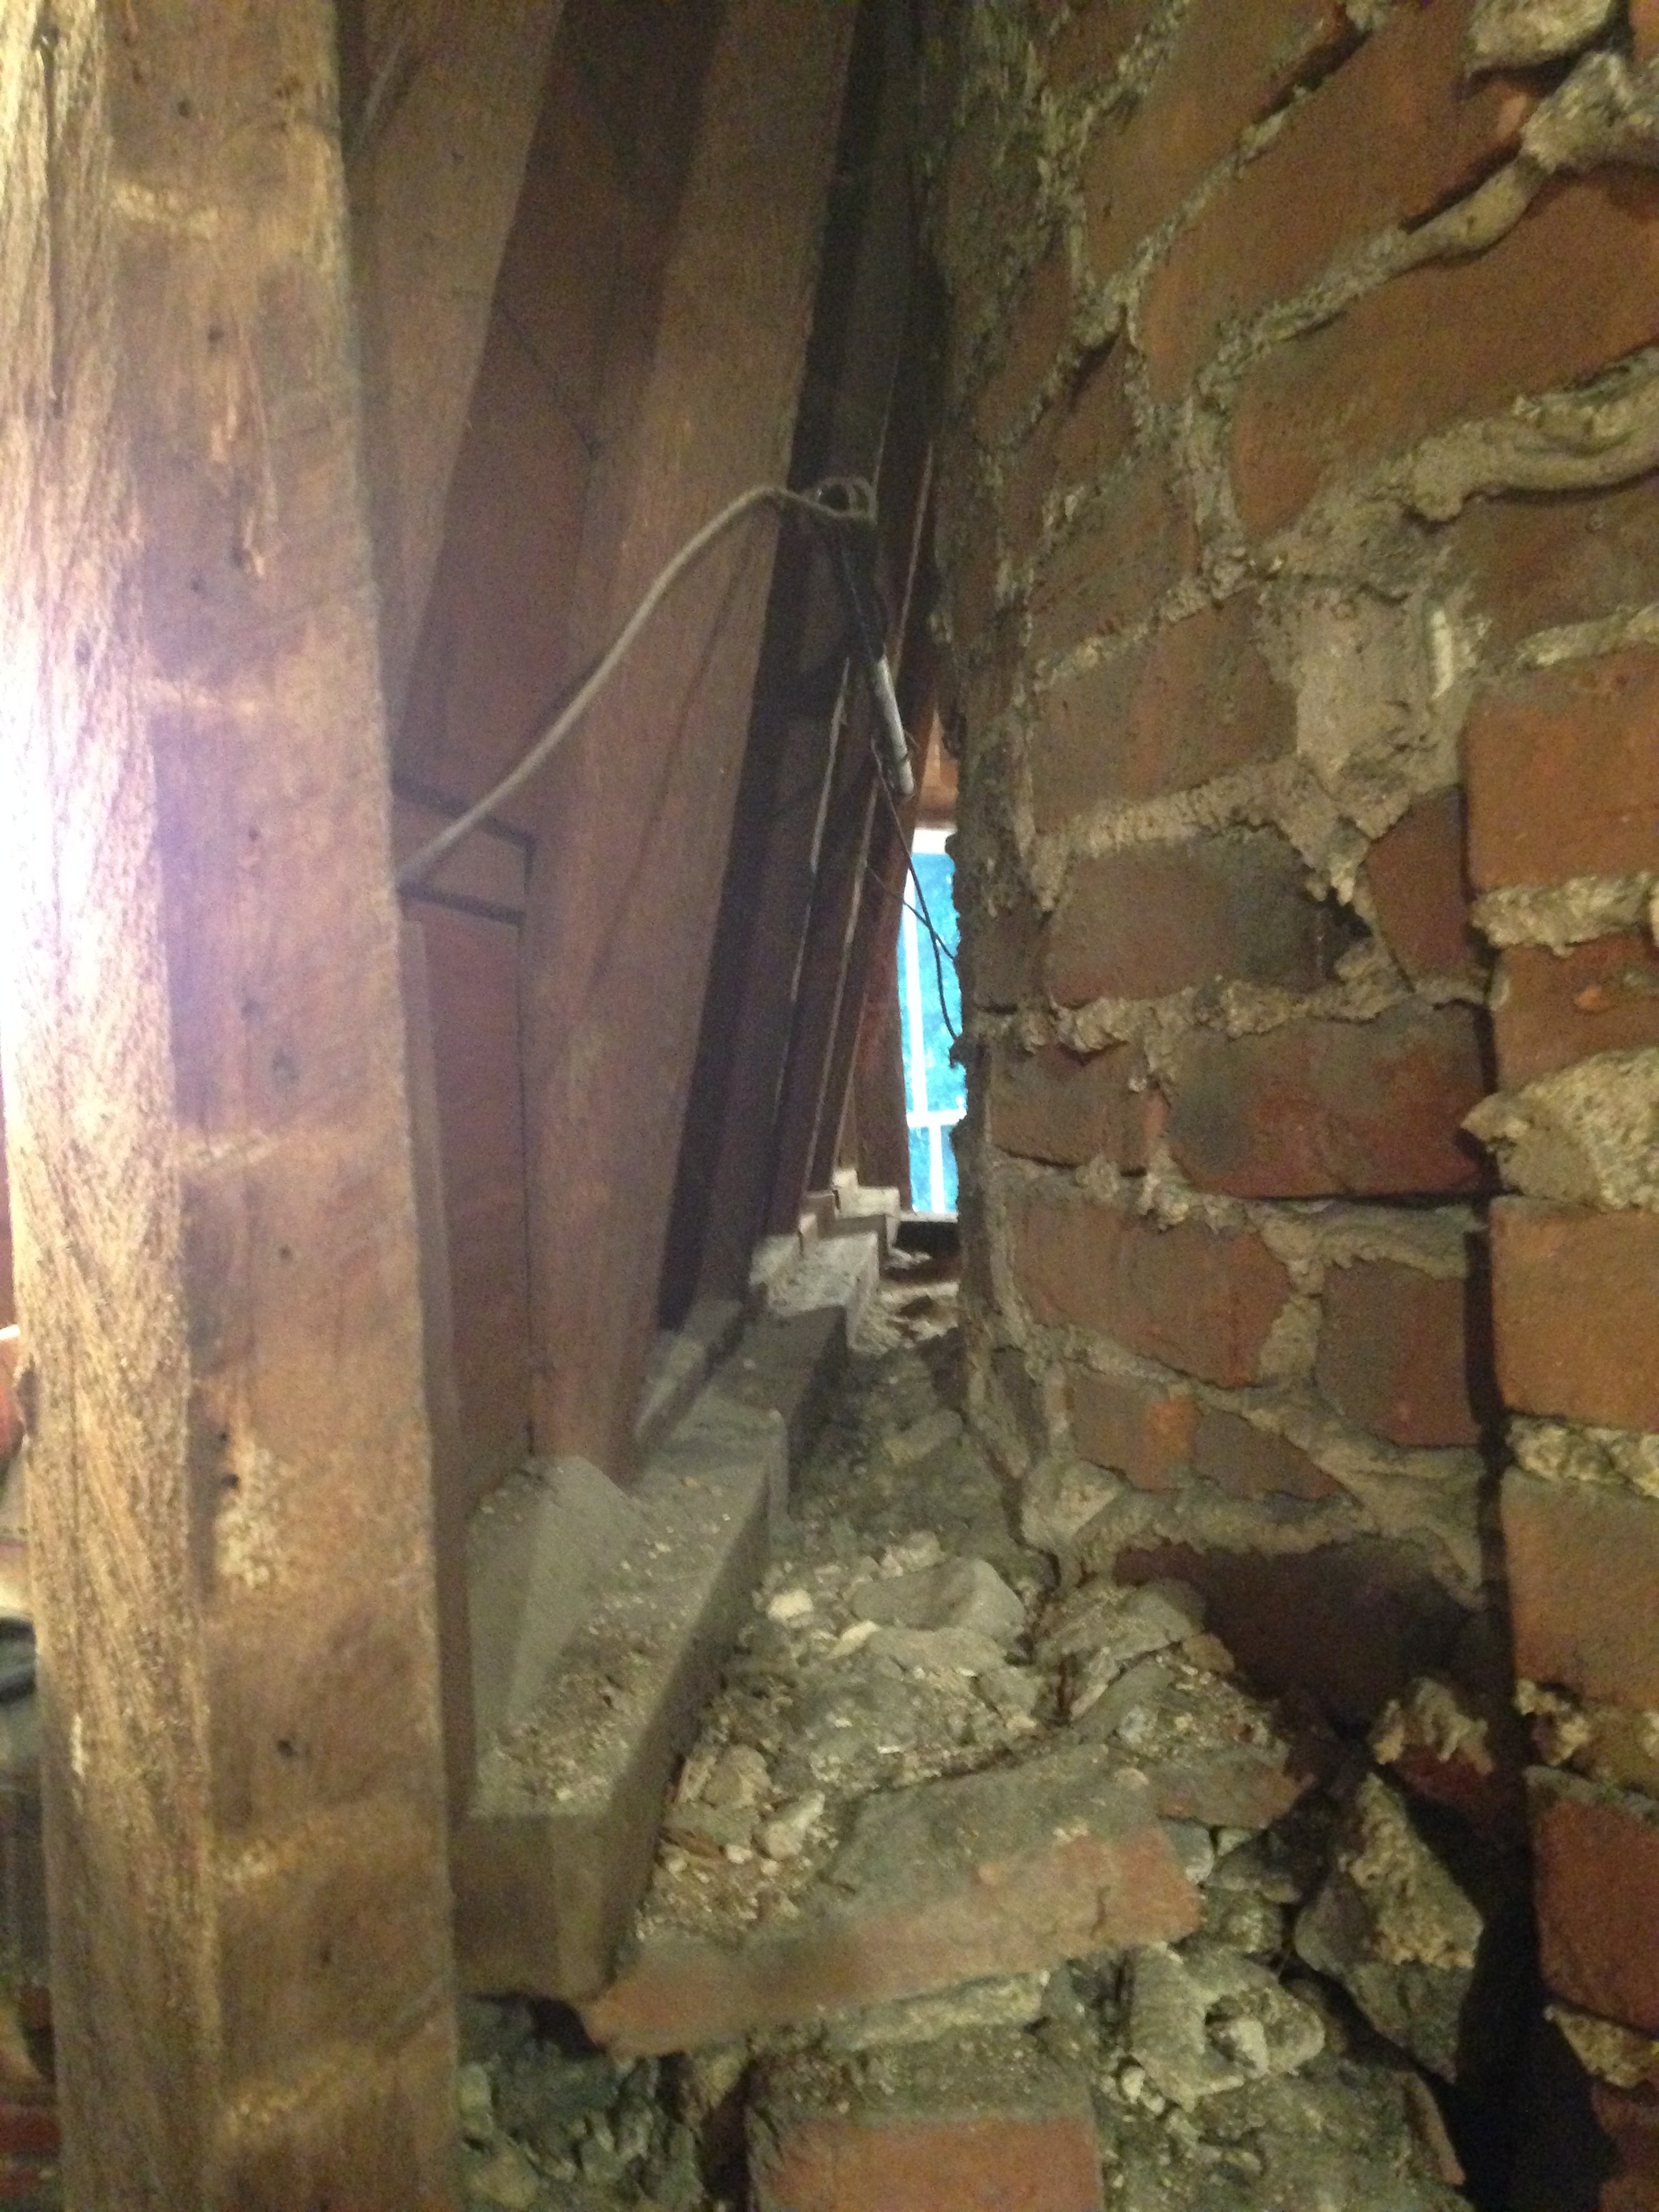
Grinding down this chimney to make it flush was a freaking dust apocalypse, haha.

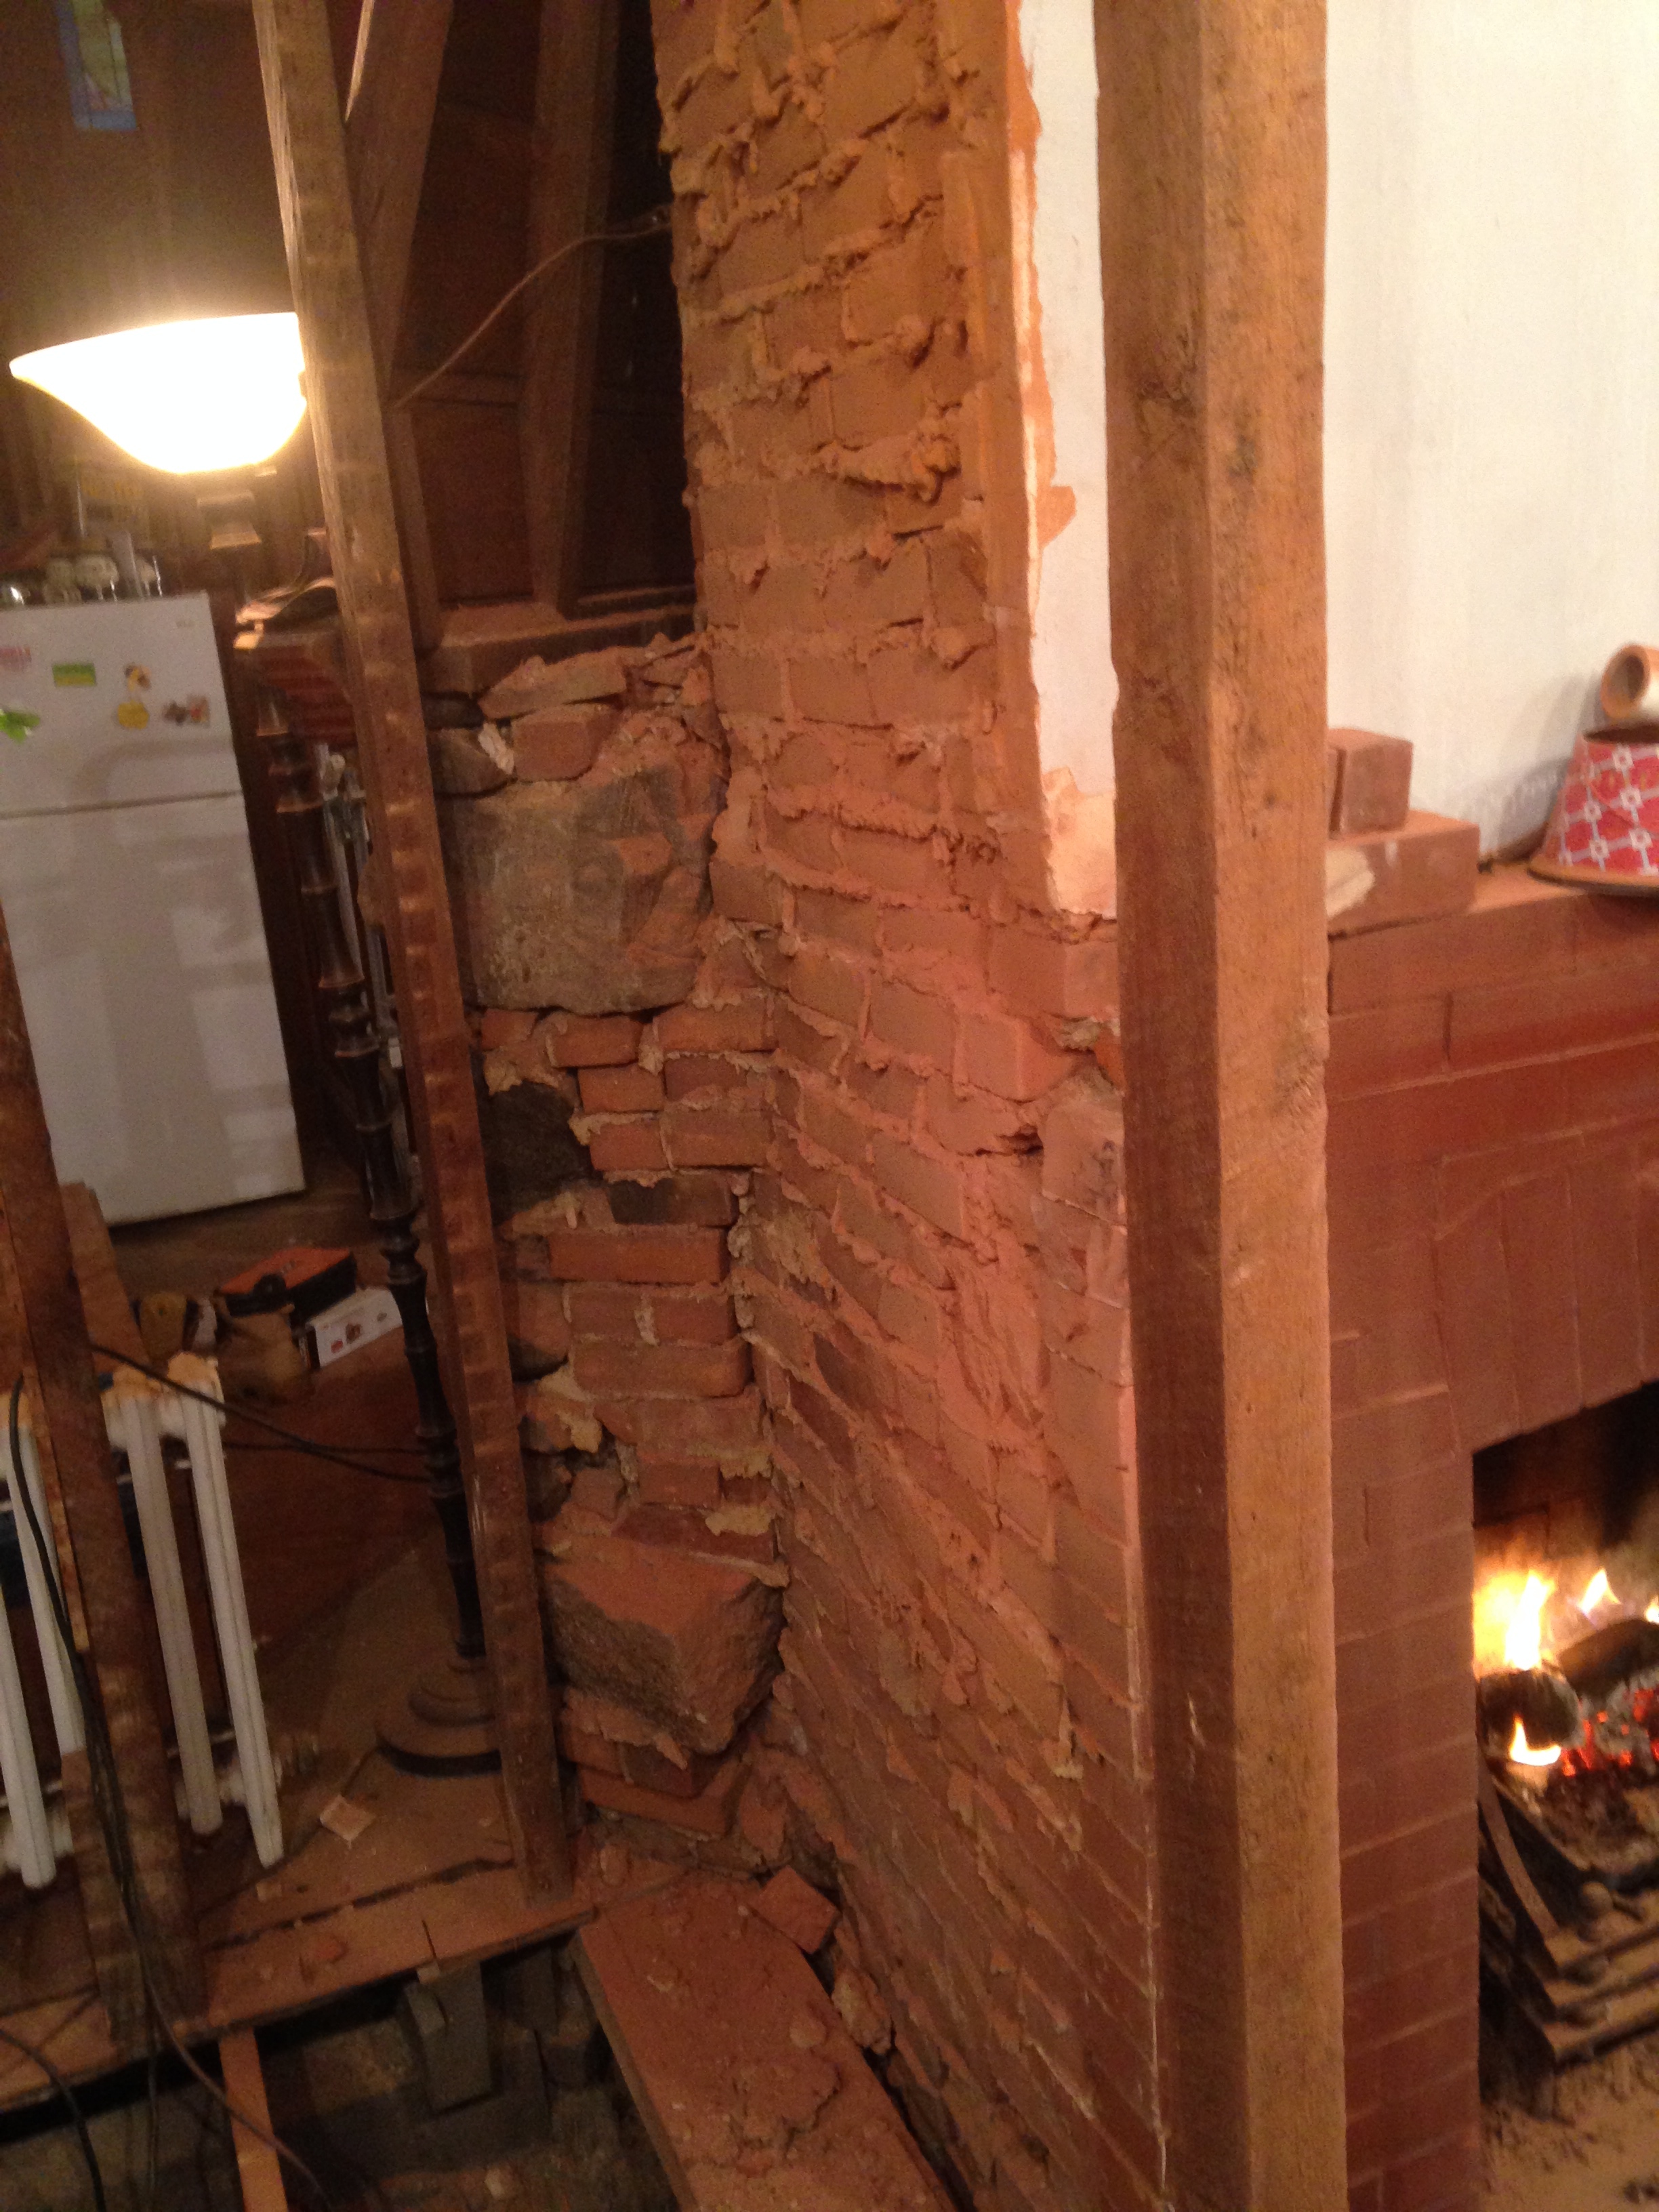
All of the old walls made extra firewood. Very useful when the house rarely got above 30F all winter!


I even put my sister to work when she was home from college for winter break 😀

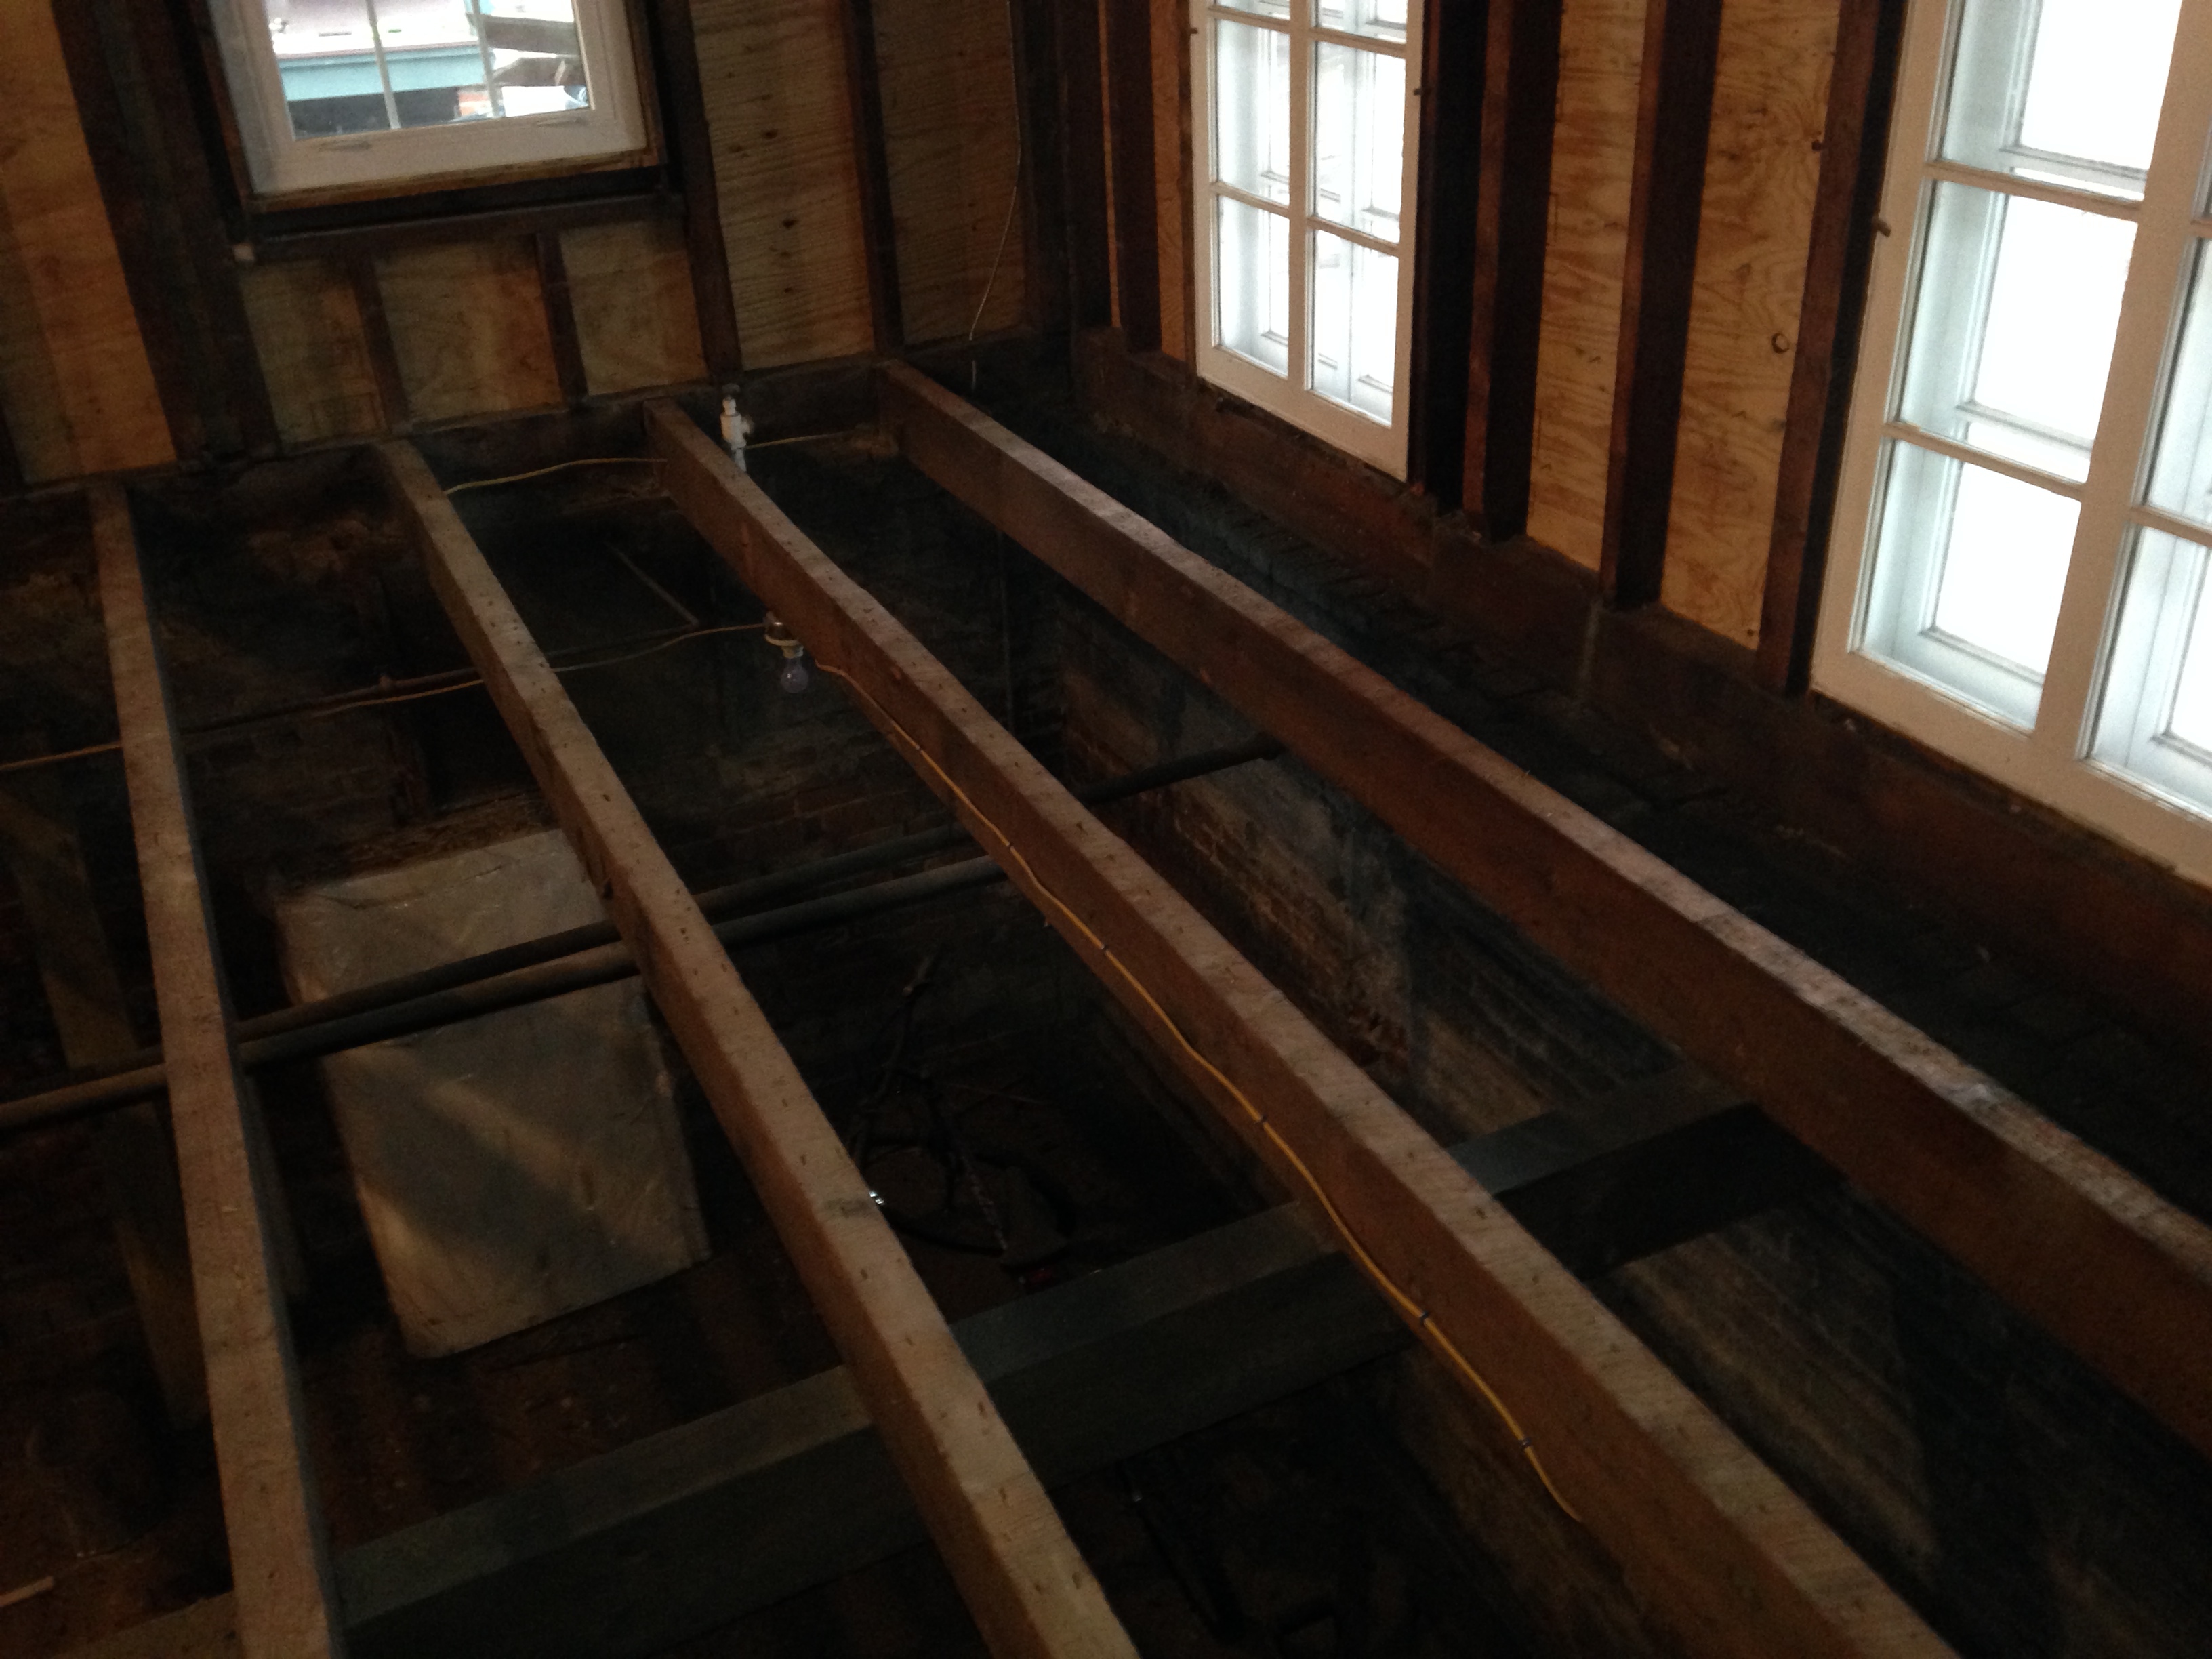
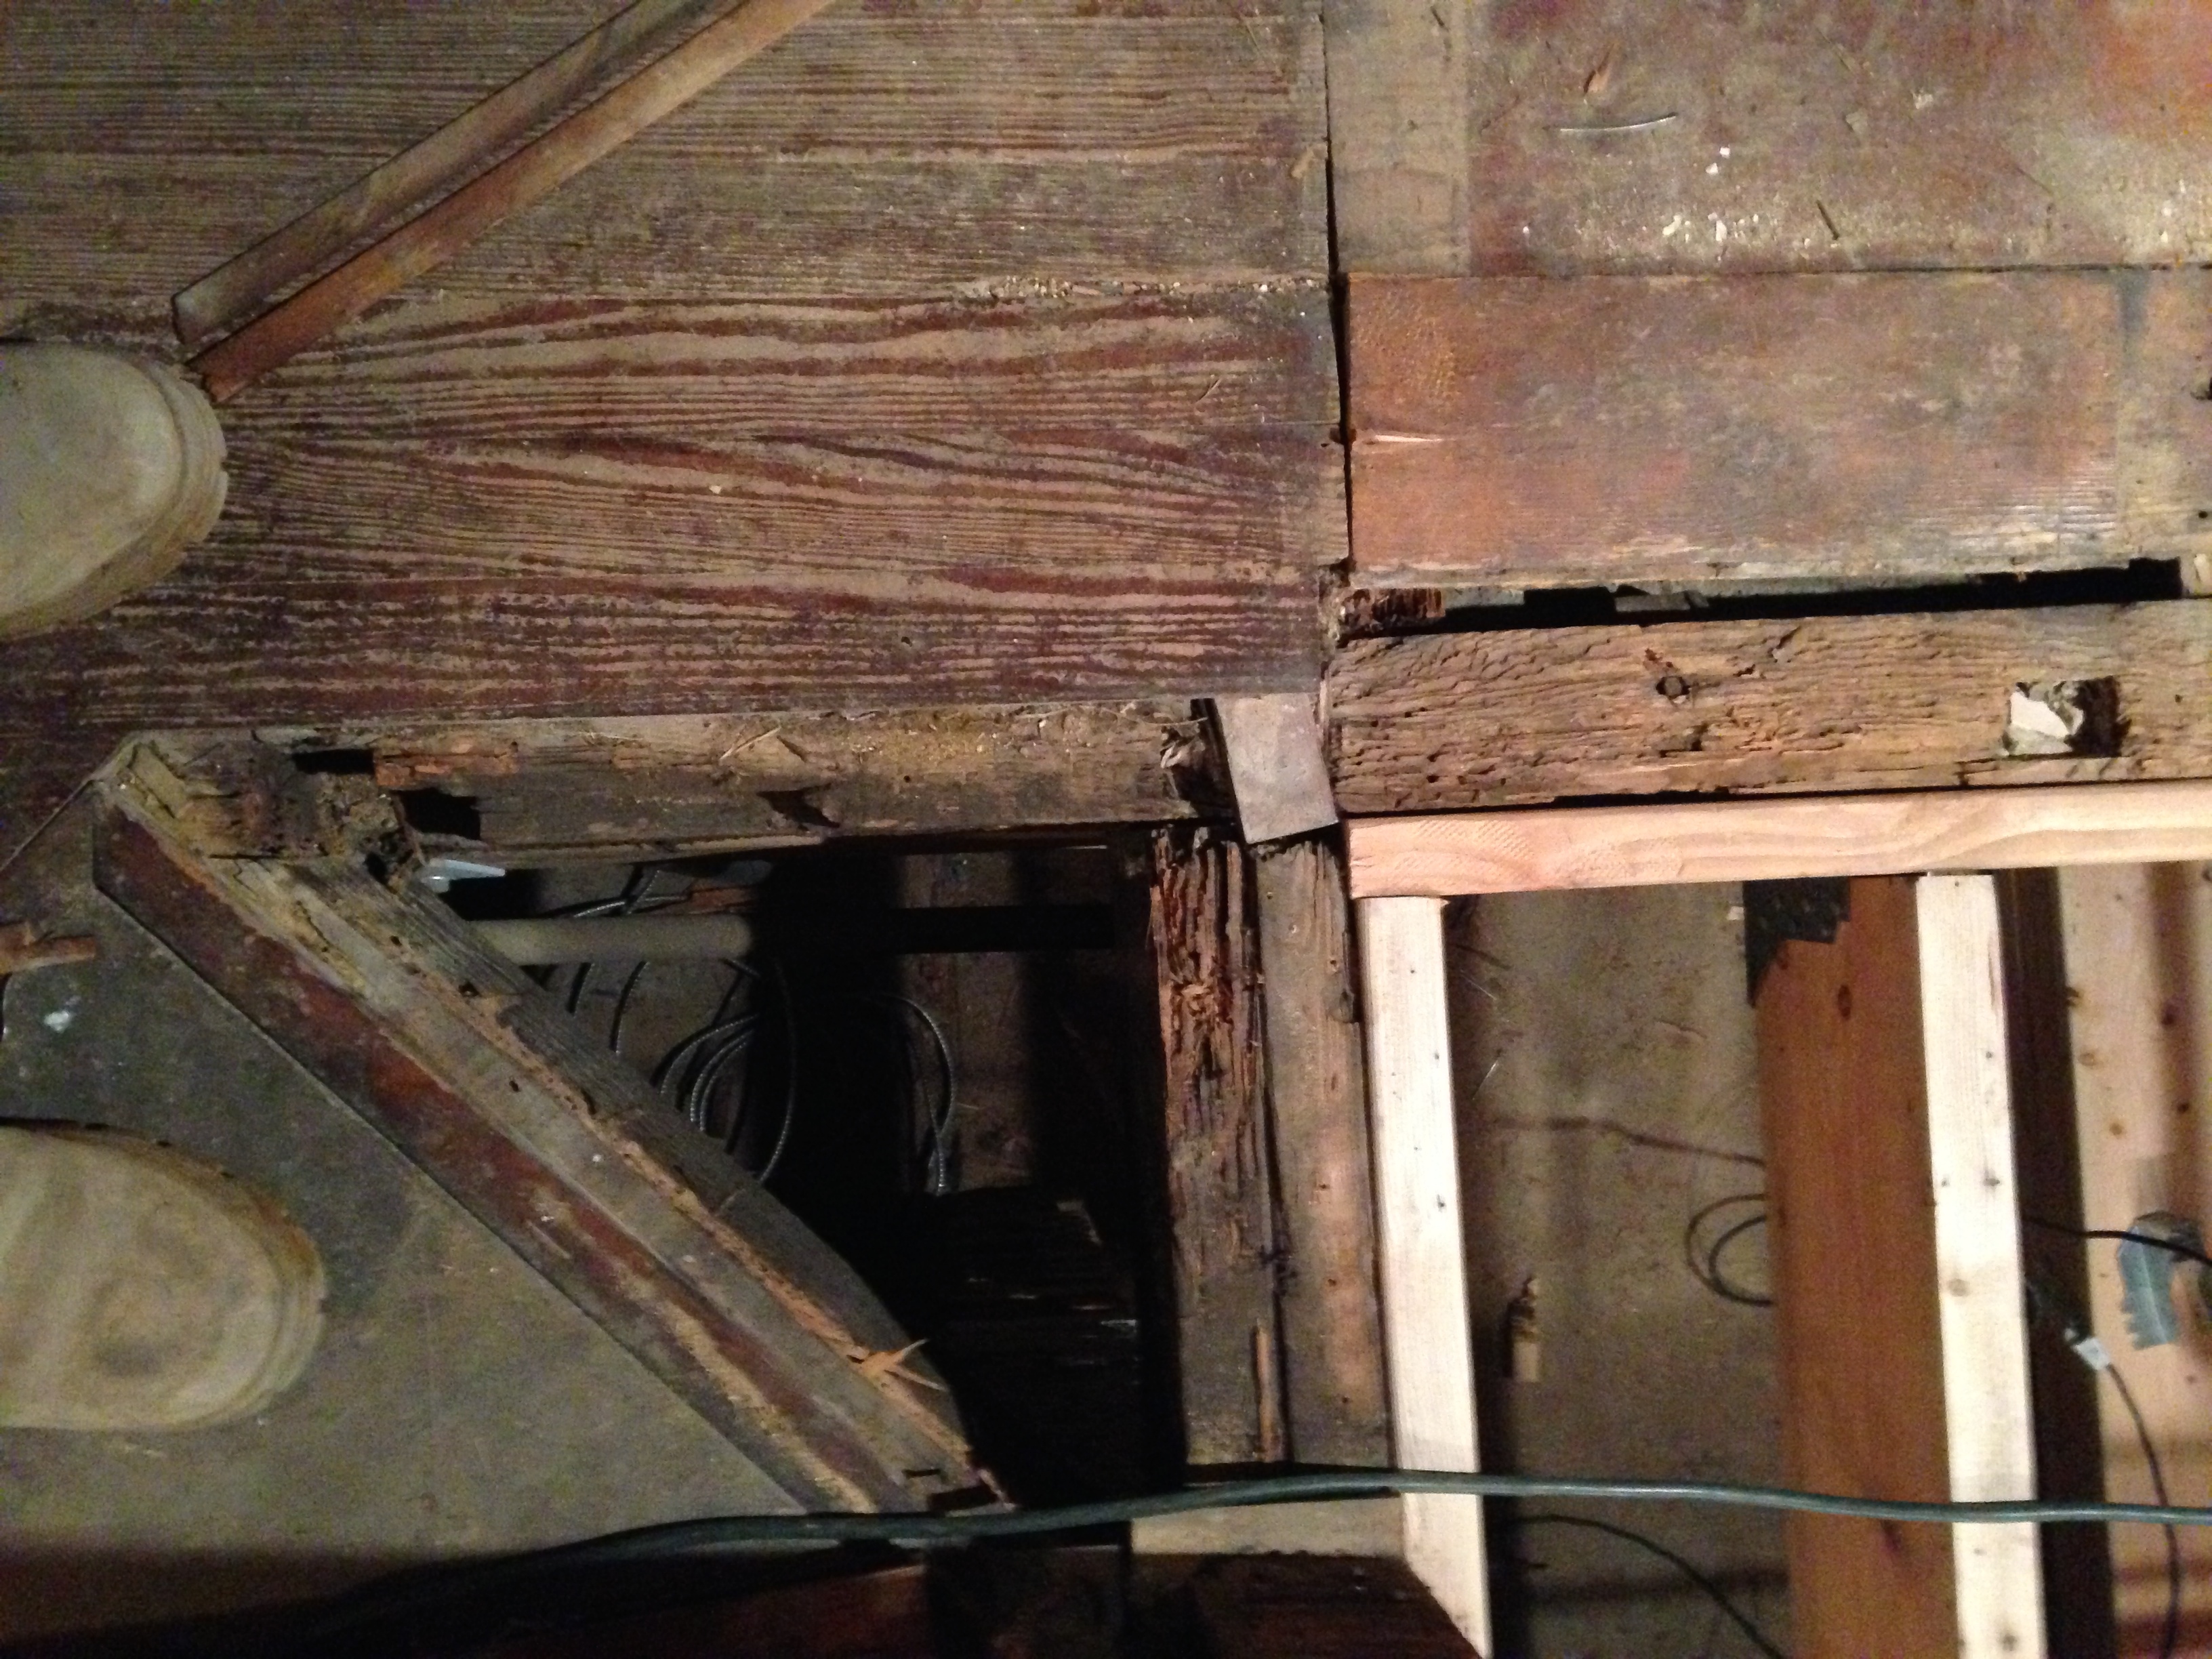
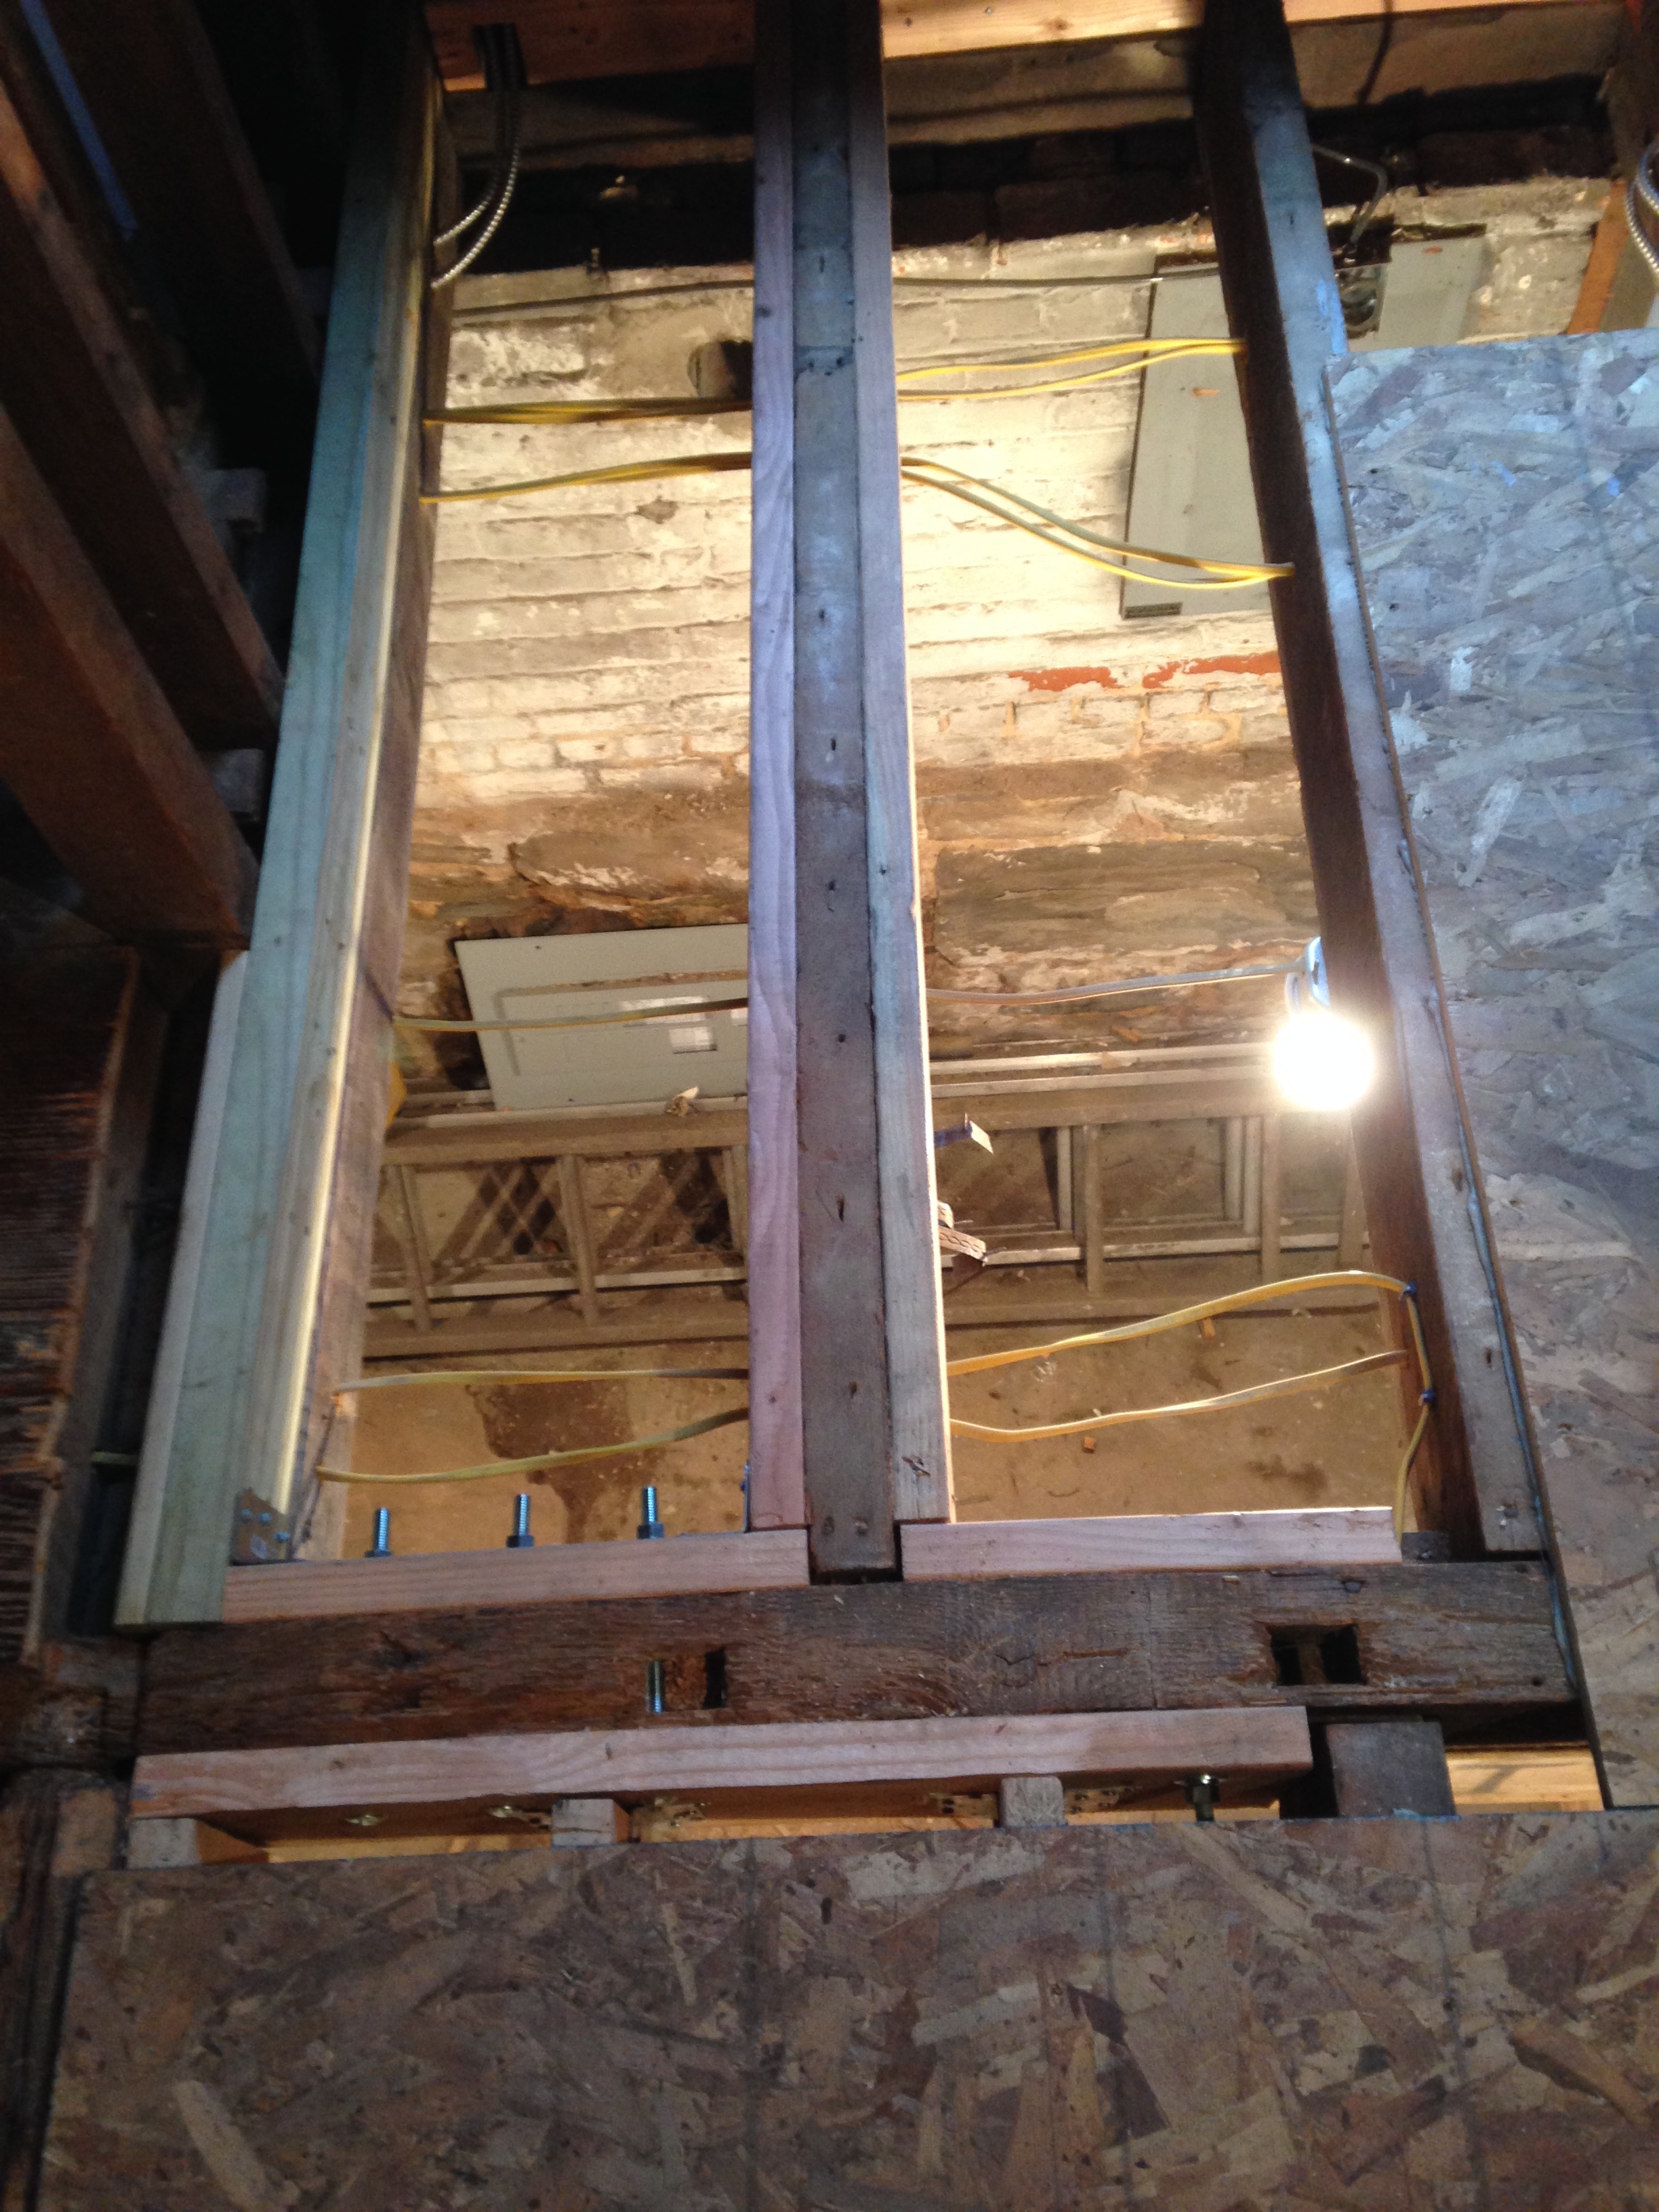
After the living room and dining room were done it was off to the study!Thankfully only half the room needed new joists! Even so, some of the older joists had some termite damage or were rotted in some way, just a few, and those repairs can be seen in these pics.


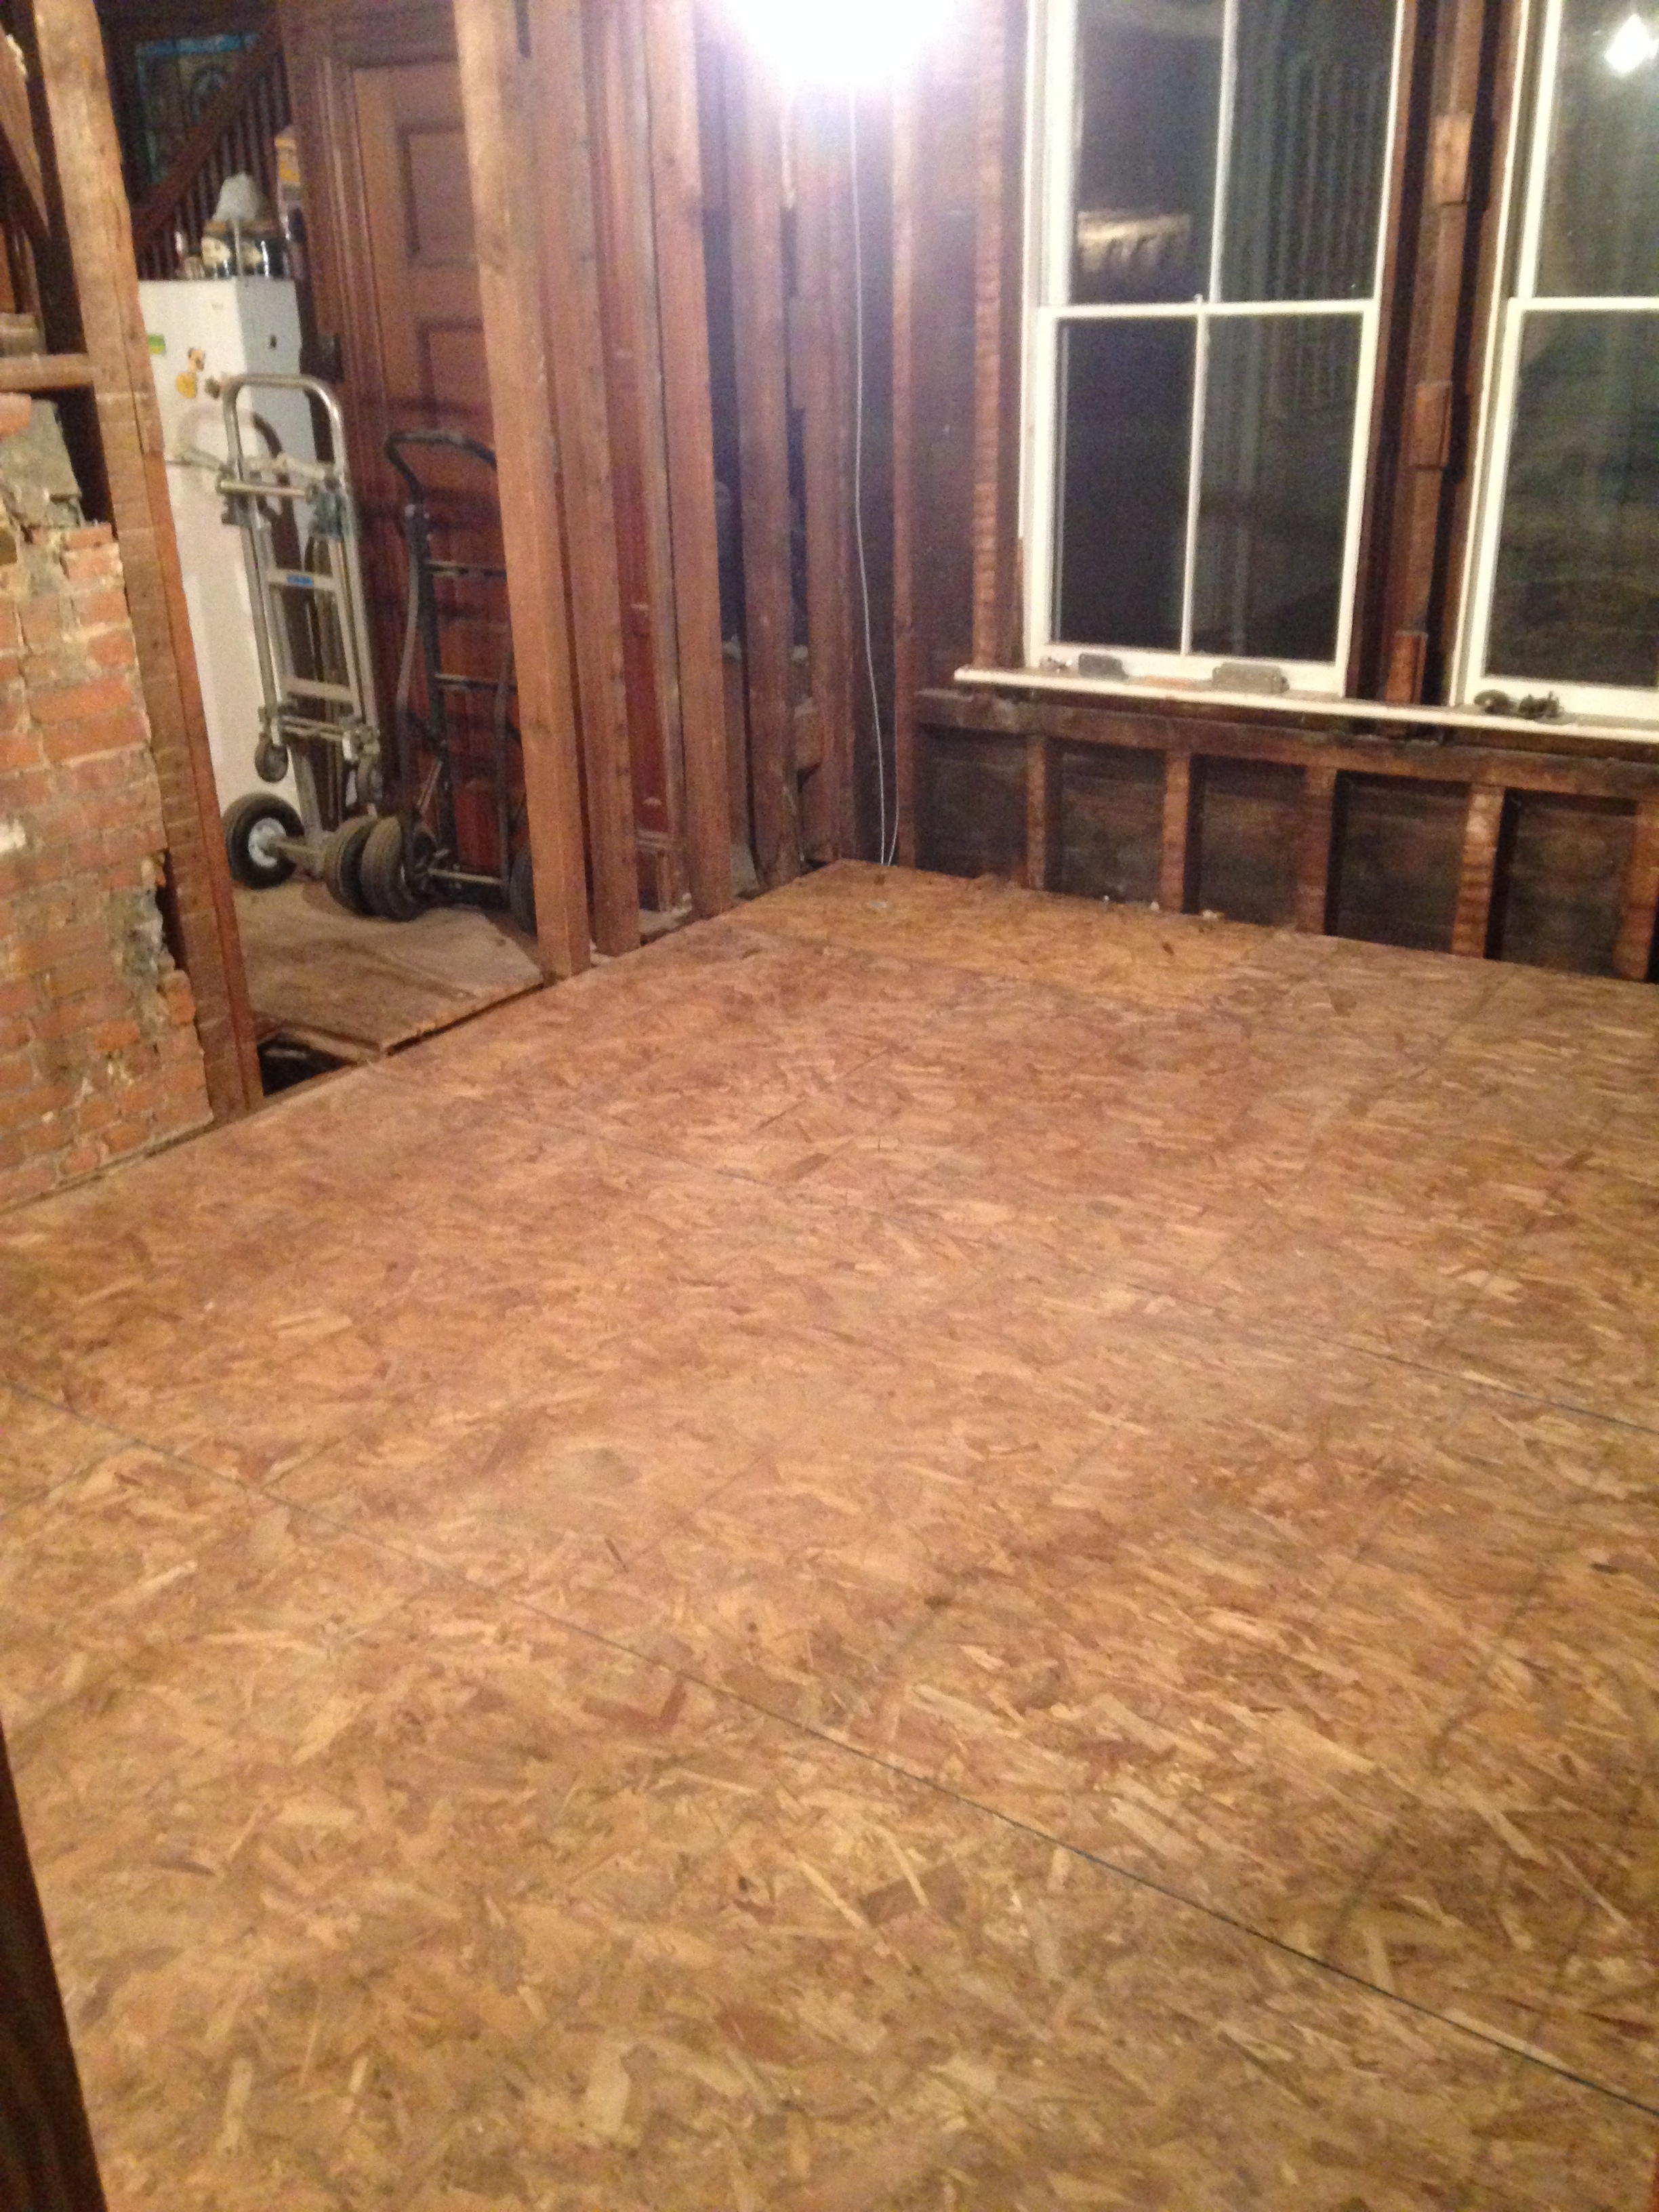

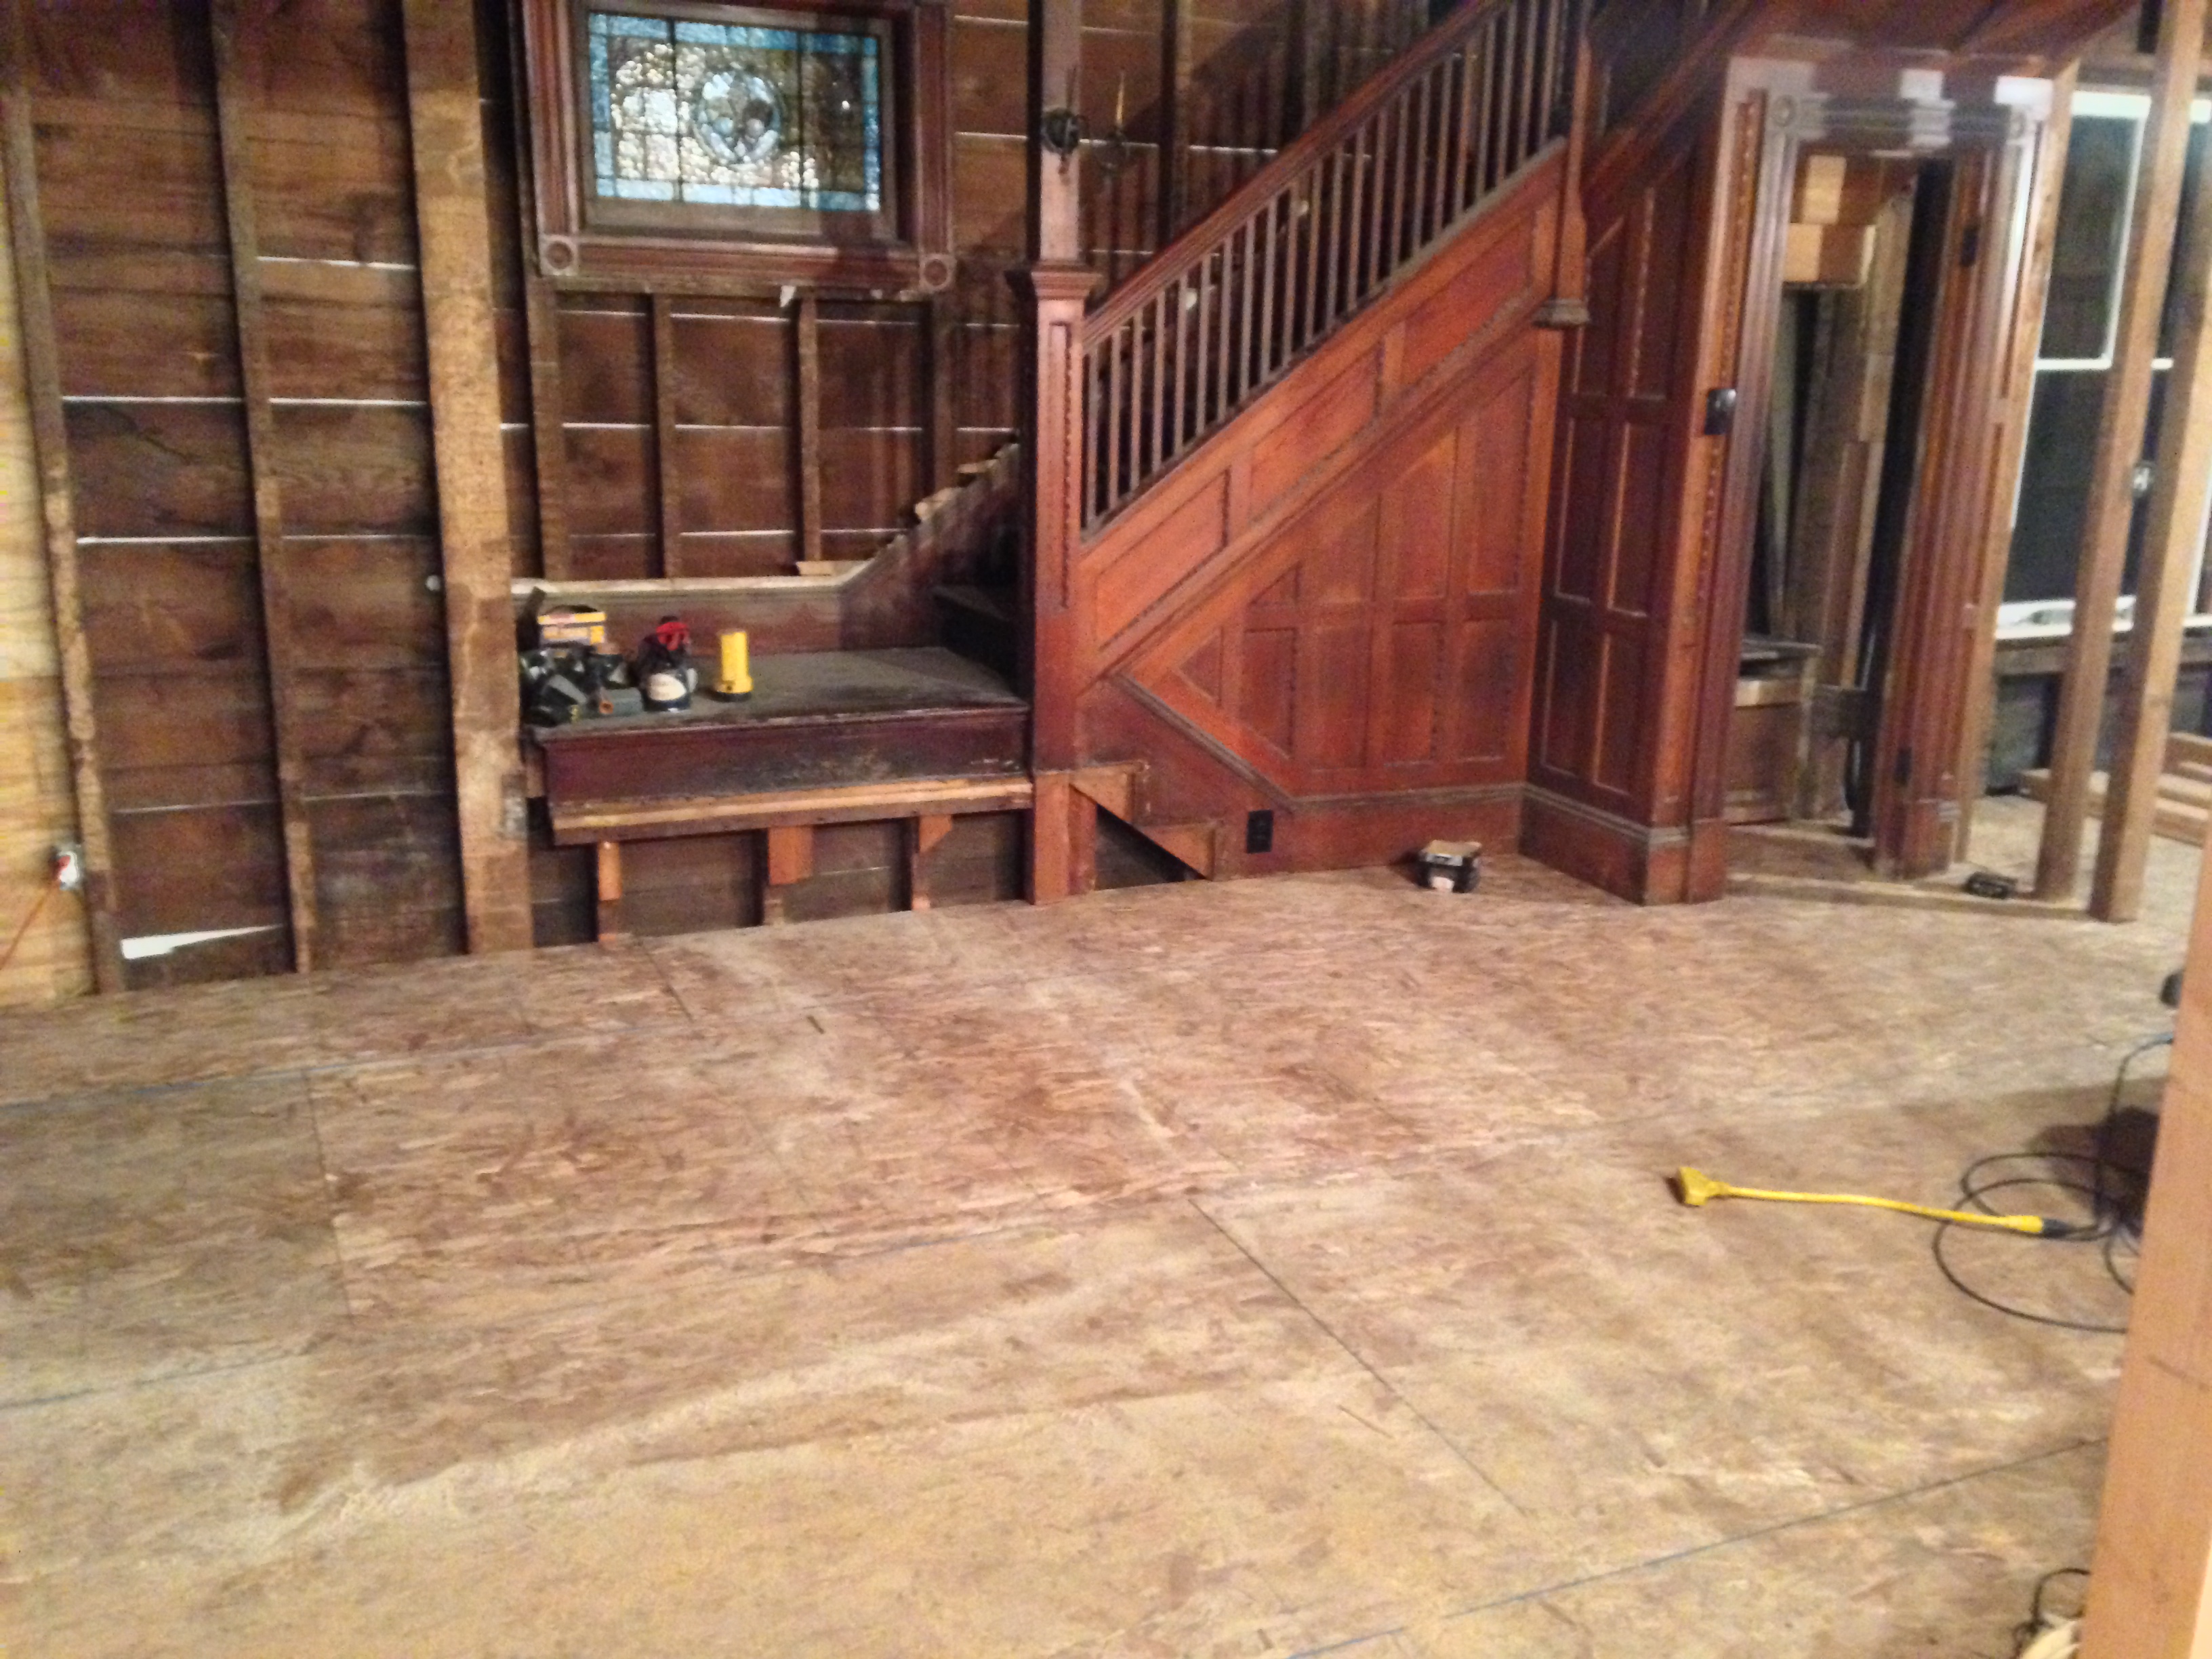
Finally, we were onto the foyer. Last room on the first floor! Aside from the closet and fireplace this room as a breeze. Well, except the walls. That’s another post.